My daughter-in-law recently texted me this picture with the message “something seems to be missing :-)”.

Well, the empty hook belongs to Trey and, since this is his first Christmas, grandma needs to get busy! I made Brad, Betsy and Sommer’s stockings using my own drawing of a stocking and “crazy piecing”, without all the thread embellishment typical of Crazy Quilting. The year after Sommer’s was made Betsy asked me to teach her how to do this, so she could make bone-shaped stockings for their dogs. She’s a quick study!
I thought some of you might like to know how to “crazy piece”. Here’s my version:
- Choose your favorite stocking pattern and cut out the basic shape, to size, from muslin or some undesirable fabric (like this pink stripe I attempted to snow dye in blue, with lousy results. It will be completely covered, so it works well here). I then gather up fabric scraps and leftover “pieced units” in appropriate colors.
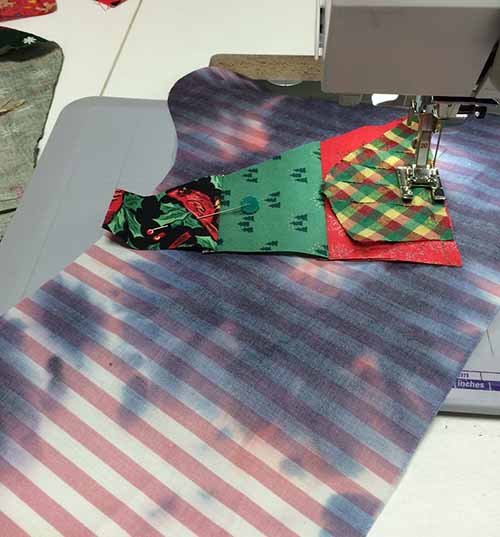
- To begin, pin a scrap or “pieced unit” with an odd shape and an odd number of sides to the fabric base – like the black/green/red “pieced unit” below. Lay a new scrap along one edge, right sides together, and stitch in place:

- Fold this new piece open and press. Since this process will be repeated many times, I like to use a wallpaper roller, instead of keeping an iron hot for the duration.
- Repeat this along all sides of your shape. Strips can be used, but it also adds interest to attach triangles and odd shaped pieced.
- When edges get long, select a “pieced unit” again, or feel free to sew some smaller chunks together into “pieced units” and then add them to the crazy quilting.
- Continue in this manner until the base fabric is covered.
- There may be times when things look a little ragged. Then just grab a long, wide strip, lay it over everything and stitch, fold back and press. When you’ve covered a portion of an edge, it’s a good idea to stitch from the back, close to the outer edge of the base fabric,

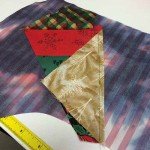


and then trim the excess away.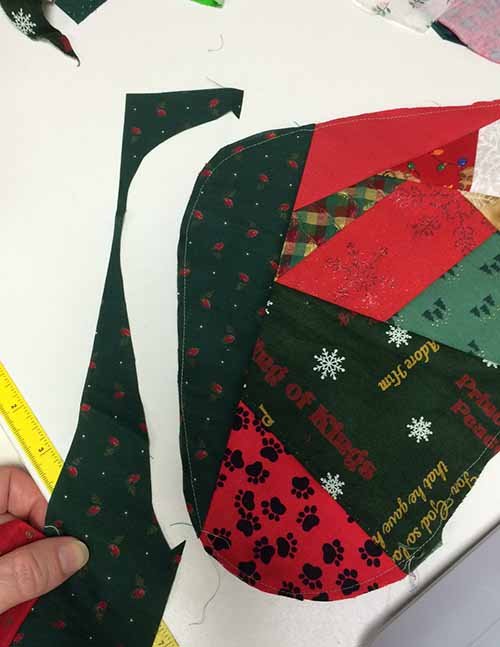 Continue until the base pattern is covered.

7. Cut out a reverse pattern from backing fabric and two linings also (one and one reverse). Because mine has a cuff, it needs to be sewn between the stocking and lining pieces. The crazy quilt is sewn to one lining piece, and the backing fabric to the other.
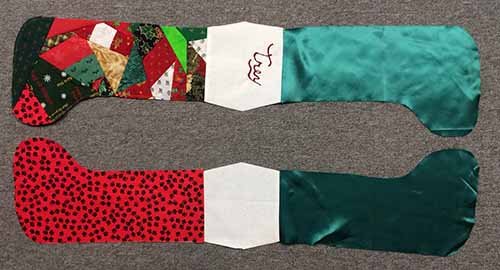
8. Then these pieces are put right sides together and sewn all the way around, leaving a 3″ opening somewhere in the lining for turning.
9. Turn it right side out, stitch the opening closed, push the lining into the stocking and press. Add a hanging loop and you’re done!
 Trey’s stocking is now hanging with all the others – ready for Christmas.

*******************************

Each year I spend time focusing on the true meaning of Christmas – Jesus, the Savior of the world, who came to earth in human flesh to save humanity from the curse of sin. “For God so loved the world that He gave His only Son, that whoever believes in Him should not perish, but have eternal life” John 3:16. What an awesome gift! It gives meaning to everything else in our lives. My Christmas wish for you is that you may know Him as your Savior. Merry Christmas!
*******************************
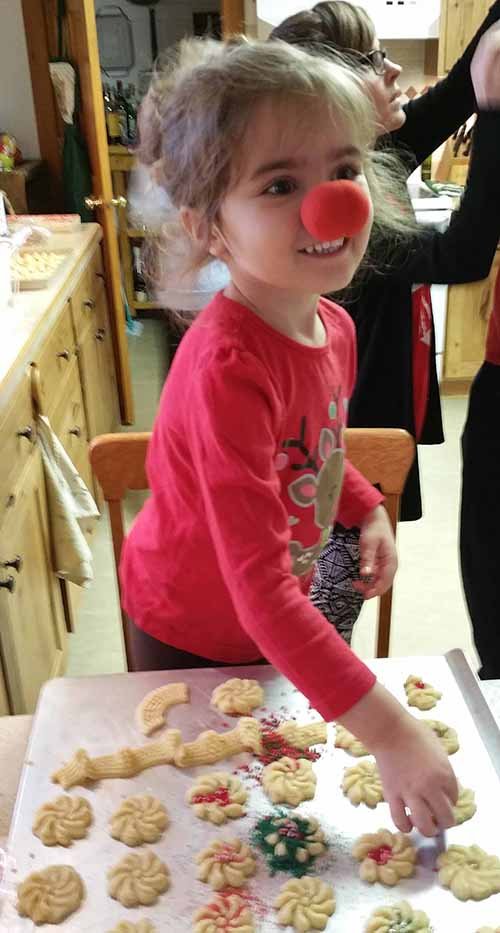
PS Here’s just one last picture to make you smile:


Pam Hintze says
Chris, thank you for your posts. As my weekend winds down and I am getting ready for the work week ahead, I take a little break to see what you have been up to. Wanted to let you know I enjoy them . Wishing you and your family a Merry Christmas.
Cheryl says
That is my favorite verse.