In our last episode :-):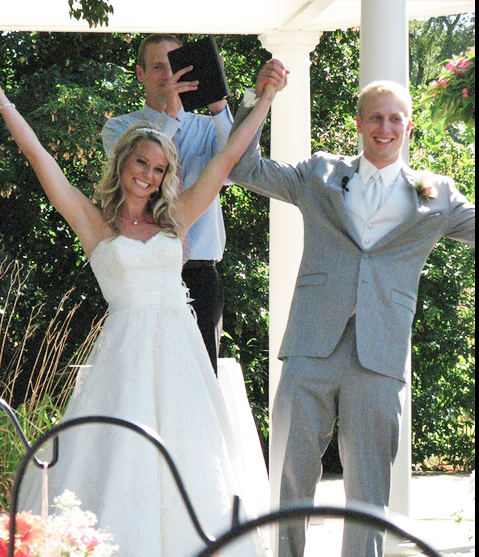
Brianne and Scott were married, the wedding quilt was given as a gift and they are now on their honeymoon (no word as to their response about the quilt).
I had written about a portion of my quilting journey on their quilt in last week’s blog and will now continue …
Once the center of the quilt was done, it was time to quilt the borders. The border fabric is quite busy and I was sure any design would end up being seen as mainly texture. I have found “writing” in borders to be a delightful and fun way to finish this process. So I put in a dark green thread and began by writing “Scott and Brianne Trevorrow” across the bottom border.
(here is where I have to apologize and add a “learn from my mistake” portion to the blog. While working with the pictures I took of the border quilting in Photoshop Elements, I neglected to save them while in progress and the program closed down unexpectedly. Photoshop doesn’t do regular saves – and I should have – and the pictures were lost :-(. Since I no longer have the quilt, I couldn’t just snap a few more pics, so I’m hoping your imagination will fill in the blanks)
Next, starting at the lower left corner of the side border. I quoted Matthew 19:5-6 up the left side, across the top, down the right side, and ended with their wedding date in the lower right hand corner of the side border. The words were rather inconspicuous, and it was easier to see them from the back of the quilt, but they are there and I’m hoping it will be a special surprise to them some time in the future.
Once the quilting was done it was time to bind. I did this in the same flannel I used on the back – in keeping with the snuggly theme. I attached the binding first by machine to the back of the quilt, then I folded the binding to the front and secured it on the front with a zig-zag stitch in a matching thread. I typically sew the binding to the front and then hand-stitch it to the back because I find the quilt edge lays best this way, but again, since the quilt was meant for cuddling, I went with this quick way and then attached the label (did I mention I finished attaching the label the morning of the wedding???)
I made the label on the computer and printed it on a colorfast printer fabric. This was the first time I included washing instructions on a label, because I felt the wool batt required it.
Next was the scariest part of the adventure. Since the majority of my quilts are made to hang on a wall, I strive for smooth and flat results. I have used washable wool batts in some of my wallhangings for the faux trapunto effect – with very good results, but the difference is I never planned to wash those quilts. This time I’d marked the circles and hearts with a water soluble marker that needed to be removed, and I wanted to see how the “washable” wool batt would react to washing, so I threw it in the washer (front loader) and washed with cool water on a gentle cycle. Then it went into the dryer on very low heat. I had not washed the fabrics in the quilt top or back, because I knew the batt was going to do a bit of shrinking and puckering (even with the cool temperatures), but when I pulled it out of the dryer I noticed immediately that it did shrink up even more than I expected.
So, I took a breath, wrapped myself up in it, and it was VERY SNUGGLY! I then laid it across a chair and got used to the new effect.

I like it! Different can be good! I would do it again! I feel this was a good experience and hope it was helpful for some of you.
I can’t wait to hear from the newlyweds … and you too! Do you have any wool batt stories to share?
