• Skip to main content
  • Skip to primary sidebar
  • Skip to footer

  • Home
  • About
  • Gallery
  • Classes
  • Trips
  • Books
  • Blog
  • Contact
  • Sign Up For My Blog

Blog

Buildings, Strawberries, and Couching

June 18, 2016 5 Comments

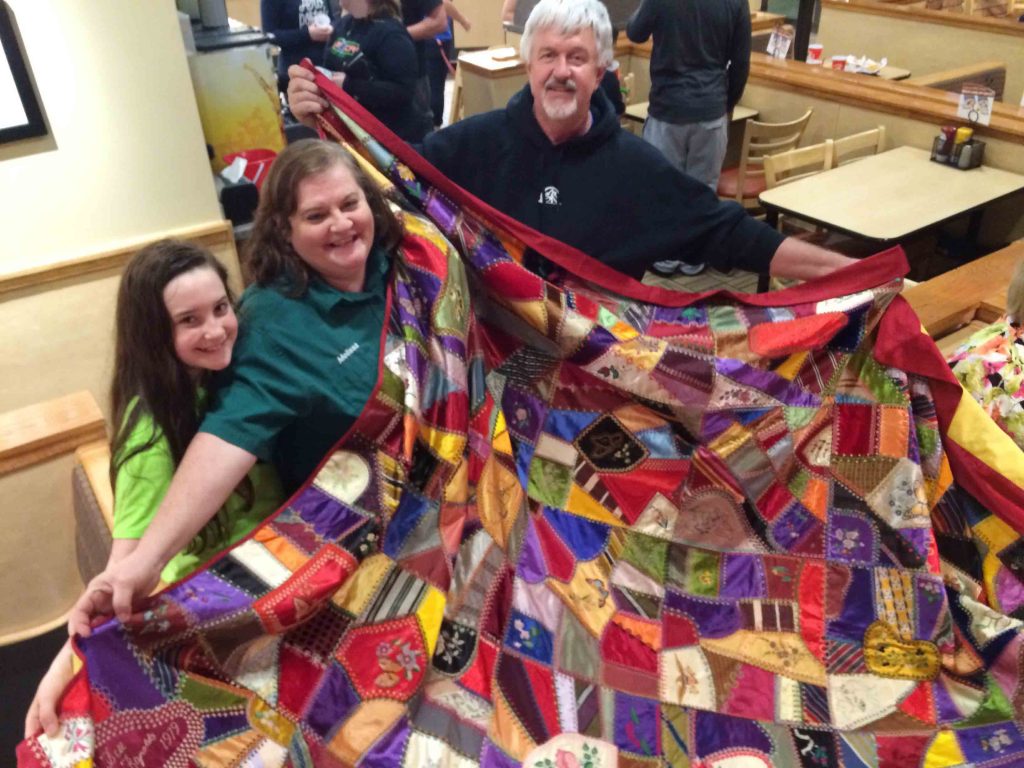
I’ve written before about the Wisconsin Museum of Quilts and Fiber Arts in Cedarburg, WI, and that’s where the second completed UFO I spoke of last week is right now.

WMQFA had it’s beginnings in the Wisconsin Quilt History Project – documenting quilts in Wisconsin. Then a farm was acquired and the fundraising was begun to turn an old barn into a museum! Before the barn was renovated, I was at a fund raising event there, and took pictures of some of the buildings. While on a teaching trip to Alaska (click here to read that post), I stayed with quilting friends and had time to Repliqué two of the “building” blocks.

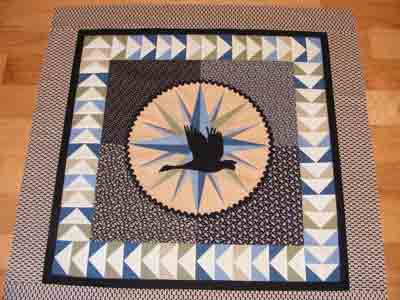
Each Spring Cedarburg has a Strawberry Festival, and each year the WMQFA has a strawberry challenge. When I got the entry form for this year’s Strawberry challenge, I knew the time to finish those blocks had arrived. I completed the third “building” block, added patches from a “fruit” fabric, bordered, quilted and bound it all in time to drop it off at the Museum – 4 hours before the deadline.

Strawberries-and-Buildings-web

Sew, what does this have to do with couching? Well, when I’d completed the quilt top, the black fabric was overwhelming.

couching yarn on quilts

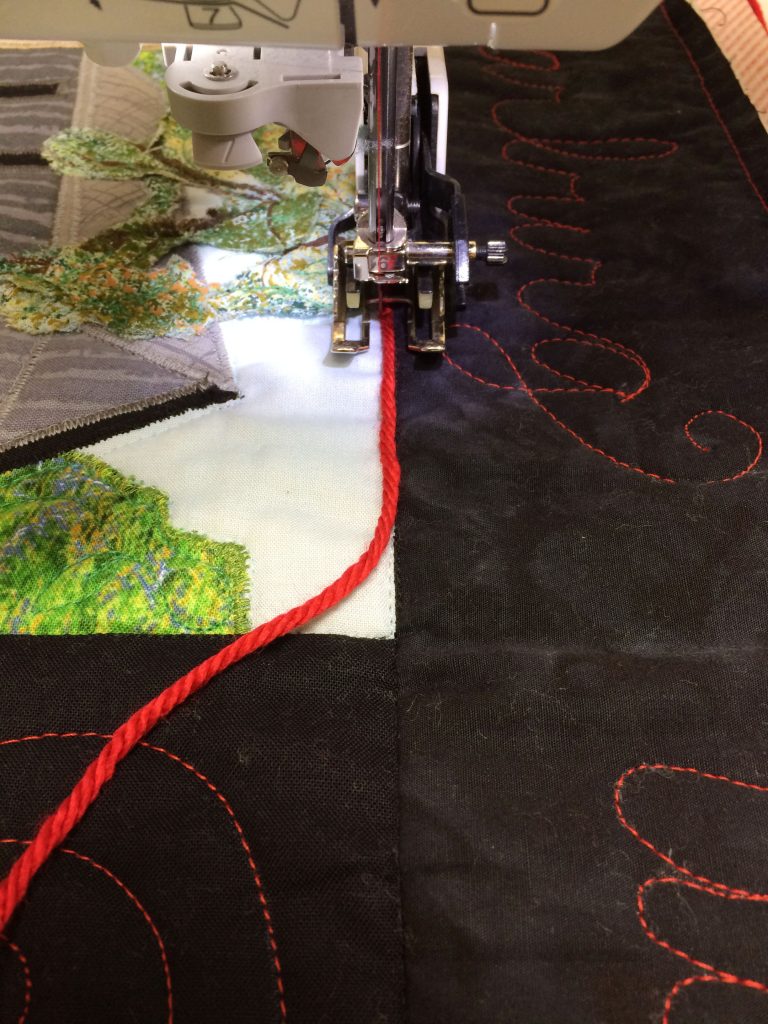
I didn’t have much time to come up with a fix, so I did a bit of quick noodling, and decided to couch red yarn inside the black border. This is a “go to” technique I’ve used before and it’s a goodie.

To begin, I thread the machine with a color thread to match the yarn, and set it for a zig-zag stitch wide enough to cover the yarn. I leave a 3″ tail of yarn at a corner, lay the yarn in the ditch of the border seam, make one stitch in the yarn at the corner to anchor it, and zig-zag it in place – pivoting at the corners.

couching yarn on quilts

Strawberries, Buildings and Fiber Art

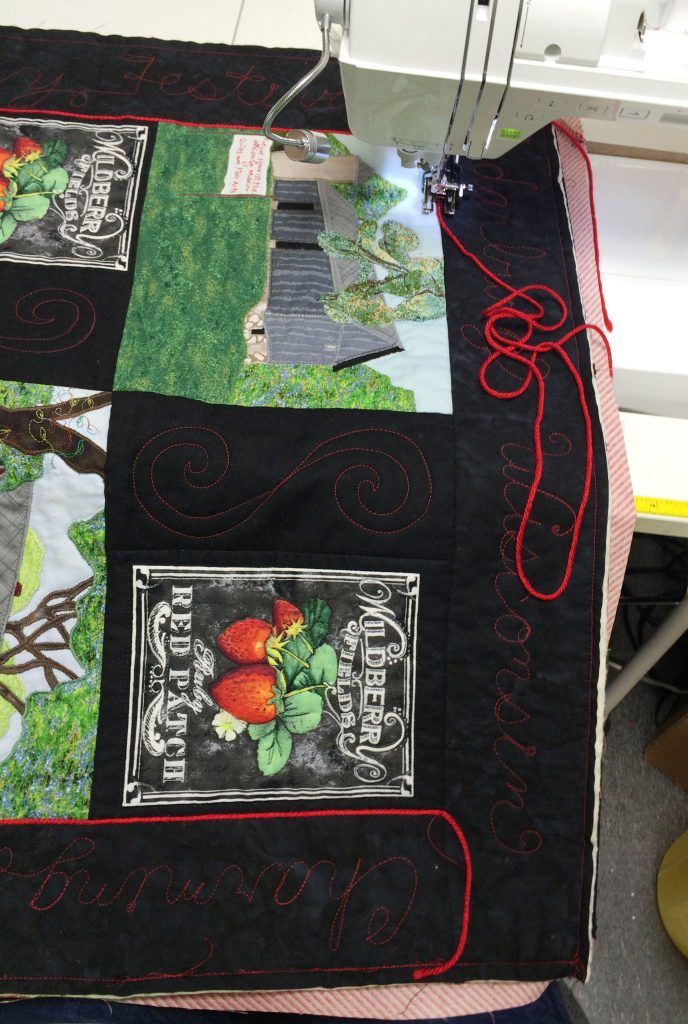
When I reach the end, I thread the yarn tails into a large needle and bury them in between the quilt layers. I had a great time quilting the border with words. Then I needed a name. When nothing clever came to mind, I asked Sommer who said, in matter of fact 4 year old fashion, “Buildings and Strawberries”.

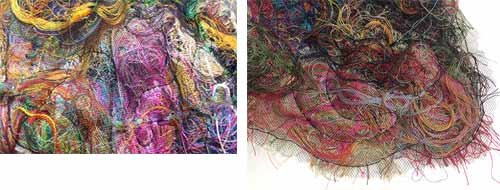
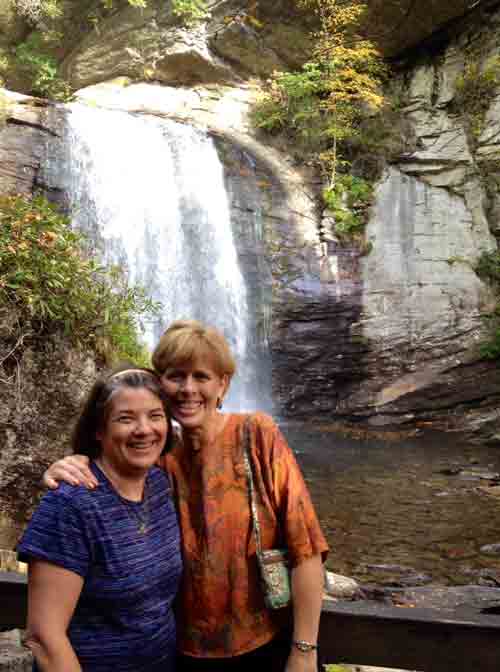
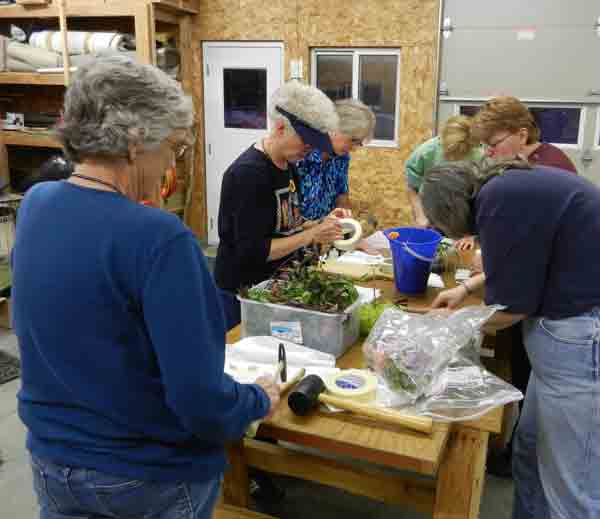
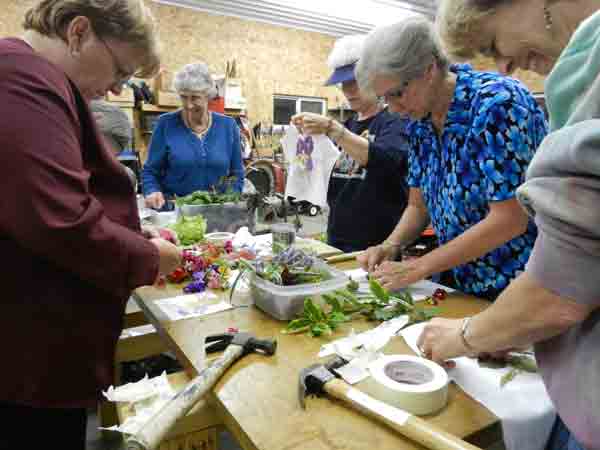
My friend Sonja created a fascinating piece of fiber art for the contest also.

Sonja's-strawberries

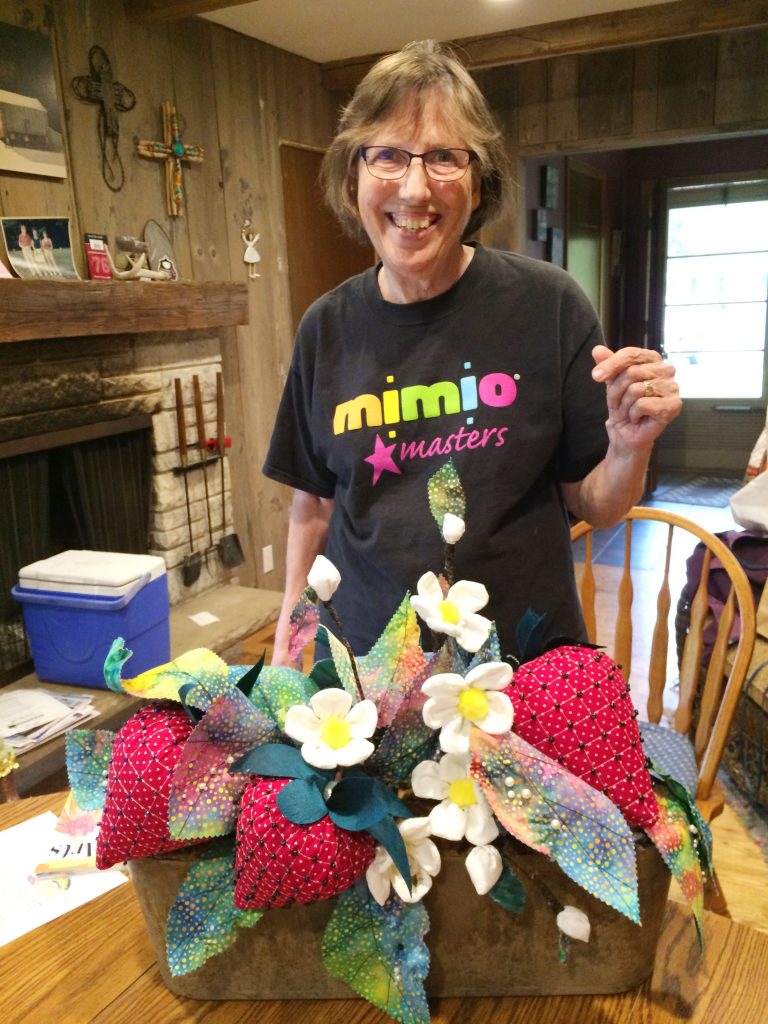
My quilt, Sonja’s, and all of the entries, will be on display at the museum in Cedarburg the weekend of Strawberry Festival – June 25 and 26! Please let me know if you see it there 🙂 !


A Dairy Queen Surprise

May 1, 2016 3 Comments

Last week I mentioned that Wendy and I set up a quilting studio in the kitchen of the guest house we stay in, like we do every year. This year we spent many hours stitching with the warm Kentucky breeze blowing in the door – it was lovely. My plan was to create samples for some new WCTC classes. I also took 2 workshops while at AQS: Linda Poole’s “Hoot” – working with Inktense pencils, and Kathy McNeil’s “Summer Seascape”, learning her way to appliqué. Both were excellent and I have plans for the samples. Here are the pieces I worked on in Paducah:

Paducah-16-projects


While stitching one day, my friend Kathy sent me an invite to an annual “party” they host during Quilt Week, at the Dairy Queen on Friday night. Wendy was taking a class, so I decided it would be something fun to do. Boy, was I right! I arrived, said my hellos to everyone, and then purchased my peanut butter cup blizzard. While we were enjoying the ice cream a bearded man came up to our group (which numbered about a dozen) and welcomed us to Paducah. He said that he’d been looking for a group of quilters and had something in his trunk he wanted to show us.

A few moments later his wife and daughter came in with a large garbage bag, and began to pull a quilt from it. Melissa explained that it was made by her grandmother in 1979. The back was a very bright yellow solid fabric with a red border. I had no idea what to expect – and then she unfolded one of the most beautiful crazy quilts I’ve seen!

CQ-Paducah-16-Shaws

The embroidery was spectacular and we spent a lot of time admiring all the wonderful details.

CQ-Paducah-16-racoon CQ-Paducah-16-spider CQ-Paducah-16-qal CQ-Paducah-16-pixie CQ-Paducah-16-basket

And look at the beautiful way Melissa’s grandmother signed her quilt:

CQ-Paducah-16-name

Some of the most amazing things happen when you least expect them.

CQ-DQ-group

Thank you to the Shaws’ for sharing their lovely quilt.

And thanks for the invite Kathy! Same time next year?

From Thread Tails to Gnome Home

January 31, 2016 1 Comment

Last year the small challenge at the Milwaukee Art Quilters was entitled: “3-D Abodes”. As I noodled on what to create, I glanced at a bag of thread tails given to be by a long arm quilter. It was a wonderful mix of colors, and I had been adding to it for a year or so. So here come the “what ifs”!

What if I sandwiched the mass of threads between black tulle and free motion quilted it into a new “fabric”?

create fabric from thread tails

What if I embellished it with beads, and I got out that thread spinner I purchased and never used, and made more embellishments?

spin threads into ropes

What if I combined it all into a “gnome home”?

So I jumped in, layered, quilted and shaped the mass of threads into an abode by sewing a bunch of darts and pleats into the created “fabric”. Once embellished it looked like this:

Kirsch - Gnome home
To see all the challenge abodes click on: https://milwaukeeartquilters.wordpress.com/category/marq-themed-exhibits/3-d-abodes/

I admit it’s weird, and I had to sew many arcs of plastic tubing to the inside to get it to stand up – and that was rather temporary. So, once the challenge was unveiled and photographed, I took it home and thought seriously about just throwing it away. Instead I tossed it on a shelf, and ignored it for months. Then one day Sommer asked me about it. I put it on the floor and she had a blast putting daddy’s old Star Wars figures in it. Problem is – it kept collapsing.

gh play

Once I realized it was a new favorite toy, I needed a fix, and it came in the form of a plastic jug. With a little glue and stapling it is now stable, and Princess Leia loves it!

gh jug save

So does Princess Sommer!

gh princess Sommer

If you know of a venue to exhibit the 3-D Abode challenge pieces, please let me know. It is a fascinating group of fiber art structures and we’d love to have them seen and enjoyed!

A New Bead Adventure

December 15, 2013 Leave a Comment

Last month I had the opportunity to take a class with Betty Pillsbury. She is a crazy quilter from Albany, NY. Oddly enough, this particular workshop was not about quilting, but in it Betty taught the peyote stitch to attach a cabochon to a cuff bracelet. A cabochon is a flat backed stone or bead that has no hole to attach it with. I’ve always wanted to learn how to attach a stone in this way, hoping to use it in embellishing my quilts. I didn’t think I’d get hooked on this type of bead work. But I did! I’m now on my second bracelet with visions of #3 dancing in my head. I think I will use it in future quilts, but for now I’m dabbling just a bit in jewelry. Wanna see :-)?

Here is a front view with the cabochon attached. For a first effort, I’m pretty pleased.

beaded cuff bracelet

Once the cabochon was placed in the center, Betty encouraged us to just fill in the rest of the space. She had many samples and I had a blast choosing beads and filling around them. The bracelet was done in just over a week.

Here’s one side view:

beaded cuff bracelet

and the other:

beaded cuff bracelet

The base of the bracelet is called an aluminum blank. These come flat, are bent to shape and then the inside is covered with fabric. The original blanks from class had 90 degree corners and were a bit wider, the ones I just purchased are rounded.

beaded-cuff-blanks

The beading is done on a thick interfacing. Here’s my second bracelet in progress. Instead of one cabochon, there are 5 (chosen to match a new holiday outfit!).

beaded-cuff-bracelet-rainbow

And here’s the back:

beaded-cuff-back

Once the entire piece of interfacing is beaded, it’s glued to the cuff and then it’s all stitched together around the outer edge with more beads.

I’m not sure I needed one more addiction, but beads are such fun to collect and I’m really excited to see how this will meld into my future quilting projects. Do you bead?

*********************

One additional note. Back in April/May I wrote a number of posts about the Jenning’s Quilt. This was a group quilt made by the Milwaukee Art Quilters that has won many awards. It was a winner in this year’s AQS show in Paducah, KY. While at the show Judy Levine, Toni Mitt and I were part of an interview and it has just been posted by AQS.

Click on the picture below and you’ll be taken to the AQS website with the interview. Scroll down and simply click on the arrow in the center of the video box to watch it.

Jennings-interview

Judy did the lion’s share of the work on the quilt and I think she did a great job of speaking for the group in the interview.

Flower Pounding

October 20, 2013 7 Comments

It seems I’ve been traveling quite a bit lately and this past week was no exception. A year ago, while in Paducah, I met a dear quilter named Patti. She invited me to teach for her guild in North Carolina. I just returned from that wonderful trip. The Western North Carolina Quilters were delightful! They were so welcoming and the students in my “Parallelisms” class were very creative :-)! I so enjoyed getting to know Patti and Ed, and when I wasn’t teaching, we visited some very interesting sites – like Looking Glass Falls –

NC-LG-falls-with-PattiIt’s fun to spend time in someone else’s studio, and Patti’s is amazing. Ed has built most of the cupboards and tables, and her studio is a perfect place for this very creative quilter to play.

NC-Pattis-studio

Thank you Patti, Ed and all my new friends in North Carolina!

Now on to this week’s topic:

The Fiberistas (our new Watertown, fiber art group) were at it again last month. This time Kay had suggested we play with flower pounding. What a hoot! (actually we sounded much more like woodpeckers than owls :-)).We decided to do it here – in Mike’s shed (the one with the quilt block hanging on it), because everyone else has neighbors nearby and we didn’t want to be annoying. We all gathered flowers, leaves, branches and ferns still left in our yards, Kay brought the wide masking tape and everyone was armed with a hammer. The process is quite simple – and very noisy!

1. Choose an item to pound (ferns, arbor vitae, coleus, geraniums and pansies were some of my favorites).

flower-pounding-4

2. Place it on your pre-washed muslin, spreading out the thicker, denser areas to make them thinner, and cover completely with masking tape.

flower pounding3. Choose either the tape or the fabric side and let the pounding begin:

flower pounding

Liane was really getting into it here:

flower poundingIt seems we did as much selecting and taping as hammering!

flower pounding

And Mike had a good time taking pictures!

flower pounding

And here’s my finished piece.

flower pounding

I’m not sure what will become of it, but it certainly was fun to create. Kay said she and her daughter had done this on t-shirts!

Have you ever done any flower/leaf pounding? I’d love to see pictures of the results!

Speaking of pictures, over the past few weeks I’ve posted pictures of Mariner’s Compass quilts which were finished after I taught a class in Janesville. Many in that group have finished their compasses and I so appreciate receiving these pictures (I hope you enjoy seeing them too). Nancy Acker just sent me a photograph of hers and here’s what she said:

“This little quilt came about because I joined the guild in Monroe and they had a project underway.  The project was called “flat ostrich”.  You picked 5 elements from a jar and had to use 3 of them in a quilt.  My elements included paper piecing, flying geese and a 1″ border.  Perfect for my mariner’s compass.  I also included 3 other elements, 4 patch (my background), embellishment (rick rack) and appliqué (goose).  It was fun.  Monroe is a much smaller group than Janesville and now I will enjoy both of them.  It’s wonderful to be retired and have so much time to devote to quilting.  Thanks for that great class, Nancy”

mariner's compass quiltShe really took this piece to another level. I especially like the rick-rack around the compass and the 4-patch background. WOW!

Making Faces

August 26, 2012 1 Comment

In my teaching at WCTC it’s necessary for me to come up with class ideas 2 semesters ahead of when they’ll be taught. This can be a bit daunting, so I often make up a class name and description without really knowing what the quilt will look like (it adds excitement and mystery to my job :-)). This Fall I made up a class I called “Snowperson Topper”. When the time came to actually stitch something I decided a scallopped hexagon shaped table topper with snowman faces would be fun.
I used some tried and true techniques and came up with a few innovations too. It was fun giving a unique personality to each of the snowpeople. I got to go through my button collection to find just the right pair of eyes for each face, did some hand stitching on the felt noses and free motion embroidery of the mouths.  Once the faces were made, the sections needed defining and I decided a bit of couching was in order.
Couching means to attach a yarn or other fiber to the top of the quilt by laying it on the surface and stitching it down with an additional thread. This can be done by hand or machine. When it’s done by machine a zig zag or some other decorative machine stitch is usually used. Years ago my dear friend and traveling partner, Wendy, showed me a simple alternative couching technique that’s as easy as:
1.  Wrap the yarn around the needle and backstitch one stitch to secure it –
2.  Stitch forward 5 to 7 stitches (use a matching thread, mine is contrasting so you can see it) –
3. Cross the yarn in front of the needle –
4.  Stitch over the crossed yarns and repeat –
A finished line should look something like this:
The Snowperson Topper is just one of a number of classes I’ll be teaching this Fall. There will be my usual 3 sessions of Thursday afternoon Open Labs. Here’s the information for my 1 day workshops:

304-604T Goose Tricks: Learn to create flying geese blocks that float and swirl across your quilt. Paper piecing and bias strips make this project appealing, easy and fun! Saturday, September 15, 9-2:30

304-604U Railroad Tracks: Choose a lovely large print that is too pretty to cut into small pieces, then cut it into large squares and frame them with colorful, strip-pieced sashing. This quick and easy quilt features a surprise three-dimensional element. Friday, October 5, 9-2:30

304-604V Quilting – Beginning Fiber Art (also known as Parallelisms) Are you a traditional quilter who secretly would like to try a bit of fiber art, but don’t know where to begin? Then this class is for you! Learn simple fusing techniques to play with fabric, color and design. Discover your inner creativity. Saturday, November 10, 9-2:30.
304-604W Quilting – Snowperson Topper: Create an adorable table topper filled with personality, just in time for Christmas. Plus – the snow theme can be enjoyed all winter long! Friday, December 7, 9-2:30

You may sign up by calling 262.691.5578

or on line at www.wctc.edu. Once you’re on the home page click on “Class Search”; choose the Fall semester and type “quilting” in the “Course/Subject” box and click “Submit”. All of the quilting classes Wendy and I are teaching this coming semester will pop up.

And now to end this week’s post with a response to last week’s post in which I asked if any of you have made a quilt inspired by someone else’s art. Gloria emailed me with pictures! When I asked if I could share her pictures on the blog she was more than happy to agree. Here’s the front of her quilt and her email:
“Hi Chris, I would be happy for you to use my quilt – that’s why I sent the pics.  I made the quilt for my college friend going through chemo this spring.  We adopted a purple bean bag frog one evening and “Floyd” has been our mascot ever since.  We are a group of 6 roommates and have continued our friendship over the years.  My inspiration was a ceramic frog climbing a wall in a cute restaurant in St. Pete’s Beach in Florida.  The other side of the quilt is a history of who we are and where we have been:). (We are the Sixth Street Convent Gang because we lived in an apartment with more rules than the dorms had in 1970, it was nearly cloistered!)   Gloria Knipschild”
Here’s the back of the quilt:
I really enjoyed the quilt and the story. Thanks Gloria!

Pleasing separation

September 26, 2011 5 Comments

This past week a student inquired about adding a very narrow border to her quilt to visually separate the quilt center from a wider border. Piecing in a 1/4″ border can be tricky and so I had some alternative ideas to share:

If you’ve ever done counted cross stitch, you are no doubt aware that once the crosses are completed, most patterns have the different color areas outlined with a line of black backstitches. Even though this line is very narrow, it adds a lot of interest and definition. Sometimes this is a good option for separating borders…and even bindings.

One simple way to do this is to sandwich piping (purchased or homemade) into the seam between the quilt center and the border.

Another idea that has been very popular recently is to fold a 1″ strip of contrasting fabric in half lengthwise, wrong sides together, and slip this into the seam. I like to refer to this as a flange and it can add a lot of punch for a small amount of fabric and effort.

One additional idea is really simple and can be done after the quilt is finished and bound – couch a piece of yarn or cording on top of the seam! Couching simply means to lay the yarn/cording in the “ditch” of the seam and stitch on top of it with a zig-zag or serpentine stitch. It can be done in invisible thread or something decorative.

And now for an example to show how helpful this effect can be:

I made the following quilt for a “Tea” challenge through the Milwaukee Art Quilters. All of the fabrics were dyed in tea and I quilted the different areas as a sampler of quilting designs.

For some reason I bound the quilt in a similar color fabric to the rest of the quilt and it seemed to look like the quilt never ended when hung on a light colored wall. So I couched a brown chenille yarn along the binding and was very pleased with the results.

That simple addition made the quilt a success in my mind :-).

Well Behaved Beads II

February 18, 2011 2 Comments

Trying to pick up tiny beads, with a tiny needle, which is tethered by a thread to your work can be aggravating. A few years back I came up with a way to make those beads behave and the magic tool is clear mailing tape! It’s really quite simple:

1.  Wrap a piece of mailing tape, sticky side out, around the forefinger of your non-dominant hand (left, if you’re right handed).

2.  Pour the beads onto a flat surface and dip your taped finger into them.

3.  Knot your thread and bring it up through the quilt where the bead needs to go, pick a bead off the tape with the tip of the needle, attach the bead and repeat.

Voila! Beading can be done in the doctor’s office, at kid’s sporting events and even in a moving vehicle. One of the best advantages of this technique is that the beads are close to the work area and so, as the thread gets shorter, the beads are easy to reach.

Have fun beading!

  • « Go to Previous Page
  • Page 1
  • Page 2

Primary Sidebar

Archives

Recent Posts

  • London ~ and More
  • Designed For a Purpose
  • Squirrel Quilts and More
  • Vintage Appliquéd Arrows and More
  • Fascinating Tidbits

Recent Comments

  • Karen Ann Moore on London ~ and More
  • Cheryl McLean on London ~ and More
  • Sue Halpern on London ~ and More
  • judy raddatz on London ~ and More
  • Joanne Corrigan on London ~ and More

Categories

Footer

My Guide

Whatever you do, do your work heartily, as for the Lord rather than for men.

—  Colossians 3:23

Contact Chris!

  • Home
  • About
  • Gallery
  • Classes
  • Trips
  • Books
  • Blog
  • Contact
  • Sign Up For My Blog

Copyright © 2026 · Chris Quilts · Website by Adunate · Privacy Policy