Ever since I was a child I’ve loved getting mail, and in response to a few of my recent posts I’ve really been enjoying the daily trip to the mailbox.
In April I posted about my first “Non-virtual” class since the pandemic began (click here to read that post). My friend, Jo Jacobi, followed that post up with this email:
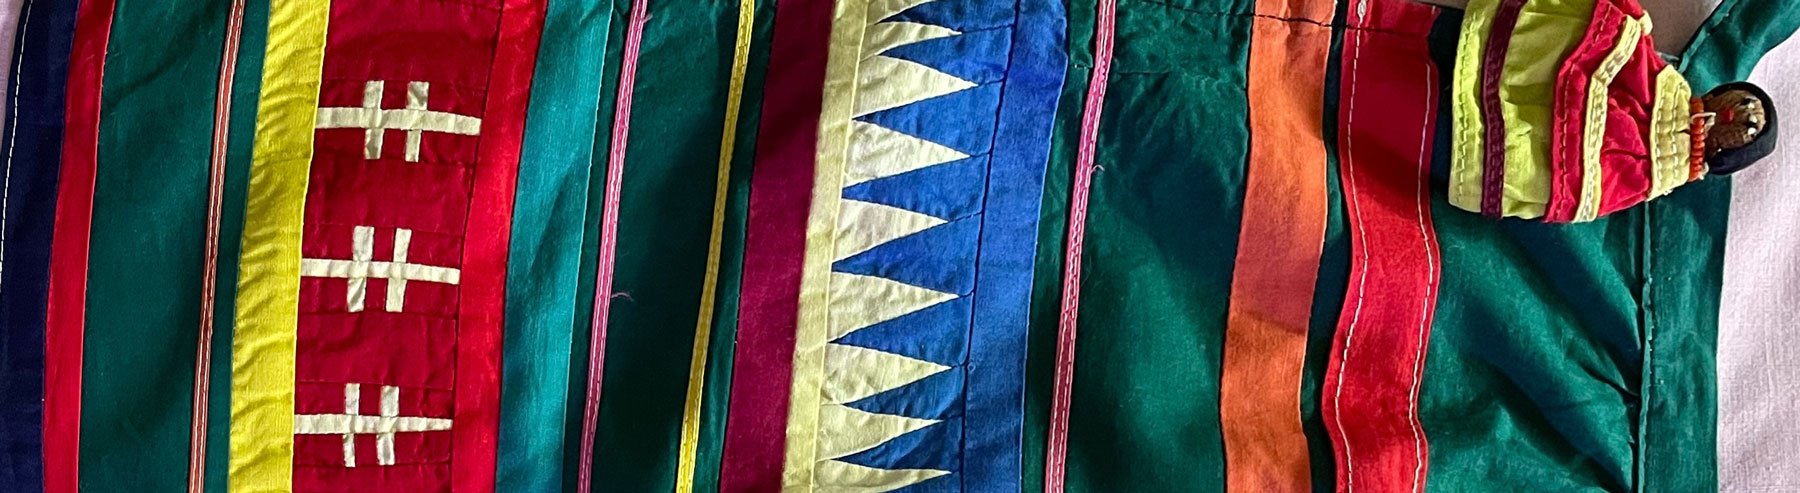
“Hi Chris, I love reading your blogs! The one you posted about teaching Seminole patchwork reminded me of one the first quilting classes I took. Helen Kelly taught Seminole at a WQI Symposium. My project is still a UFO but I was so enthusiastic that a friend gave me an authentic Seminole apron and tiny doll. Probably made for the Florida tourists. I want to give them a good home instead of keeping them stored away. I will send them to you if you give me your mailing address.”
The package arrived a few days later and I was thrilled!

The child’s size apron is delightful and the tiny doll is only 3″ tall! She is wearing a beaded necklace and her head is even made with the traditional palmetto leaves.

I’m looking forward to sharing them in future classes. Thanks so much Jo!
On top of that I received 2 postcards after my Fabric Postcard post (click here to read that post). Christy’s was the first:

The hummingbird on the front is lovely. Then a few days later Marilynn’s flying geese flew into my box:

These were so much fun to receive that I decided I needed to return the favor. But what design should I use for the front of the cards? I pulled down the bin containing my paints and inks, with the intent to create something pretty, only to find a stack of fabric pieces I’d made on a previous “play day”. They were perfect for the cards, so I cut them to 4″ x 6″ and fused them to rectangles of a very stiff interfacing I found in another bin.

The cards were pretty, but most needed a focal point.

It was time to pull the Scan n Cut off the shelf and cut out some letters.

I stitched down the words. Then these card fronts were fused to another piece of fabric from the bin for the backs.

I satin stitched around them for the finishing touch (Marilynn and I both learned not to put cardstock on the back because it tears away along the dotted line). Then messages were written, addresses/stamps applied, and they were off to return the smiles to some of my friends.

What a blessing quilting friends are!

Joanne Corrigan says
Hi Chris,
Could you explain more about your Scan n Cut machine. And how it works. I found that to be very interesting. I had never heard of it and was immensely curious! Thanks !
Laurelie Neubauer says
Chris,
When Maria was recovering from her brain surgery, one of the quilting ladies sent her a get-well fabric postcard. It was darling. I never knew we could do that. Now you tell us how to do it! Thank you,
I will try that some time. You are so talented and inspirational!
God bless, Laurie
Jo Jacobi says
Hi Chris,
I was delighted to get the Rainbow Cat post card in the mail. You’re so welcome! I didn’t realize the doll head was made from palmettos! You’re the right person to have the apron and doll! Jo