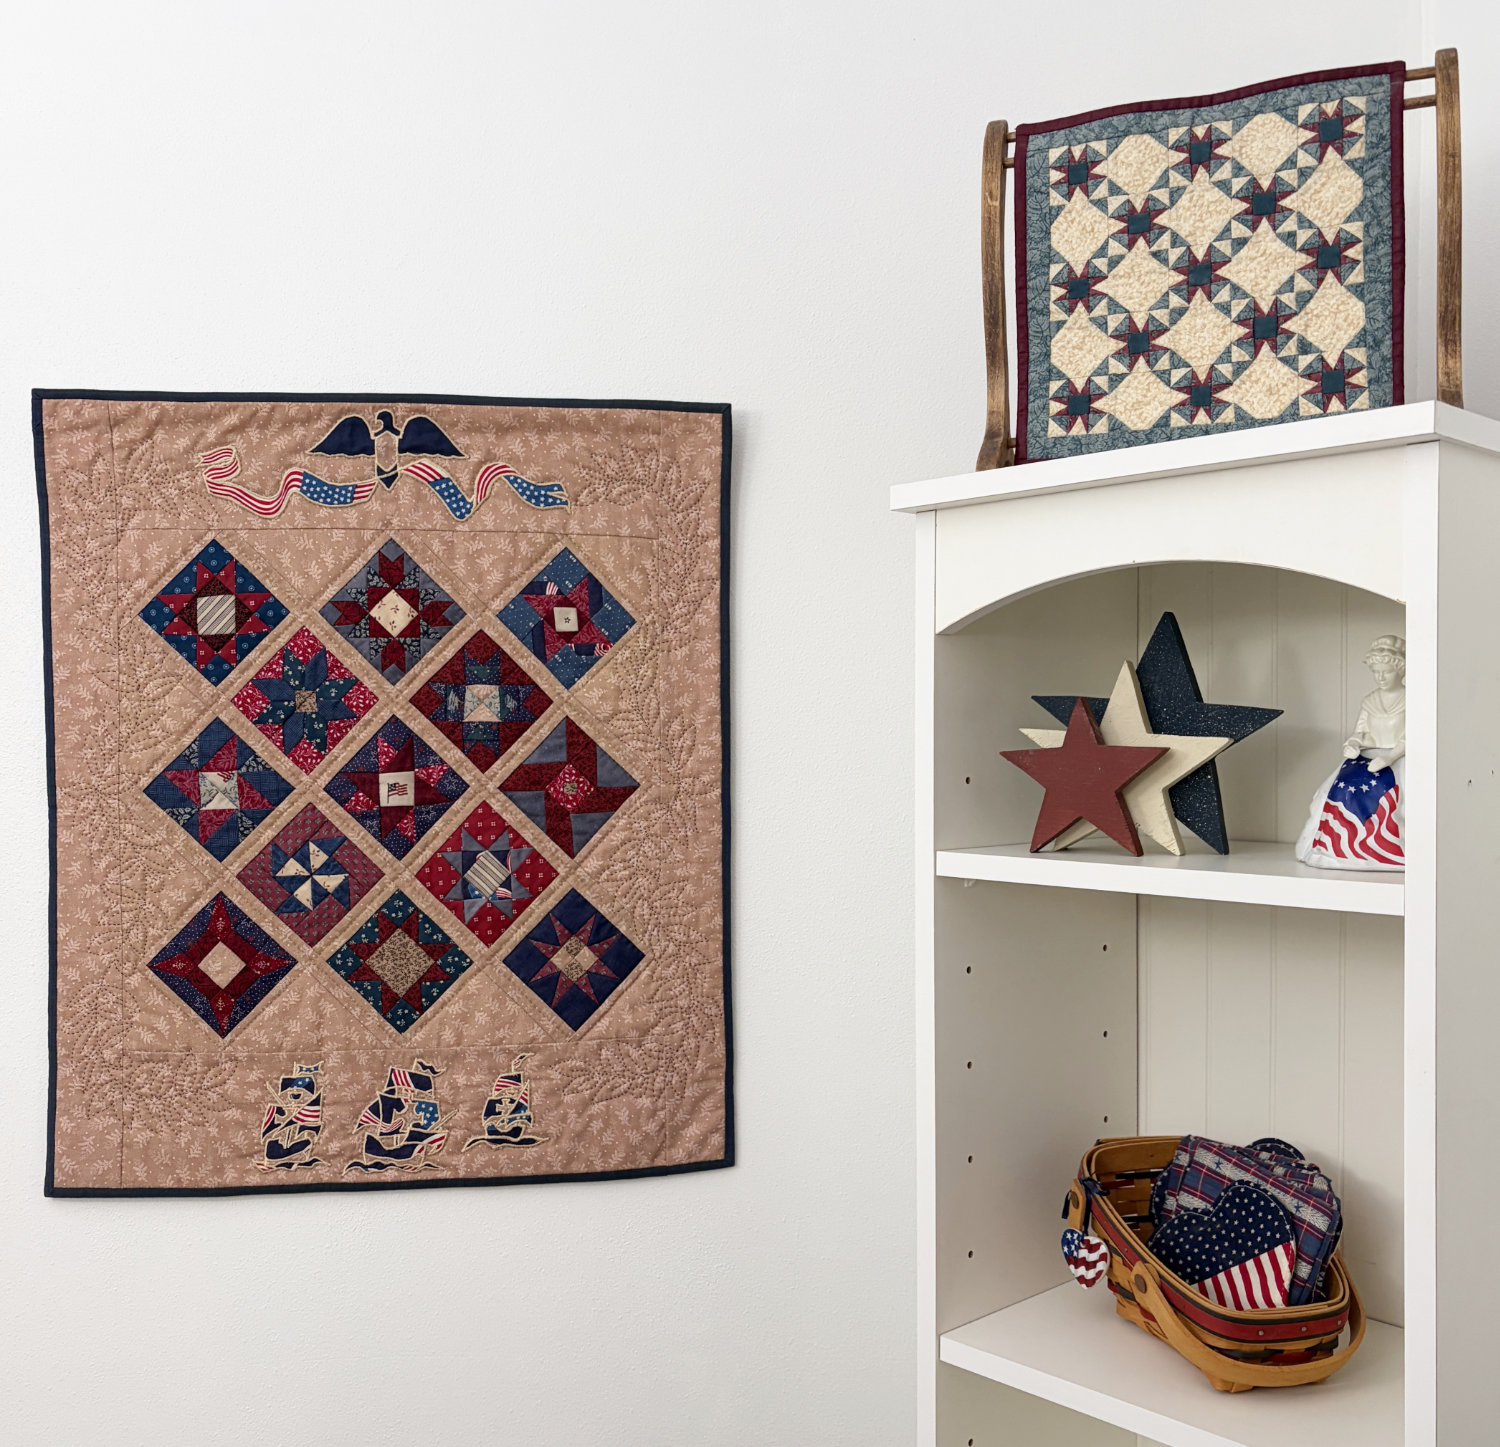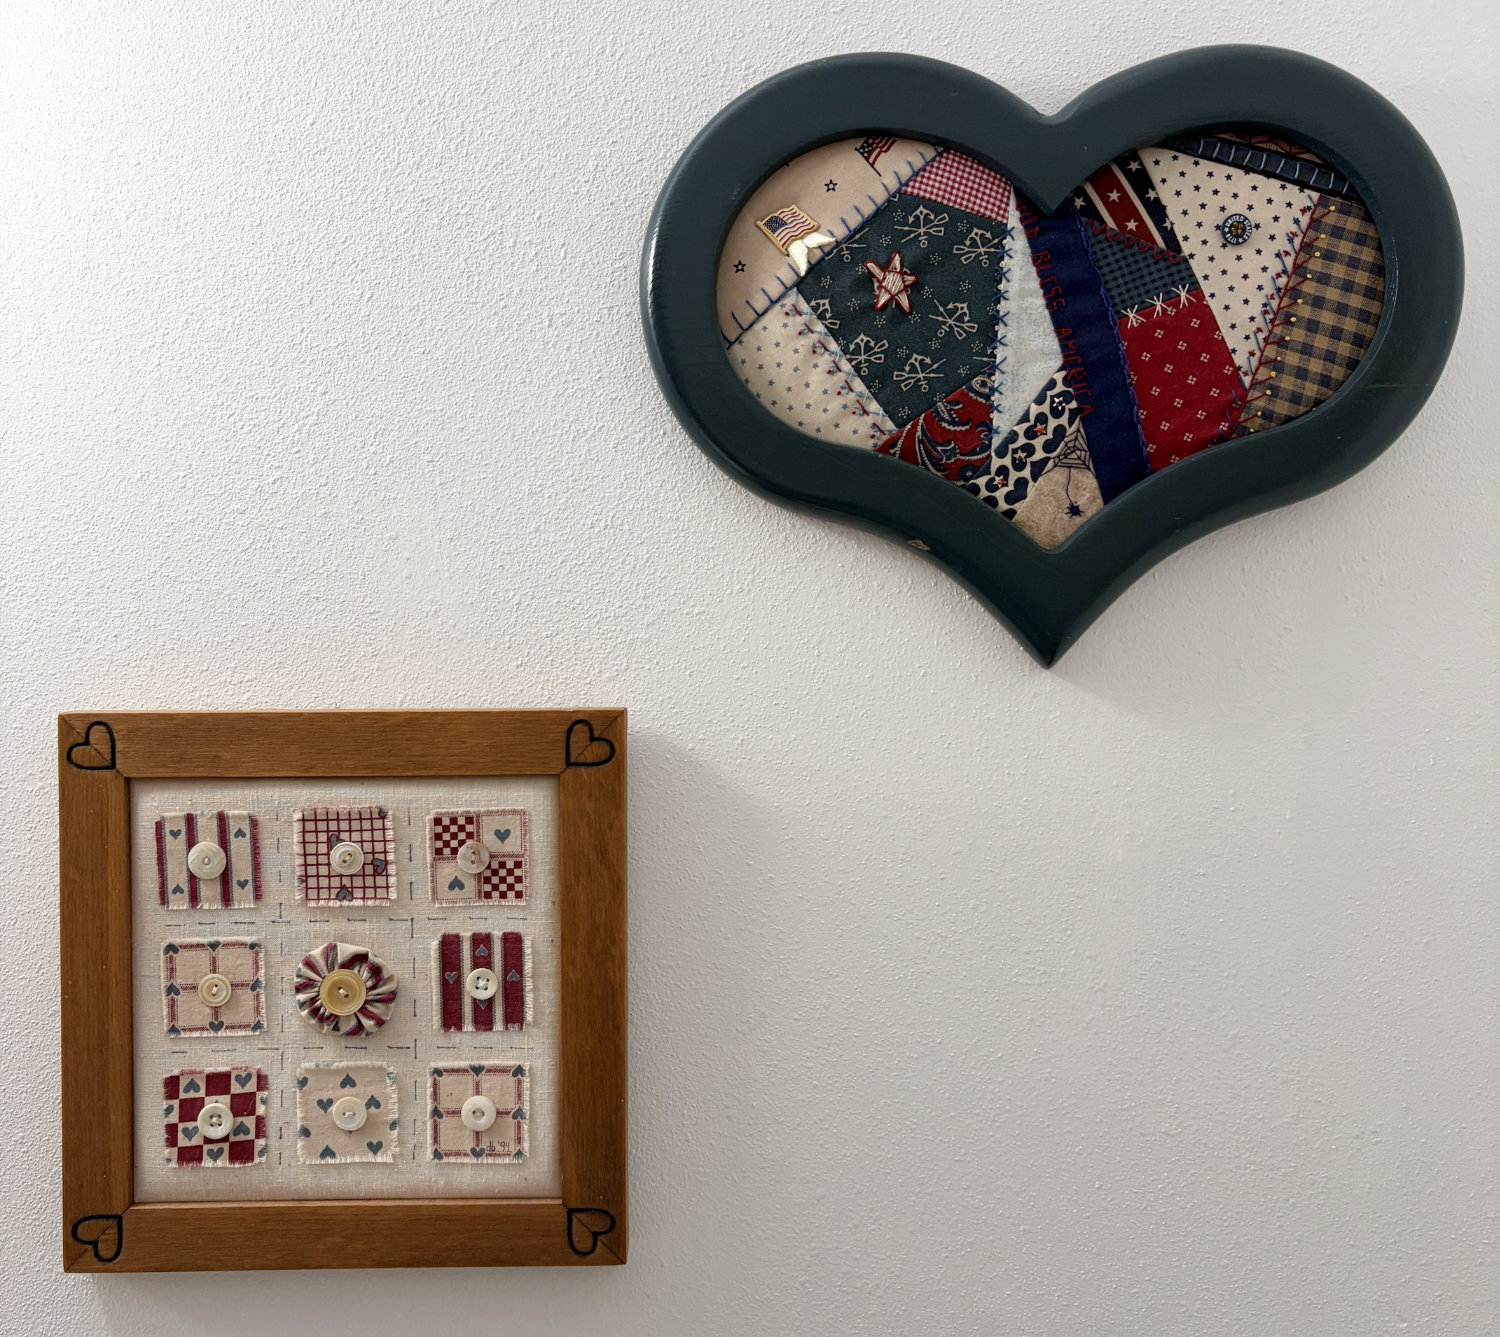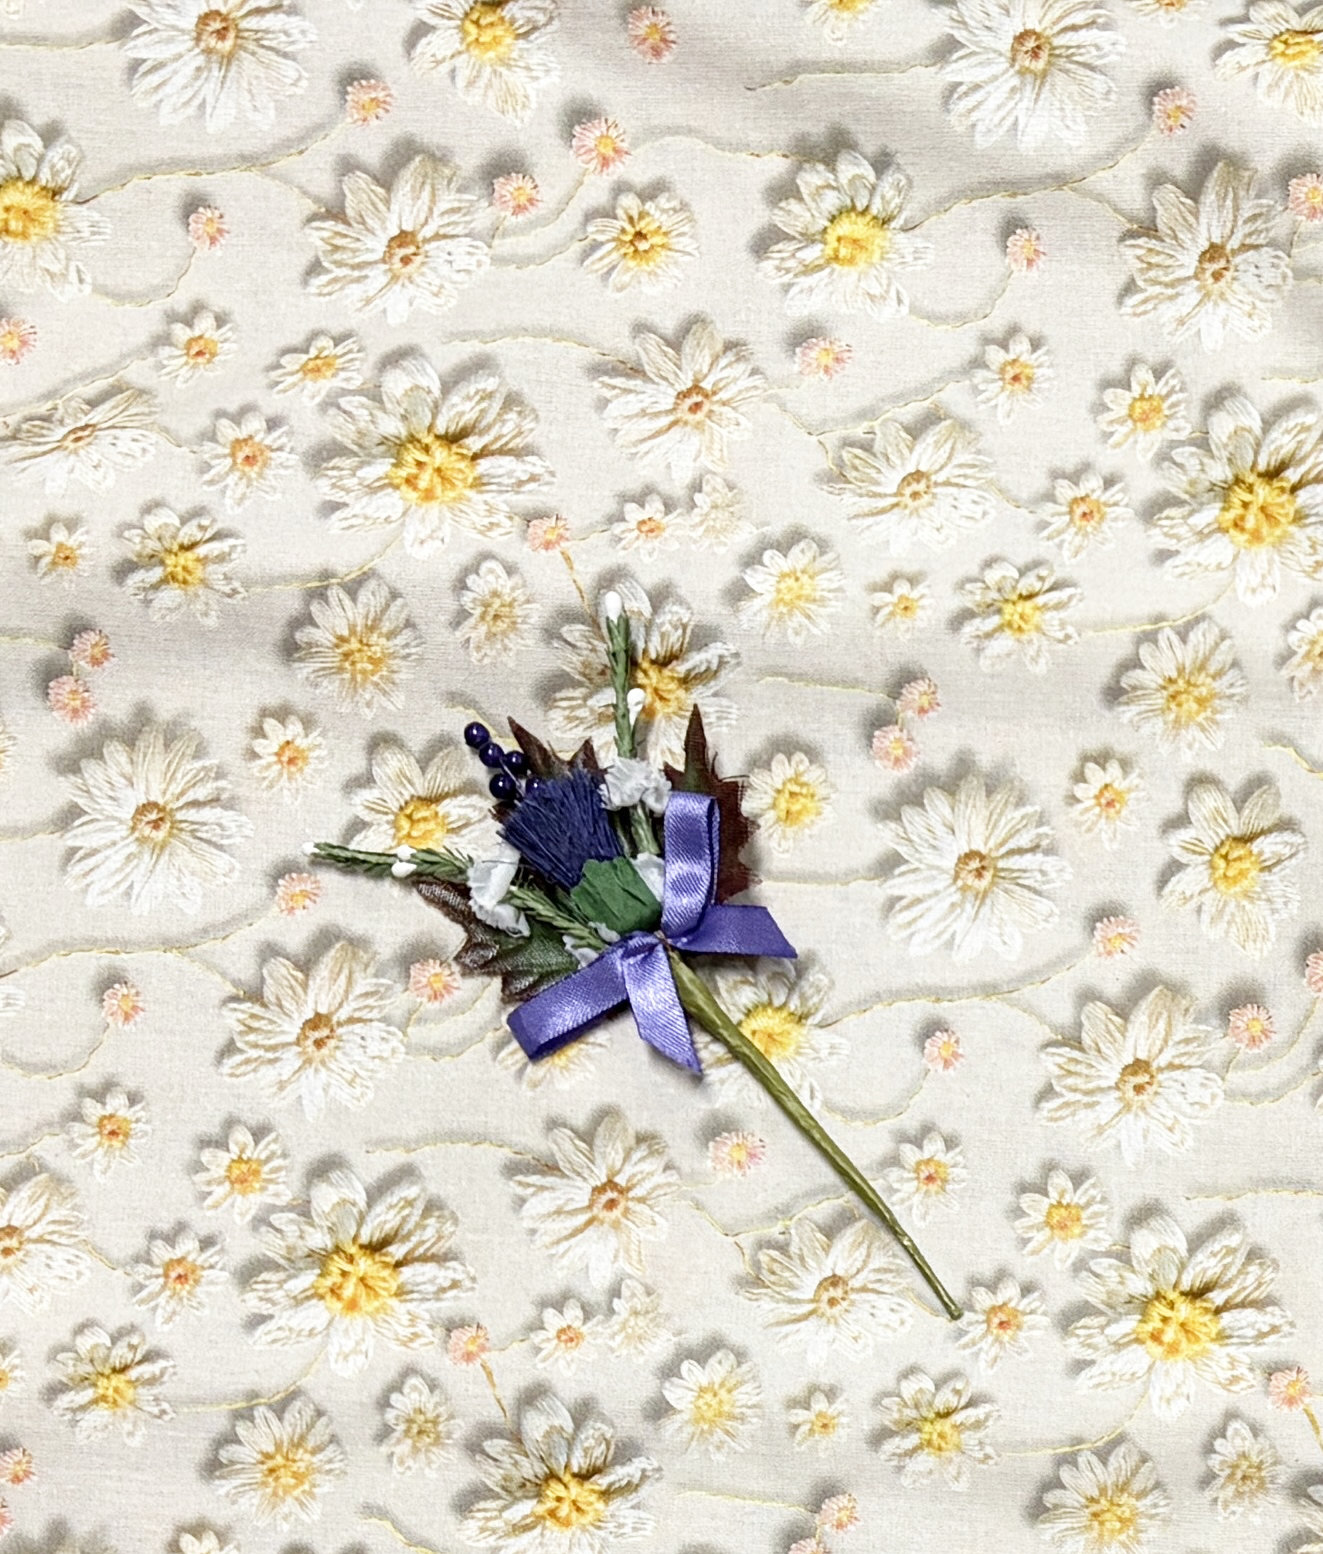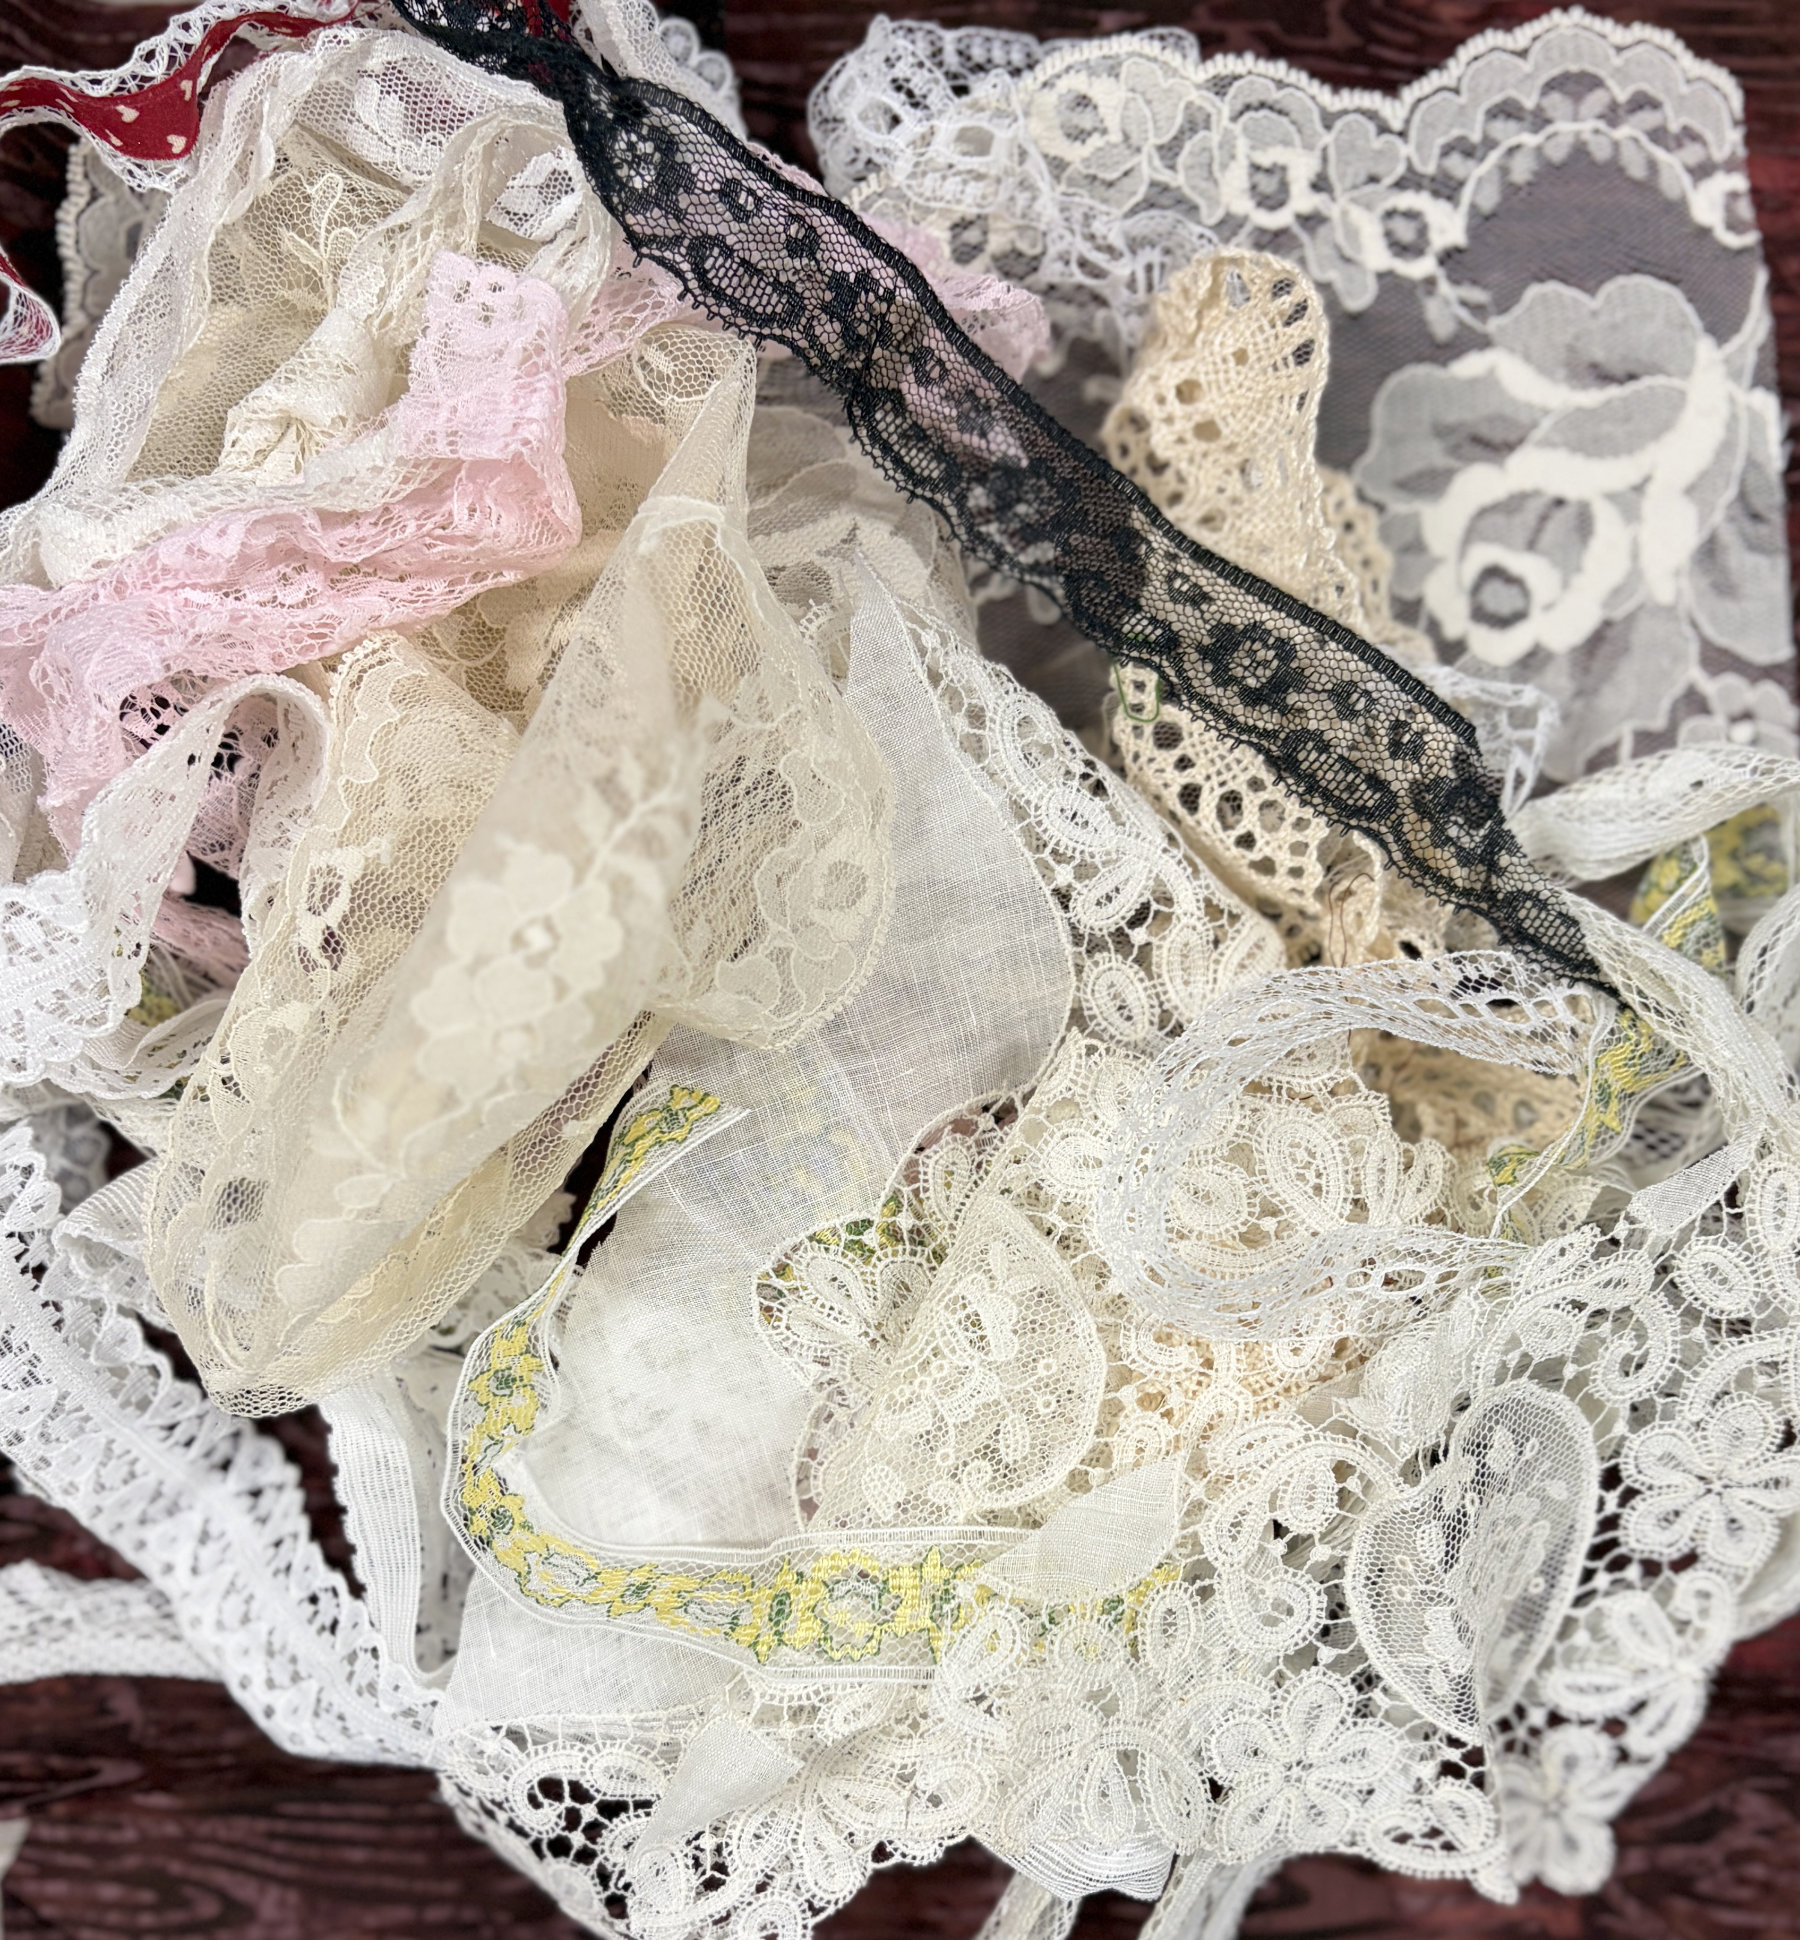
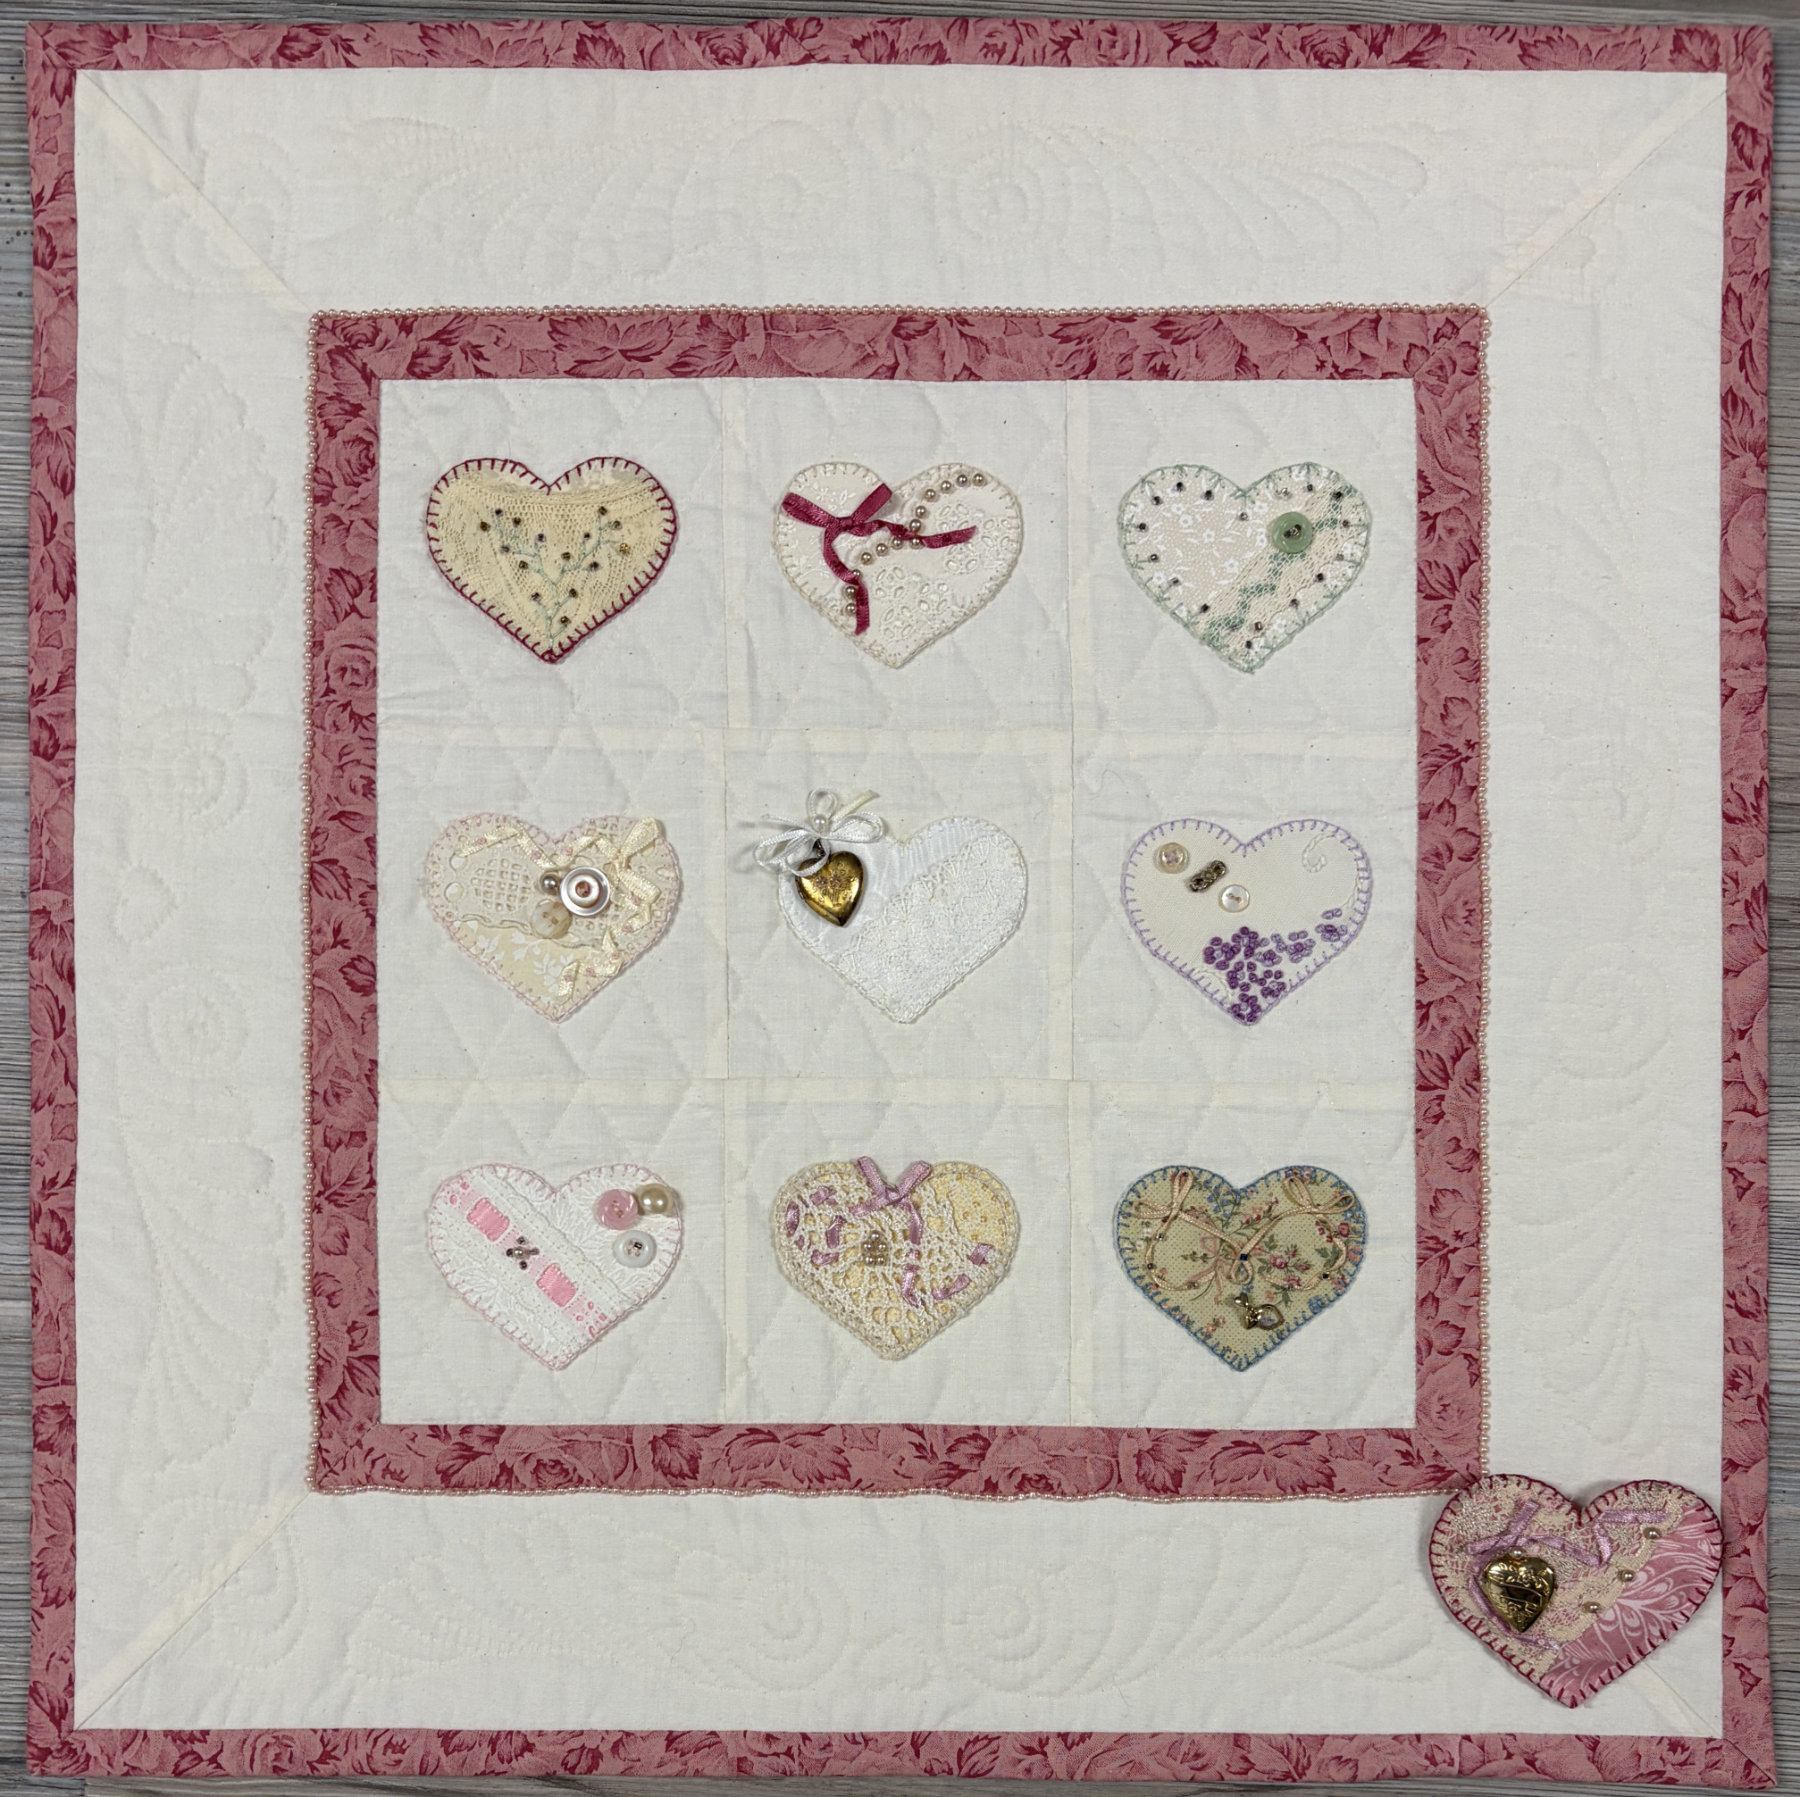
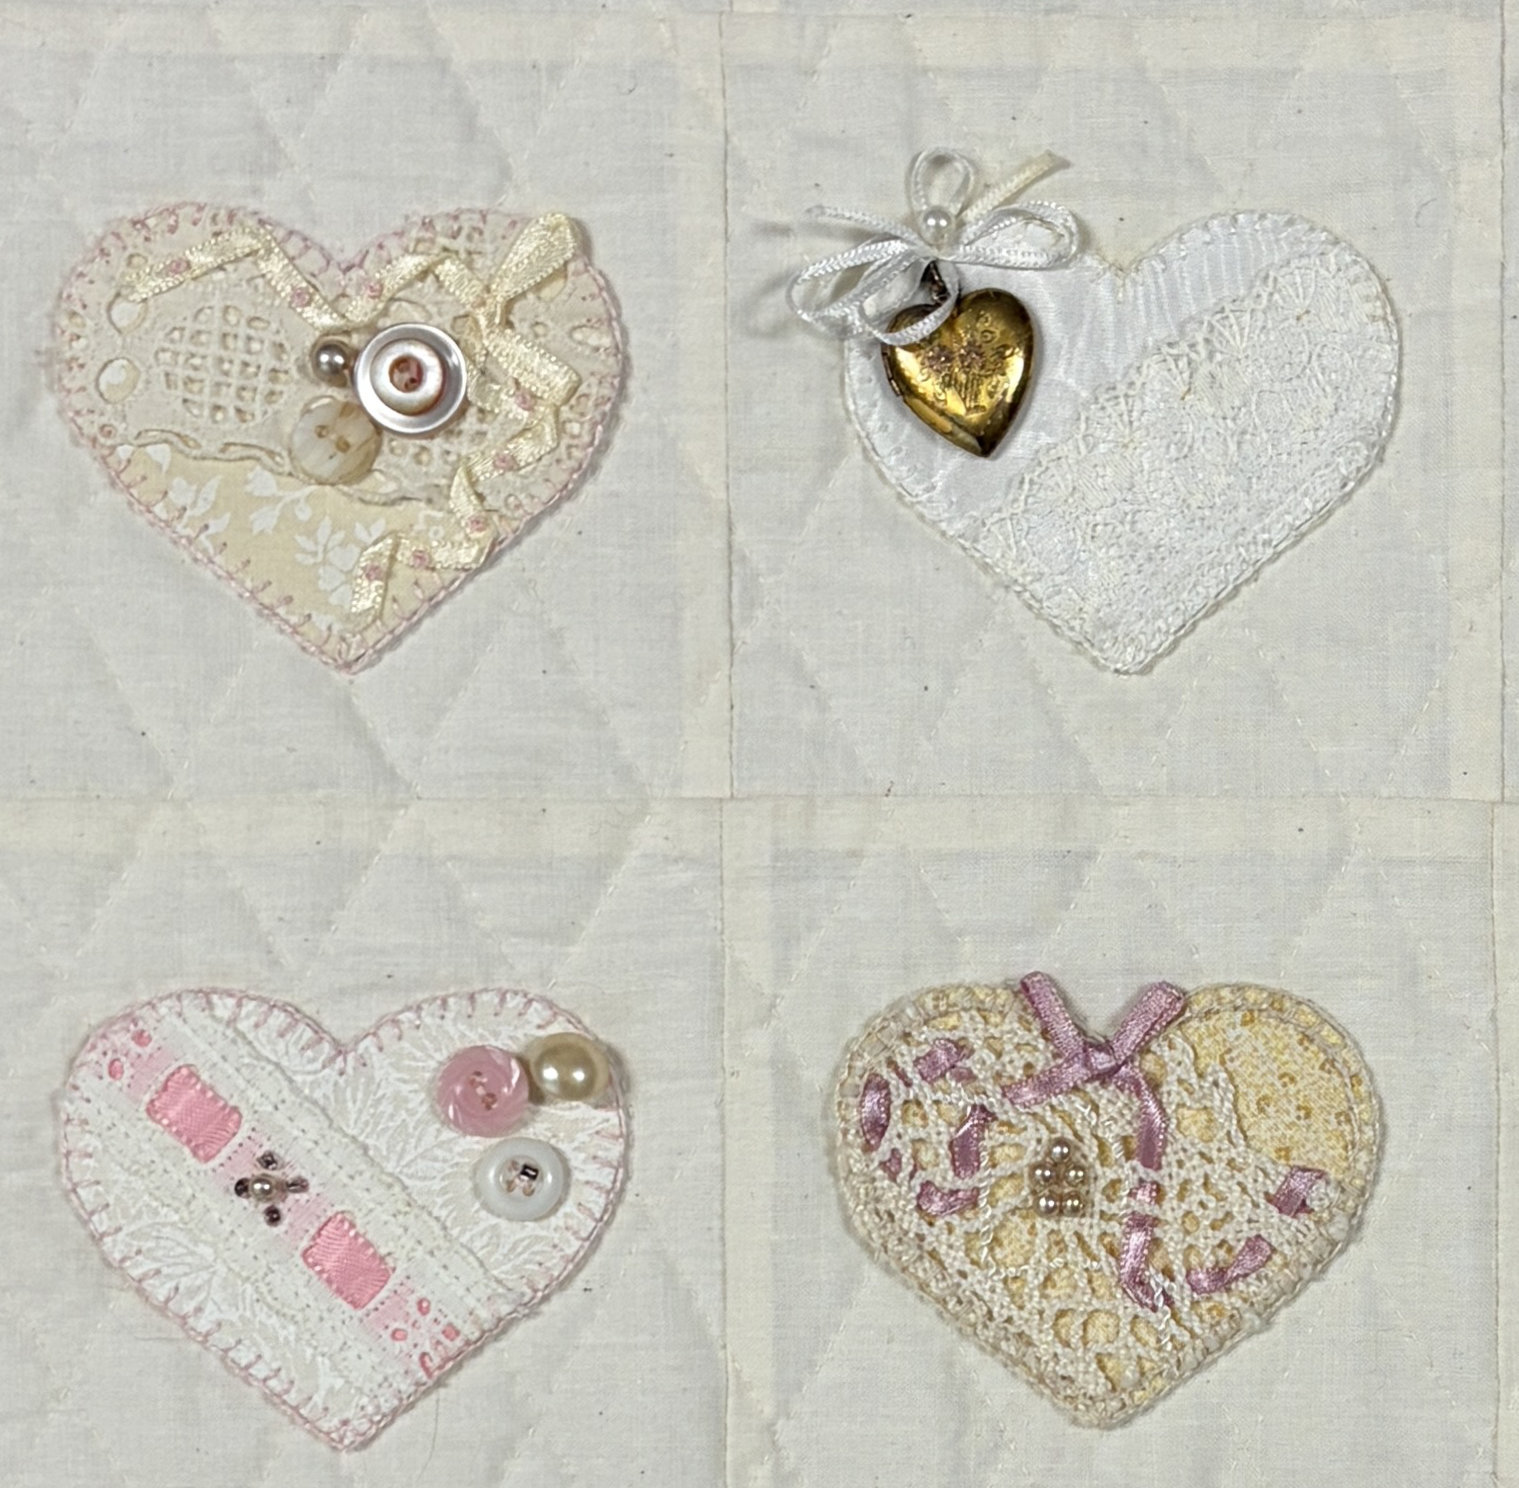
As quilters we love all fiber – and lace is definitely a fiber. I have a bag full ~ some from family members, some from thrift stores and rummage sales, and some from shops I’ve visited around the world. I’ve used it in a few quilts, but usually just a small amount as an embellishment. My “Lacy Hearts” quilt was made in the 90s. It includes many bits that evoke memories. There’s lace, pieces of jewelry, and buttons from grandma’s button box. And it’s hand quilted!
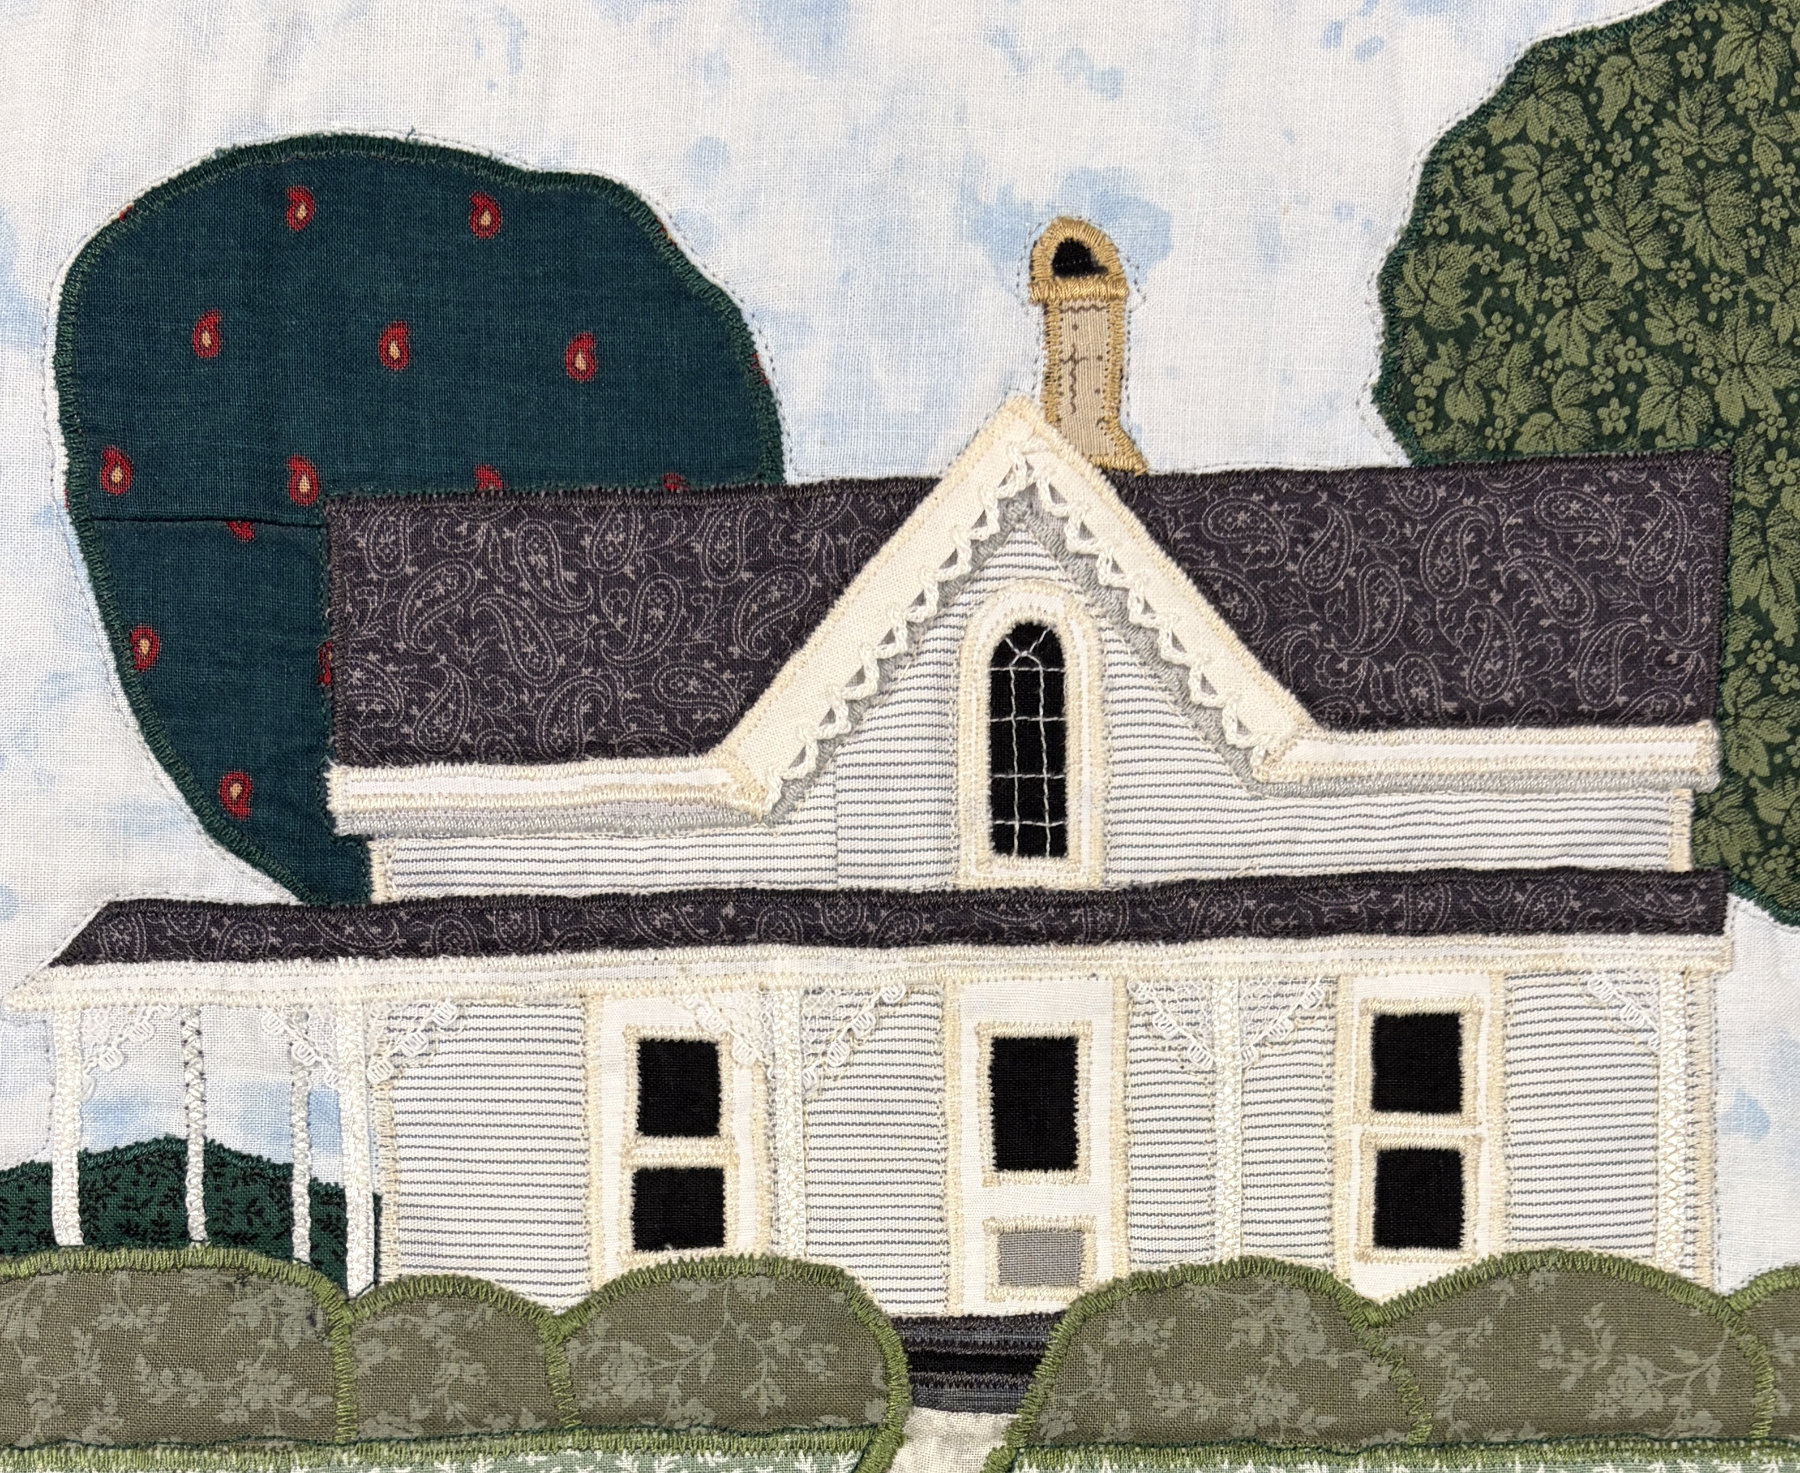
I even used a small amount to mimic the “gingerbread” trim on the Cross House in my “Sidewalks of Sun Prairie” quilt.
When Will and I were in Venice at Christmas time we visited the island of Burano. It is known for it’s lace making tradition and we watched a woman painstakingly stitch Venetian lace with a needle and thread (click here for a link to that post).

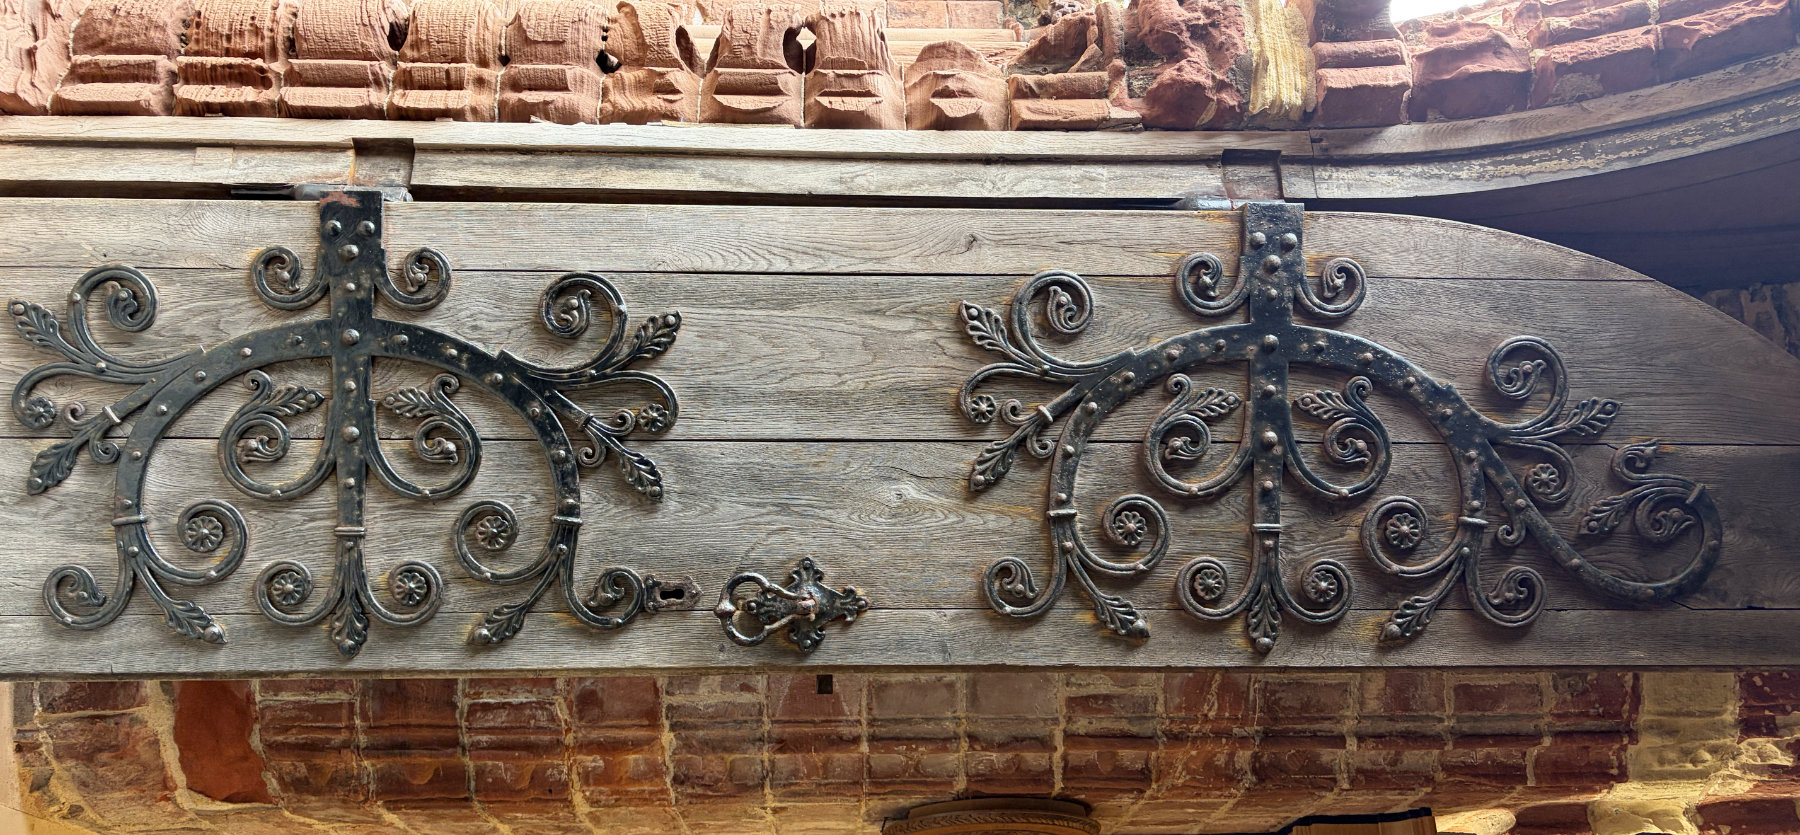
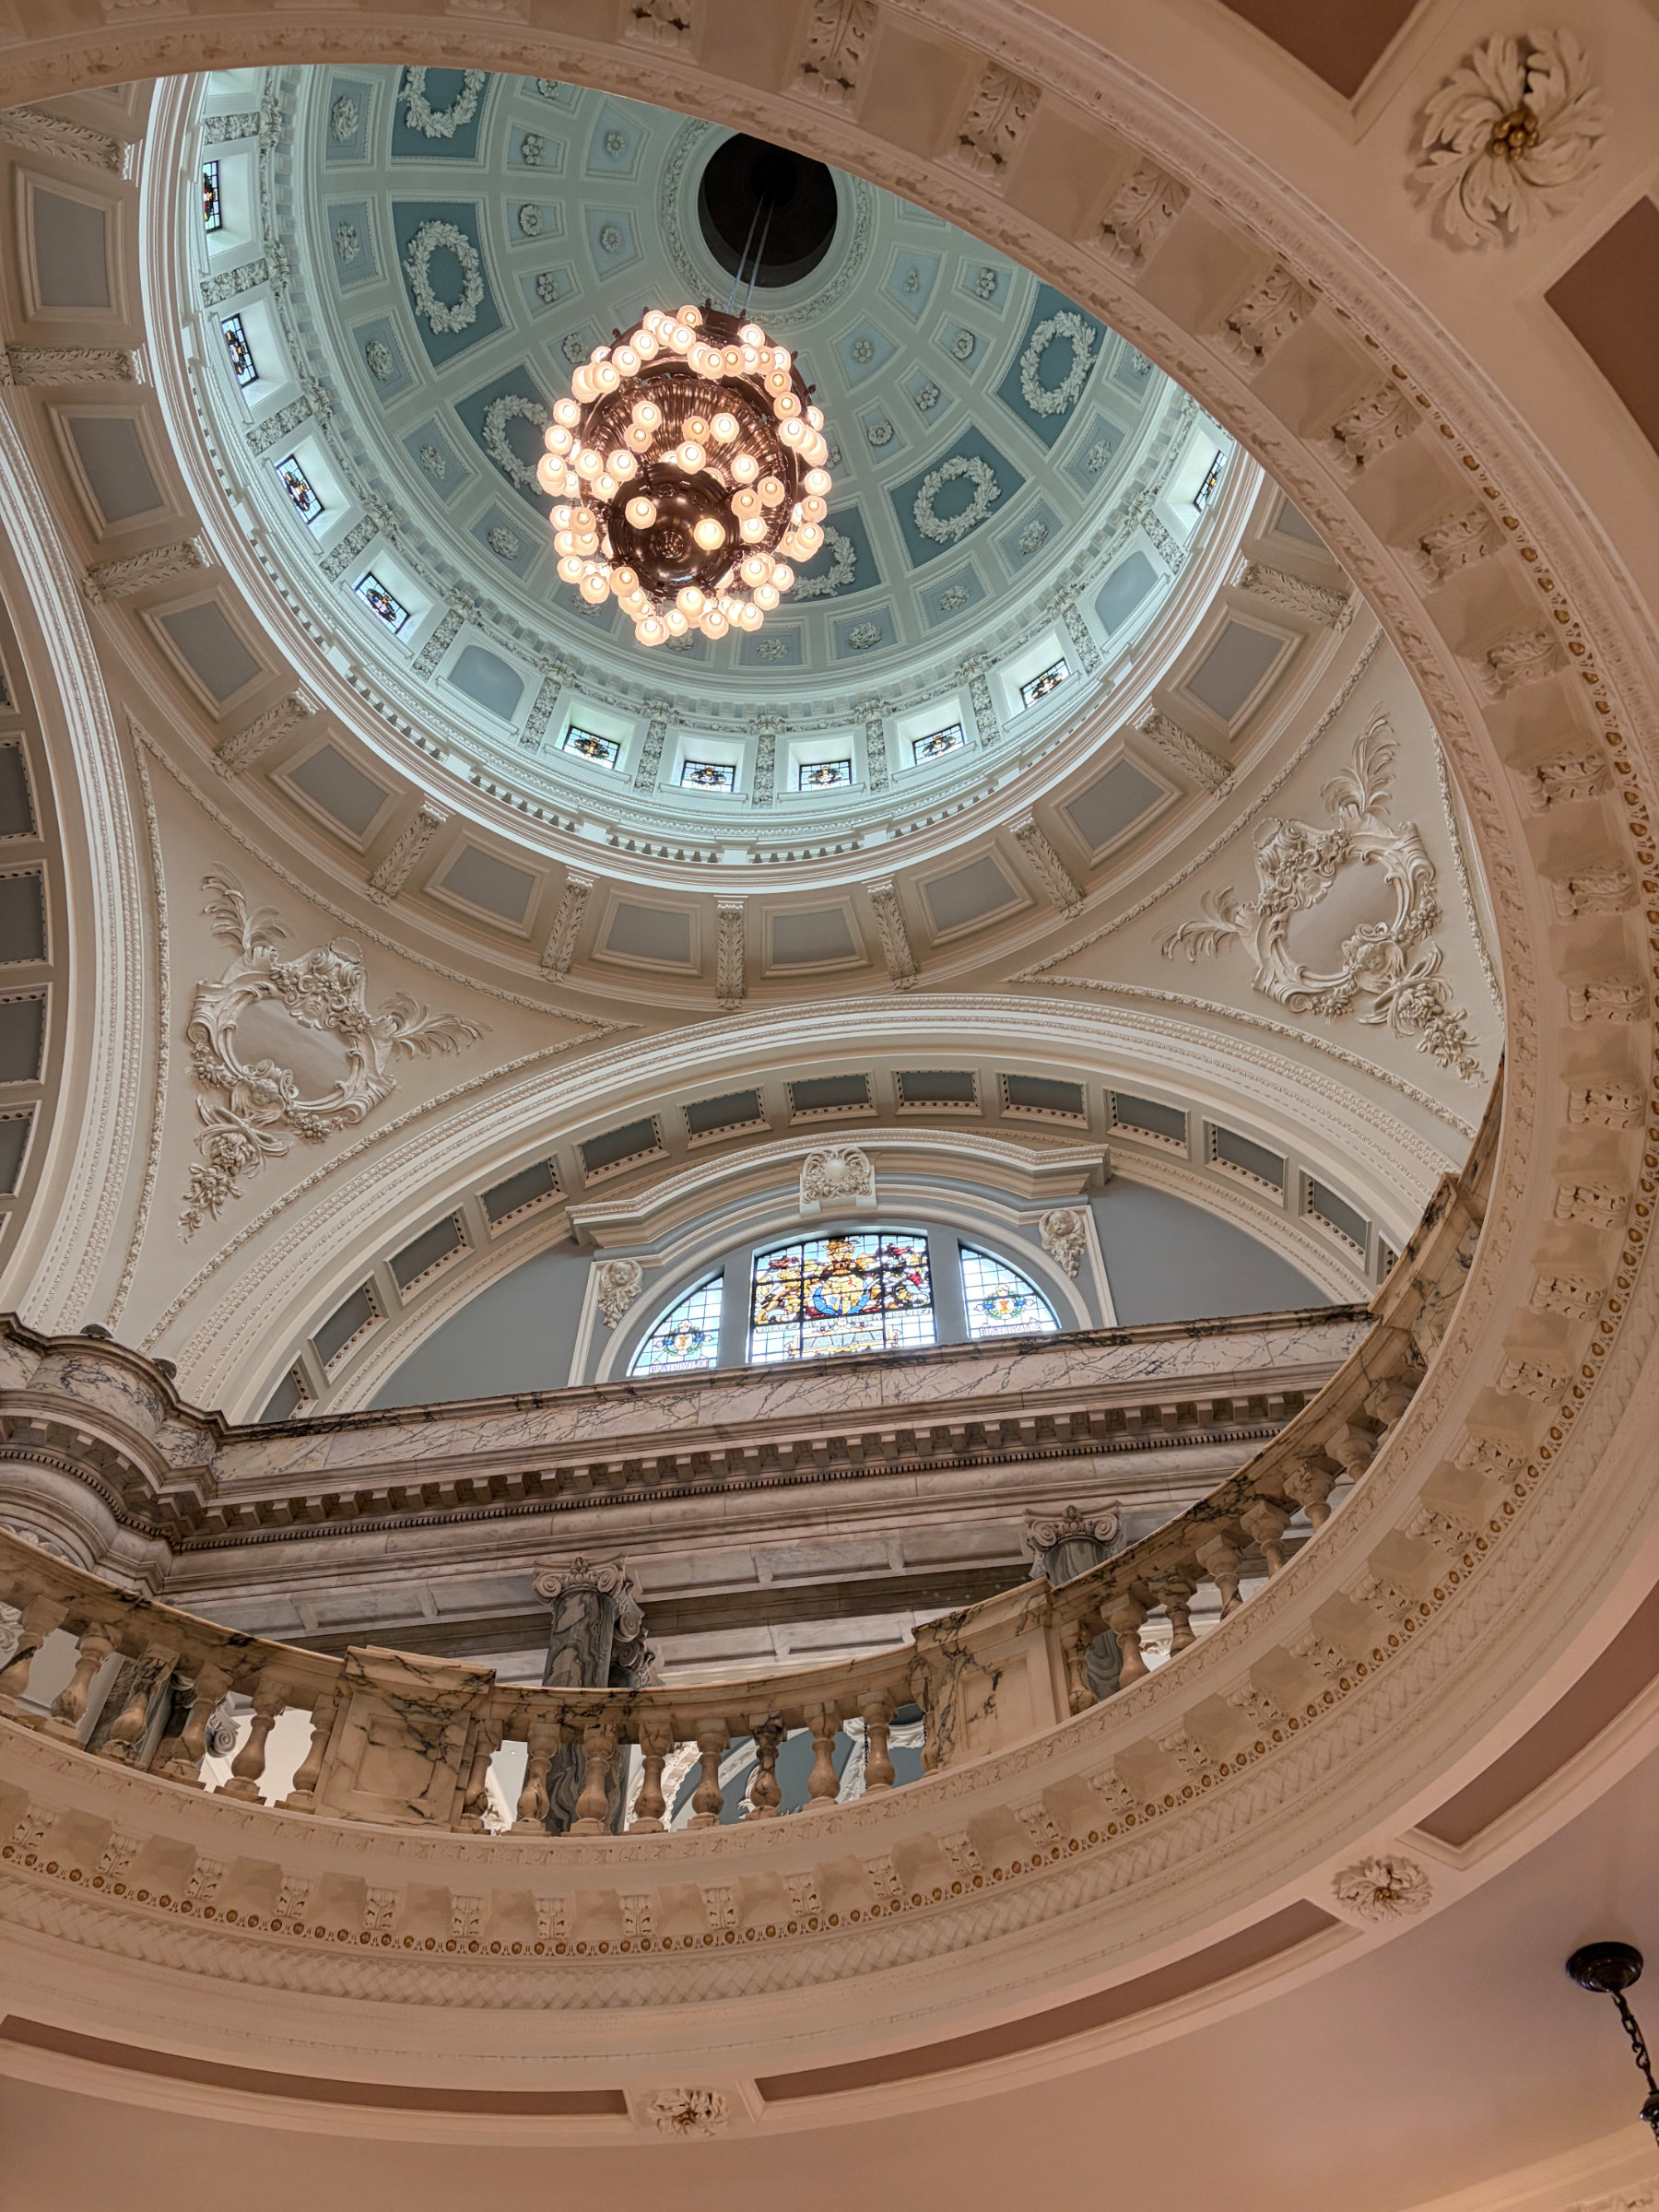
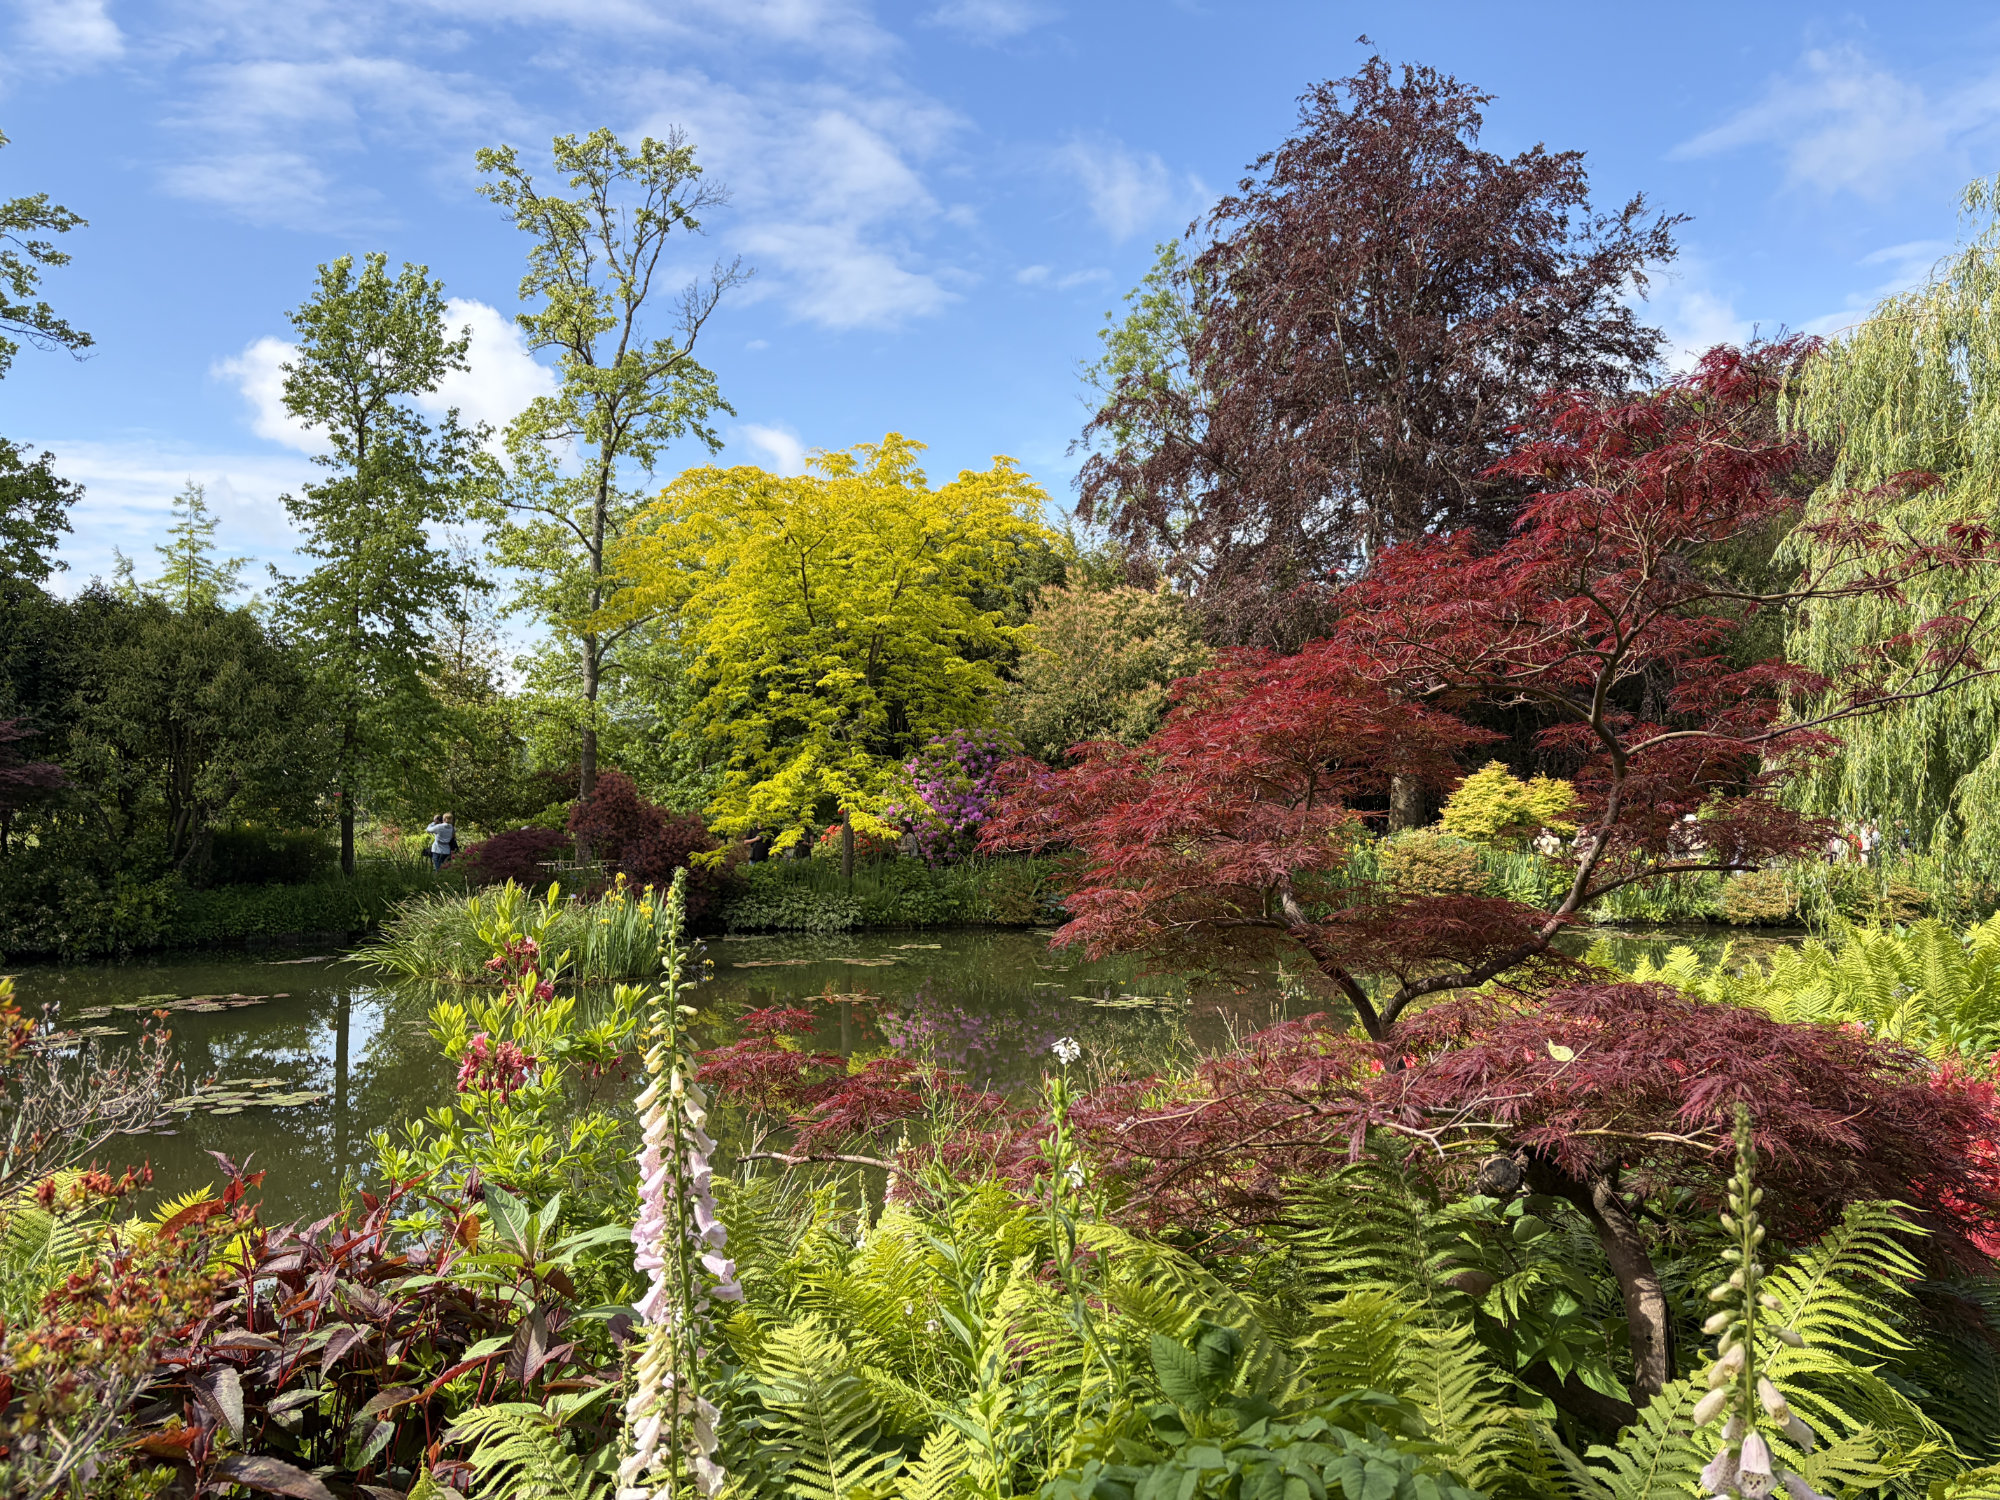
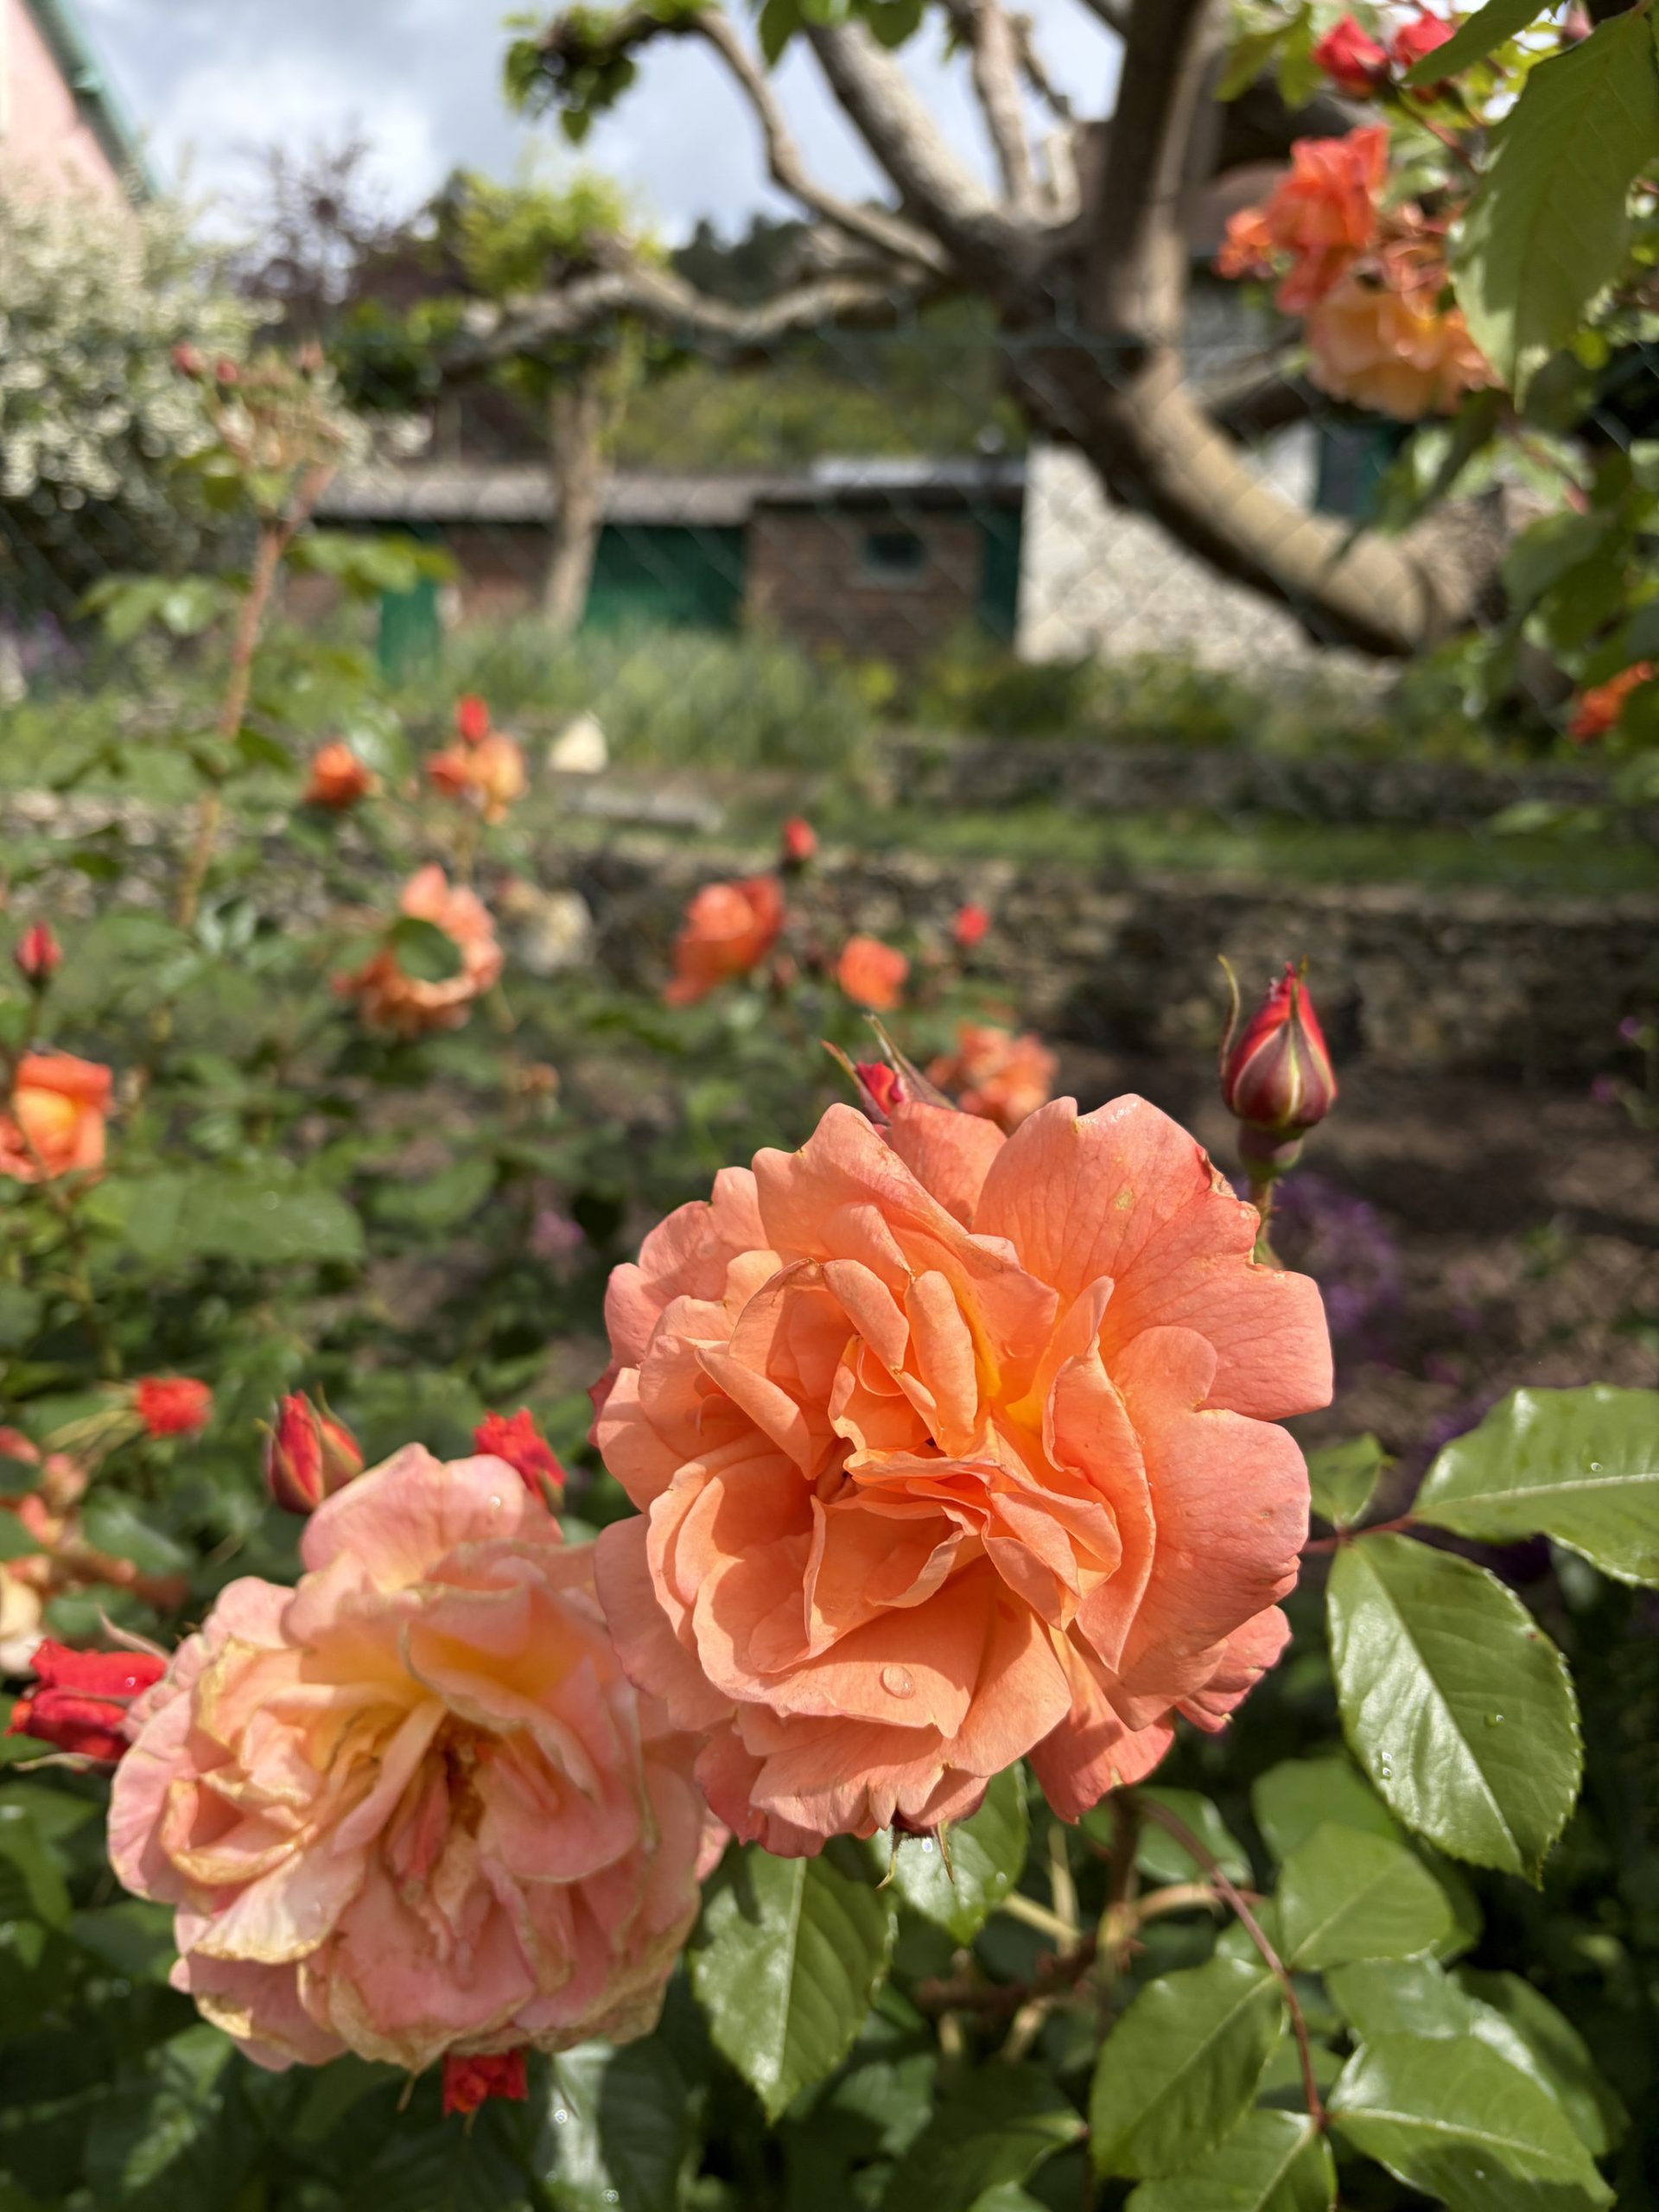
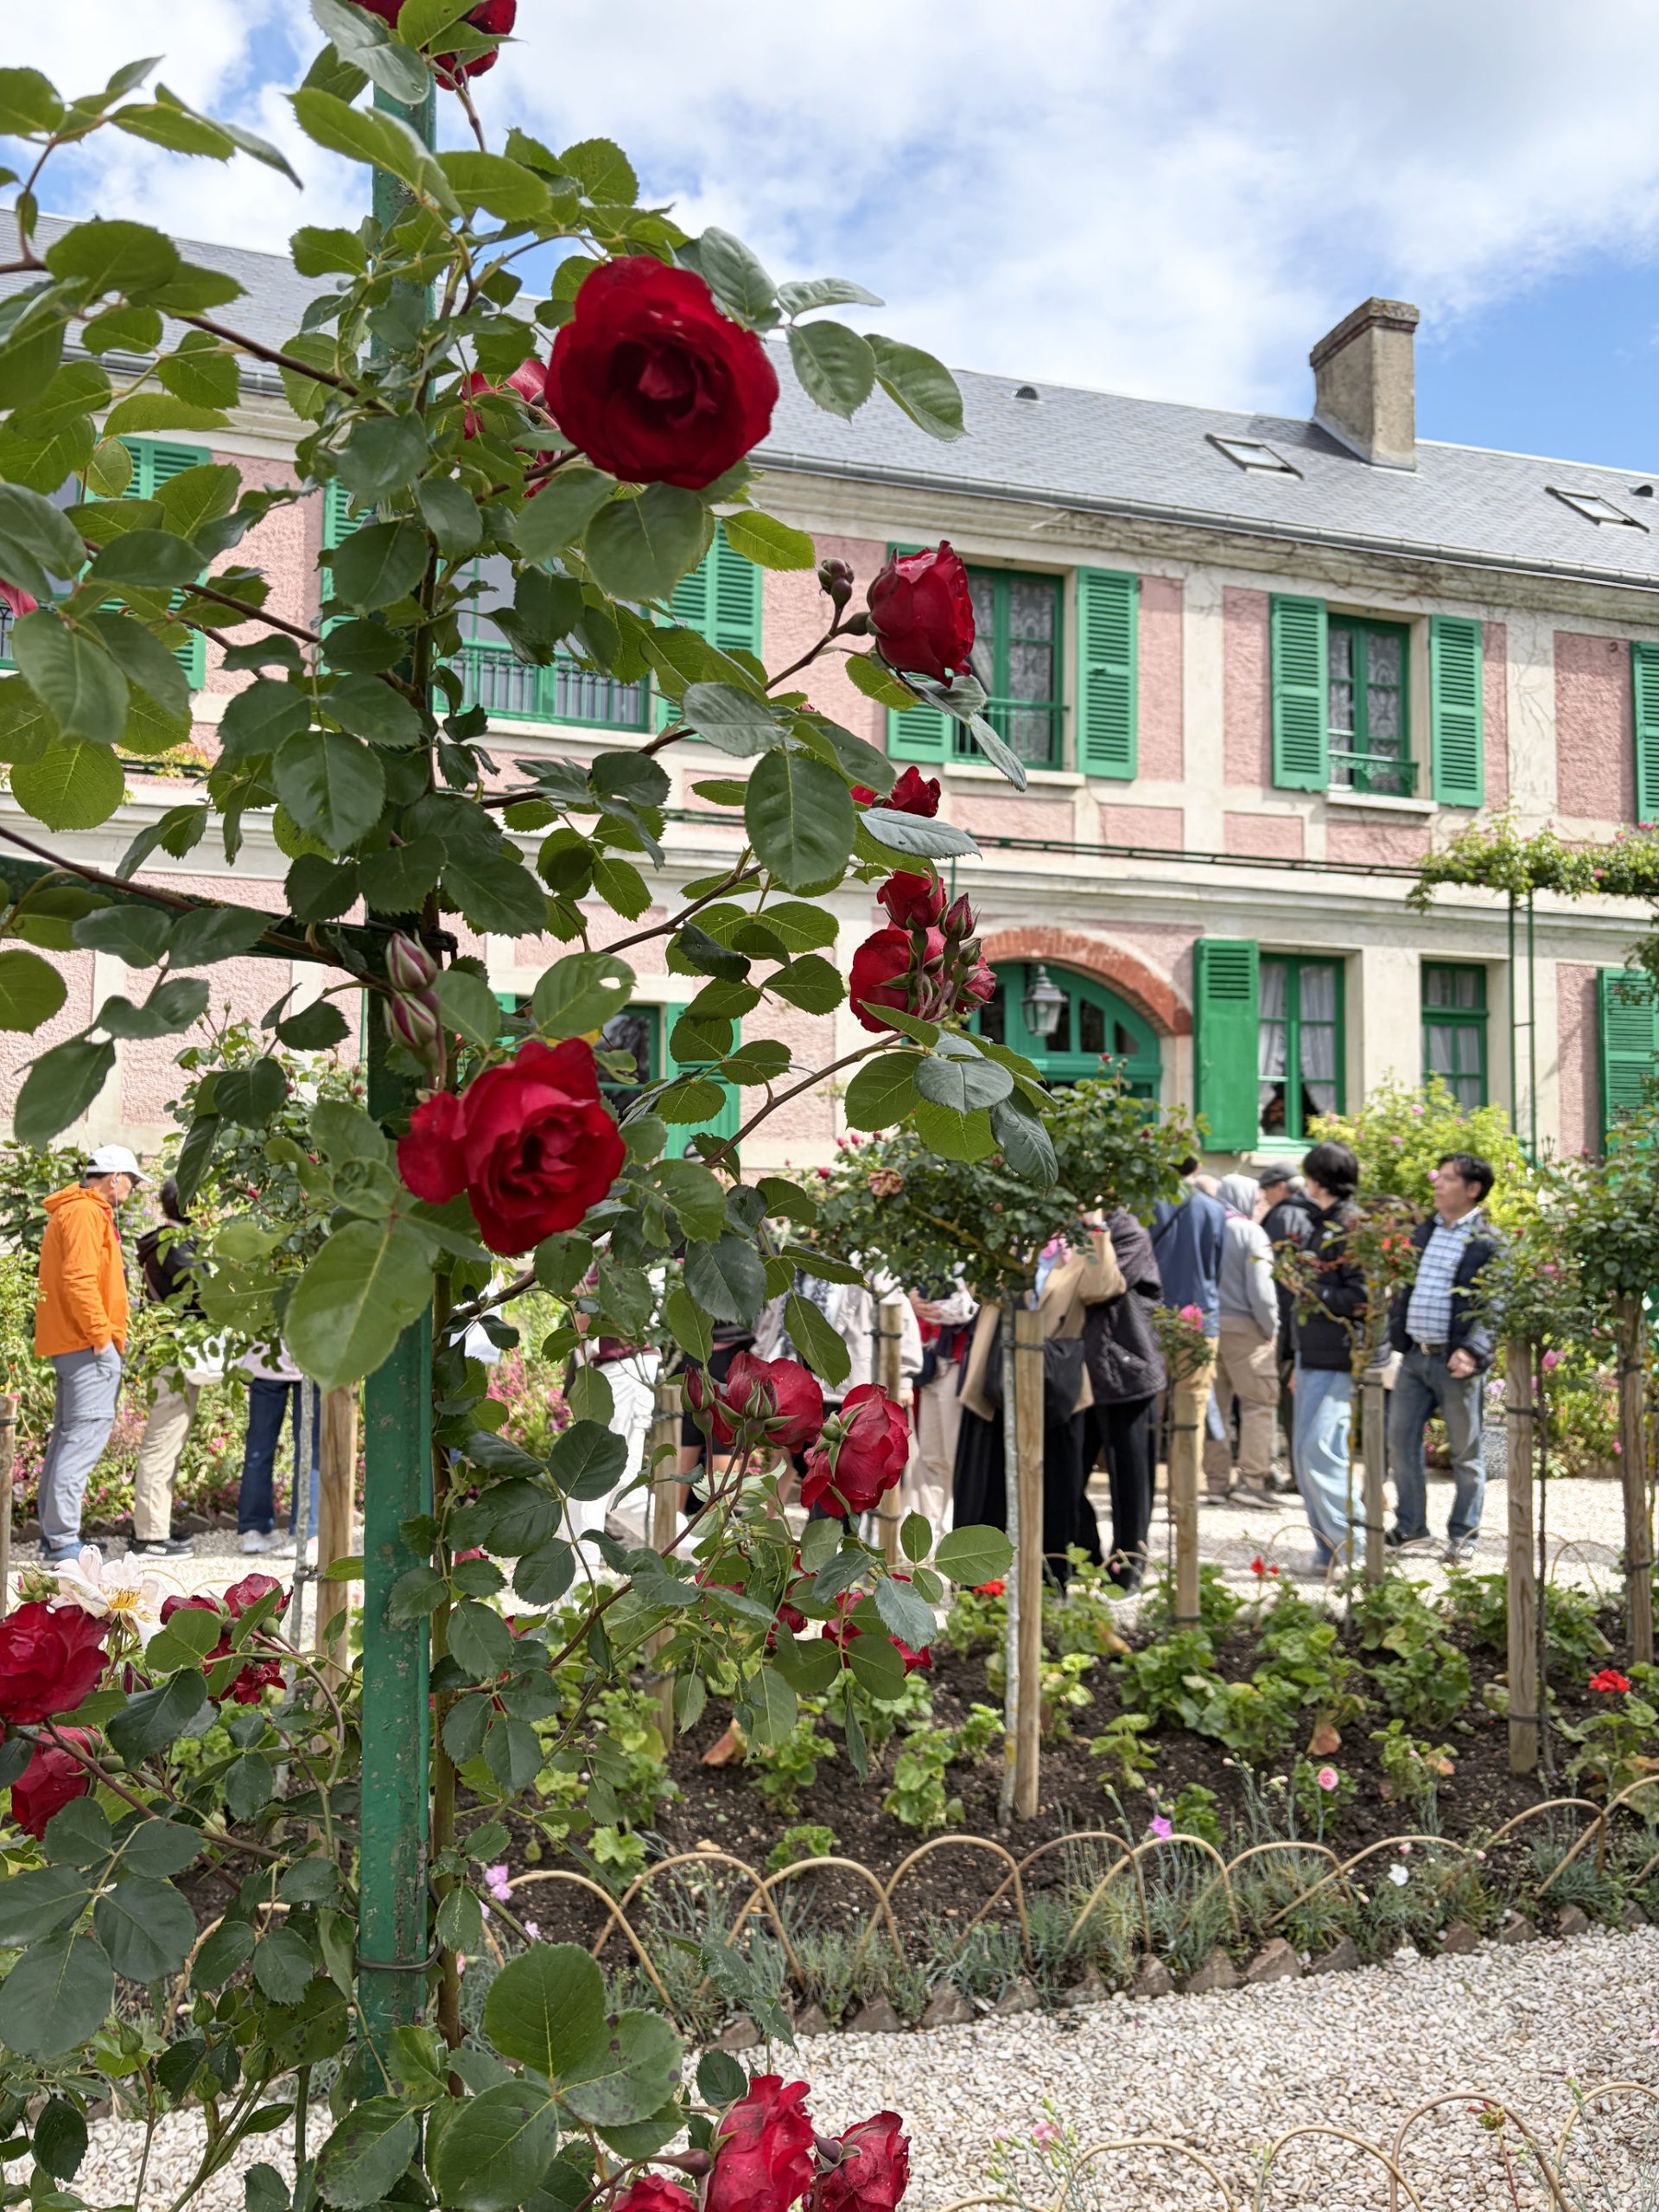
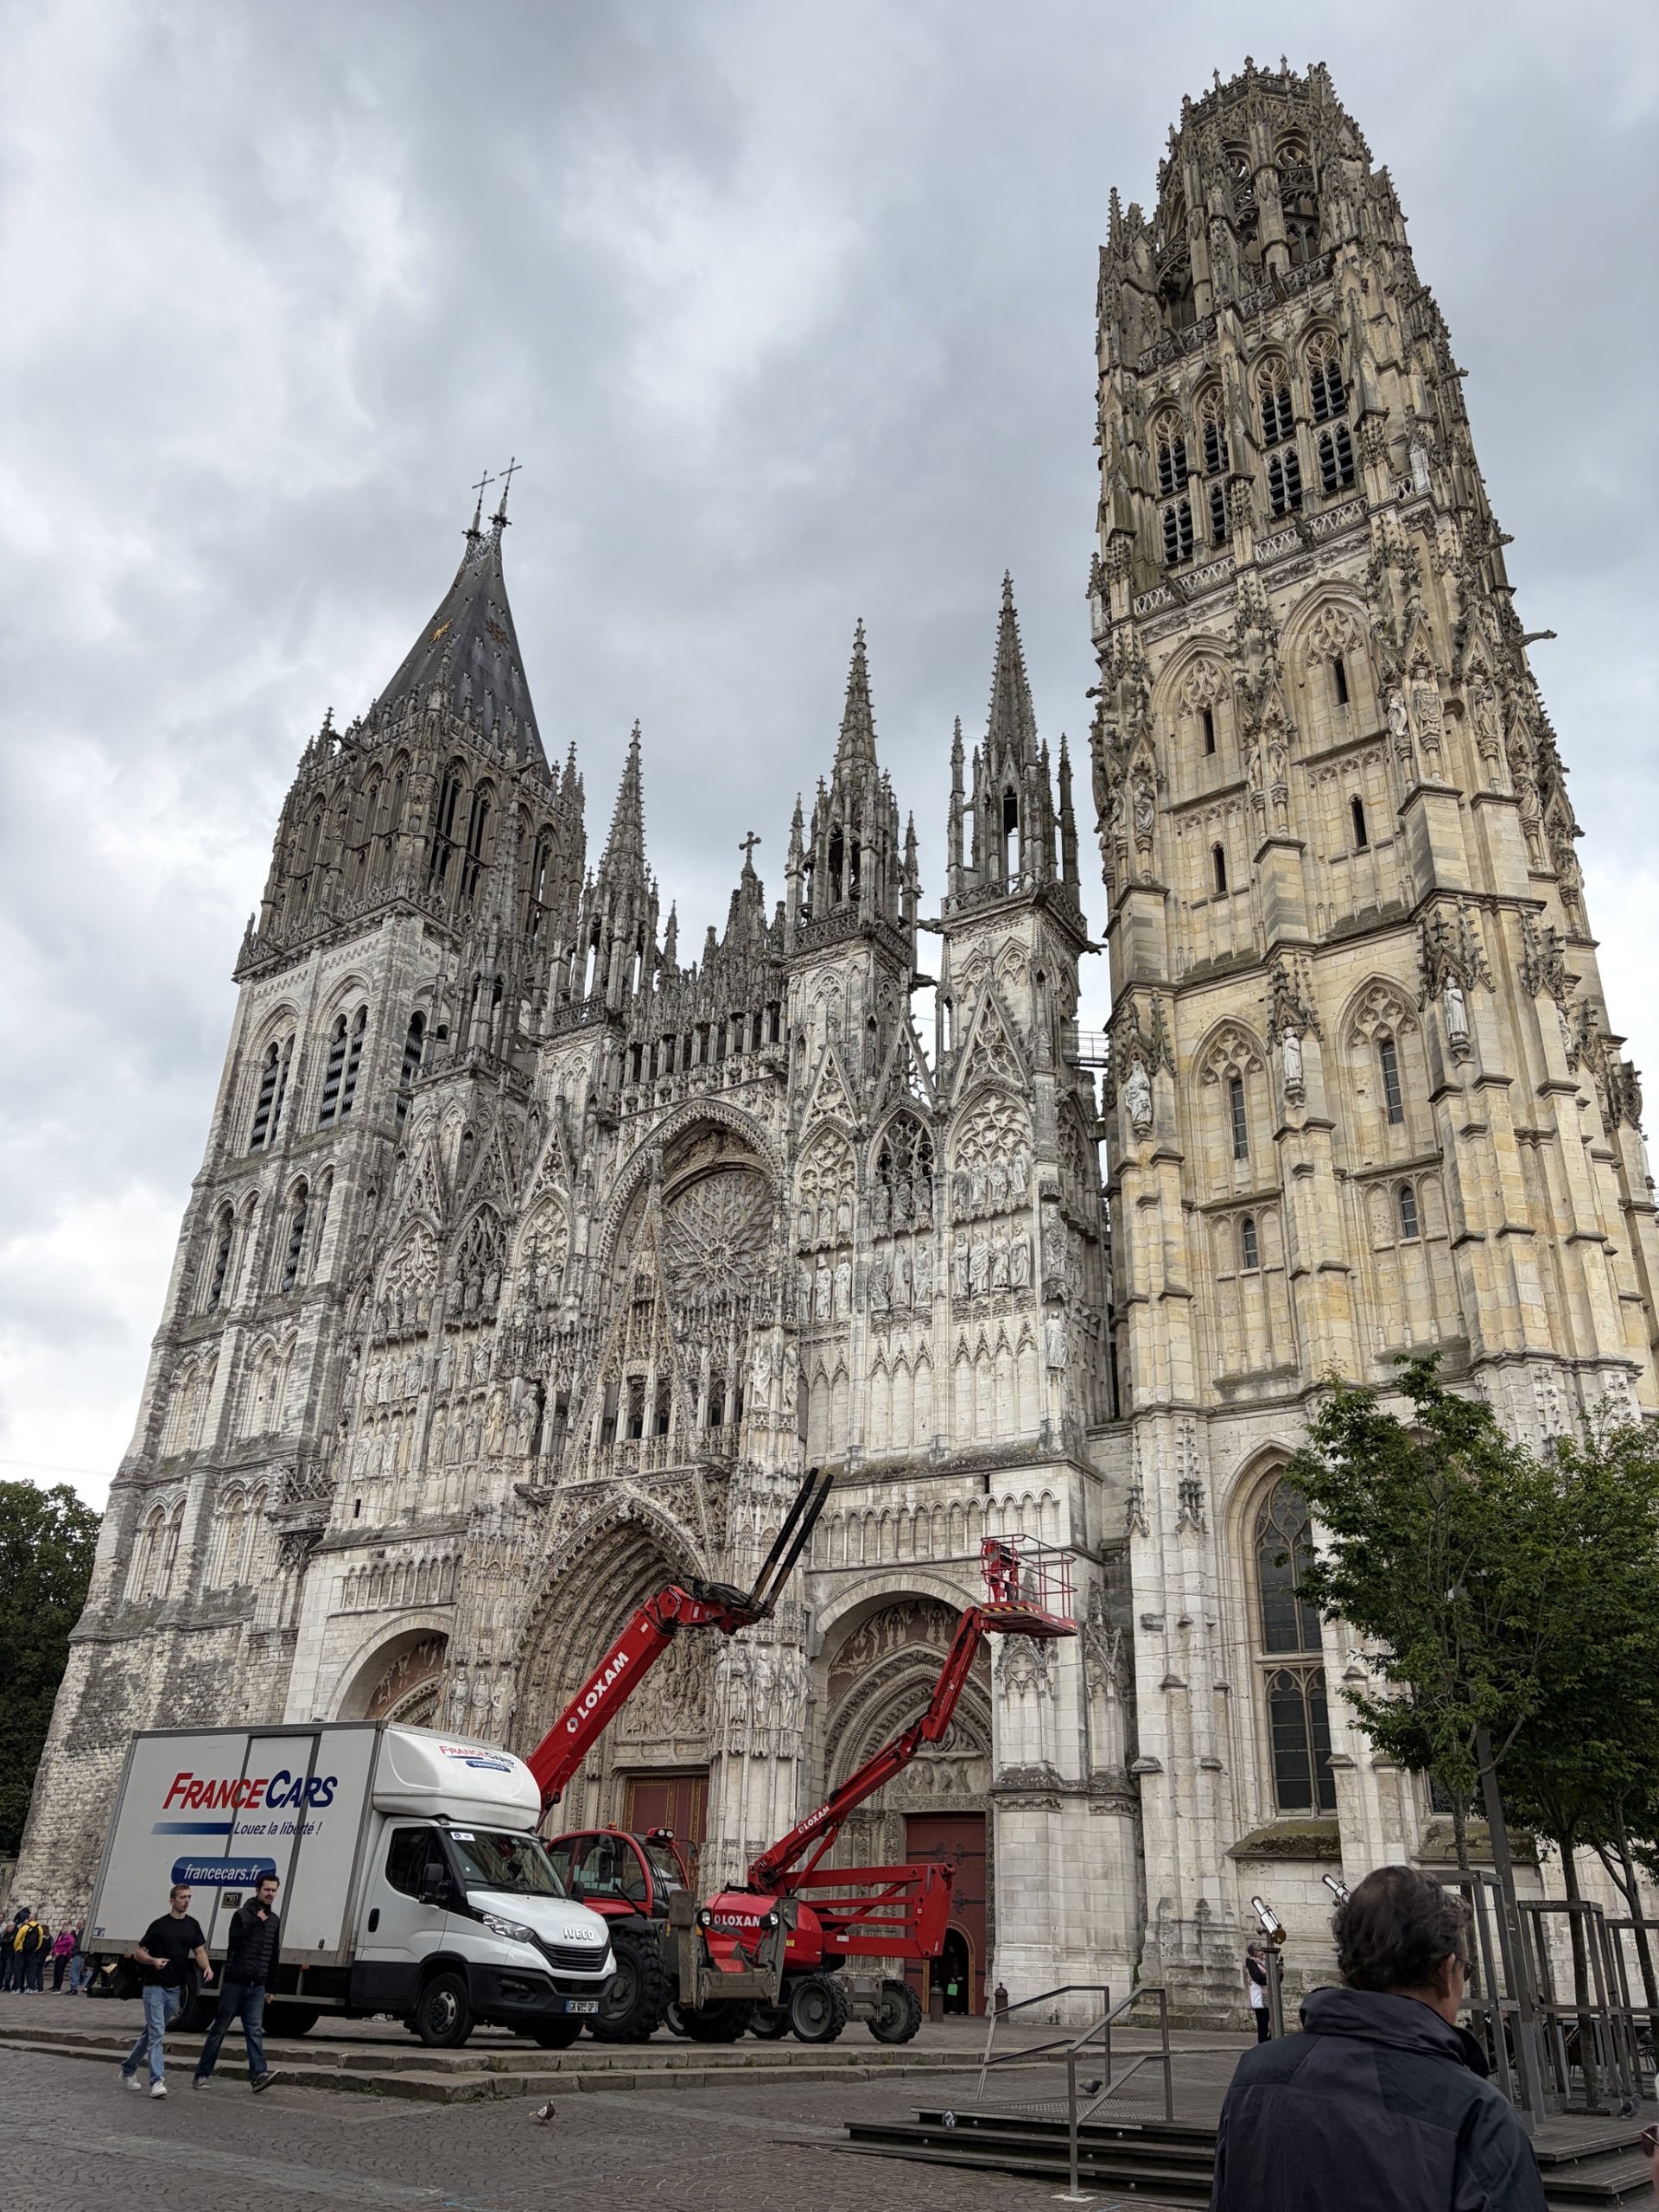
One of our first stops on our recent trip to the UK was in France. After we visited Monet’s gardens we did a walking tour of the city of Rouen. As our guide talked about the cathedral, she told us that much of it was built in the Gothic style of architecture which is very ornate.
This close up photo of an area in the back of the cathedral shows the details a bit more clearly.
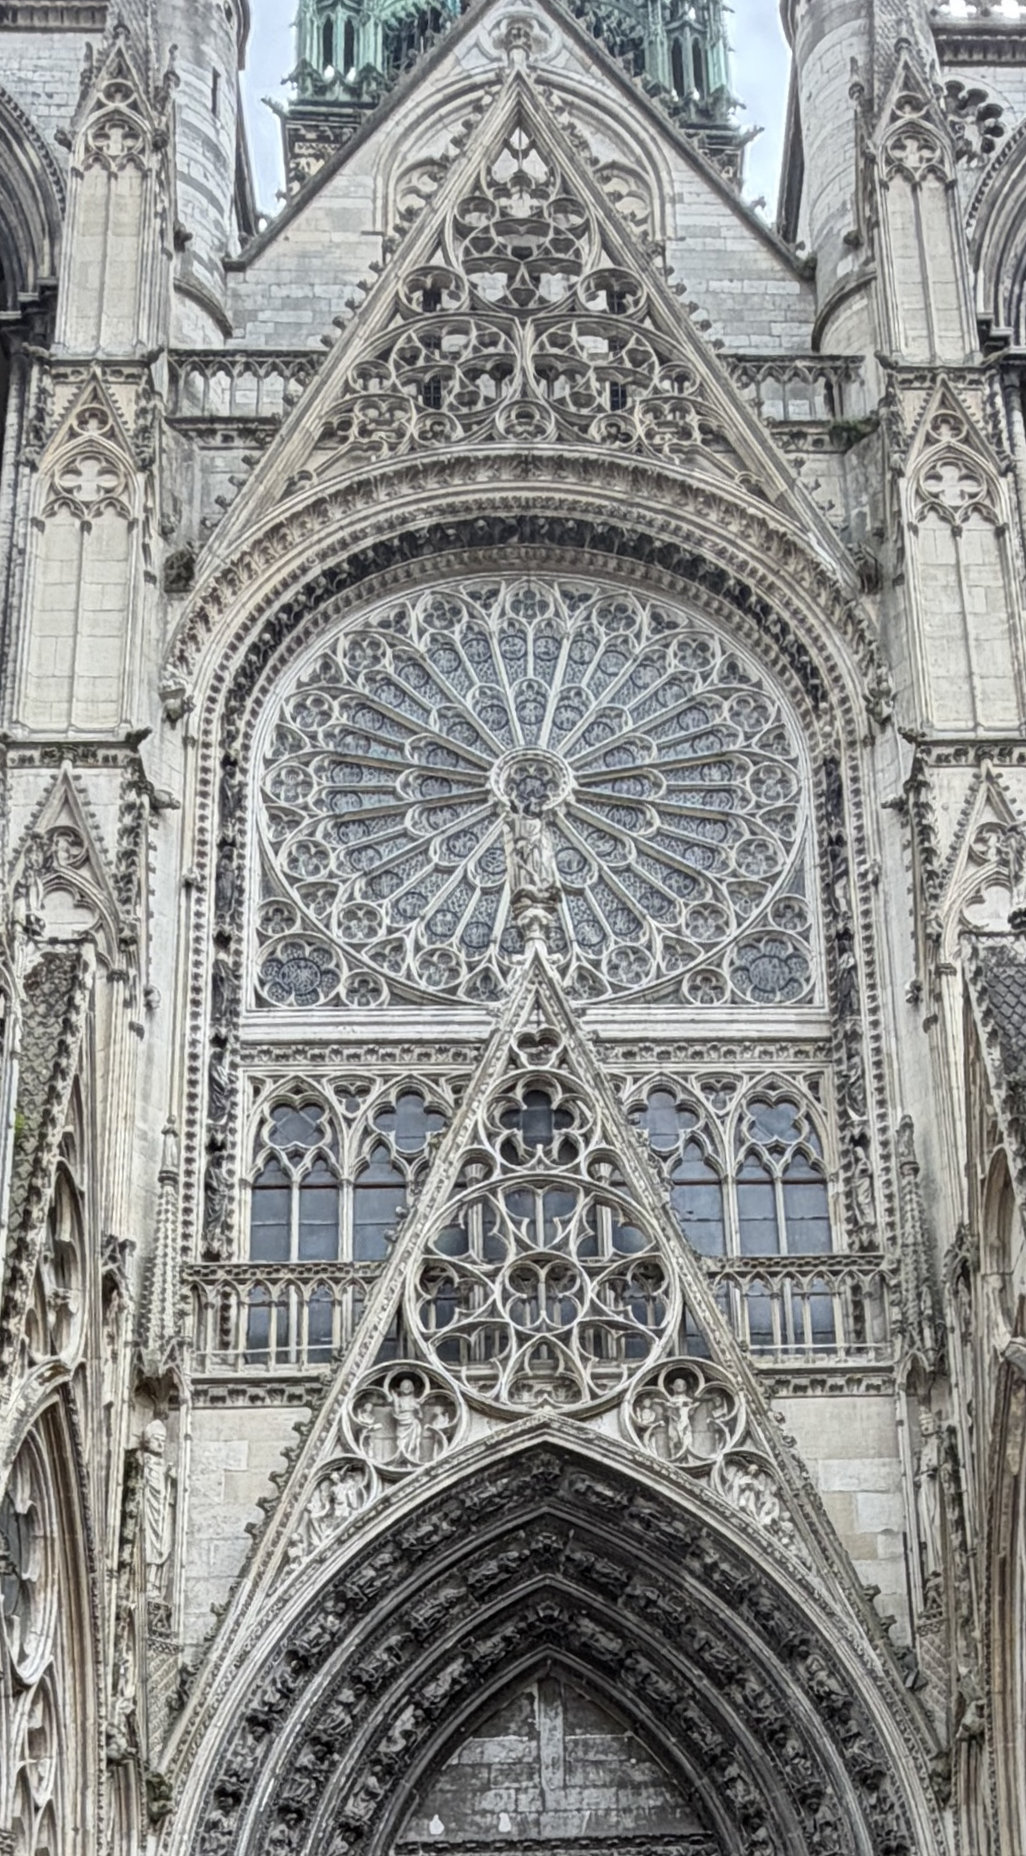
Our guide told us that the French people sometimes refer to this type of carving as “stone lace” (I don’t remember the French phrase). What an interesting use of a fiber related term! We saw quite a bit of “stone lace” on the trip. An interesting additional bit of information is that many of the cathedrals were made of limestone that darkens with time. When they cleaned this portion of this cathedral they left the arch over the door uncleaned to show the difference. Wow!
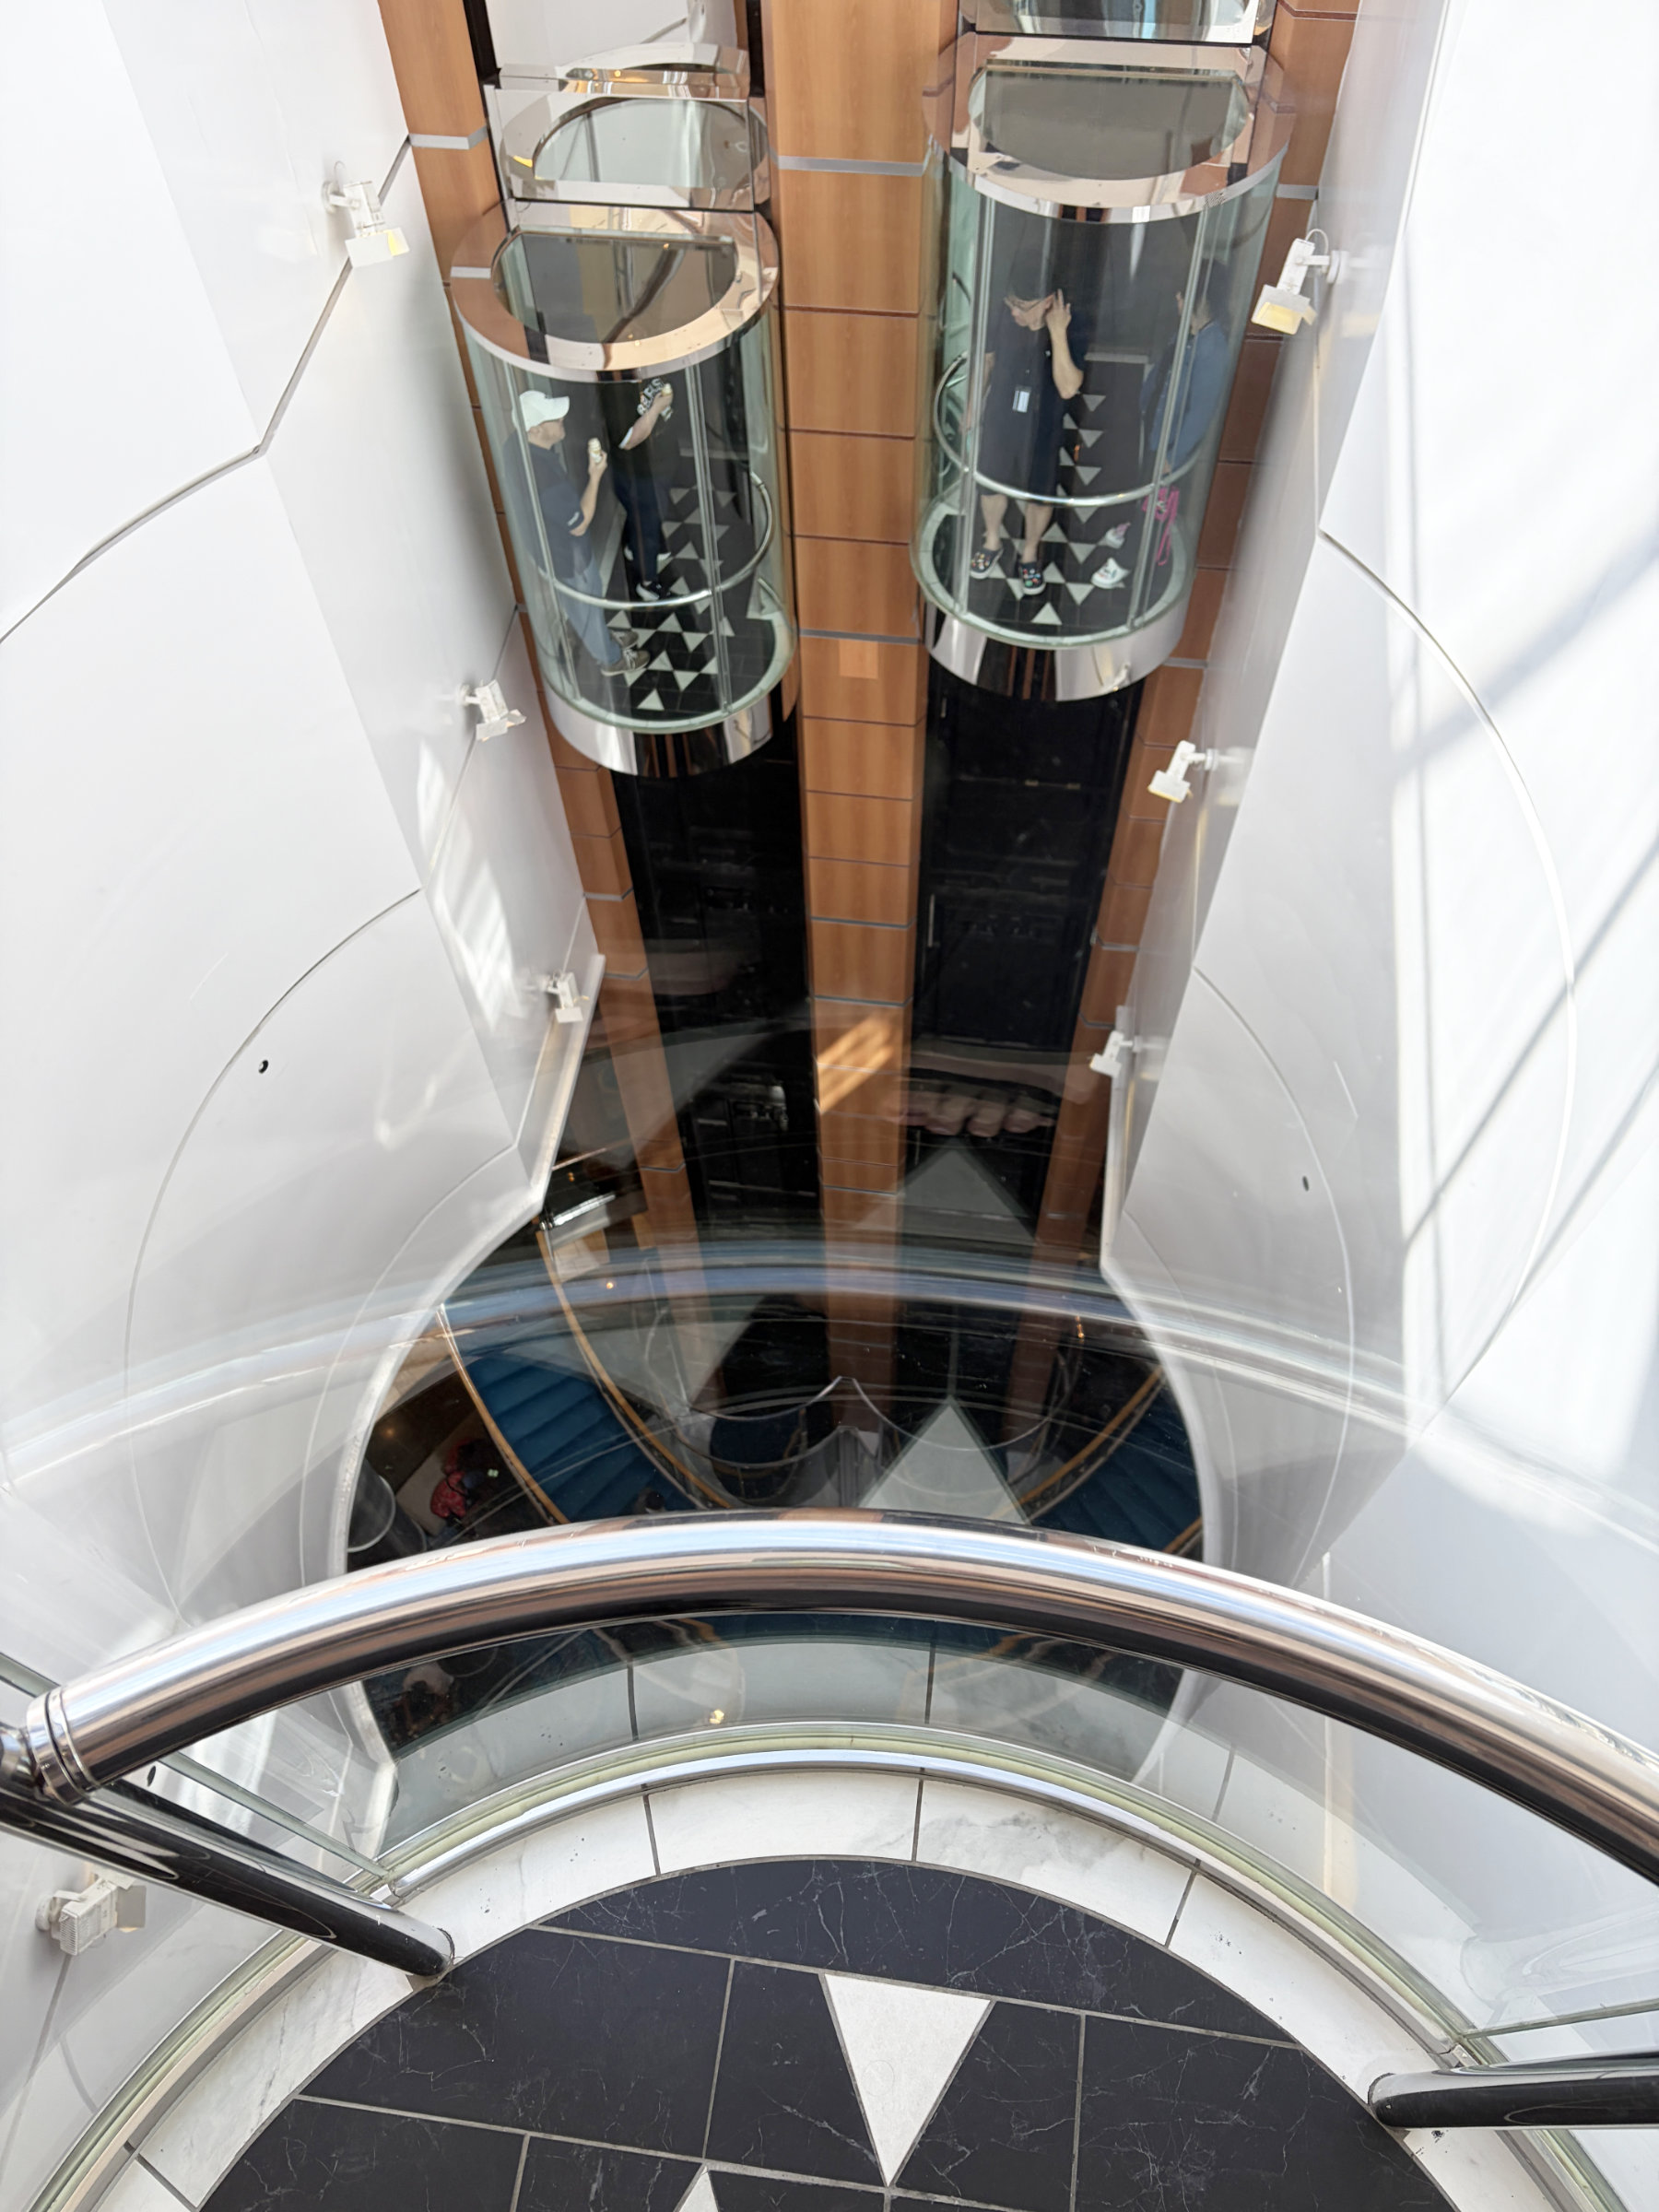
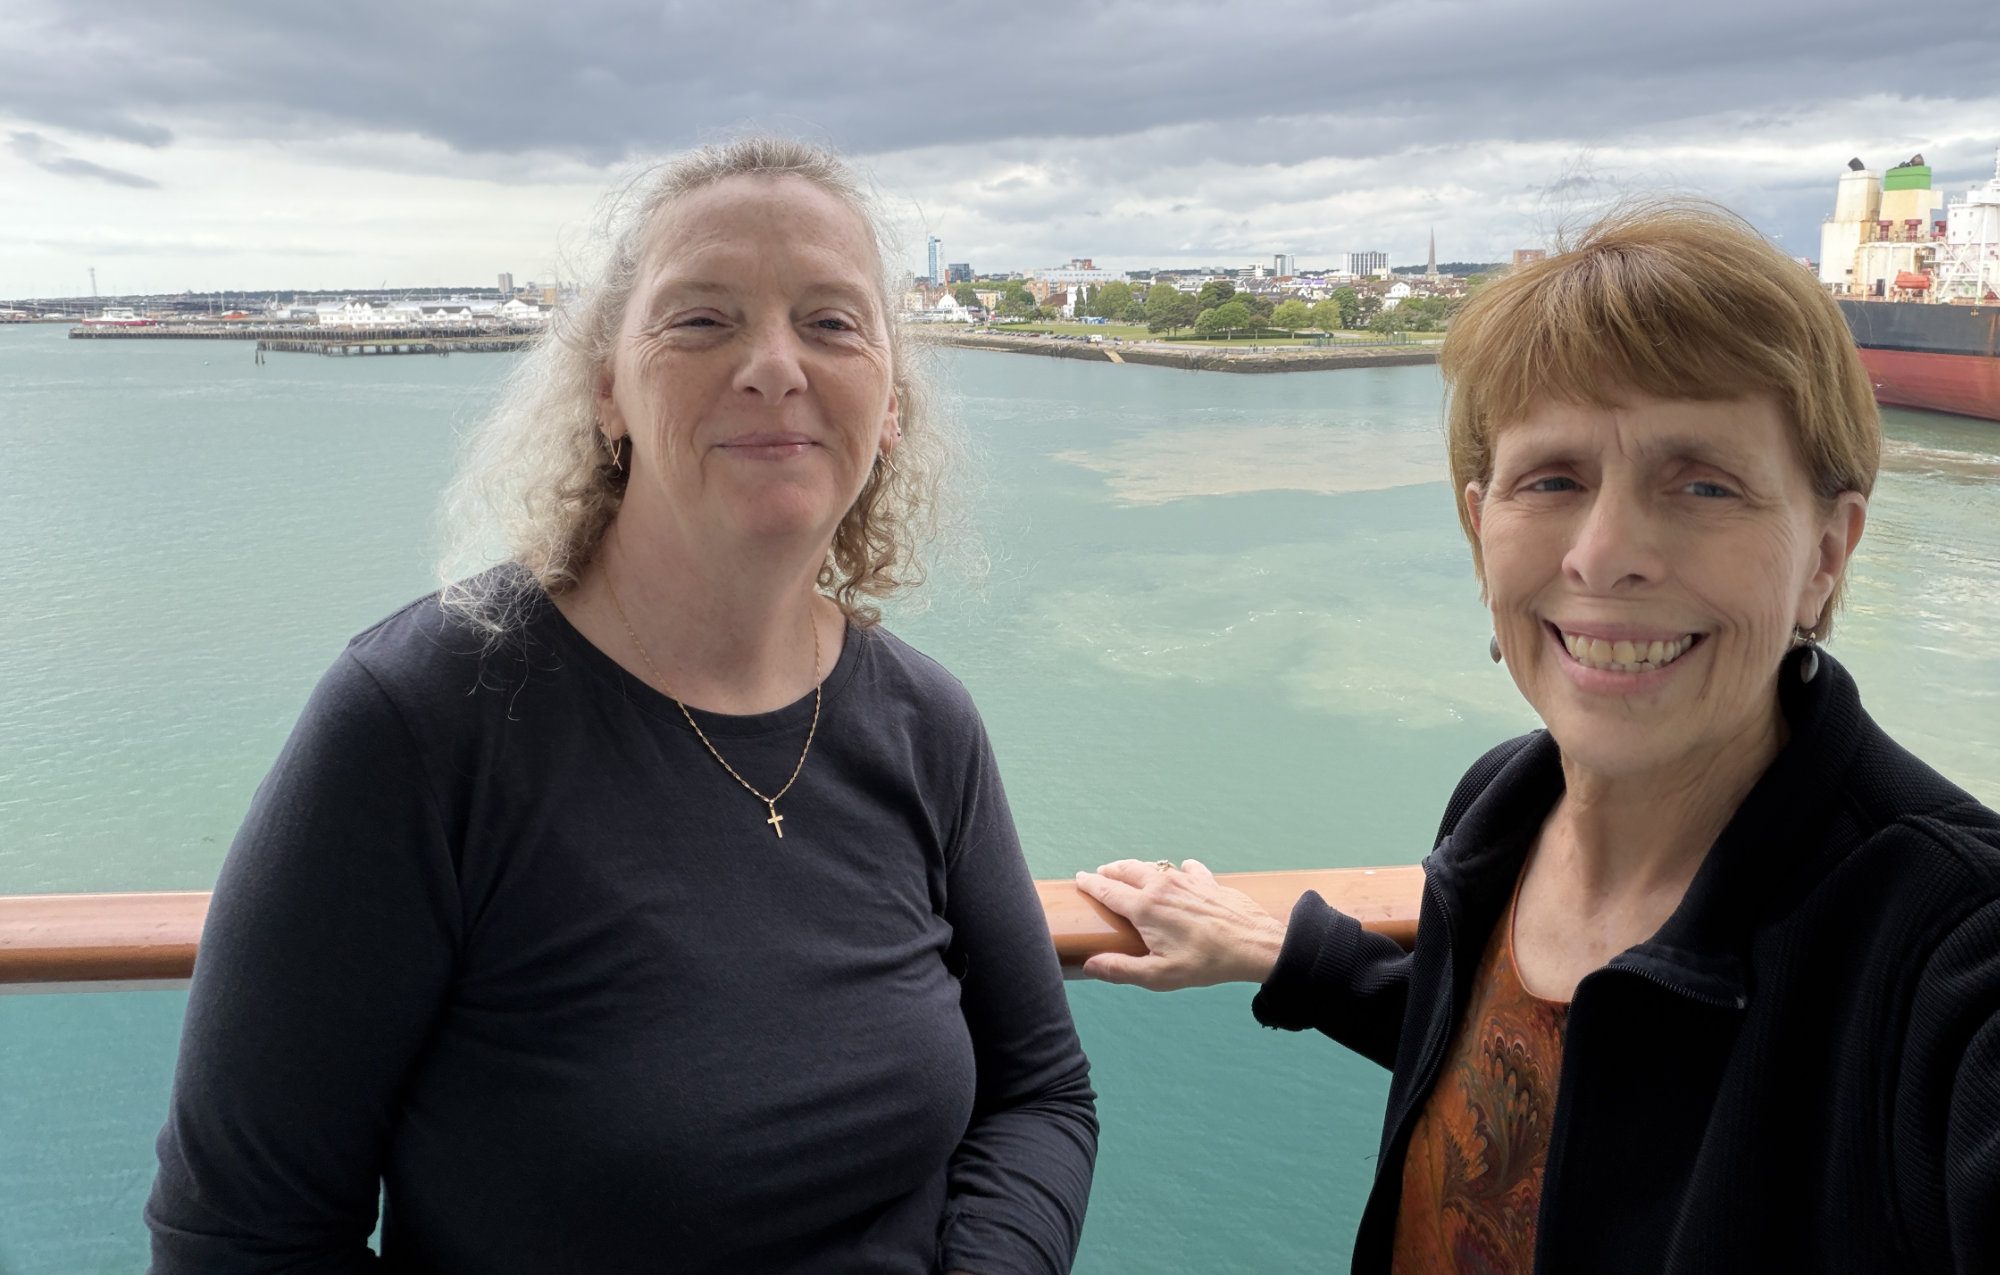
That afternoon when we got back on the ship I spent some time looking at the English Channel over the railing. I was hypnotised by the froth on the waves as we moved through the sea. It seemed to create a type of watery lace that reflected in the glass of the balcony.


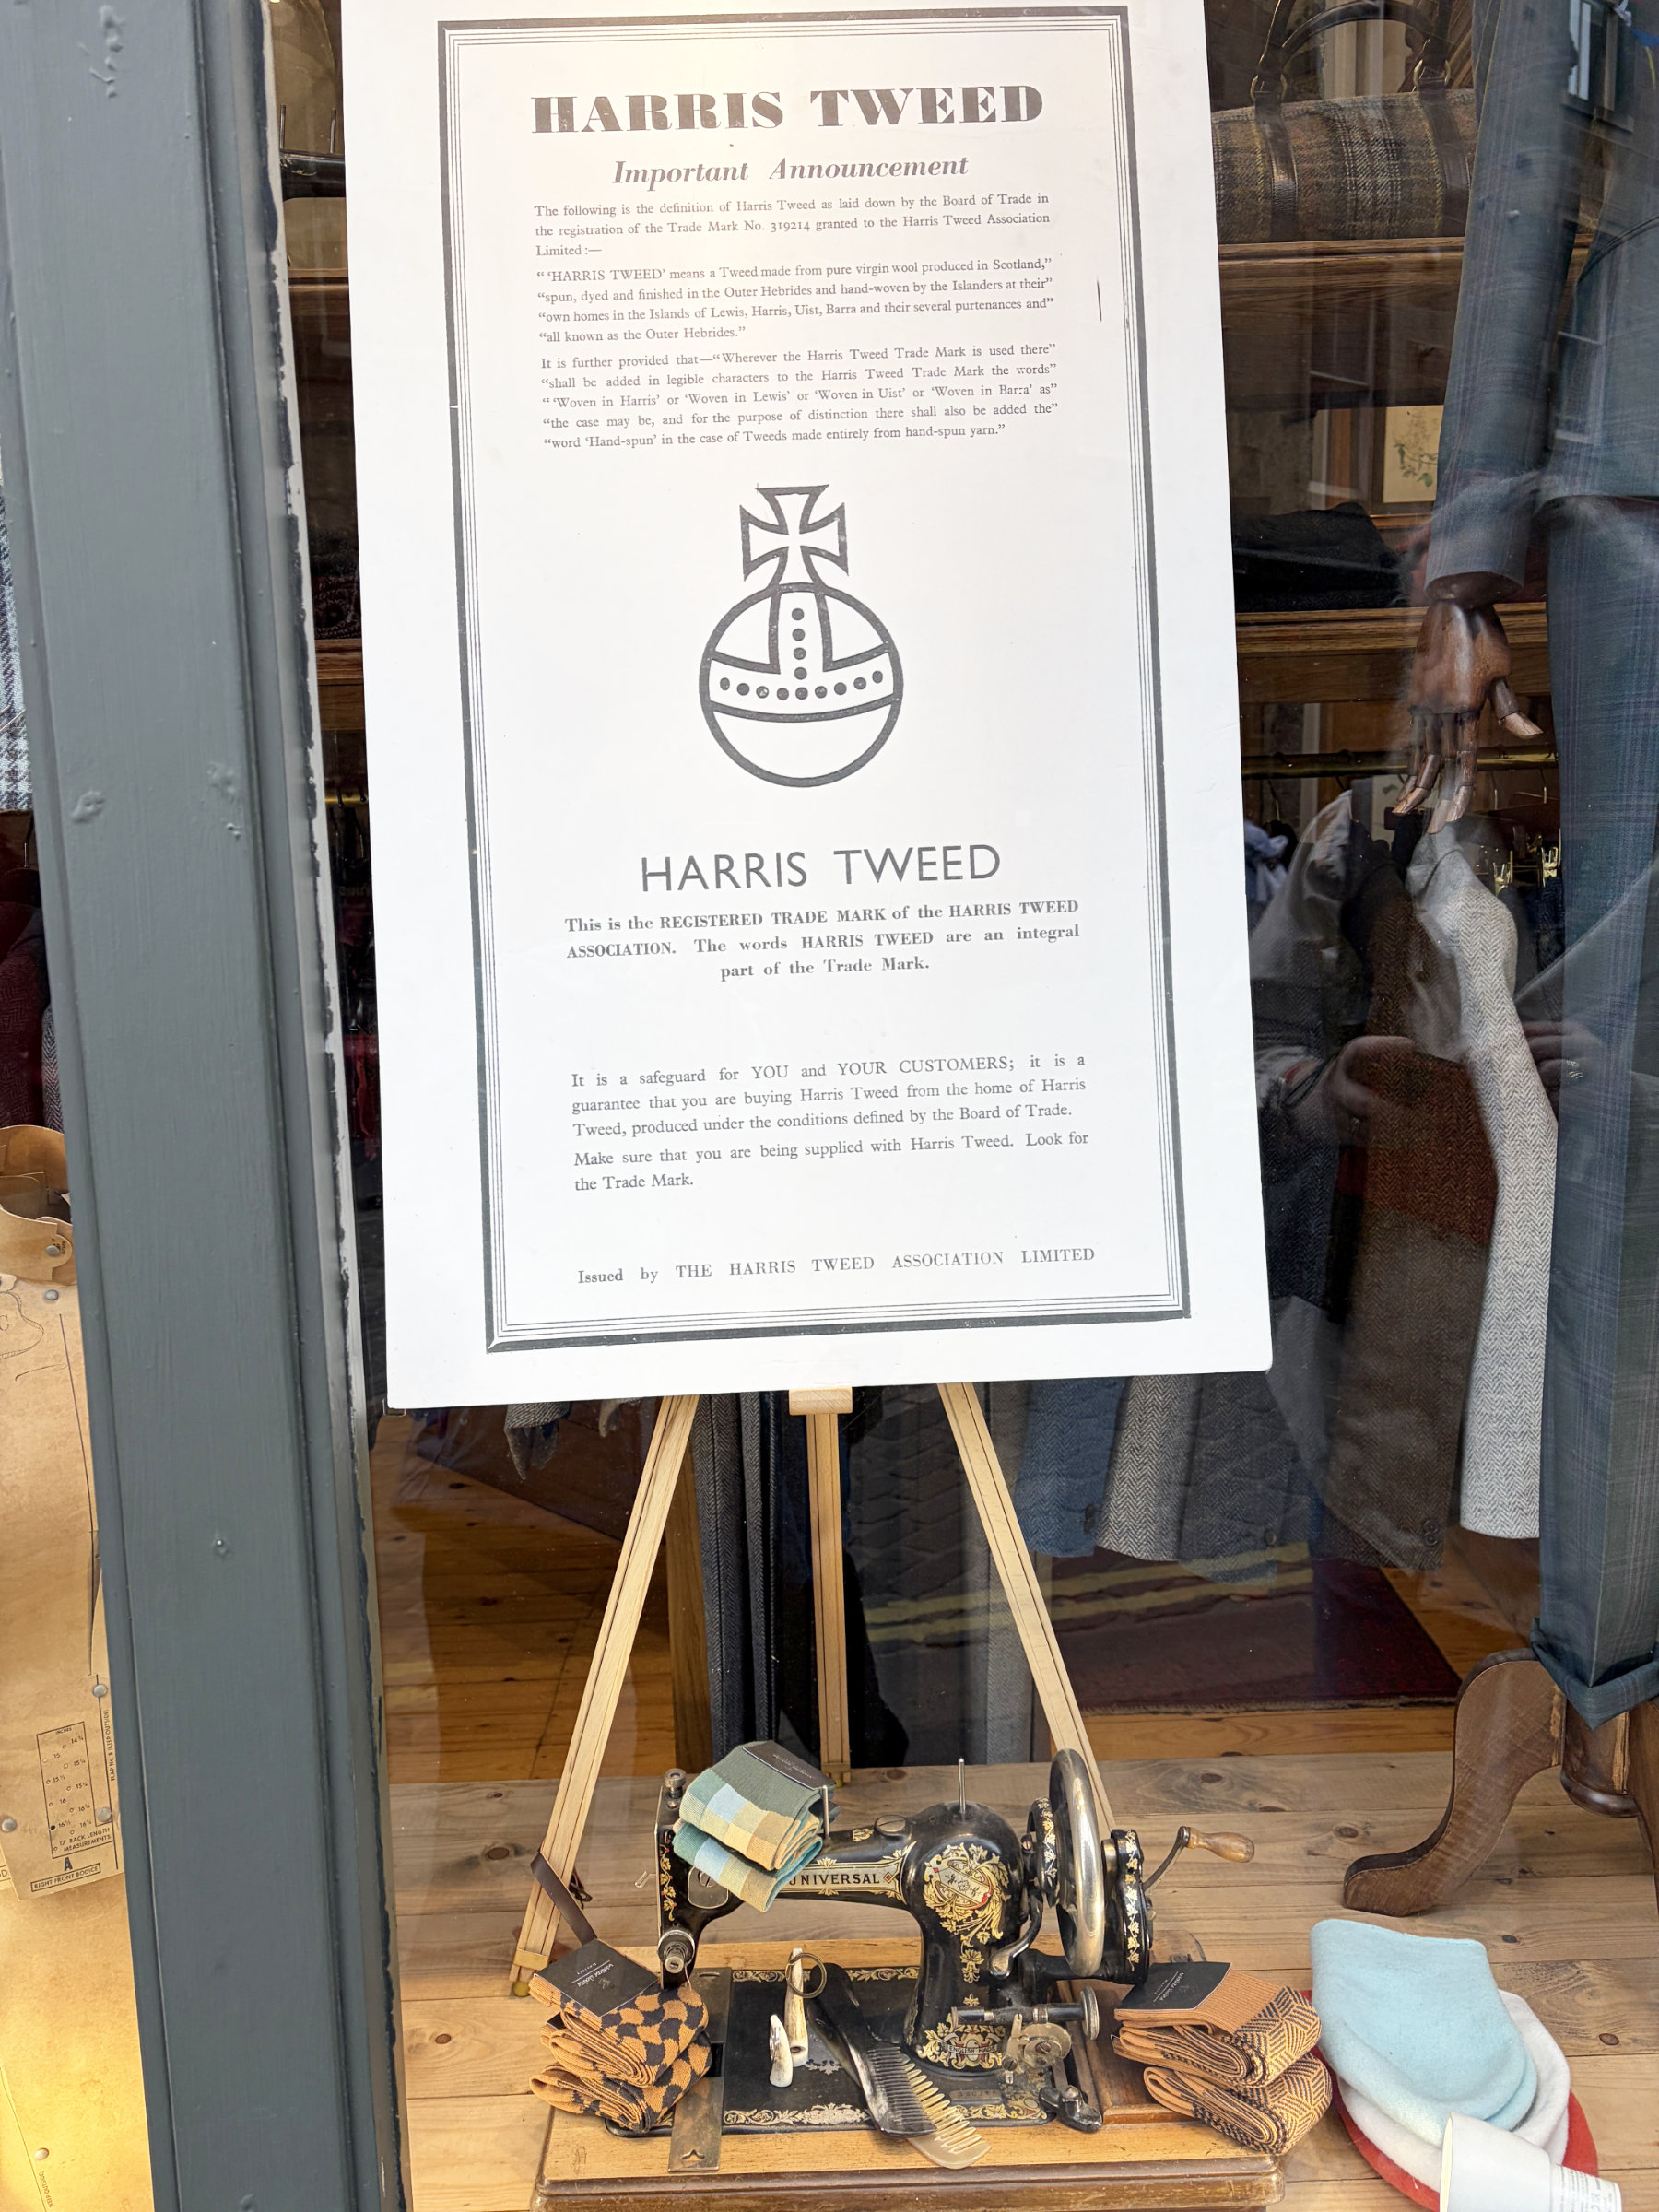
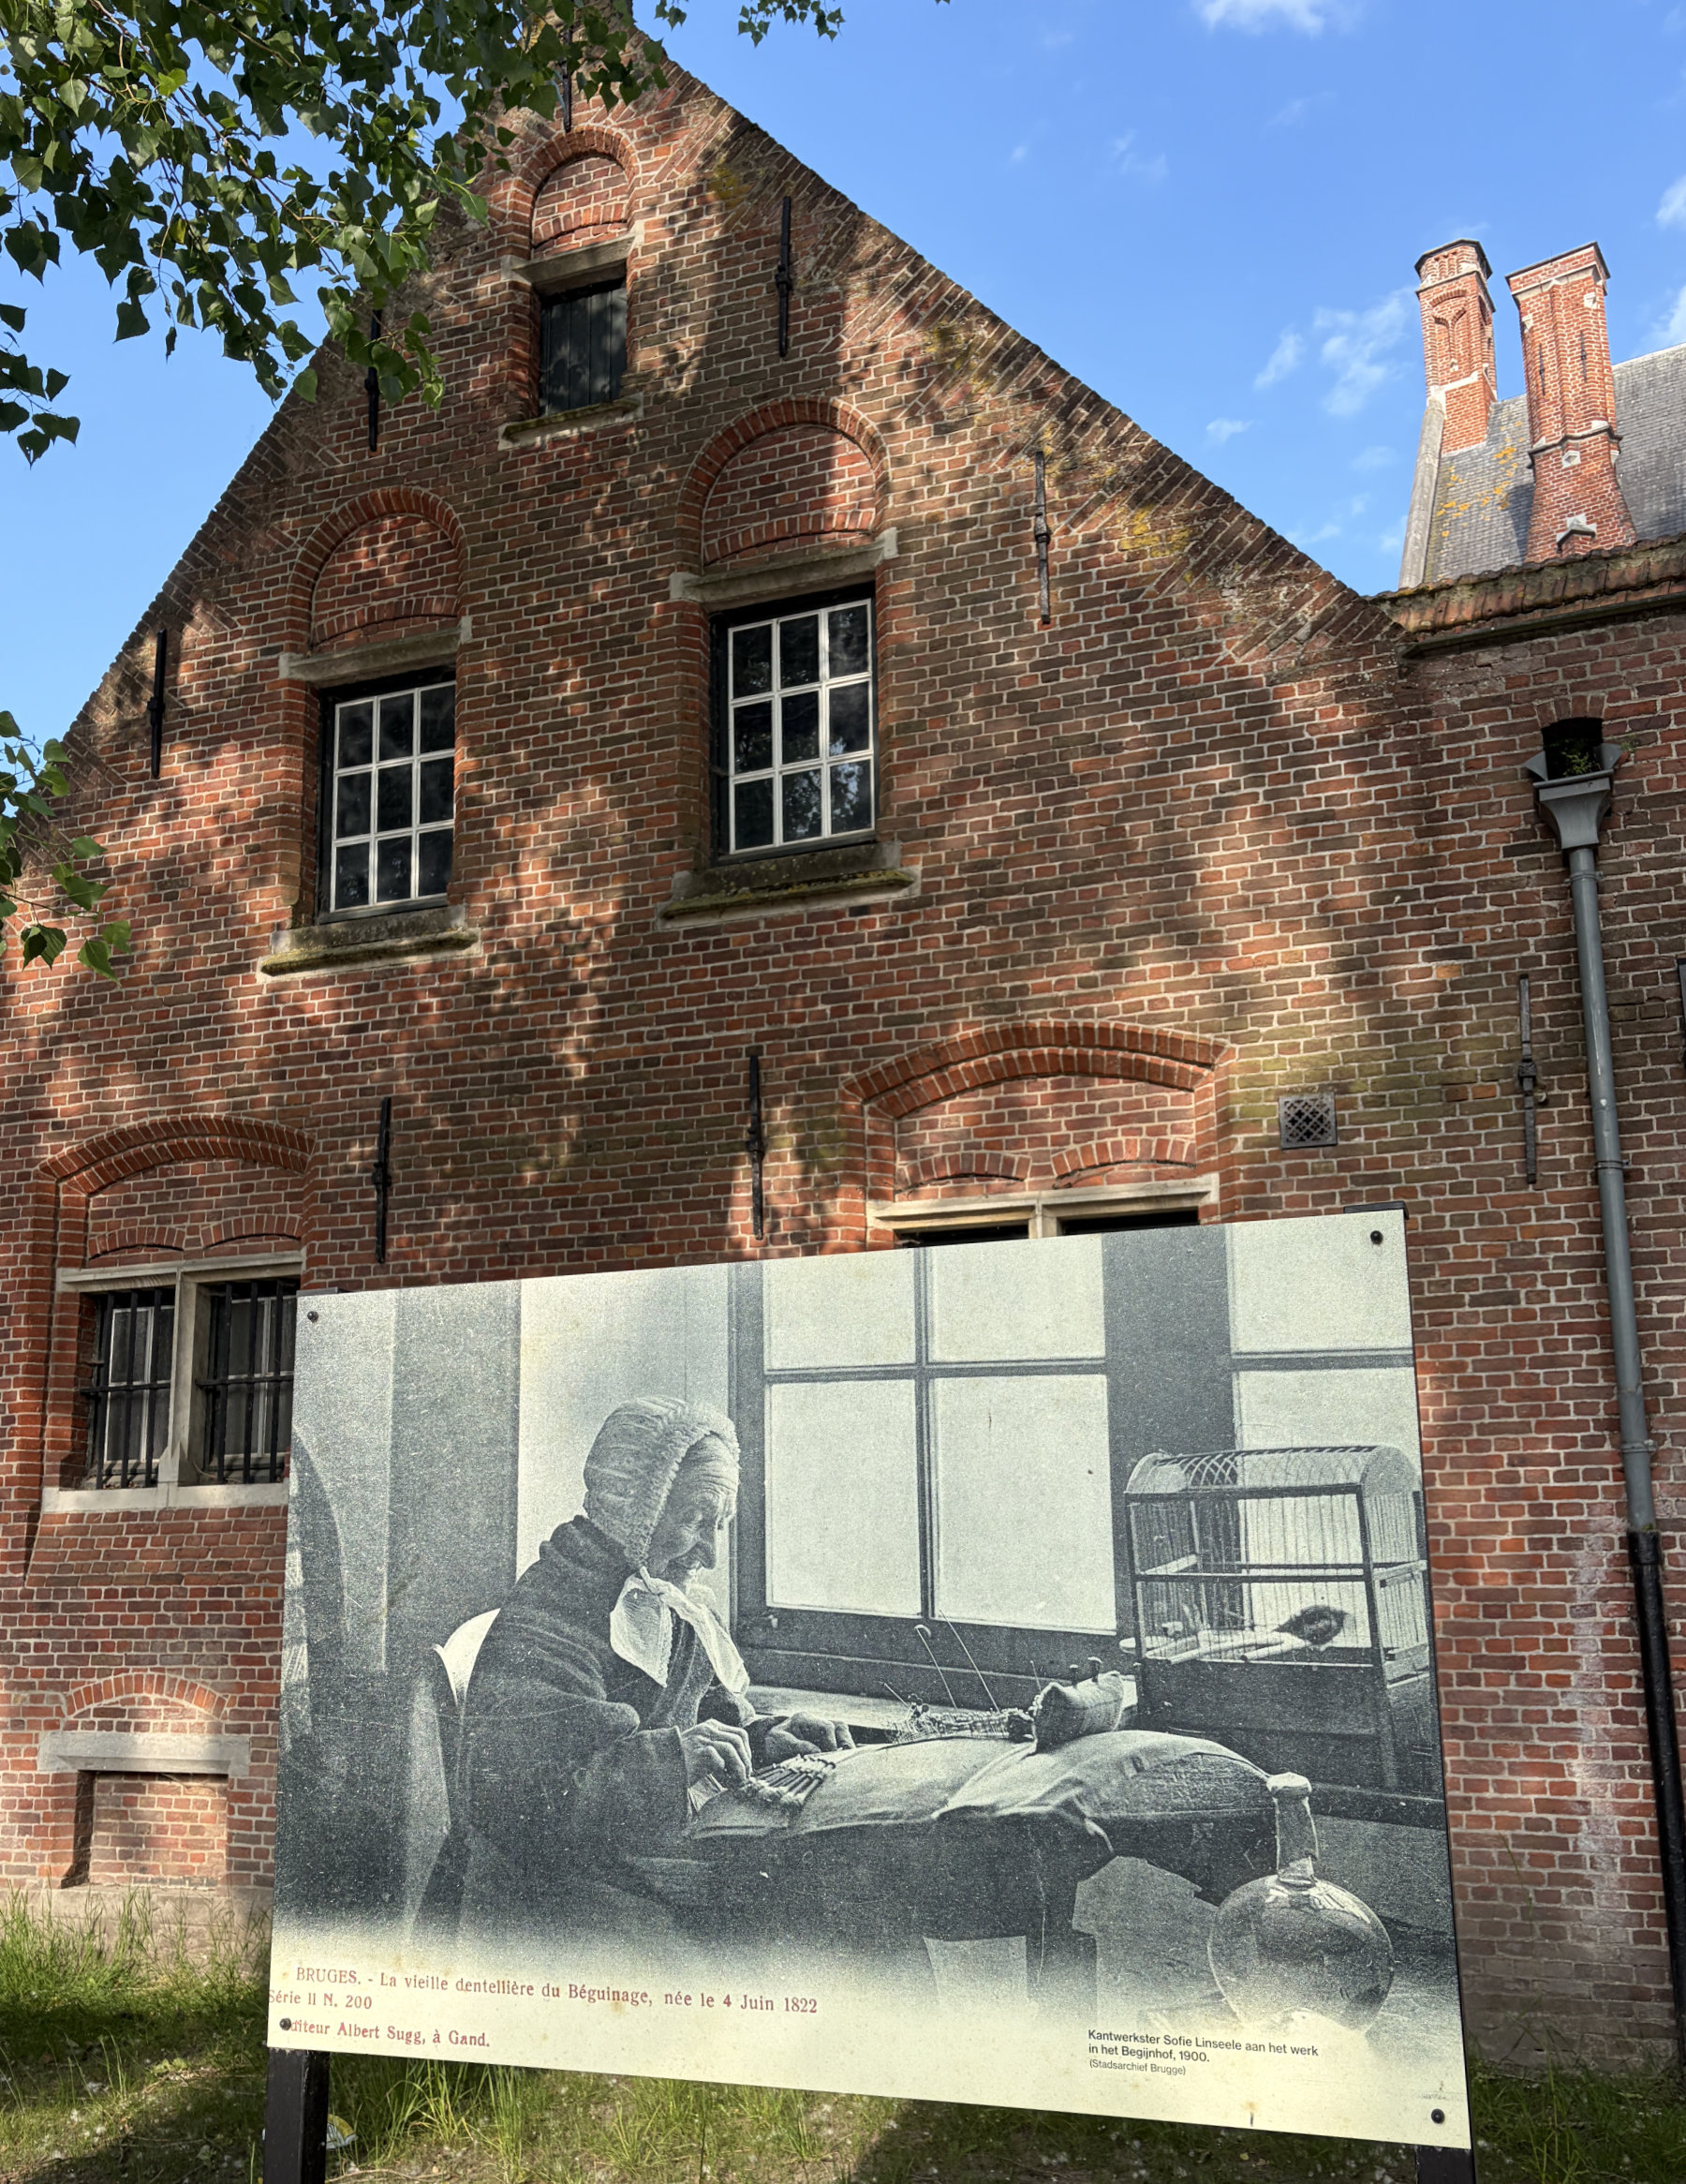
I didn’t think about lace again for a few days. Then we arrived in Brugge, Belgium. As we walked into town there were vintage posters along the path. This one struck me as very interesting. It’s from 1900 and is of a woman making bobbin lace. We would discover that bobbin lace was very important to Brugge’s history.
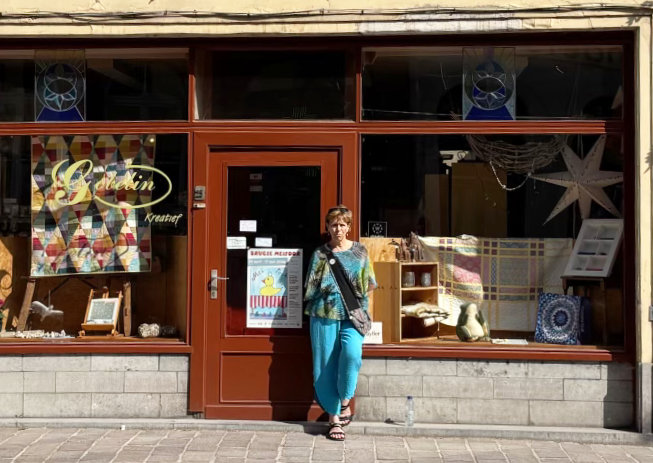
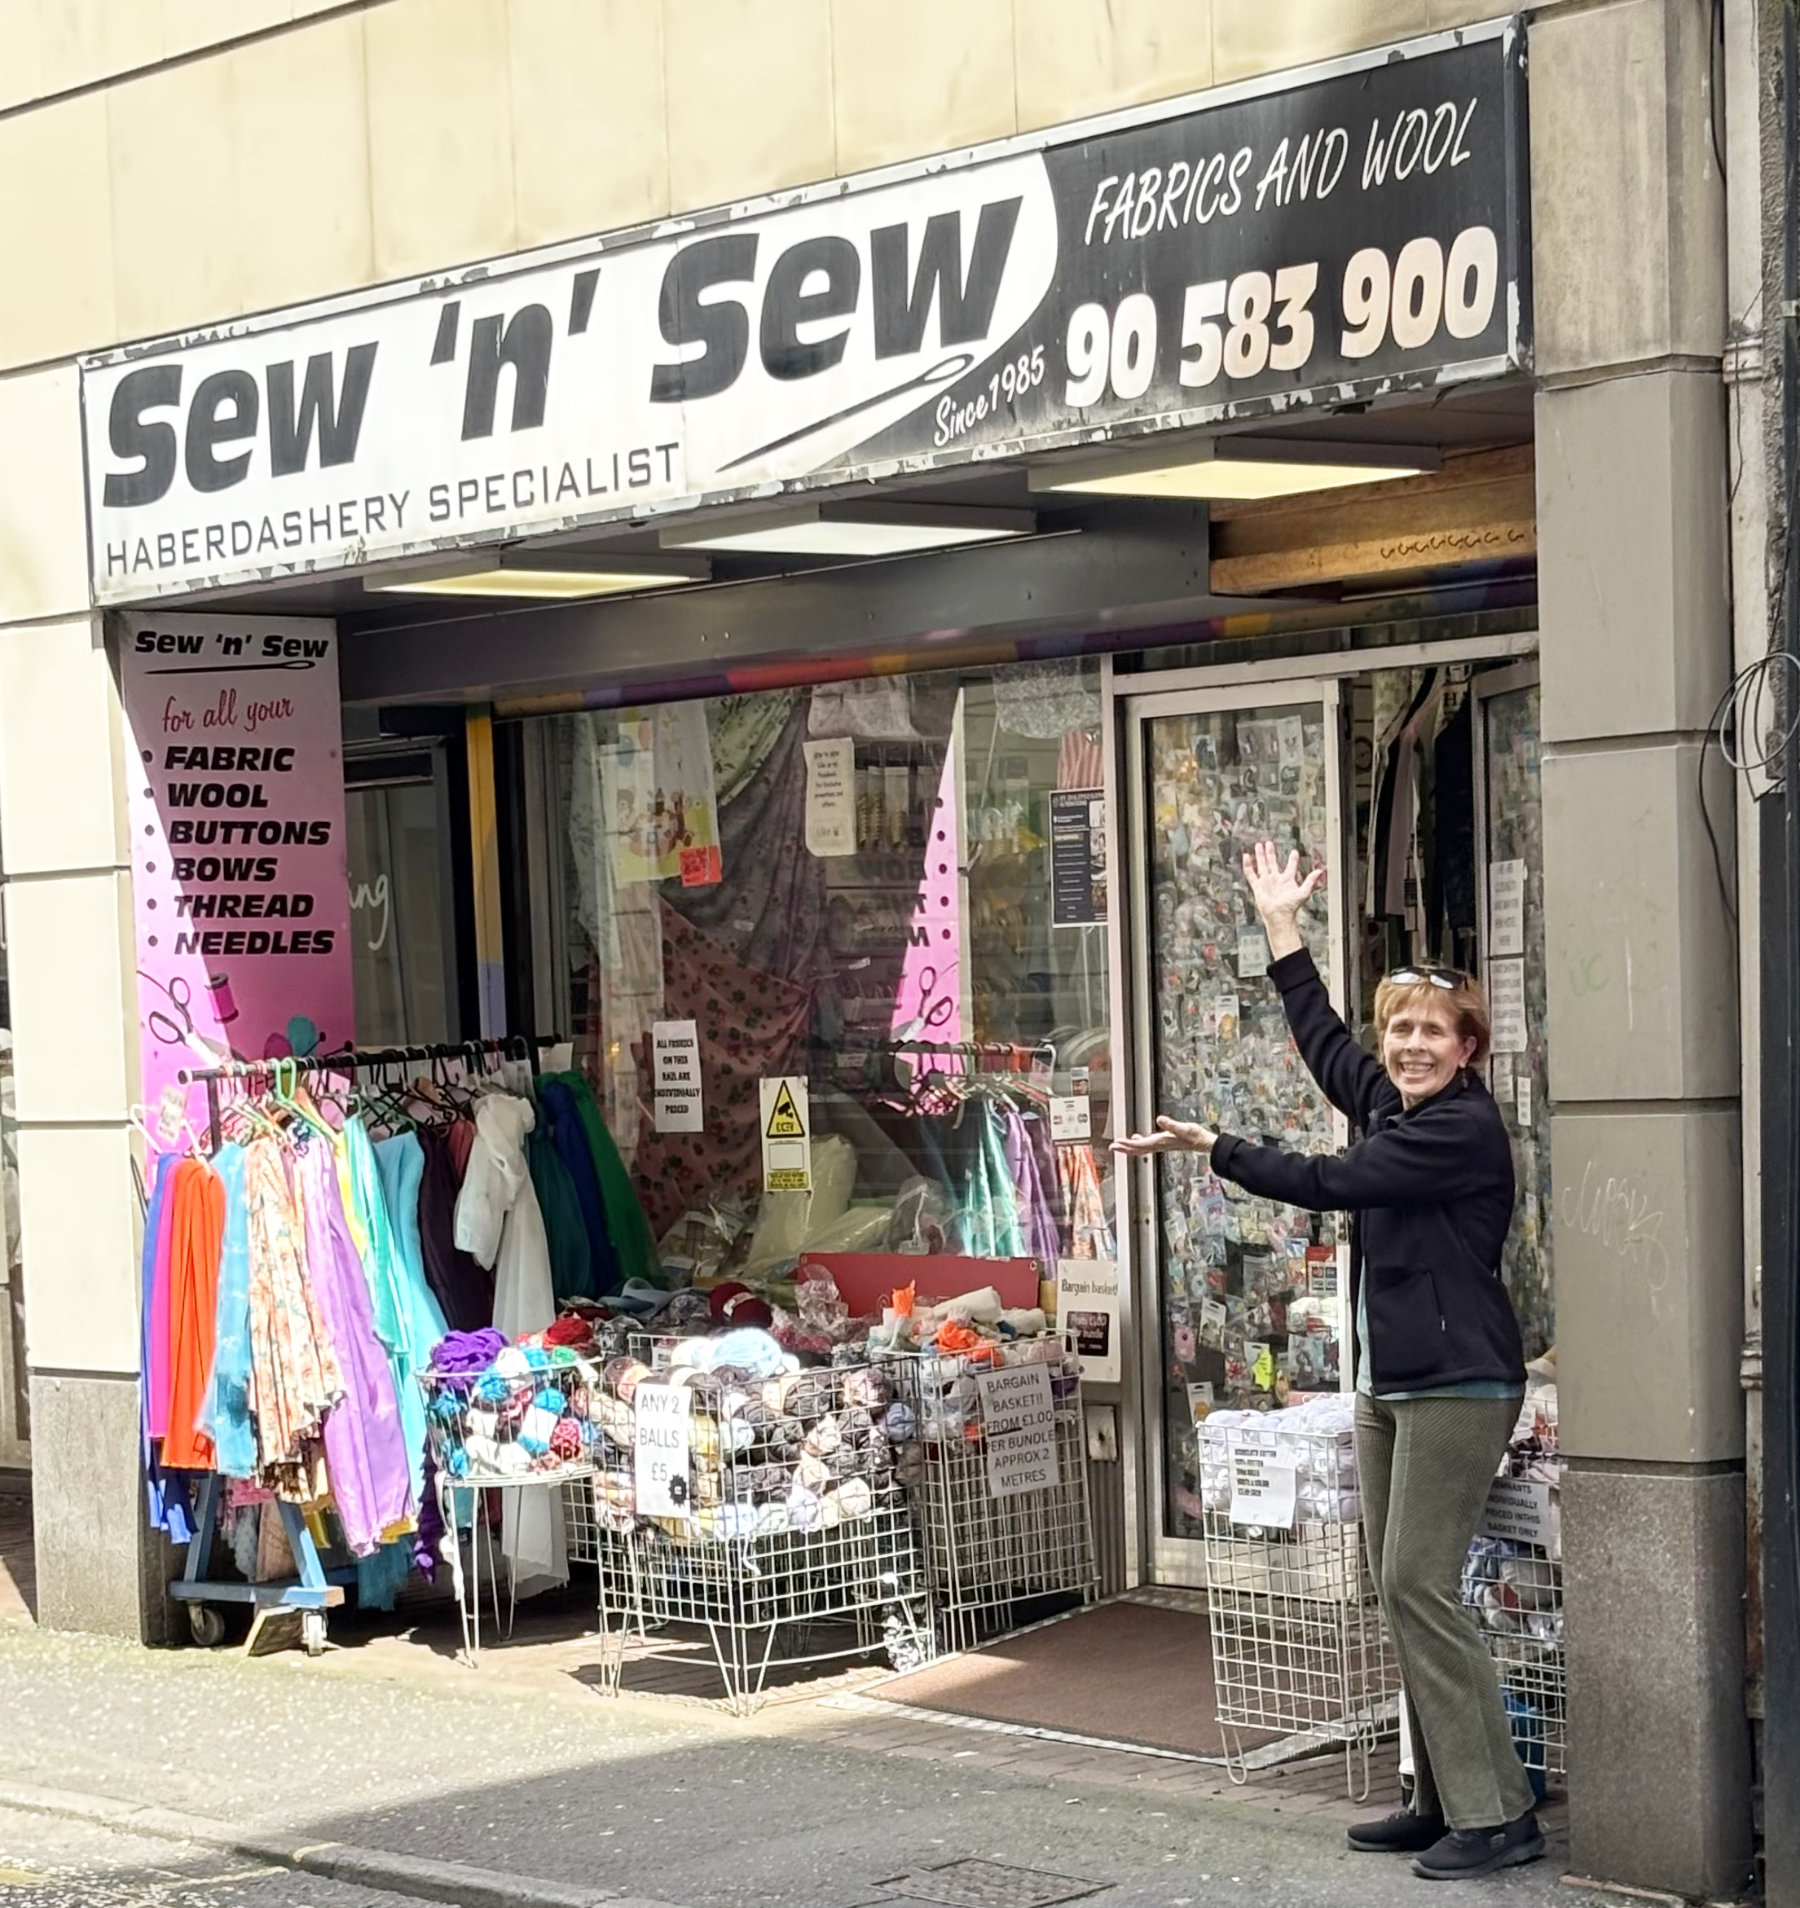
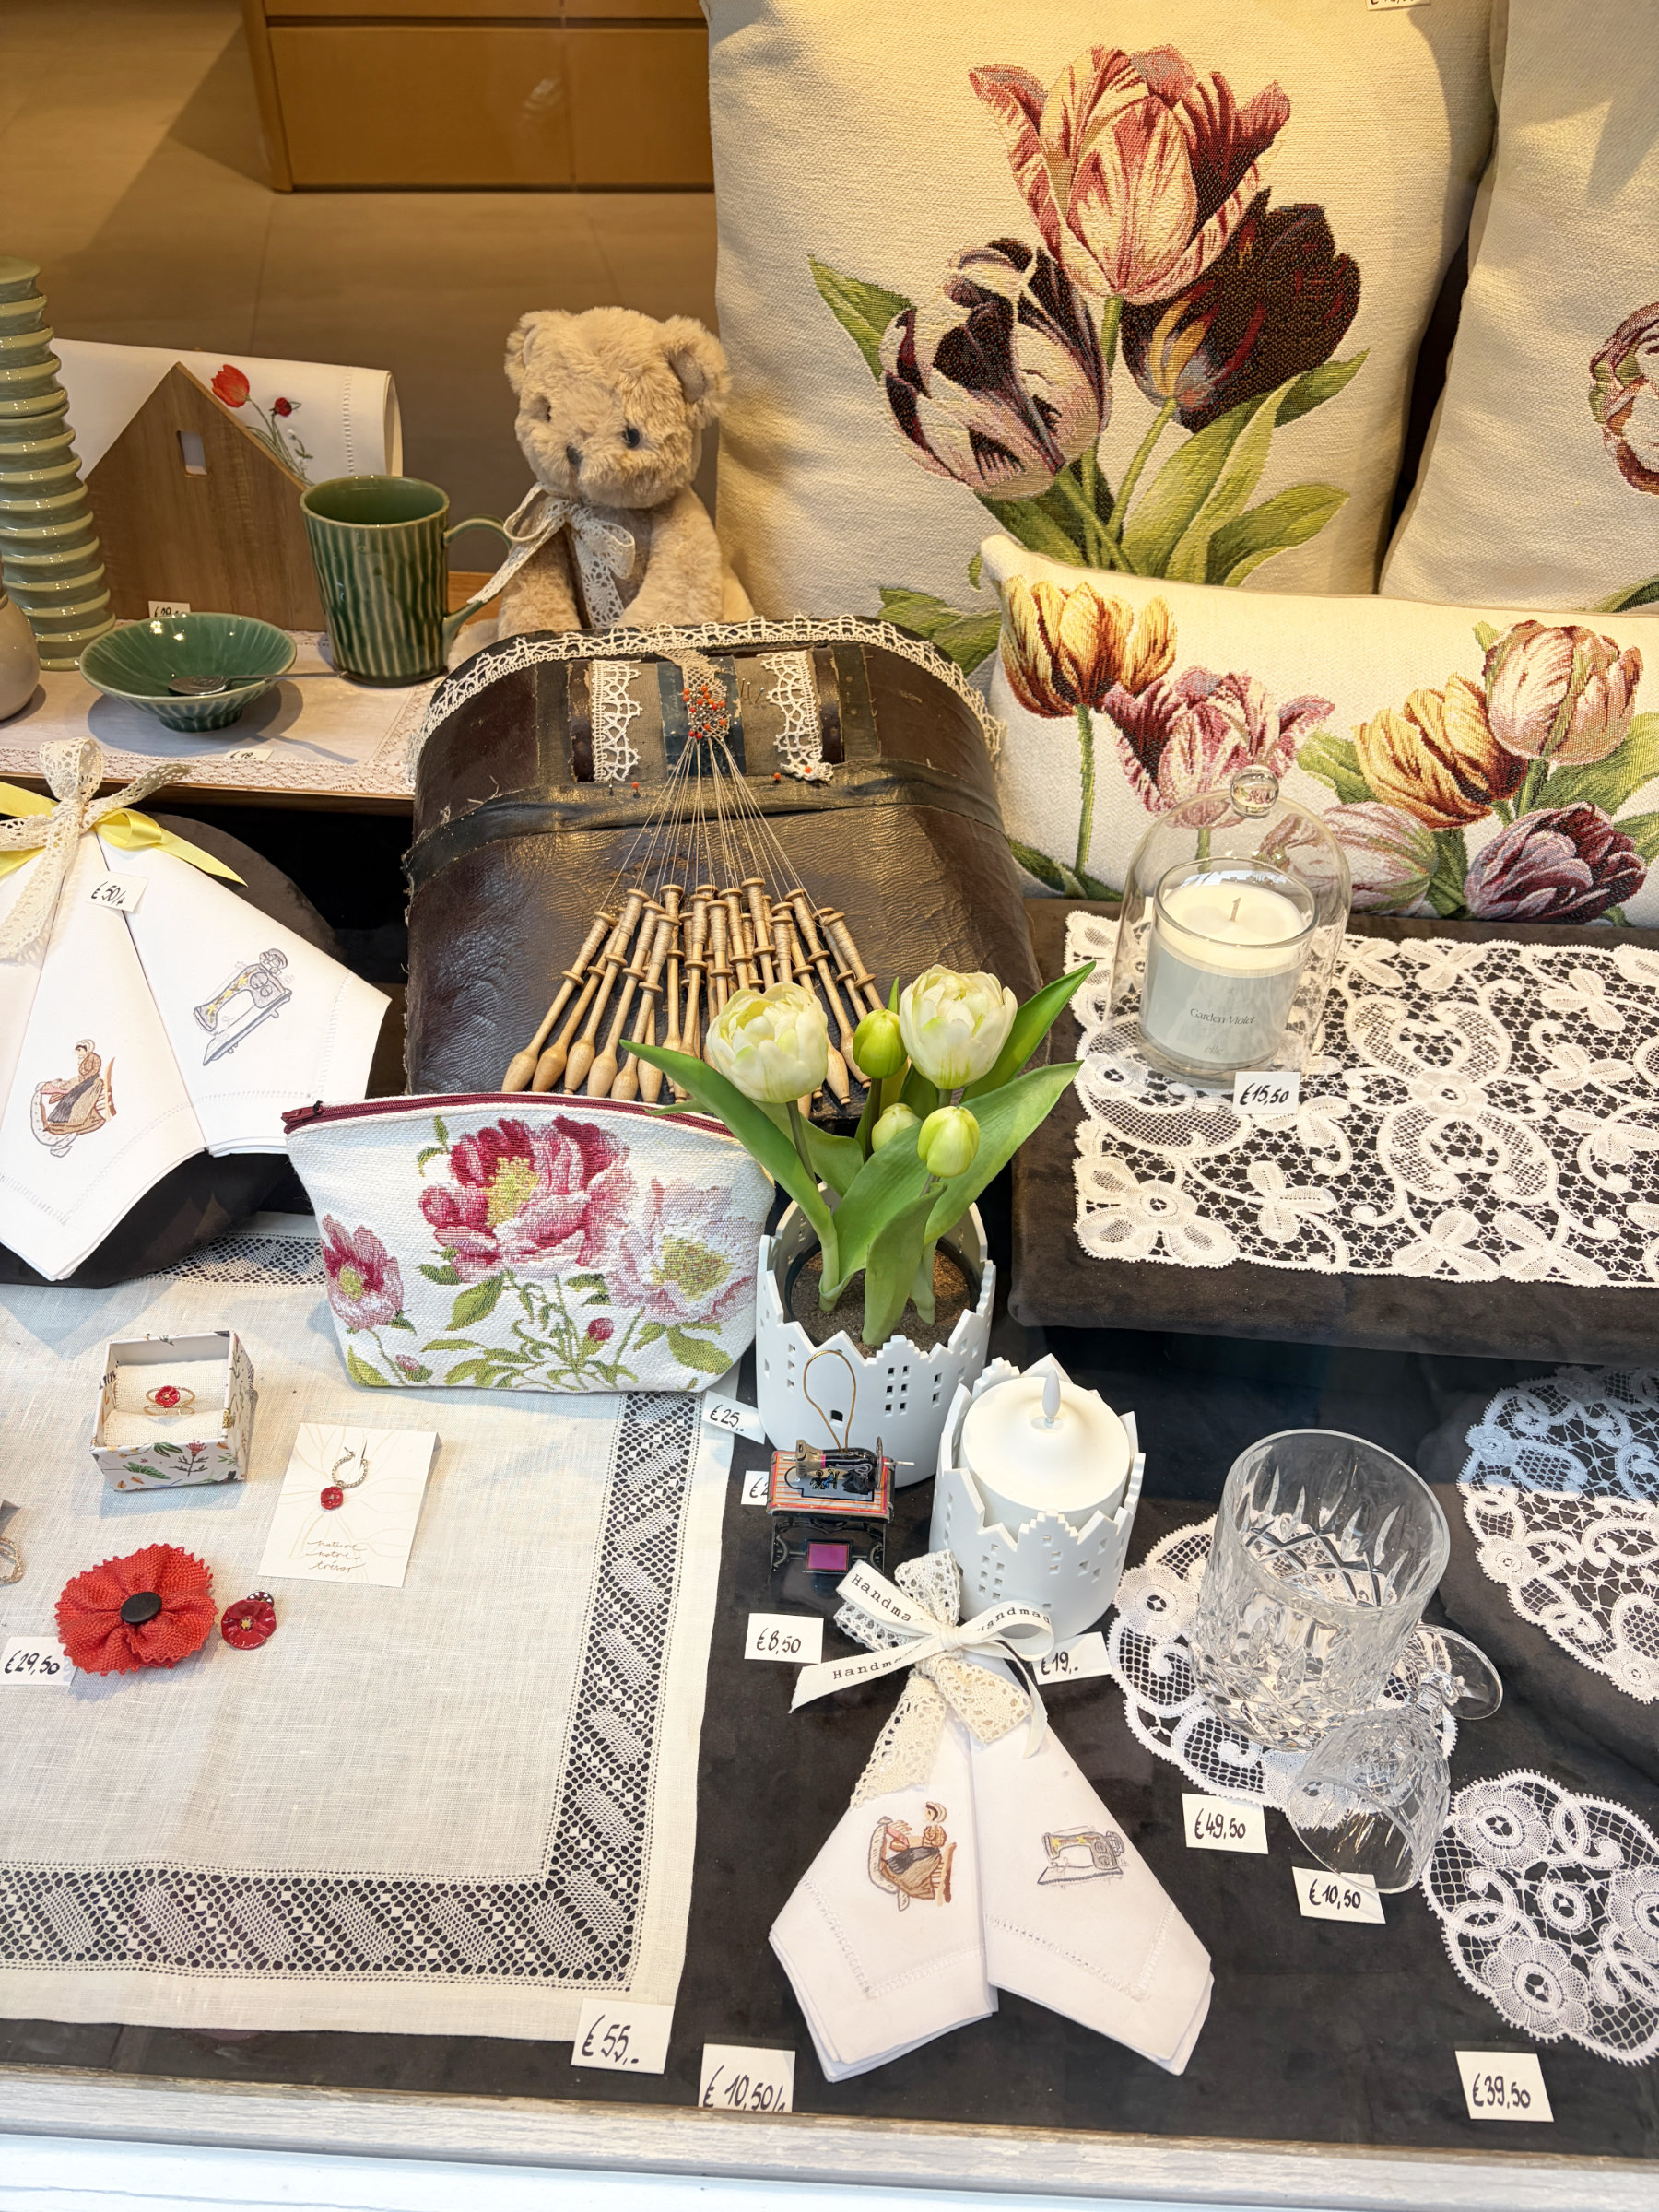
This storefront window contained some lovely lace, as well as a small leather bobbin lace pillow with work in progress. It’s a very different process from the needle and thread method used in Italy. I’ve seen artists making this type of lace and it is a tedious process. How do they keep track of all those bobbins?
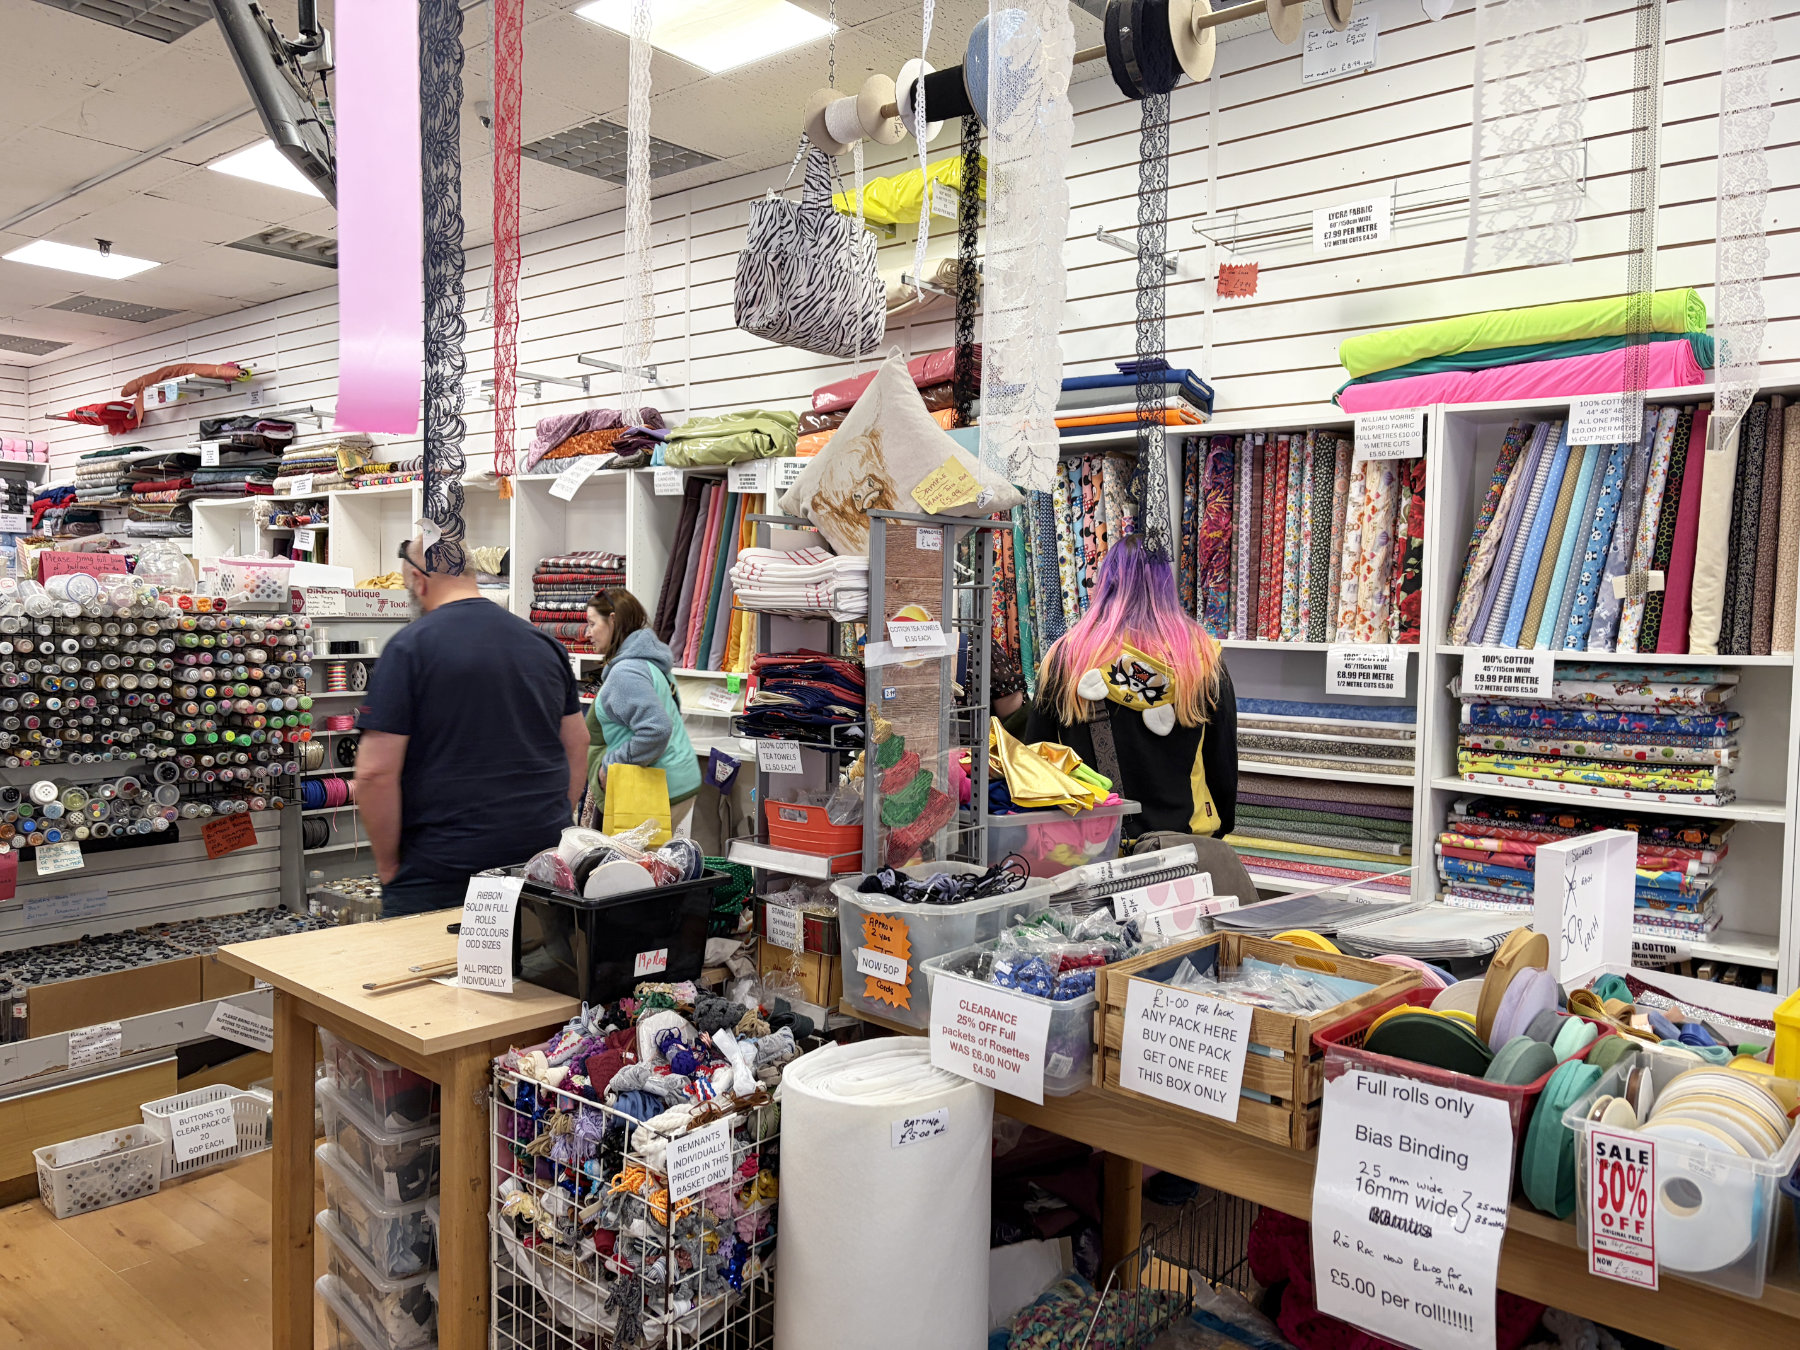
As we wandered a bit further there was an even larger example of this intricate workmanship in progress.
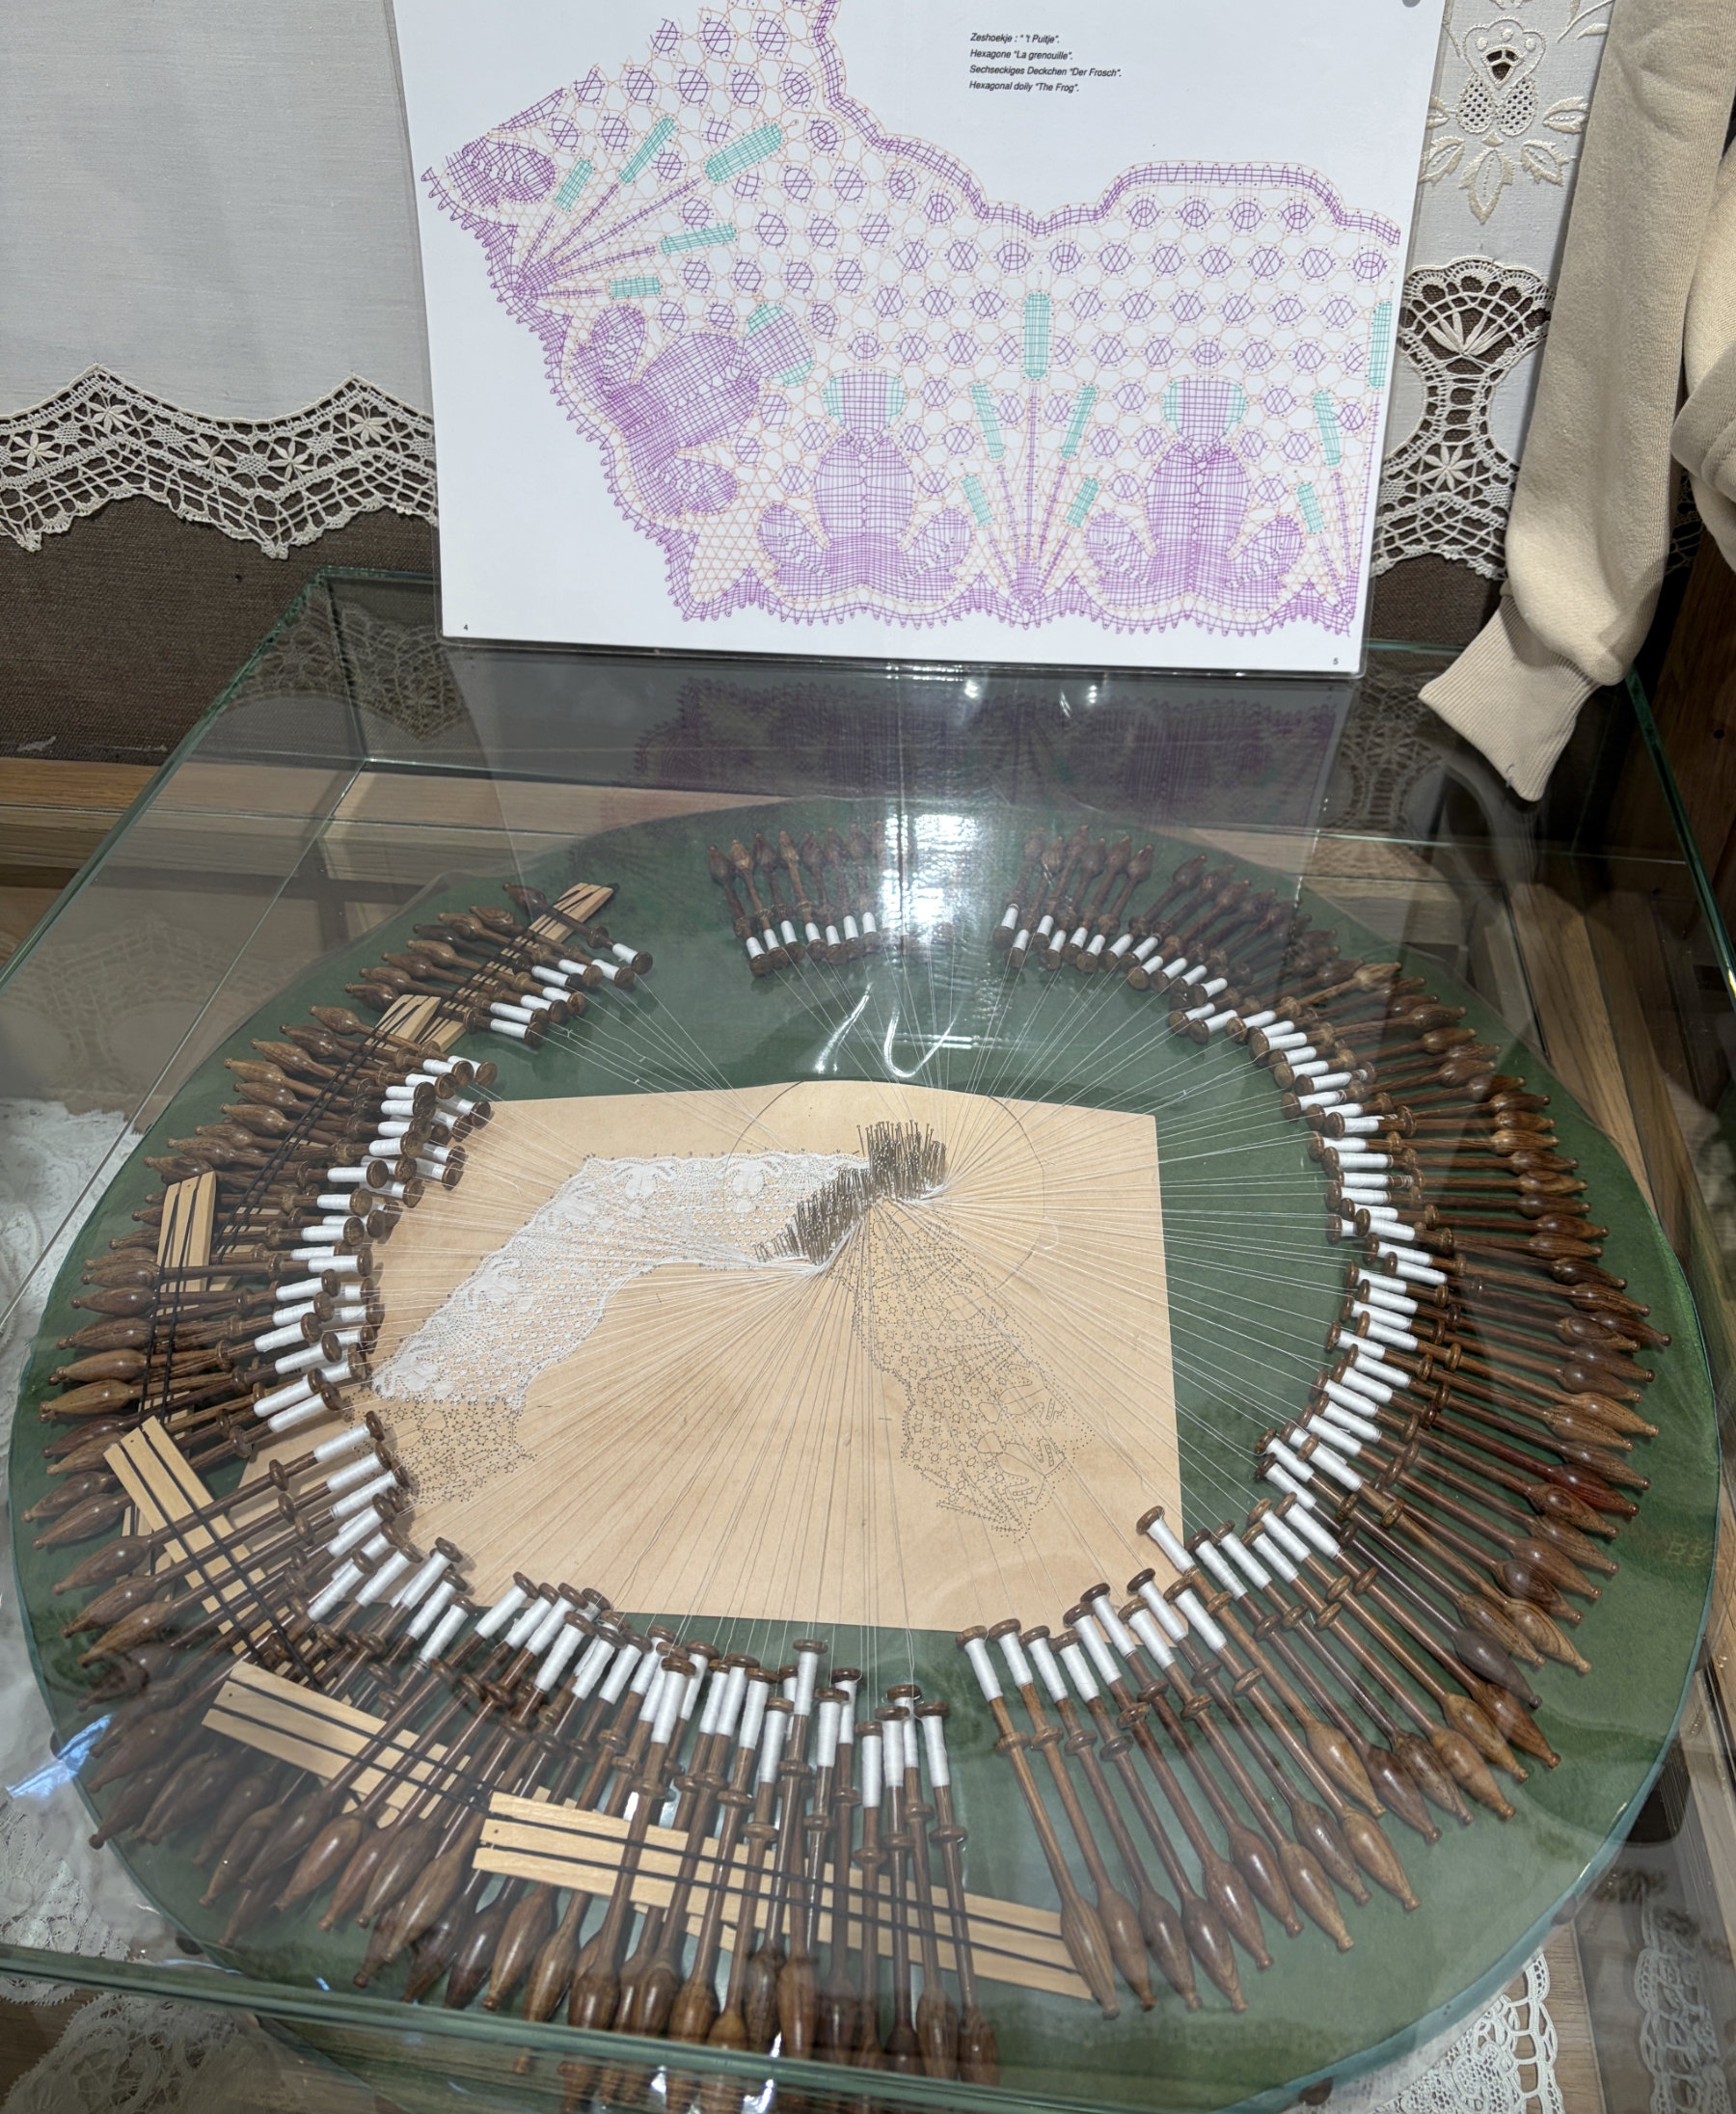
How could anyone wrap their head around this?!? Who figured it out in the first place!?! And just imagine how long a piece like this would take to make! I think I’ll stick with quilting 😊.
This all brought a post from long ago to mind. My friend Connie attended my Open Lab classes at WCTC for years. Of all the projects she worked on in class my favorite was her doily tree skirts (to read about them click here).
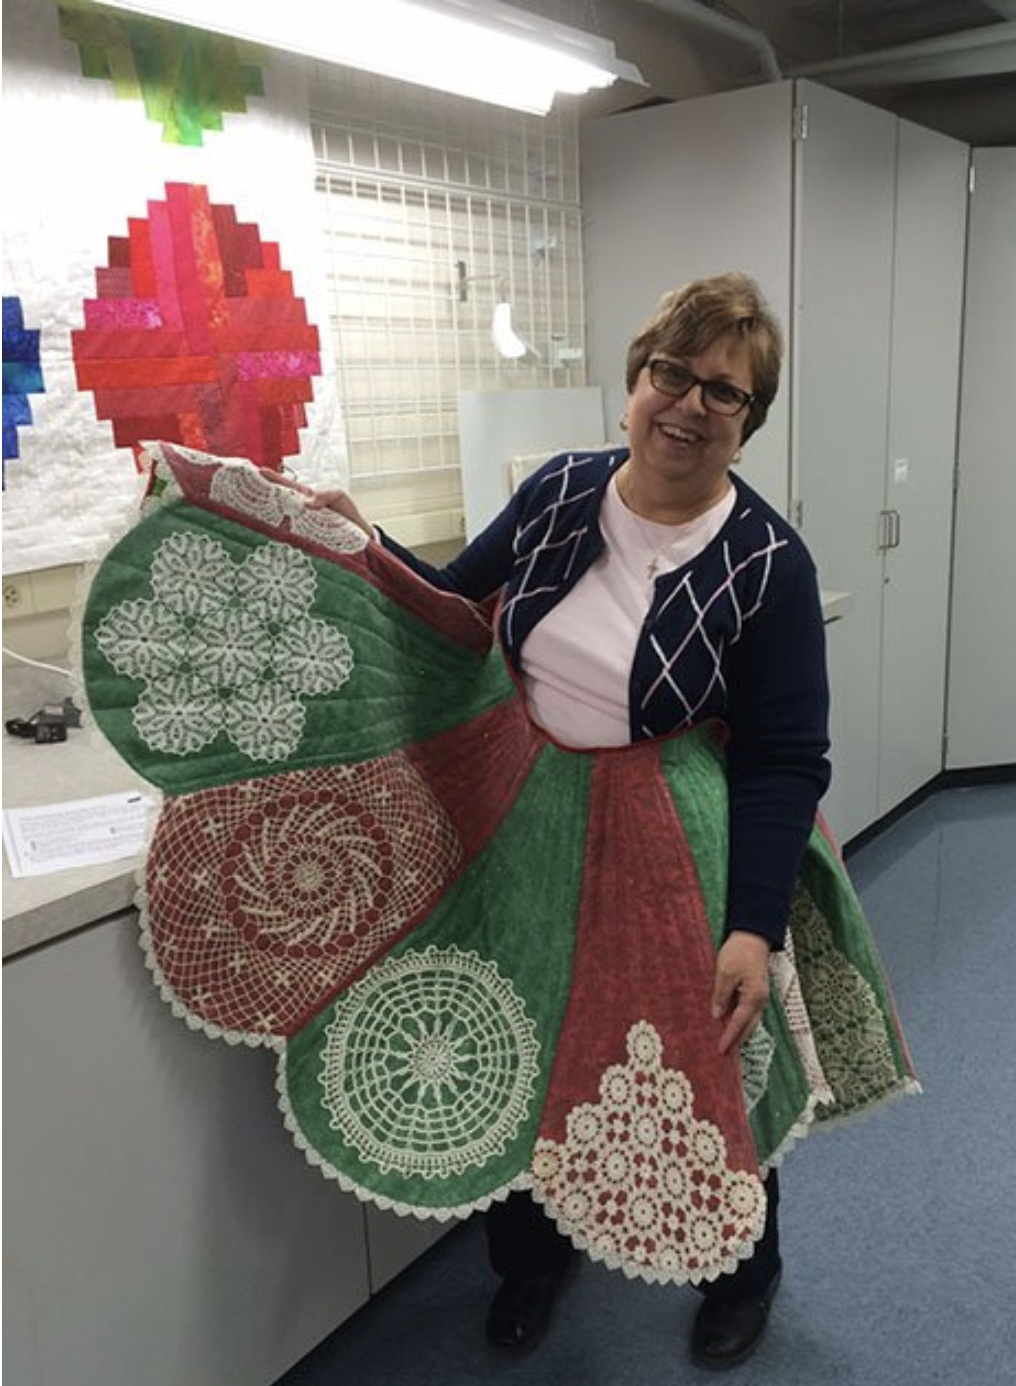
Doilies are a type of lace and Connie had quite a collection from friends and family members. Making these tree skirts for her kids and grandkids was a labor of love.
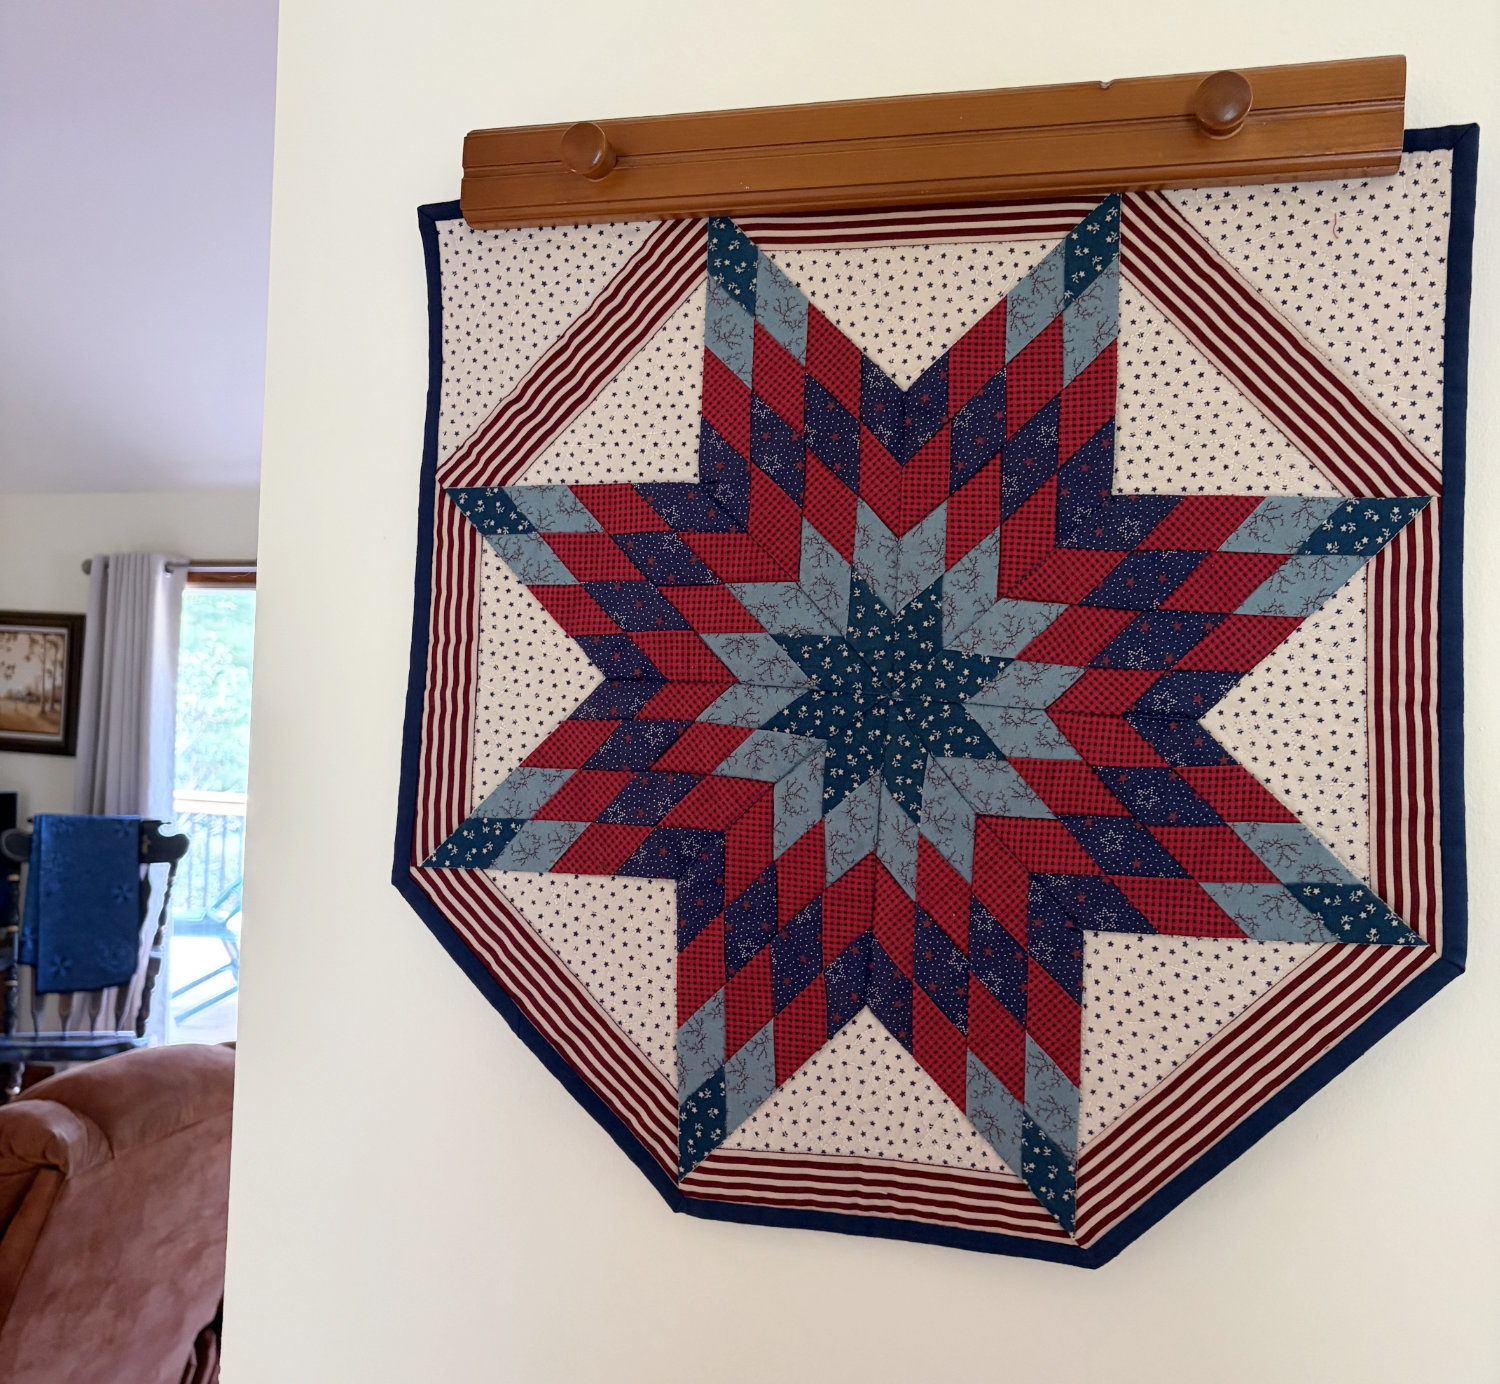
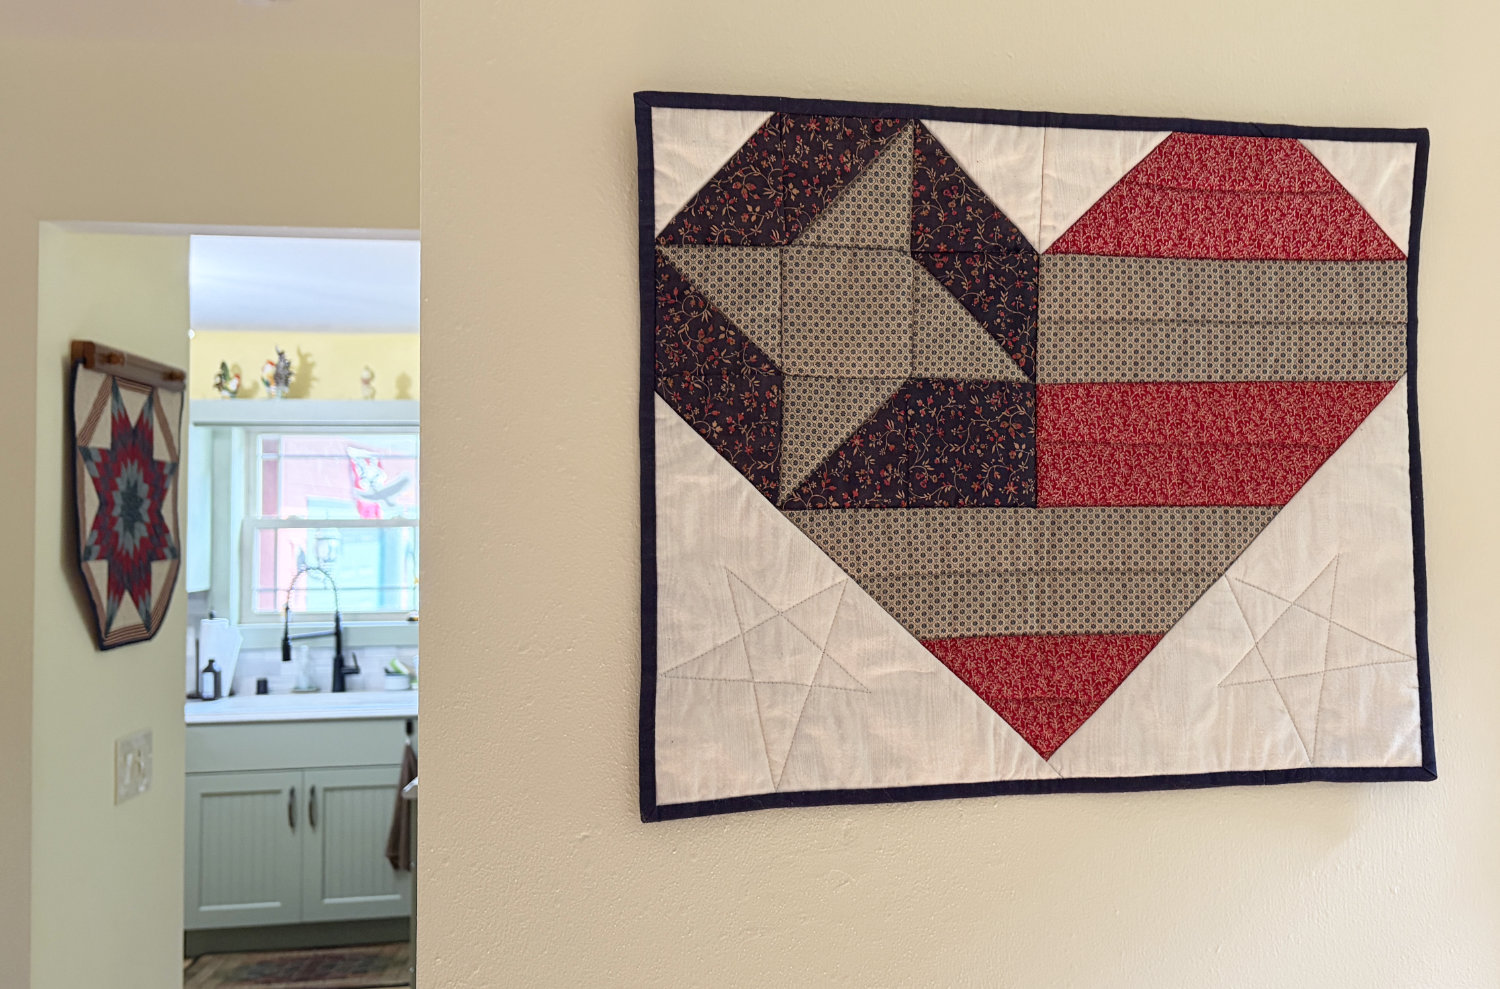
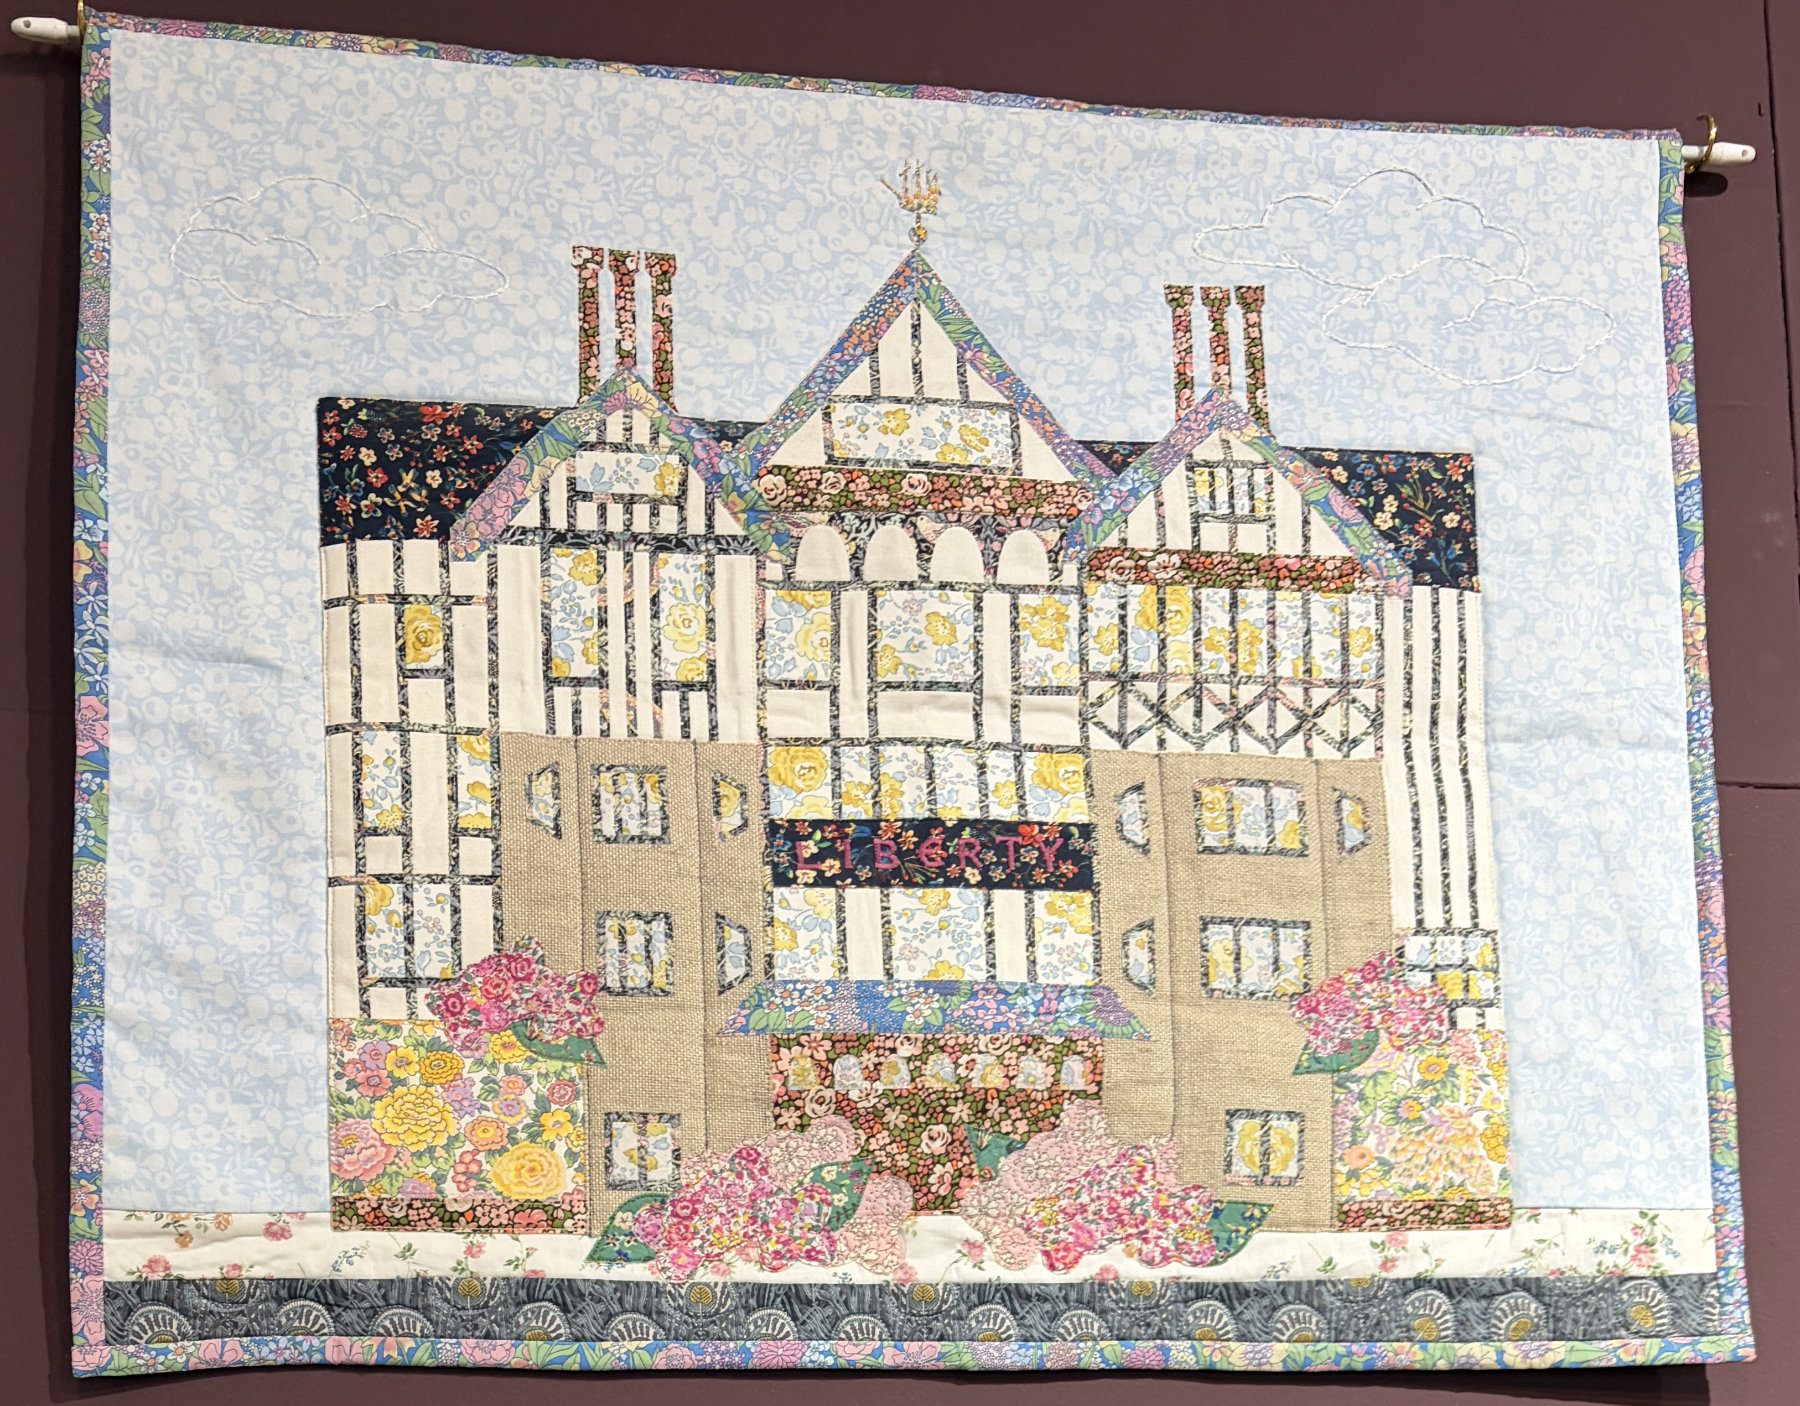
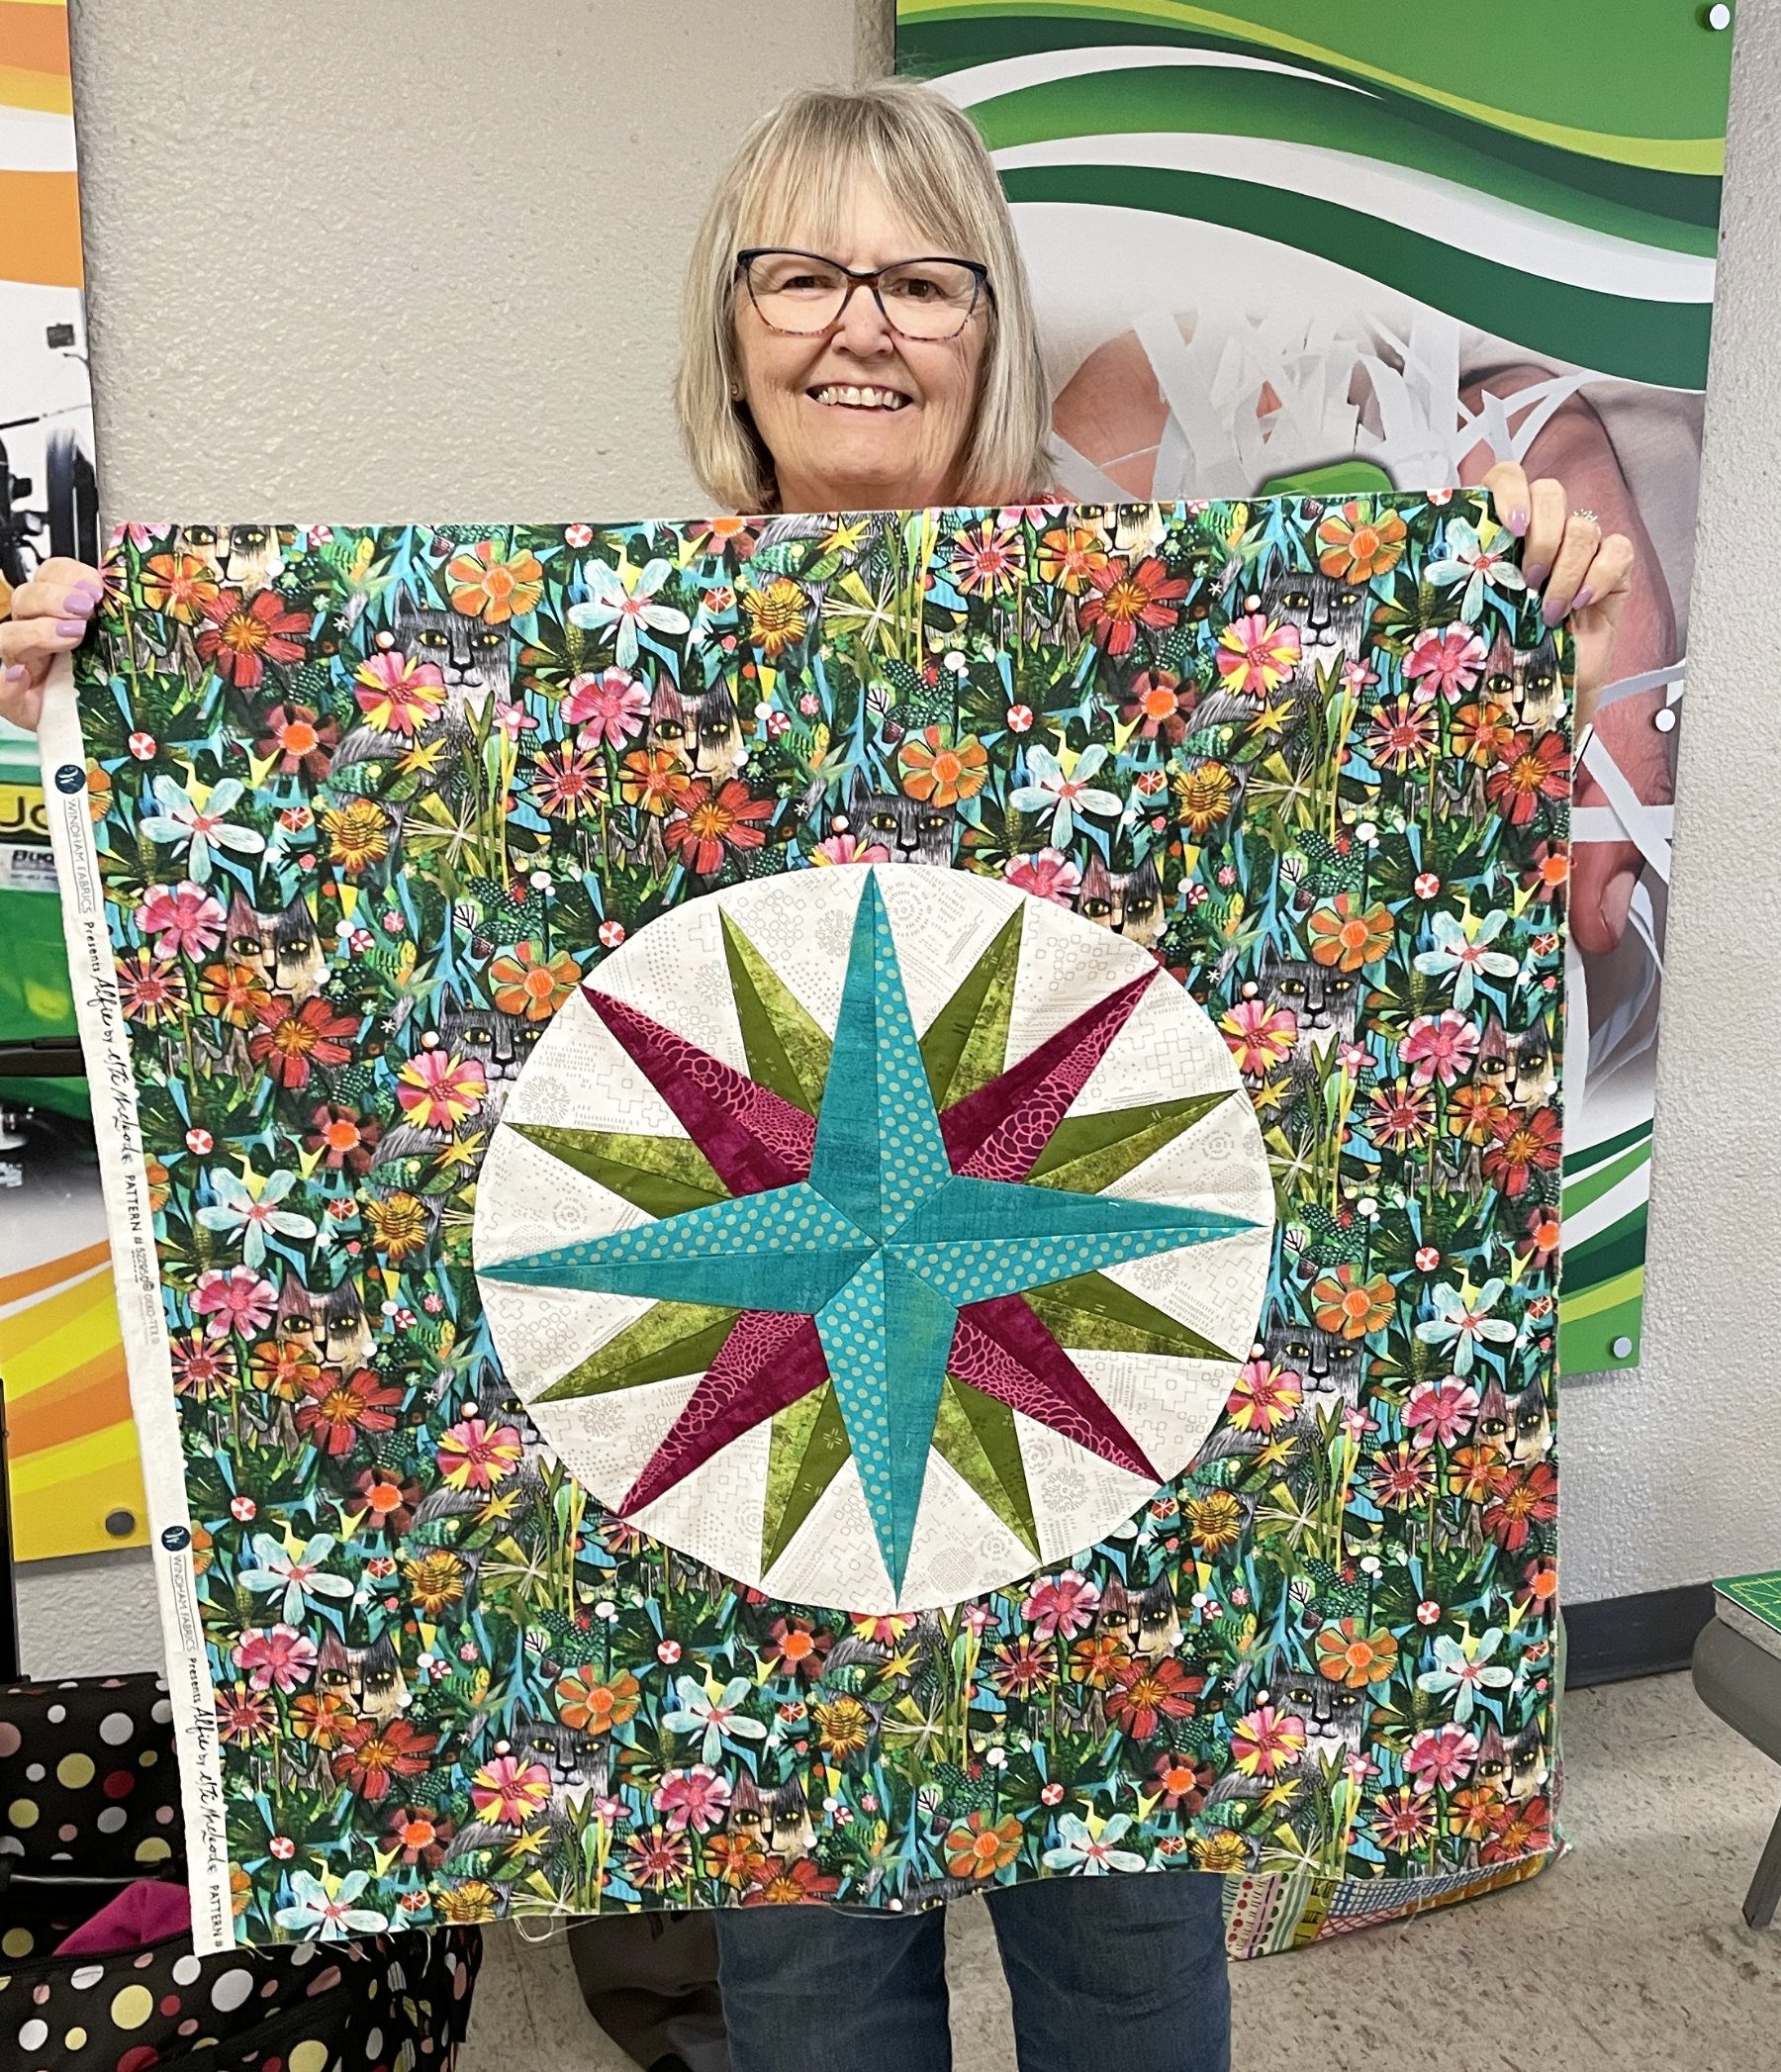
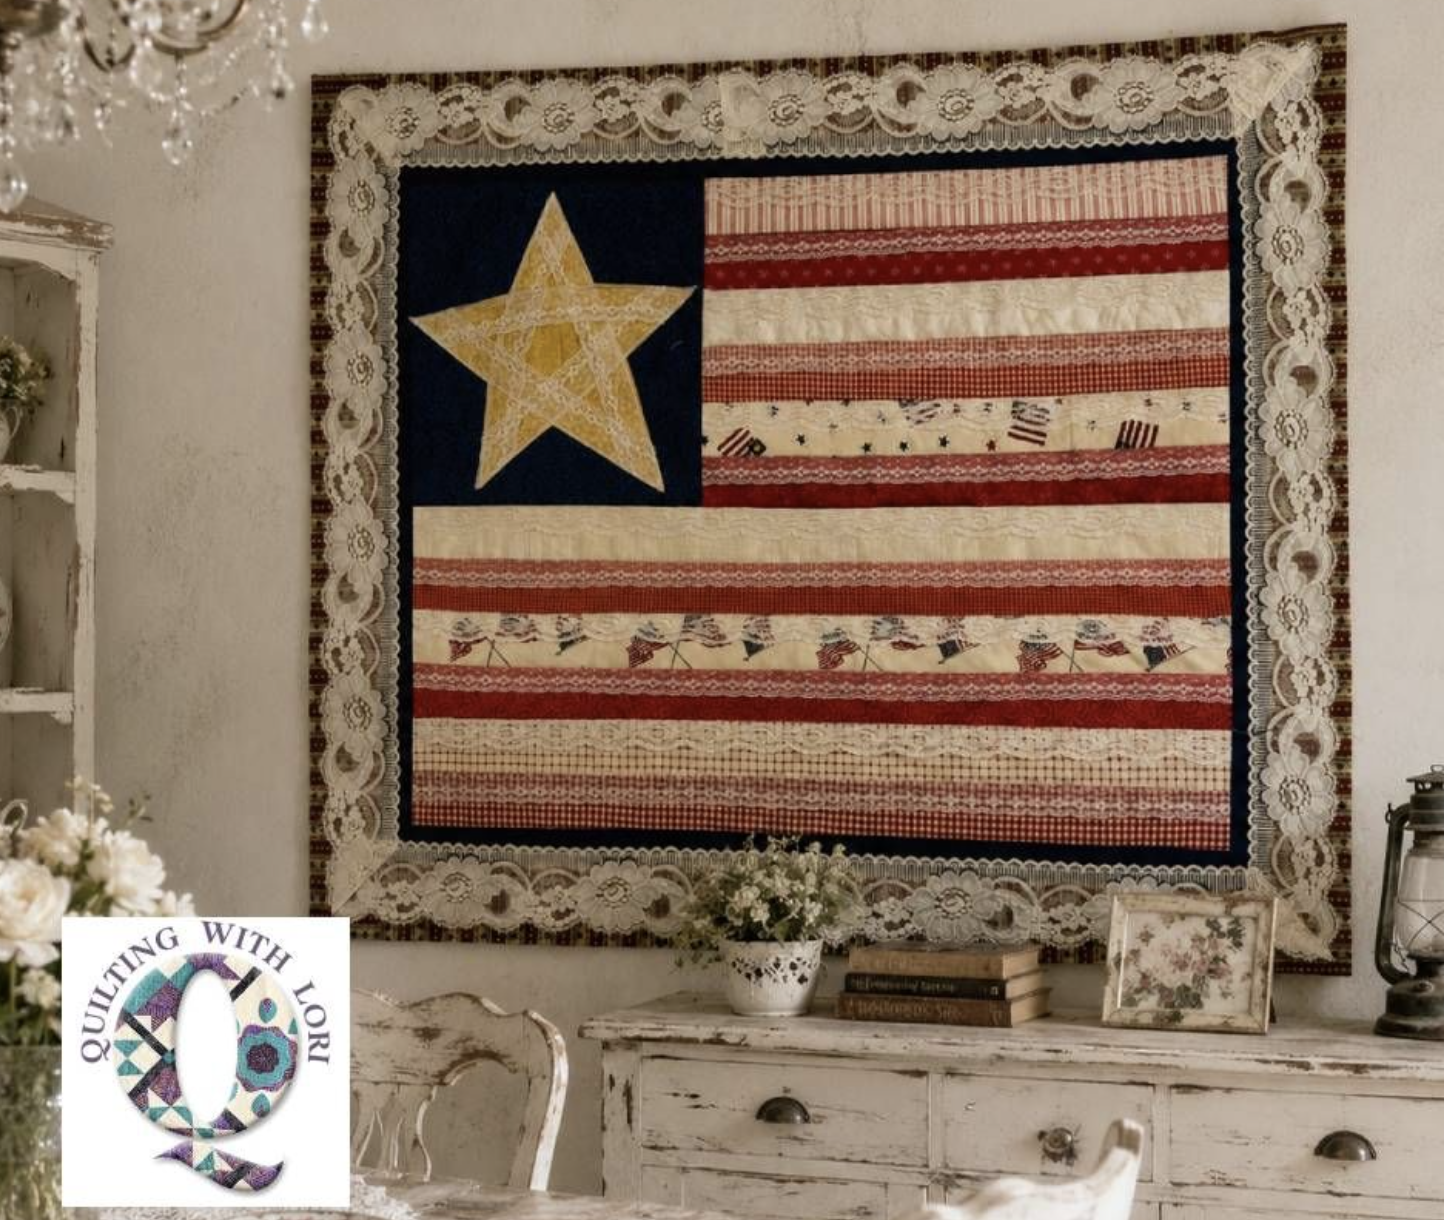
And one last “lace in quilts” photo. My friend Lori just sent out an email with a photo of her “Lace and Linen Liberty Flag” quilt in honor of our nations 250th! It is beautiful, and the pattern is available on her site (click here):
There are many types of lace, many ways to make it and oodles of ways to use it in quilting. I’ve tried my hand at tatting too with little success. How about you? Have you made lace? Have you used it in a quilt? Please send photos!
*****************
Also, my sweet mom, Virginia Walters, went to be with her Savior this past week. Her funeral is tomorrow. Next week’s post will be a tribute to her. Thank you to all who have prayed for her and my family.