In last week’s post, as well as this one, I’m taking trips down memory lane by repeating some oldies but goodies from way back in my early days of blogging (with a few updates).
Last week I shared information from a long ago post about getting a perfect scant 1/4″ seam allowance. As I “copied” and “pasted” the information I noticed the word “kisses” was in blue, meaning it would link to an even older post. I’d used that word as a descriptive way to say “just touching the blue line” (click here to read last week’s post).
So where would that “kisses” link send me? To a post from January 2, 2011 – and I truly laughed out loud! I had forgotten about that New Year’s post entitled “Puckerless”.
Here’s the way it began:
Happy New Year! The tradition of kissing your sweetie at midnight on New Years Eve gave me the idea for my topic of the week :-).
A kiss involves puckering and that can be a good thing:

But sometimes its better to pucker less:

This is especially true when machine quilting! Even if you use a walking foot those pesky puckers have a way of sneaking in on the top and on the back too.
Do any of you remember that post from way back in 2011? If so, please let me know. I’m guessing the majority of you reading this blog joined me more recently. The photos are pretty funny (thanks to family members who puckered up for the camera), but the subject is relevant today. I’m still using those techniques for avoiding puckers in piecing and quilting. They are tried and true, and so I’ve decided to do a bit of a review for anyone interested.
To avoid puckers on the back of a small quilt in preparation for quilting I use masking tape to secure the back to the table or floor. I prefer a table because my back and knees don’t work as well as they used to, and when on a table ~ clamps along the edges work great, with tape along the sides that don’t reach to the edge.
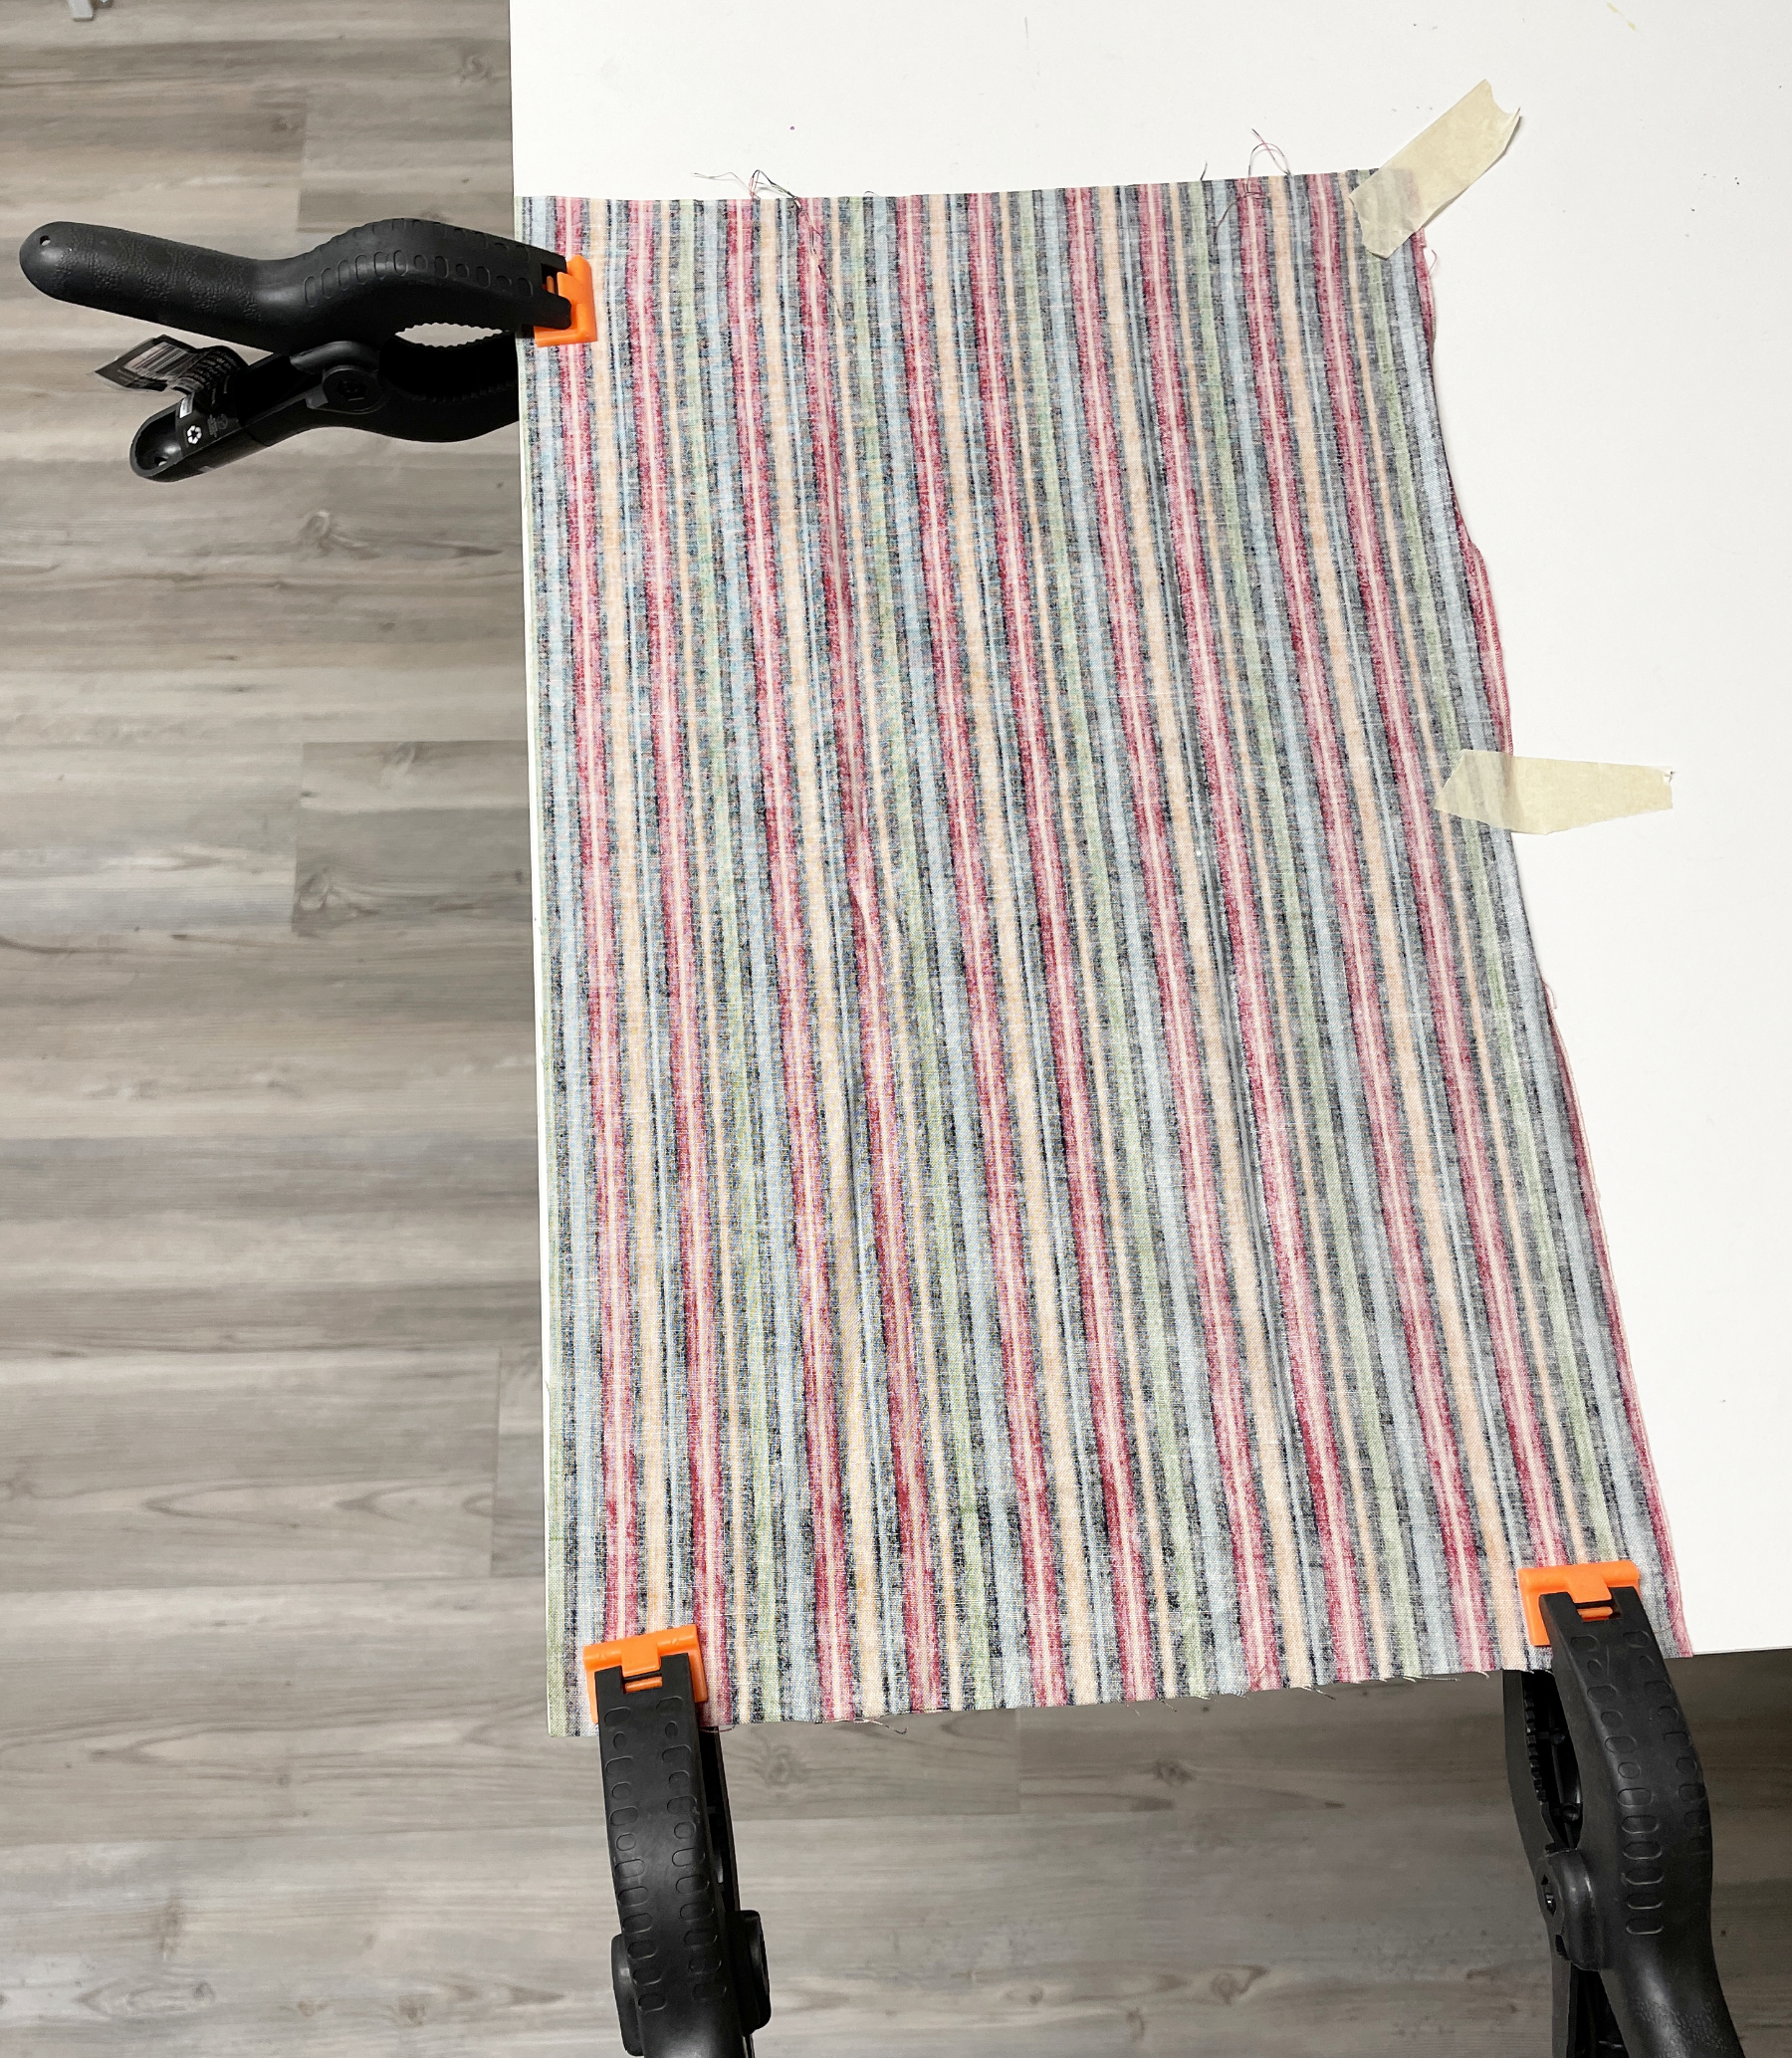
Once the back is taut, the batting and top may be smoothed on top and the pinning can begin. I’ve found this very helpful, but be careful not to stretch the back since this can cause the quilt to shrink up when the tape is removed ~ which leads to puckers on the front ~ ugh.
I’ve also found that when I put a stretchy fabric on the back of my quilts, like fleece or minky, I have to be very careful not to stretch the back at all. I just smooth it flat and clamp/tape it to the table.
For larger quilts I’ve shared my basic quilt frame technique before.
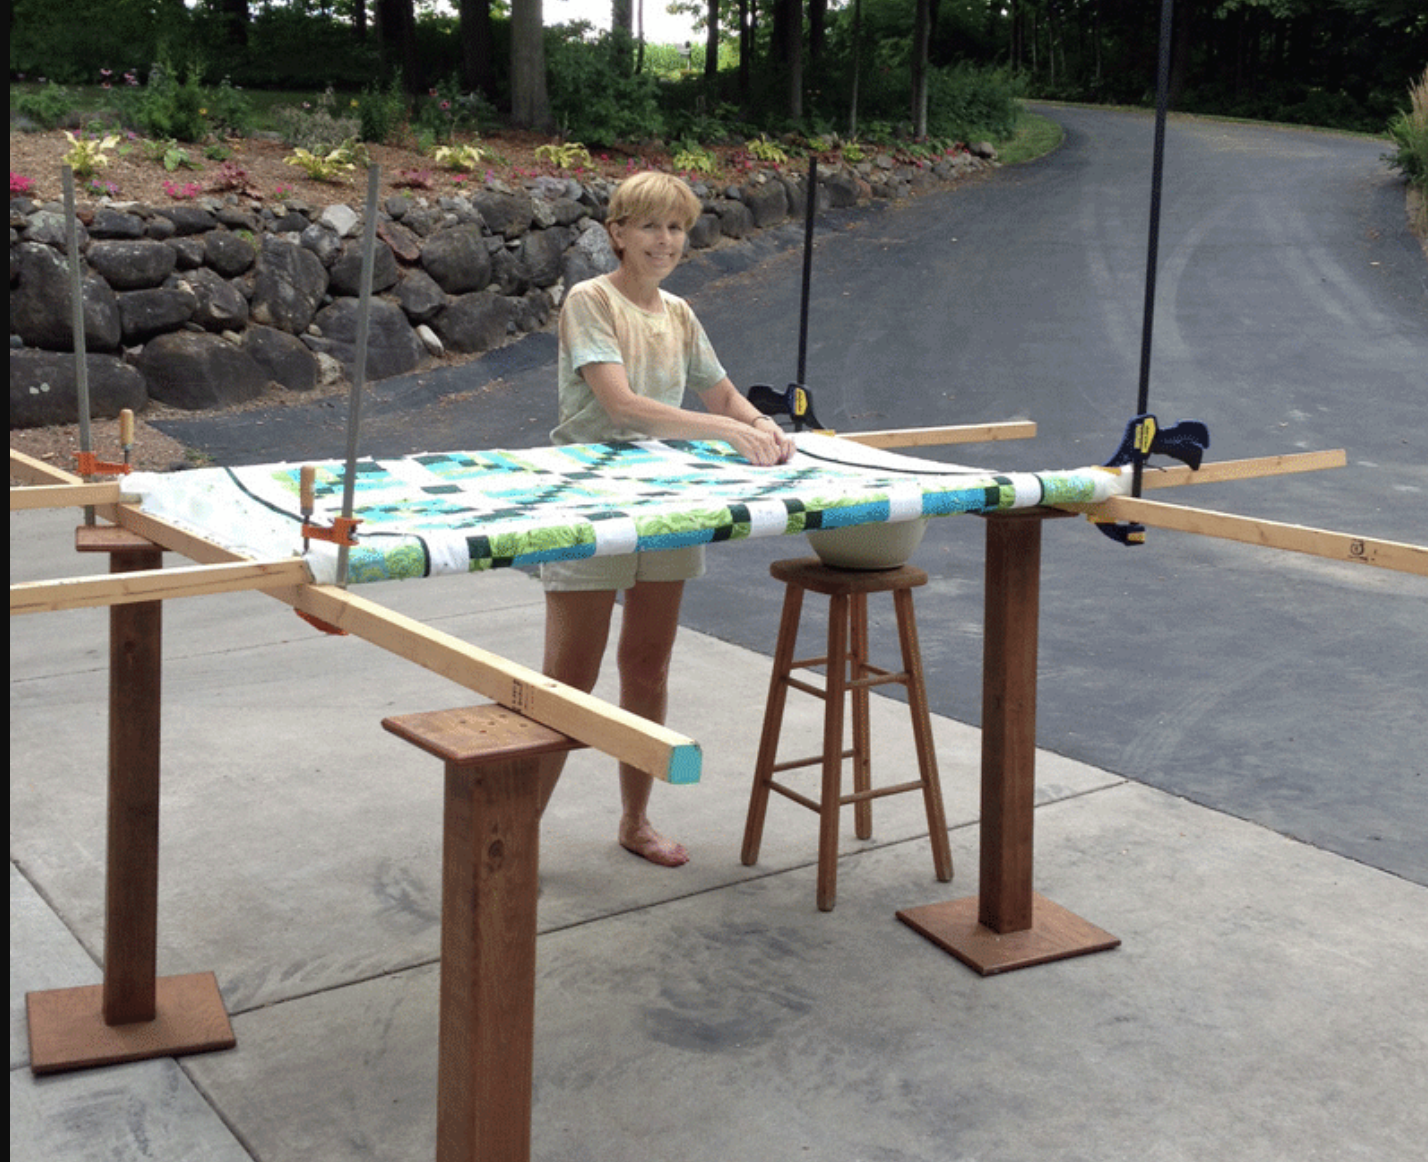
Rather than reposting it here, It’s just simpler to send you to that original post if you’re interested. Click here for all the step-by-step information!
So how do I avoid puckers on the top? Here’s a portion from my original post on this topic:
Even if you safety pin baste your quilt sandwich together well (every 3 or 4 inches), and use a walking foot, those pesky puckers still tend to sneak in. So what’s my favorite tip for avoiding this frustration? I call it my “3 Pin Technique” and it’s actually quite simple.
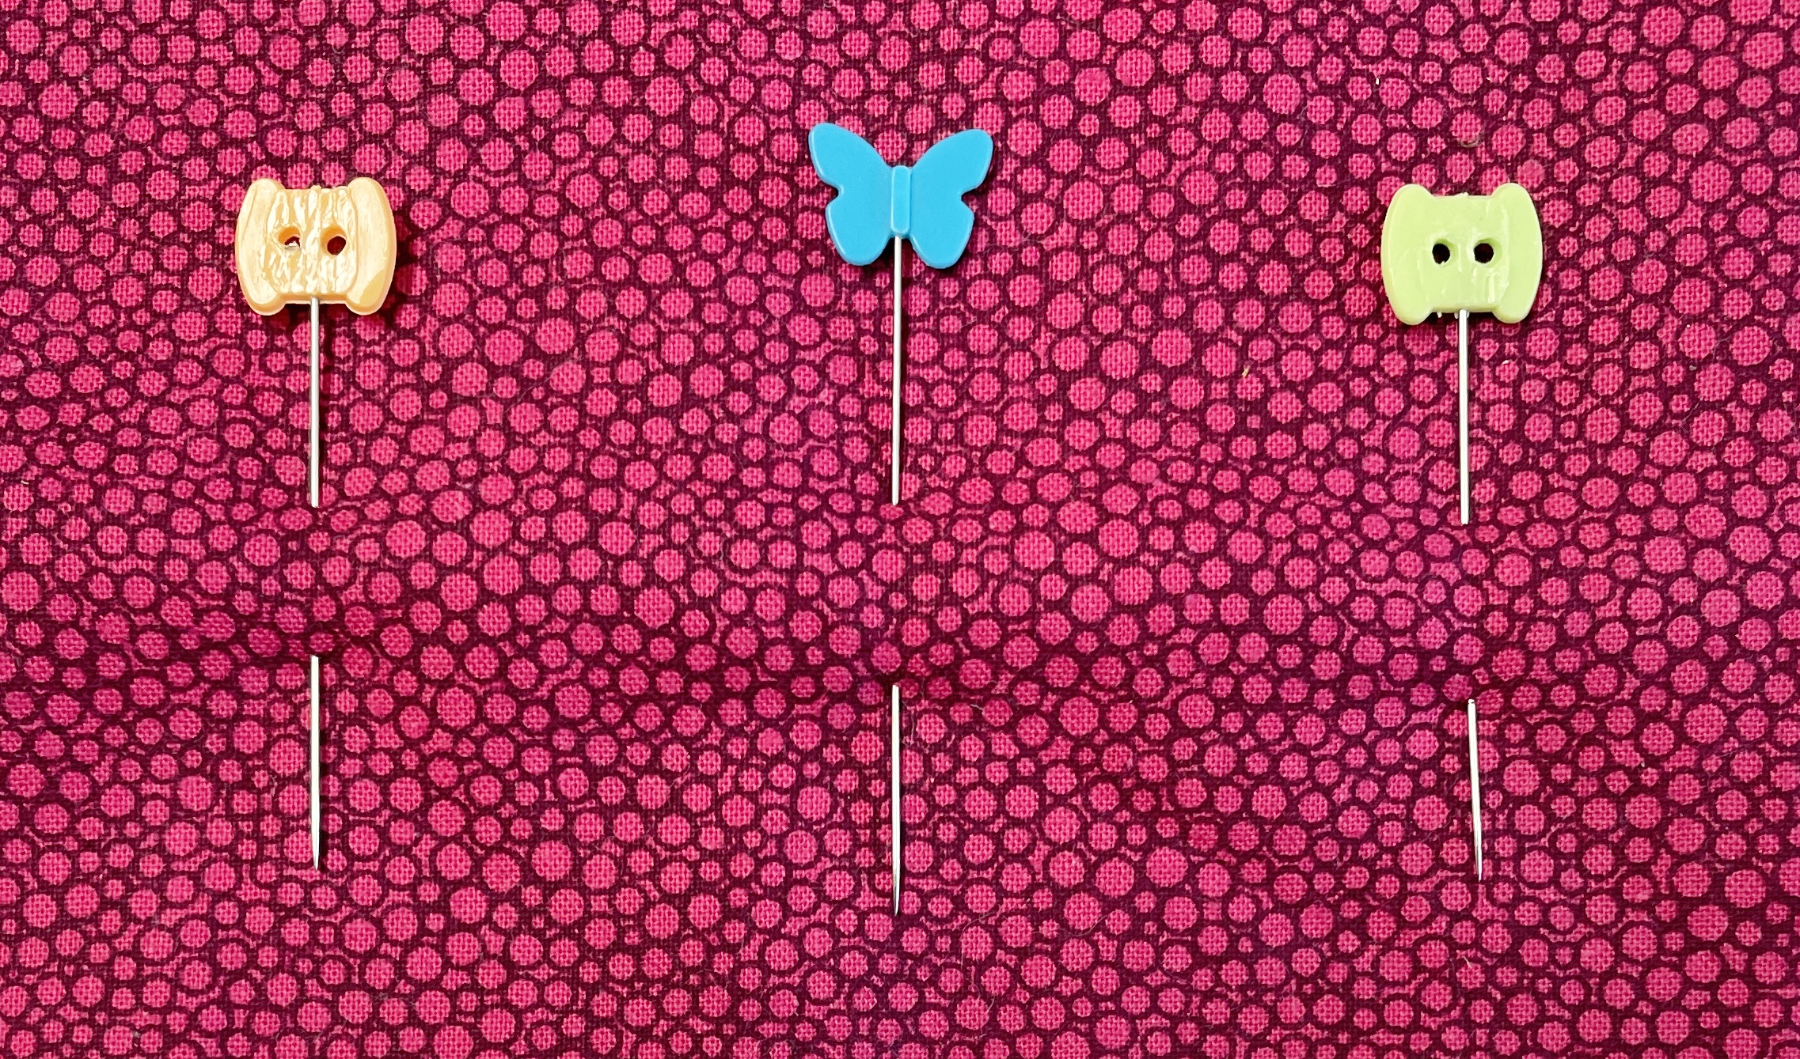
1. Put the needle down at the beginning of the line you wish to quilt (I plan to quilt between the light and dark purple areas on my fabric).
2. Place a straight quilting pin (mine have yellow heads in the picture) perpendicular to the quilting line and about 1 1/2″ from the needle. Place the second straight pin 1 1/2″ further down the line and repeat for the third pin.

3. Stitch along the line to the first pin, and then remove it. Continue this way to the second and third pins.
4. Repin ahead of the needle as in step 2 and continue along the entire line.
Although this may seem a bit tedious, you can really get into a rhythm and the “easing” action of the pins will make pucker problems a thing of the past. The feedback from my students has been great!
So, do you have any tips for avoiding puckers on the front or back of your quilts? Please share them with us!
****************
And… a follow up to last week’s post:
My dear friend and fellow quilting instructor, Margaret Gawlik, sent me a lovely email after my last post. In it she shared photos of some of the ways she’s made blocks of different sizes fit together, and she said I could share these ideas with you. Here are the photos and the explanations she sent:
“The first quilt shows your “on point” idea … worked fabulous in making a charity quilt bed-size with some odd sized blocks. (I have another group of orphan blocks & need to do this again!)
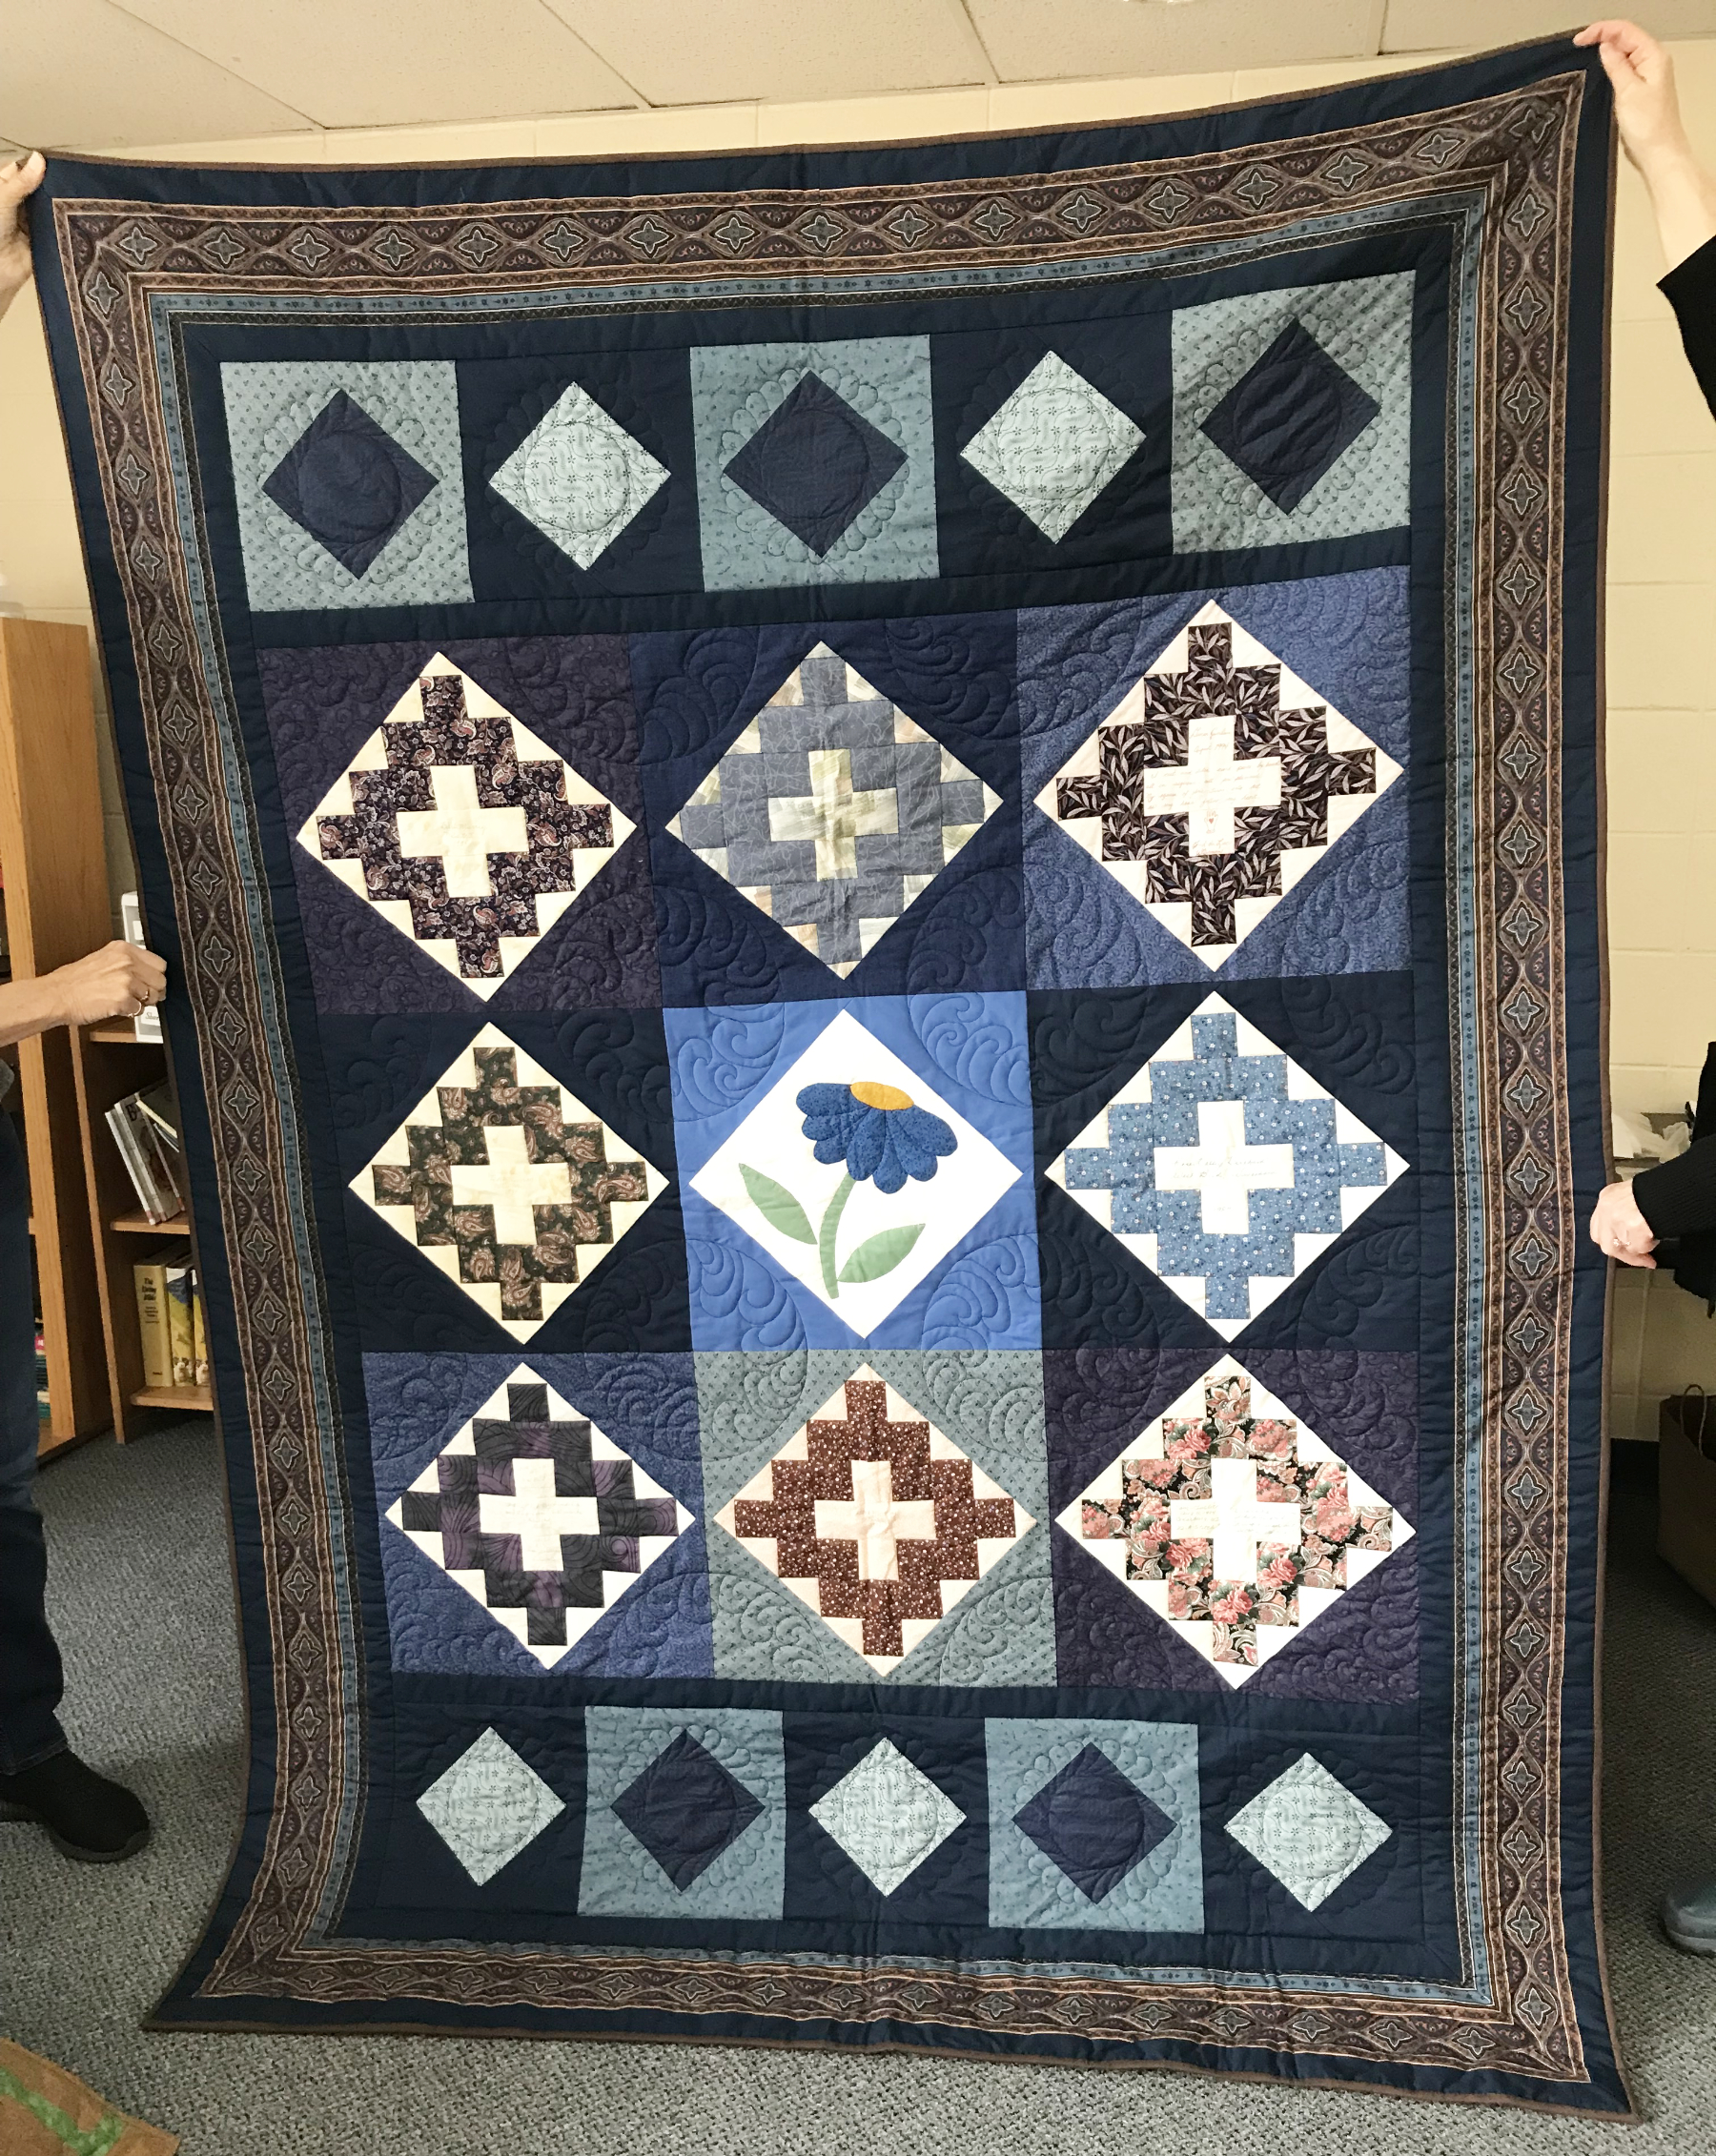
When guild members gave me blocks, I finally figured out this method to make them all the same size … and large enough for a bed size quilt, since they started out 6″.
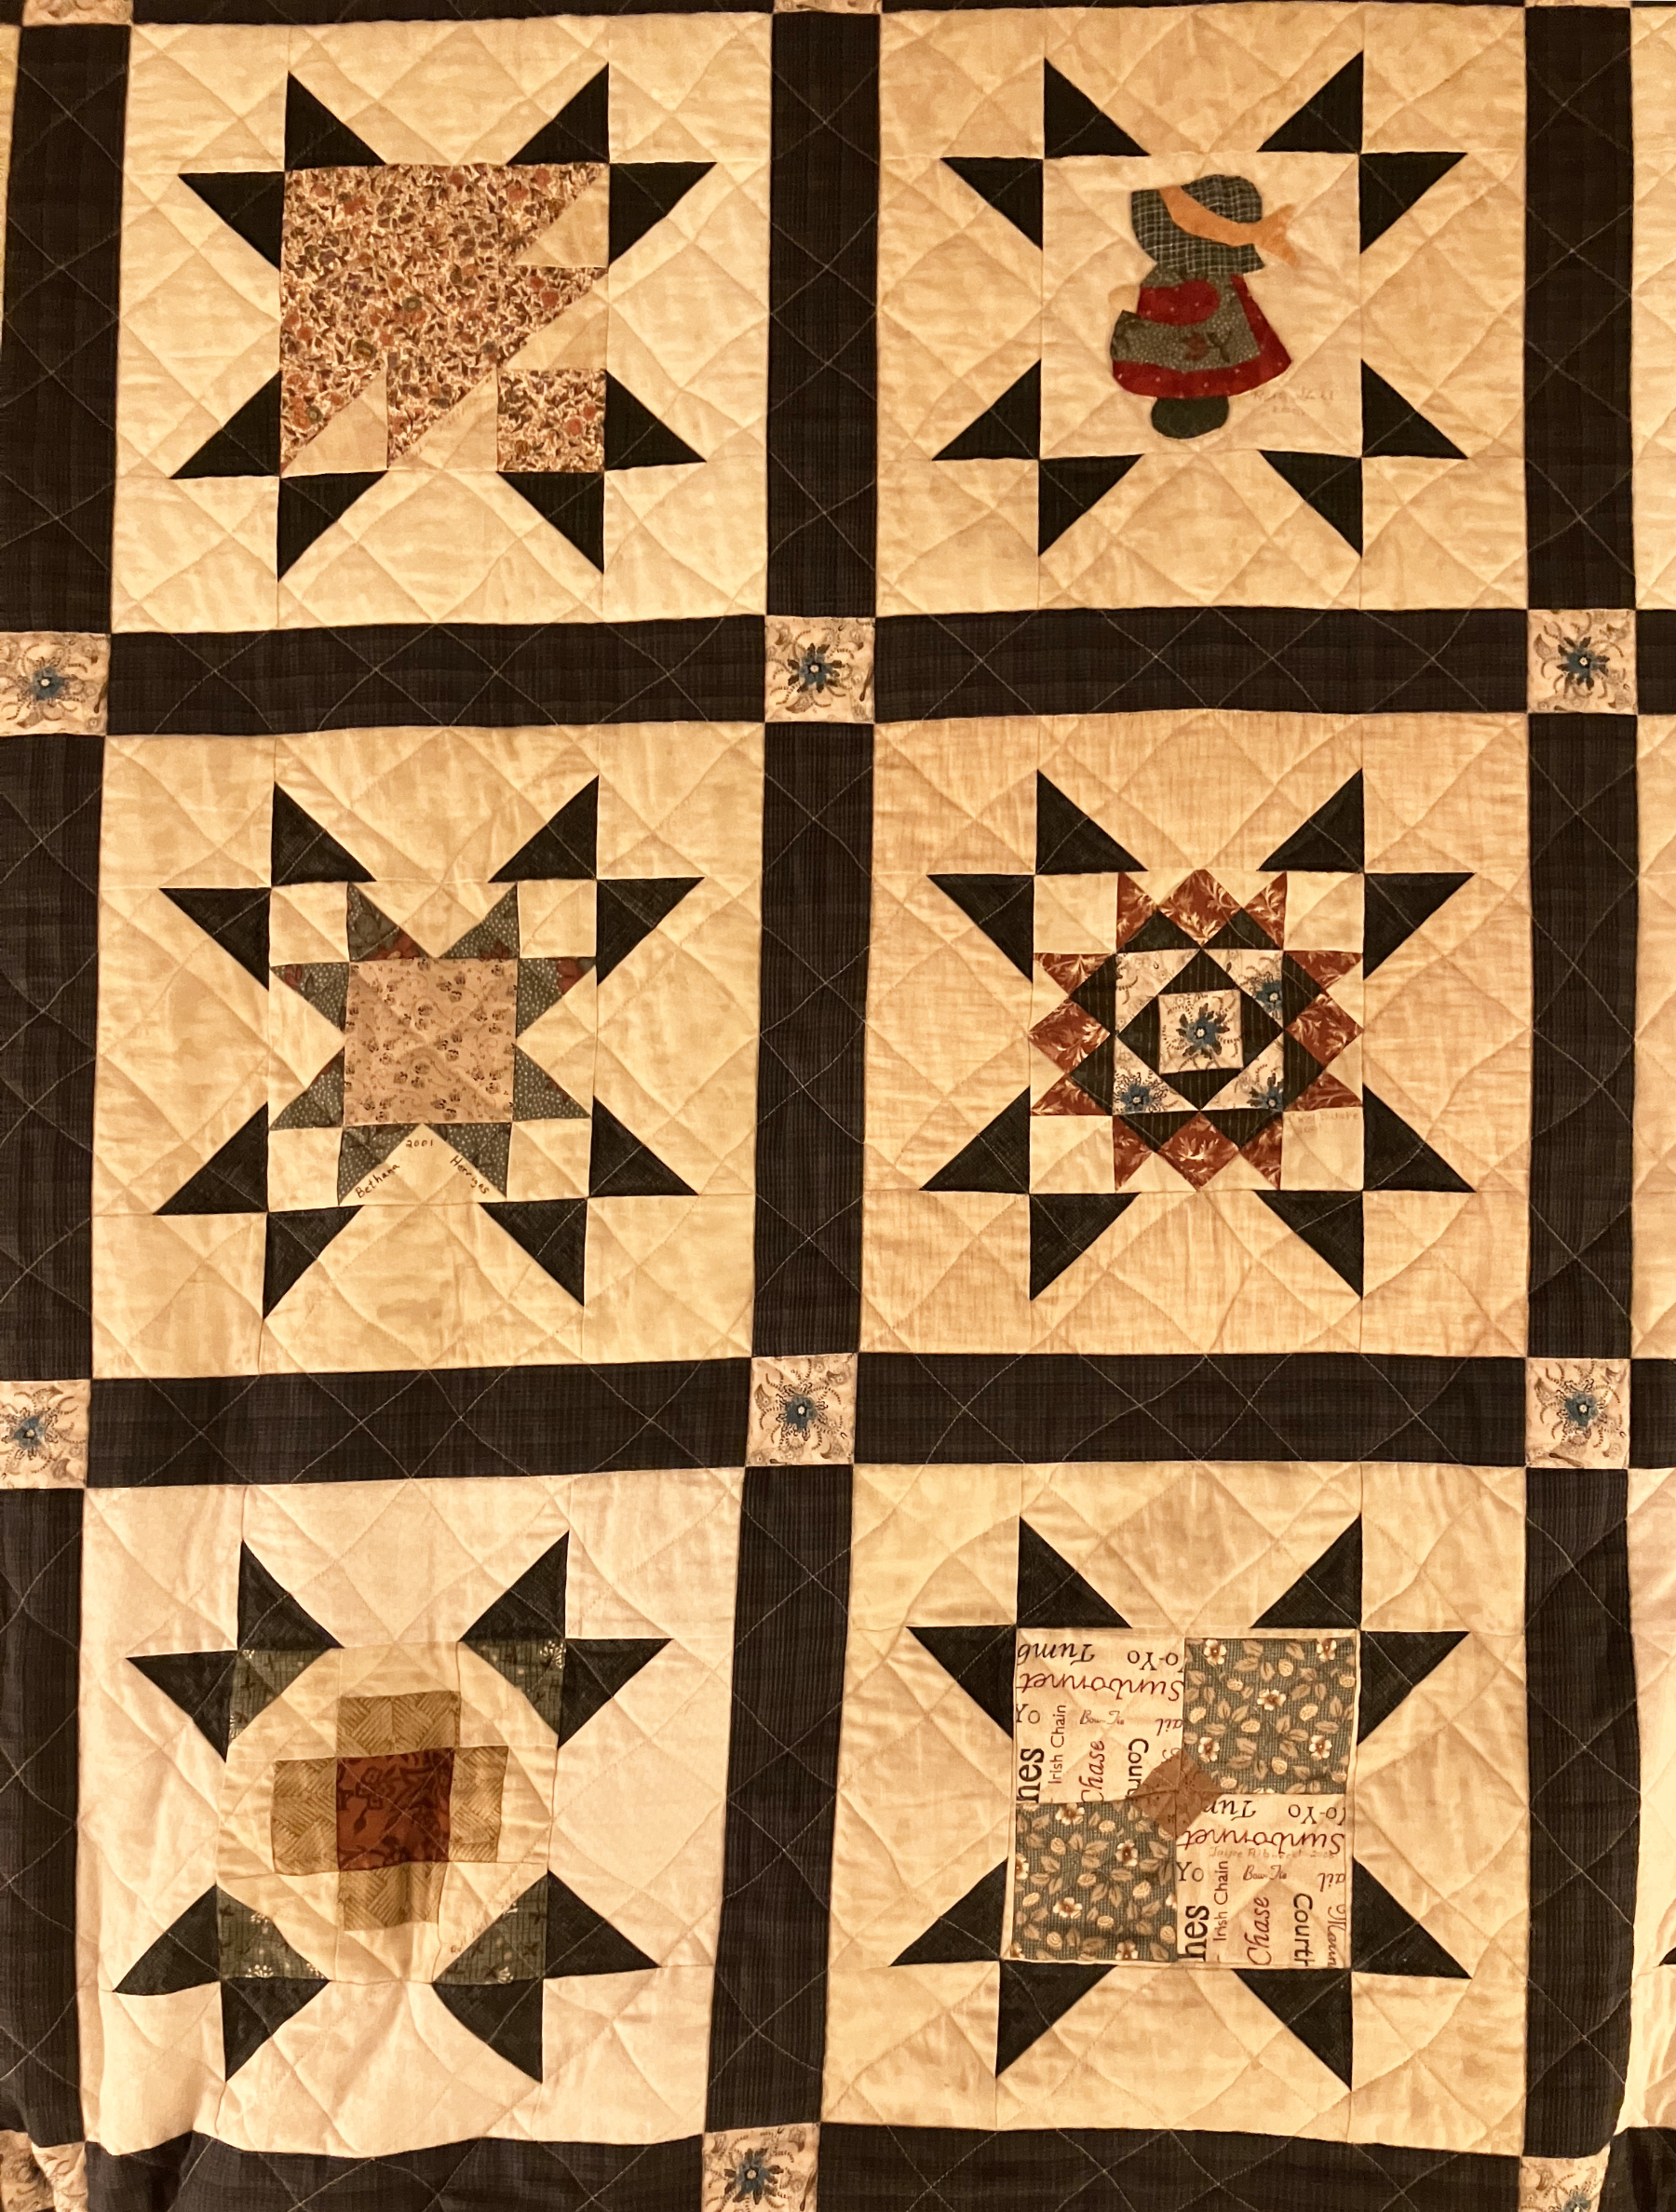
I love this ~ sampler blocks in the middle of stars - brilliant! And Margaret continues:
And this is my version of a barn quilt, and a way to make rectangles into squares that all could be made the same size “
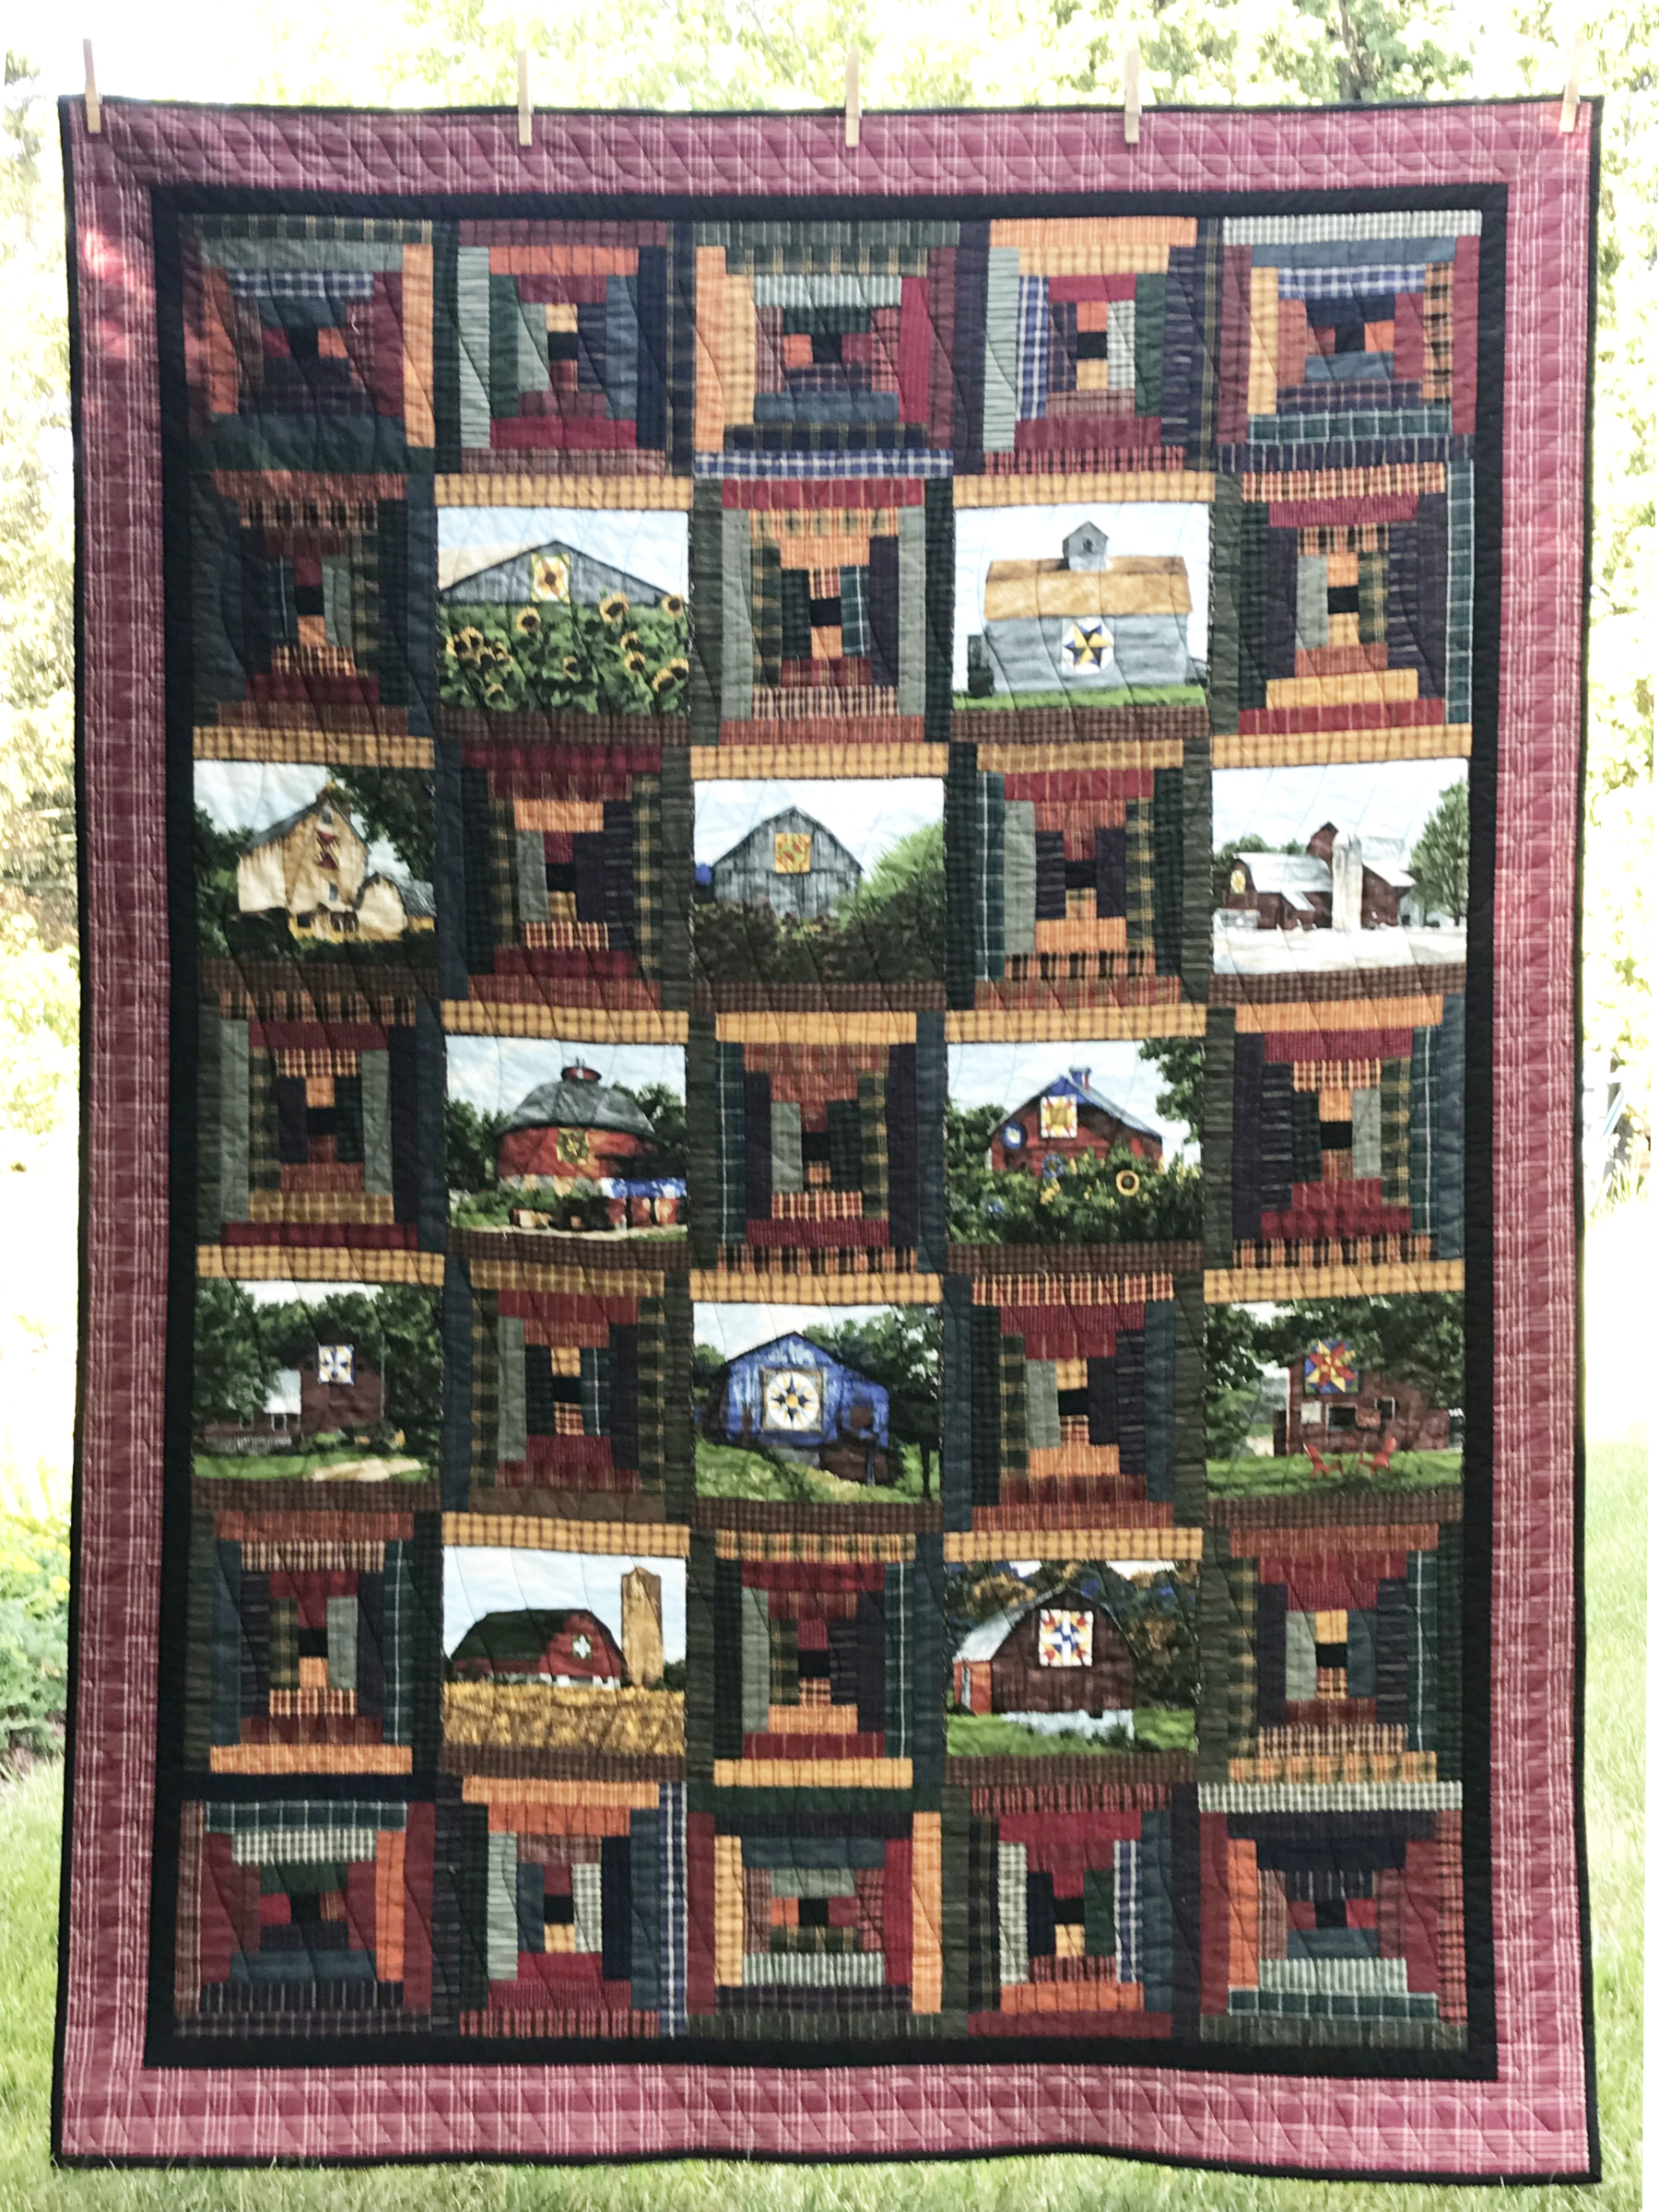
Making rectangles into squares and pairing them with log cabin blocks – very clever!
Thanks so much Margaret!

judy raddatz says
Always inspiring. Thanks