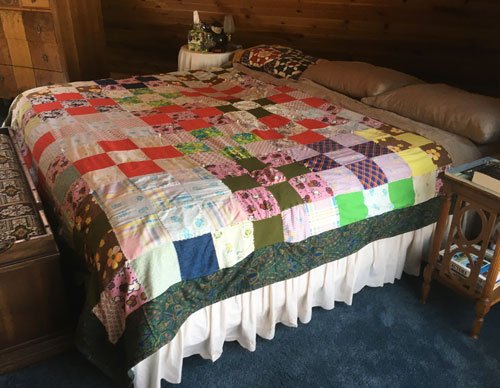
In last week’s post I told the story of a quilt (it’s really a comforter because it’s tied, not quilted) that has kept Mike and me warm for 42 years. I was overwhelmed with the wonderful comments and suggestions to that post. I washed it, hung it outside (Spring is finally here!) and took a few minutes to simply look at it.
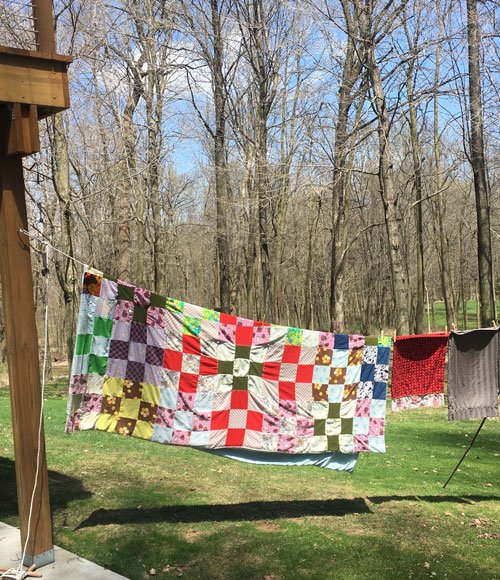
As puckery and worn as it is, it has too many wonderful memories to end it’s usefulness now. But how to repair it? Since almost all of the worn blocks were on the edge – why not cover them with a border “quilt-as-you-go” style? Please bear in mind my original comforter was layered with a sheet and a sheet blanket, stitched around and turned; then it was tied with yarn every 16″ – so it never laid flat, even before the wool shrunk. That added a minor layer of difficulty to this process, but I persevered.
I pulled out a pretty fabric from the “multi-yard” area of my stash, and cut a strip of fabric the length of each side of the comforter by the width of the outer row of blocks + 1 ½”. I laid a border strip, right sides together, with it’s appropriate side of the quilt, covering the outer row seam by 1/8″ and stitching with a ½” seam allowance.
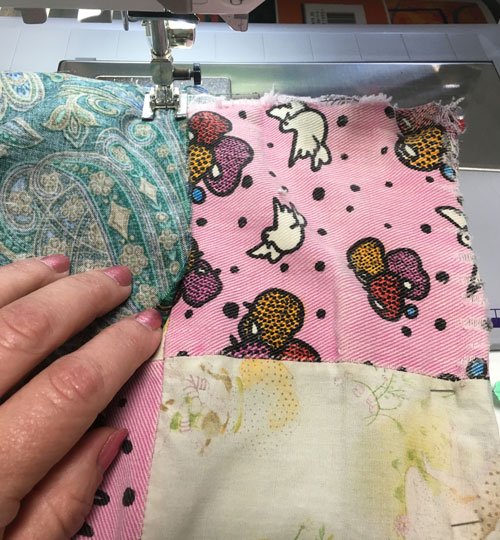
As I continued stitching I found a block that shows why something had to be done 🙂 !
Once the seam was done I folded the border strip over the row of worn blocks, turned everything over to the back, and folded the border back on itself to create a “self-binding”.
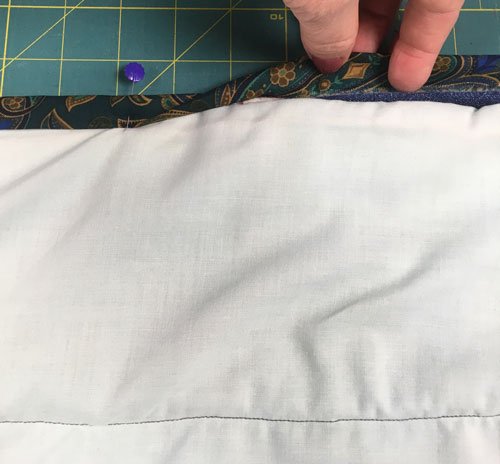
I stitched it in place from the front with a decorative stitch.

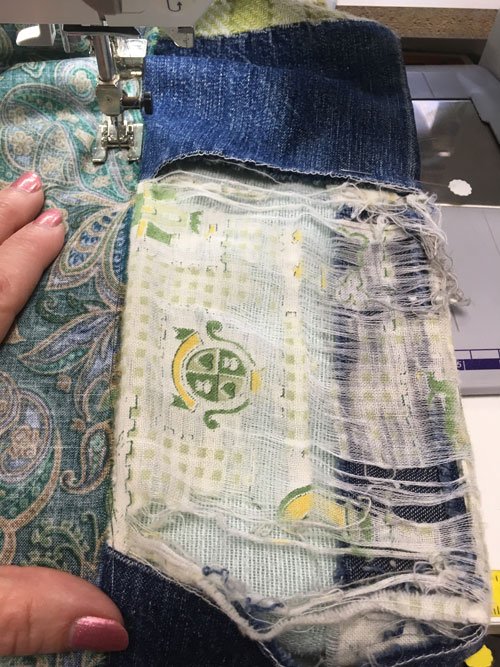
I repeated this for the other side, then I added the top and bottom strips, this time leaving 1 ½” extra on both ends to finish the corners.
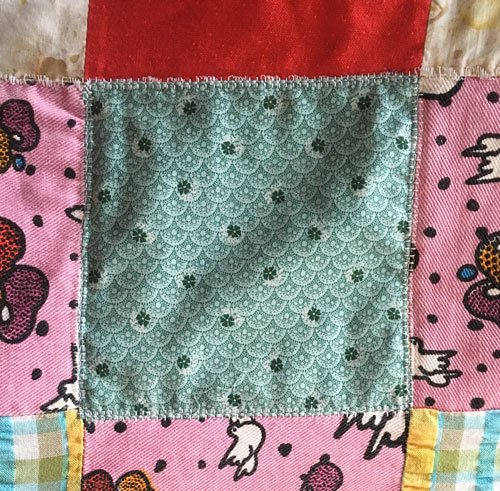
While working on the borders I did find 2 squares in the interior that were threadbare. To fix them I went through my box of 6″ squares, chose 2, trimmed them down to the right size, pressed under 1/4″ hem, and topstitched them in place with a mending stitch on my machine.
My old friend is still quite wonky, and there were some unavoidable puckers on the back (which I will not share pictures of), but it’s back on the bed and ready for another 42 years!
Thanks for all of the encouragement!

Alice says
How wonderful, it looks!!!! I can hear a multitude of “Grandmas” calling down from Heaven….
“Waste not, want not.”
“A few stitches, here and there, and it will be fine!”
“It still has several generations of use in it.”
Renee Watry says
I really like your old but new quilt. You had some good ideas. Hope it is
Inspiring enough for others to keep and repair their keepsake quilt.
Rose Duchniak says
Chris it looks beautiful! It reflects all your love for family and your love of quilting.
Rose
Karen says
Adding the new “border” turned out very nice.