Wendy and I recently hosted a reunion for quilters who have traveled with us on any of our past eleven trips.

We asked them to bring along their projects and photos from their travels, and it was a lovely time for remembering.
One of the projects I taught for both our riverboat cruise through France and our bus tour of Ireland was something I call a squash book.

I had actually forgotten all about them, but when Nancy pulled hers out at the reunion – it came back to me. Then another Nancy asked for the pattern and I had to go digging. The problem was – I had written up a class handout, but there were no pictures or diagrams. At that point I knew I had another blog topic!
From the outside they look like a square, fabric wrapped package, but when they are opened the fun begins.

They are small photo albums! If you’d like to make your own, here’s what you’ll need:

To make the covers:
°Place 1 cover fabric, wrong side up on the work surface.
°Center a piece of cardboard on the wrong side of the cover fabric.

°Hot glue 1/2” area along one edge of cardboard and fold fabric up onto the glue. Repeat for the opposite side (this book has different fabric – and cardboard – front and back. Both made the step-by-step pics, above and below, the instructions are the same. I apologize if it’s a bit confusing).

On one of the remaining sides: glue the edge, fold fabric corners in and fold fabric up, onto hot glue “gift wrap” fashion. (in the previous photo the sides have been glued in place and the bottom has the corners folded and is ready to be glued in place on the cardboard)
°Repeat for last side (the top edge on the above photo). Then repeat all steps to make the other cover.
To make the pages:
°Cut all 3 card stock pages into 8” squares.
°Fold each page into halves and quarters, open and fold along 1 diagonal.

°Lay pages in a row with the 2 outer pages – points down, the middle page – points up, and the diagonal creases all going vertically.

°Nest the left square of the middle page over the right square of the left page (these squares have no diagonal crease). Glue together with rubber cement (I brushed rubber cement on both my green and white squares for a good bond)
°Repeat with the right square of the middle page over the left square of the right page. Let dry.
Putting it all together:
°Place the front cover against the square to the left. Apply fabric/paper glue evenly to the back of the paper page and center it on the cover. Press firmly for a few minutes to hold it in place.

°Carefully repeat these steps for the back cover (being sure the front cover stays in place), but add a ribbon to this cover by folding the ribbon in half to locate the center and placing this on the wrong side of the back cover, centered horizontally. Apply glue and position book pages on the back cover. Accordian fold the book together and place a heavy object on top while the glue dries on both covers. This image shows how the ribbons should be glued between the layers on the back cover:

Filling your squash book:
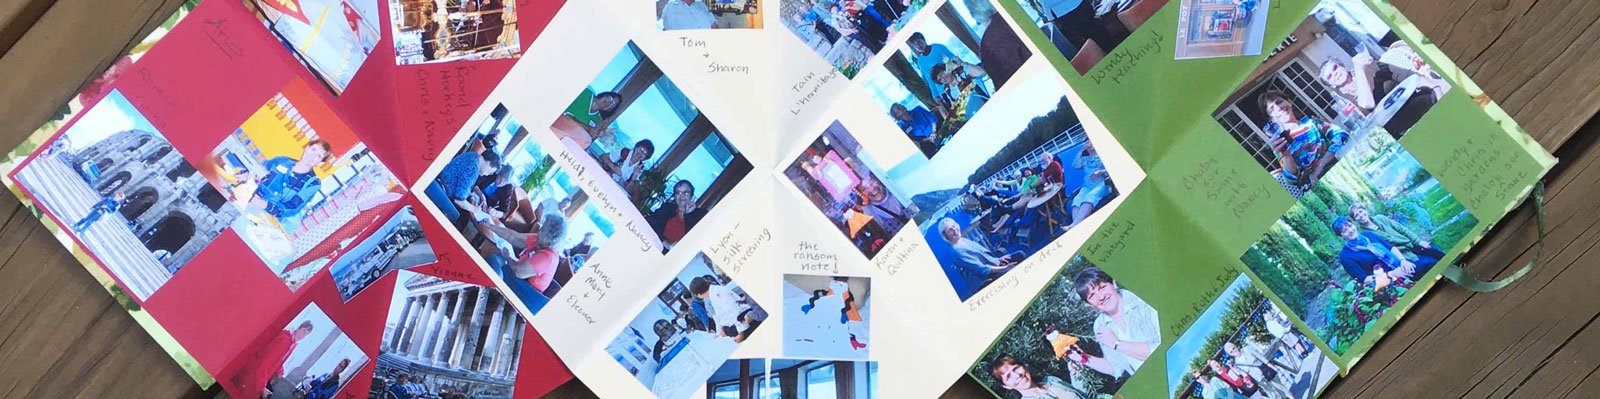
° Resize photos to fit and print them onto presentation paper (photo paper and cardstock are too thick to work well in these books). Cut out the pictures and glue them in place with a glue stick or other good paper glue. Pre-creasing pictures, and/or cutting off corners, will help them to fit over page creases. Here are a few snaps of my books to make this clear:


These books are great fun, and can be made for all sorts of reasons and occasions. I hope you decide to give it a try – and please send me photos if you do!!!
And just a quick note –

We still have a few cabins left for our Sew We Go riverboat cruise to the European Christmas Markets in December of 2020. Please be aware – it may sound like a sales pitch, but this trip is unique.
This cruise will sell out before the end of the year. Ama Waterways knows this and only gives us a small window of time to sell the group cabins we have reserved before they take them back.
You won’t be able to sign up at some point next year because our cabins will be gone. So if you are interested in going, please sign up very soon! We’d love to have you join us and we’d hate to give any of our cabins back ?!
For all the information and the application form click here!


Mary Jean Eisenga says
I have made these folding memory books using 3 of the 12 inch card stock sheets with the same process. It folds into a six inch finished folded album using the same principals. I used decorative paper from my scrapbook resources to glue to the outside and ribbons to tie closed after folding. It is a fun project. Thanks for sharing.