I have one more Christmas project story to share 😊. Our granddaughter Hanna will be 15 this month and she recently redecorated her bedroom. She asked me to make her a poofy comforter: solid forest green flannel on the top with a purple flannel on the back, and the back could be a plaid. She wanted the knots tied to the back. I like a girl who knows what she wants (even if a solid green top isn’t very exciting in grandma’s opinion)!
For the top I found a flannel sheet in the requested color. I absolutely wanted a plaid for the backing, but the one I liked best was near the end of the bolt, so I needed to border it with solid purple. Once the backing was pieced my dear husband offered to help and quickly cleared a space in his shed. We thumbtacked the top fabric, wrong side up, into the frame (so the knots would be on the back), then layered on three extra loft batts, and topped it off with the purple plaid backing. Pinning the top in place with all that batting was quite an ordeal, and that story will have to wait until next week’s post, but once it was pinned the tying could commence.

I don’t believe I’ve ever posted about tying a quilt, so I figured it was about time to share some of my favorite tips. I prefer to use a light weight yarn or multiple strands of embroidery floss. For Hanna’s quilt I used a 6 strand length each of purple and green floss. It can be tricky to thread the needle with thicker threads. I’ve found this type of threader to be very helpful (and I just saw something similar at JoAnn’s):

You simply push the hook through the needle, catch the threads/yarn:

and pull them through:


I cut my thread(s) as long as the side of the quilt (yes, you read that right), and I make knot stitches in a line down the entire length of the quilt. I was told years ago to make sure the stitch length of the knot is at least 1/4″ so that it won’t pull through with wear.

I like to use a ruler to keep my stitches evenly spaced and found the plaid to be a real blessing in lining up the knots! After a line is stitched I go back to the beginning and cut the first tie so there is about 1 1/2″ of thread on each side.

At this point it’s important to grab each end and slide the piece side to side to insure there are no unwanted twists of thread underneath. Once you’re sure, tie a square knot (right over left, then left over right).

To trim the knots evenly I like to hold the tails against my forefinger and cut at the first “knuckle crease”:


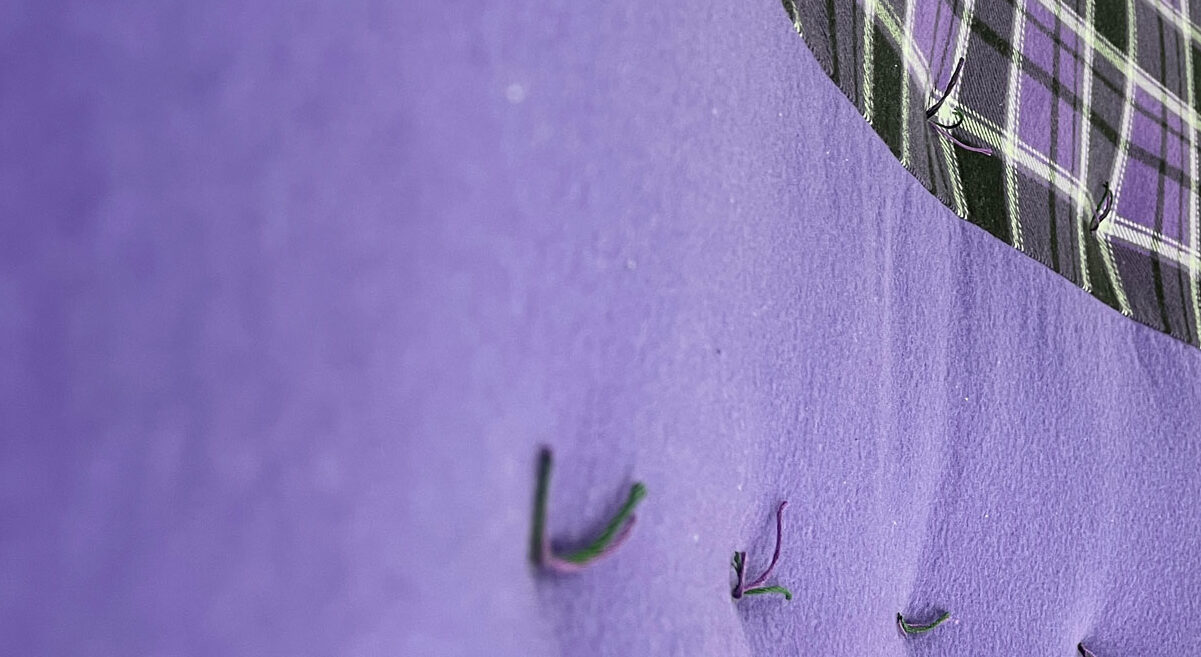
Continue to tie all the knots in that line and then move on to the next. The tying went well and in no time it was complete,

It even looked good on the bottom, as seen when I peeked under the frame.

Next it was time to bind it in the purple flannel. I can’t say I love binding a project that is this thick, but I love my granddaughter – and she loved her comforter – so it was worth it! The comforter (and other gifts) made it safely to Vancouver, WA and she had it on her bed on Christmas Eve!

She said it was exactly what she wanted, and it’s so much fun to make something that brings joy!
The last time I tied a comforter was in December of 2017 when I helped my cousin make a t-shirt “quilt” for a friend who’s husband had passed away suddenly. Stitching through those layers was a bit tricky, and if you’d like to read about it please click here.
Do you have any tips for tying a comforter you’d like to share?

Patti A. says
Oh the post came at just the right time! I am trying to decide how to quilt a top with minky on one side and flannel on the back, as request by my granddaughter! At least now I have an idea how to go about it. Thanks again.
kai says
I think most church groups who do quilts/lap robes for elderly/homes/etc have been tying this way for over 40 years ago. I know a local church tyed one for me about 35 years ago, and we still do in our church now.
Kary May says
No tips…I just remember my mother doing them and she often had some neighbor ladies in for the day. She always used a wool batting. We had sheep and so often it was our own wool and cleaned (I think) and carded in Winona, MN. As kids we loved playing under the quilt and listening to the neighborhood gossip. Mary Kay
Gail Celeste says
I have been using that type of needle threader for many years. The Boye brand used to be made with a hole in the middle, so I tied a long satin cording through the hole and then put it around my neck – so handy and I never lose it while I’m using it. I mostly use it now when I am stitching with Perle Coton #8 on my wool projects. No more stabbing and stabbing trying to get anything thick through a needle. The problem now is that they are no longer made with a hole, so I treasure my older ones. I thought with the newer ones, I could punch a hole in the middle with a hole puncher — but no luck with that. The metal is very, very hard. So, it’s harder to keep track of that one and you may be constantly wondering – now where did it go? .
Laurie Neubauer says
Simply lovely tyed quilt. Now that your granddaughter has it, she may want appliques sewn into the spaces of her favorite singing group on the green. Lol. I made a picture memory block quilt for my Mom’s 80th birthday in 1998 and the finished blocks were 12 x 12 blocks. I yarn tyed the intersections only between ea. block and only use it for display. Then the t-shirt quilt that my niece wanted the blocks to be 15 x 15 inch with 1″ sashing between, I yarn tyed at ea. intersection on the front sashing. It had cotton backing with flannel sandwiching and cotton sashing. I then tyed 4 knots to the back (color blending) and evenly spaced inside ea. block to give it stability. She wanted a sleeve in case she would hang it. It was very big and heavy. What is the rule for spacing the knots? I remember also learning square knots in girl scouts doing friendship bracelets and macrame and used to tye them left over right / right over left. Does it make a difference which direction you tye the square knots on quilts?
I always learn new things when I read your blogs, so thank you for doing such wonderful work.
Laurie
Mary Miller says
I have tied many a baby blanket, as we make one for each child baptized at our church, but I saw a different way to do it here. Interesting.
Sue Kilgore says
How far apart are the knots?
clkquilt says
Mine were 6″
Colleen Schneider says
I tie quilts using cabinet stock wood. The 1″ x 2″ 8 feet long “sticks” were purchased from Menards and wrapped with 4″ strips of sturdy cotton print fabric from my grandmother’s curtains. The 4 sticks are held together with “C” clamps and placed on the backs of chairs. Mark the centers and pin the layers from the center out. You can roll 2 edges if the quilt is too large to reach the center. My batting is either wool thick batts (sometimes covered in cheesecloth) or thick polyester. I use regular 4 ply yarn to tie. I use large needles with big eyes and sharp points. A loop of any thread is placed through the needle, yarn placed 2″ or 3″ in the loop and then while holding both thread ends, the loop is backed out which pulls the yarn through. This is a quick and inexpensive way to finish a warm quilt that will last years. The thread loop trick also works for crewel work, embroidery, ribbons etc.
Jackie Iannarelli says
I have tied a queen on a flat surface setting it up with taping down the back, wrong side up, batting and then the top. After pinning, I used wool yarn with a curved needle, spacing the stitches to follow the quilt squares.. tying in the cornets and in the center of each square. (The pattern reminded me of an “X”) across the square. I checked to be sure the yarn did not bleed. Used a square knot (Laura, if you don’t do a right over left square not, the knot will come out. Girl Scouts call it “a granny’s knot)
The reason for using wool is that when the quilt is washed the yarn will shrink and make the knot tighter. P.S. the block size was 6 ” square.
Gail says
Your method makes a tedious chore so much easier!
Thanks for posting these tips.
Rose Duchniak says
What a beautiful memory for your granddaughter. She will cherish the quilt for a lifetime. She is so lucky to have you for a grandmother.