Because of some time-sensitive information, I’m actually sharing two blog topics this week. The challenge results are the most exciting, so they come first. But please continue to the end for a bit of sharing about the French Braid pattern.
I’ve had an exciting week of tallying votes in the Floss Frenzy Challenge. All of the entries were delightful! They received so many wonderful comments, and many voters mentioned that they wished they could vote for more than one. But one vote a piece was all that was allowed and the winner is:
Ida Porzky of Watertown, WI,
for her crocheted button flower wall quilt!

Ida is a dear friend of mine. She is a talented quilter and her crochet work is spectacular also (I have the privilege of owning a number of her doilies!). She has won a basket full of floss – 237 skeins to be exact, one each of all the different colors I was originally gifted 😀 ! Congratulations Ida!
Next I need to make a special mention of Patt Nieman’s quilt. Patt had requested only red floss, because she wanted to make a redwork quilt. She completed her beautiful quilt, and sent me pictures well before the deadline. I’m sorry to say, I misplaced her picture and it wasn’t included in the initial posting of the challenge. Patt emailed me concerning my error a few hours after the challenge began. I put it into the blog as soon as I could and, even with the late start into the viewer’s choice voting, her quilt still won second place!

Patt will also receive a prize of embroidery floss!
Thanks so much to all the participants. You are all winners to me!!!
A few interesting challenge statistics:
37 packs of floss were sent out.
18 stitchers returned pictures in time for the challenge.
Over 120 votes were cast.
Quite a few people have let me know that they are still working on their projects, but they just couldn’t get them done in time. If you’re one of these – keep at it – and then send me a picture when it’s finished. I plan to feature a Floss Frenzy II showing in a future blog post!
Braids and French Braids – Quilt As You Go
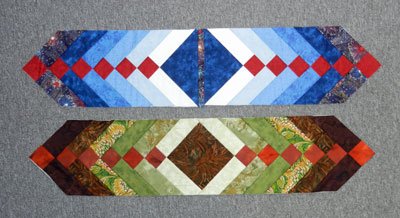
Doing a braided table runner – quilt as you go, is a quick and easy way to complete a pretty project. Many of you may know how to do this, but just so we’re all on the same page, I’ll share a brief “how-to”:
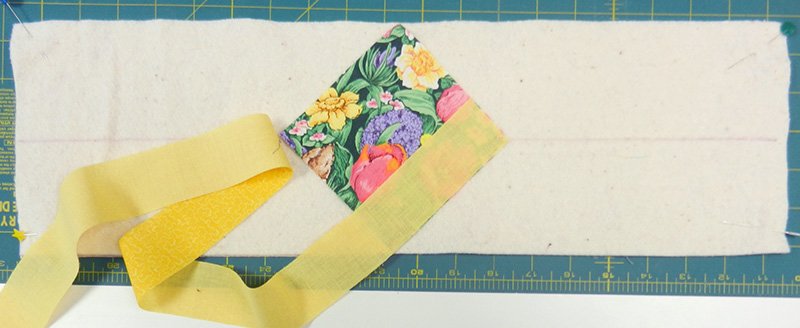
1. Cut a piece of batting and backing fabric slightly larger than the size of the runner you desire. Layer the backing, wrong side up, on the work surface. Smooth the batting on top of this. These layers may be held together with basting spray, or a few pins. Mark center lines down the length and the width on the batting, with a removable marker.

2. Cut a square of fabric that will fit the width of the runner, when placed on the diagonal. Pin in place at the center.

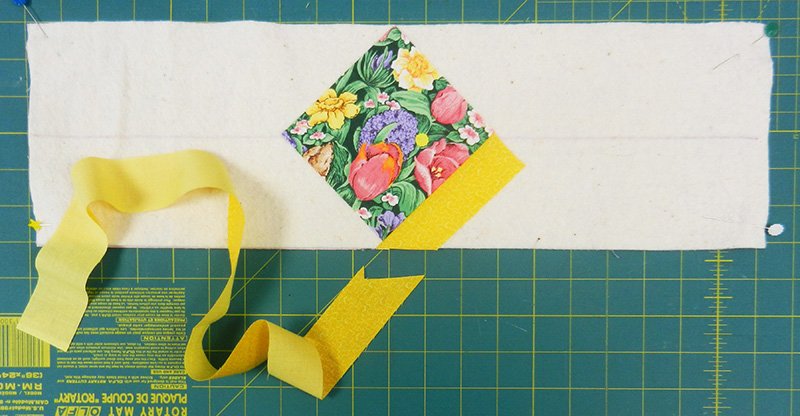
3. Cut strips of fabric for the braid. It looks nice in either a planned palette or scrappy. You will complete one side of the runner first, and then the other. The strips will be added chevron fashion on two adjacent sides of the center square. Choose a strip and lay it, right sides together, even with one edge of the center square, and with the tail hanging off the edge of the runner. Stitch in place with a 1/4″ seam allowance.
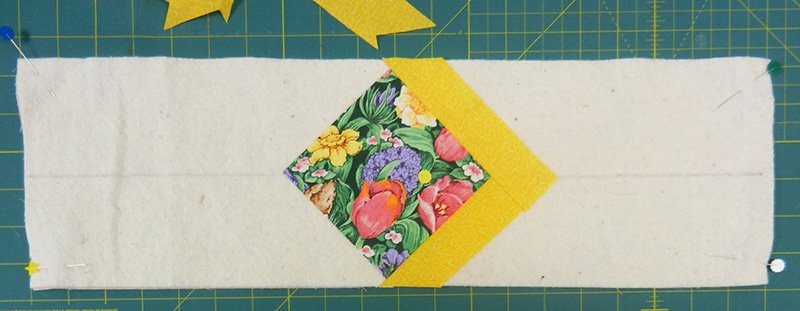
4. Carefully press the strip open, and trim off the tail even with the runner edges.
5. Lay a strip of fabric along the adjacent side of the center square, even with the square/strip portion of the runner, and with the tail hanging off the outer edge of the runner again. Stitch as in step 4, press open and trim the tail.
6. Repeat steps 4 & 5 until one half of the runner is pieced and quilted. Finish the other half of the runner the same way.
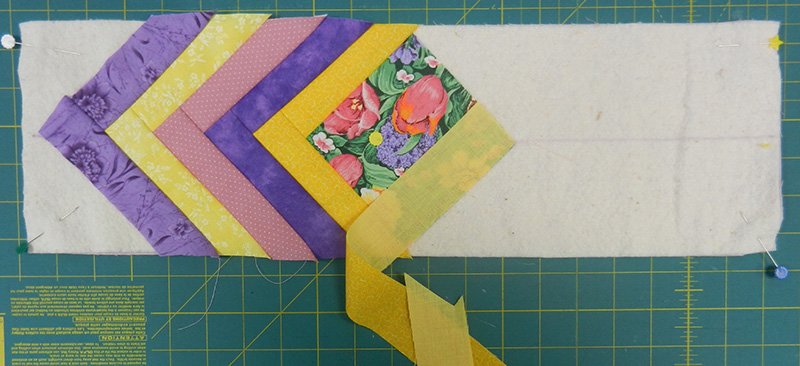
8. Square off with pointed ends (as in my sample) or rectangular, bind and enjoy!

A technique with a similar look, but an added bit of pizazz is called a French braid. This pattern became very popular a few years ago. The original book constructed the pattern as a top, in need of quilting. It struck me that doing it “quilt as you go” would be a great option. I played a bit and created this lap sized quilt:
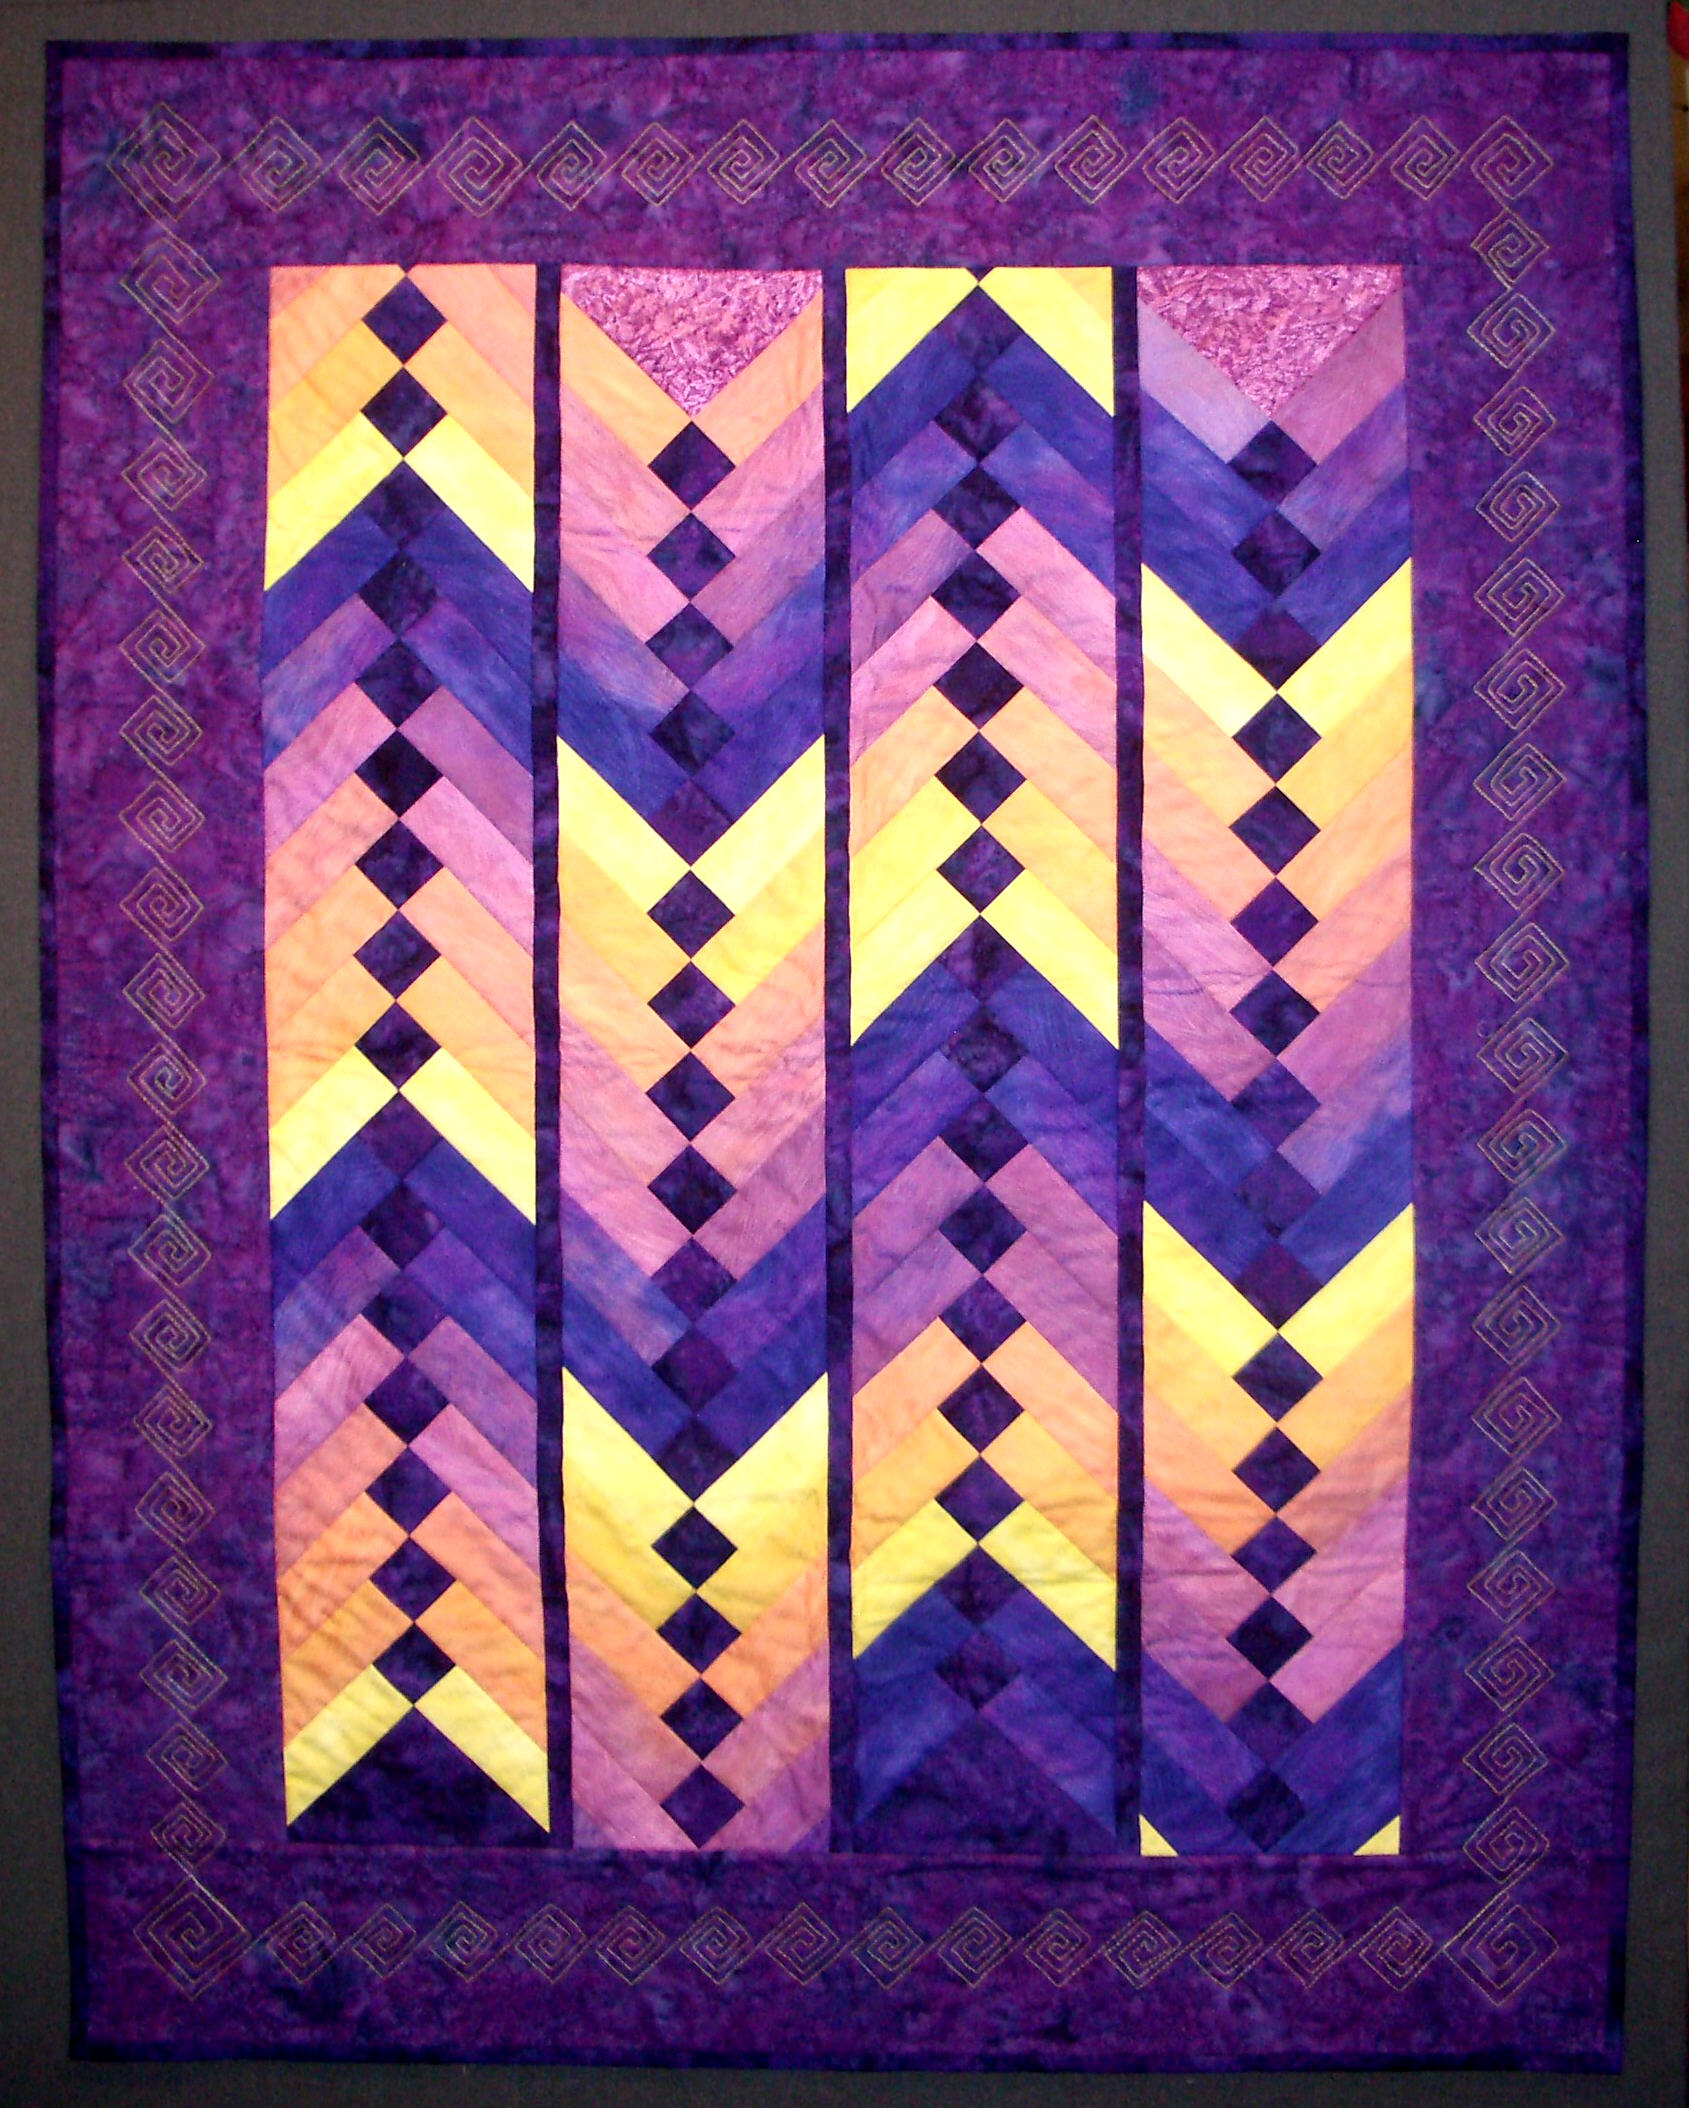
Adding the squares was the tricky part, but I came up with a fun way to make it work. Each row was made separately and then I put them together with the Reversible Quilts method I used for Hanna and Willy’s I-Spy quilts (to read the post on that technique – click here). Each row was actually a runner, so I made that option into a class and I’ll be teaching it the end of this month at Waukesha County Technical College. Here’s the info:
Quilting Workshop: French Braid Runner – Friday, March 27th, 9 – 2:30
Use a gradation of color or value to create this stunning table runner. The best part is the piecing is done “quilt-as-you-go”. Once the top is done, the quilting is too! This technique can be used to create a bed-sized quilt and instructions for doing so will be included in the class.
If you are interested, please sign up soon! You can register on-line at http://www.wctc.edu/ or by phone at 262.691.5578. The Course Reference Number (CRN) is 21783.

Pam Hintze says
Wanted to say thank you for writing your blog. It has become a part of my Sunday afternoon, getting ready for the next week ritual.
Carmen Sommers says
Congratulations to Ida, I’ve know her for many years and she is amazing.
Jodi says
I love your blog! I just got home from a great quilt retreat, and was going over an interesting addition to my stash: 2 pounds of fabric scraps! Your blog about the braided table runner has given me ideas…