Before I get to this week’s topic, I want to share my weekend adventure. I’m writing from the Osthoff Resort in Elkhart Lake, WI. This weekend I had the delightful opportunity to teach at/attend a retreat sponsored by Ben Franklin in Oconomowoc, WI. The Osthoff is
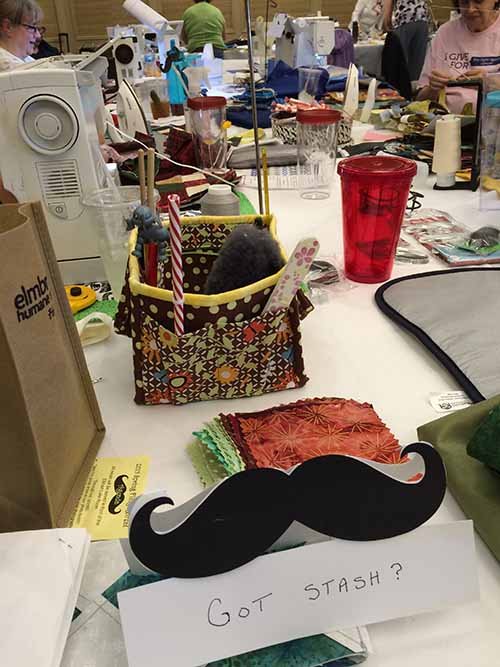
a spectacular facility! And what a wonderful group of 89 quilters/scrapbookers. These ladies know how to do a retreat! The theme was “I Love Mustache” (my stache)”, and all weekend long the play on words included mustaches.

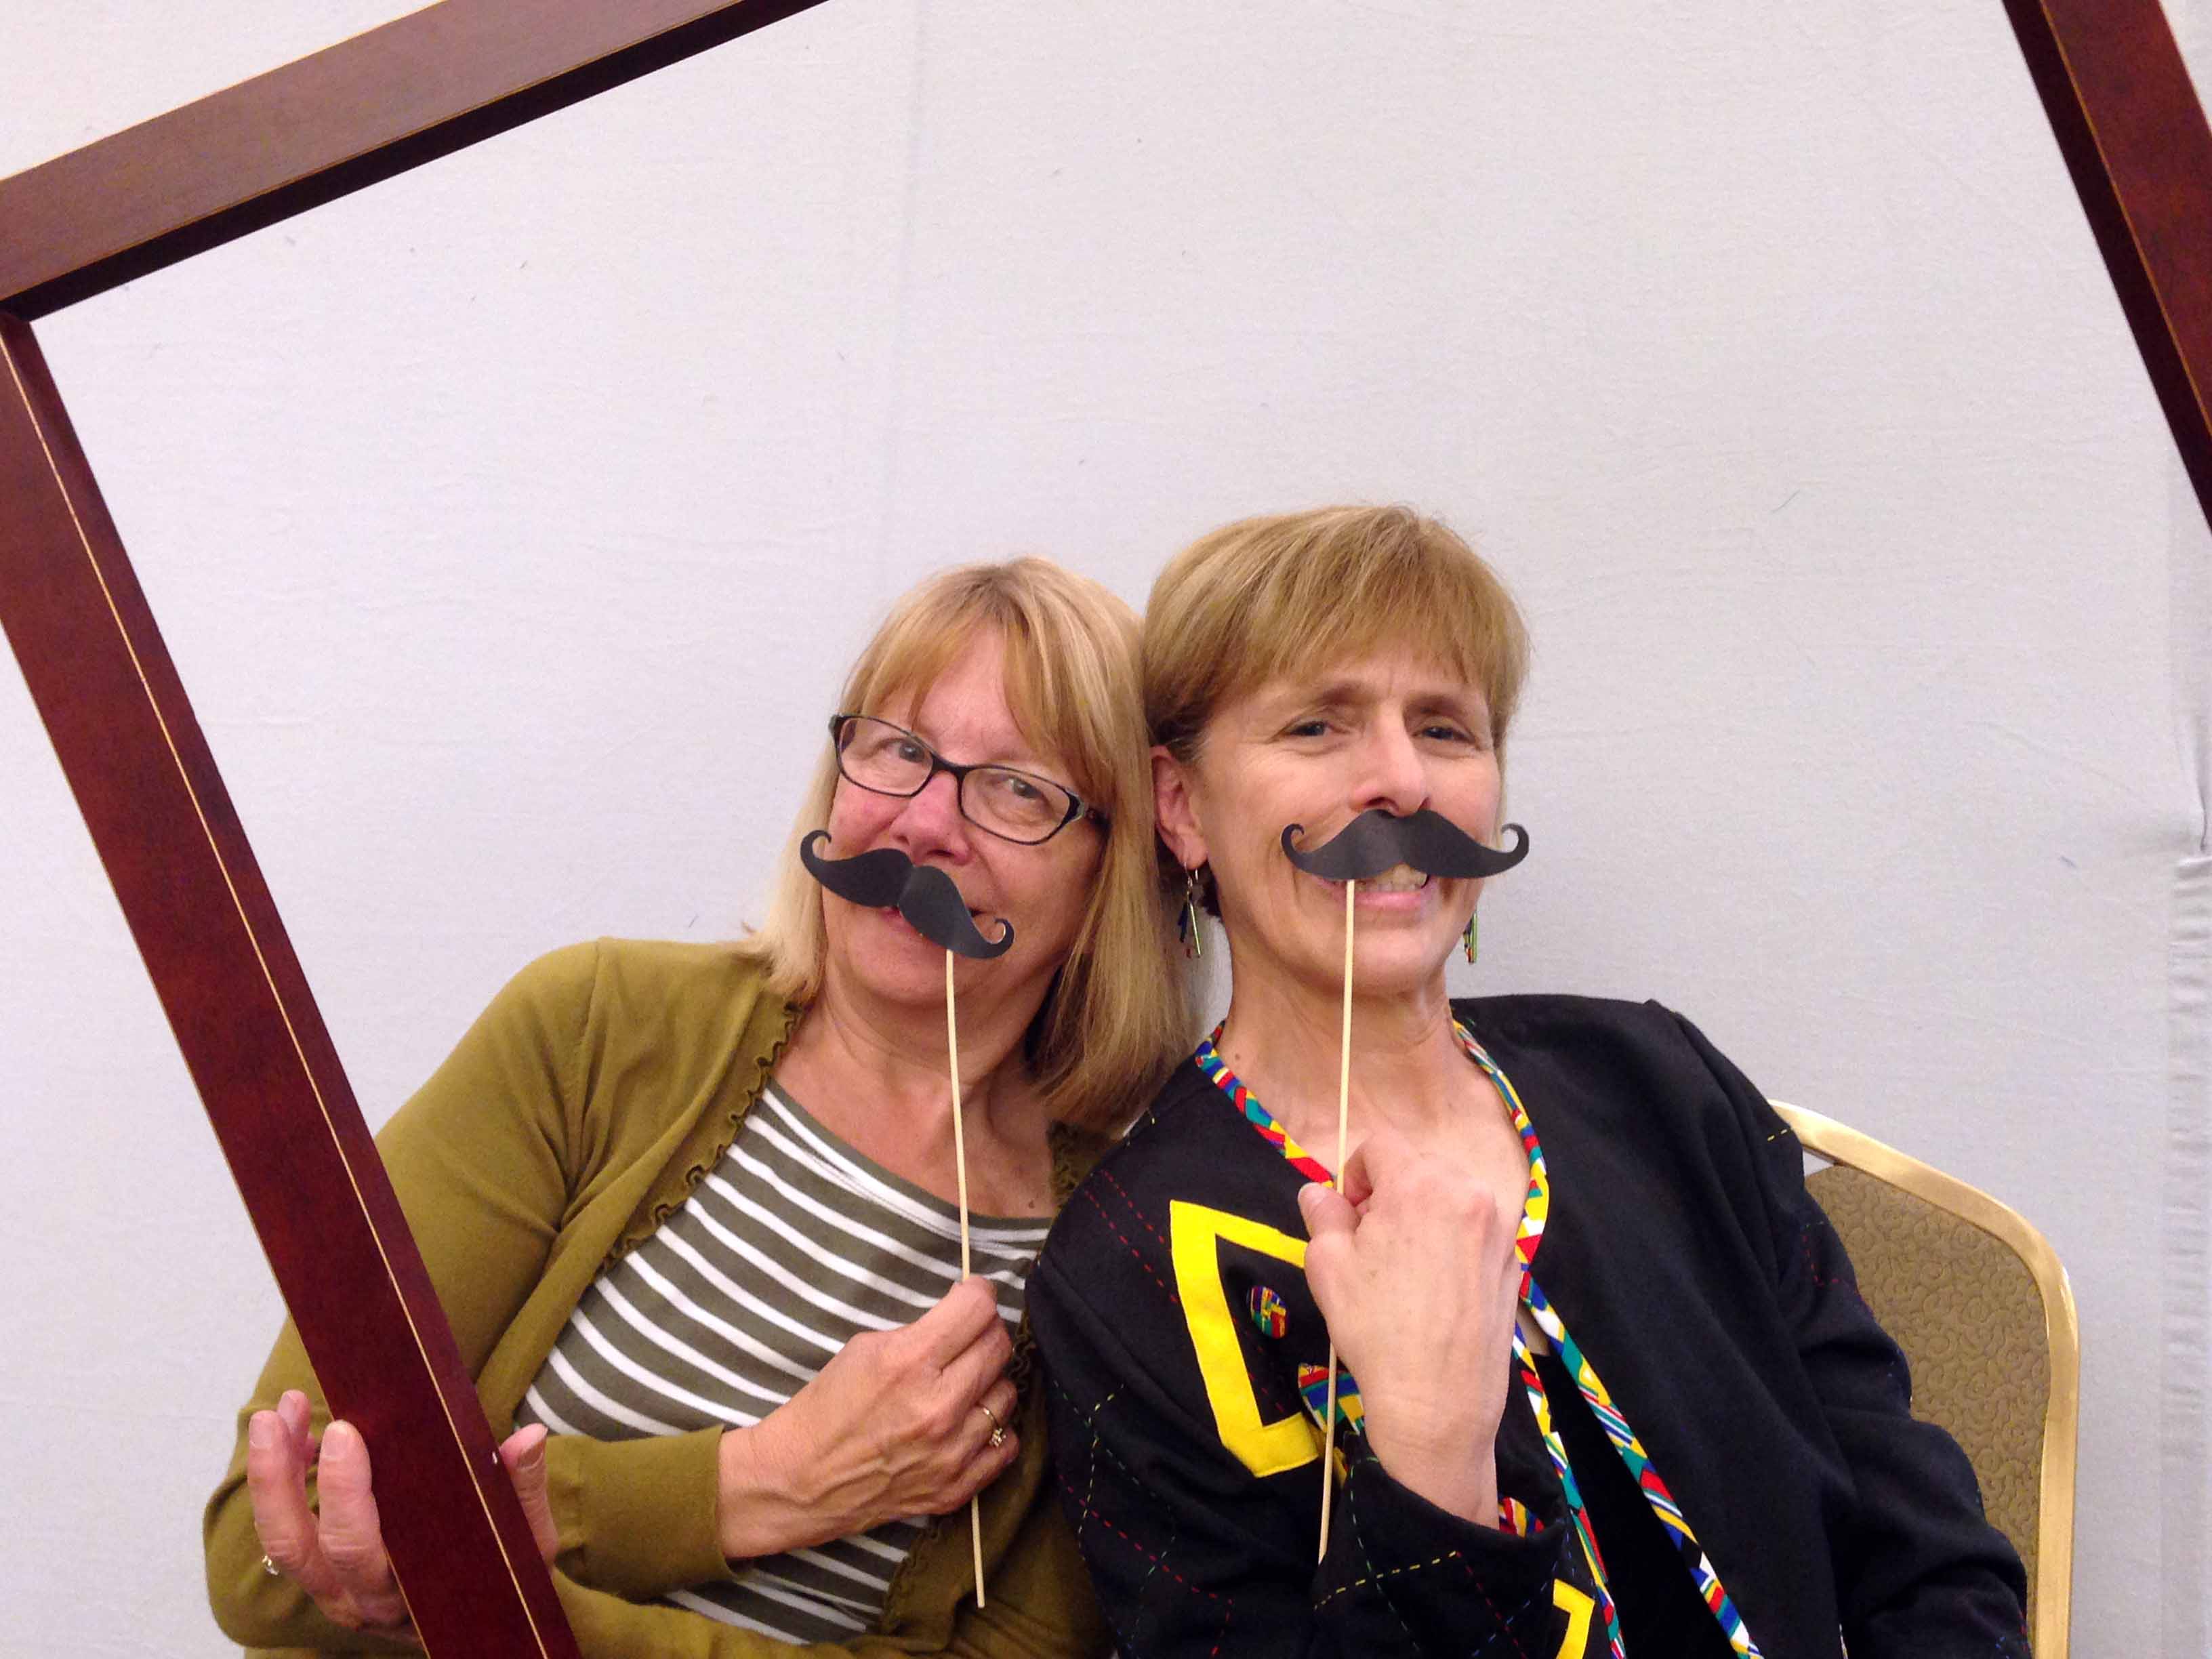
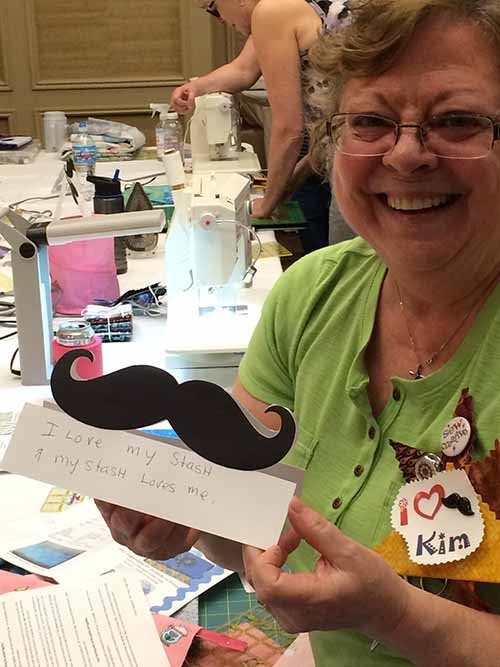
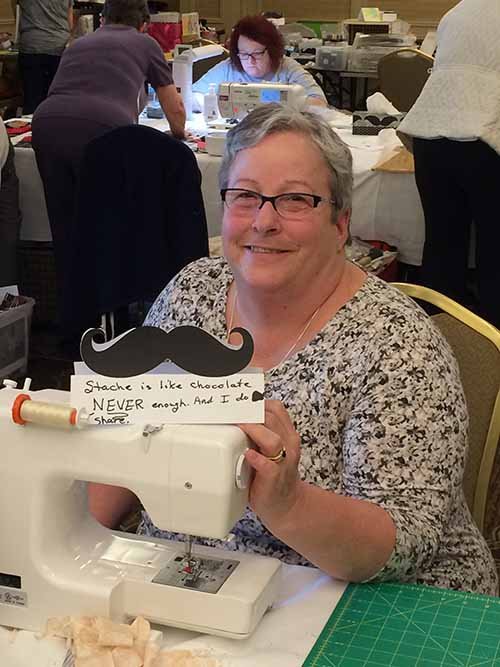
This retreat was a blast. So many fun quilters/crafters, so many projects being made, and a great time was had by all!
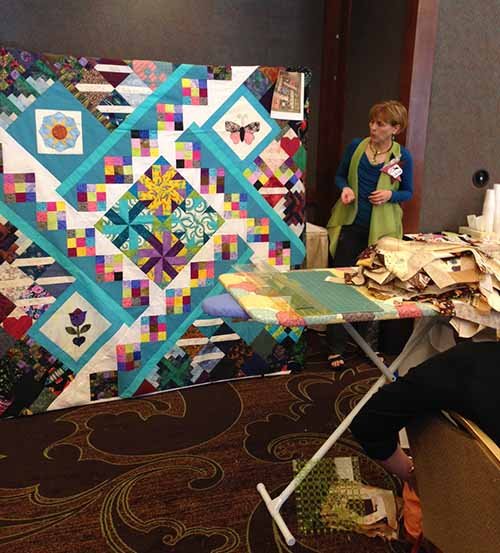
I taught a scrap class (in keeping with the theme of using our stache), and as an aside I shared my new favorite technique for finishing the tails of a no-end binding. I learned it on Nancy Zieman’s blog and trust me – you need to know how to do this! For the step by step demo go to: http://www.nancyzieman.com/blog/quilting-2/how-to-sew-quilt-binding-2/.
Now for my “topic of the week”:
A number of years ago I read an article about cutting identical portions out of two quilts, and swapping them. This intrigued me, so I decided to try it. I had been given a bag of leftover pieced squares in an art quilt challenge. I decided to piece them into a small square quilt. I then cut a piece of a beautiful hand-dyed fabric the same size. I layered both pieces separately, and quilted them identically. Once they were squared up, I stacked them and rotary cut a circle through both quilts. After separating the quilts, I swapped out the circles and ziz-zagged them into their new “home”. That was fun, so I stacked them and made another cut. This continued until it felt done, and I was quite pleased with the results!
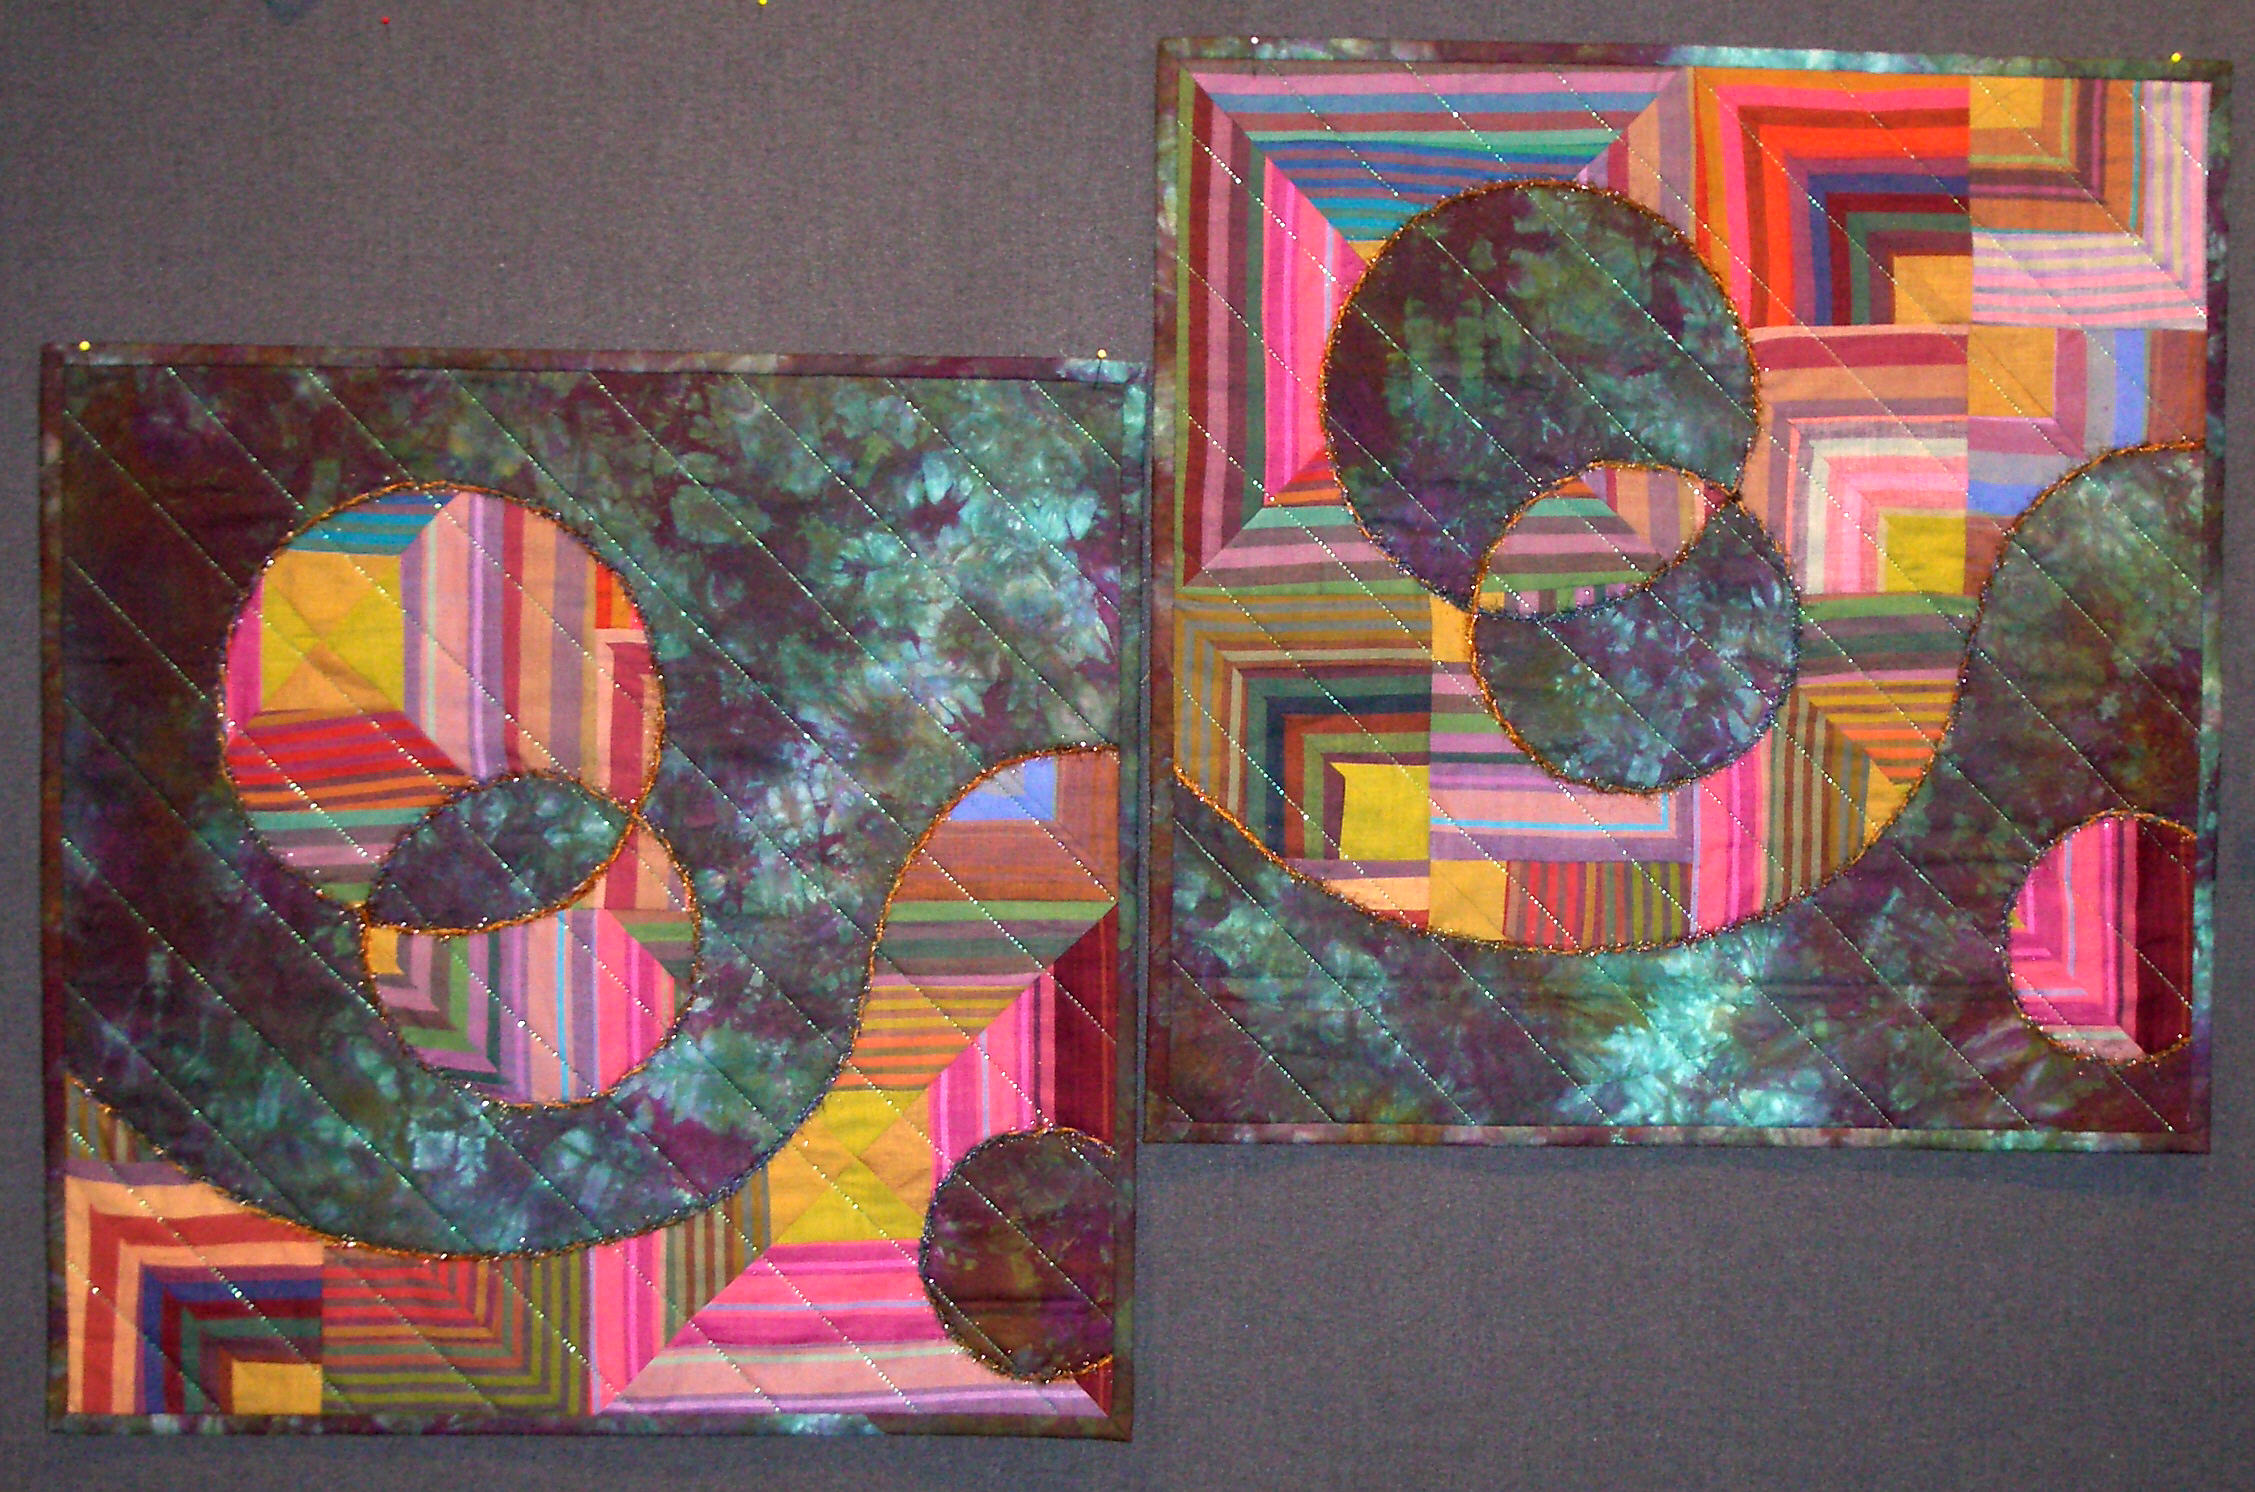
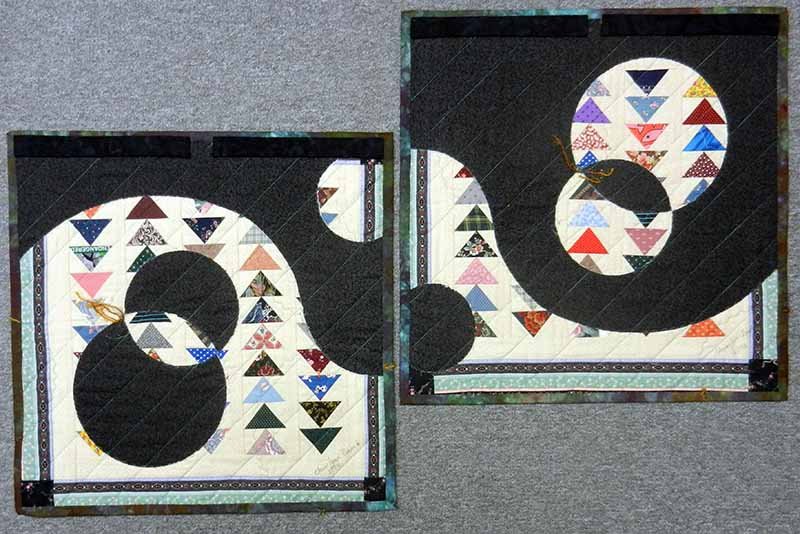
A few years went by and I got the urge to play with this technique again – with very different fabrics!

Well, it was kind of addicting.
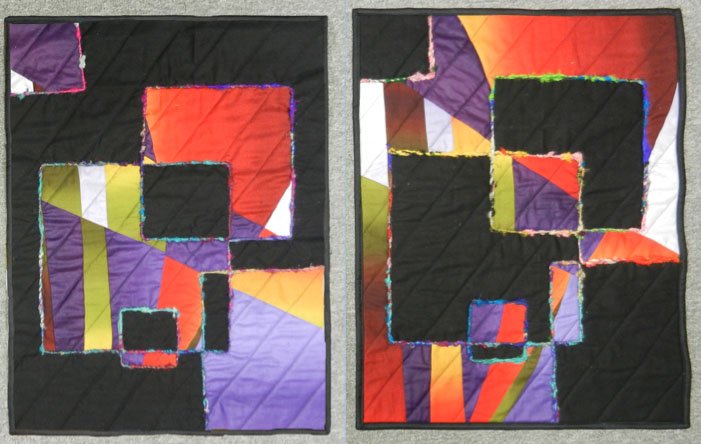
The fun part was that I put interesting pieces on the backs, and they ended up being reversible.

It takes a bit of courage to cut up a quilted quilt, but it can be quite entertaining. If you’re feeling adventurous, but you’re not sure about jumping in on your own, I’ll be teaching a class on this adventurous technique called “Quilt, Slash, Create!” at Waukesha County Technical College on Friday, May 1st. You can register at wctc.edu, or call the college at (262)691-5566.

Leave a Reply