Binding an Inside Corner
Every so often a quilt comes along that has an odd outer edge – the question is “how do you bind it?” This was a problem I had to overcome in the Lunch Bunch quilt I’ve been sharing with you. Because the quilt was done “quilt as you go” style, in columns, I ended up with an interesting bottom edge.
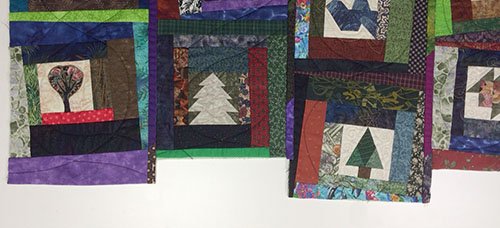
All the corners are right angles. The “outside” corners are easy – they miter like the corners on a square or rectangular quilt. The “inside” corners are a bit trickier, but not too bad if you know the “tricks”.
1. Begin by stay-stitching, inside the seam line, about 2″ from both sides of the inside corner “pivot point”.

2. Clip to the stay-stitching “pivot point”, stopping a few threads from the stitching.
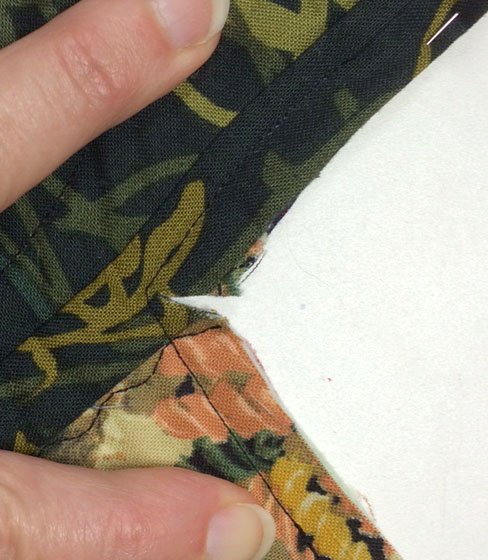 3. Attach the binding down one side of the inside corner, stopping with the needle down at the binding “pivot point”.

4. Leave the needle down, lift the presser foot, and pull the quilt straight (the clip will allow you to do this). Lay the binding strip even with this new edge and continue stitching the binding to the quilt.

5. The binding will be standing up on this corner.

To create the miter on this first side, fold one side flat, as in the picture:
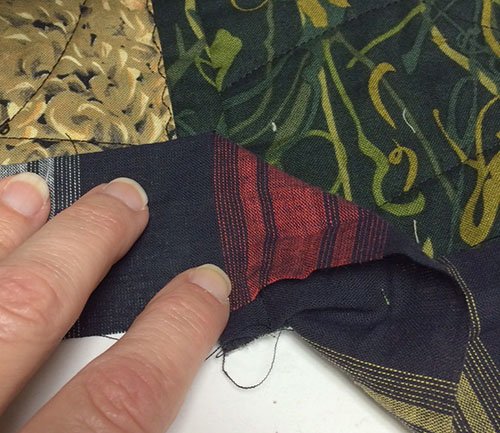
Then fold the other side until a 45° miter is formed.
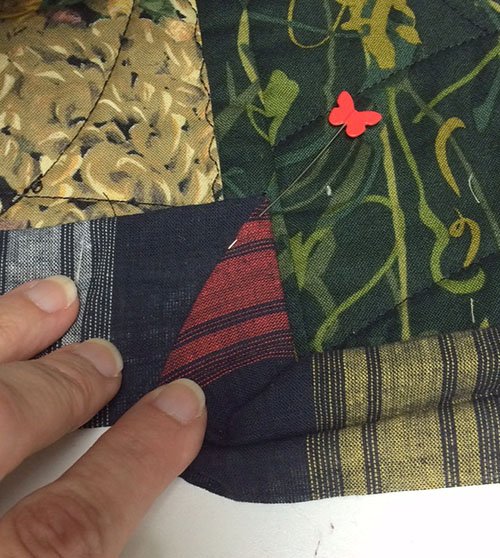
Pin or stitch this side of the miter to secure.
6. Turn to the other side and fold this new miter – fiddling until it looks good. Repeat to pin all inside corners and then stitch the binding to this side of the quilt, using your preferred method.
 It really is quite simple and the effect is worth the effort!
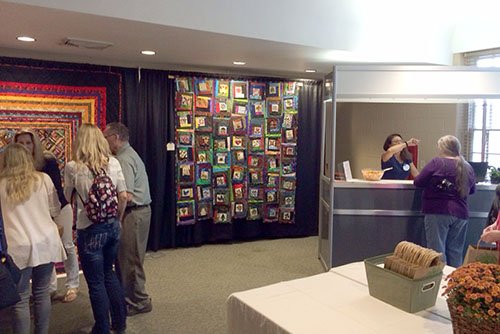
And now (drum roll please!) Here is the finished Lunch Bunch Quilt!
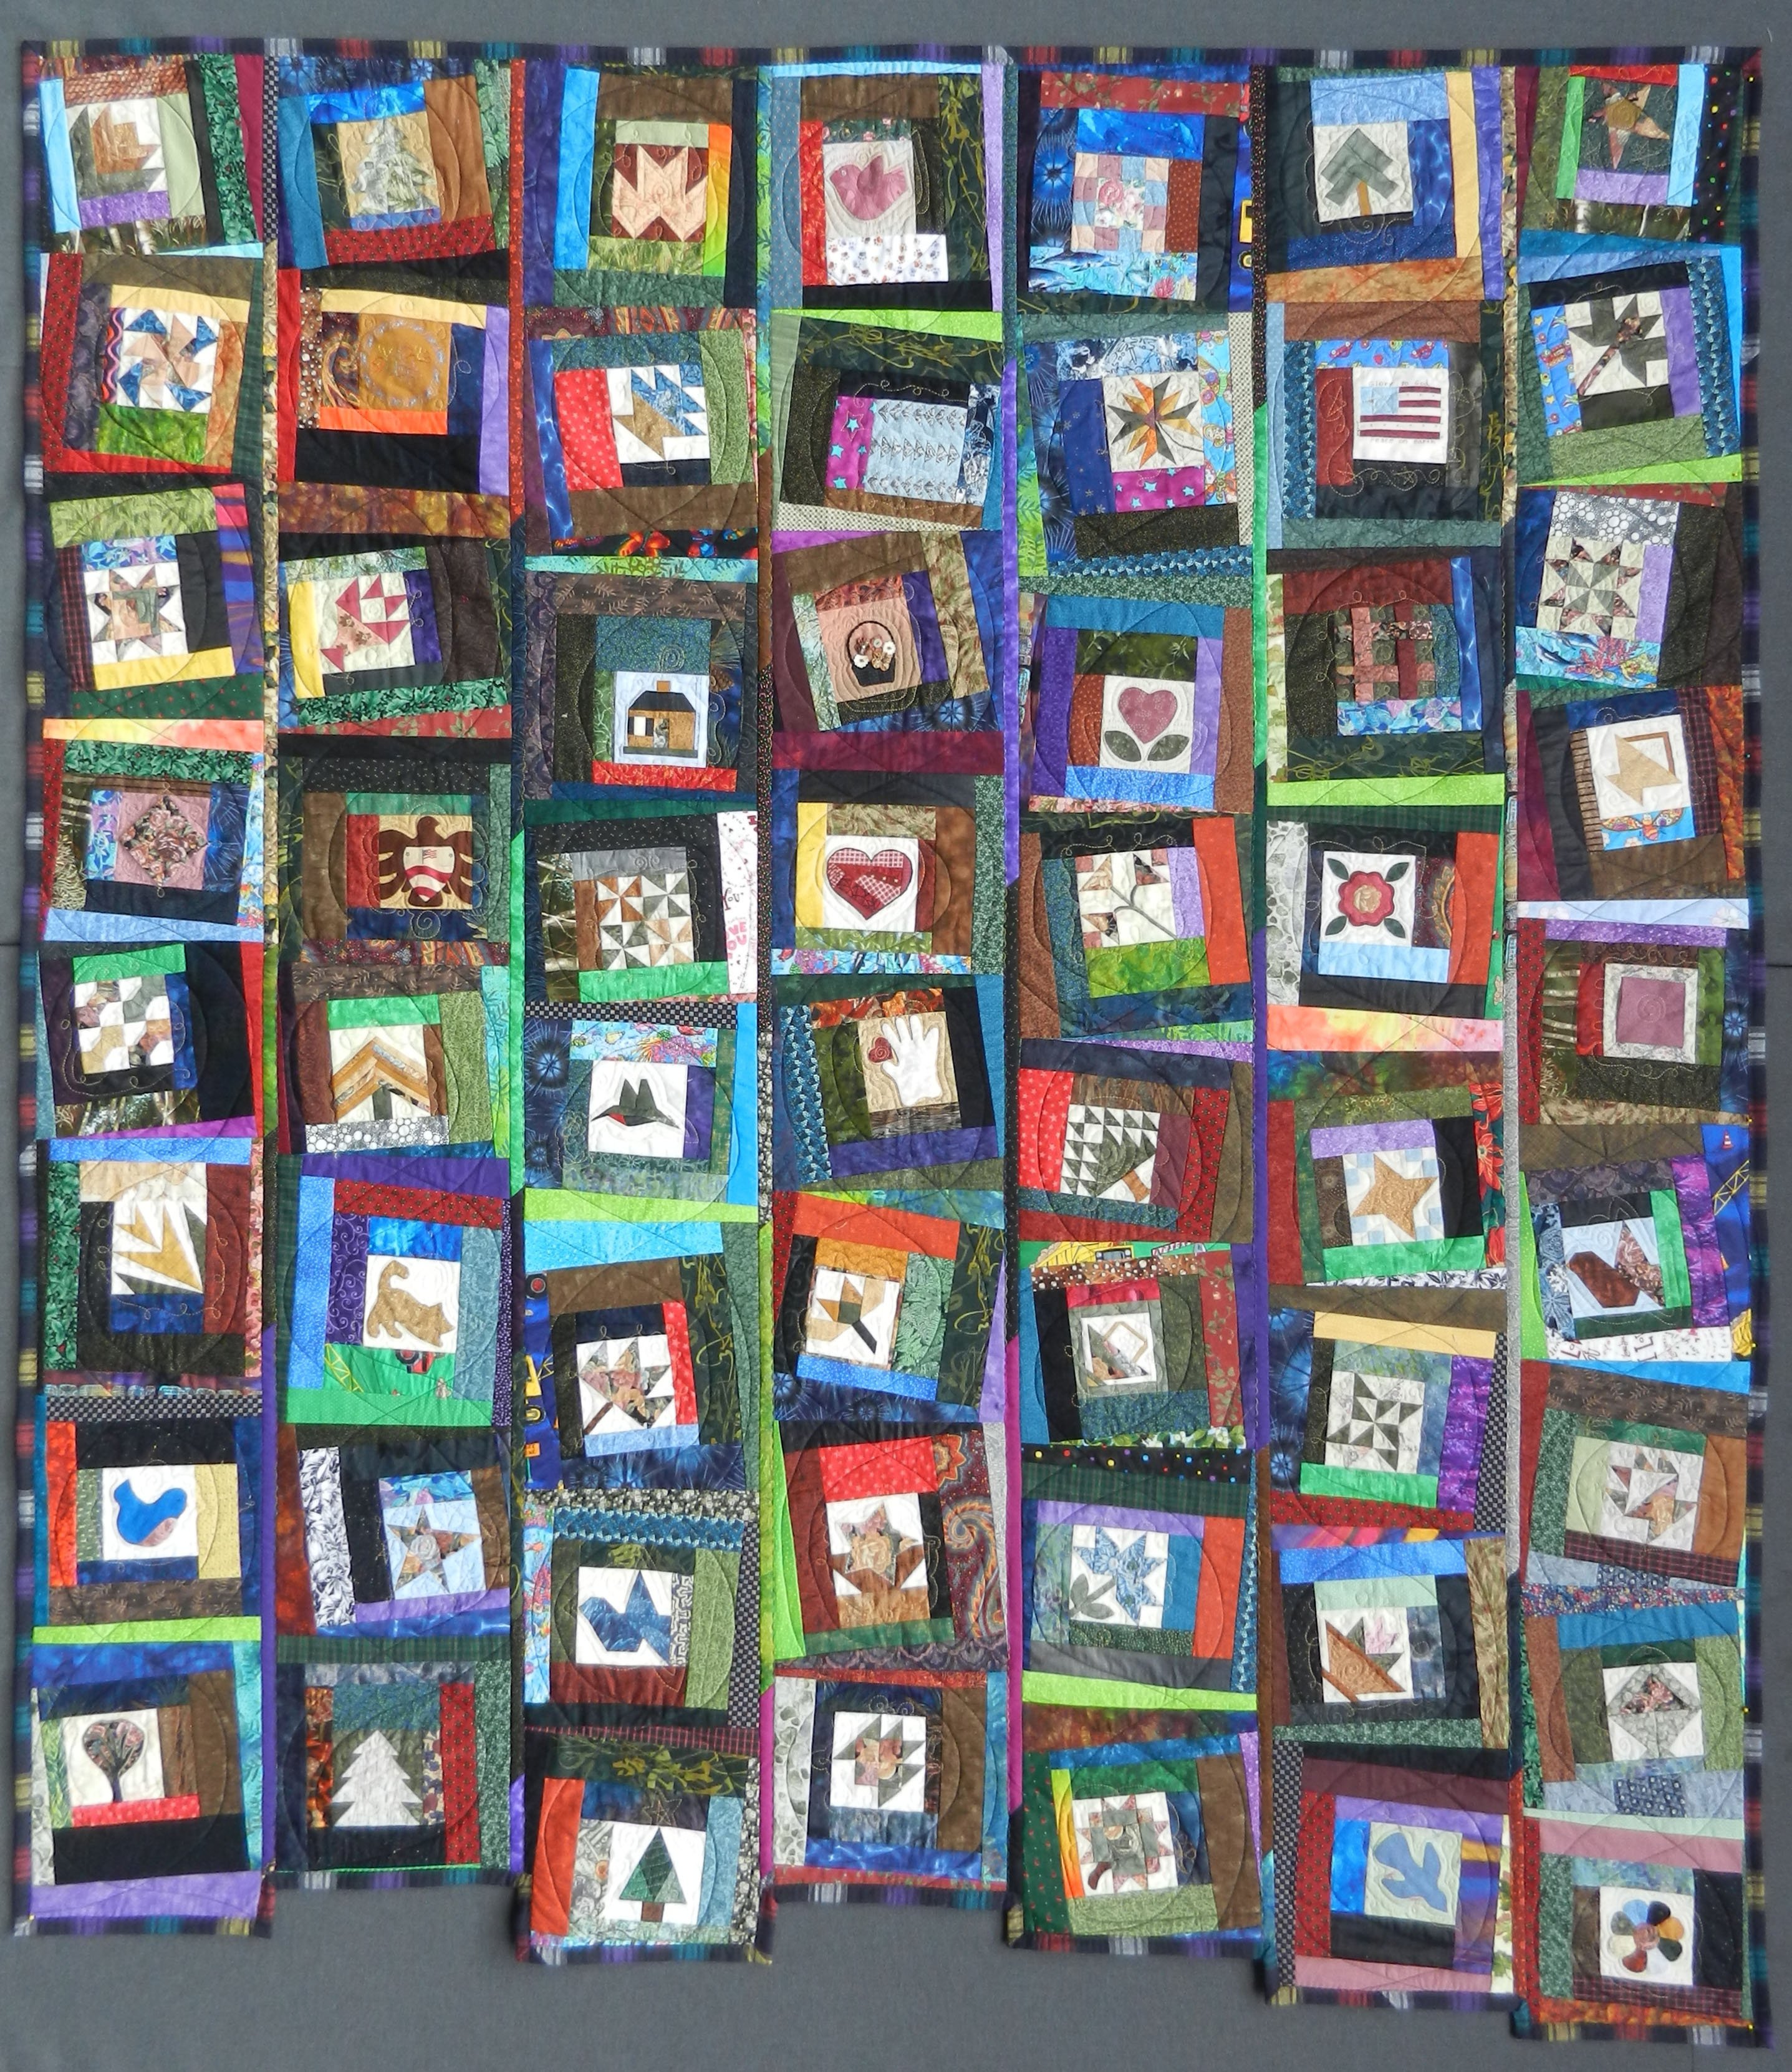
Almost 20 years in the making – and finished! It was even juried in to be featured at the in the Fine Furnishing Show held this weekend in Wauwatosa, WI. It was hung in the entry to the show and I was very pleased – praise the Lord!
So, are you considering sending me a picture of your blocks? I hope so!

Nancy Anderson says
Hi Chris,
I truly love the tip you shared for uneven bindings. Sooner or later I will refer to your wonderful photos to use when I tackle a wall hanging that has uneven borders. I’ve only had the pattern 3 years, so no rush to make it! Ha!