I few weeks ago Lynn emailed me and asked:
“Do you have a favorite way of binding an hexie quilt?”
As usual – I do 🤣. In reading over her question I realized there are at least two things that come to mind when I think of a hexie quilt. One would be a quilt made up of many hexagons, like this antique Grandmother’s Flower Garden quilt from my husband’s side of the family:

Since these hexagons are only 1 1/2″ in size, binding this quilt would be a real pain. Whoever made it must have agreed and instead she stitched it to the backing all the way around and turned it right-side-out, envelope style. It was quilted after the layers were put together. This is how I finished my Christmas table toppers this year too:

The other possibility is to bind around the edges as I did on my Octabulous Star quilt:

Now I know that an octagon is different from a hexagon, but my binding technique works equally well for both. This quilt is 40″ wide and I bound it with the orange floral fabric. The corners on either shape are greater than 90 degrees (obtuse) and I bind the corners in the same way I do a square or rectangular quilt. Here are the diagrams from my binding handout for a 90 degree corner:


And that’s it. So how do we adjust for odd obtuse angles? Let’s do the octagon first. I use a single binding, but this technique works just as well for a double (French) binding.
Stitch the binding to the squared up quilt. Be sure your seam allowance is the same as the width you’d like your finished binding to be (mine is 3/8″). I’ll be ending the stitching line 3/8″ from both edges at the corner, and I have an easy way to determine where that spot is!

Stop stitching about 3″ from the corner, fold back the binding strip exactly at the corner of your quilt, with the strip completing a straight line with the next edge of the quilt to be bound (the ruler is there to show the continuation of the edge). Crease this fold with your fingernail.

This crease will be exactly on top of the corner of the quilt:

Lay the binding strip back in place and sew to the crease, ending with a backstitch. Remove from machine.

Fold the binding back over the crease,

then fold it down through the corner,

laying the edge of the binding along the new edge to be bound. This creates the perfect angle without any measuring.

Begin sewing near the crease, and continue down this new edge. Repeat around entire quilt.

To turn the binding to the back, bring the entire binding around to the back of the quilt. It will want to “cup” at the corners. Choose a corner and fold the raw edge of the binding strip even with the raw edge of the quilt.

Next fold the portion on the left down tight around the quilt edge and flat against the back (a double binding strip will already have the fold and needs only to be folded down over the previous stitching).

Fold the next side over the edge of the quilt, gift wrap style, adjusting the crease to fit from point to inside corner. You may have to fiddle a bit to get it to lay correctly. It’s worth trying a few times to get it right.

Pin.

And this is how it looks on the front:

Hand-stitch binding in place around entire quilt.
Binding a hexagon is the same technique and, because we didn’t have to do any measuring, the angle may be different but it doesn’t matter.
Stitch the binding strip to the quilt, fold the angle, and crease as before:

Backstitch and remove from machine:

Fold binding strip back along previous crease, and then in place along the next edge as with the octagon binding, and continue:

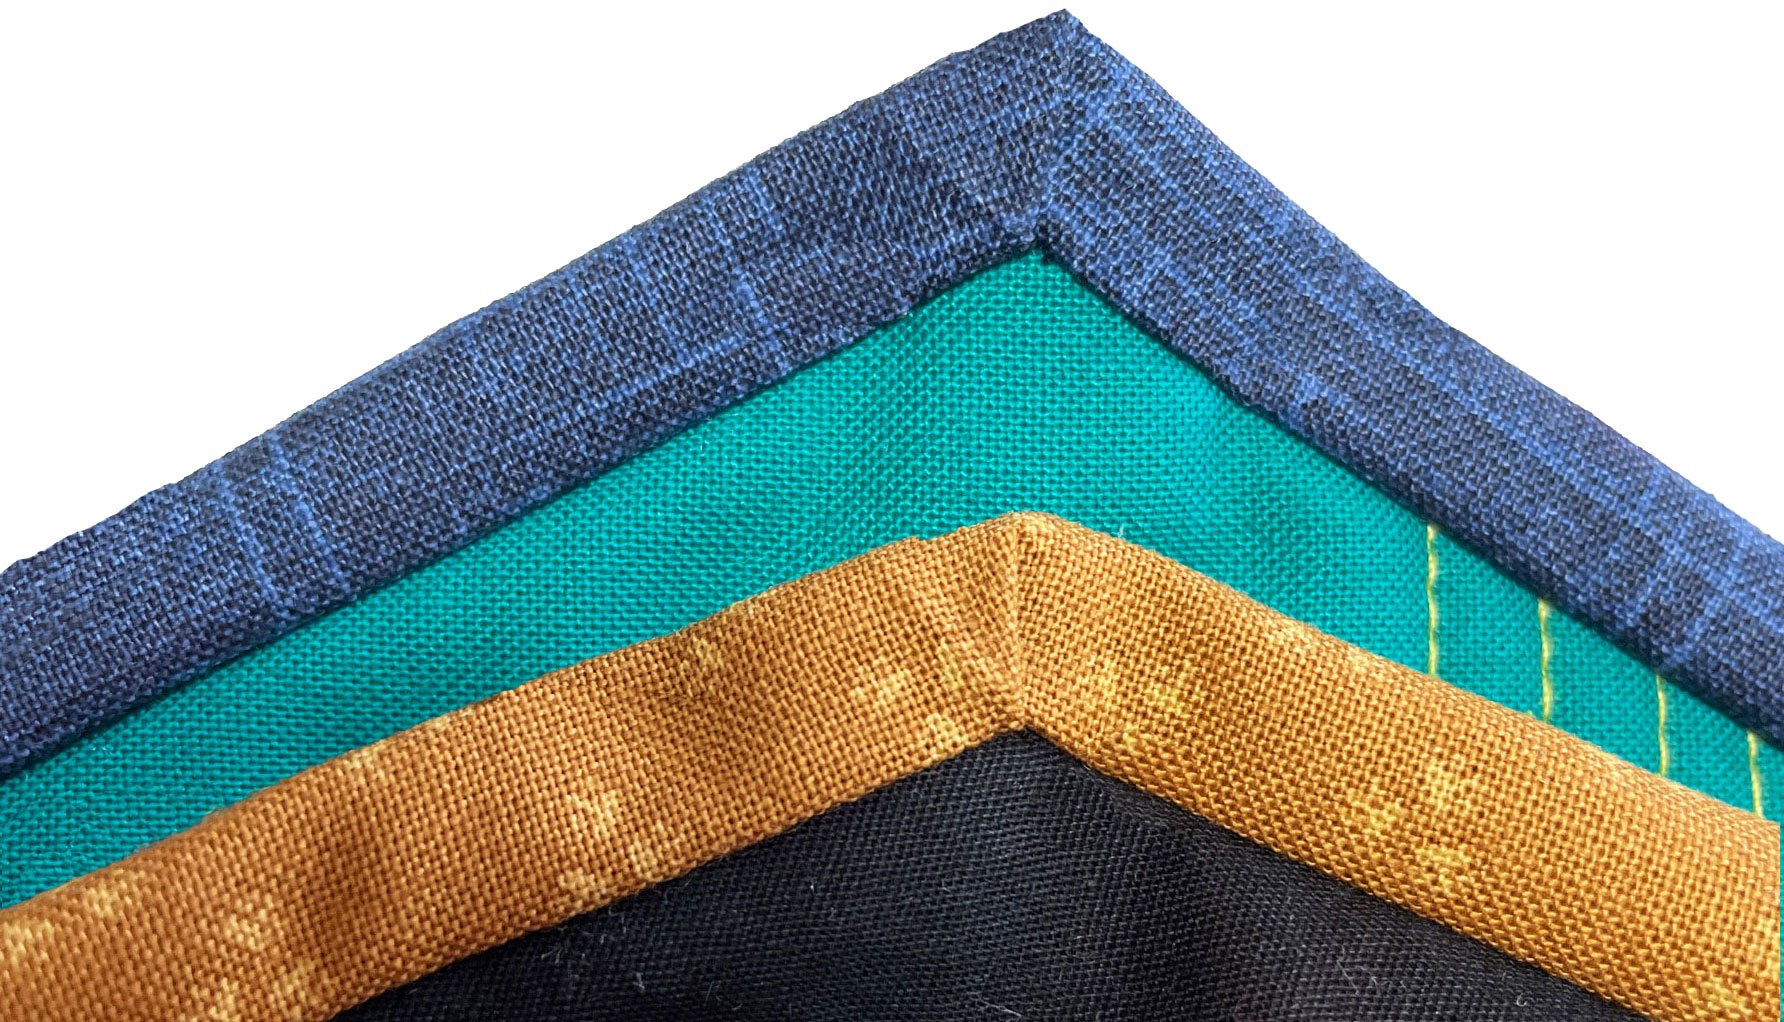
The turning to the back is done as with the octagon also. And here are the pinned corners of both angles:

There is a search box on my site to locate these tutorials whenever you actually need them, or they can be printed from a computer by simply clicking on “File” at the top of the screen, then “Print”, and follow the prompts.


Lisa Gelhaar says
I read your article. It was useful and had lots of pictures. I was wondering how would I bind an inside corner? Like <
My friend is binding a zigzag table topper and she is having issues with the binding of the inside corners.
clkquilt says
Hi Lisa, I did a post on binding inside corners in 2015. Here’s the link: https://www.chrisquilts.net/6417/
Margaret says
Thank you for your great instructions with pictures … this organized method is much better than my “fudging” practice!
Lynn Stephens says
Thank you Chris. I have completed a queen sized grandmother’s flower garden top. I might try using your method of binding it but might also chicken out and just stitch it to another piece of fabric😆. I will send pictures when it is done.
I sure appreciate you answering my question though. Blessings
Barb Jordan says
Hi Chris, On the Christmas Hexie you made, did you use 2 1/2 inch strips and how big did it end up when finished. We’re you able to get all the cuts out of one width of fabric.
Thanks much.
Gail C says
Chris, I love how you explain everything so that it is so easy to do! And the photos help a lot too. Thank you!!