• Skip to main content
  • Skip to primary sidebar
  • Skip to footer

  • Home
  • About
  • Gallery
  • Classes
  • Trips
  • Books
  • Blog
  • Contact
  • Sign Up For My Blog

Blog

Lebkuchenherzen

December 27, 2020 11 Comments

If 2020 had been a normal year our Sew We Go riverboat cruise of the European Christmas Markets would be a happy memory by now. Sadly, this did not happen. On the bright side, AmaWaterways has allowed us to simply postpone our dream cruise until December of 2021. So Wendy and I certainly have something to look forward to!

As with all of our Sew We Go adventures, We design projects for our travelers to make to add to the fun. This year our pre-trip project was inspired by a favorite treat at the Christmas markets – Lebkuchenherzen!

These are a German variation on traditional gingerbread cookies with a cherished history. Some of them sold at the markets are the size of dinner plates! They can be simple or very complex. This sweet treat has a fascinating history. To read an article about it go to: https://theculturetrip.com/europe/germany/articles/a-brief-history-of-lebkuchen-germanys-heart-shaped-gingerbread-cookie/

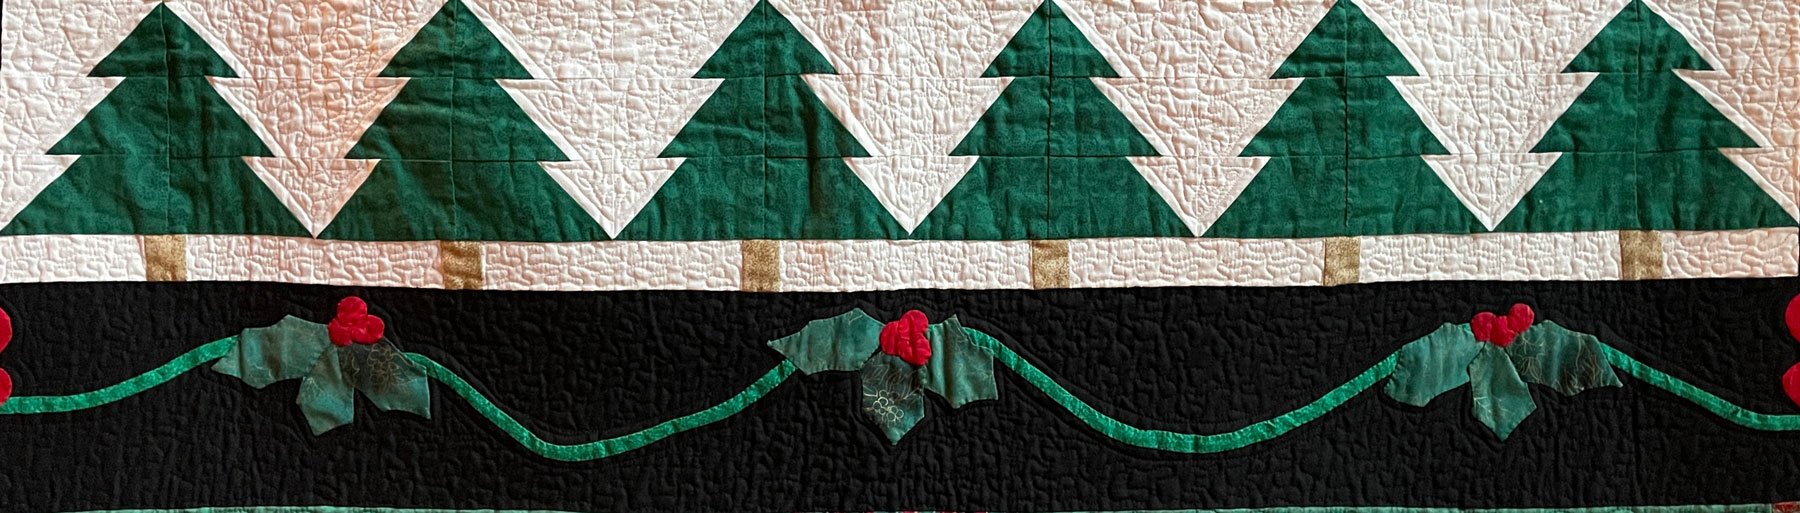
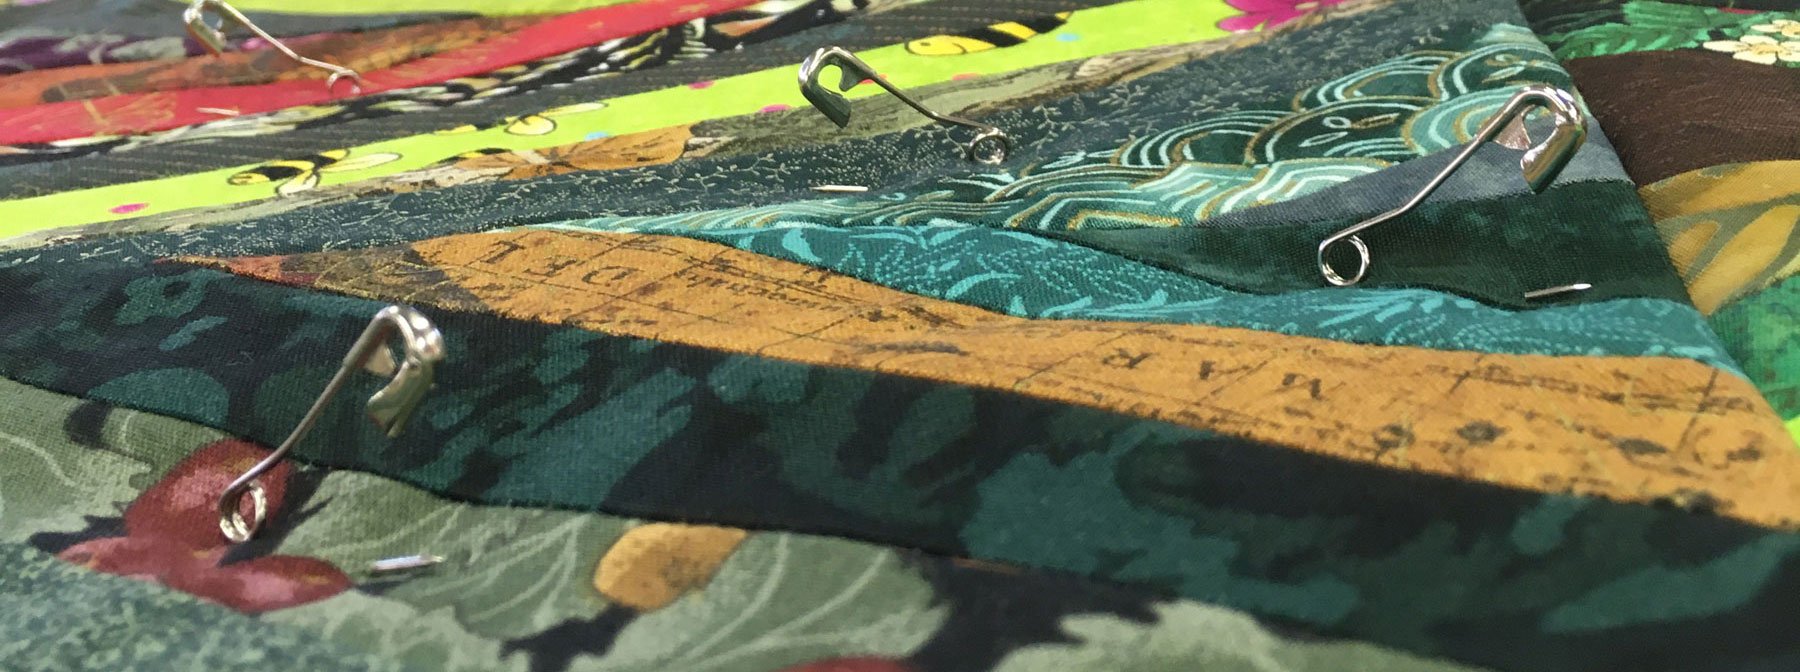
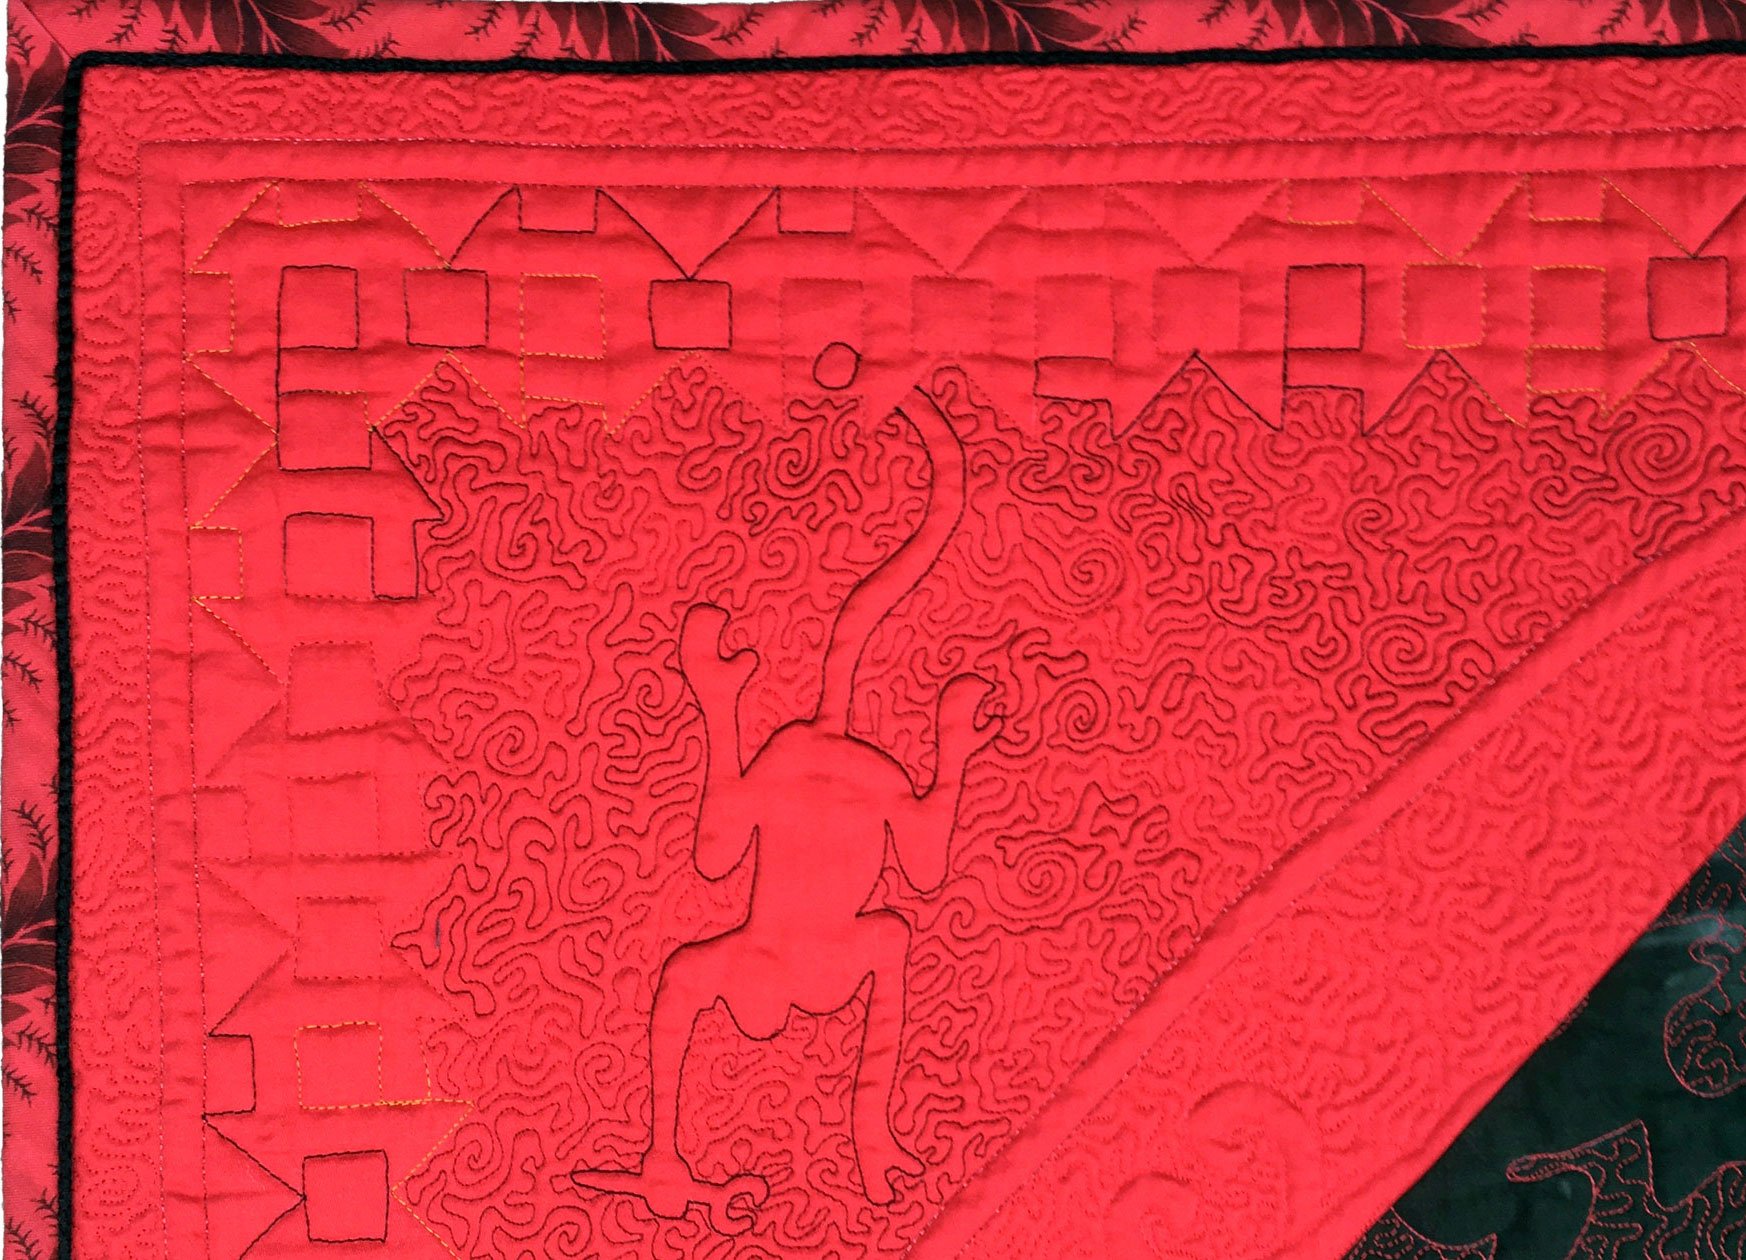
I decided these cookies could be made in fabric with rick-rack and bias tape “frosting”. So I went about designing and stitching a table topper. I sent the instructions to our travelers in the weeks prior to Christmas this year to make the postponement a little less disappointing. This project kept me busy for quite a while, but I didn’t want to tell you all about it here until our group had the fun of learning how to make them. Since these table toppers have a holiday theme – I felt now was a good week to share!

Each of the hearts was made as a separate small quilt. The center was made as a quilted circle, and the hearts were stitched in place. I couldn’t resist making a second one because it was just so much fun!

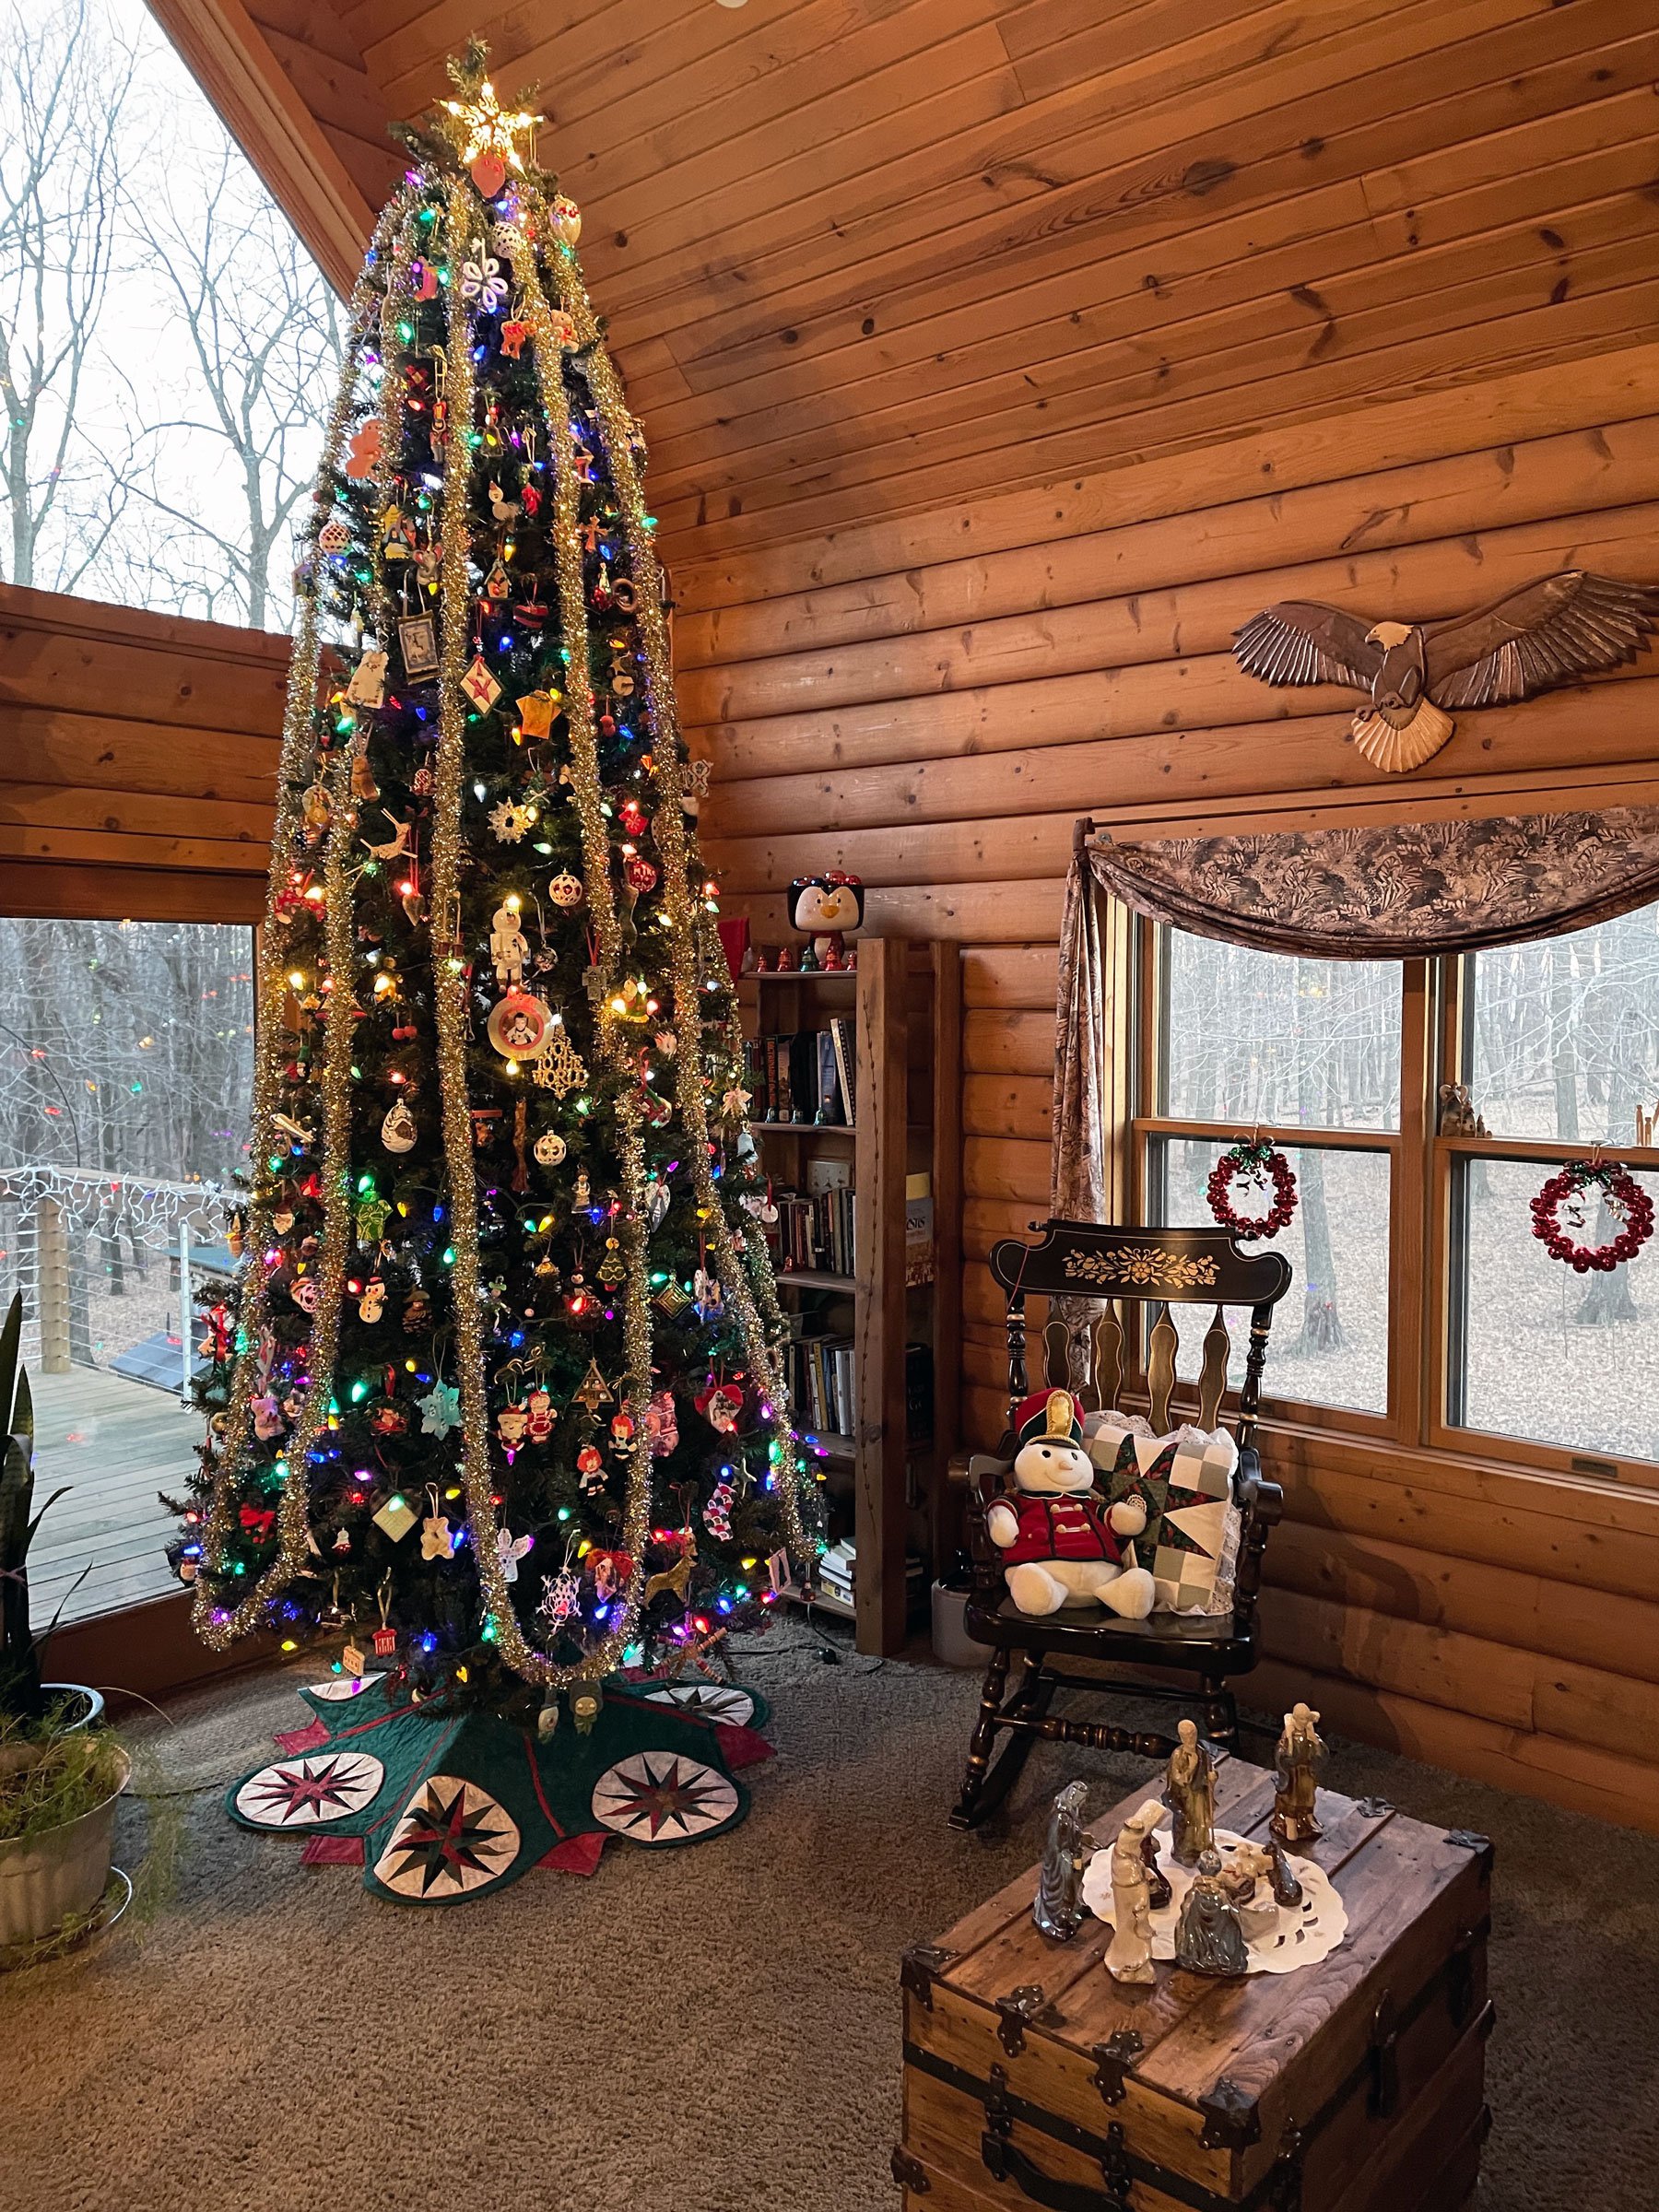
I enjoyed decorating with my Lebkuchenherzen toppers this Christmas, while dreaming of next year’s trip.

I’m not able to share the pattern with anyone outside of our travelers at this time – as this project was designed especially for them. We are enjoying the anticipation of a trip that is less than a year away and afterwards, if anyone is interested, I may be persuaded to present the instructions here on the blog 😊.

And to leave 2020 with a smile…

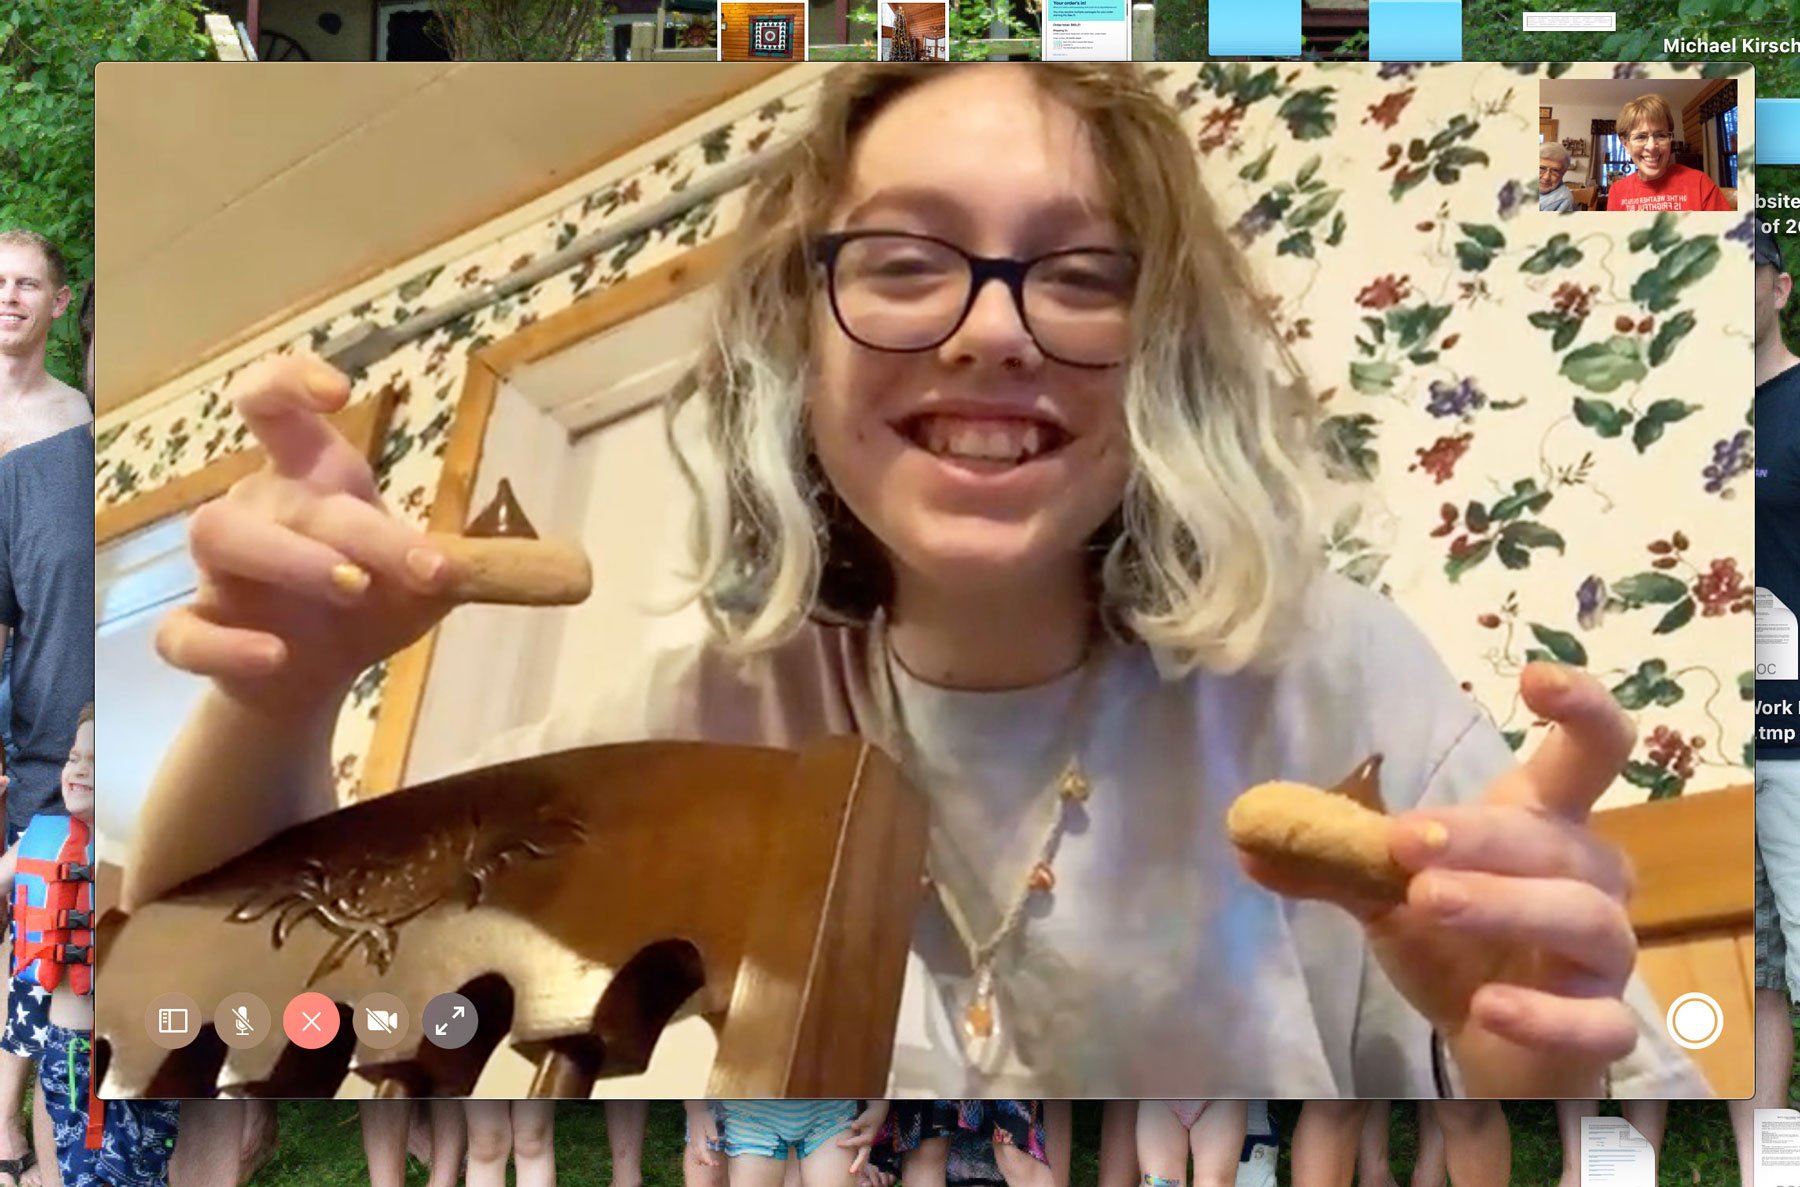
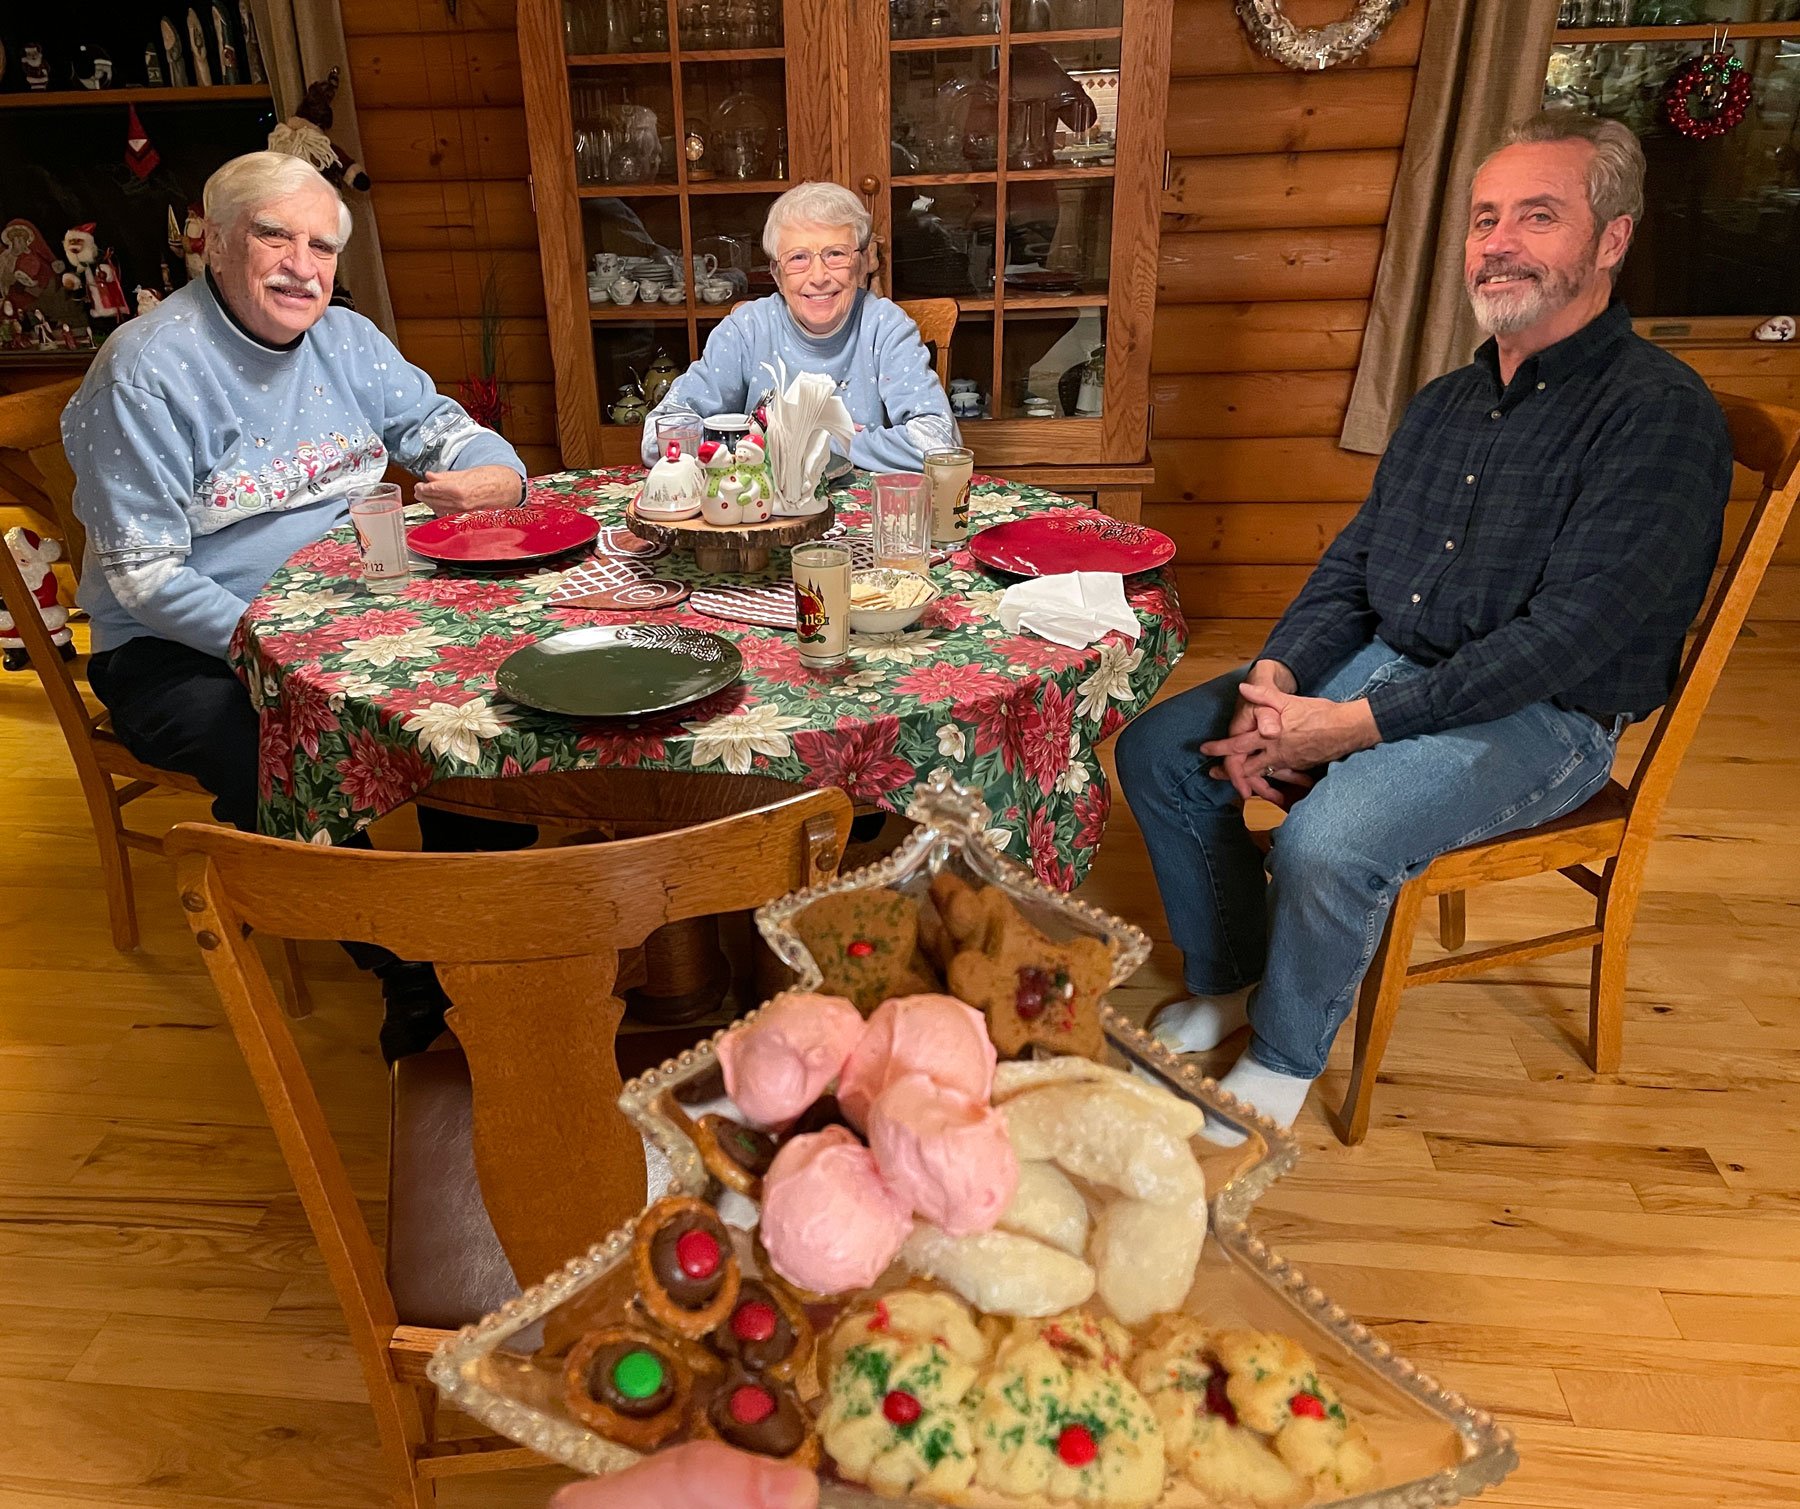
As a wonderful finish to this week’s post my friend Julie sent me a delightful photo of Christmas gifts she made for her grandkids that were inspired by a Sew We Go project I’ve posted about many times; our version of Flat Stanley – the quilt sissies!

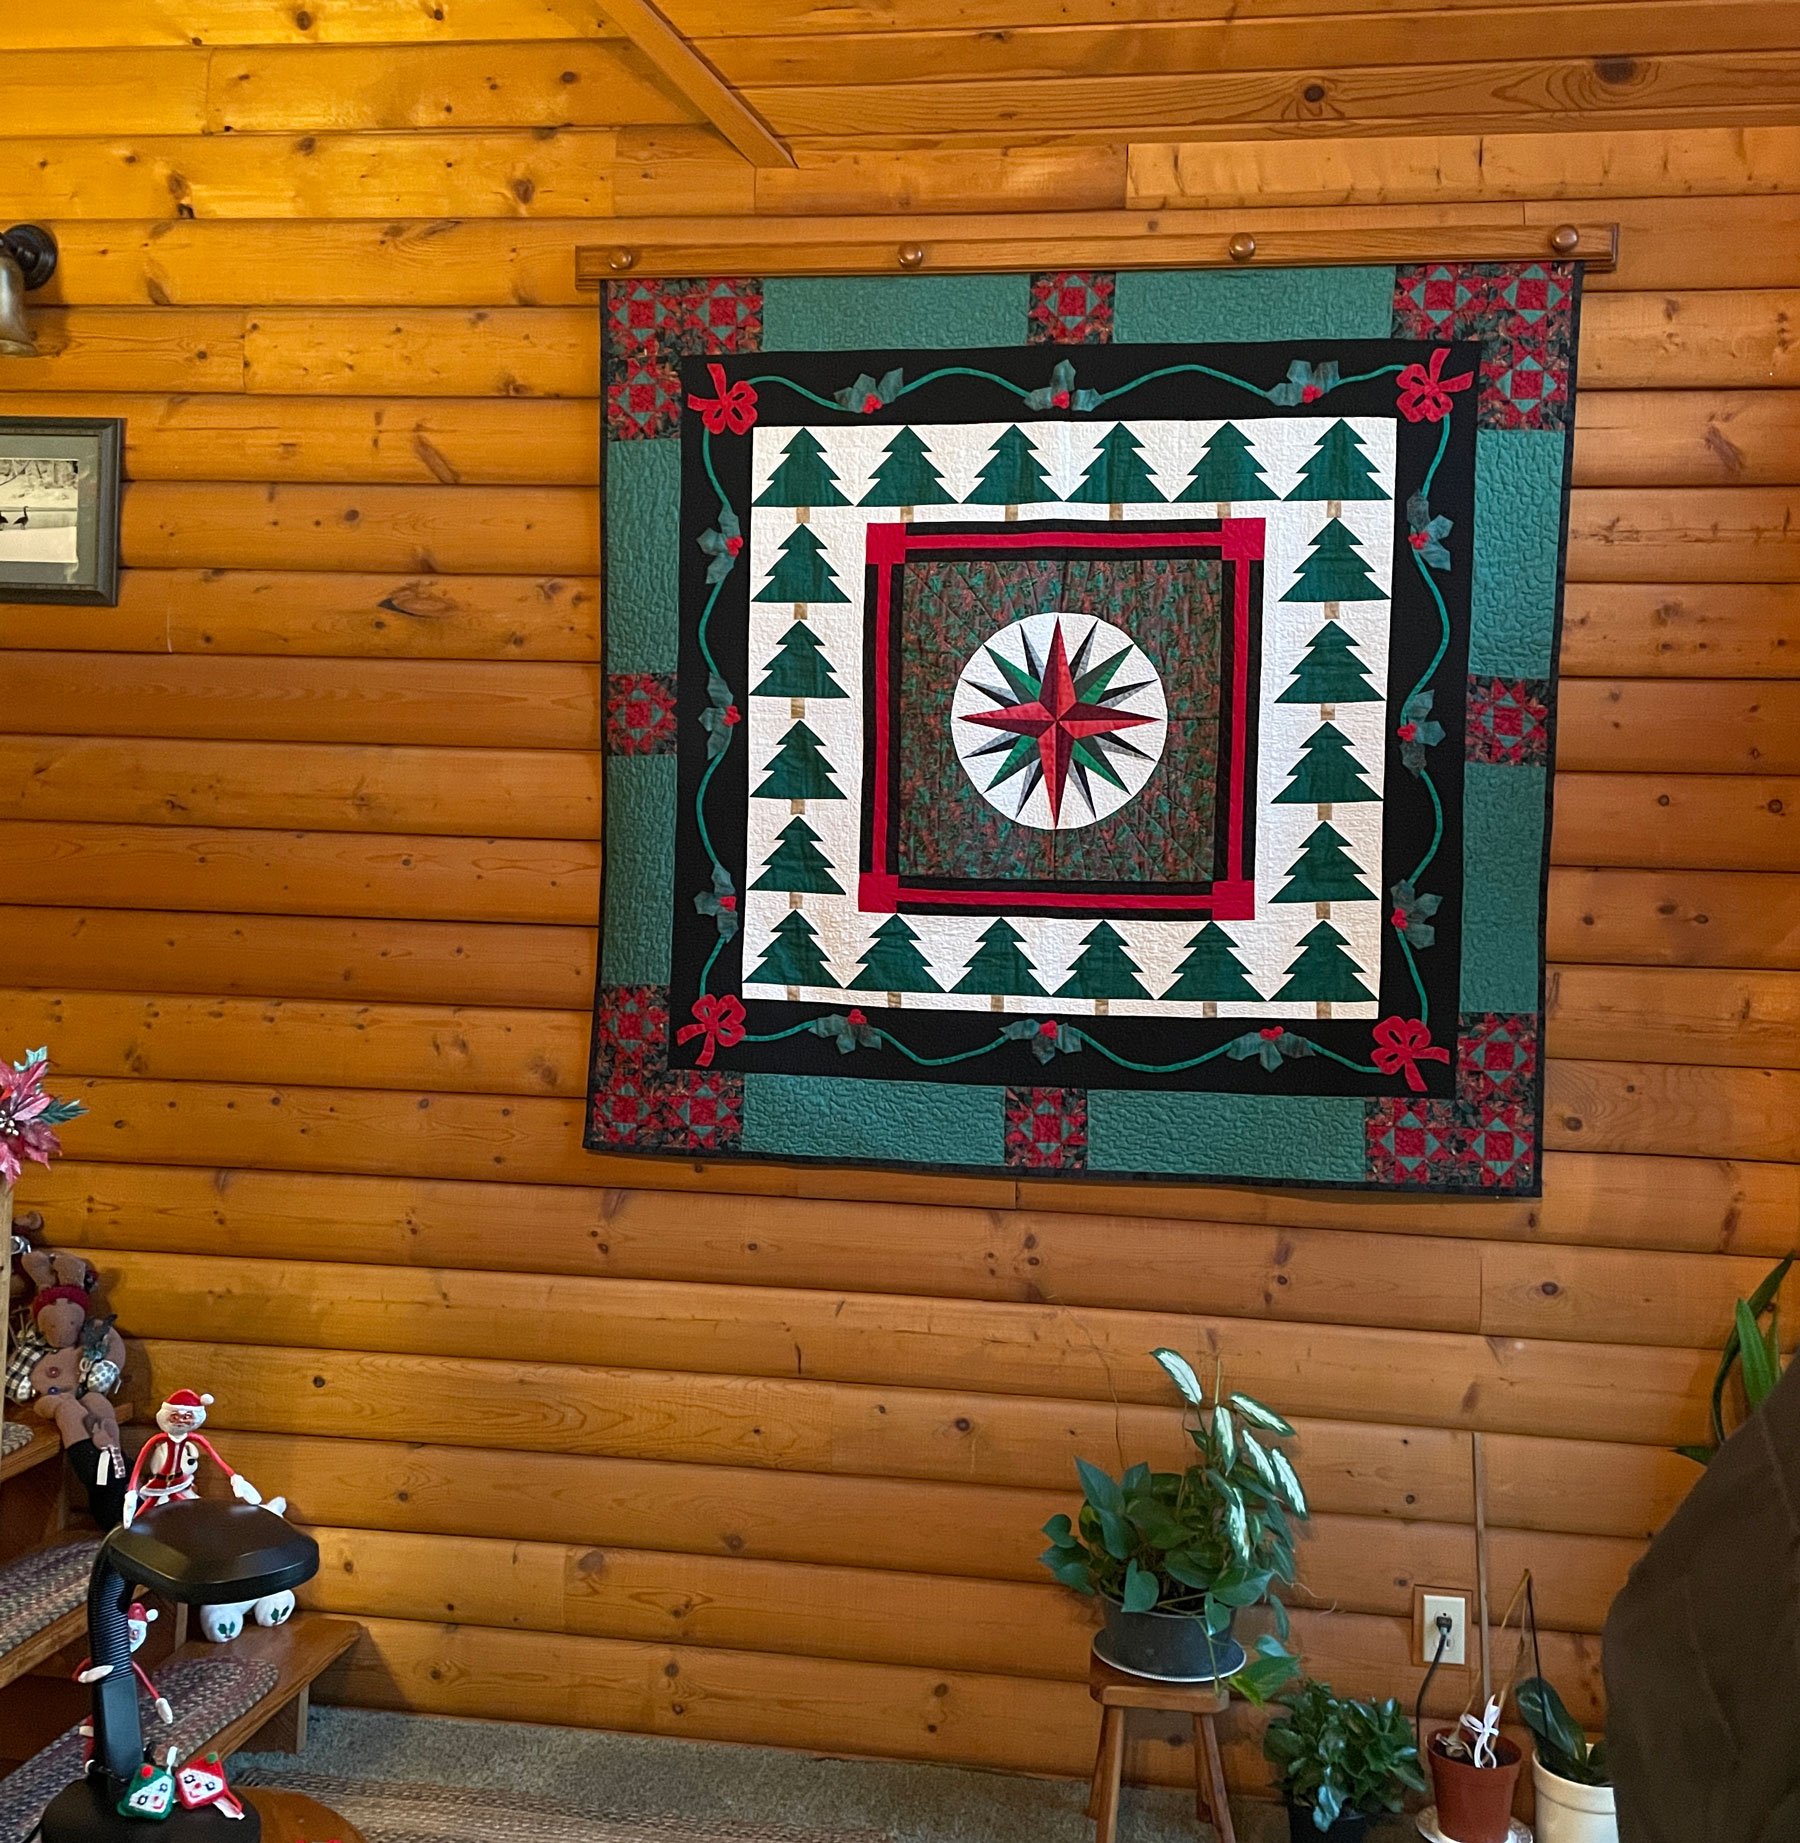
Julie traveled with me to Japan last January and was intrigued by my QuiltAnna (lower center right in the photo above). She decided to make her own version for her grandkids!

How creative!!! And here they are strolling past her mariner’s compass quilt 😁:

Great job Julie – thanks for sharing – I’m sure they’ll love ’em.

Happy New Year everyone! May 2021 be a good year for us all!

Merry Christmas 2020

December 20, 2020 16 Comments

I was excited to put up our tree this year so I could place our new Mariner’s Compass tree skirt under it!

Once it was in place my husband commented that it matched the Christmas quilt we’d just hung on the other side of the living room.

I hadn’t made the connection – WOW! I guess I do have a Mariners Compass addiction 😄.

Since the day we put up the tree – it snowed! 6″ of heavy, wet, beautiful snow! I love it and I couldn’t resist going outside while the thick flakes were coming down and snapping a few pics.

As I approached our bird feeding area there were birds everywhere. My presence caused them to scatter, so I decided to stand very still and wait. Mike looked out our bedroom window and couldn’t resist photographing me waiting to photograph our feathered friends.

A brave chickadee made the waiting worthwhile (look to the right – he’s small, but he’s there!)

One of my favorite parts of the season is baking cookies with my parents, kids, and grandkids. Our son and his family live nearby but are concerned about gathering this year. Our grandkids in Washington should have been here by now, but the pandemic has delayed that visit. So I set up a time to bake with Mom and Dad. After all, they’re the ones I’ve done this with consistently since the time I was very young 😊. Then, while talking with Hanna via Facetime, she had the idea of baking together virtually. She and Willy “gathered” with us on my computer screen.

They made peanut butter kiss cookies

And we made all our traditional ones:

A yummy time was had by all!

Now we await a church service on Christmas Eve and a quiet and small gathering for Christmas dinner to celebrate the birth of our Savior.

So grateful to have so many blessings. A very merry Christmas to all of you. God bless us everyone!

********************

And here’s a quick update on Sharon and my “Ringing and Singing” for the Salvation Army

Each year during the Christmas season I’ve posted about the wonderful time my friend Sharon and I have ringing and singing for the Salvation Army’s Red Kettle drive at our local grocery store.

Ringing and Singing 2019

This wonderful program has become yet another casualty of the pandemic. I received a letter from Marie, the head of our local campaign, saying that they won’t be manning the kettles with volunteers this year (it would have been our 18th). The good news is they have an alternate plan to support this very worthwhile organization. I wrote Marie that I would share it on my blog:

“Due to Covid, & the safety of our bell ringers, the Watertown Salvation Army Kettle Campaign will look a little different this year. There will be no bell ringers at kettles. New this year is a way to donate to the Virtual Kettle. Please text to Local to 24365. Donations made online will be credited to Jefferson County’s Kettle Campaign. Check donations may be mailed to PO Box 774, Watertown, WI 53094. Thank you for all the past generous contributions to the local Red Kettle Campaign.Marie Miller, Volunteer, The Watertown Salvation Army”

If you don’t live in the Watertown area, I’m sure the Salvation Army is taking donations wherever you live.

Many things are going to be very different this Christmas season, but the real reason for the season will never change – Joy to the World, the Lord Has Come!

We have much to celebrate!

Greetings From the Cattail Retreat!

December 6, 2020 12 Comments

In August I posted about a wonderful getaway with my friends. We had such a good time Laura decided to host another one.

I’ve been so craving the company of quilting friends and this weekend has been such a blessing. We’ve stitched,

enjoyed great food at the retreat center (prepared by the participants – these are just the snacks!),

As well as a delicious lunch on the shores of Lake Wisconsin.

We did a bit of shopping in the quaint town of Lodi,

and stitched some more. I put together a quilt from a bag of donated fabrics I picked up at guild. Thanks for the pattern Jo! It’s turning into a lovely charity quilt.

I also had a blast making Christmas table toppers as gifts for dear friends.

We laughed a lot (during our white elephant gift exchange – I think Cathy likes the dachsund planter I found for her at an antique store 😊!),

took in beautiful scenery on frozen Lake Wisconsin,

and out our back door.

Quilting friends are the best! Thank you Laura, Cathy, April and Jo, for a delightful weekend!

Quilting a King

November 29, 2020 16 Comments

As I begin to compose this post my scrappy diamond quilt top is complete and it’s ready for quilting. In the past I’ve quilted 2 king sized quilts on a domestic home sewing machine. Now that I have a HQ Sweet Sixteen mid-arm, I think it will be much more enjoyable 😁. Please join me on my “quilting a king” journey.

The first step: pin baste the quilt in a frame (in my husband’s shed).

In previous posts I’ve shared how to use this simple frame learned from my quilting teacher, Sharon Grieve Grinyer, way back in the late 80s. It requires four 10′ long 2″ x 2″ boards, four bar clamps, and four high back chairs to set it on. I first shared this step-by-step technique for basting in 2011 and, since many of you weren’t following my blog back then, you are welcome to click here to link to it!

Once the quilt is in the frame I safety pin the layers together and it’s ready for quilting.

But what design to use? I typically like to begin by straight line quilting in some sort of grid to hold everything together, and get rid of a lot of pins. Since I greatly dislike stitching in the ditch I like to look for other options. Eureka! The pattern for these blocks did away with this problem! Because the edges of the first two strips sewn to each foundation were aligned with the diagonal of the block, the seam was 1/4″ away from it. This allowed me to straight-line quilt the long diagonals, without being in the ditch! I did this part on my regular machine (I find long straight lines turn out better with feed dogs).

This next part I’ve shared before, but I feel it’s worth repeating: quilting long lines with the feed dogs up often causes puckers on the back of the quilt. My solution is what I call my 3 pin technique. I put the needle down at the start of my quilting line and place 3 pins perpendicular to the seam I’m about to sew.

I remove the pins as I stitch up to them, then repin the next portion. It may sound a bit tedious, but once I establish a rhythm, it’s a breeze and it results in no puckers!

After the quilt was gridded along the large diamonds, I moved to my mid-arm. Since this quilt is so scrappy, fancy free-motion quilting would probably not show, so I did what I often do – I asked myself “what would be fun?” The answer – ruler work!

Straight line quilting in all directions on a large quilt is extremely difficult on a domestic machine, since the quilt needs to be rotated through the small opening under the arm of the machine. By dropping the feed dogs and using rulers that problem is eliminated. It works especially well with the channel ruler from Four Paws Quilting. I set the ruler along the line I wish to quilt and, since it’s free-motion, I simply push the quilt and ruler along at an even rate as I stitch (don’t my colorful gloves get lost in the busy patchwork?).

When I get to a pivot point, the ruler is rotated without turning the quilt, and the process continues.

I’m very pleased with the two concentric diamonds I’ve sewn inside each gridded diamond (you’ll probably have to zoom in to see them) – and I’m truly enjoying every step of the process.

As I mentioned before, the quilt is so busy the quilting doesn’t show from the front. It’s easier to see the concentric diamonds from the back:

And last night we slept under it!!!

I’m very pleased with the results and Mike likes it too!

*************************

One last thing – Lynn just sent me a photo of a string quilt she made and I couldn’t resist sharing it with you.

I’m really loving these scrappy quilts. Thanks Lynn!

Spicing Up Our Quilts

November 22, 2020 4 Comments

Donna sent me the photo of her Lake Michigan quilt during the time I was posting about being inspired by the colors of nature. This is what she said:

“Here’s a quilt that I made inspired by Lake Michigan. Every time I looked at the lake there were all kinds of marvelous colors which always changed with the time of day or the season. I’d say to myself, I have fabric that color! (My favorite color is blue, go figure)
It’s called ‘Ode to the Many Colors of Lake Michigan’.”

What a spectacular work of art! I love the glow in the center. She then sent me a second email in which she mentioned an inner “border” she appliquéd on, just because the quilt needed it:

“Between the lady of the lake blocks and the outer border there is a 1/4 inch stripe fabric appliqued on. It kind of needed that definition, though I didn’t want to do it. Once done it was a nice addition.”

Donna admitted that appliquéing that narrow striped border was worth it, and I really admire the effort it took. What an effective addition!

I’ve had a few occasions in my quilting life when the quilt was done, but it just needed a little something more. One of them was “Pekoe and Cut Black”, a quilt I made for a “Tea” challenge. I decided to pull a bunch of white/cream scraps from my stash and dye them in tea. I only used these fabrics in the quilt, including the binding. So the outer edge ended up looking quite bland.

To add definition I couched a piece of variegated yarn in the ditch between the binding and the quilt and I was much happier with the results:

And here’s a detail shot:

Another quilt which benefitted from couching a “piping” along the binding was one I made with my friend Sharon Rotz. We made it for the New Quilts From an Old Favorite challenge at the National Quilt Museum in Paducah. The “Old Favorite” was the monkey wrench pattern and our quilt is entitled: Two Friends Monkeying Around:

It was accepted into the competition, hung in the museum during Quilt Week, and traveled with the exhibit for 2 years before we got it back. At that point Sharon decided to enter it in an art competition. She felt the edge needed a bit of definition and couched black cording along the binding.

This addition framed the quilt well and we took first place! Here’s a detail shot:

I think these “spicing up” additions we’re well worth the effort in each of the above quilts. Have you ever added a little extra zip to a quilt in this way? If so, please send me photos!

Bonus Story

Many of you have heard the story of my Tea quilt, but in case you missed it – enjoy 😊:

I drew a number of swirls originating from a center circle until I found the one that was just right. I then stitched them together using Caryl Bryer Fallert’s applipiecing technique. I quilted each area with a different free-motion quilting pattern, adjusting the design when it hit my pre-marked circle.

This quilt is part of my “Crossings” series where portions of the quilt are made separately and then the pieces are connected back together with beads. It’s a spiritual journey series of quilts in which I feel the beads cross the gap and hold the broken pieces of my quilt together as my faith in Jesus Christ holds the broken pieces of my life together.

In most of the quilts in this series I bead together rectangles or squares. This time I decided to make the entire quilt – quilted, bound and finished. Then I cut the circle out of the center of the quilt, finished both edges with corded piping, and beaded the circle back into the hole it had created with pyramid beads from a broken bracelet. It was quite a gutsy move, but I was pleased with the results.

For some reason I feel like making myself a cup of tea right now 😁.

Wishing you all a blessed Thanksgiving!

Making Diamonds

November 15, 2020 8 Comments

I’m making great progress on the king sized quilt for our bed. I posted a few weeks ago about the process for making the string pieced blocks (click here for a link to that post). As soon as all 120 blocks were completed I couldn’t resist laying them out on the floor of my studio. After admiring them for a day I realized I wasn’t able to move in there, so I gathered them all up for the next step: paper removal!

This proved to be much easier than I expected, and I’d like to share the process I came up with. My first discovery was that the blocks I pieced on pages from an old phone book were the easiest foundations to remove. I highly recommend them. But the ones pieced on regular paper weren’t all that difficult either.

I quickly got into a rhythm. Here’s the process:

  1. Begin at a corner and place your thumbnail along the seam at the edge of the paper to protect the stitches from pulling out. With your other hand rip the corner triangle back over the seam quickly.

2. Pull the next foundation piece away from the stitching at one end, place your thumb under it, and run it to the other end, releasing the paper from the seam.

3. Hold the stitches secure with your thumbnail on the next seam and repeat step 1.

I continue removing strips until I reach the center diagonal seam, then I rotate the block and continue from the opposite corner until all the strips are removed.

Once all the blocks have been freed from their foundations, it’s time to sew them together. This quilt is really scrappy, so there’s no reason to overthink the layout – unless it matters to you. (I have friends who would agonize over this – and you know who you are 🤣).

I decided to begin by sewing them together into pairs in the shape of a “V”:

And continued until I had 60 pairs. I then sewed the pairs into rows of 4s, making sure that the ends of each strip remained Vs:

As I sewed these units of 4s into 8s I realized that if I kept sewing these units together in this fashion I wouldn’t get the results I wanted because my plan was to have 20 blocks across. Sewing two 8s into 16s was fine, but sewing two 16s would not give me 20! So I needed to set aside 10 of the above 4 block units before I stitched my 8s into 16s. The saved 4s would then give me the 20 block rows I required.

Notice how the pair of blocks on each end of the 8 block units are still Vs:

The 8s will be sewn into 16s (with Vs on the ends – this may be repetitive, but there’s a reason – read on 😊):

Once the 4 block units were added, it was time to press. As I made the blocks I consistently pressed the seam allowances in the same direction. If you zoom in to the rows below, you’ll notice all the vertical seam allowances are pressed to the right:

By pressing all the V rows alike I am able to flip every other row to create diamonds, and the seam allowances will butt (kiss and hug) when the rows are sewn together. Proper pressing does make the quilt lay flatter.

I am really enjoying this project and am confident I’ll have a new king sized quilt on my bed before year’s end. Stay tuned 😃!

PS In my last post about this quilt Shellie commented with the question “why bother with the paper when piecing these blocks”. Since you may have missed my reply – I thought I’d share it here:

“I’ve made a quilt where I pieced chunks and strips without a foundation, and then cut them into the proper sized squares. I discovered there was a lot of measuring and fussing to achieve the right size and shape. I found that frustrating. So when Lori told me of this technique I wanted to give it a try. I like the way the size and shape are obvious as I piece, and the angle is kept perfectly.”

Remembering Hazel

November 1, 2020 15 Comments

Ever since I began quilting in 1987 I’ve been amazed at the great blessing quilting friends are. I have so very many quilting friends and am grateful for each and every one.

There are some people who hold an extra special place in our hearts and in my heart there’s a big place for two wonderful sisters – Evelyn Link and Hazel Robinson.

I’ve known Evelyn most of my quilting life, and she is very dear to me. I’ve posted about our adventures together on quite a few occasions. I don’t quite remember the first time I met Hazel, but we too have been fast friends ever since we met.

It’s with a heavy heart that I’m writing this post to remember dear Hazel who recently passed away. She was never without a smile and just loved to make everyone around her smile too. She was an amazing cook and she, along with her husband Eddie, were truly hosts with the most – the most generosity, kindness and fun that is.

In 2010 Hazel (and Evelyn) invited me to Alaska. She and Eddie lived on the Kenai Peninsula half of the year. These dear ladies arranged to have me teach classes for quite a few quilting groups in the area, and requested that I plan a longer stay so they could show me Alaska. What a wonderful time we had! I stayed in the “apartment” above the garage which consisted of Hazel’s quilting studio, a kitchen, bedroom and bath!

They taught me to eat crab legs with scissors and how to track down moose on a 4 wheeler (that was Eddie’s job 😊). I met many delightful quilters and taught classes in a variety of wonderful settings.

One of them was in a fishing lodge on the Kenai River, and I even got to take a boat ride with Ken, the professional fishing guide who was married to the quilter who owned the lodge. Wonderful people! So many good memories! (to read a post I did about that trip click here!)

Evelyn and Hazel joined our Sew We Go adventure to the quilt show in Sisters, OR in 2015 and that’s where the photo of us at the Stitchin Post above was taken. I was with the sisters in Sisters 😁!

Early on in our fun together I noticed Hazel calling Evelyn Sissie (or Sis E). I was so pleased to be a part of their many adventures and was thrilled when they invited me to be an honorary sister – Sis C! And on that note, if you’ve been following my blog for a while, you’ve heard the story of the Quilt Sissies. That all started with Quiltina, a quilter’s version of “Flat Stanley”. He’s a cardboard cut out schoolkids take/send all over and then write about his adventures. Well, Wendy Rieves and I lead quilting tours in the US and Europe and, prior to our riverboat cruise in France I mentioned to Wendy that we needed a quilterly version of Flat Stanley to accompany us on our travels. Her fruitful imagination created Quiltina, and she’s been traveling with us ever since.

Evelyn accompanied us on that French cruise and won our trip challenge with a prize of, you guessed it, her very own doll which she named Quiltilly. You may be wondering what this has to do with Hazel. Well, once I was made an honorary sissie, and since Evelyn and I each had our own doll, I just had to make one for Hazel. True to her wonderful sense of humor, she named her Quiltzilla!

A few years after the Alaska trip, Evelyn invited me to stay with her and teach in the Phoenix area. She had moved to Tempe after she retired to be close to Hazel, since that’s where she and Eddie lived when they weren’t in Alaska. So the Sissies had another memorable trip together, and I got to meet so many more delightful quilters (click here for a post about that trip). We also saw Chihuly in the Botanical Gardens, a quilt show in Tucson, and a lovely mission.

Where did we end up together next? Evelyn and Hazel stayed with Wendy and me during Quilt Week in Paducah. What fun we had there! It even included lunch at Grace church with a surprise visit by Quiltman and Bobbin (and our dear friend Nancy too).

Hazel was a talented piecer who loved to make large quilts for her family. She was especially good at the intricate Judy Niemeyer patterns. Evelyn recently sent me this photo of the last quilt Hazel made.

I had a different post planned for this week, but couldn’t think of a better way to remember Hazel then on my blog. Thank you for sharing some memories of a dear lady with me. She will be greatly missed!

Love you, Hazel!

Selvedge Colors

October 25, 2020 11 Comments

Have you ever really looked at the edges of the fabric you buy before cutting them up and discarding them? I’m sure you have, and if I asked you what was there the most common answer would probably be: the name of the fabric company and the fabric line. Many of you would also mention the “color dots”.

These dots contain each of the hues (colors) used in that fabric and are another great “palette” to use when choosing colors for a quilt (a topic familiar to all who’ve been reading my blog recently). To read a short and informative post about these dots click here!

Some very innovative quilters have actually made quilts from these tightly woven strips, and I’ve always been intrigued by the ones I’ve seen entered in quilt shows. It’s amazing what you can find on the internet. I searched for “making quilts with selvedges” and found oodles of fun sites. Click here for a great video on this topic from Bryan House Quilts.

At the Butterfly Threads Quilting site I discovered a woman who is wonderfully addicted to making selvedge quilts. She’s made them into baskets, spools, log cabins and more. Click here to be inspired!

That being said, I’ve come to realize that one of the purposes of this week’s post is to find out if there is anyone out there who is as totally unobservant as me!!!

While at retreat with my friend Laura a few months back, she was talking about some fabrics she had purchased with creative color dots – wait, what?

My response: “what are you talking about?” She told me she’d send me a photo of some of these selvedges, and here it is (thanks Laura):

What fun! I especially loved the trucks. So I went through some of my more recent purchases and, much to my surprise, found some delightful edges:

Mushrooms on a Timeless Treasures critter print
Winter motifs on two coordinating Christmas flannels by Maywood Studios
The State of Wisconsin on a shop hop fabric by Primitive Gatherings

And my personal favorite – compasses on a colorful map fabric by Timeless Treasures:

I love it! Who knew these were hiding in my stash? Did you?

Will any of you admit to being as surprised as I was to know about these “creative dots”? Please feel free to comment if you dare 🤣.

Do any of you save selvedges? If so, have you made quilts or other projects with them? I’d love to see photographs of them. Please email them to me at .

  • « Go to Previous Page
  • Page 1
  • Interim pages omitted …
  • Page 31
  • Page 32
  • Page 33
  • Page 34
  • Page 35
  • Interim pages omitted …
  • Page 77
  • Go to Next Page »

Primary Sidebar

Archives

Recent Posts

  • The Indiana Heritage Quilt Show ~ 2026
  • Bird’s Eye View
  • The Birds
  • Sew Much Creativity
  • A Last Minute Baby Quilt

Recent Comments

  • Kathy Wuhrmann on The Indiana Heritage Quilt Show ~ 2026
  • Doris Ast on The Indiana Heritage Quilt Show ~ 2026
  • judy raddatz on The Indiana Heritage Quilt Show ~ 2026
  • Jeanette Bussard on The Indiana Heritage Quilt Show ~ 2026
  • clkquilt on The Indiana Heritage Quilt Show ~ 2026

Categories

Footer

My Guide

Whatever you do, do your work heartily, as for the Lord rather than for men.

—  Colossians 3:23

Contact Chris!

  • Home
  • About
  • Gallery
  • Classes
  • Trips
  • Books
  • Blog
  • Contact
  • Sign Up For My Blog

Copyright © 2026 · Chris Quilts · Website by Adunate · Privacy Policy