I decided to take a one week break from my series of posts about our trip to the United Kingdom. I still have some wonderful adventures to share from it, but a recent meeting here in Wisconsin was so much fun ~ I thought you might enjoy a short intermission.
Over the years I’ve created some unique pieces while playing with Shiva Paint Sticks™, and recently our Fiberistas group decided to revisit this fun product. We had a “play date” and created some interesting pieces of fabric. To read about it please click here.
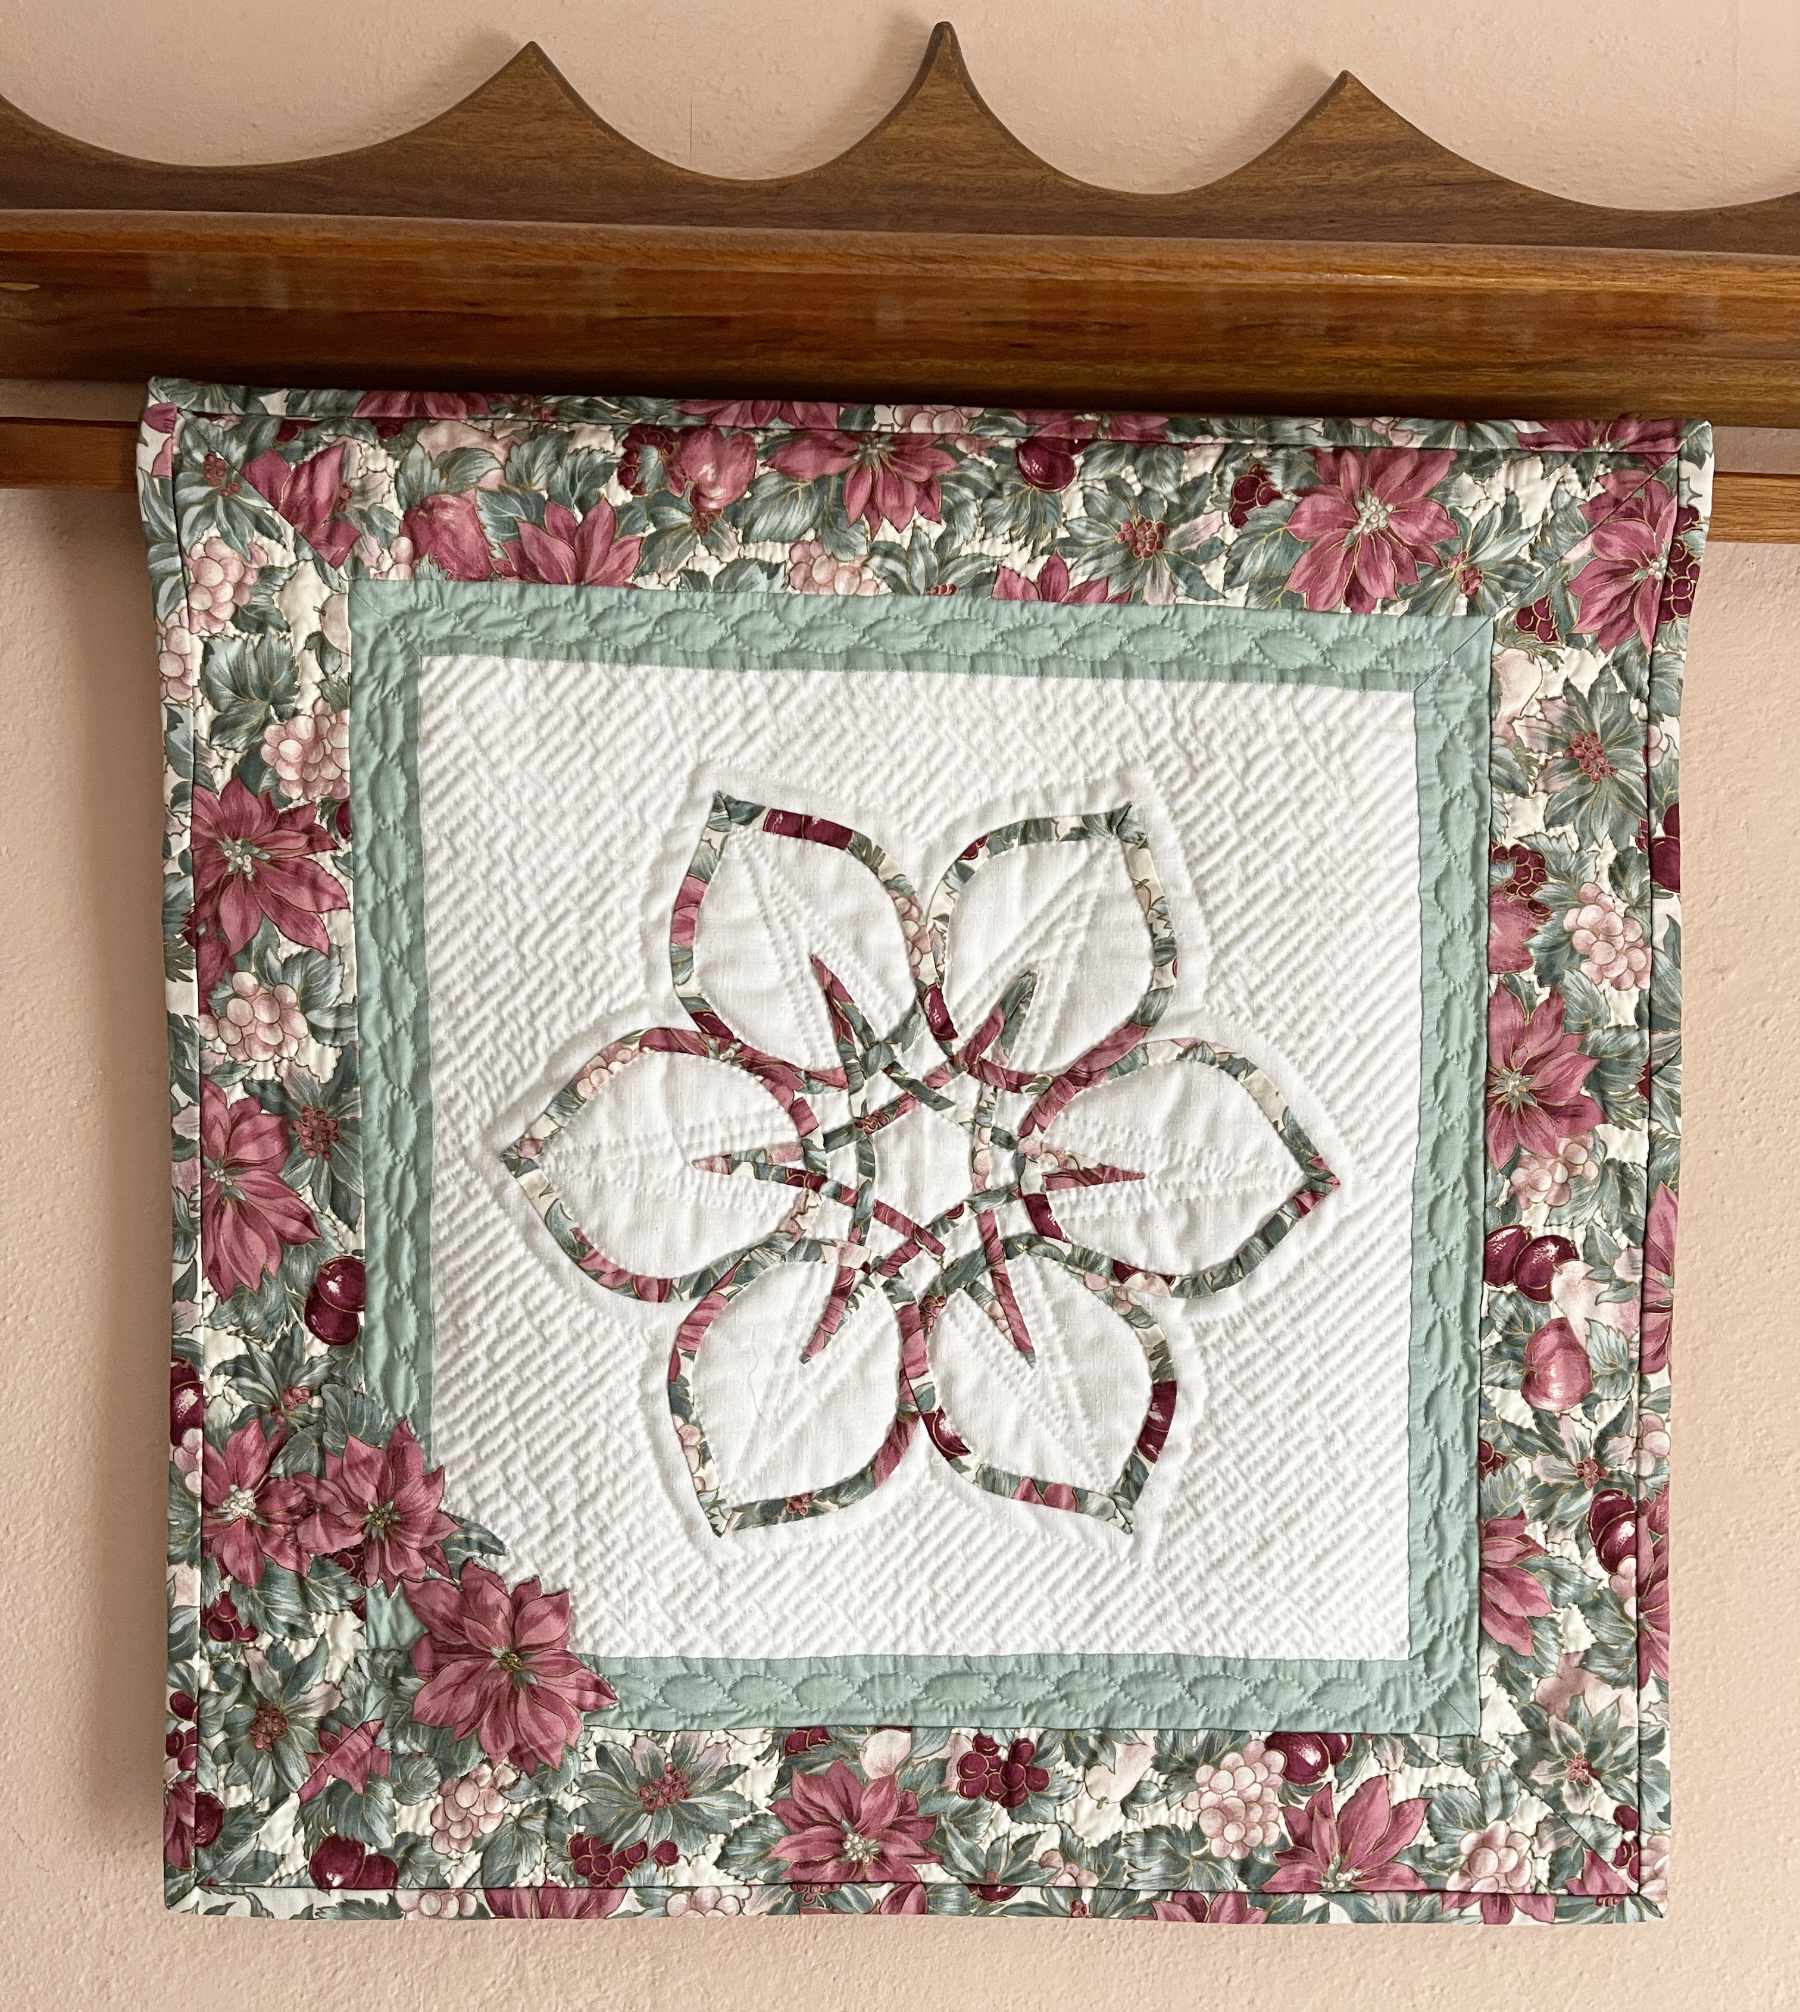
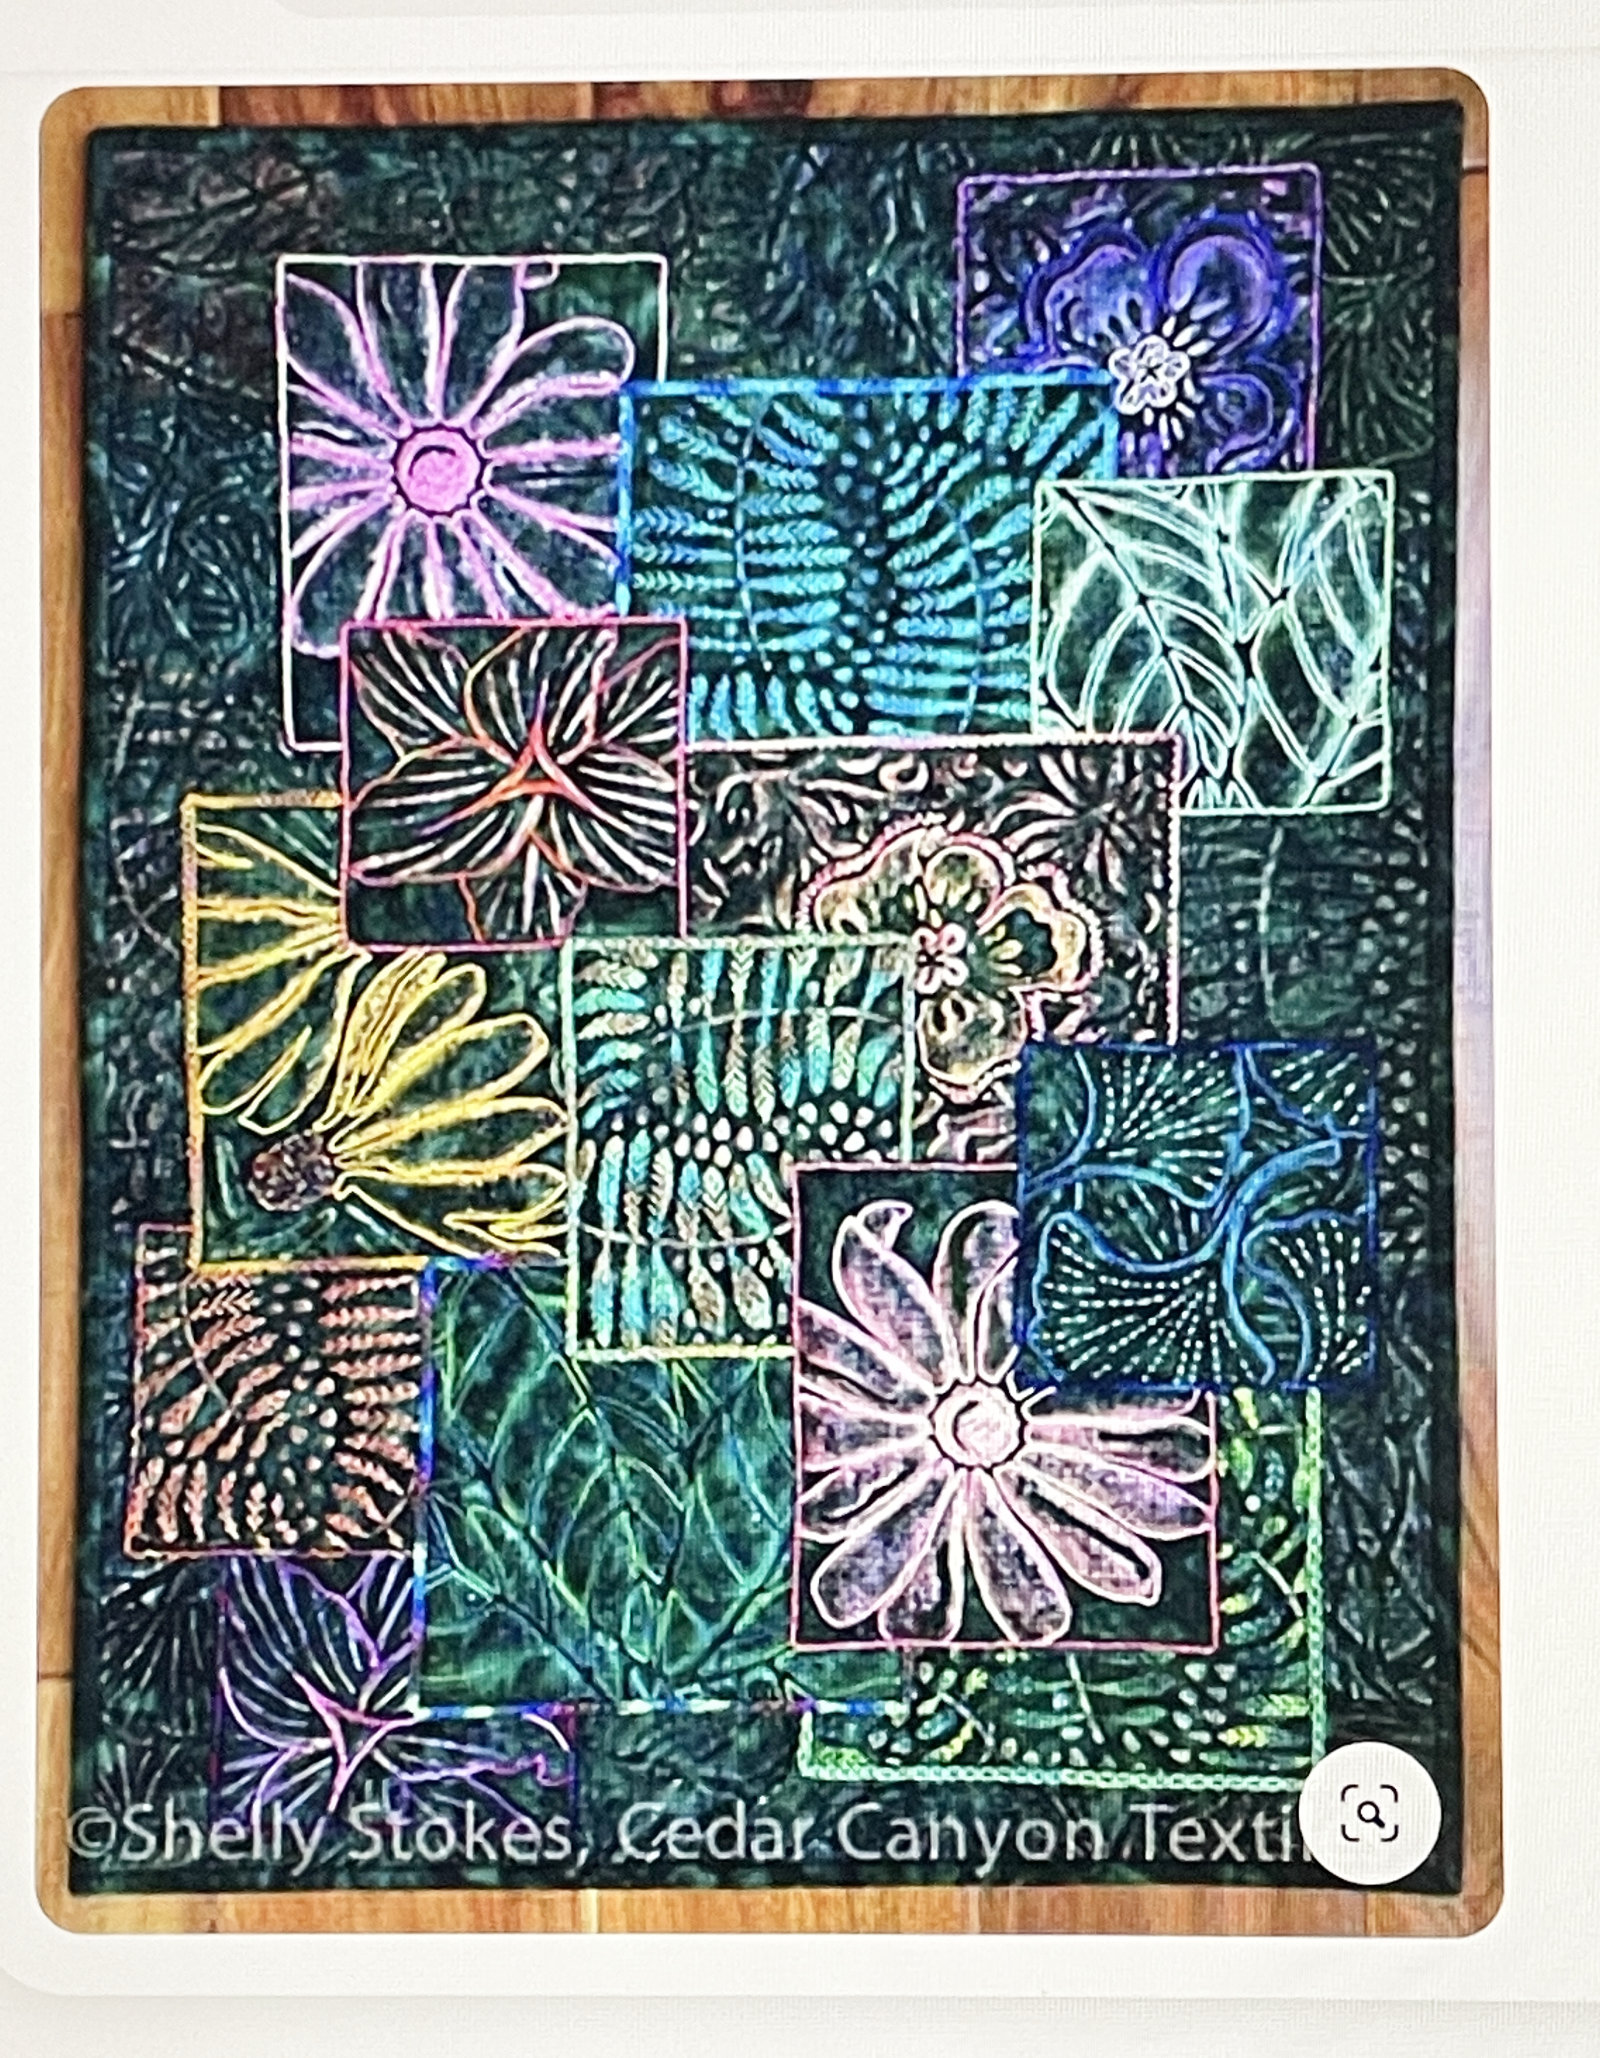
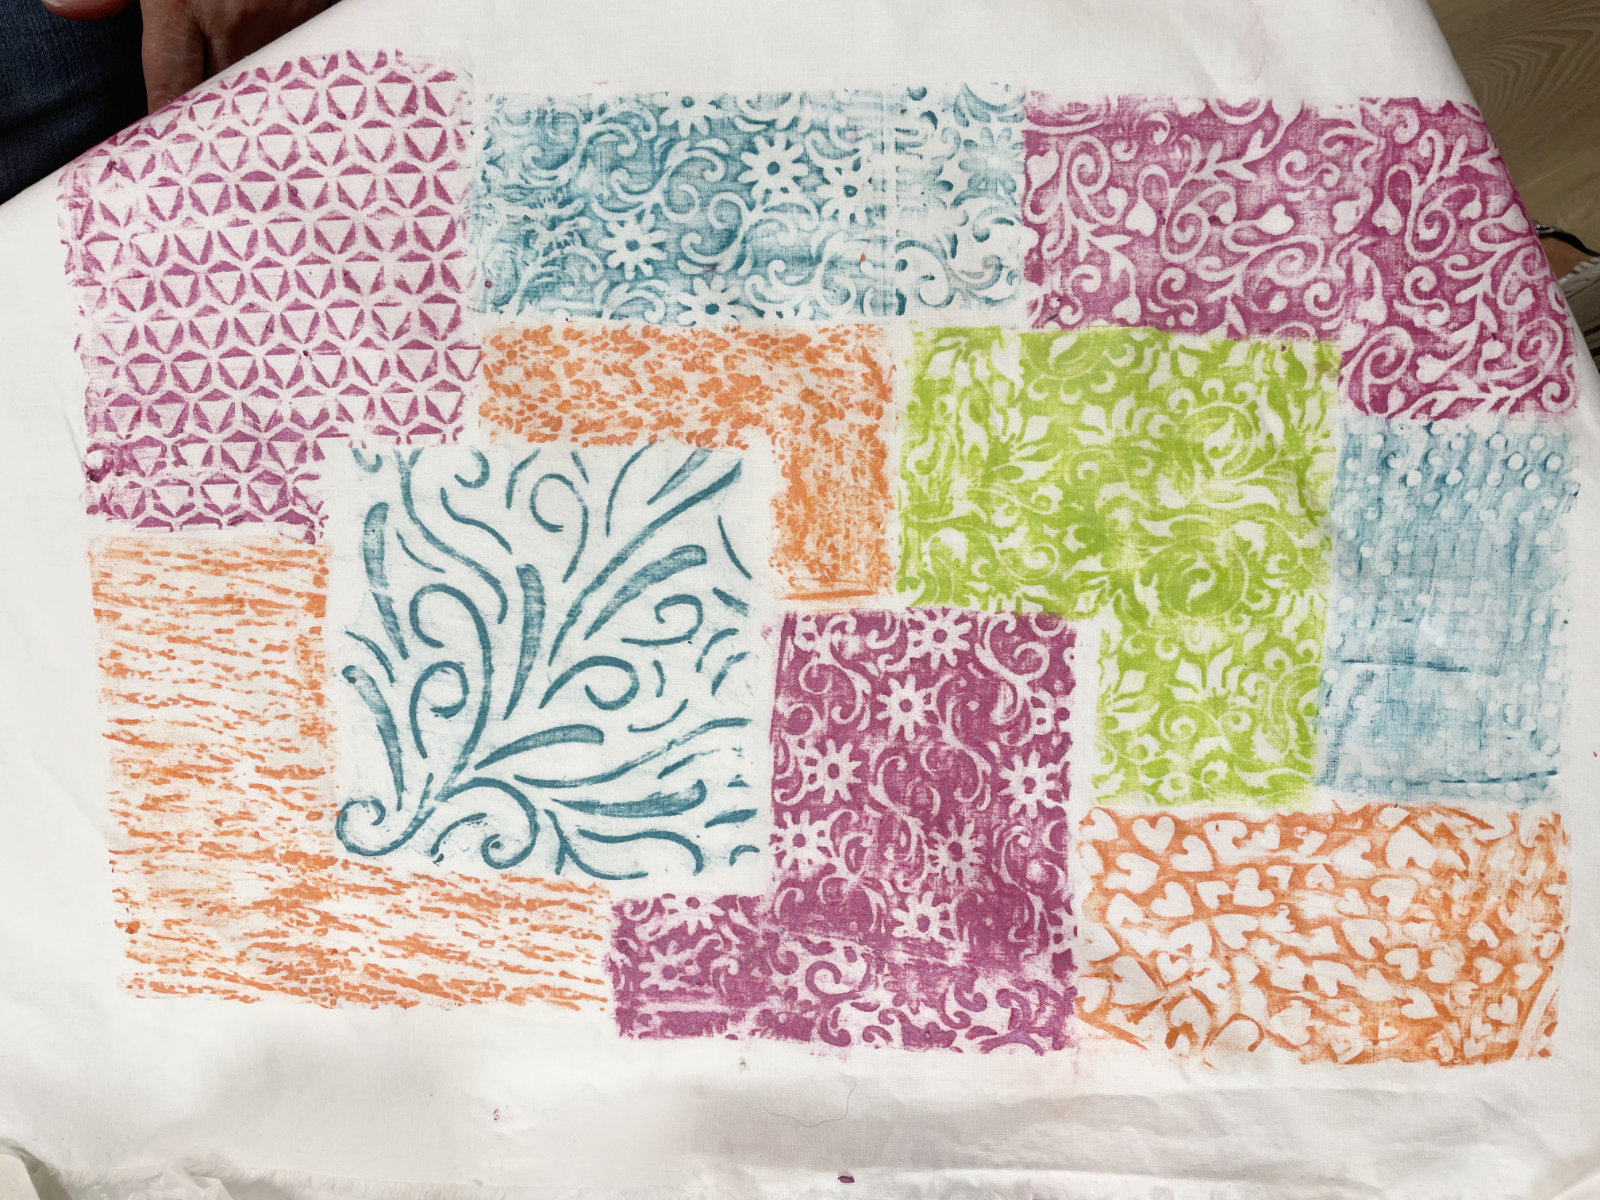
The piece I worked on was inspired by a photo I found on Pinterest™ of a project made by Shelly Stokes. She overlapped squares of paint stick rubbings, and then embellished them with threads, etc. It was beautiful, but there were no instructions on the post where I found this photo.
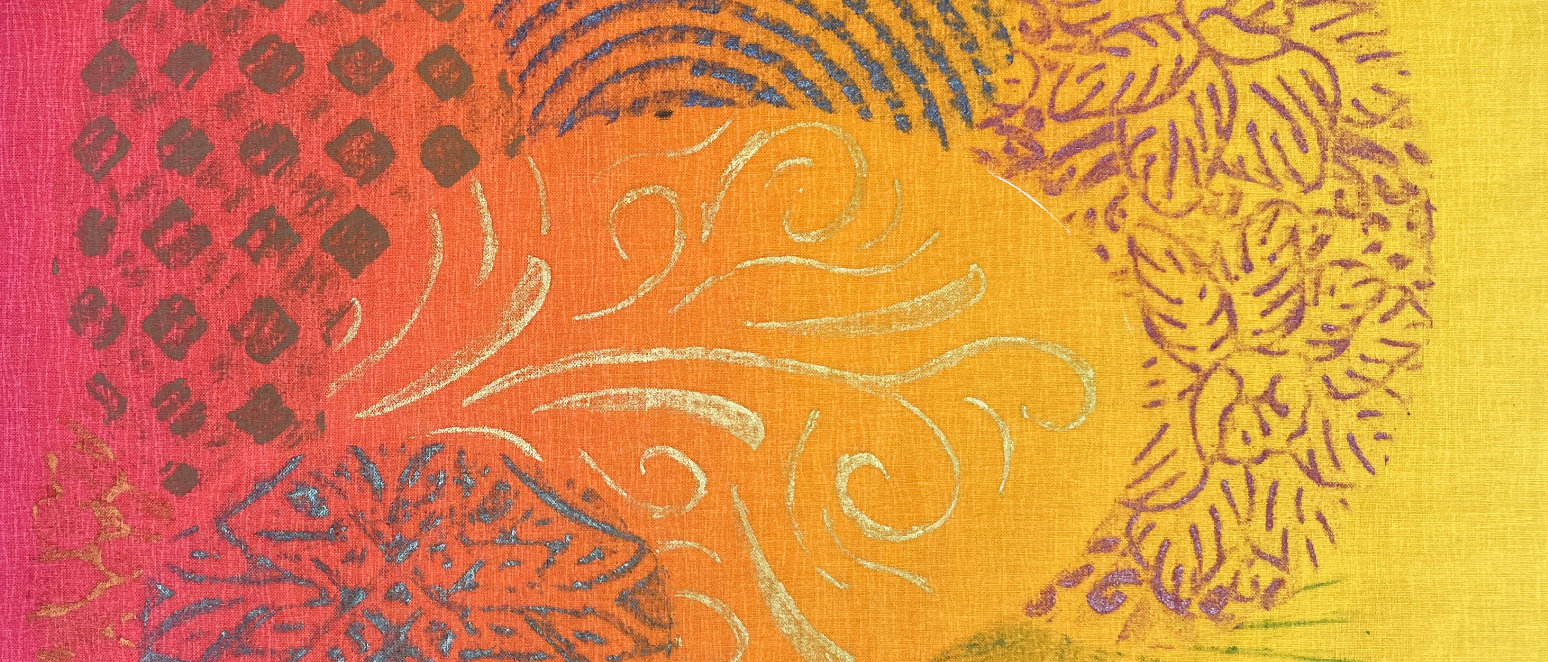
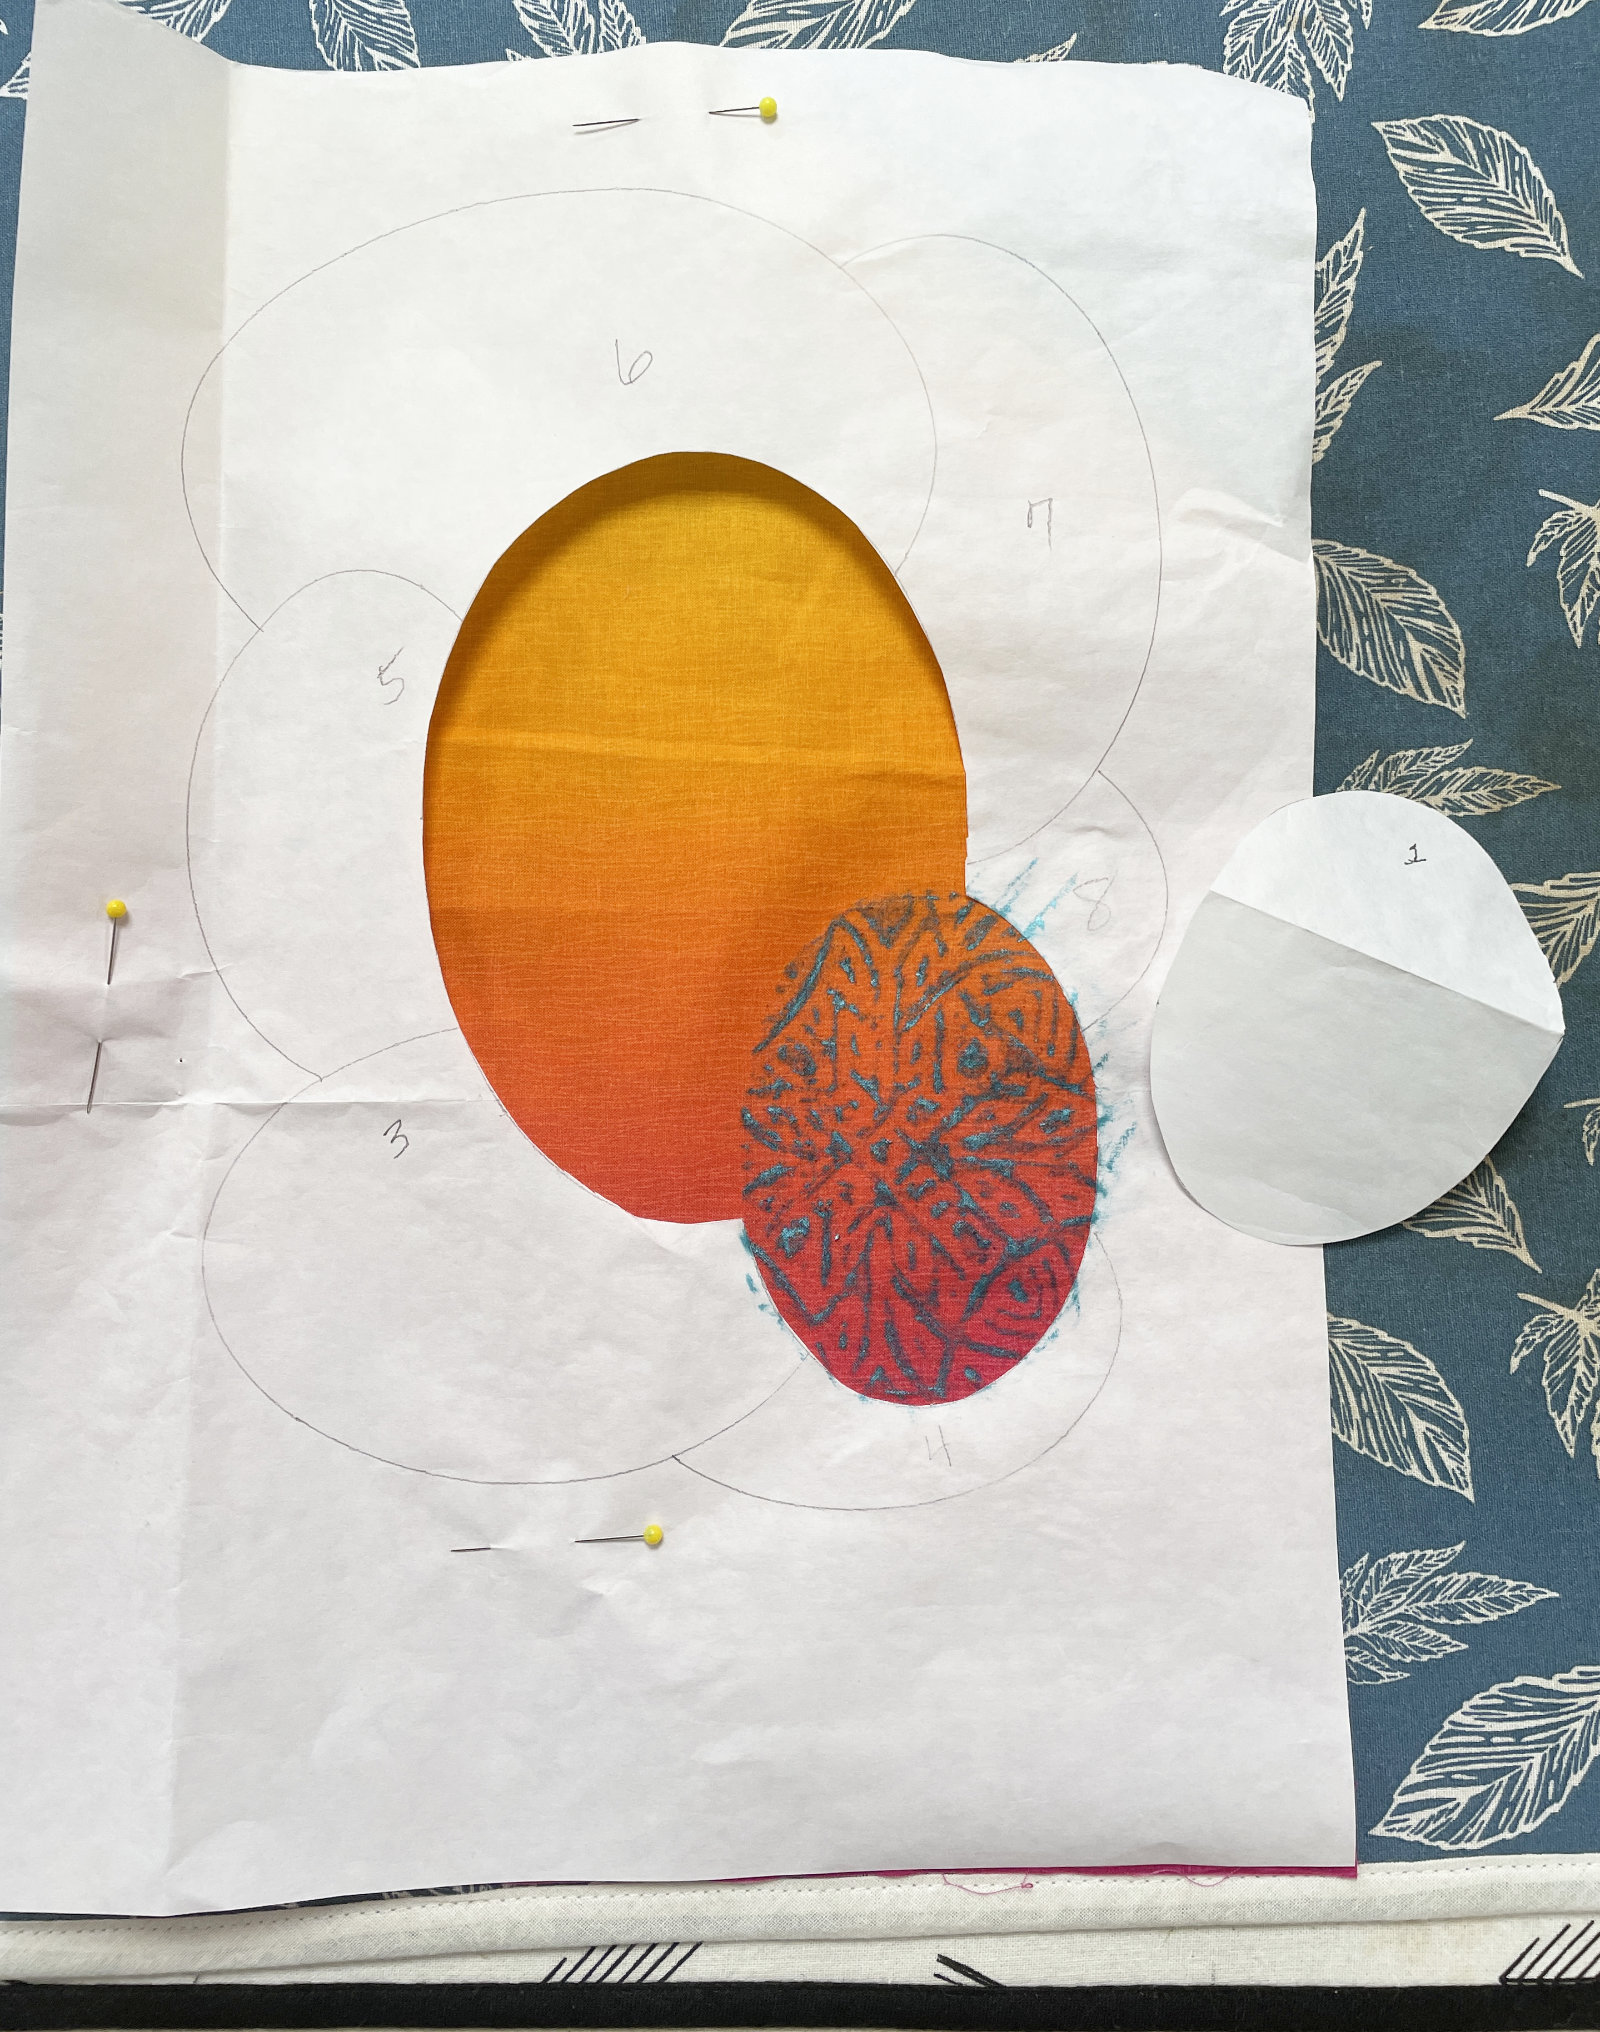
So Lori and I chose to experiment using freezer paper to add boundaries, and to block previous painted areas. There was definitely a learning curve. The fabric I used for my background is a gradation piece I found in a “free bin” at On the Bias quilt shop in Whitewater, WI (A wonderful shop I must say ~ click here for their site). I began by tracing some oval templates in an overlapping style, and cutting out the first oval. I used a rubbing plate and made a design in blue. Then I cut out my second oval, and after this photo was taken I ironed the first oval back in place.
I continued in this fashion,
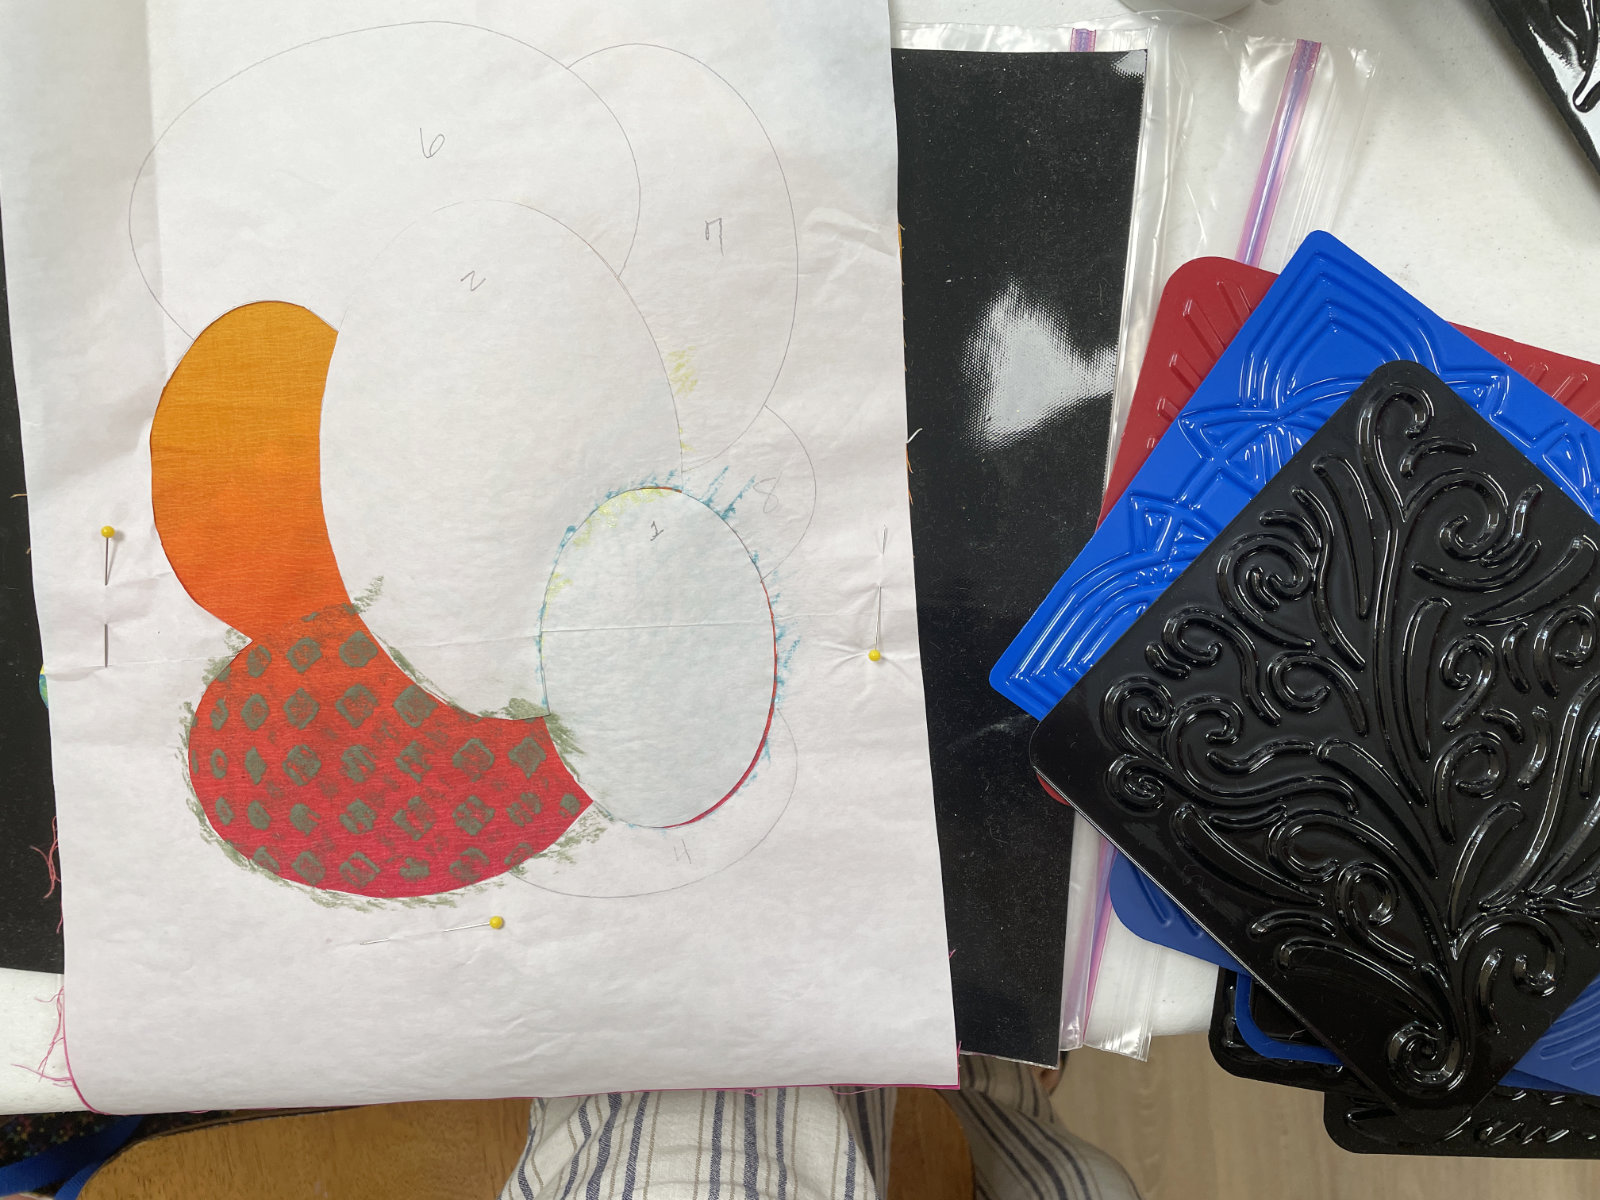
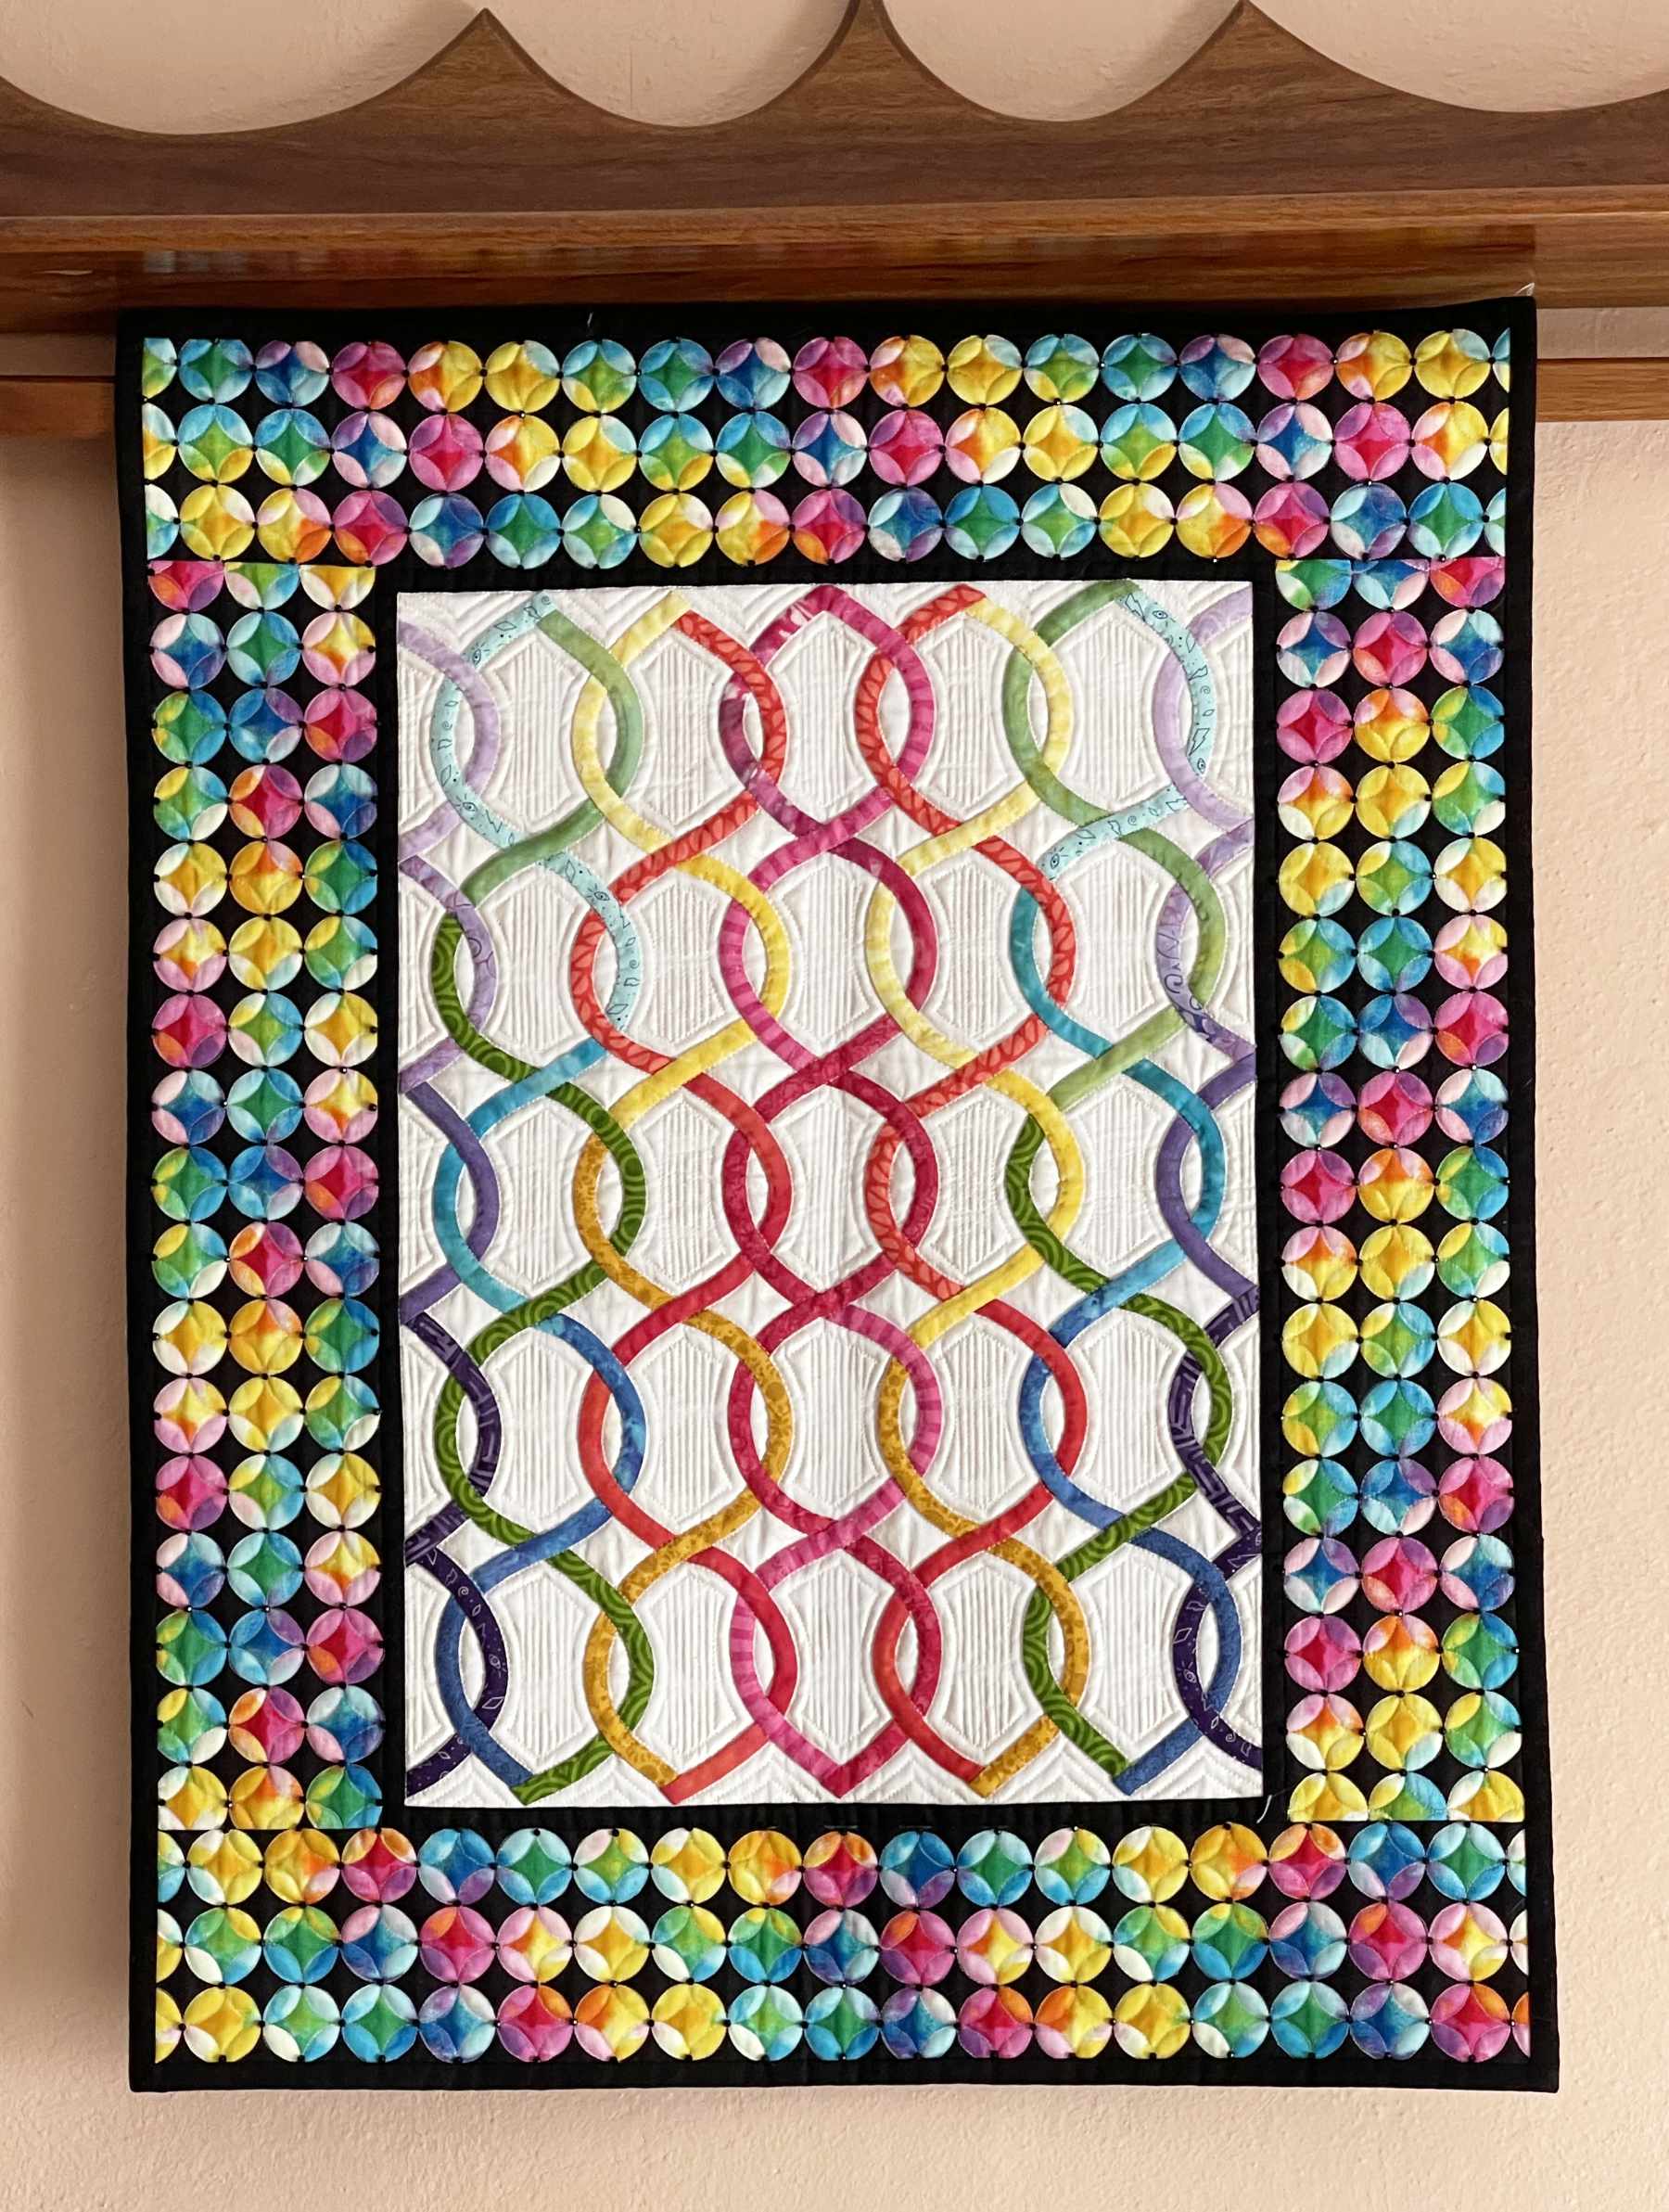
until all the ovals were filled in.
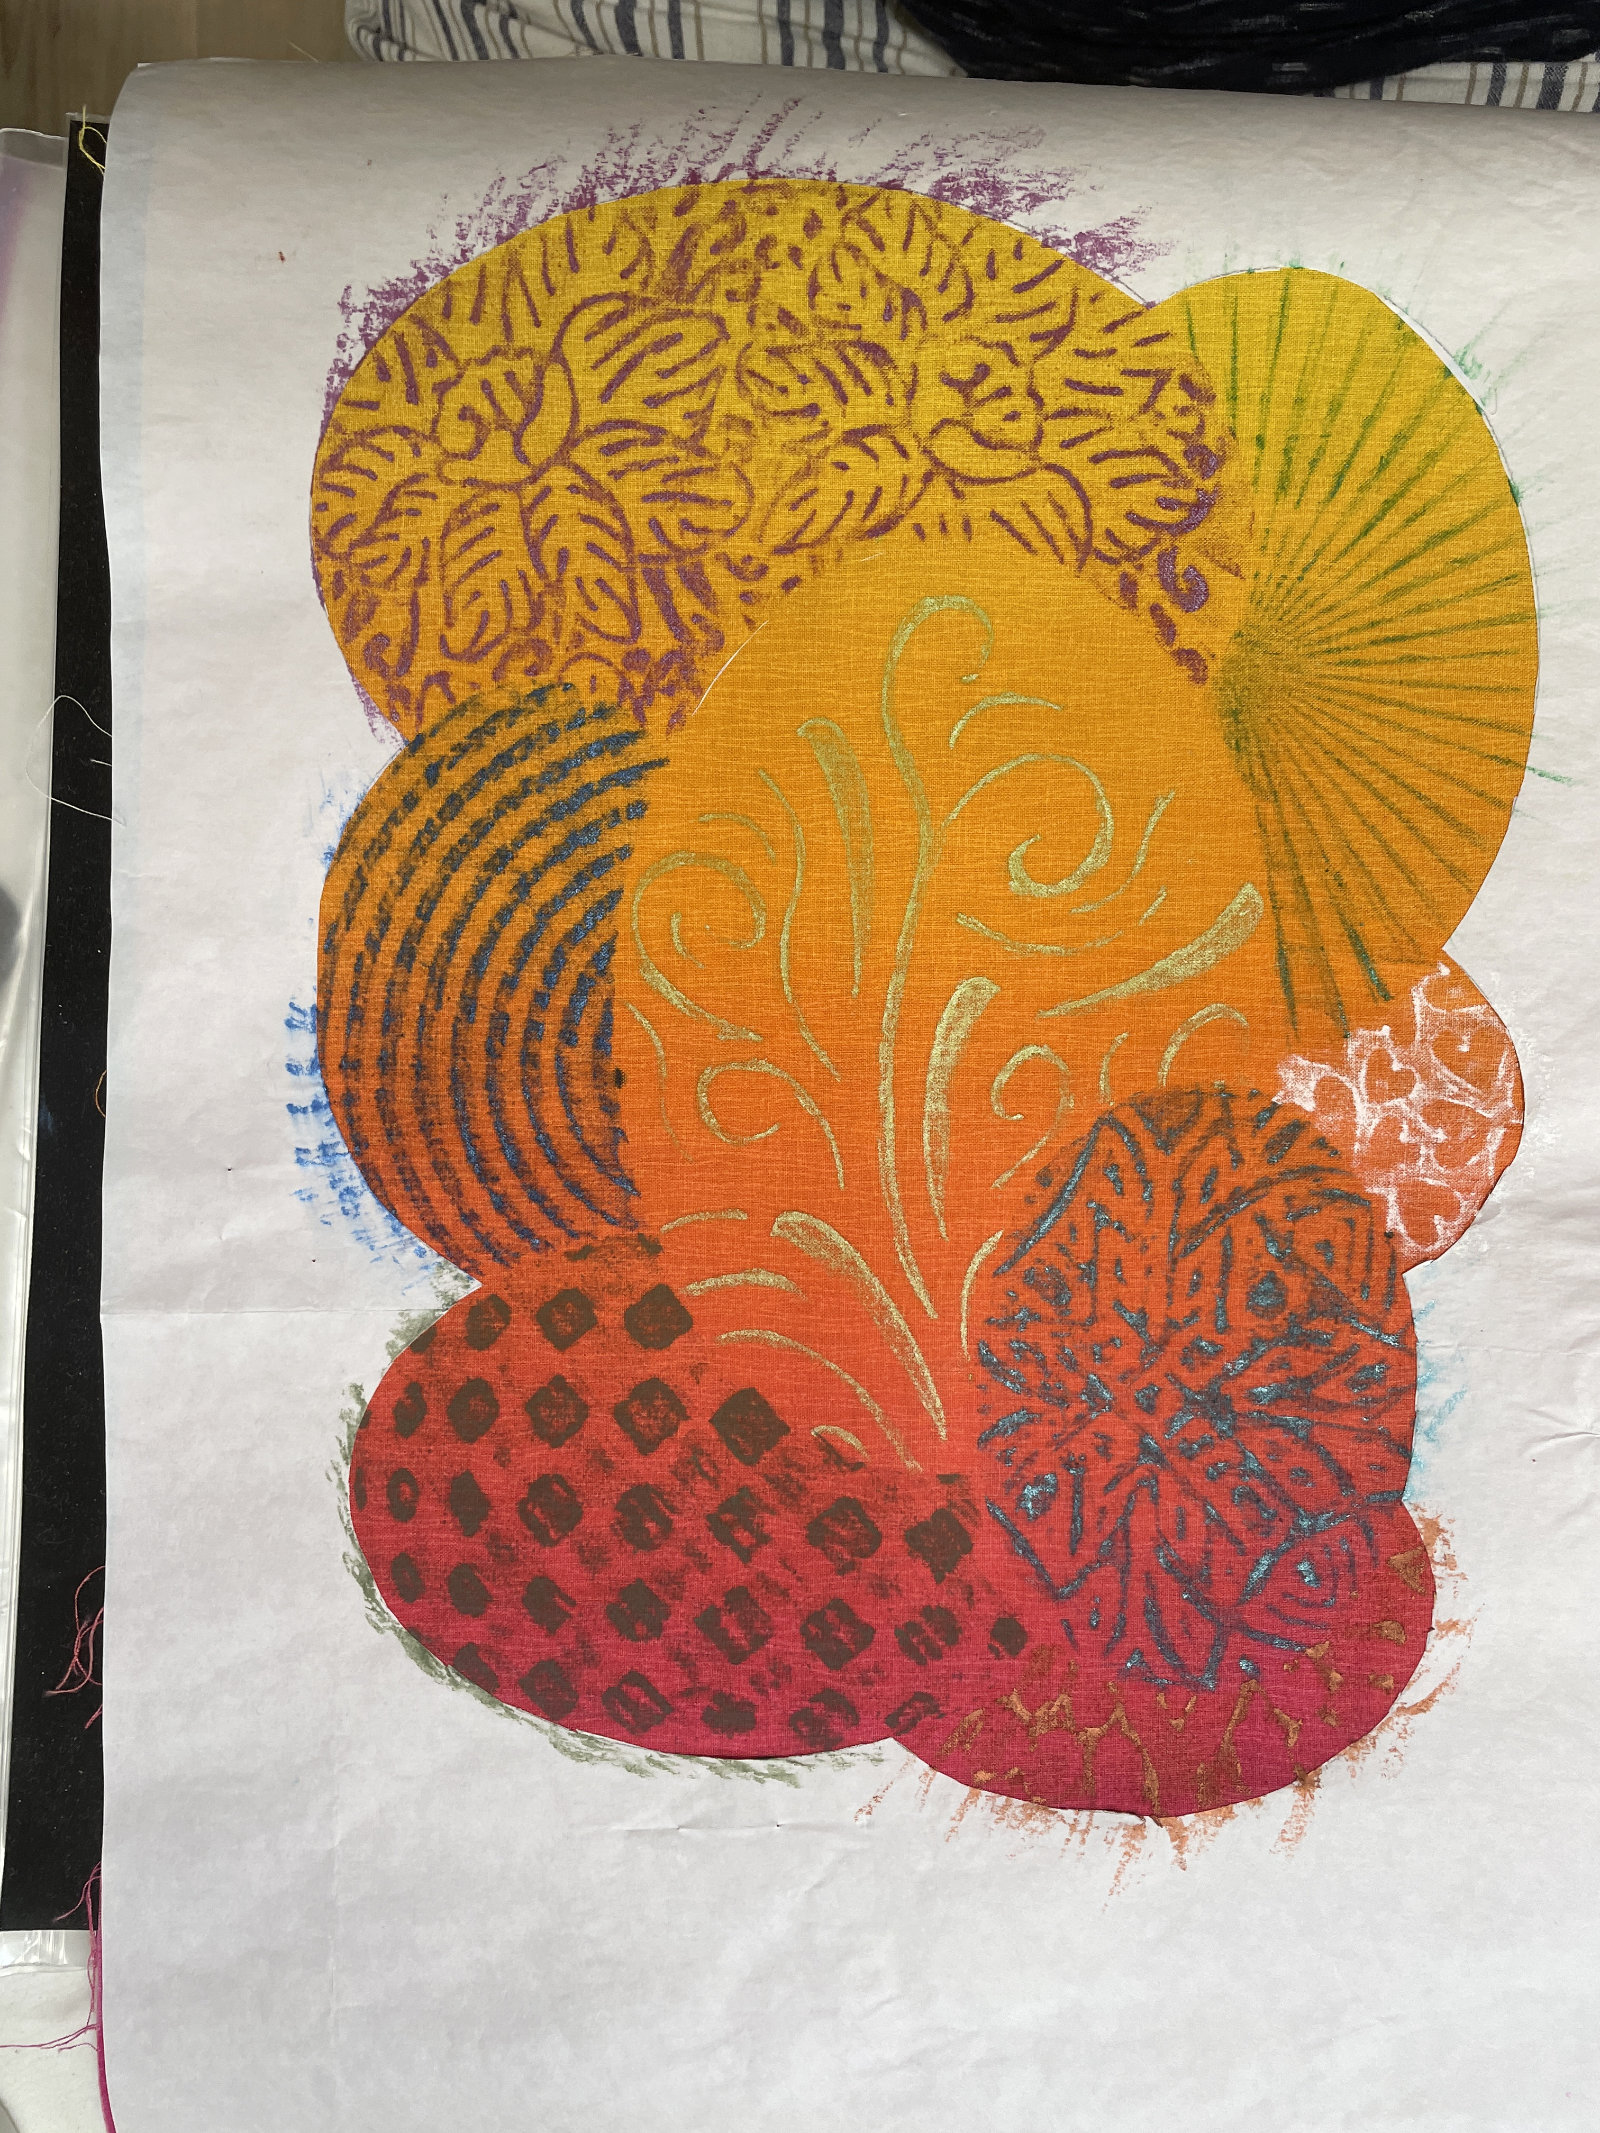
Then I removed the outer freezer paper. I had no idea how it would work, but I was pleased with the results. Everyone thought they looked like Easter eggs!
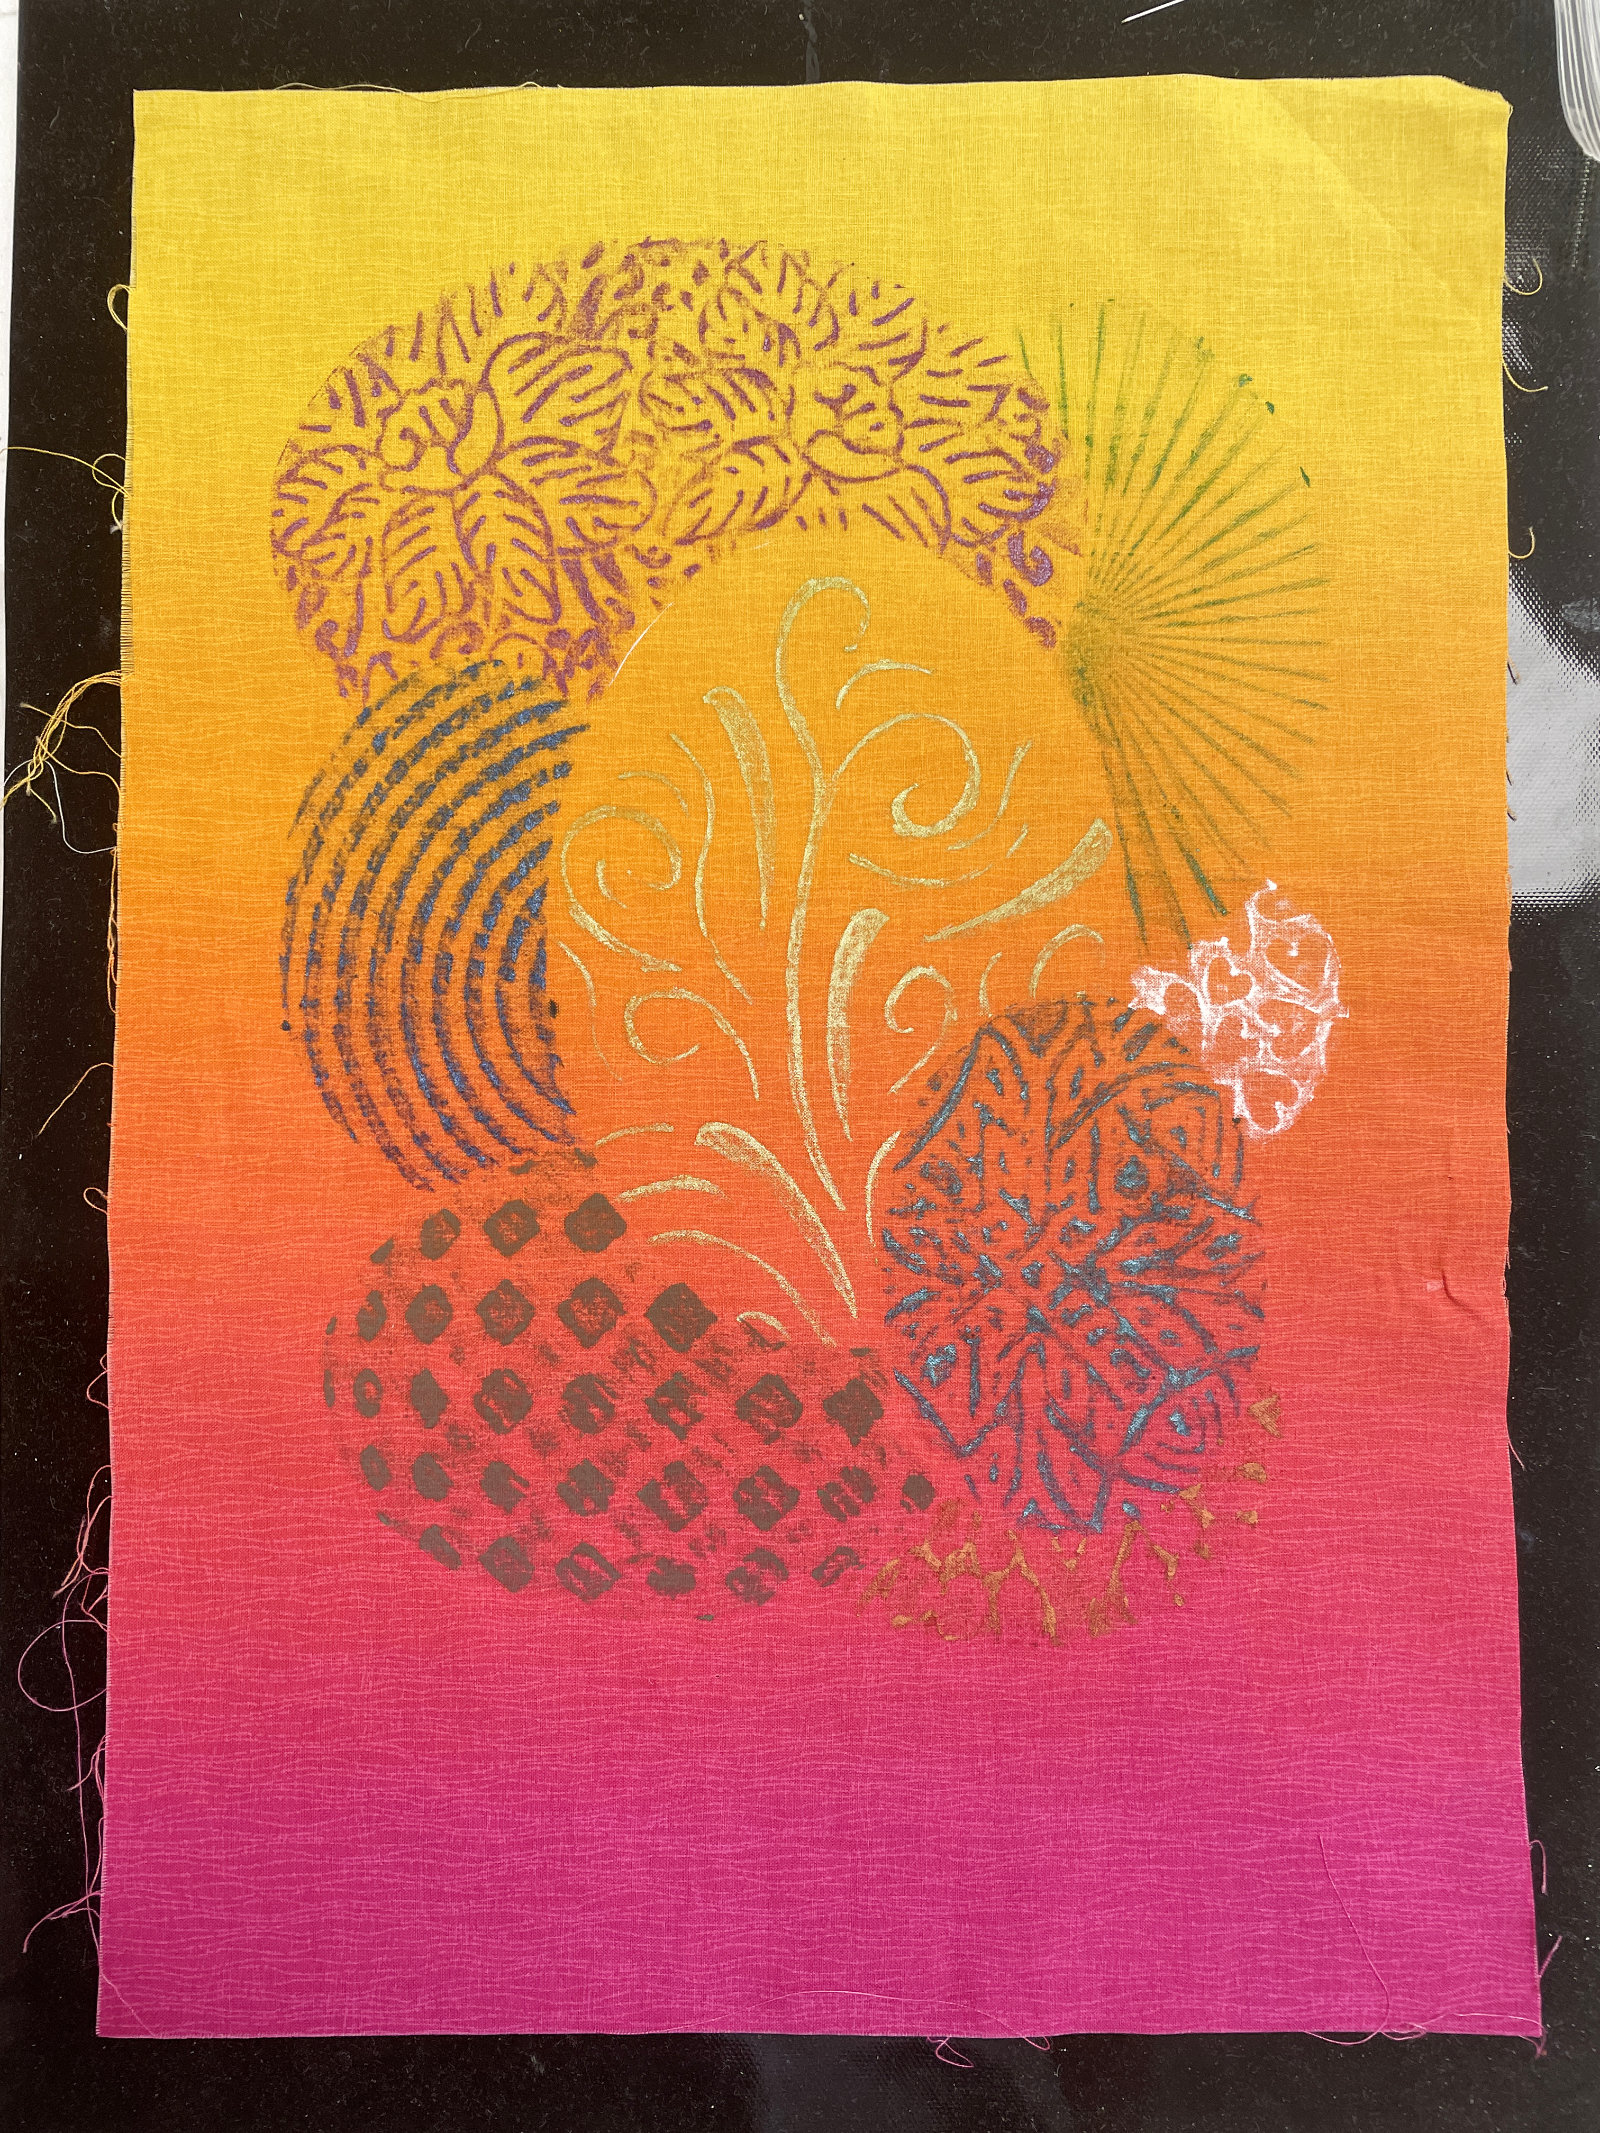
I think each area would look best if outlined, like the black thread used to surround areas when doing embroidery or cross stitch. I’m going to start by drawing the lines in with a fabric marker, but part of me feels embroidering it would be best. Things are a bit busy right now, so I’ll save that for a future “finishing” post.
As I was working on my ovals, Lori was experimenting with squares and rectangles.
It was a morning filled with friends and fun! Have you done something interesting with paint sticks? Please send me photos!
****************
And one more thing…
During retreats and workshops over the past few months I’ve become more aware of a safety issue, and I feel compelled to share it in the hope that it might prevent future injuries.
When rotary cutters first came out the had two positions: closed (left) and open (right).
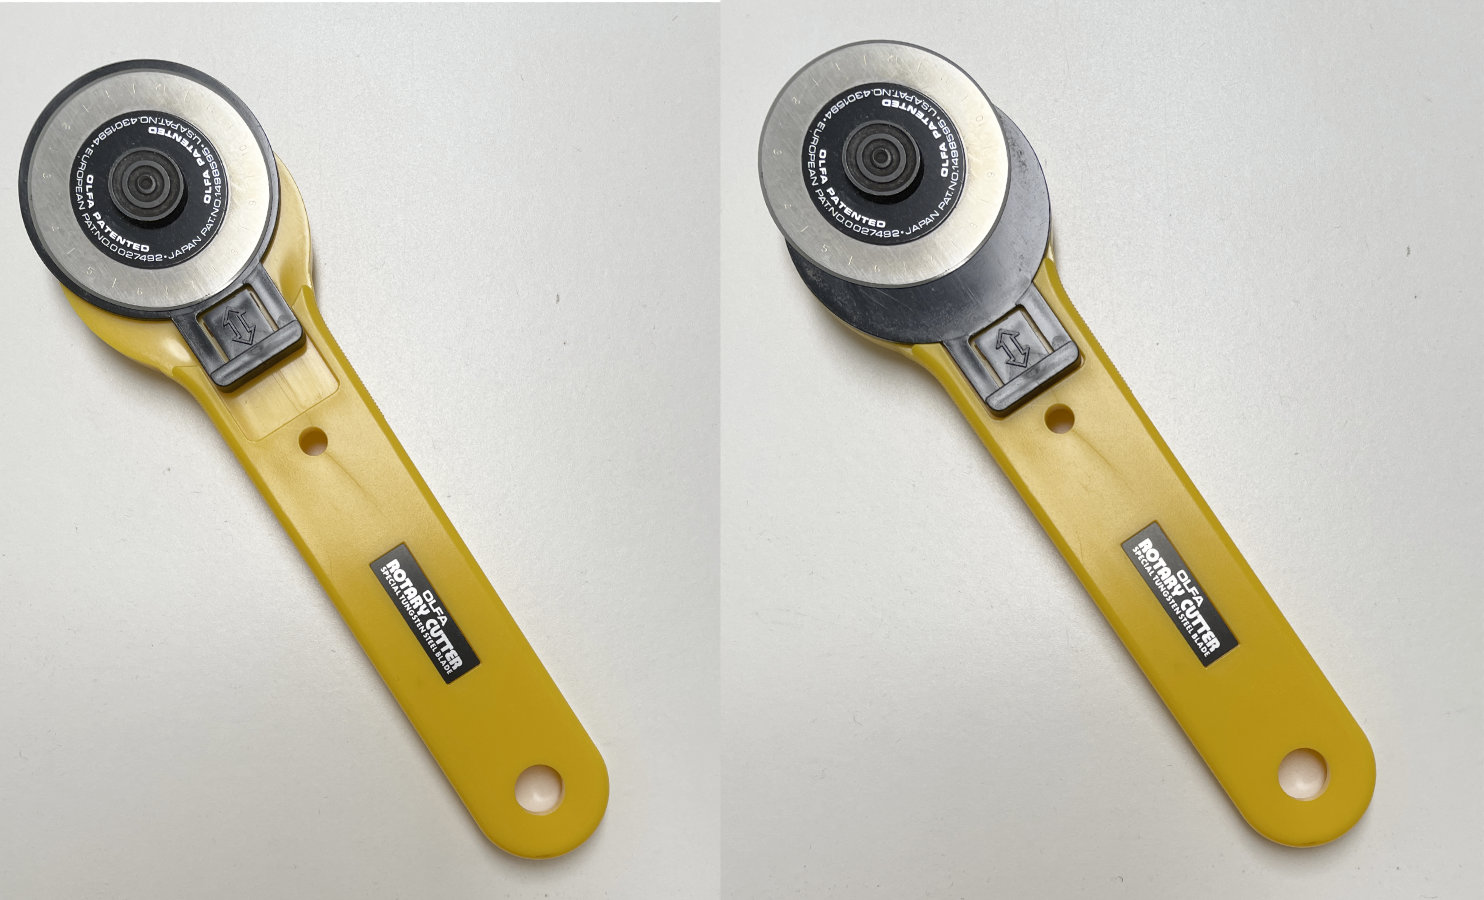
When the blade was closed the cutter was safe, but when it was open it could be dangerous. As a teacher I often had to repeat during classes “close your blades”. I actually have a pertinent story from a student in one of my classes back in the 90s. She said she was cutting fabric on a table in her living room when the phone rang, and she went to the kitchen to answer it (the phone was hanging on the wall in the kitchen – so you know this is an old story 😀). This left her 4 year old daughter alone in the living room. The problem? She forgot to close the blade on her rotary cutter. When she returned to the living room there was no blood – praise God – but the couch was in shreds! Her daughter had used the cutter “just like mommy”.
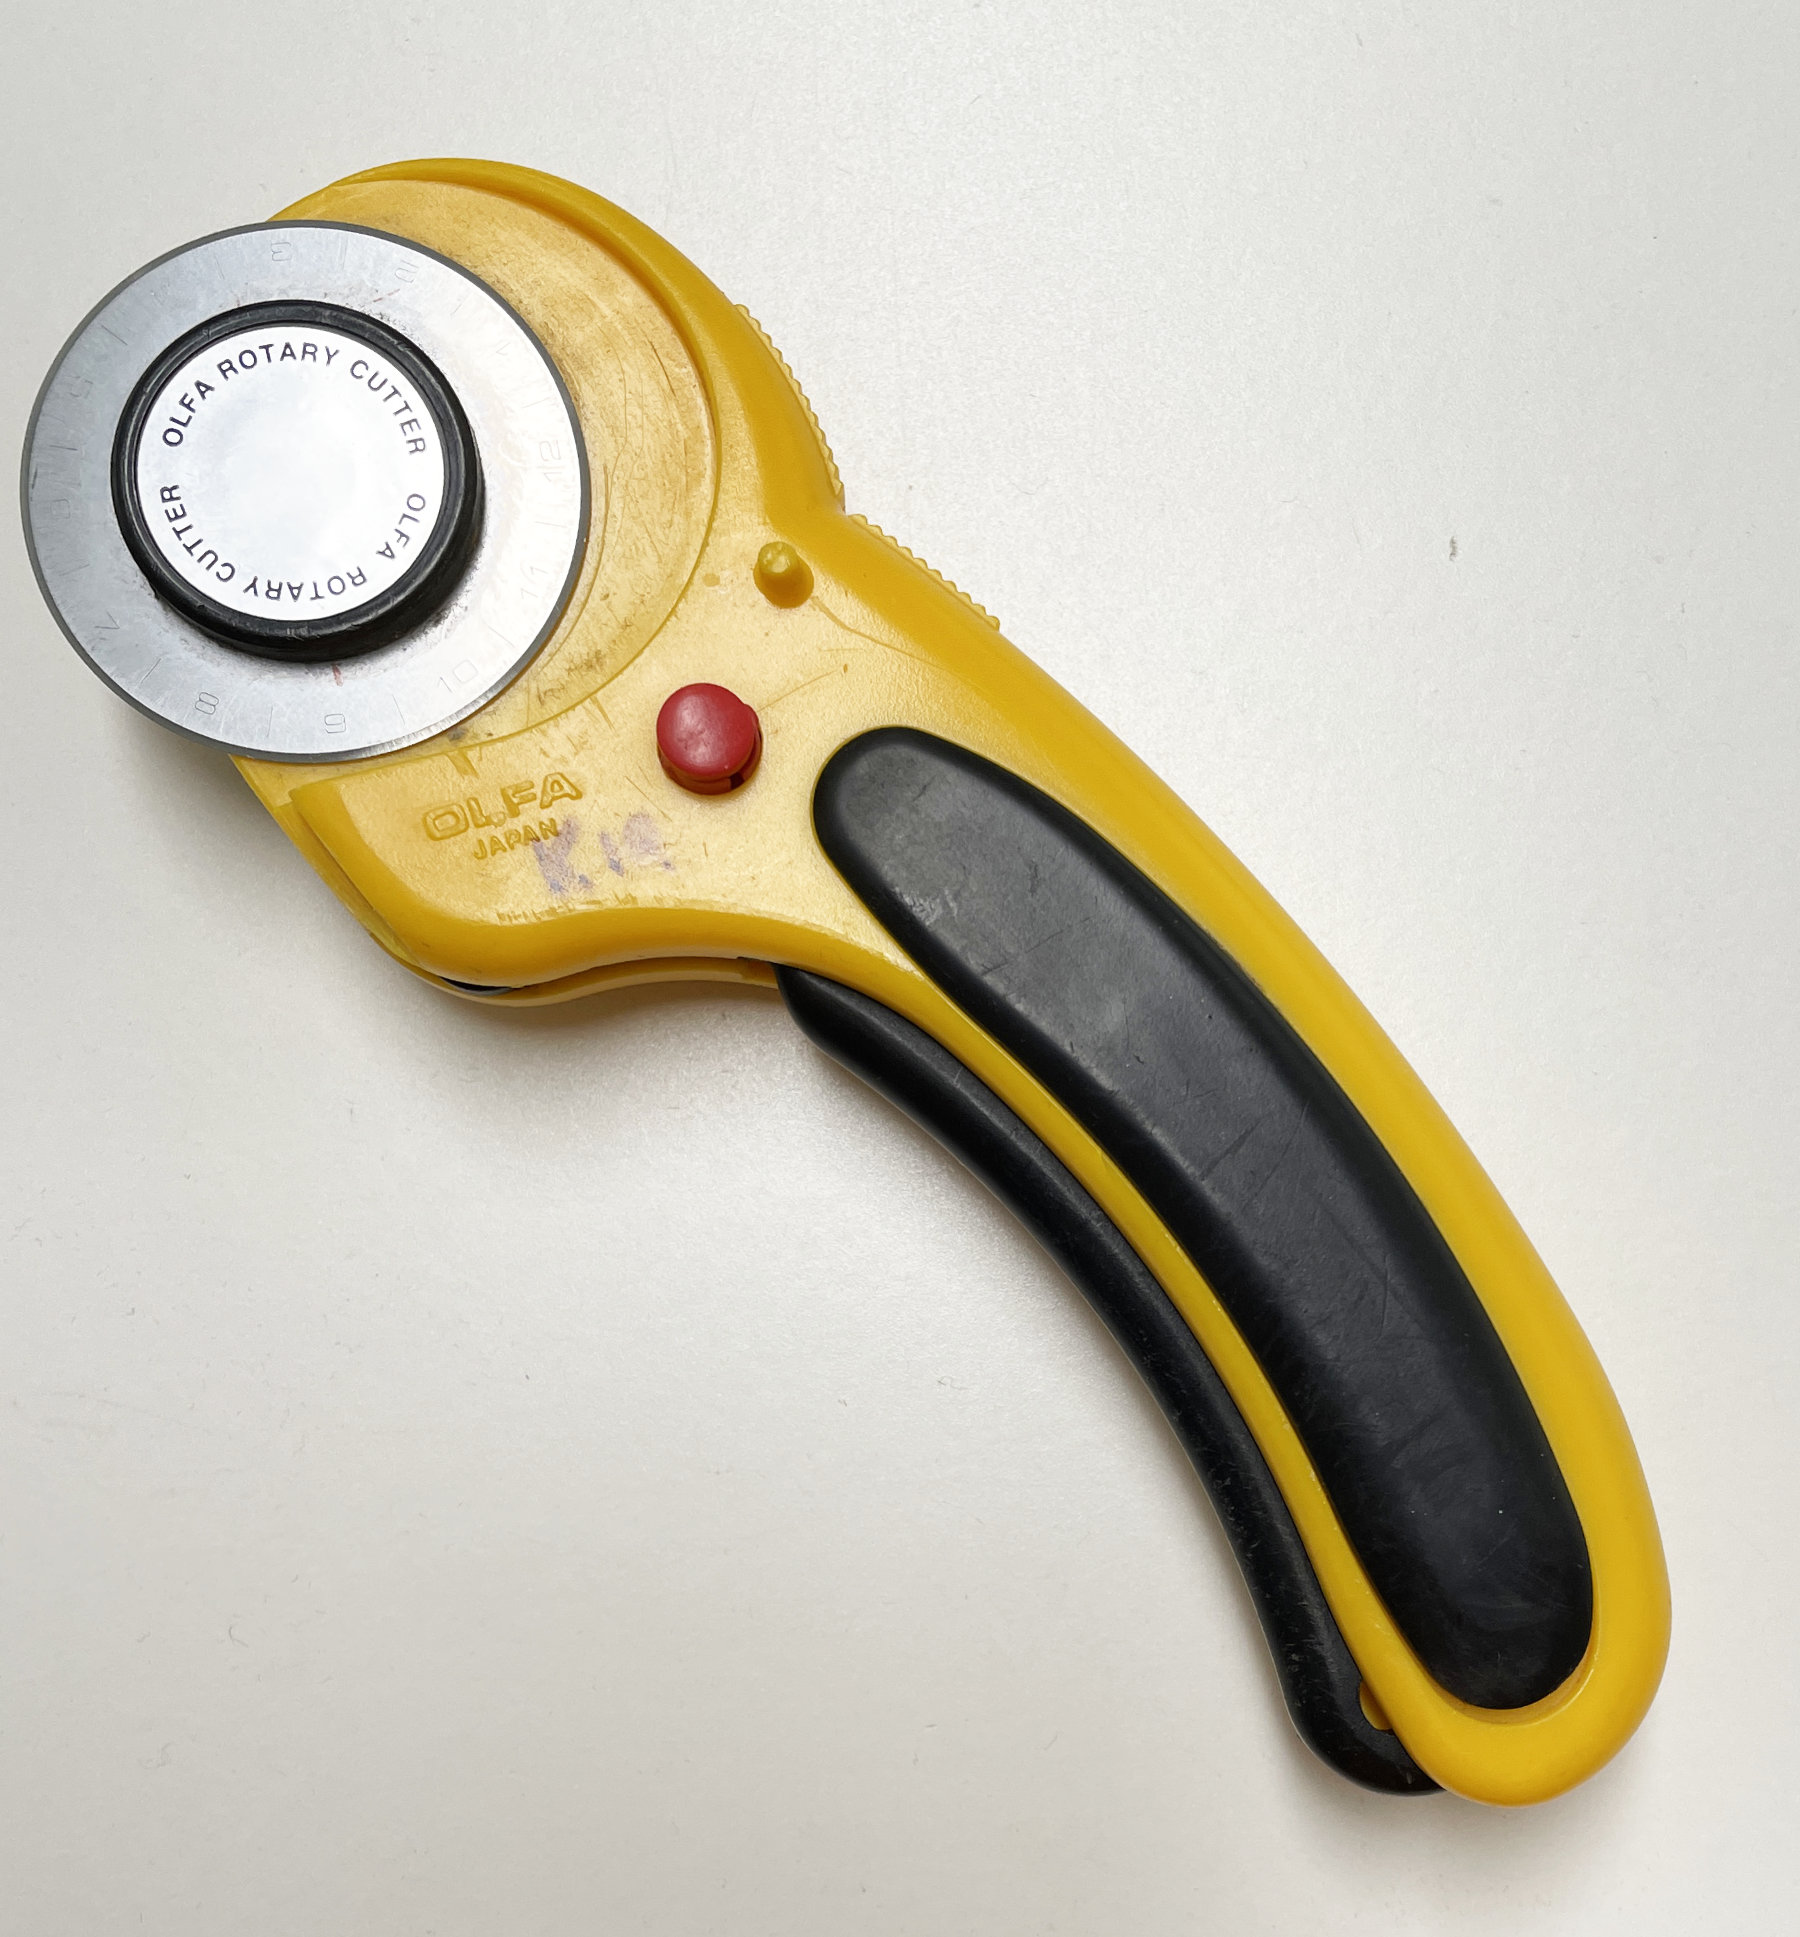
So, you can imagine my joy when Olfa™ came out with their deluxe rotary cutter. For safety purposes, the blade would always close when not in use (left), and then it would open when the handle was squeezed (right) for accurate cutting.
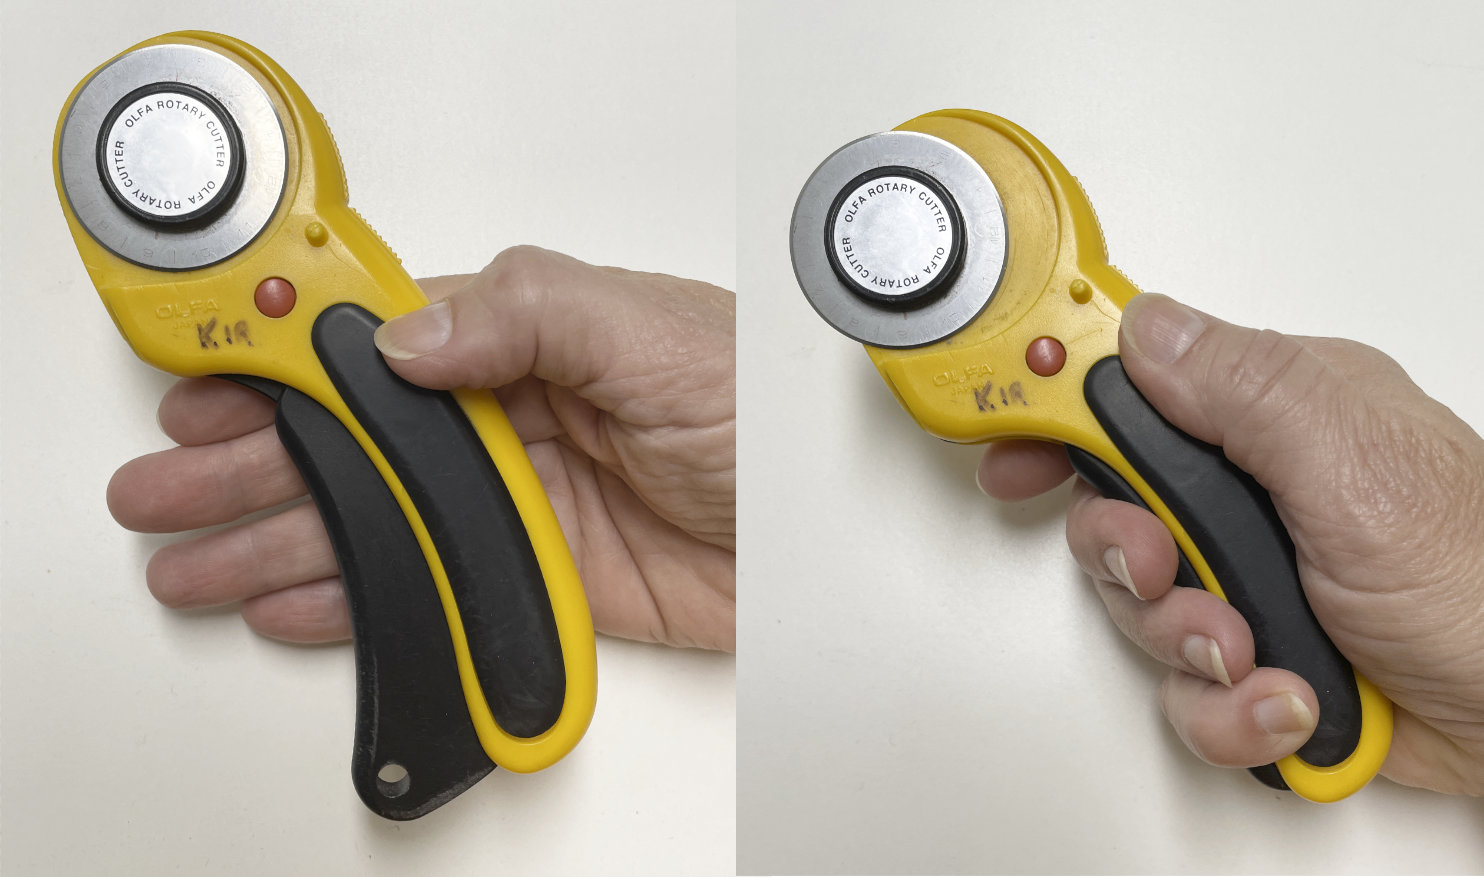
The red lock button was very helpful when transporting the cutter, so the blade could be locked closed and it wouldn’t open accidentally. But here’s the important part – the blade should never be locked open! This defeats the safety feature! Please don’t lock your blades in the open position!
Be safe out there!!!