Many years ago I was given a big pile of upholstery fabric samples, and I found a pattern online for walker bags that are super easy to make. I made quite a few of them at that time for nearby nursing homes and assisted living facilities. I also demonstrated it for my quilt guild, Patched Lives, and it ended up being a very successful charity project. I wish I knew who originated the pattern so I could thank them.
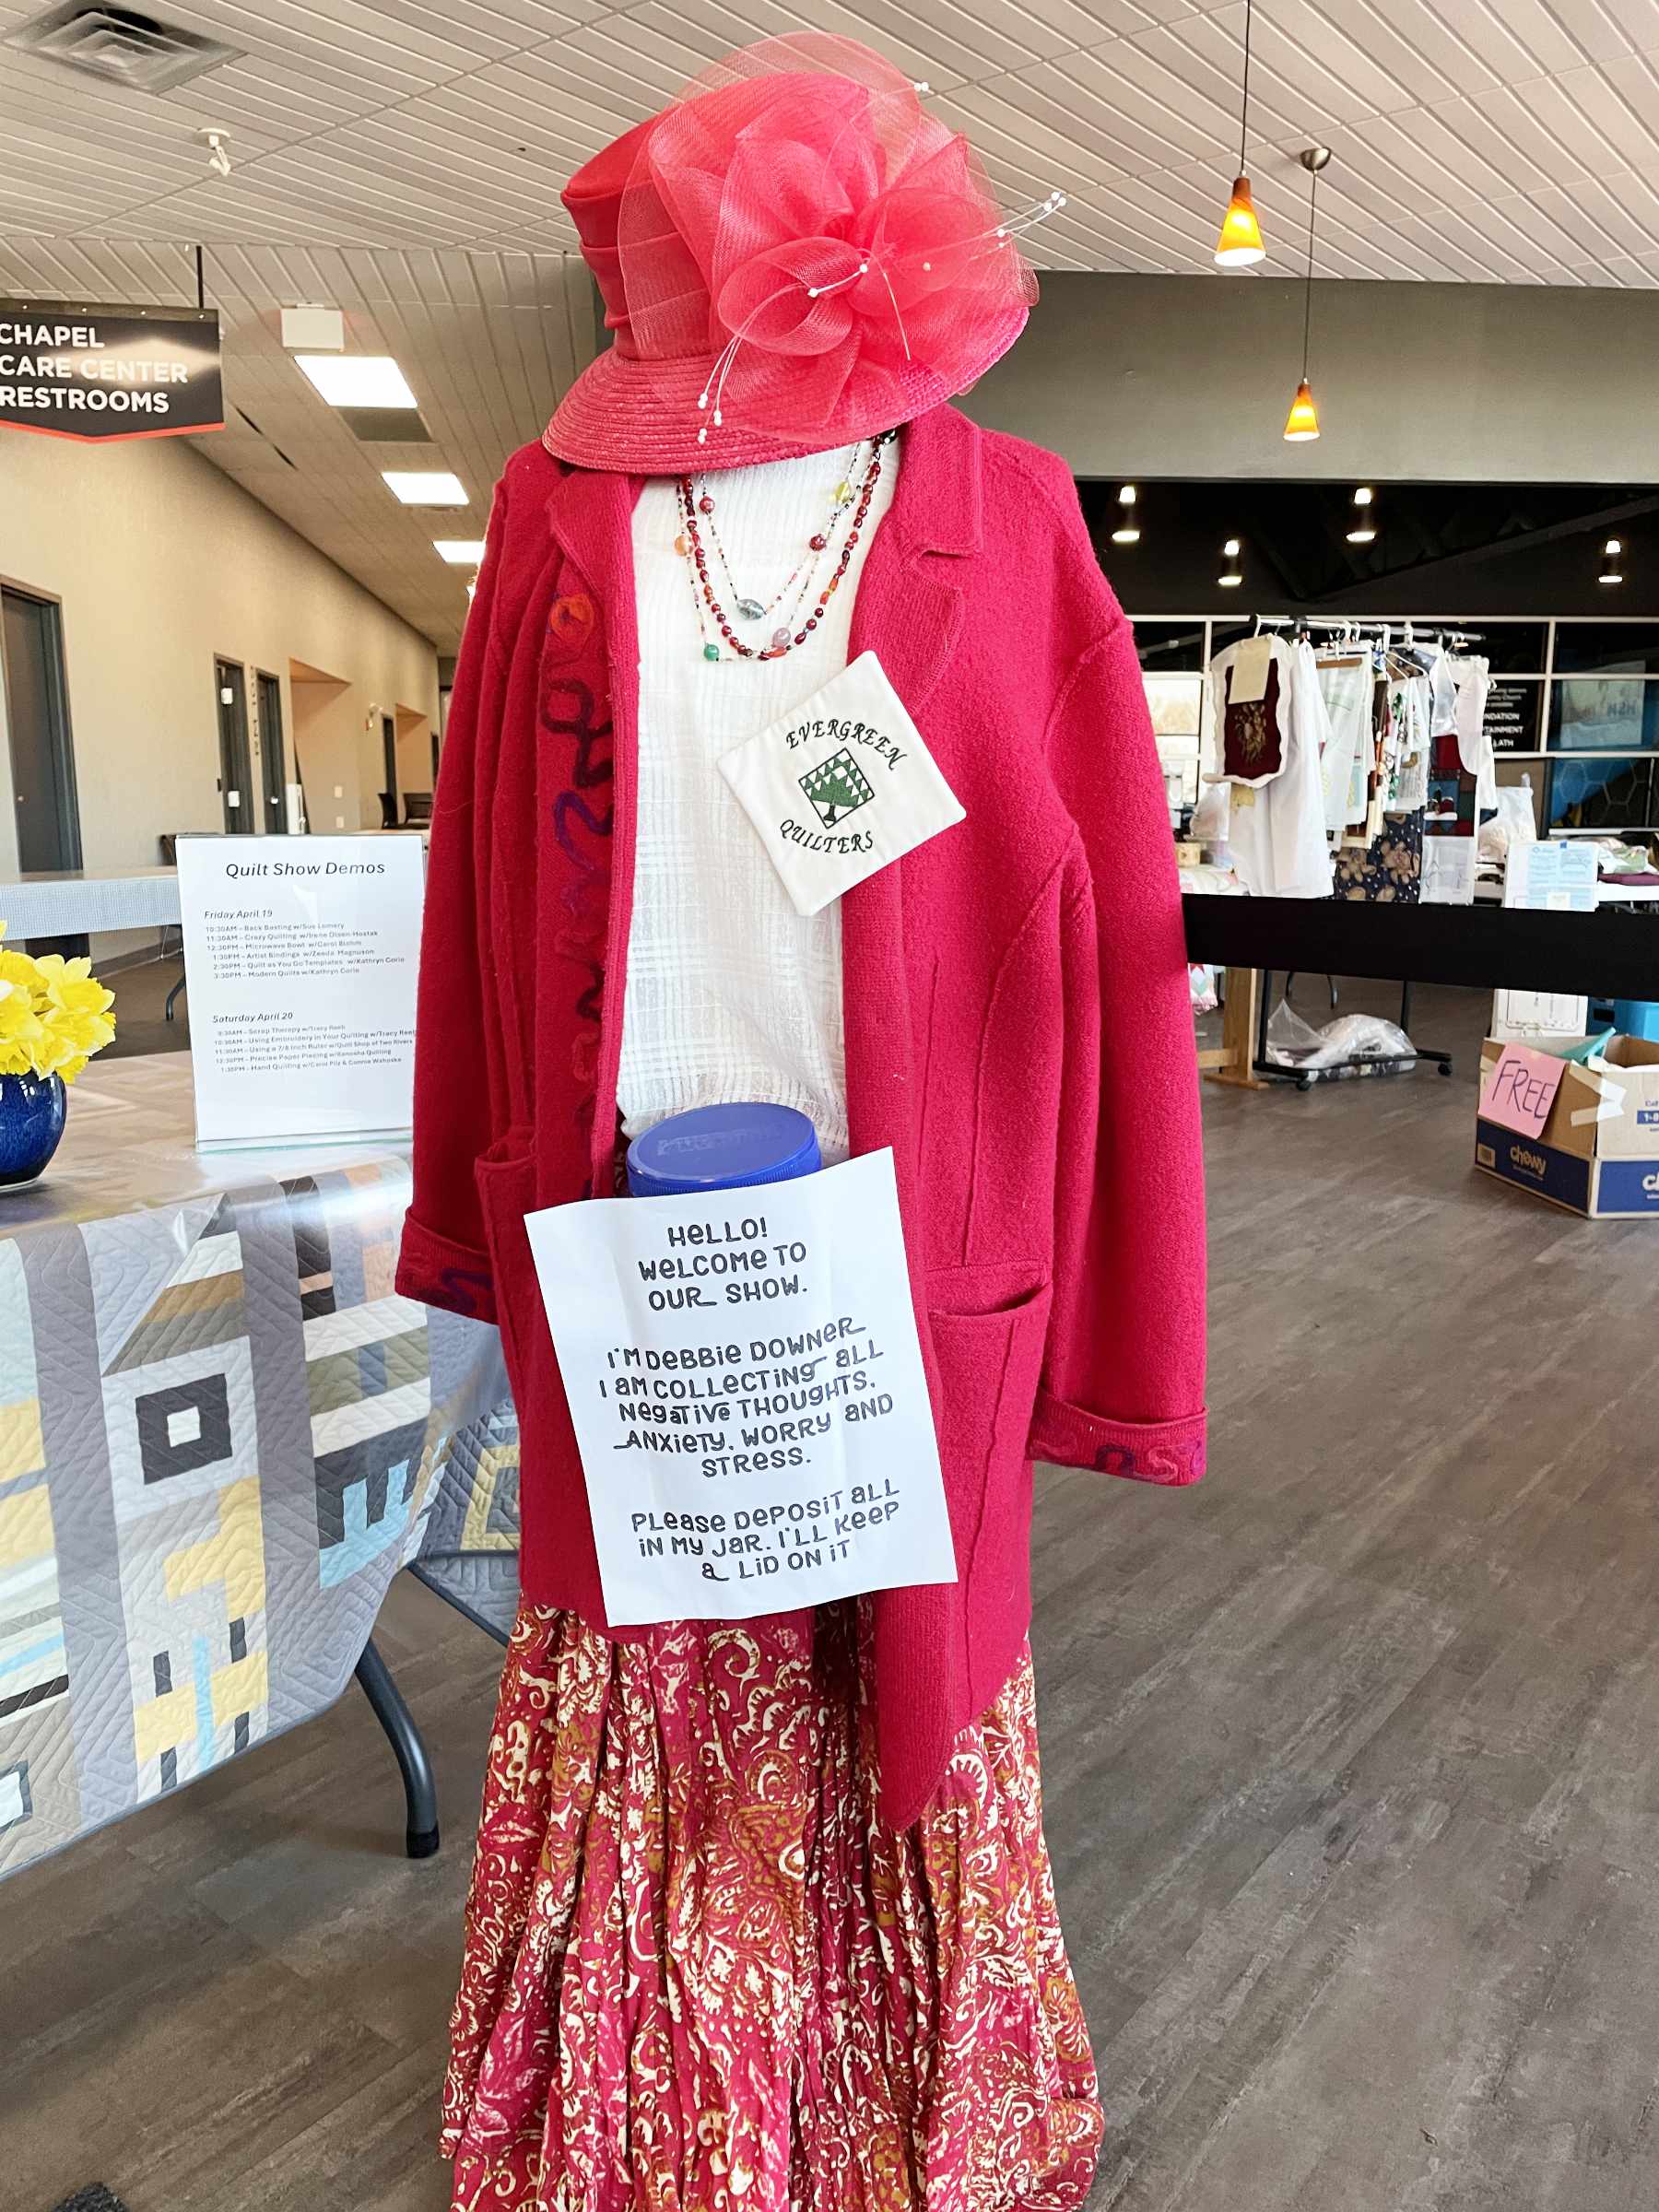
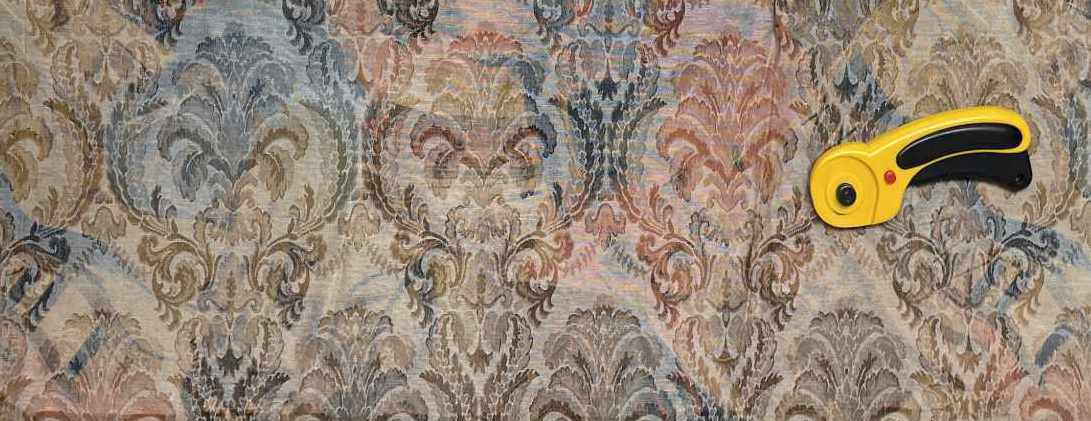
Recently my mom’s been on a medication that makes her lightheaded at times, so she often uses a walker because she doesn’t want to fall (she’s very wise). While at the Evergreen Quilt Show in Green Bay I saw a scrap of upholstery fabric in the “free box” of their rummage corner ~ and I realized it was just what mom needed. I couldn’t find the pattern after looking in all the usual places, but it was easy enough to remember, so here’s the quick version:
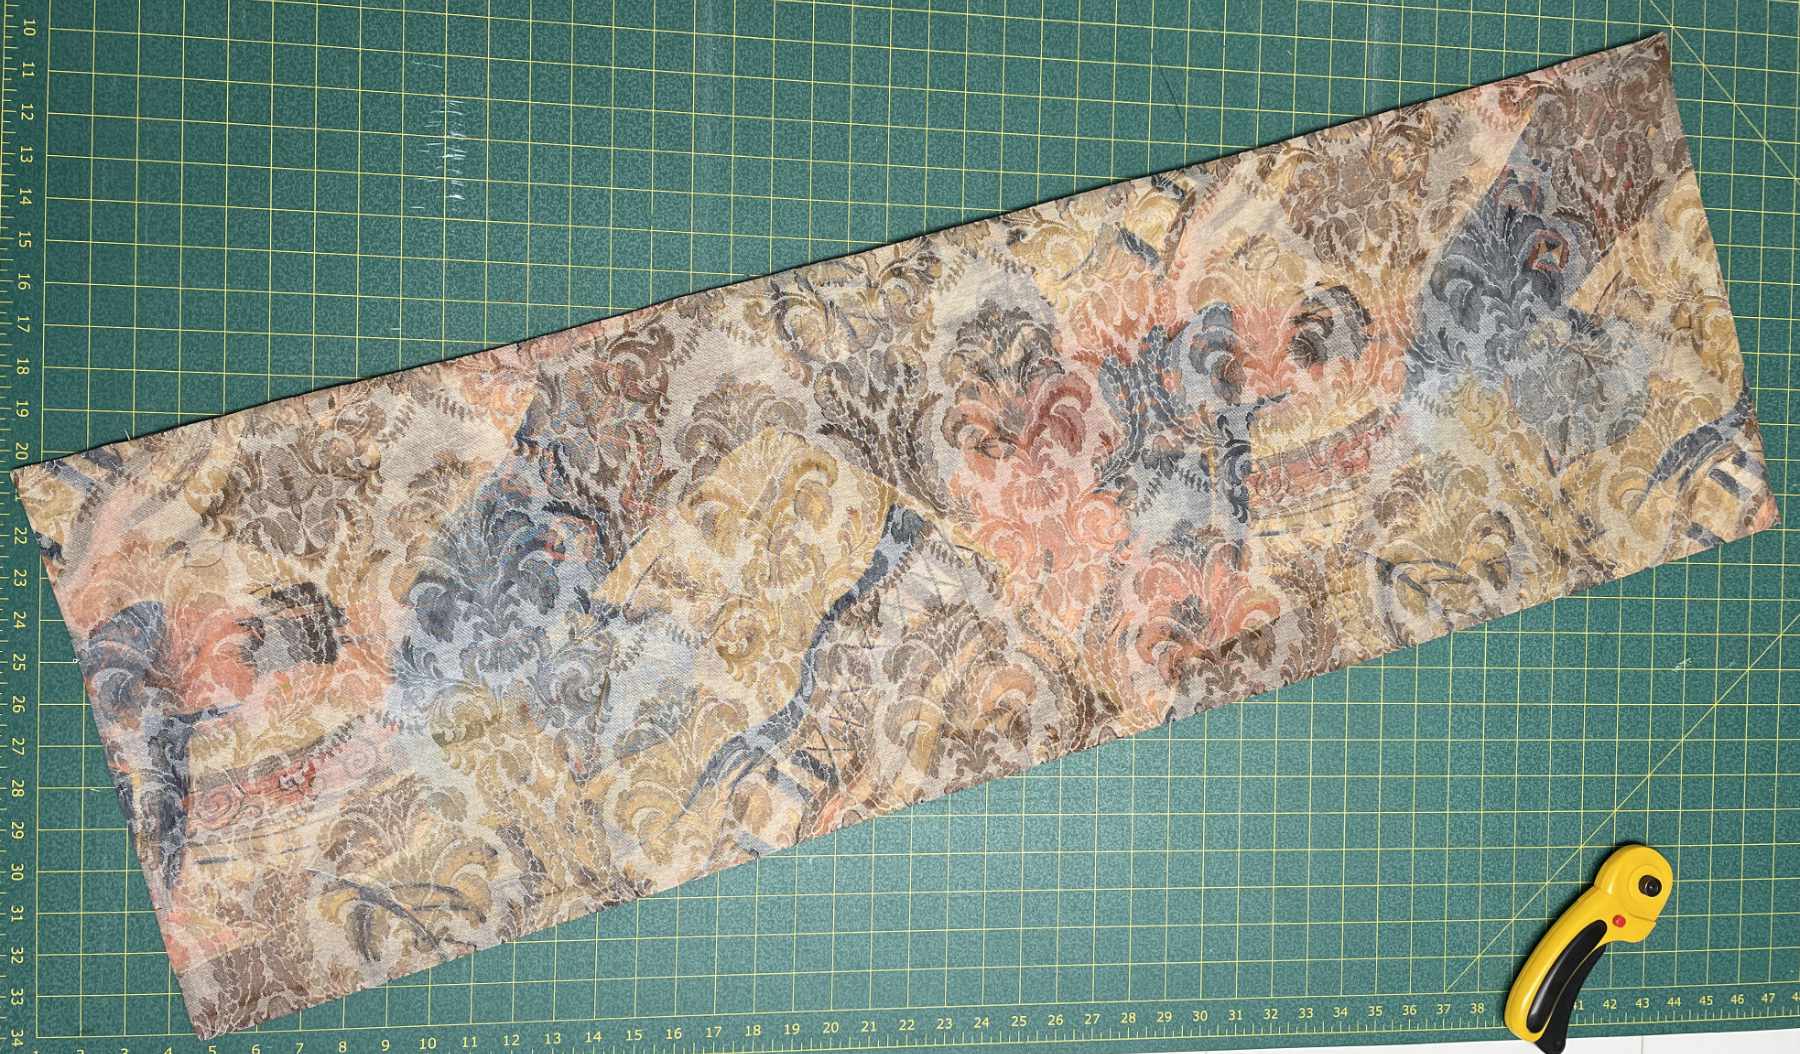
I began by folding the fabric, right sides together, in the size and shape I wanted. It was 15″ across and 42″ long when folded (30″ x 42″ when opened up). I cut off the excess, sewed the three open edges with a 1/2″ seam allowance, left a 5″ space for turning along one edge, and trimmed off the corners.
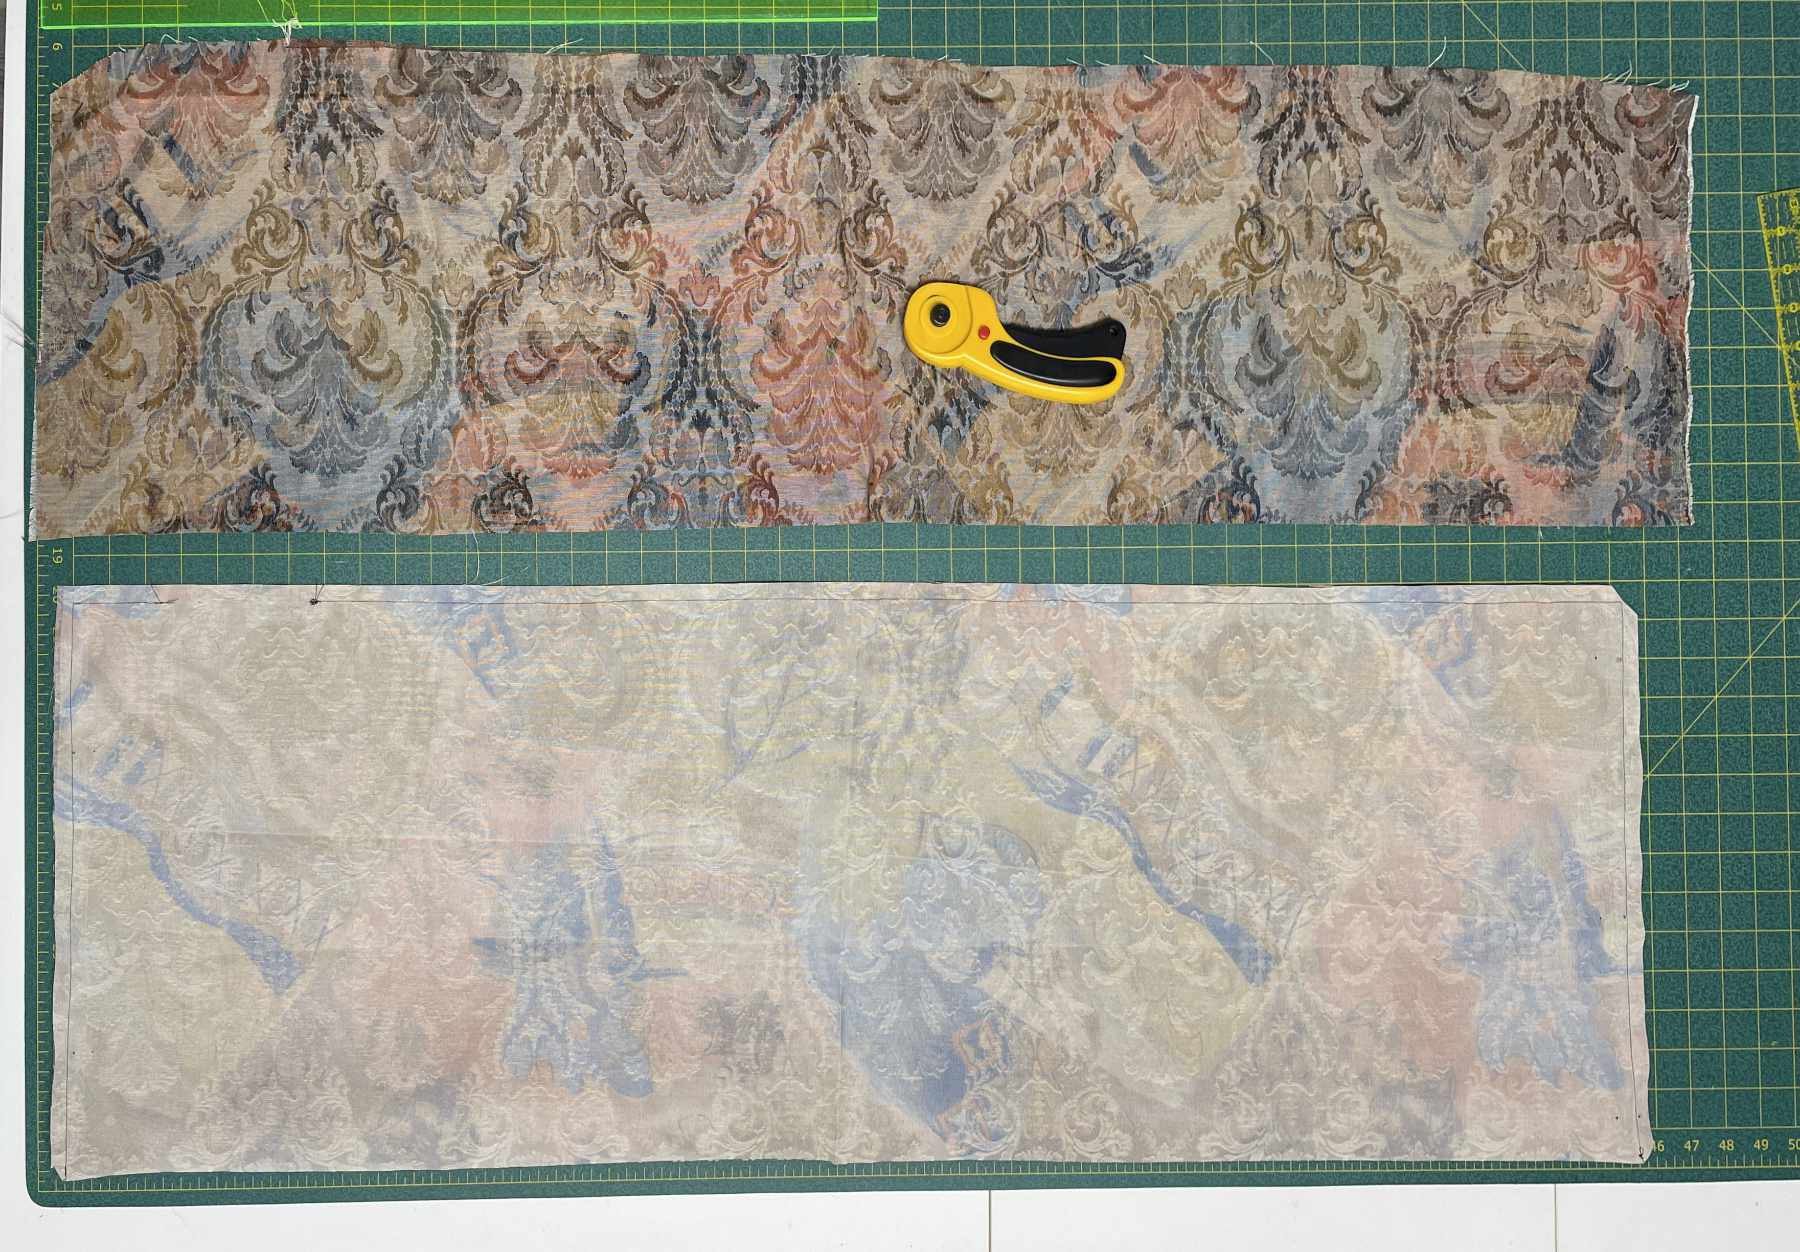
Next it was turned right side out and pressed.
Both long ends were folded up towards the center leaving about a 6″ gap, and the edges were pinned. I chose to make one of the pockets a bit deeper than the other.
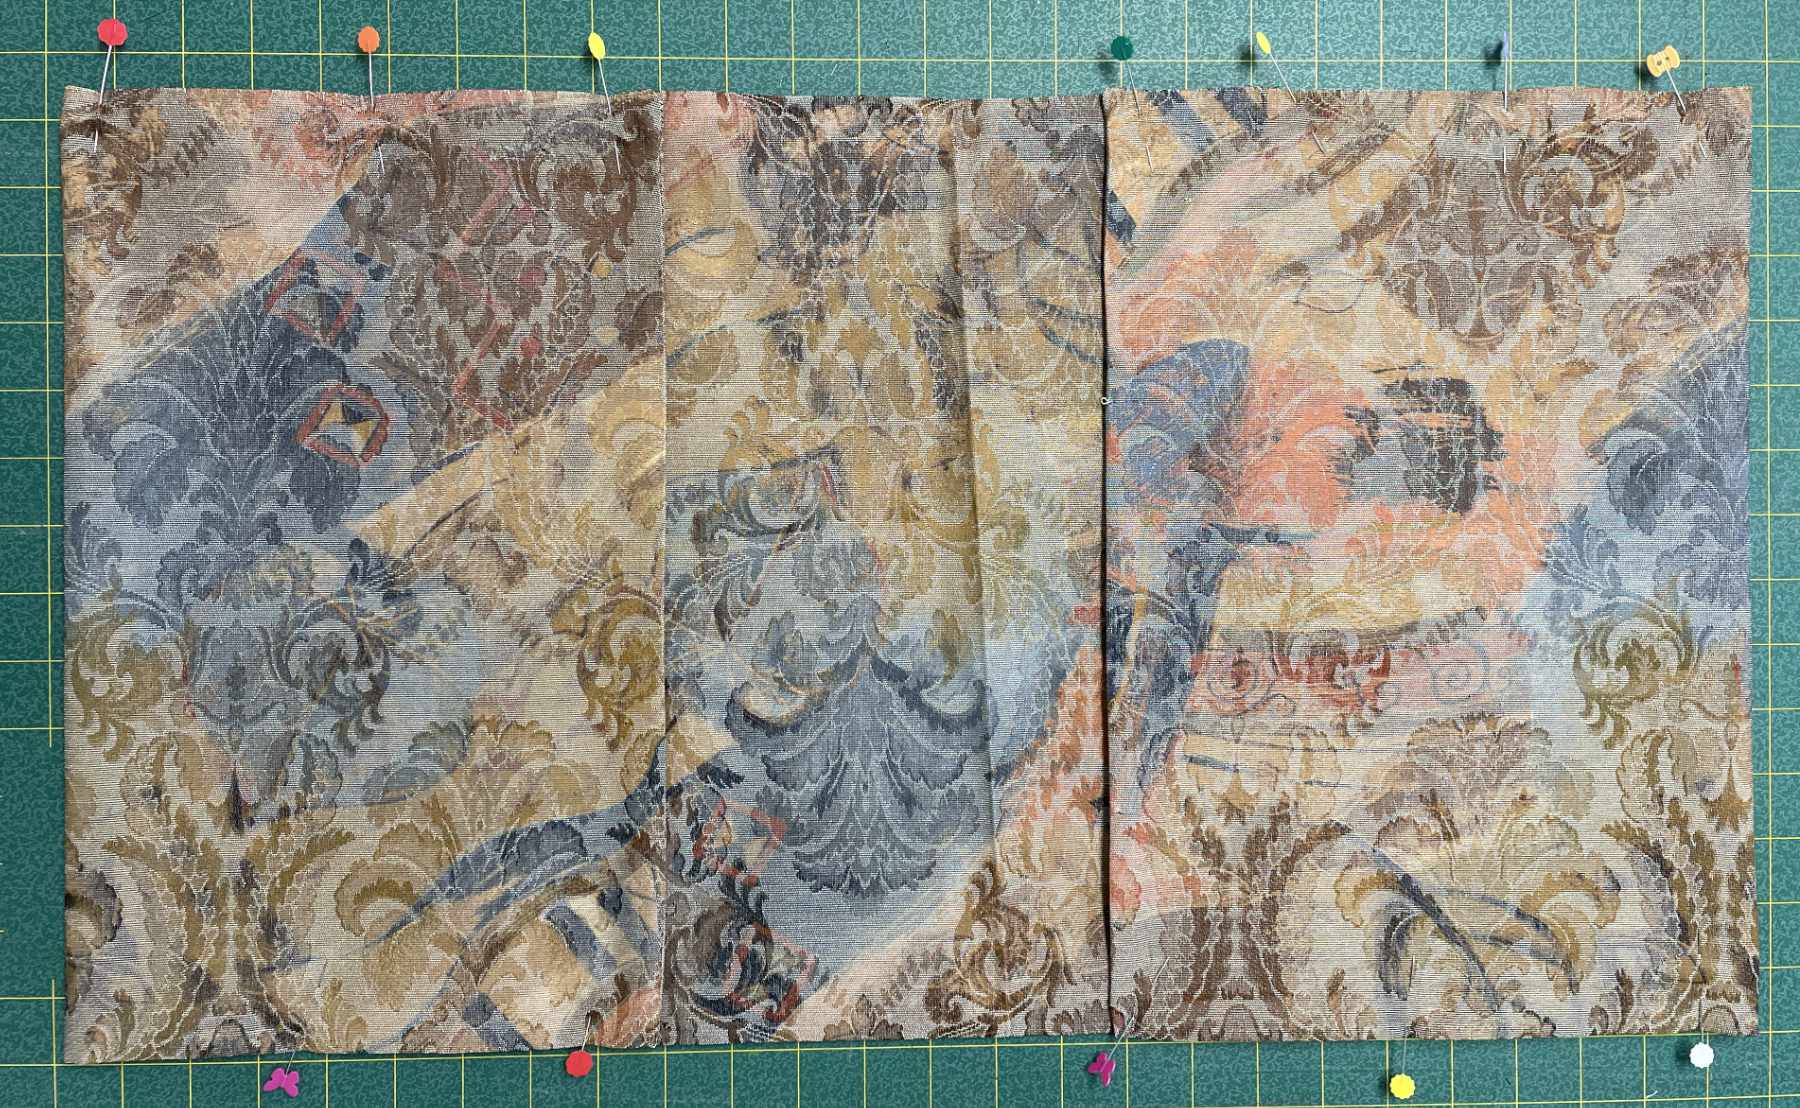
The entire length of the sides were sewn with a 1/4″ seam allowance, backstitching at the tops of the pockets, and additional lines were stitched to divide the pockets into usable sections.

I added the “pocket dividing seams” in white on the photo above so they were more easily seen. The smaller pocket on the upper right is the perfect size for mom’s cell phone. Now she won’t have to dig around for it in the big pocket.
If the bag was draped over the walker at this point, and something heavy was placed in a pocket, the whole bag would drop to the floor. Thus the need for two 2″ pieces of Velcro™. They were stitched to the back of the bag, parallel to the folds at the tops of the pockets, and about 1/4″ from the pockets (white dots mark this).
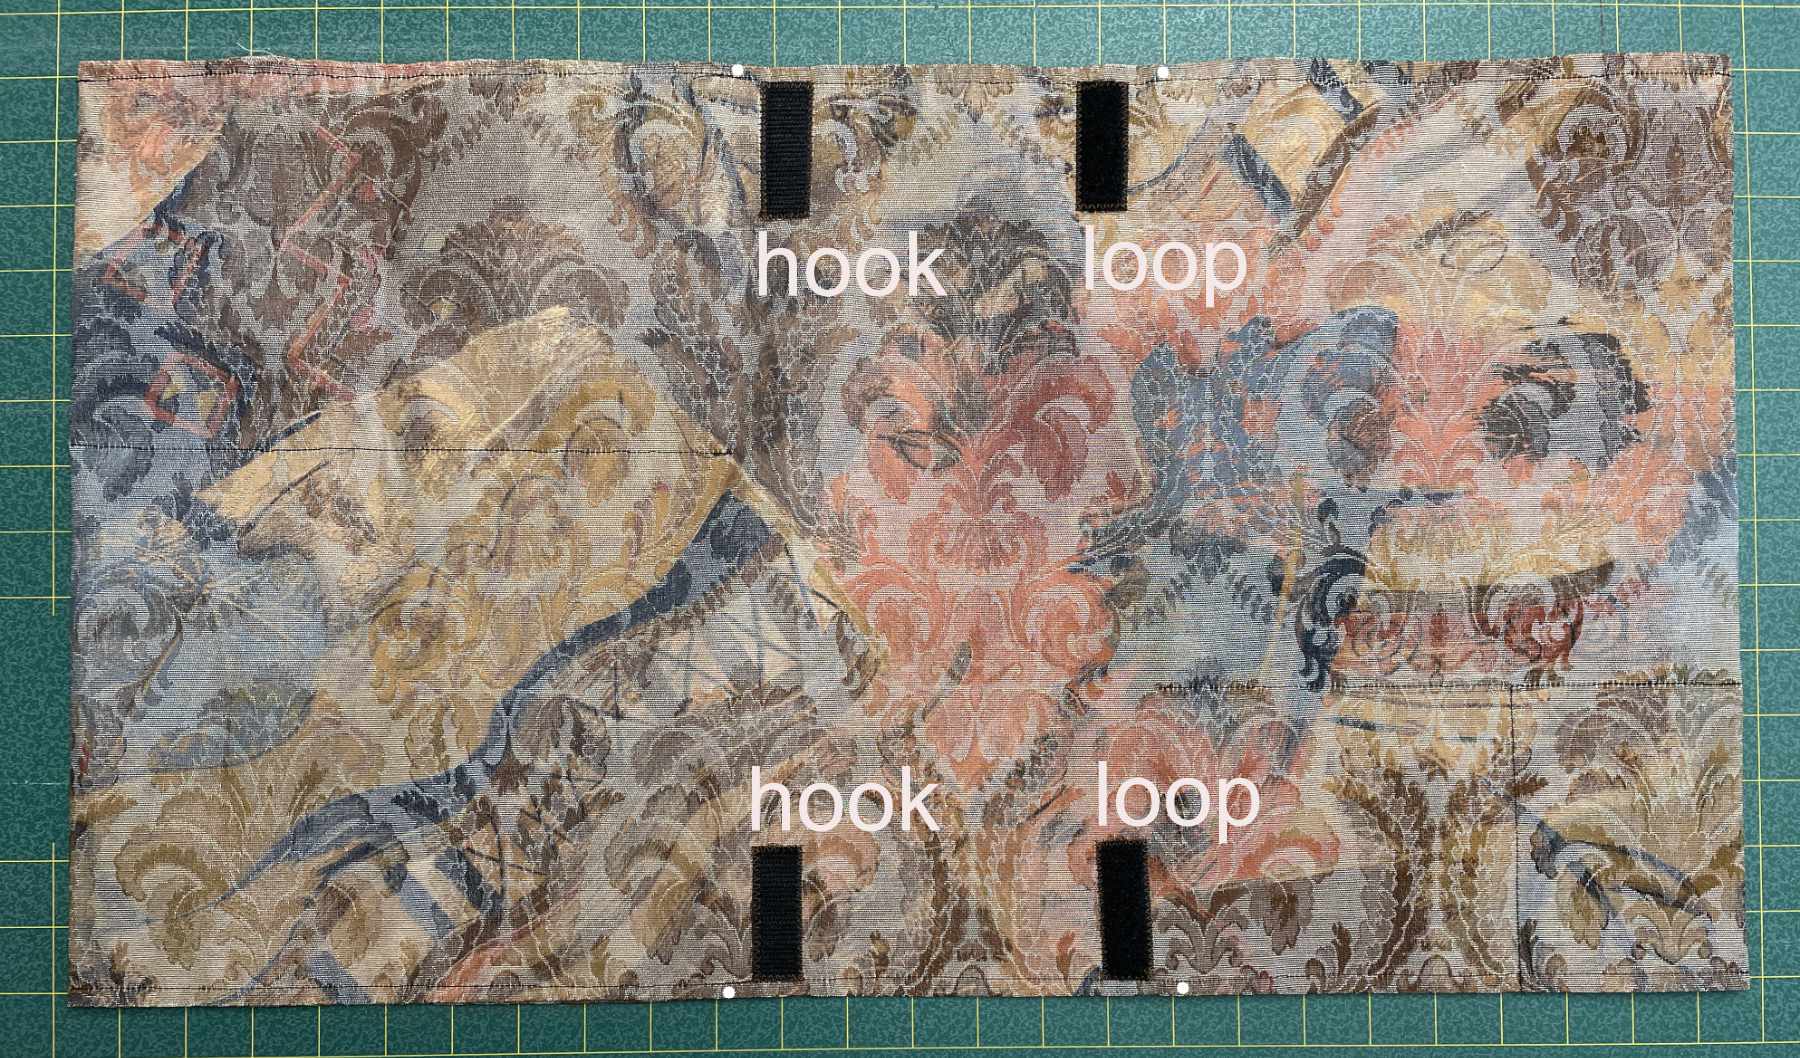
I used a zig-zag stitch to secure the Velcro™, and then it was ready to be placed on the walker.
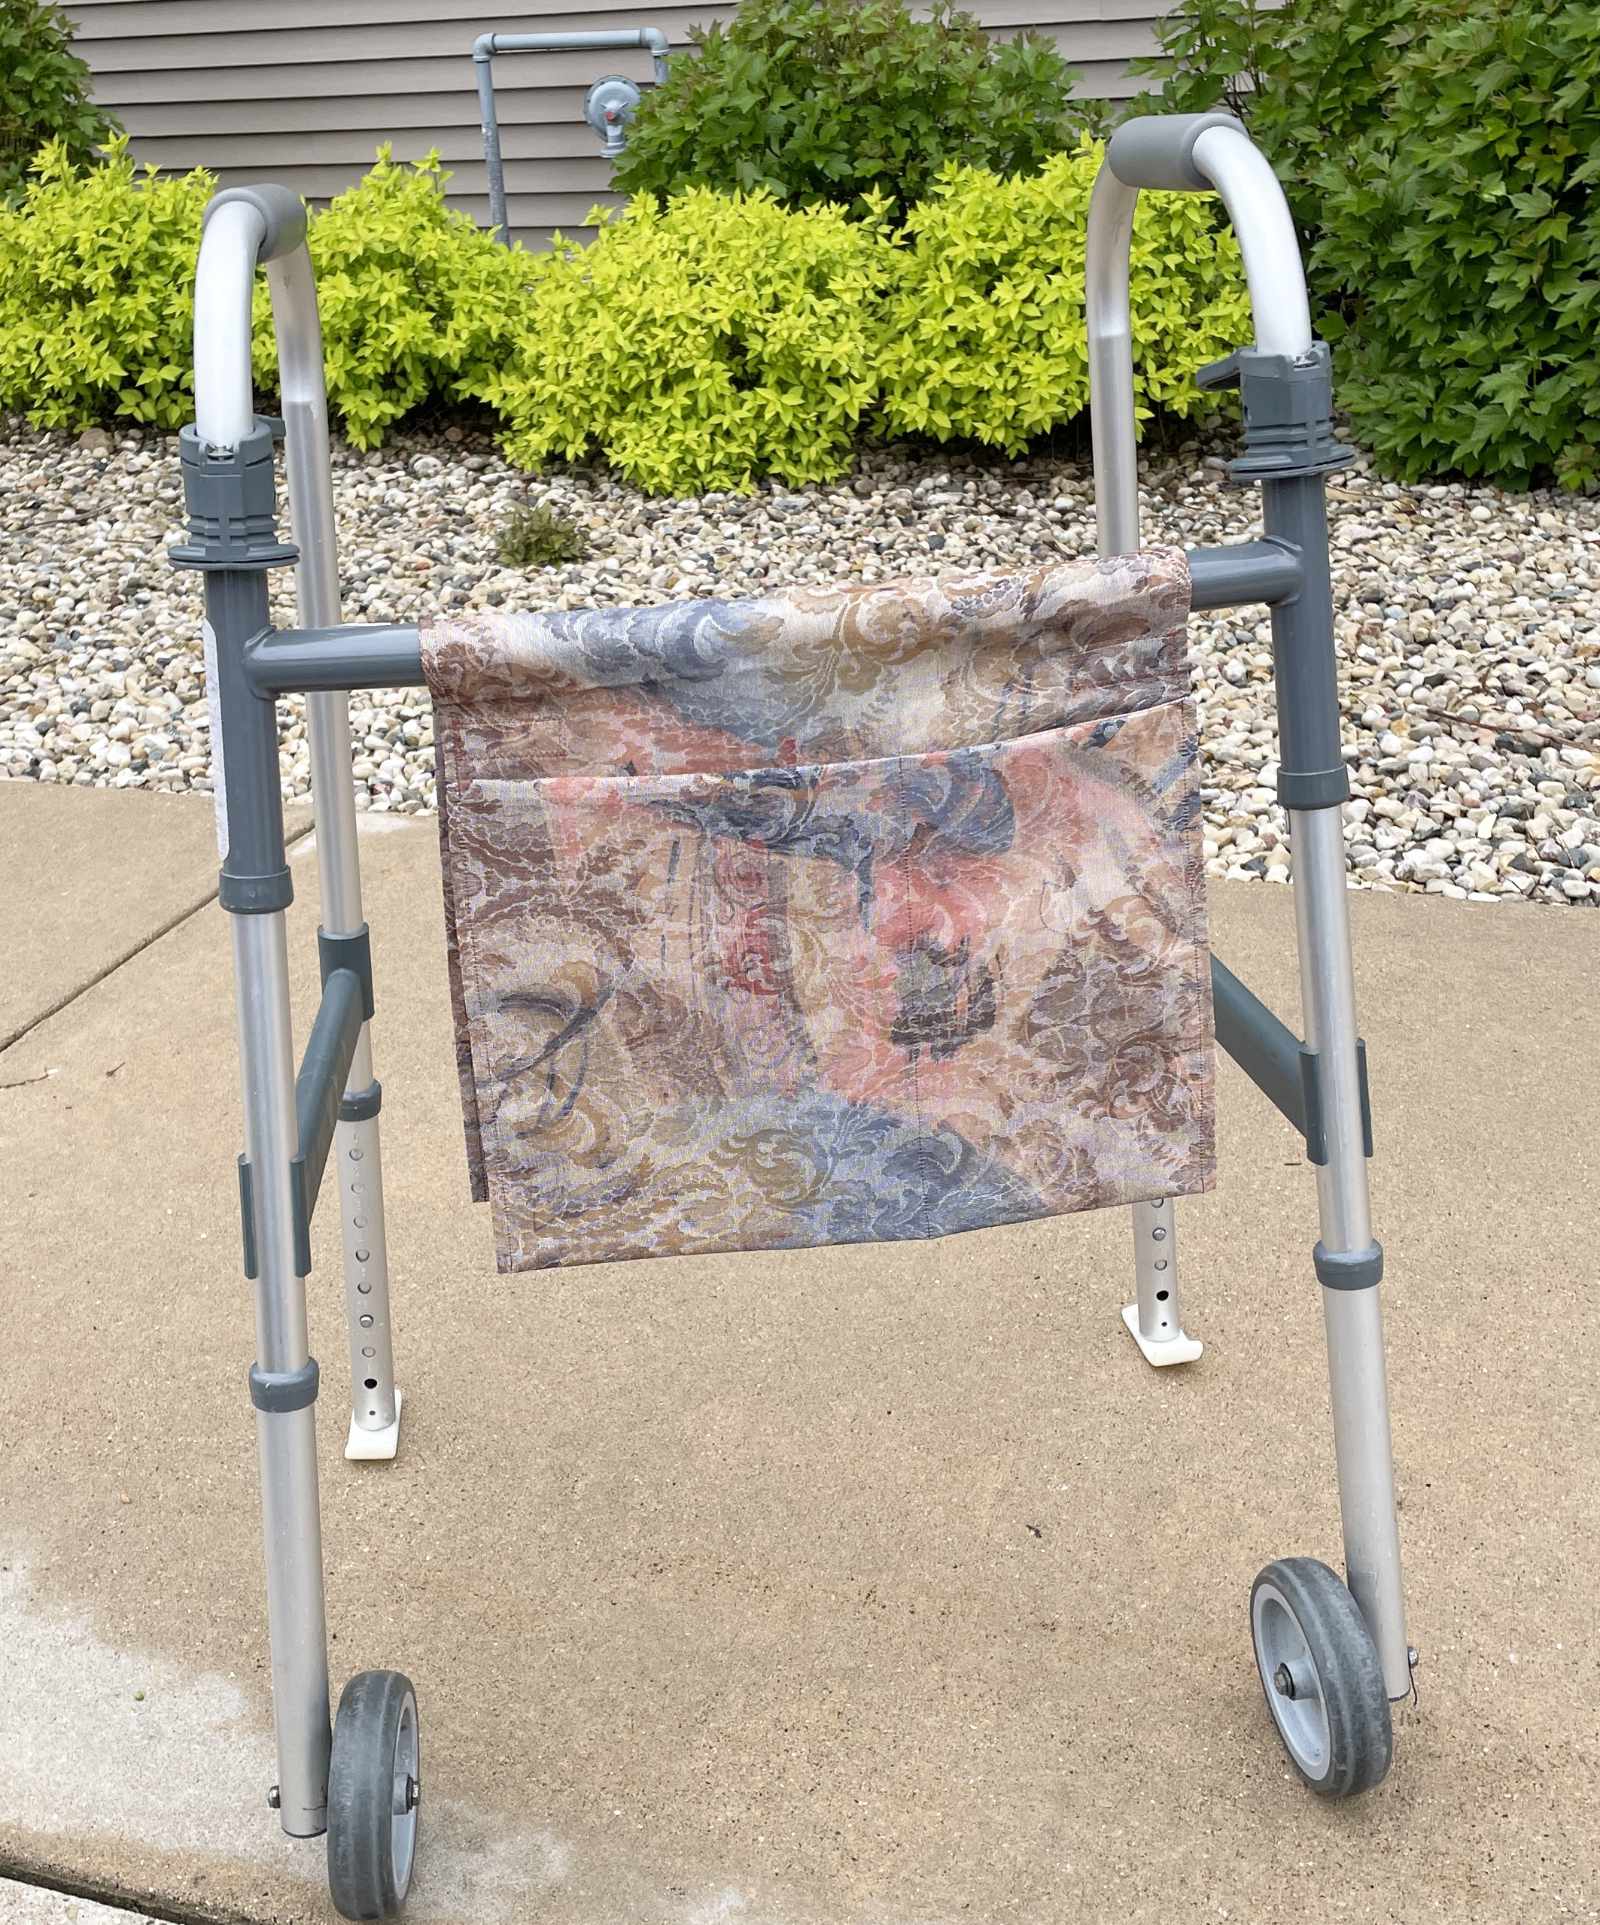
She’s using and enjoying it!
***************
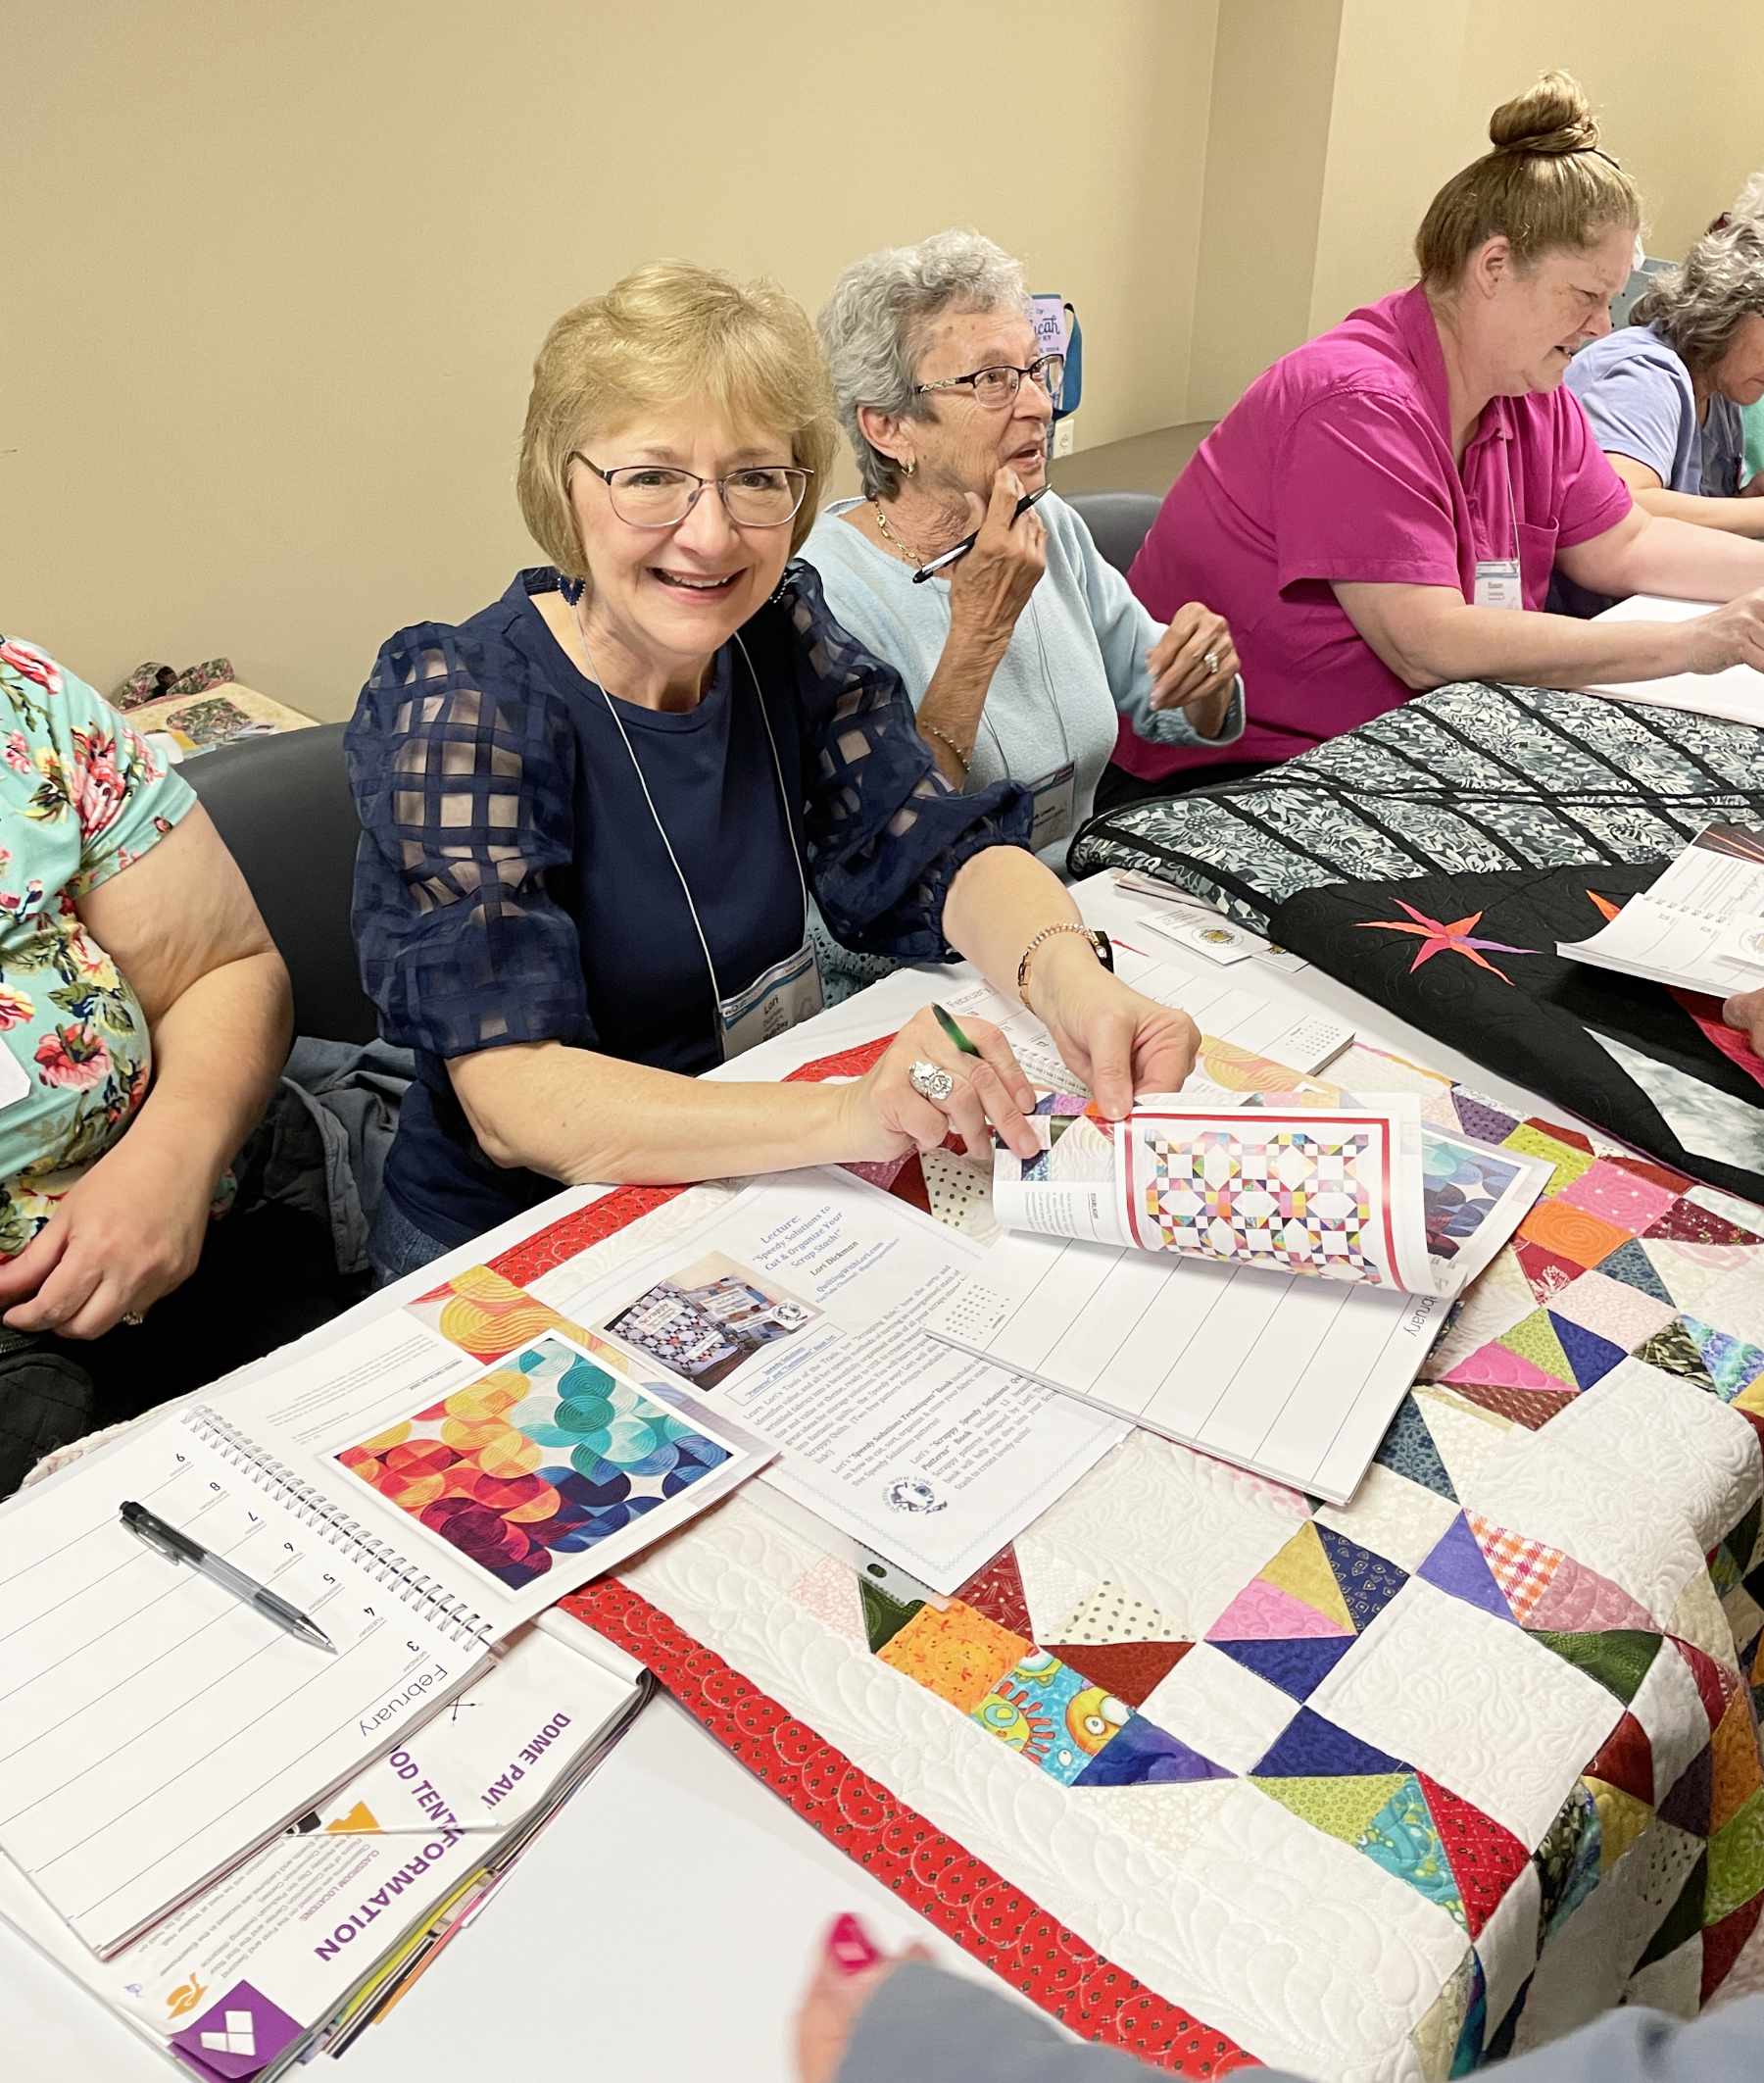
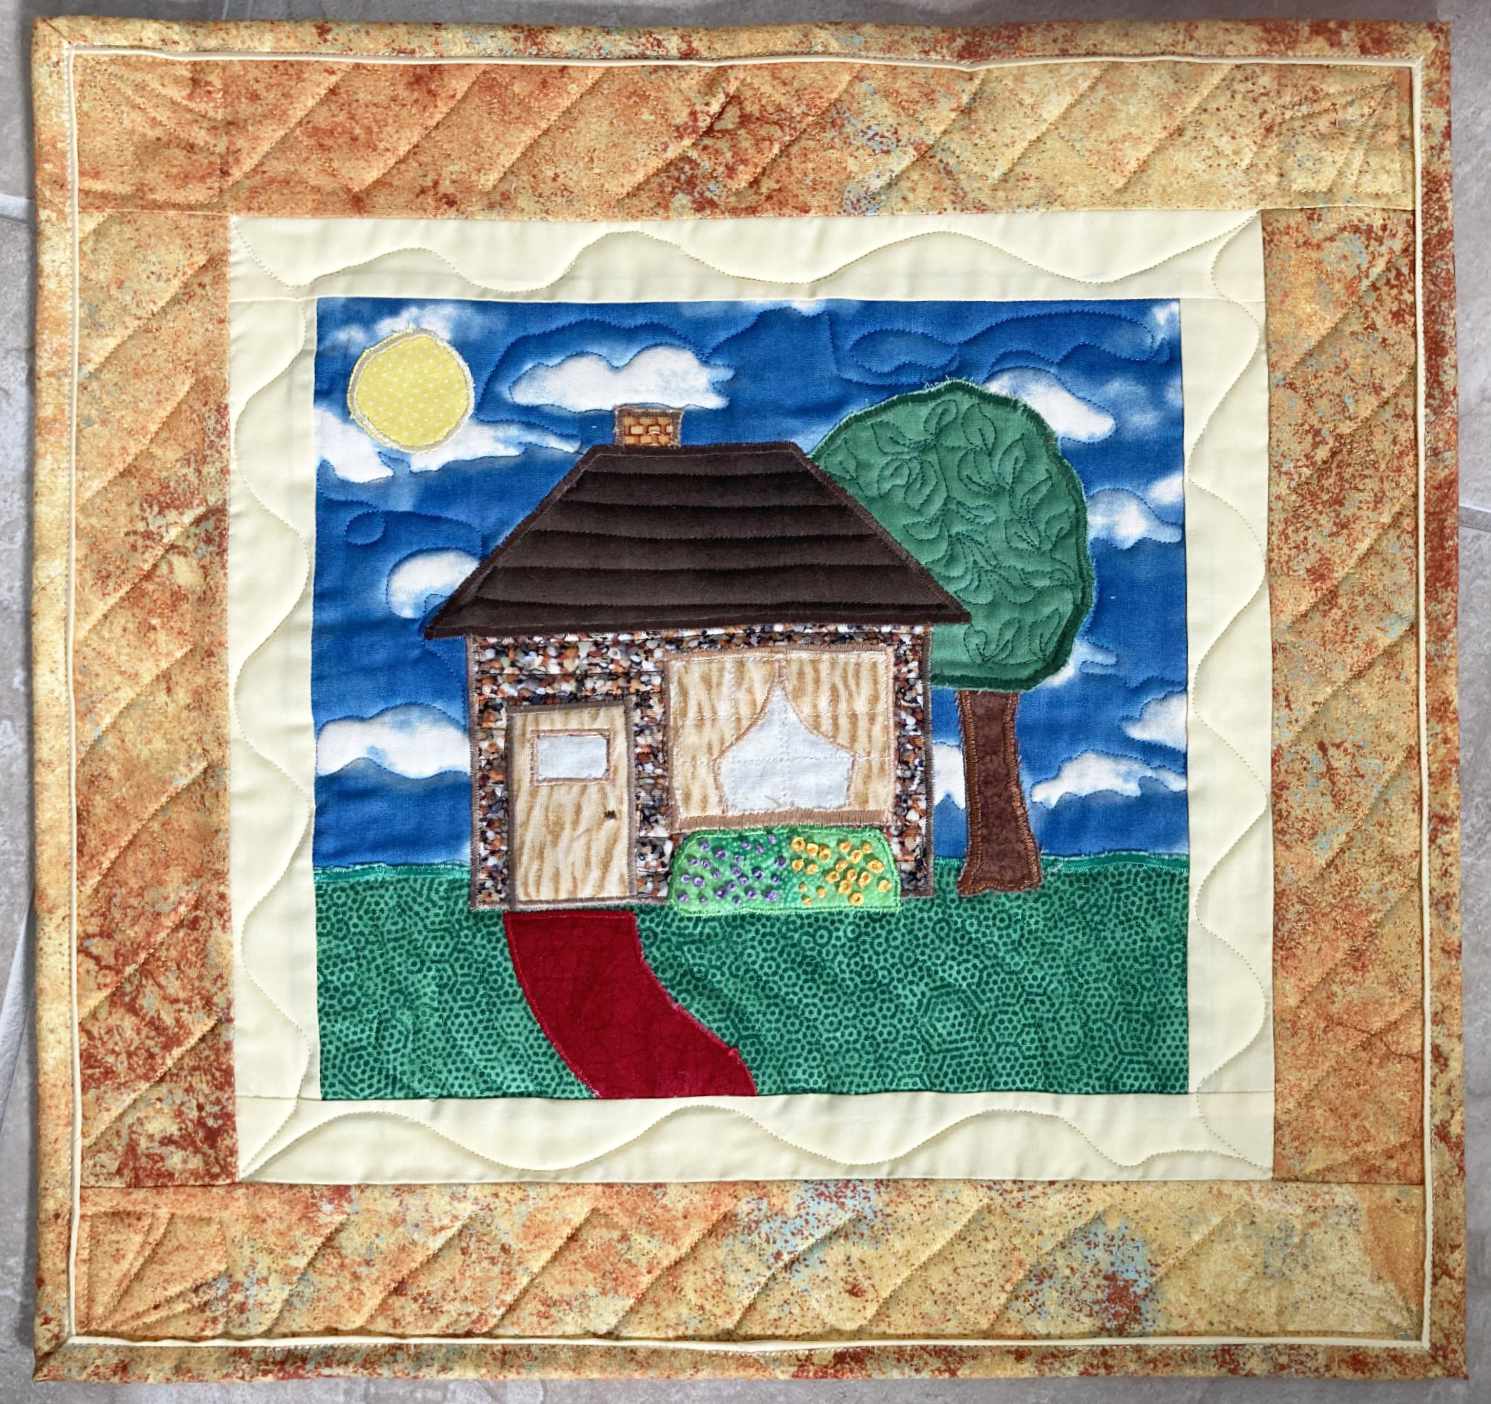
This week I also wanted to share a few photos with you from Barb in Florida. She was in my Repliqué class at the Southwest Florida Quilt Guild meetings this past January (my most recent book ~ Modular Memory Quilts ~ includes instructions for Repliqué. Click here to read about it). Everyone made a small house block, and I was thrilled to learn about what Barb has done with my technique:
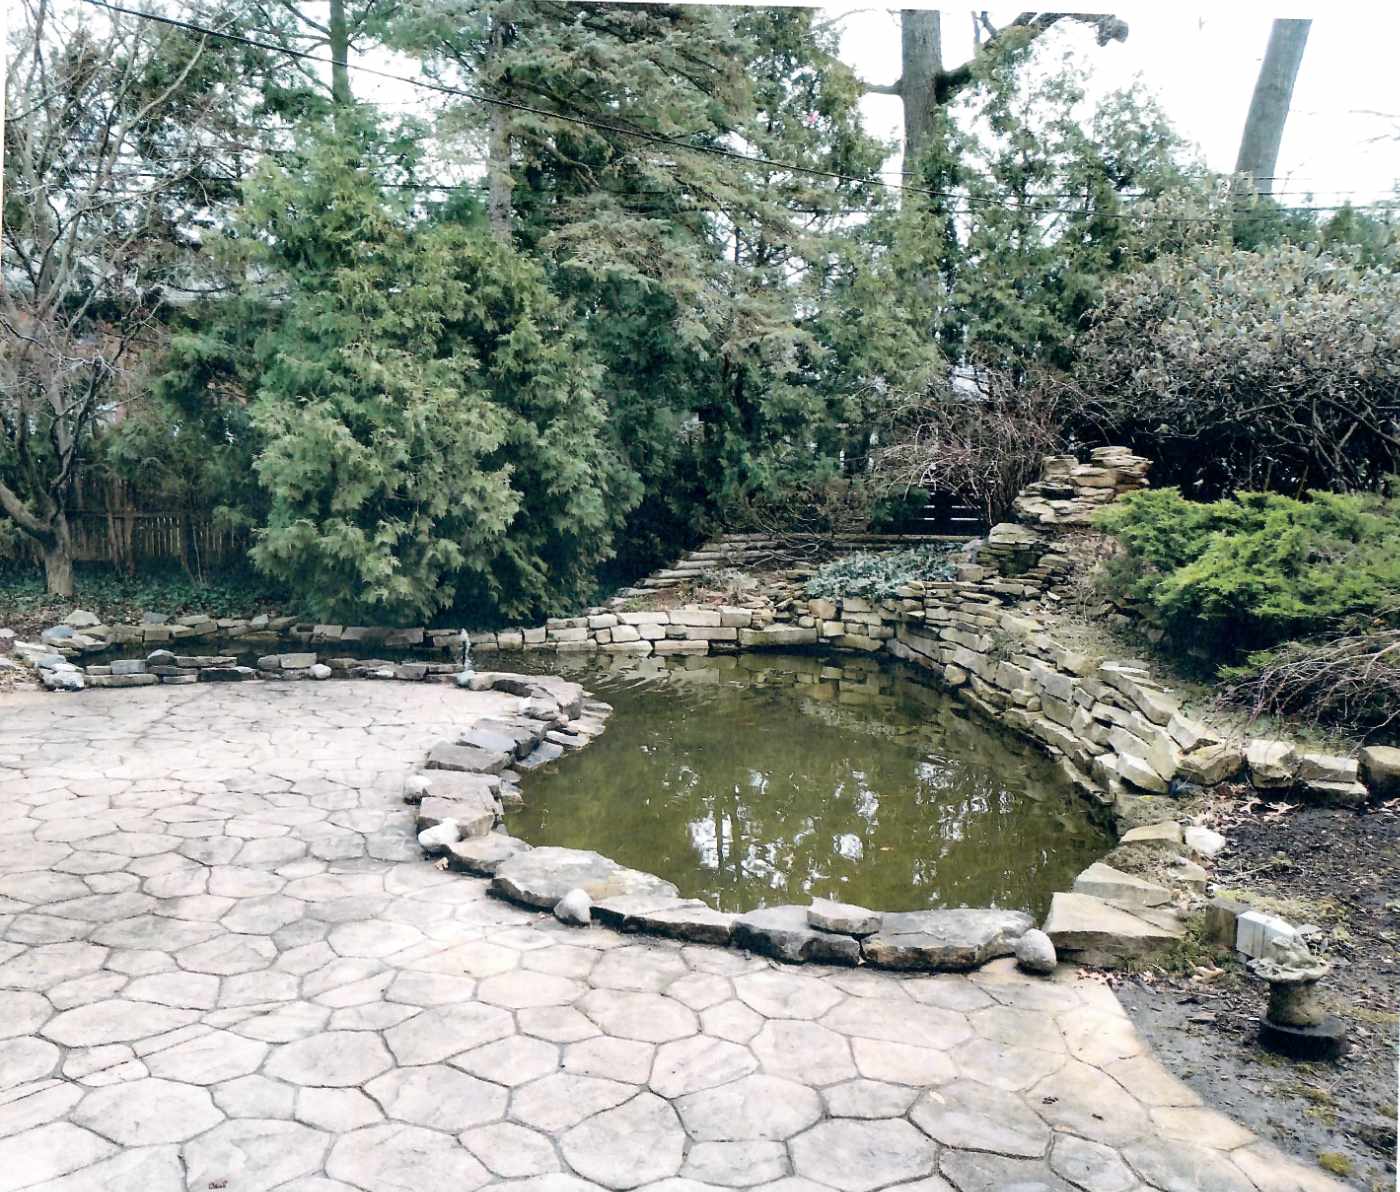
“I finished my house and it was on display at the 2024 SWFQG show – Linda Lacko used it on the education table. I then made a replique for a friend who is terminally ill – we are creating a memory book and I got a picture of her backyard pond. It was much harder to do and there are some mistakes, but still everyone says it is really good. I will be working on my 1948 red truck next.
Loved your class and am thinking about a quilt using your method for the 2026 SWFQG show “every quilt has a story”.”
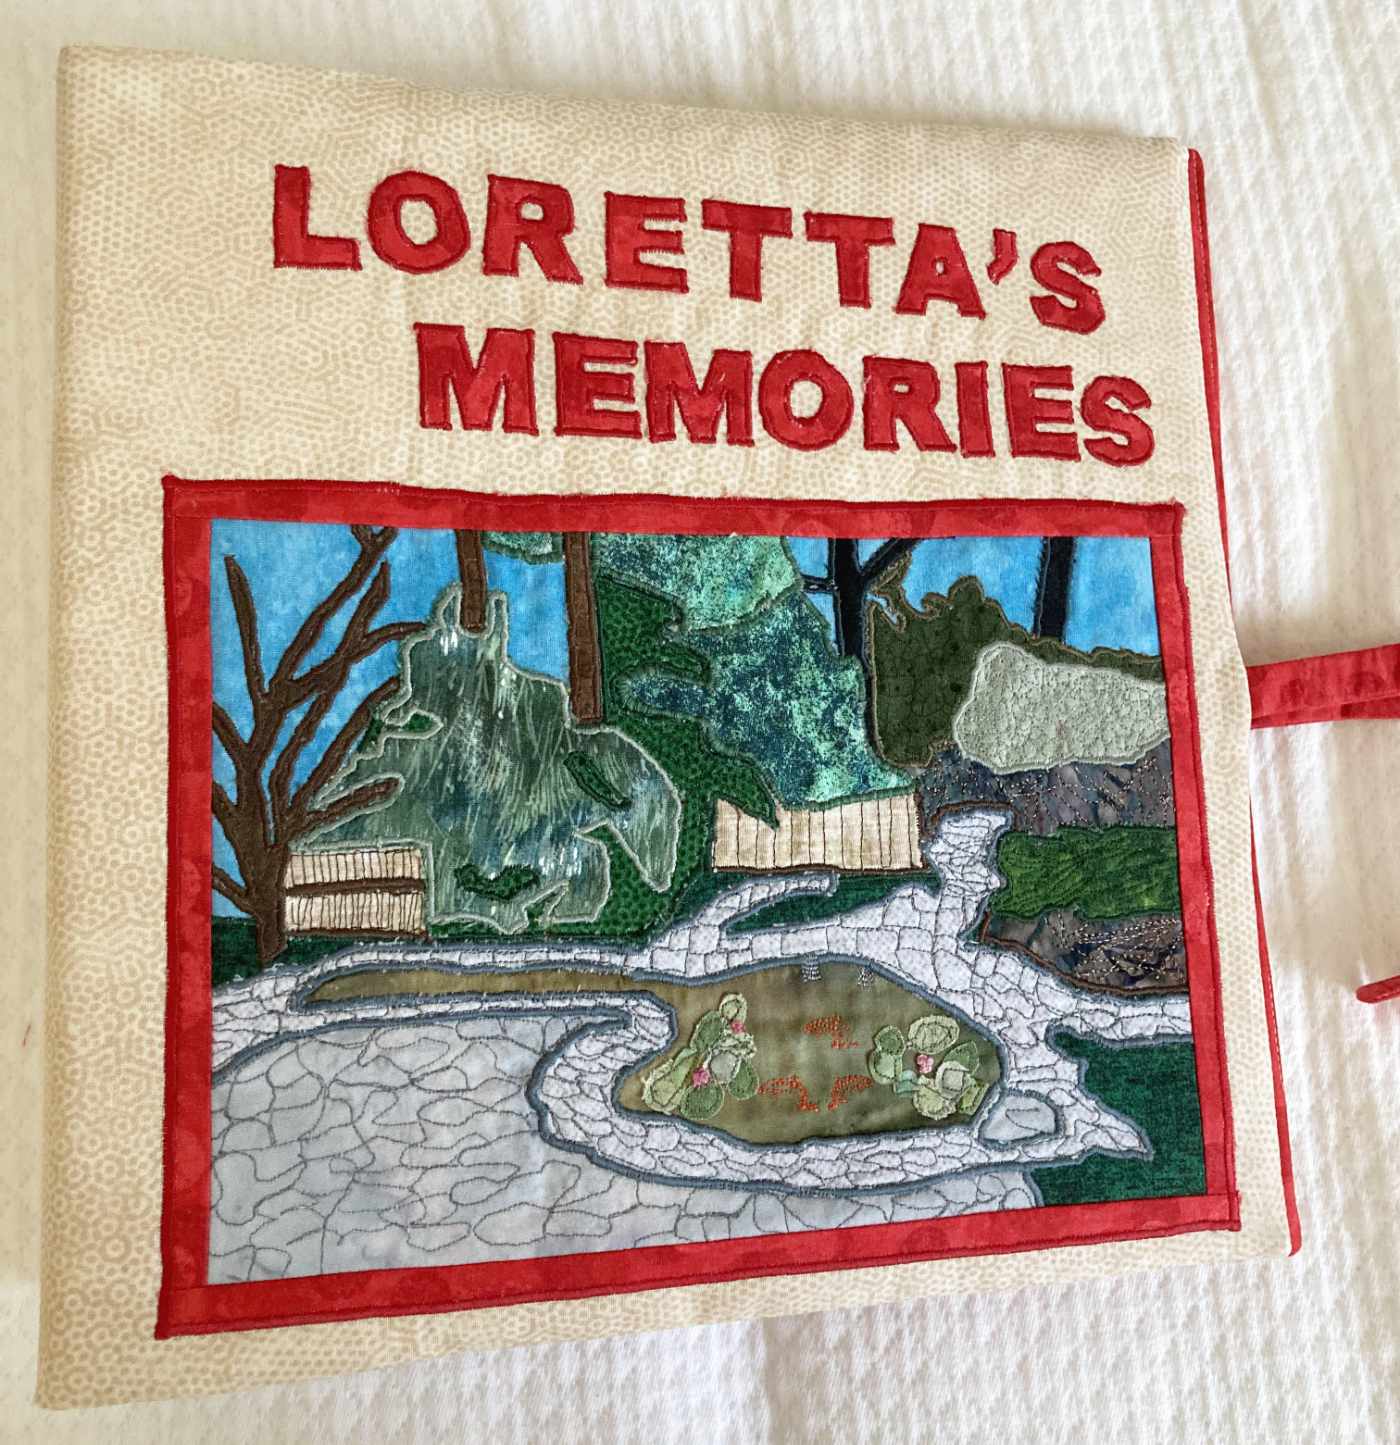
I think her pond is delightful, and I’m so glad Barb perservered when the technique seemed a bit tedious. I emailed her back after receiving her photos and asked if I could share them on the blog. This was her response:
“Of course you can use my photos. Am glad that you believe them to be useful and encouragimg for others. After really trying the method, it is easy. I have shown the Pond picture to other guild members, and they ask, “how did you figure out where to start?” I truly tried to follow your method of what is the furthest back in the picture and work out from there.”
Great advice. I can’t wait to see Barb’s next repliqué quilt.
Have you used repliqué in a recent project? Please send photos!