• Skip to main content
  • Skip to primary sidebar
  • Skip to footer

  • Home
  • About
  • Gallery
  • Classes
  • Trips
  • Books
  • Blog
  • Contact
  • Sign Up For My Blog

Blog

On Pins and Needles

March 24, 2024 2 Comments

Before I tell you all about my most recent retreat, I’d like to remind all my readers in SE Wisconsin that the Mukwonago Crazy Quilters show is taking place this weekend and will be open until 3pm today (3-24), with loads of quilts and vendors.

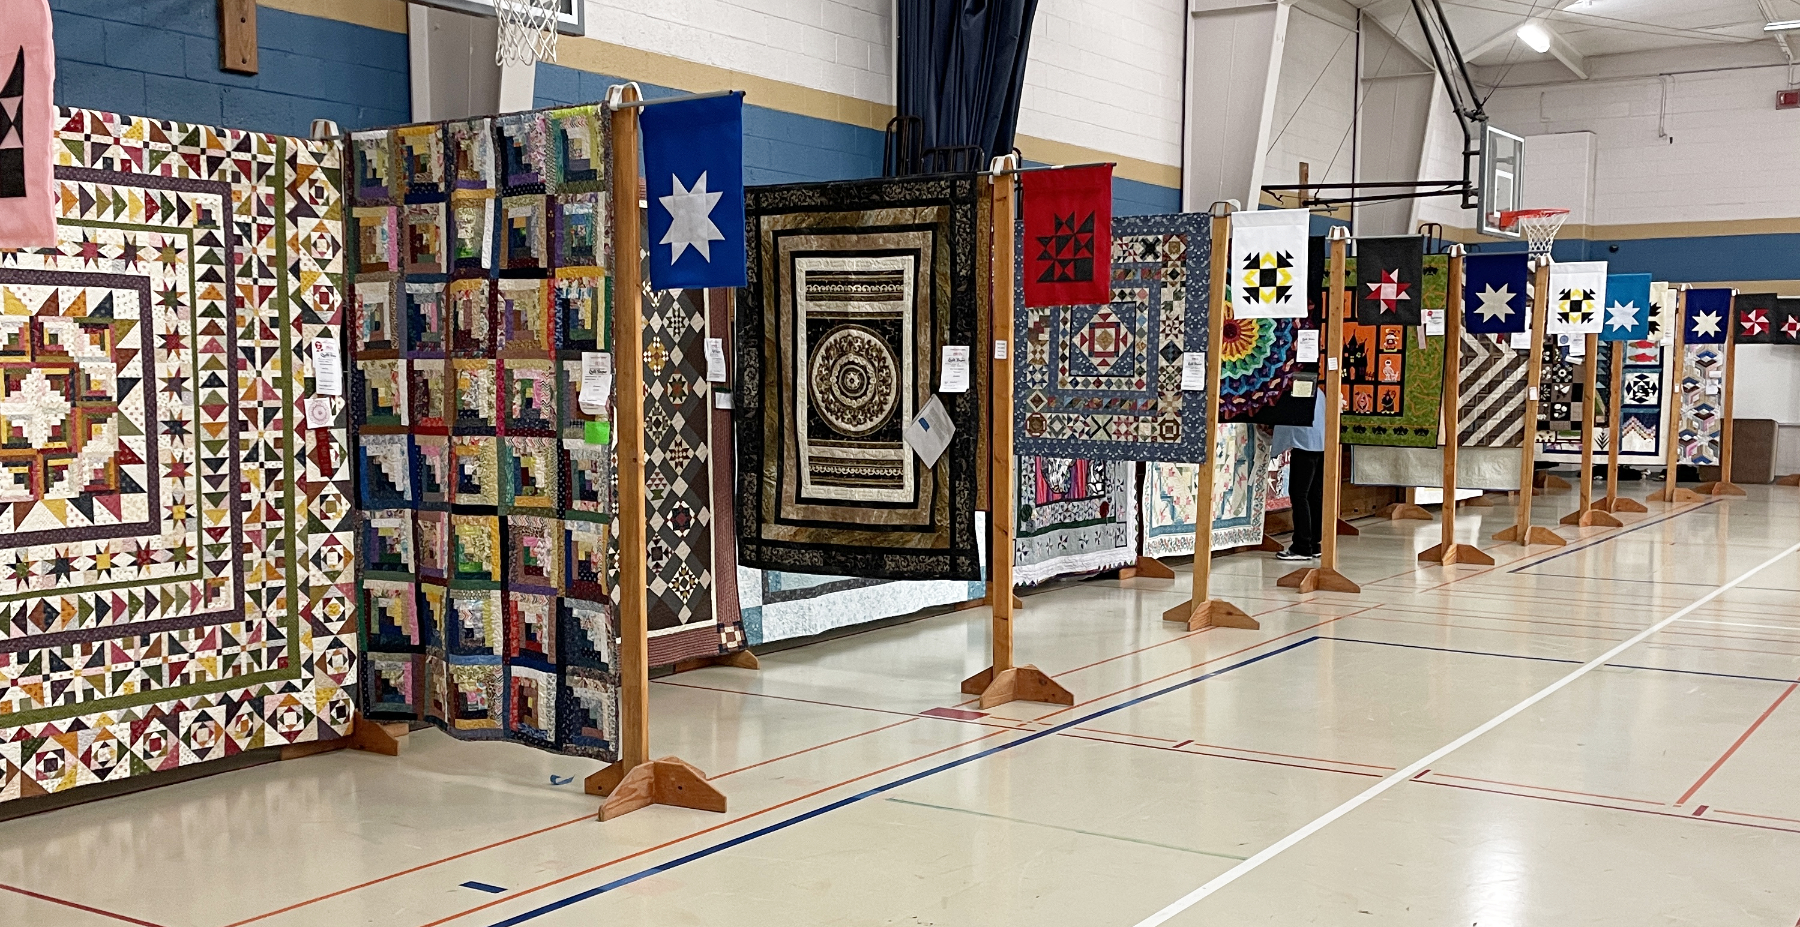
It’s taking place at Parkview Middle School in Mukwonago.

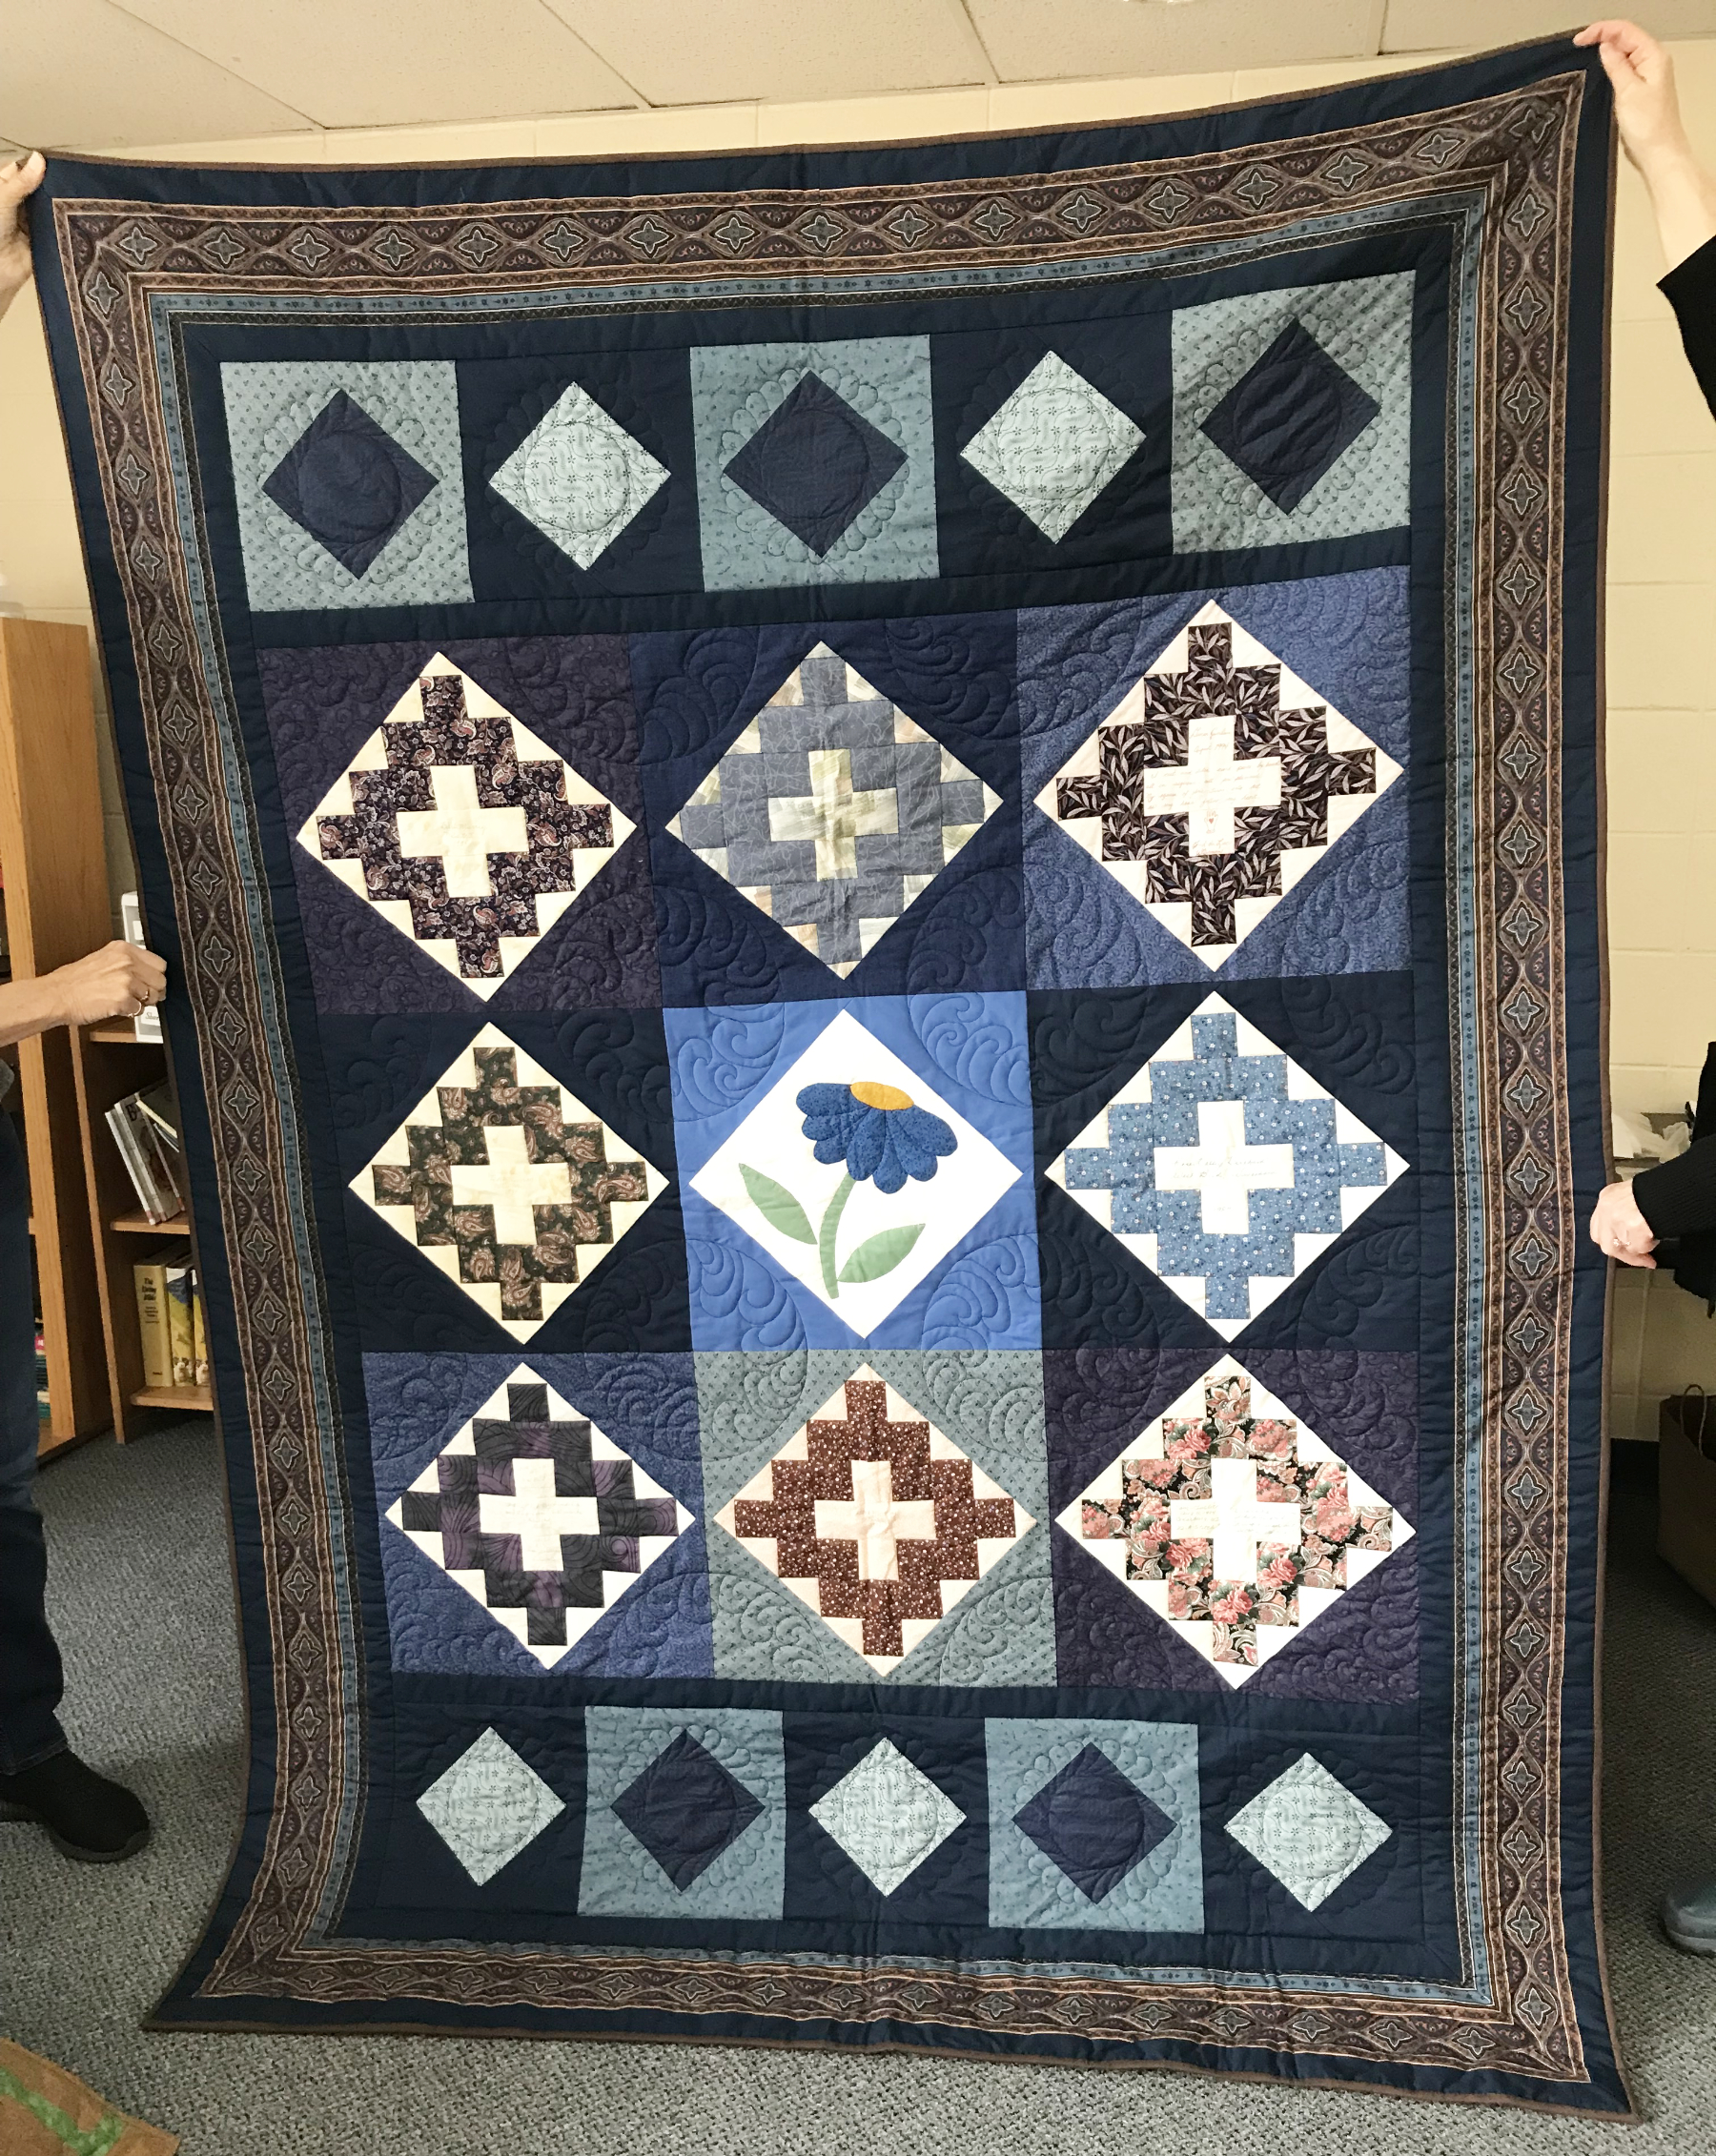
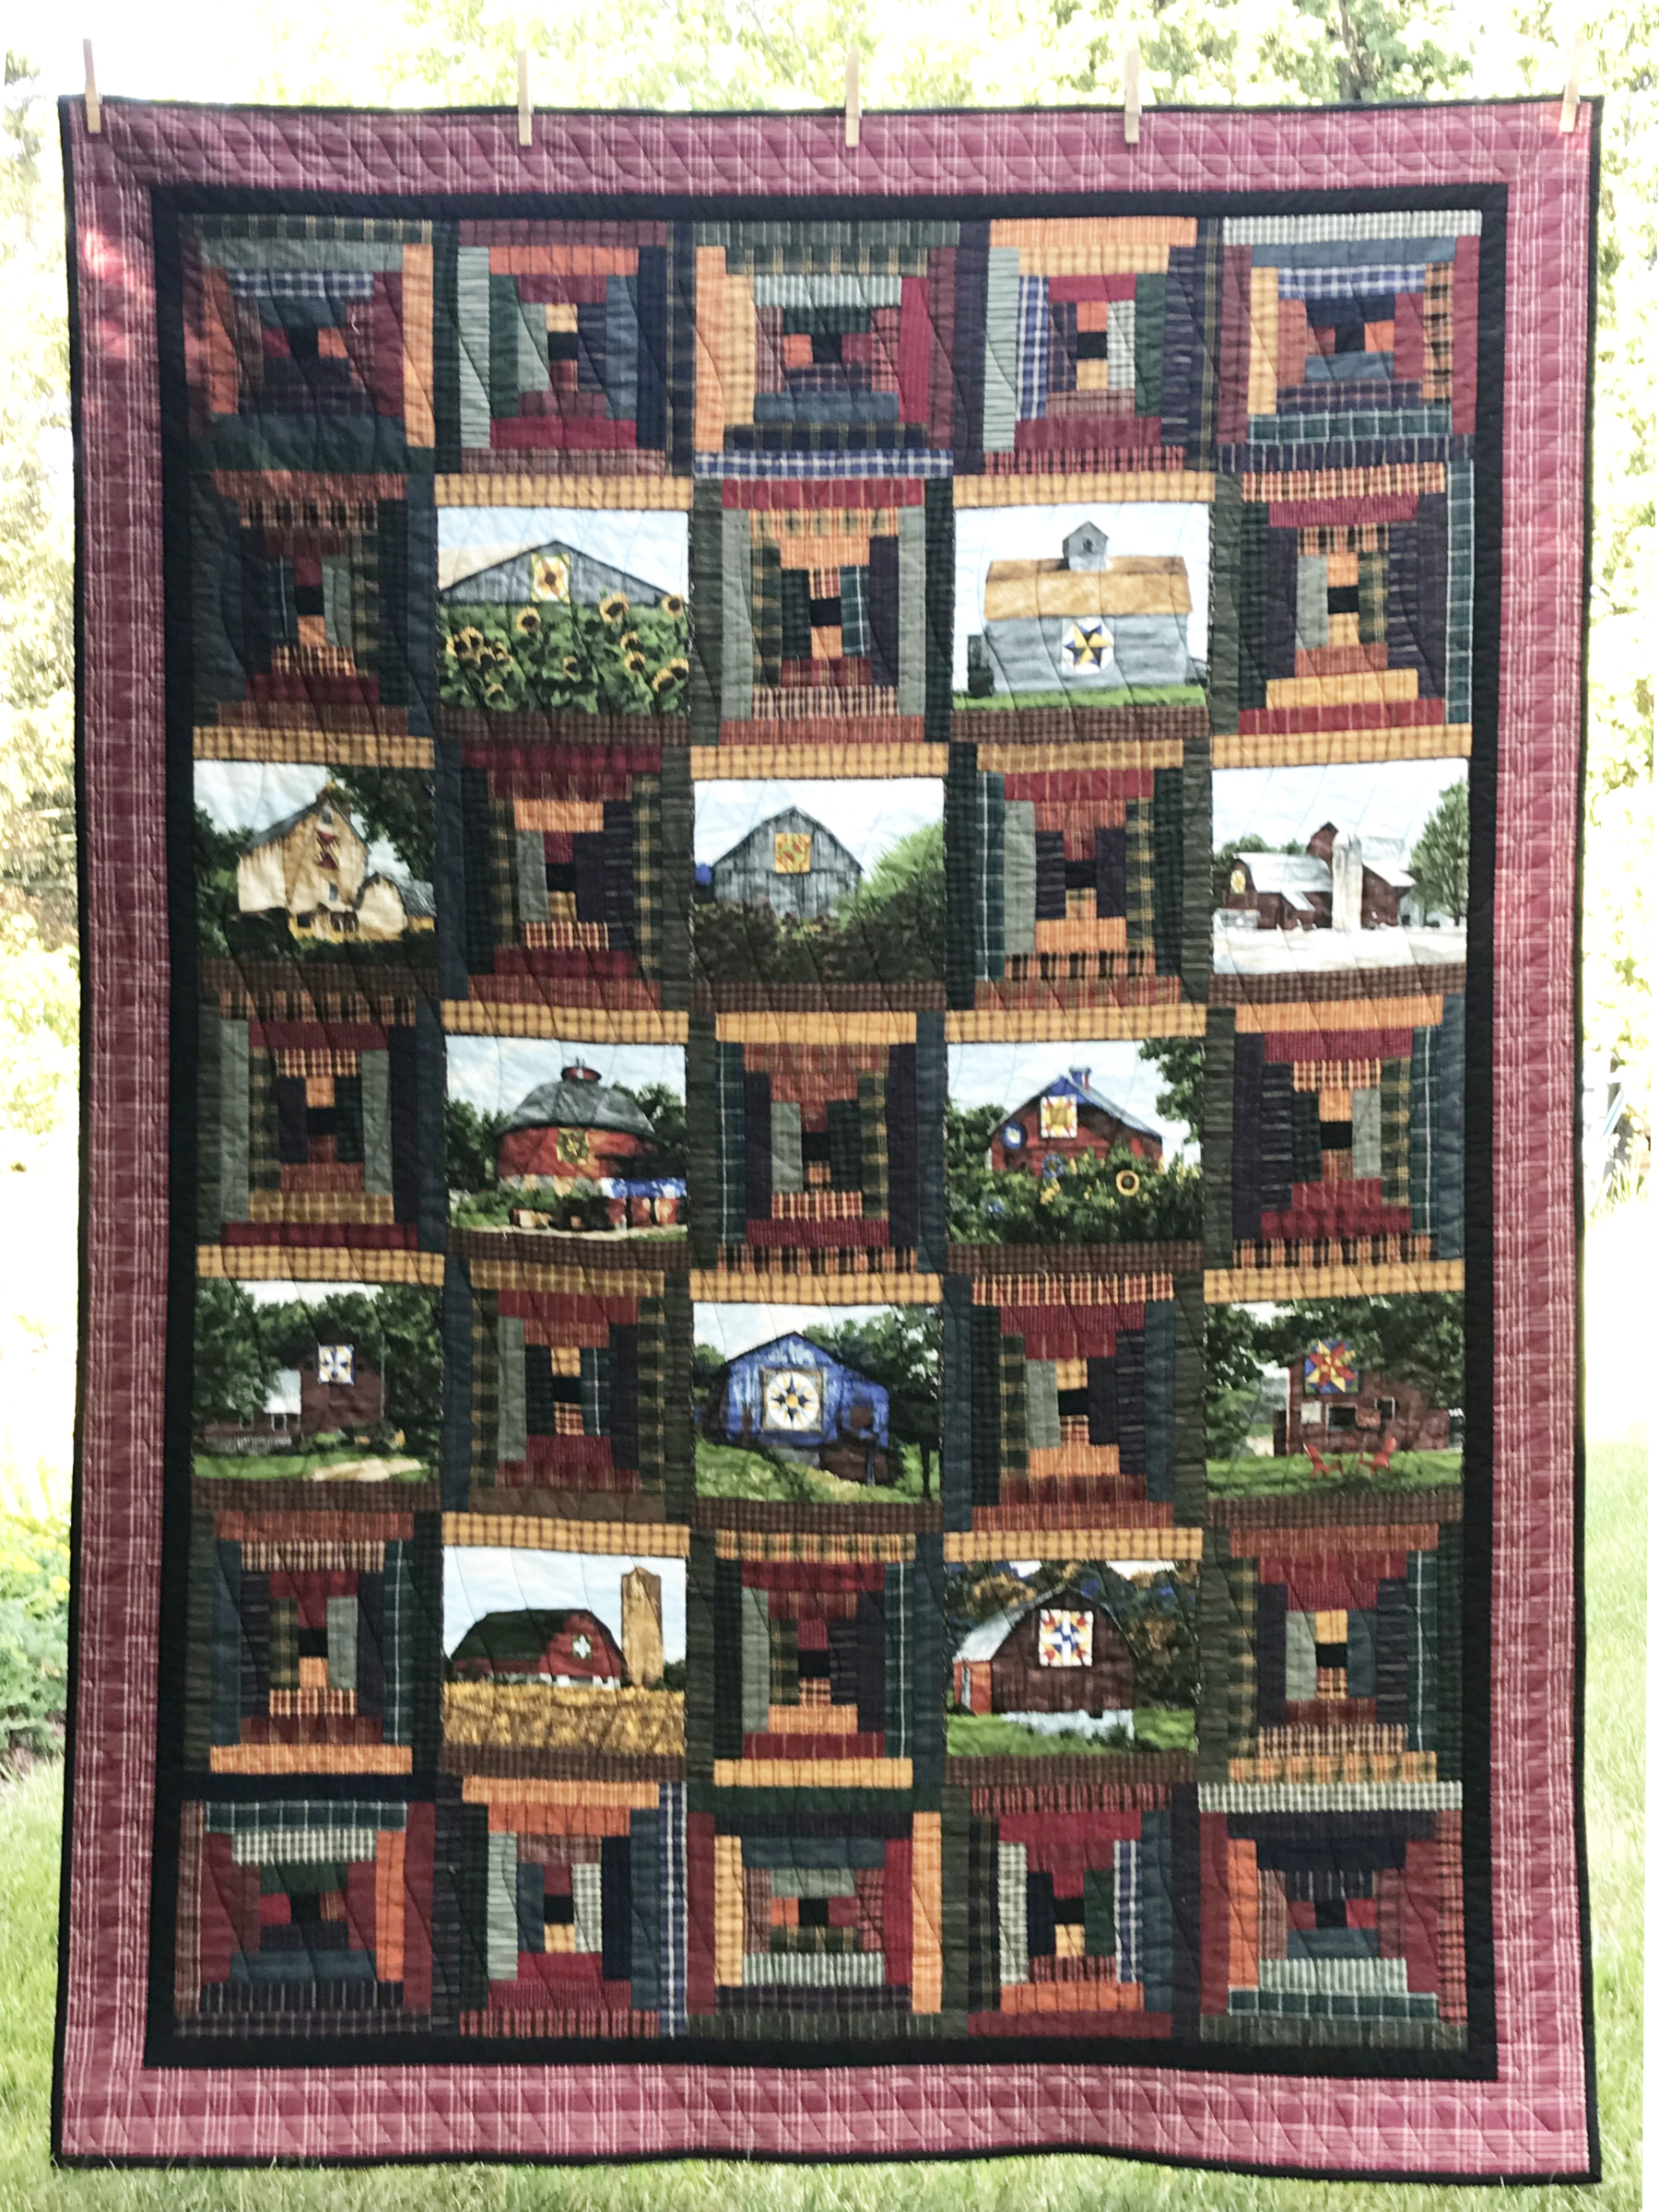
I had the great privilege to be one of the judges at this year’s show and the quilts were delightful. When judging was over I was pleased to present my Judge’s Recognition award to Fly By.

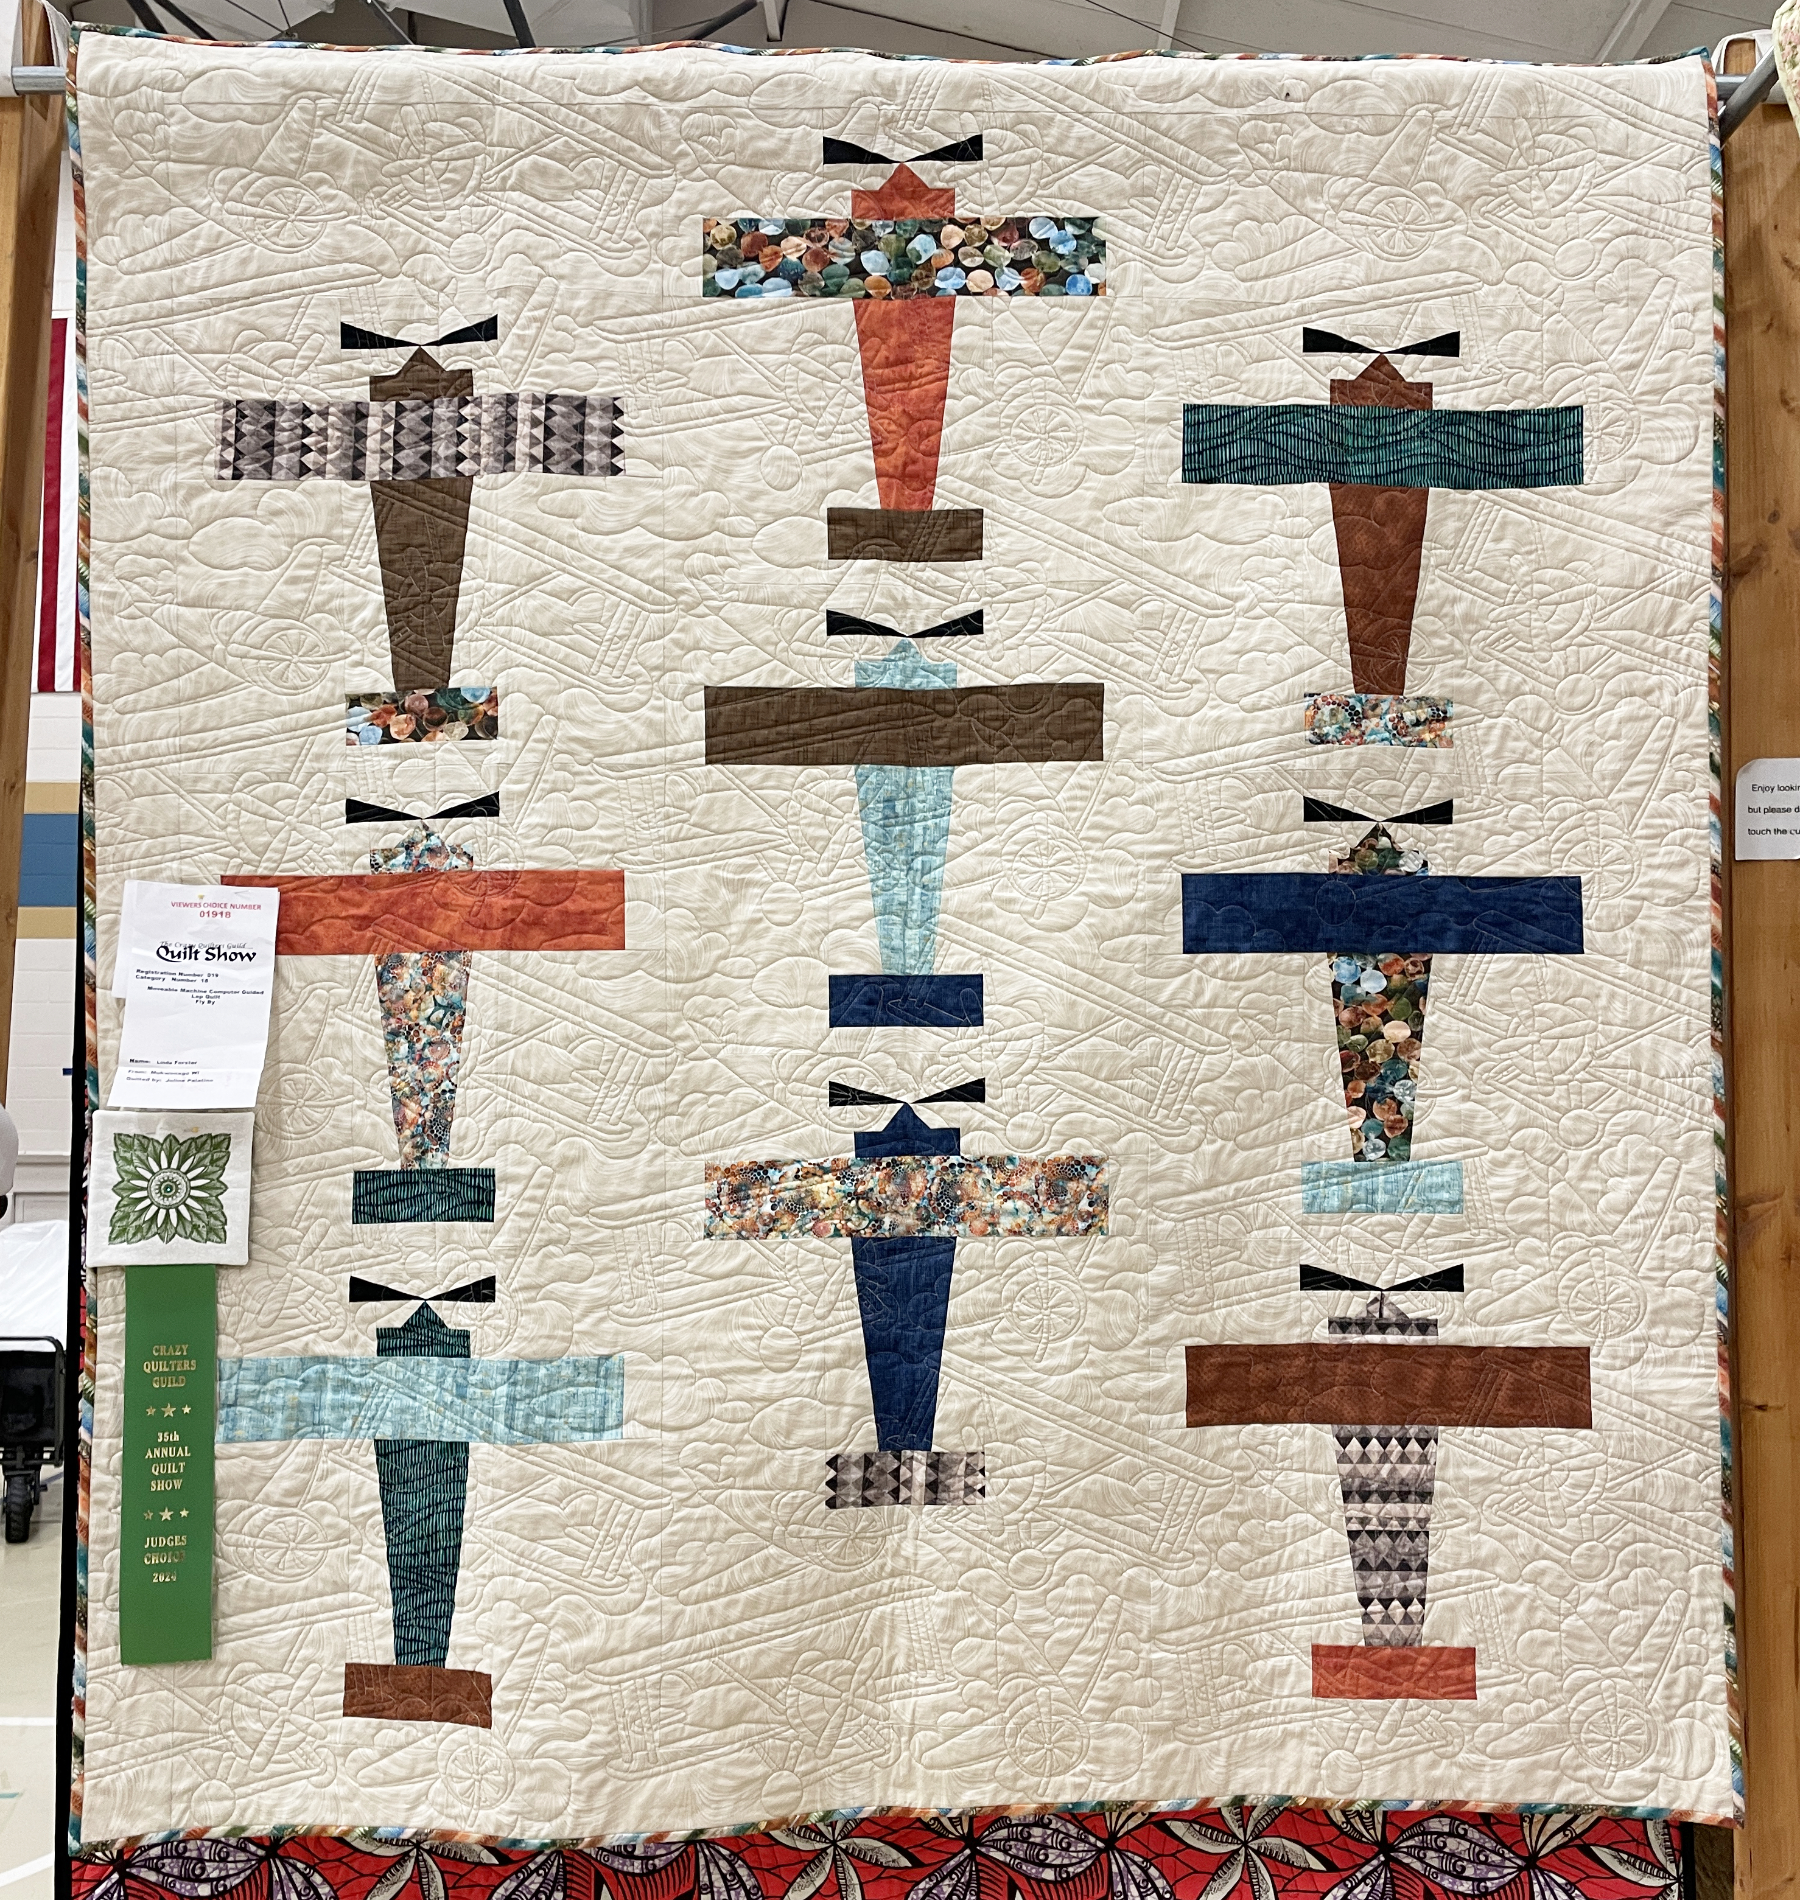
It was made by Linda Forster, and quilted by Joline Palatino. Aviation has been an important part of our life, so the planes made me smile. Then I got closer and the quilting made my decision easy.

Great job ladies!

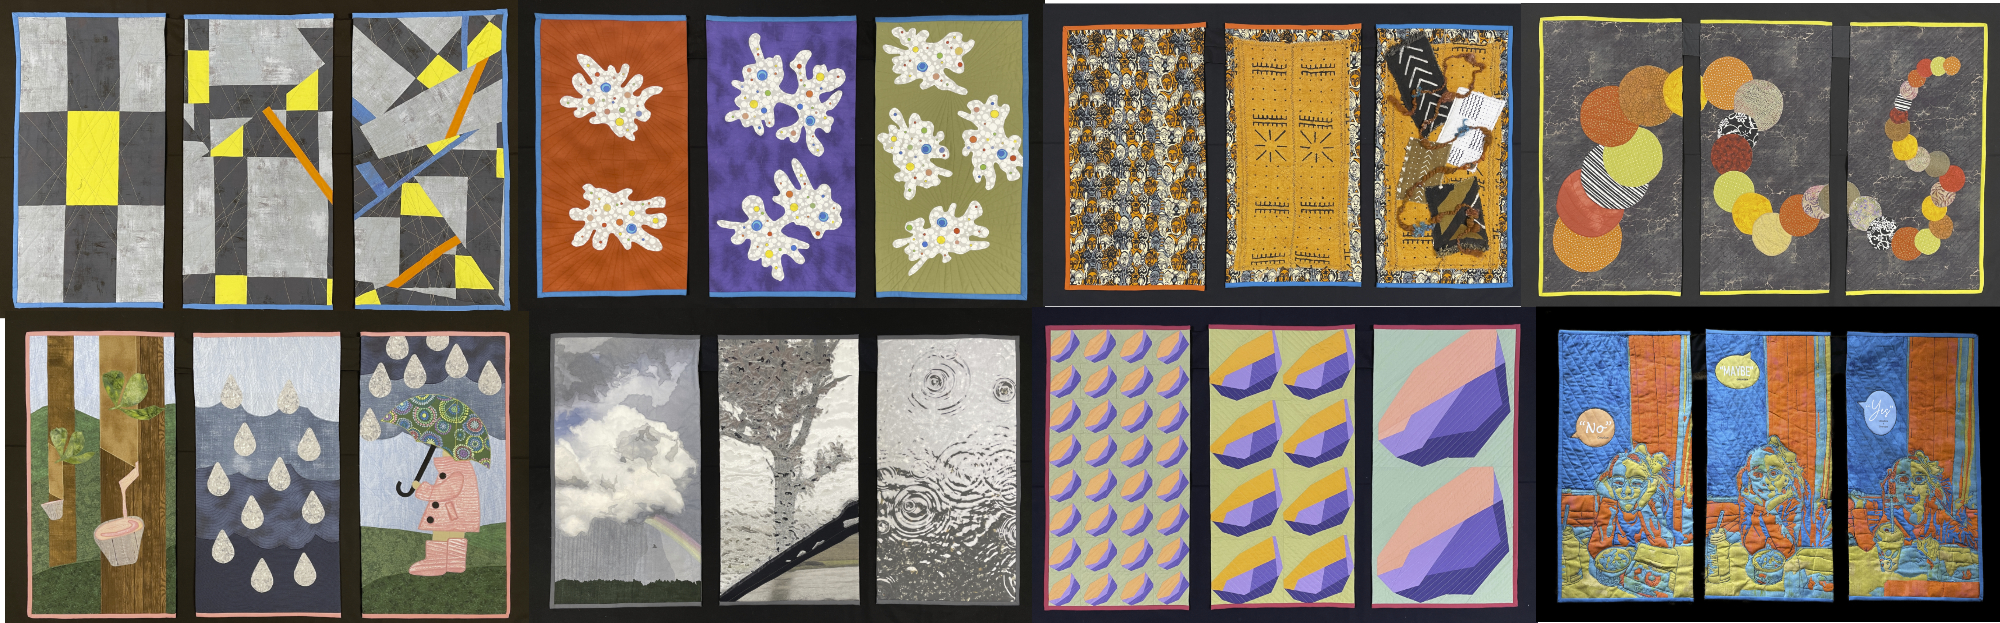
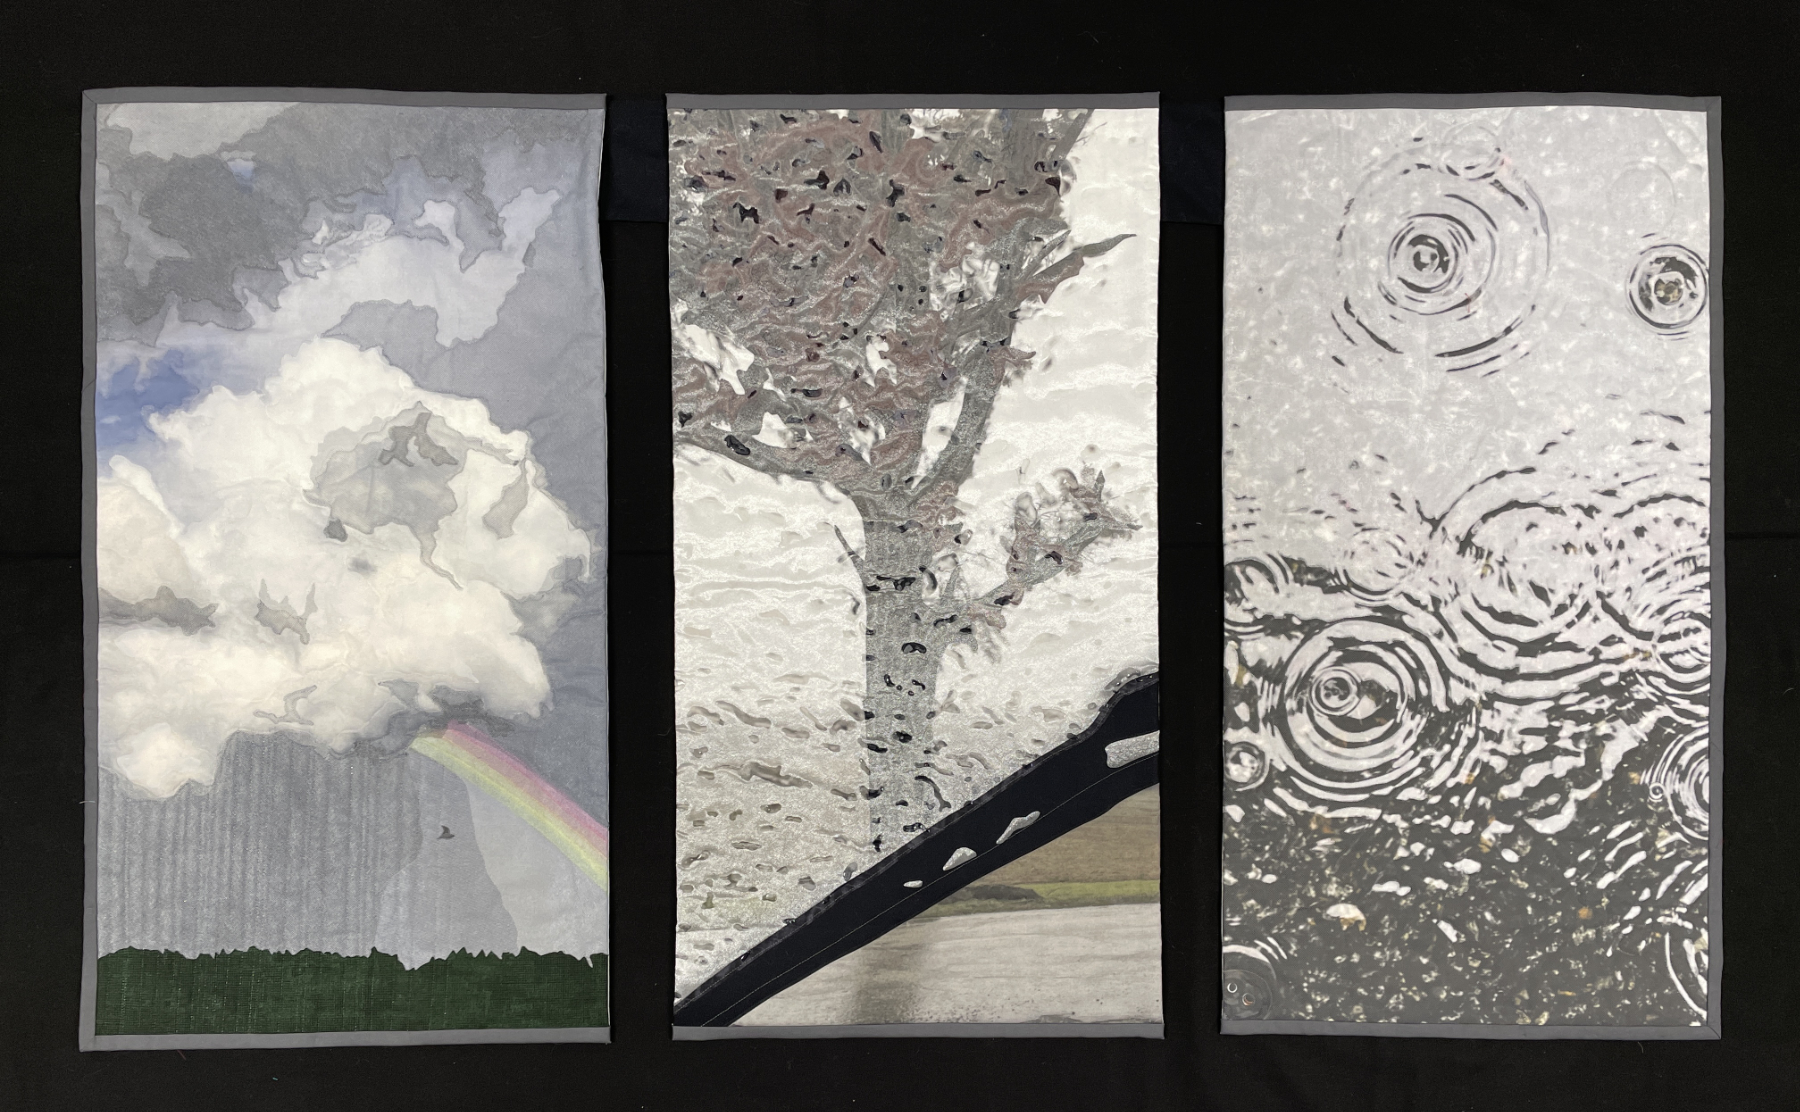
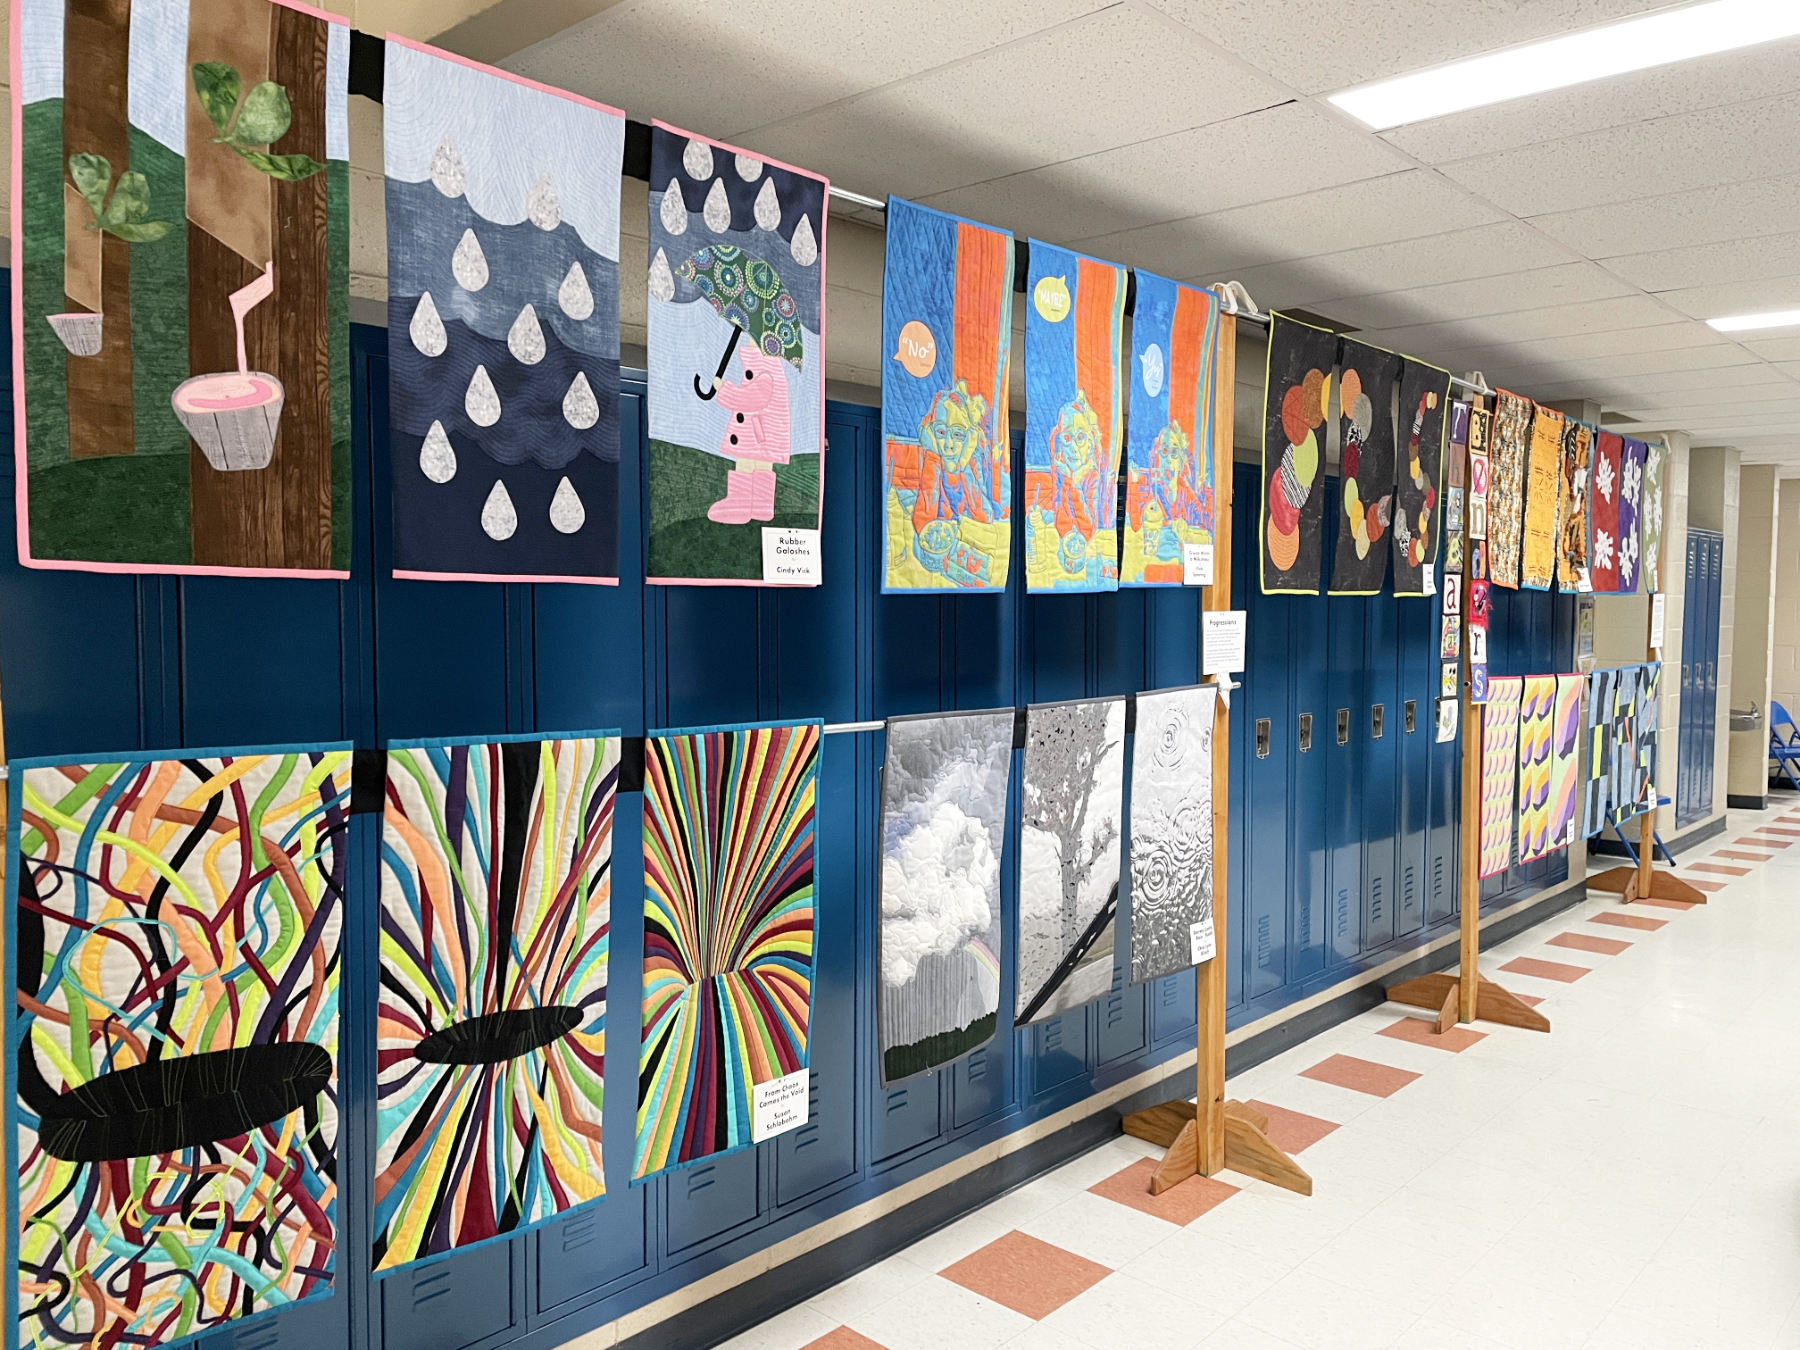
After the judging I was able to hang the ThreadBender’s Progressions Challenge as a special exhibit. They all looked great hanging together.

I hope some of you get a chance to see the show.

And now – on with this week’s post:

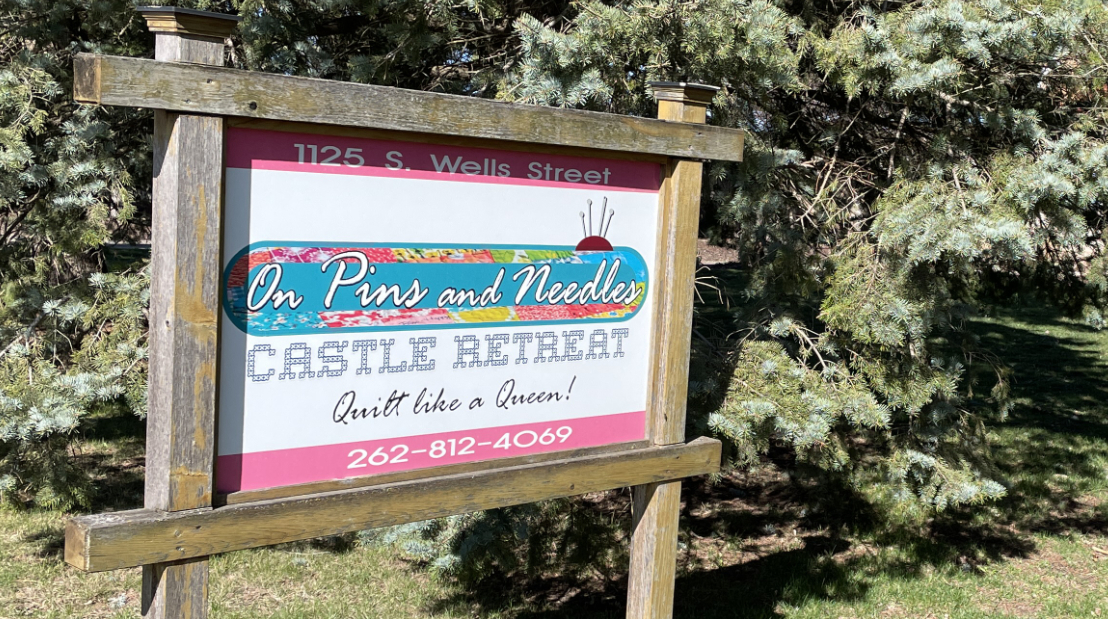
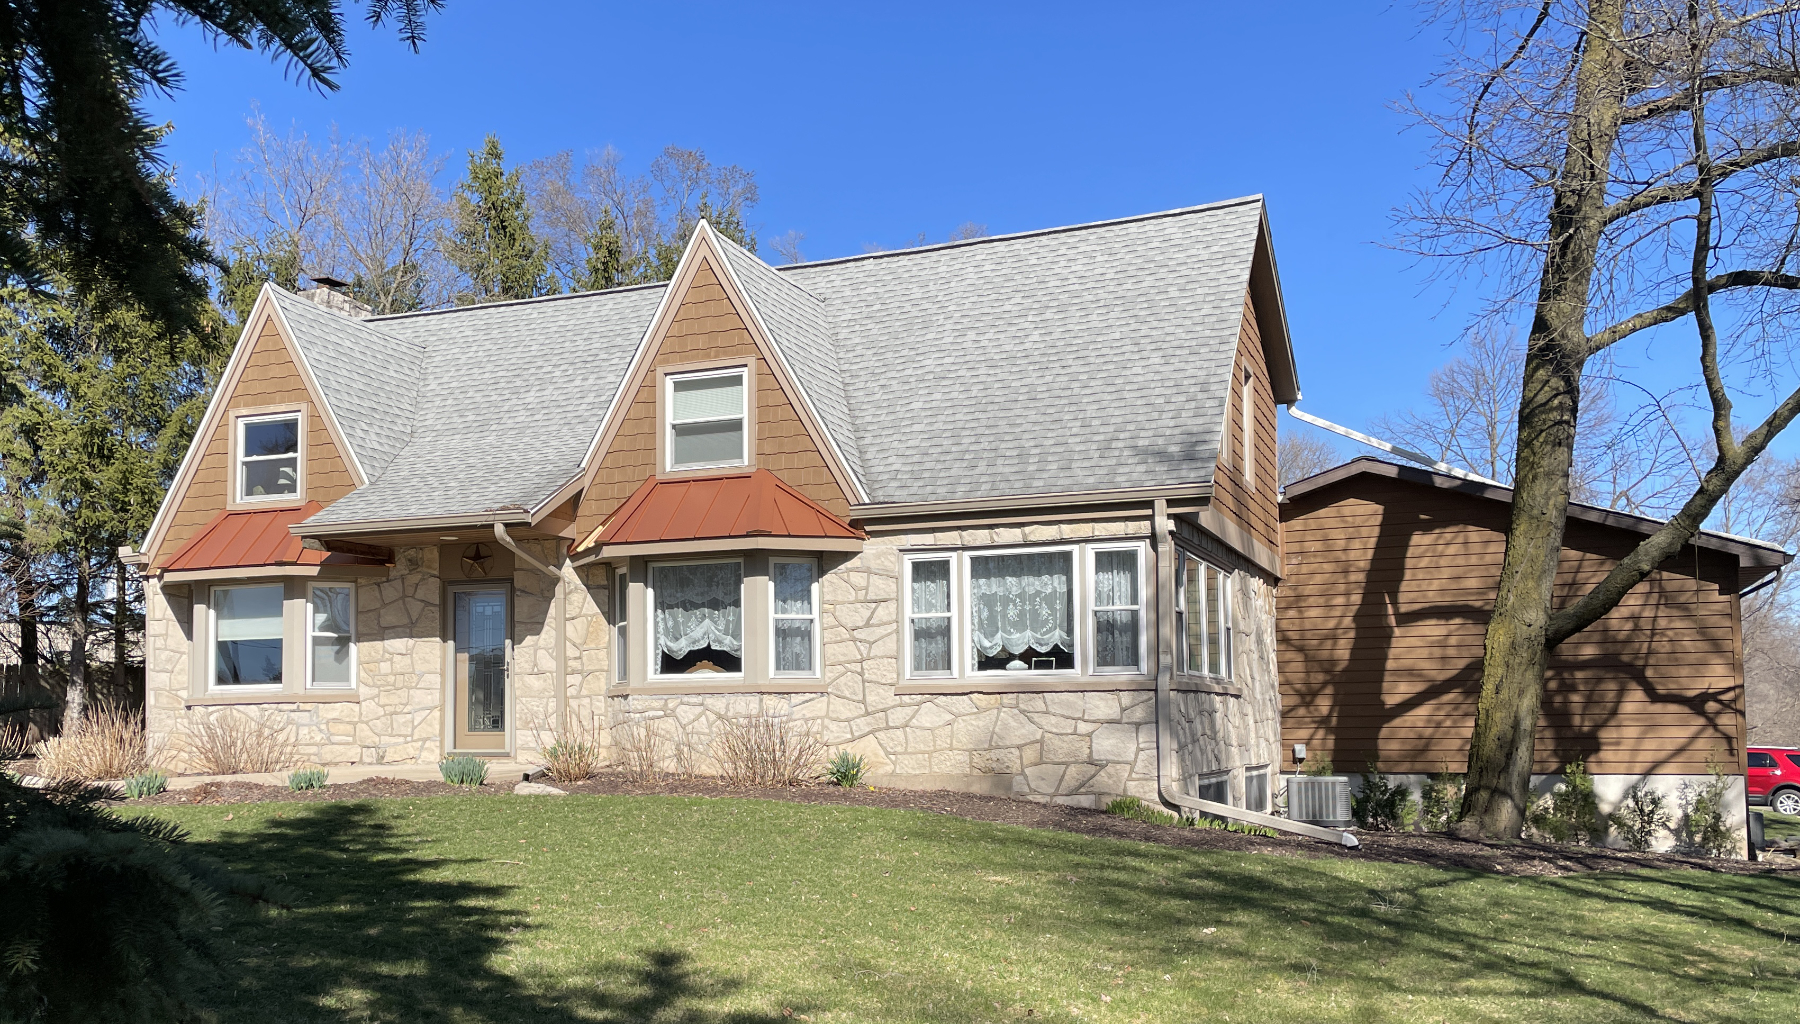
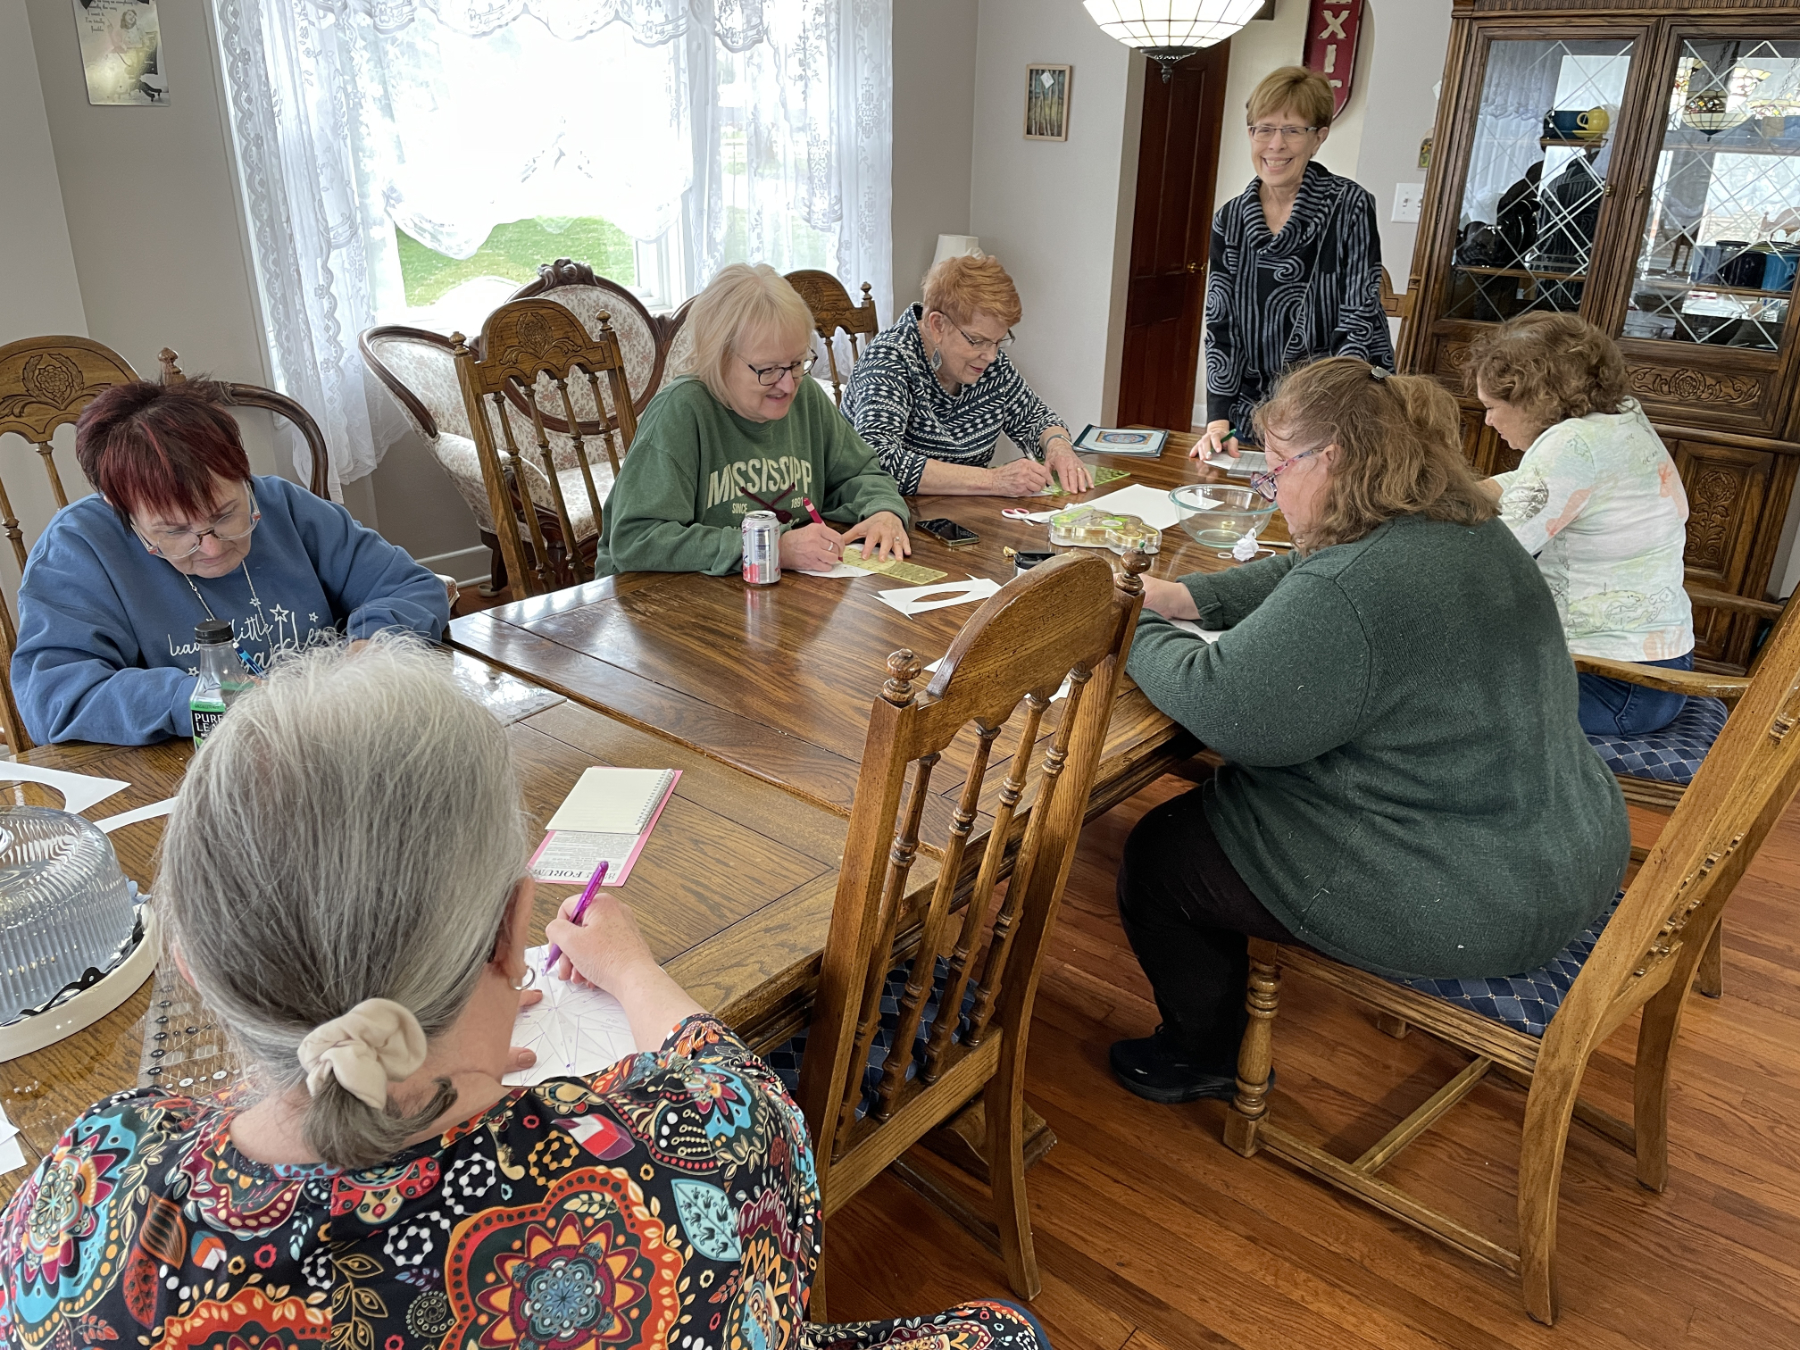
Last week I was blessed to go on yet another wonderful retreat. My friend Kathy invited a bunch of friends to gather together in Lake Geneva, WI. I didn’t know most of the quilters who were there, but am grateful to now call them friends. The On Pins and Needles Castle Retreat is in Lake Geneva, but not on the lake 😊. It’s a lovely older home that has been transformed into a great place for quilters and crafters.

Liz took a selfie of the group in the sewing room.

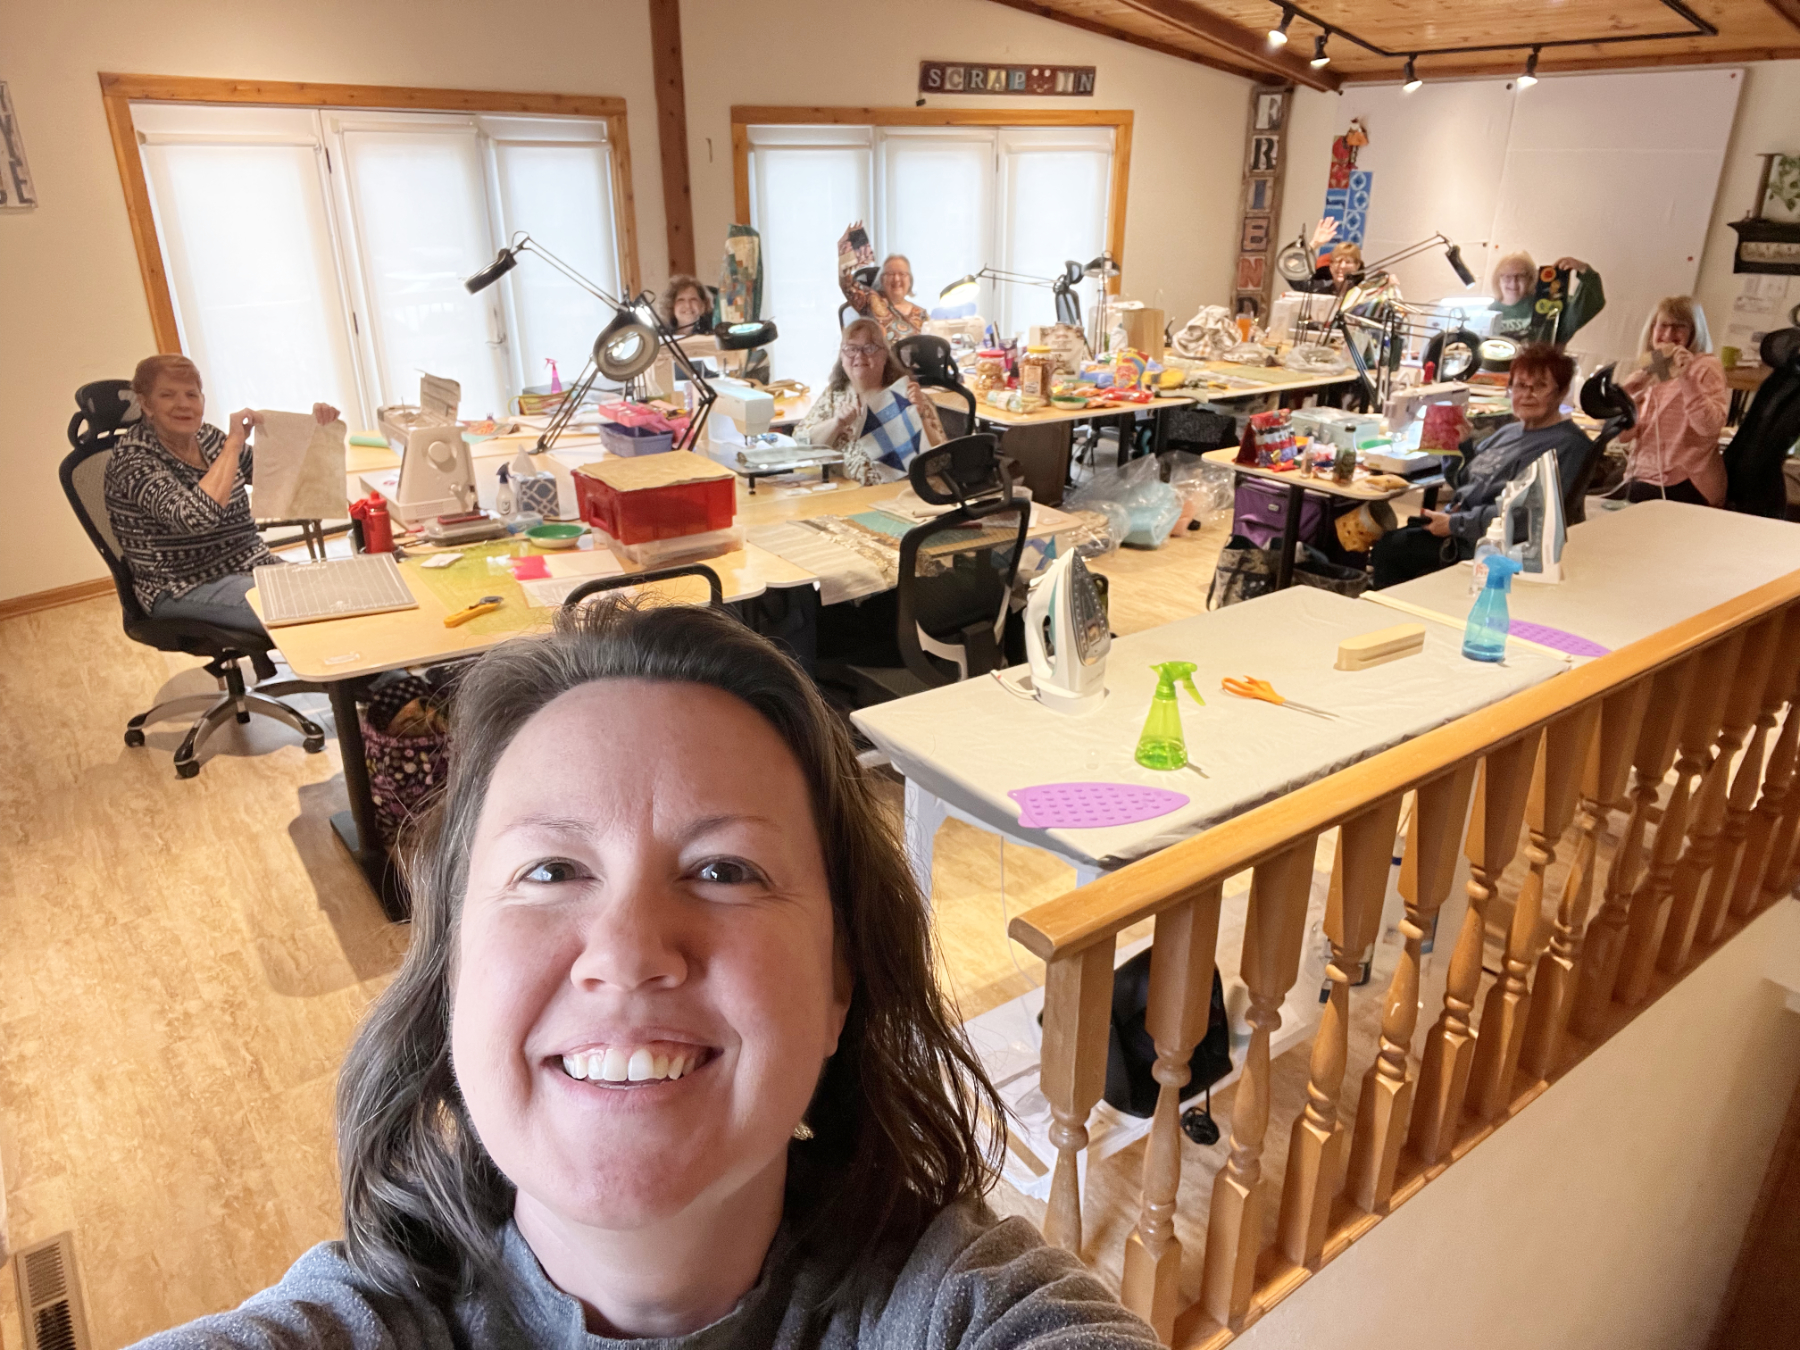
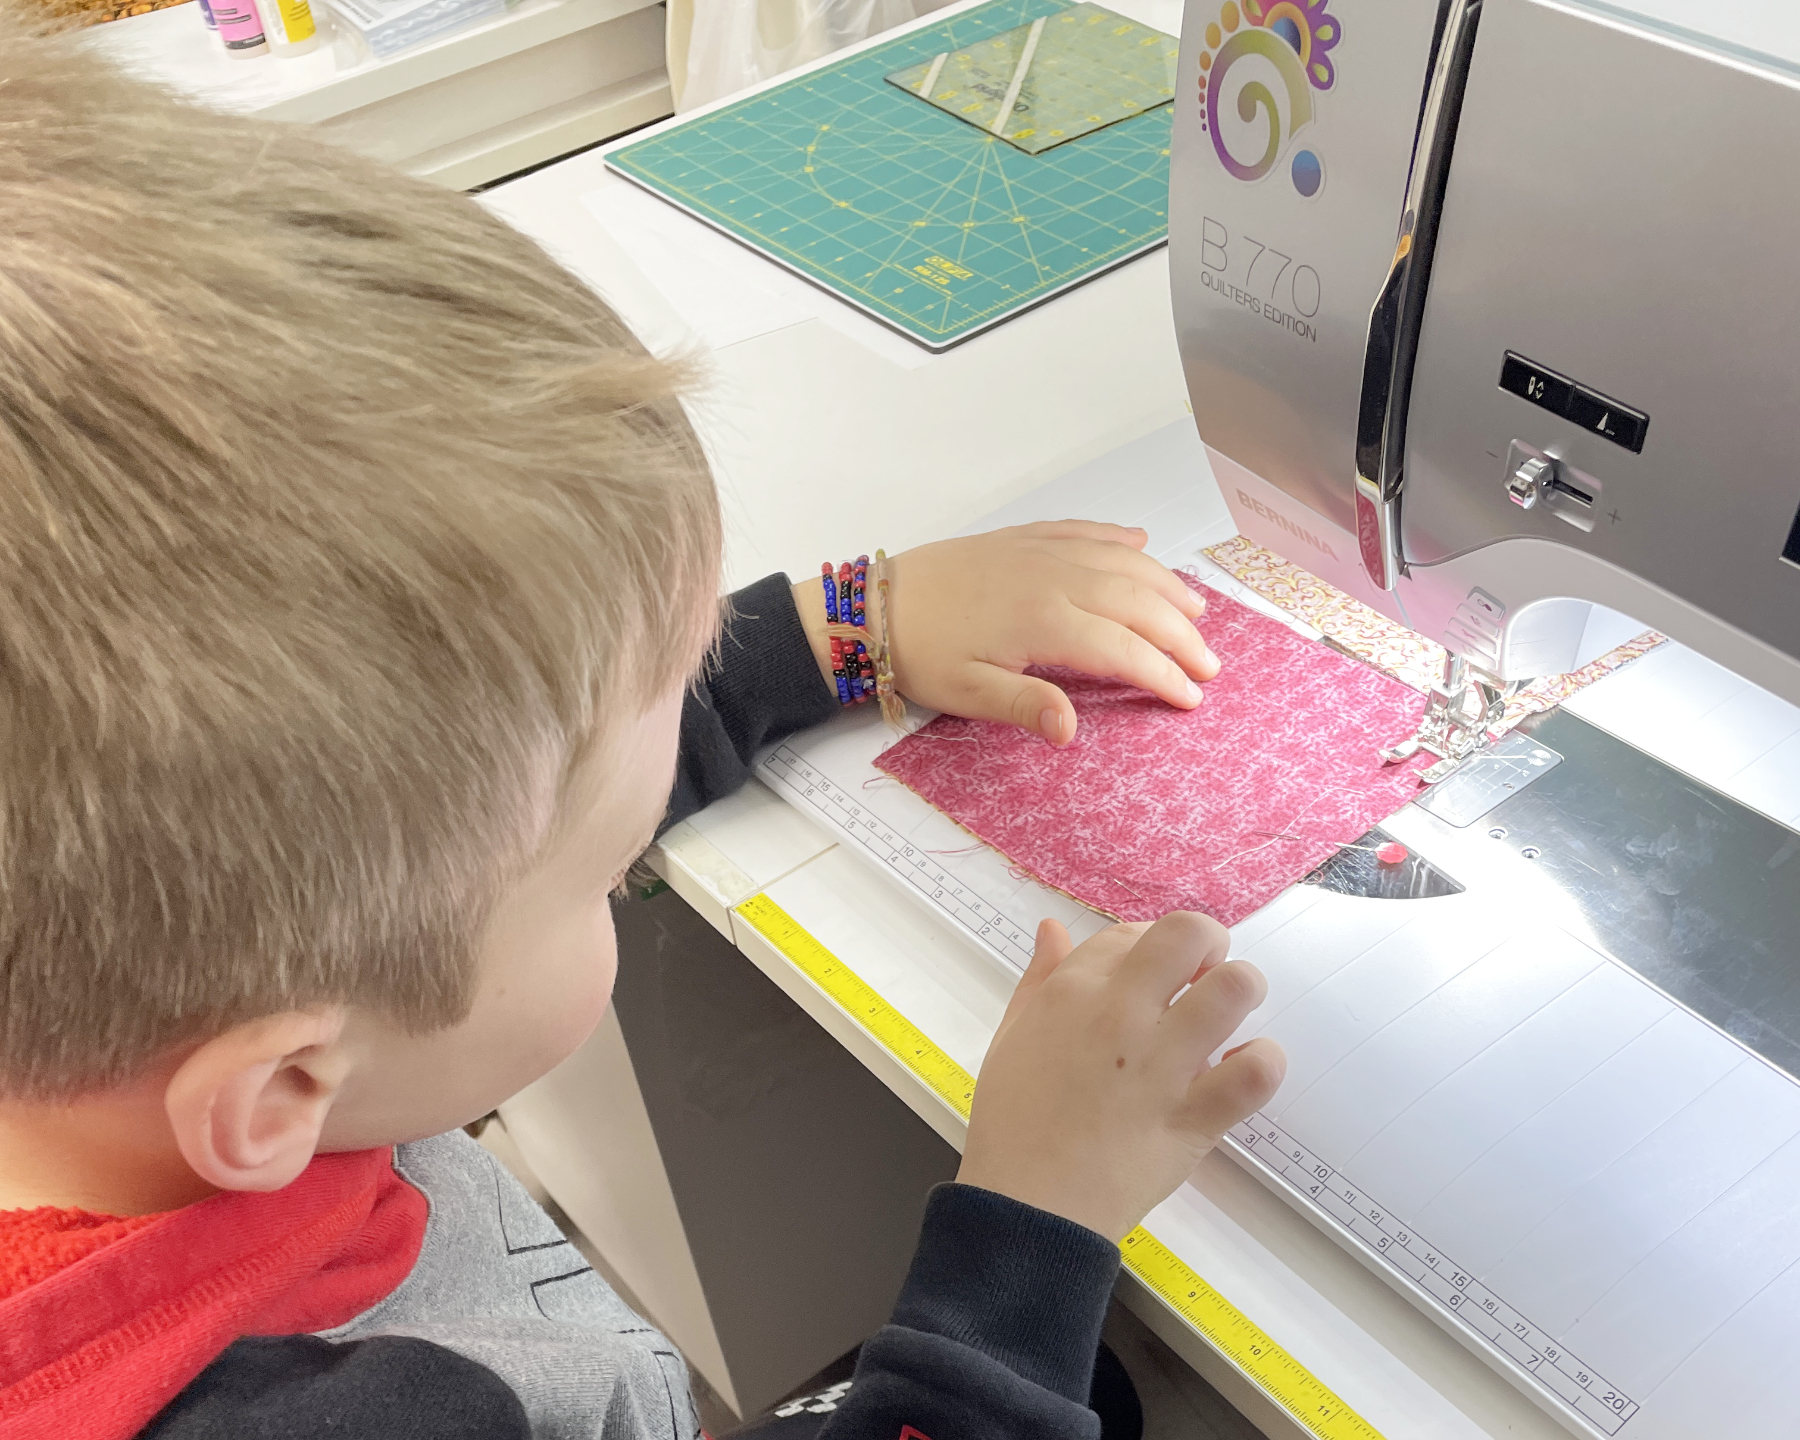
And everyone got a lot of sewing done (along with eating, talking and laughing!).

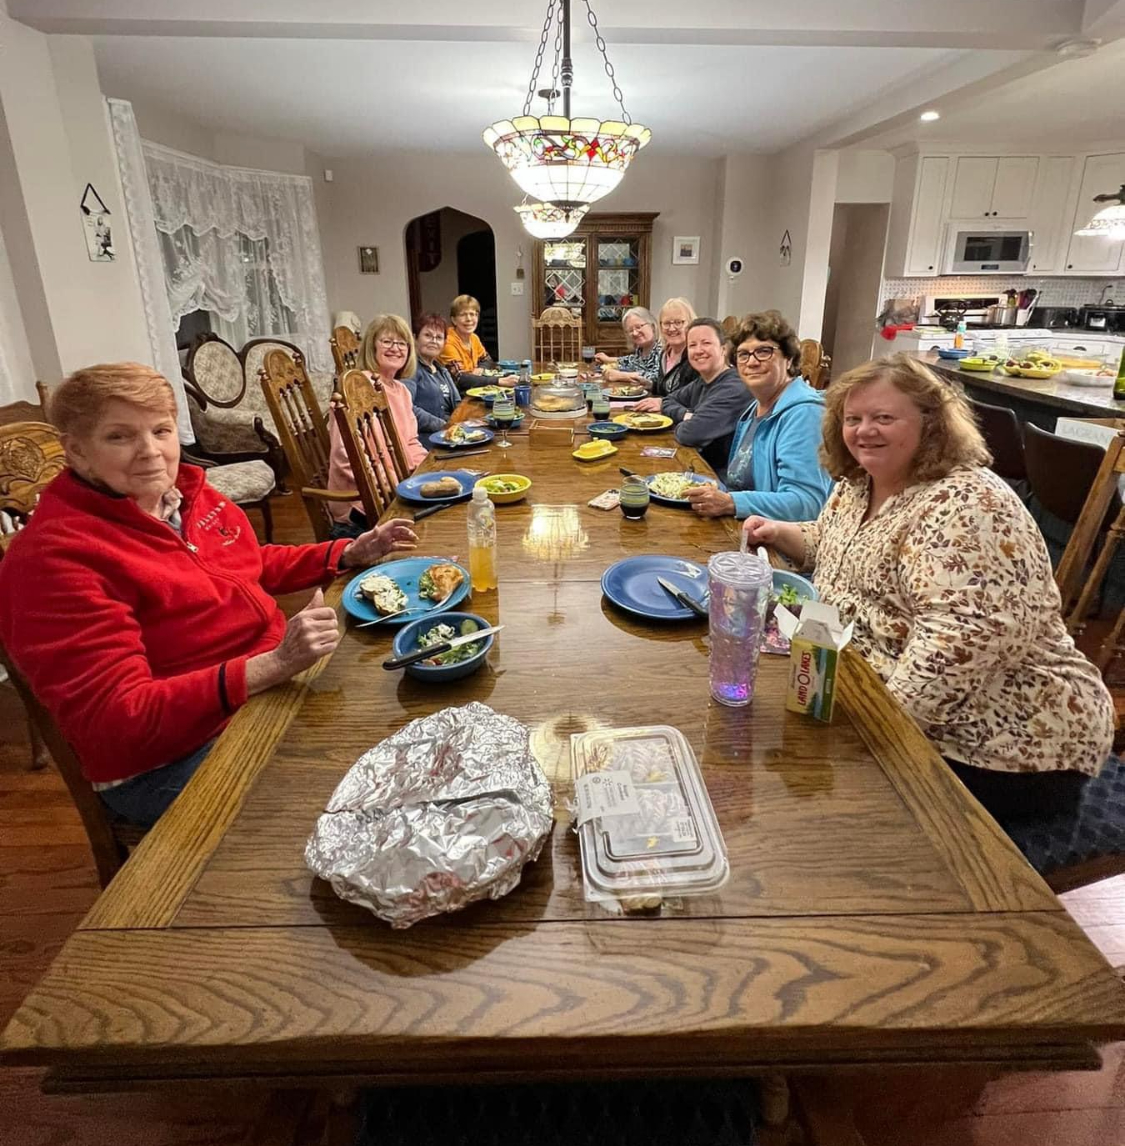
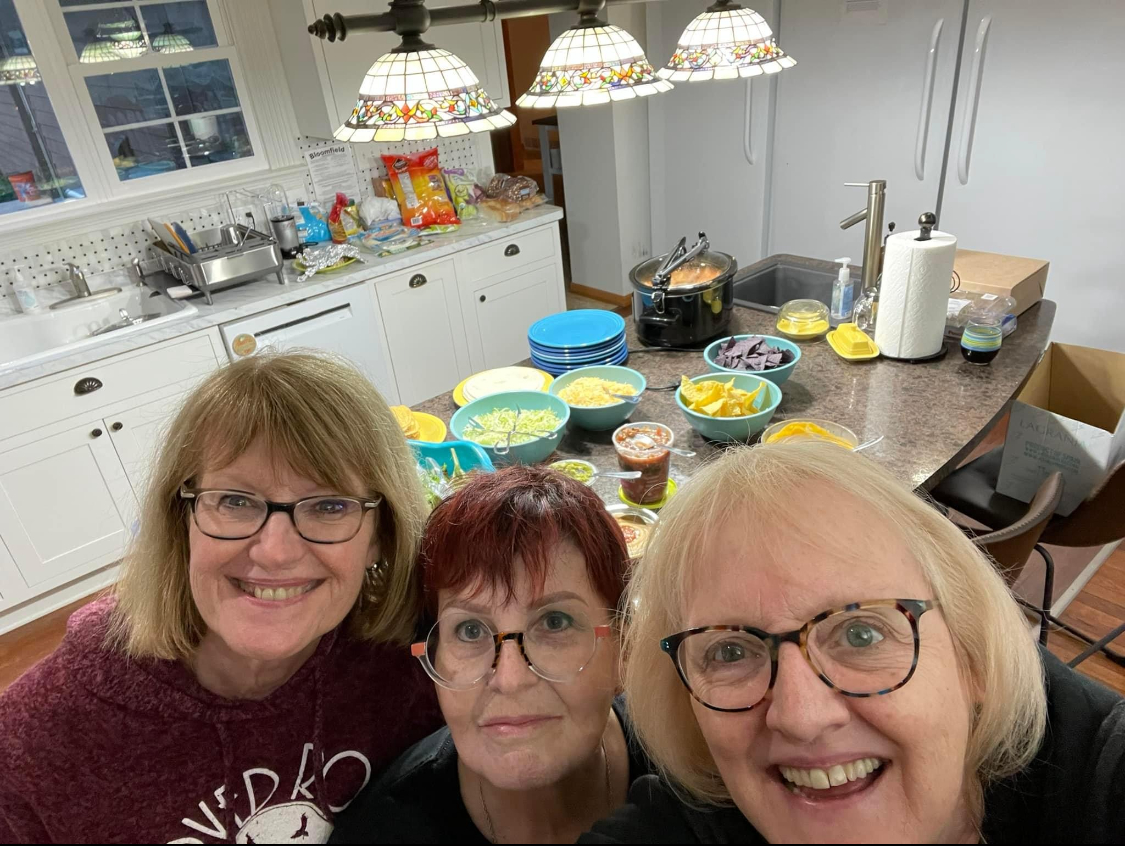
Delicious food was made by our chefs du jour each night.

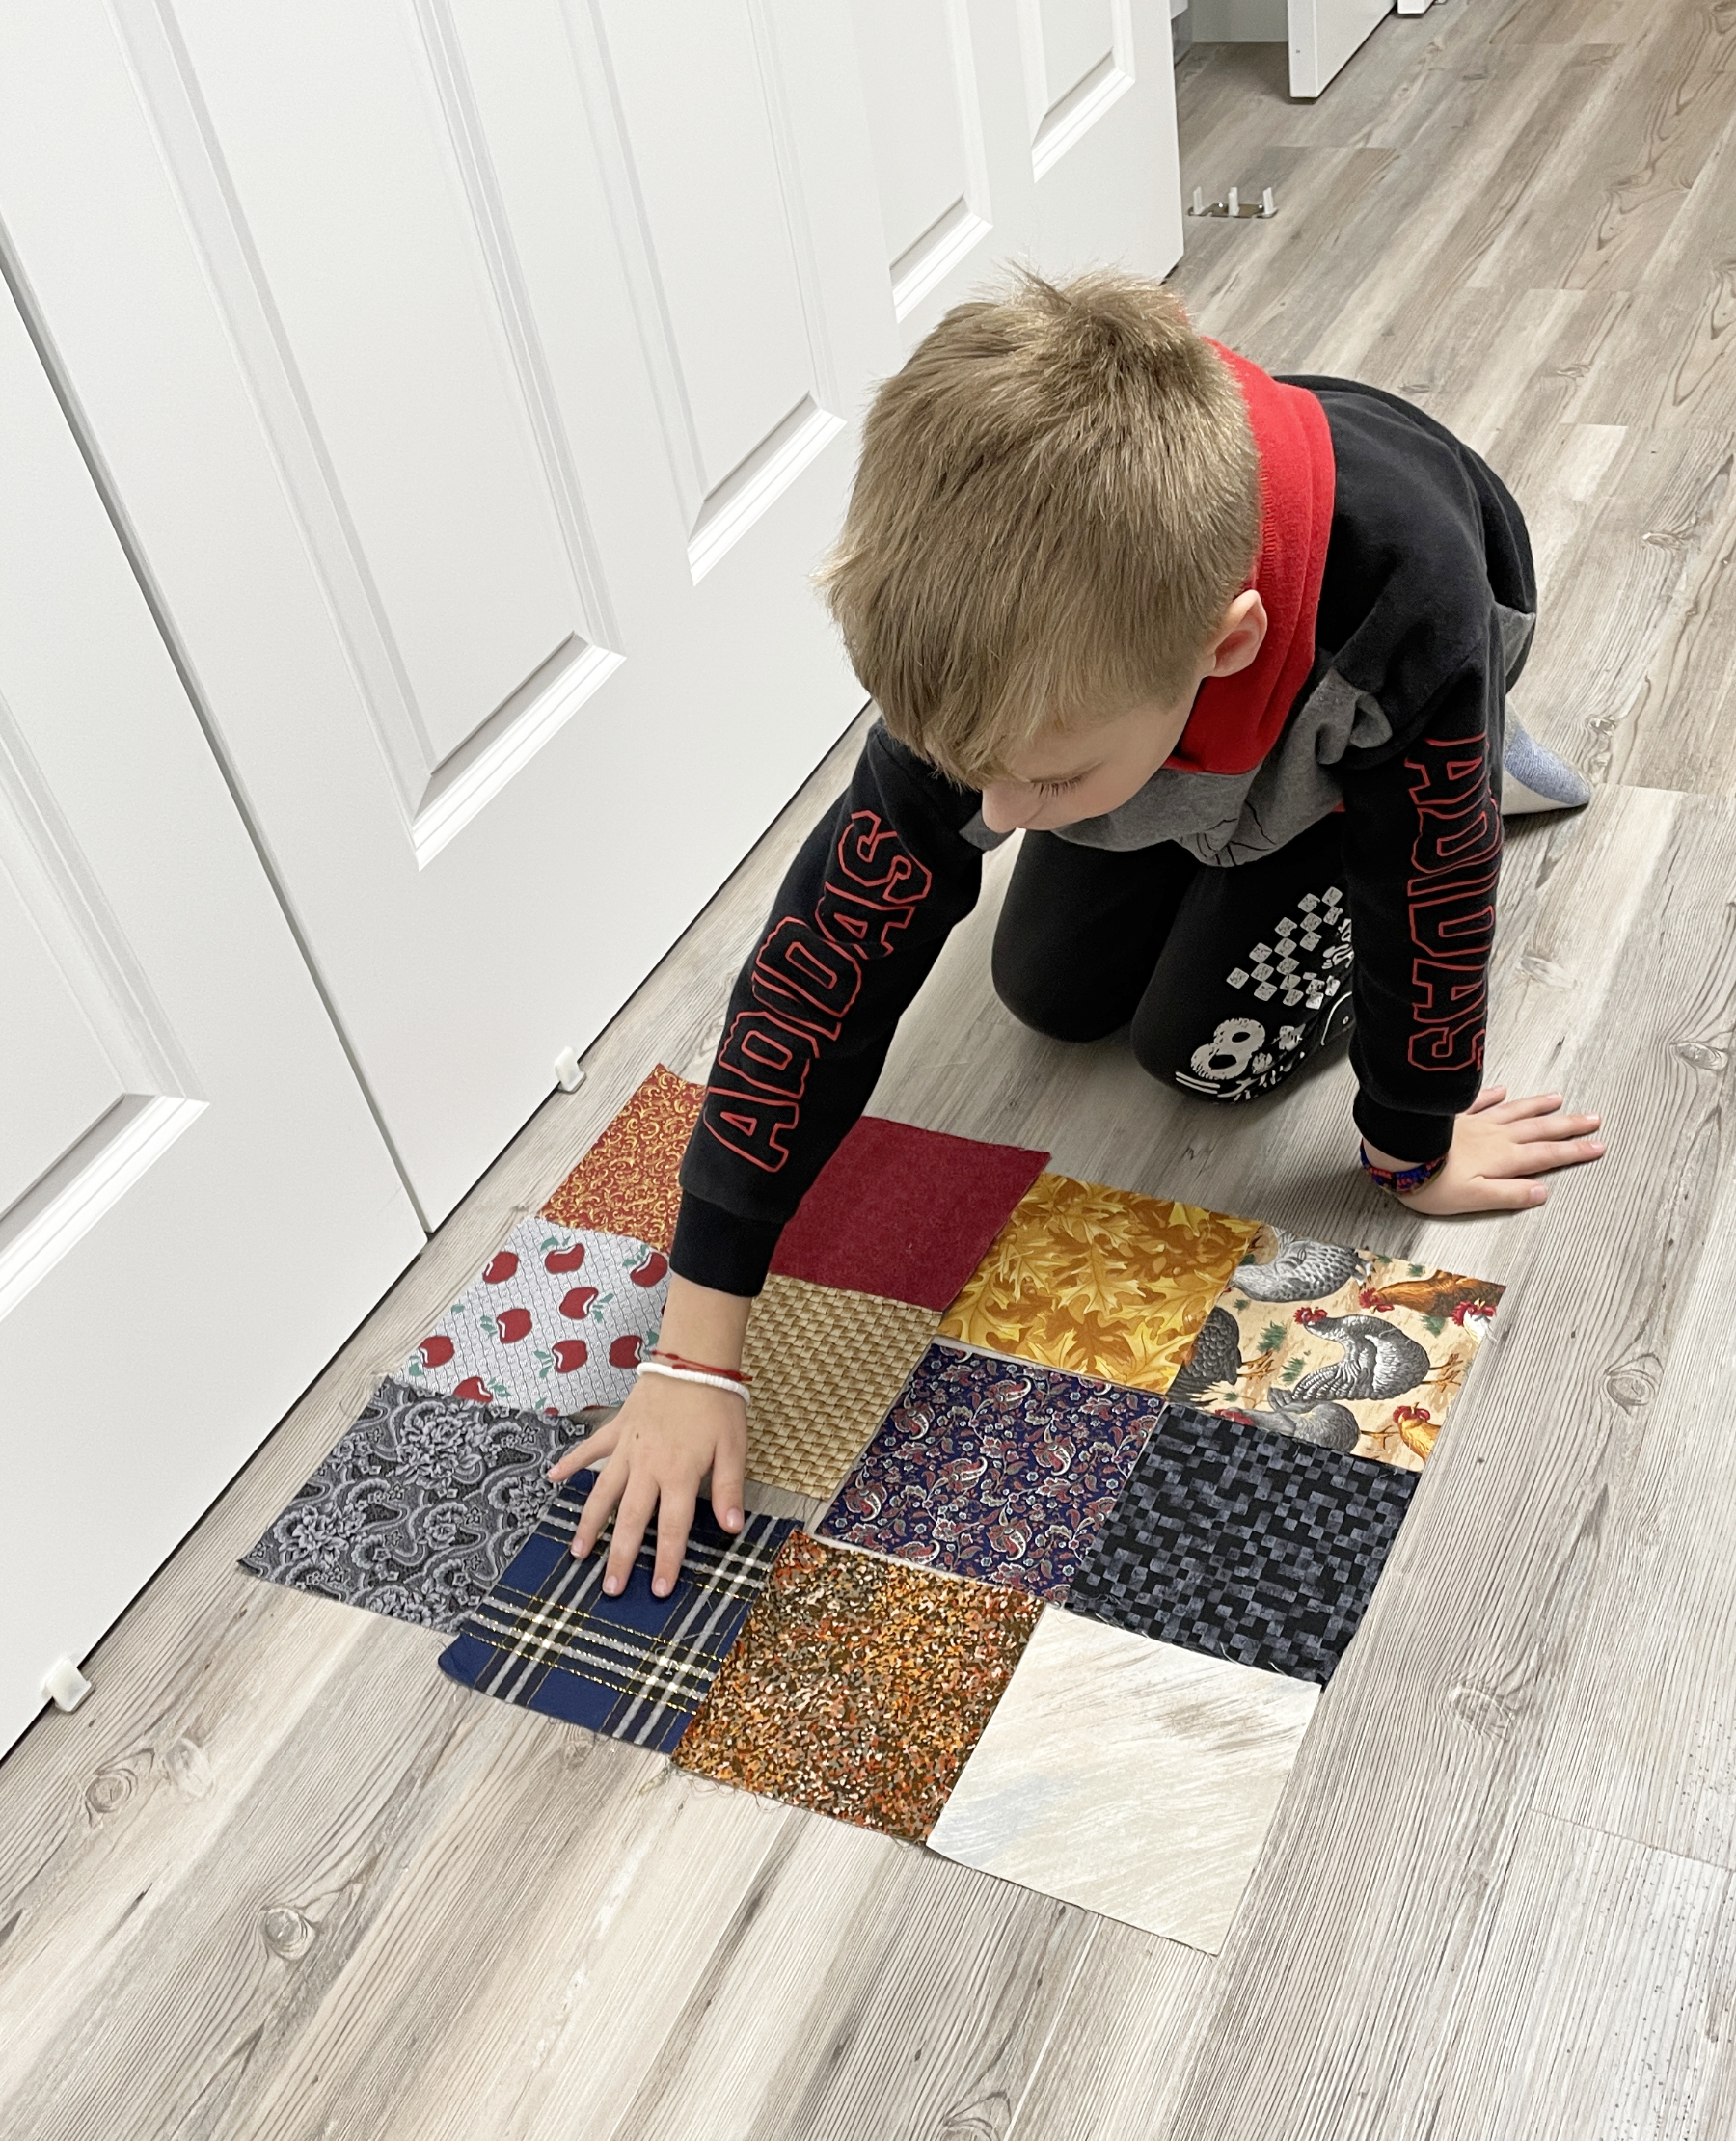
Here are just a few of the projects:

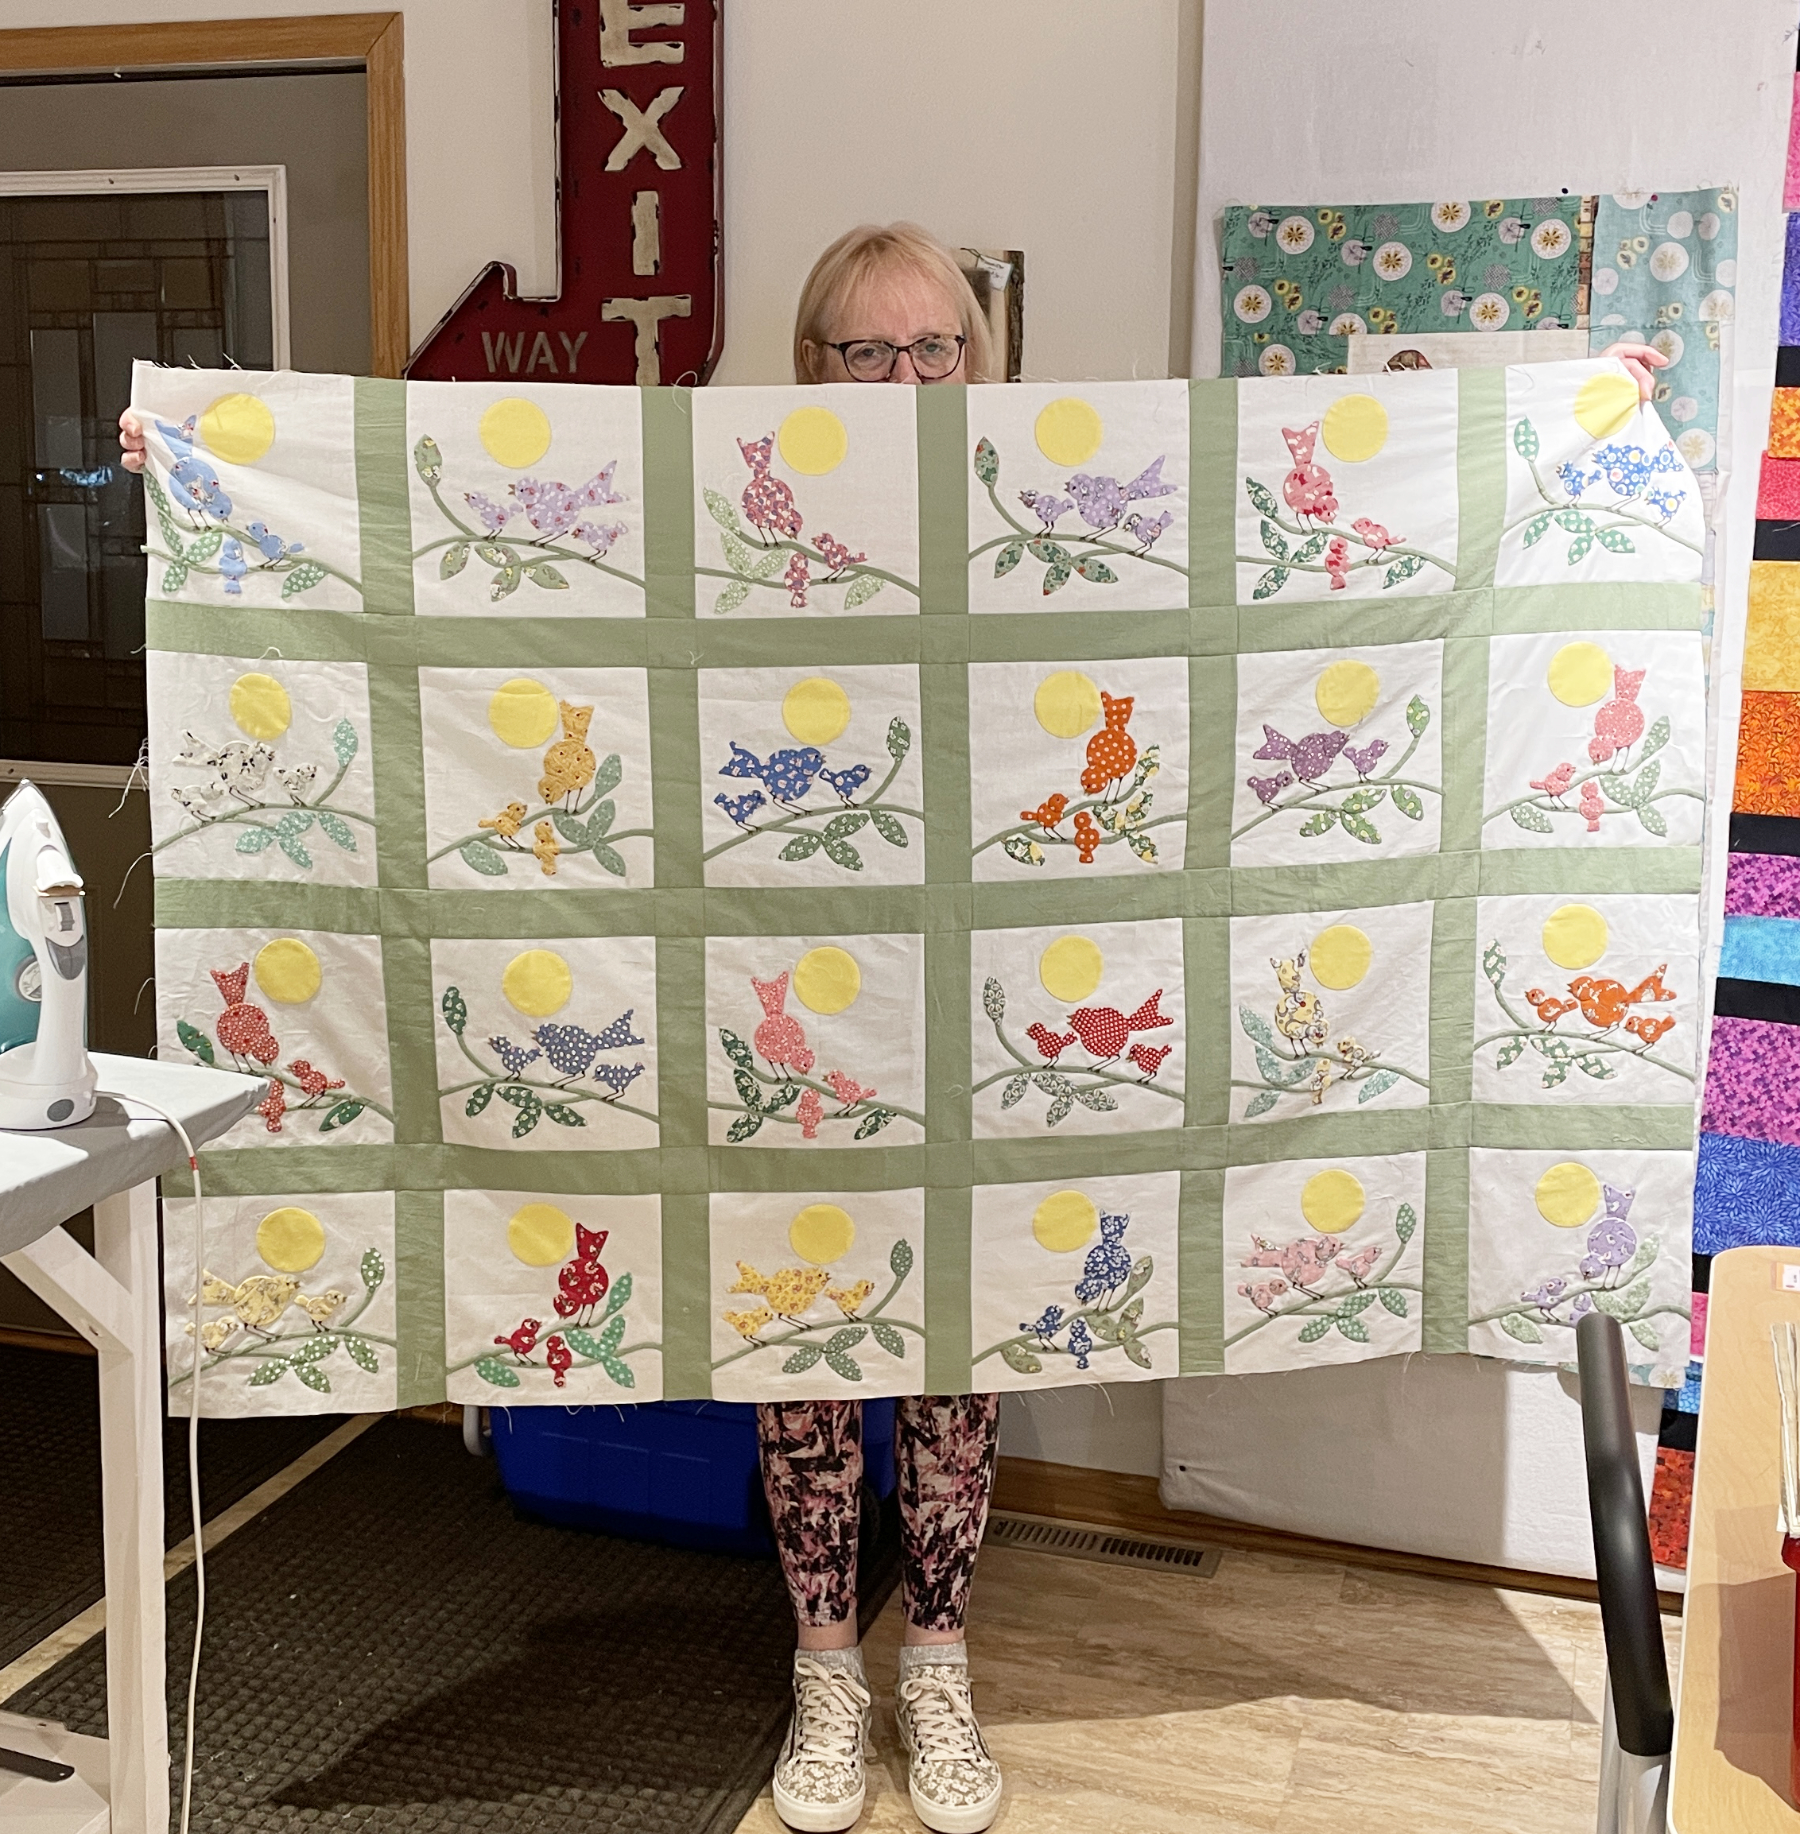
Kathy’s chicks – only one more row to go!

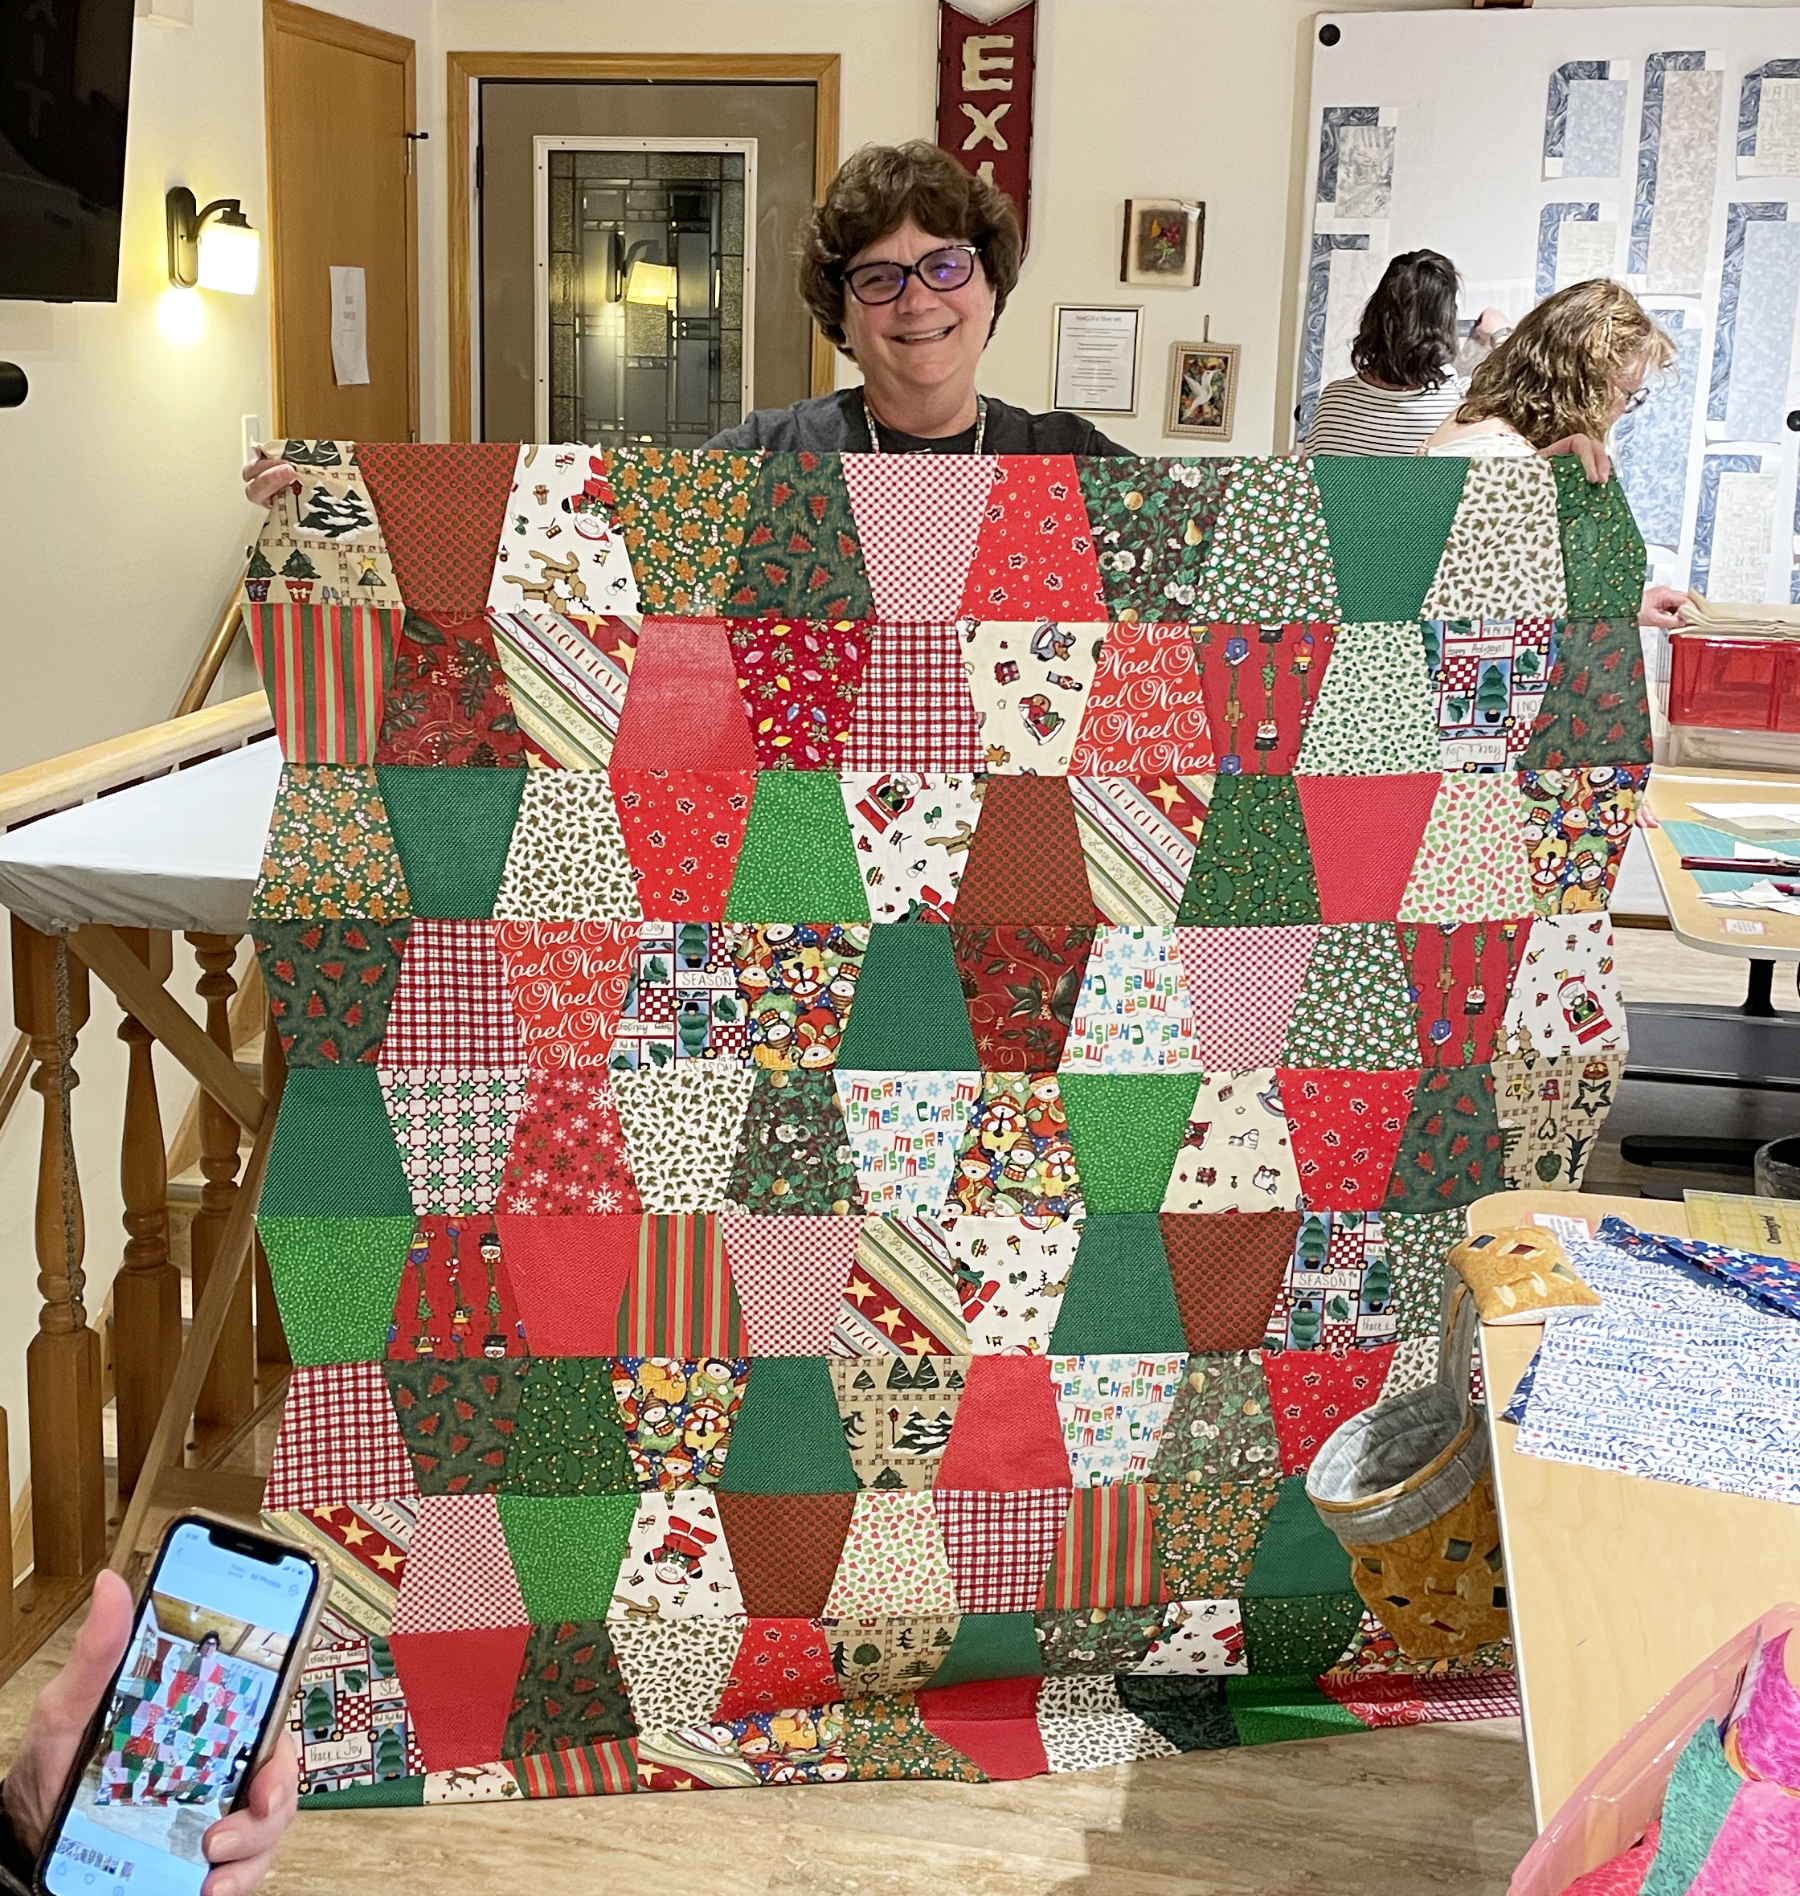
Becky’s Christmas tumblers:

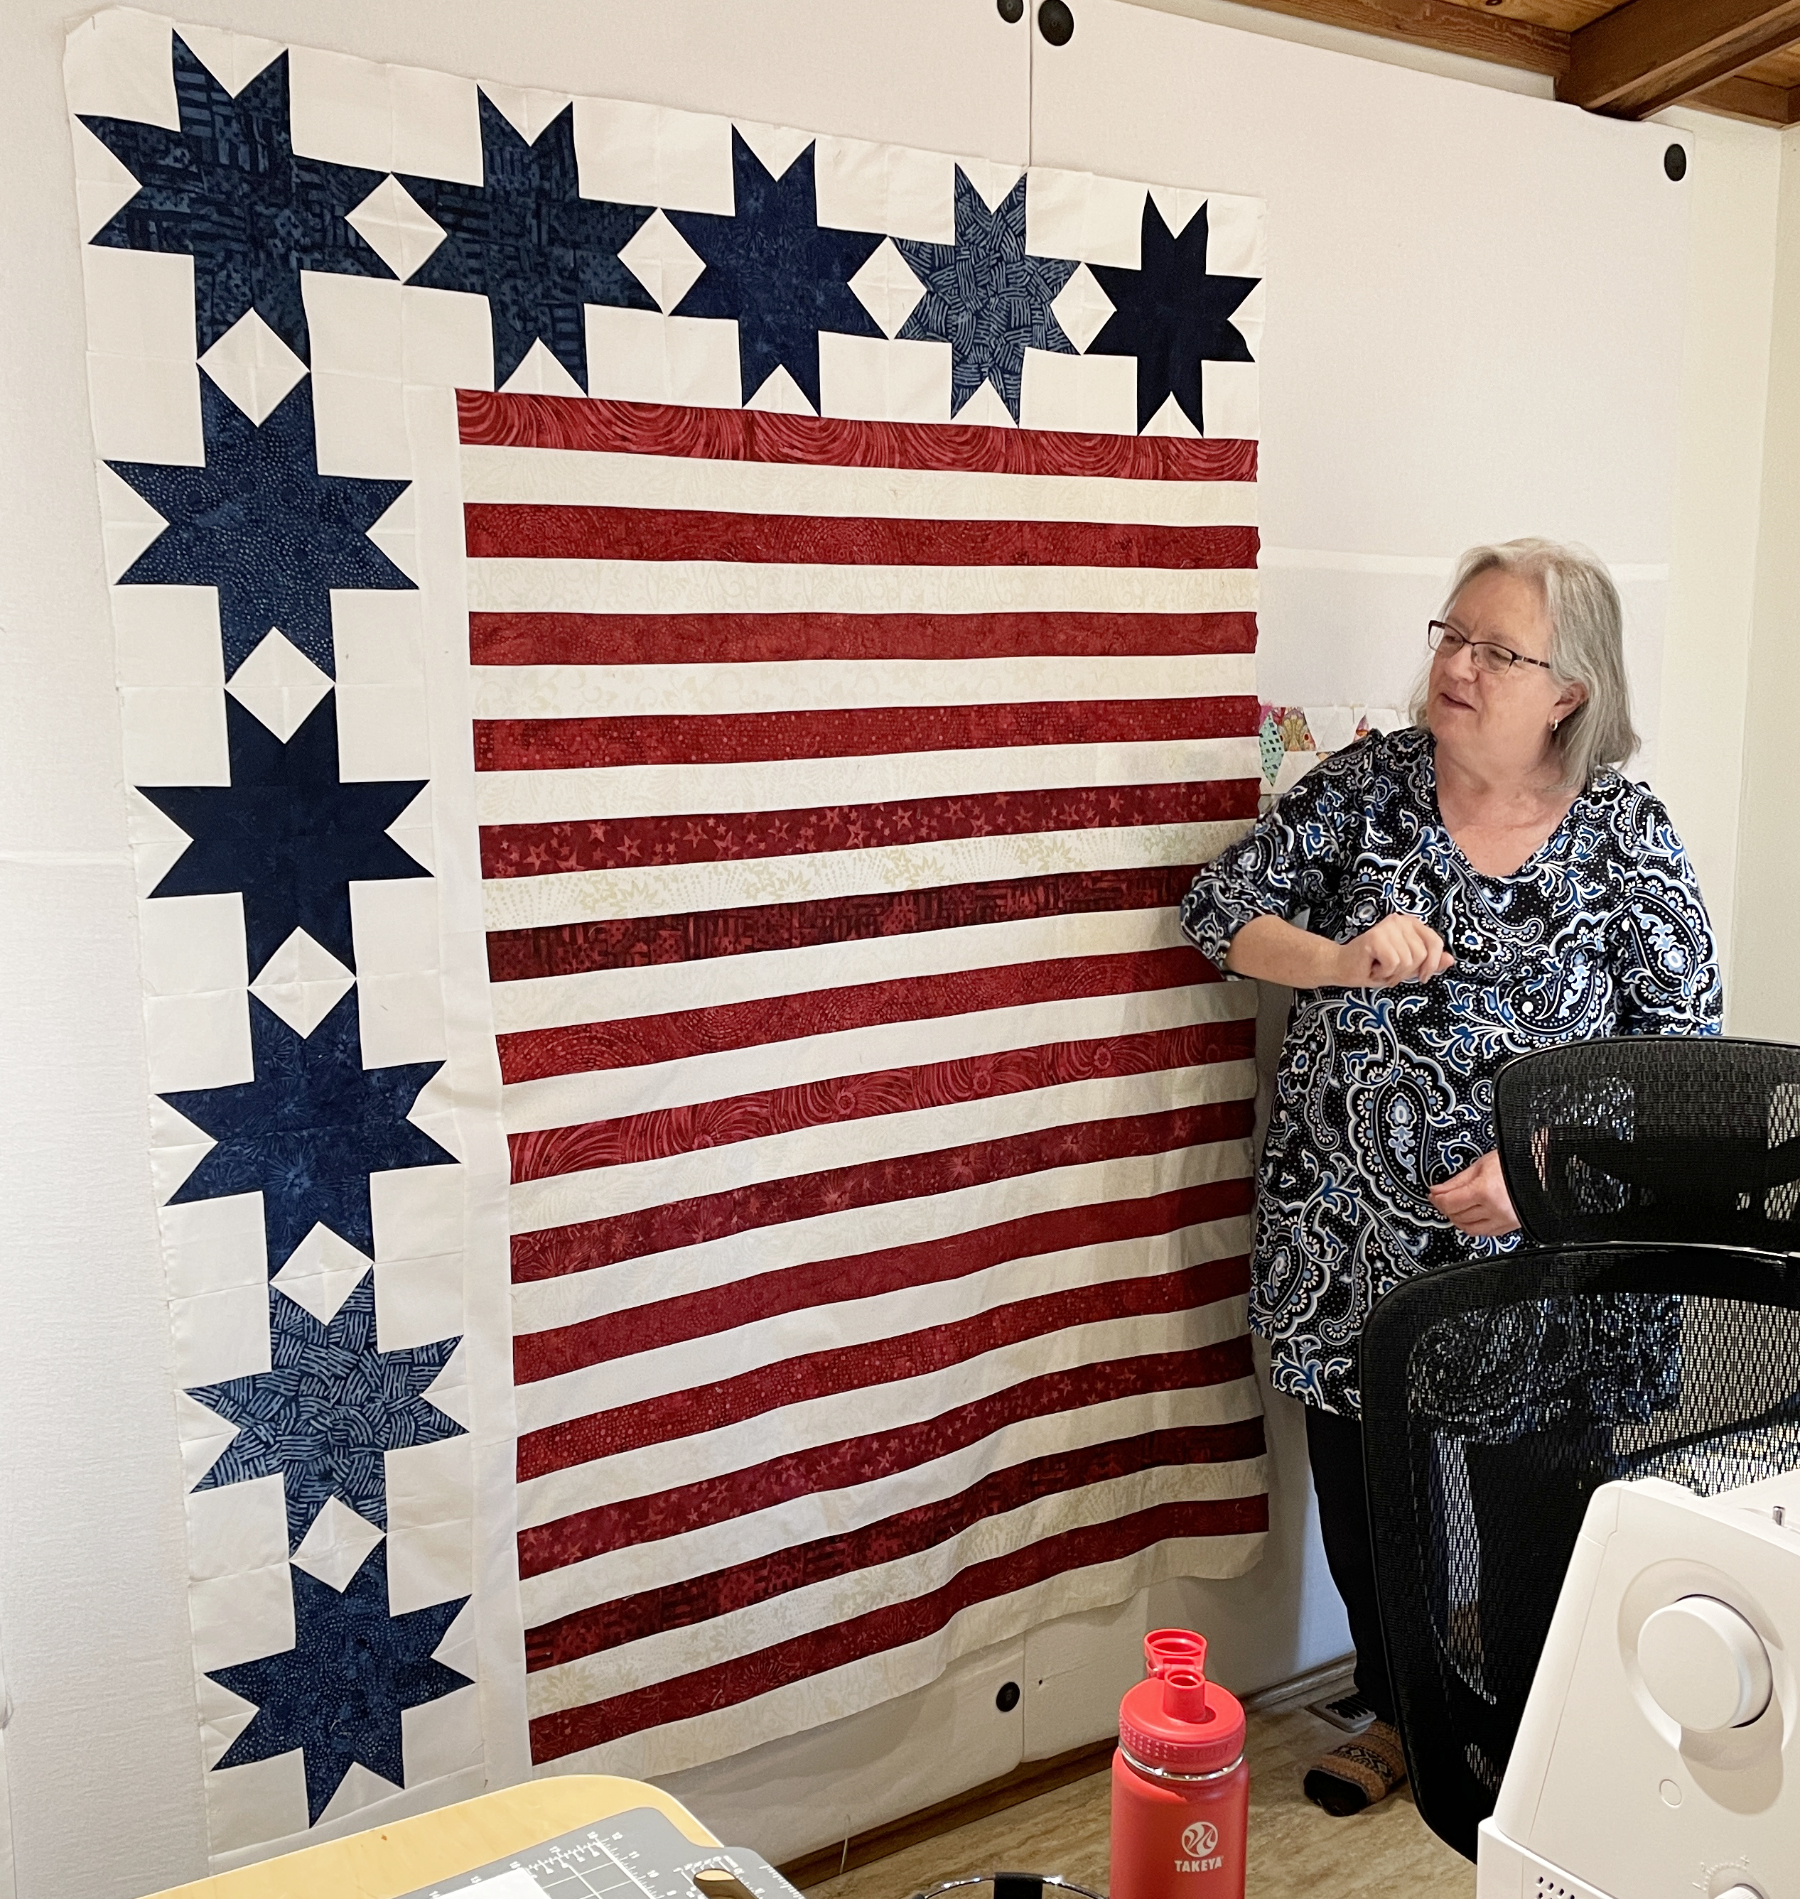
One of Brenda’s Quilts of Valor:

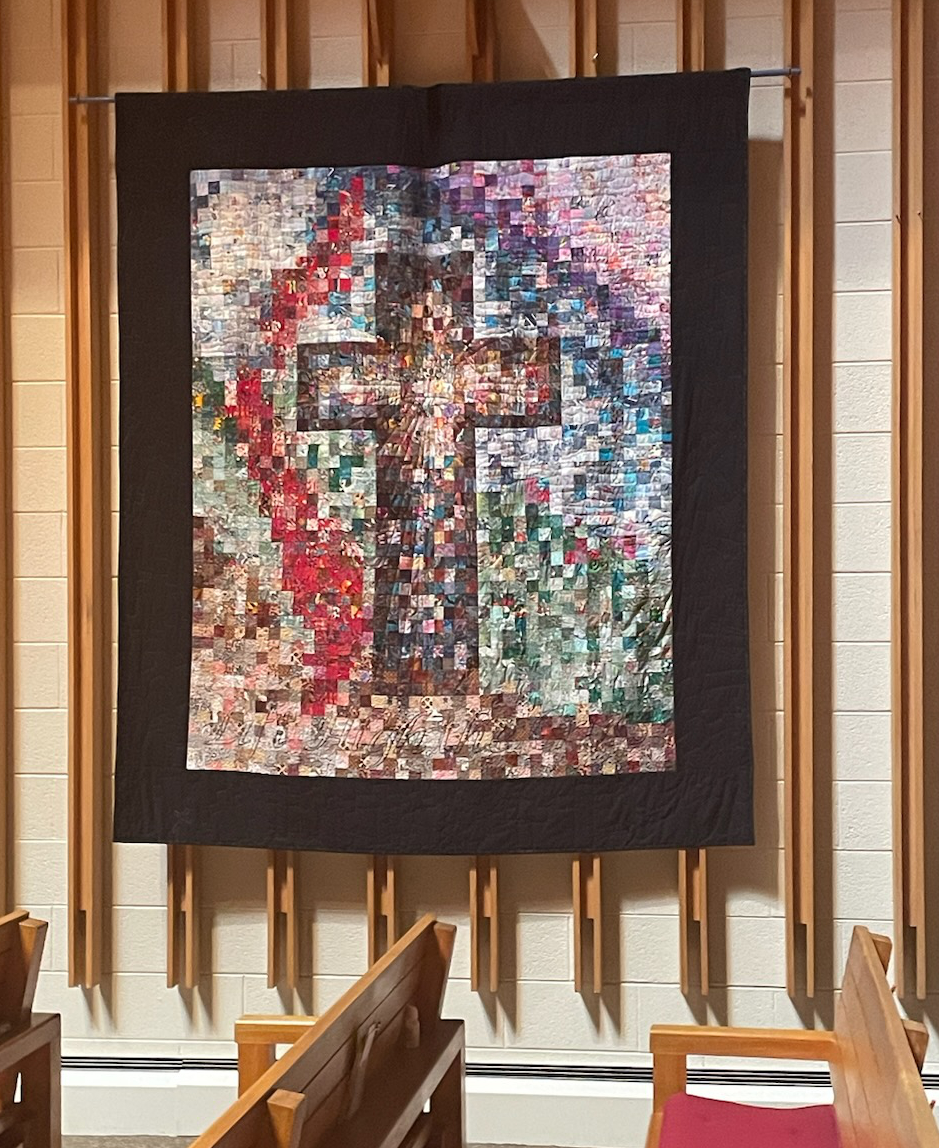
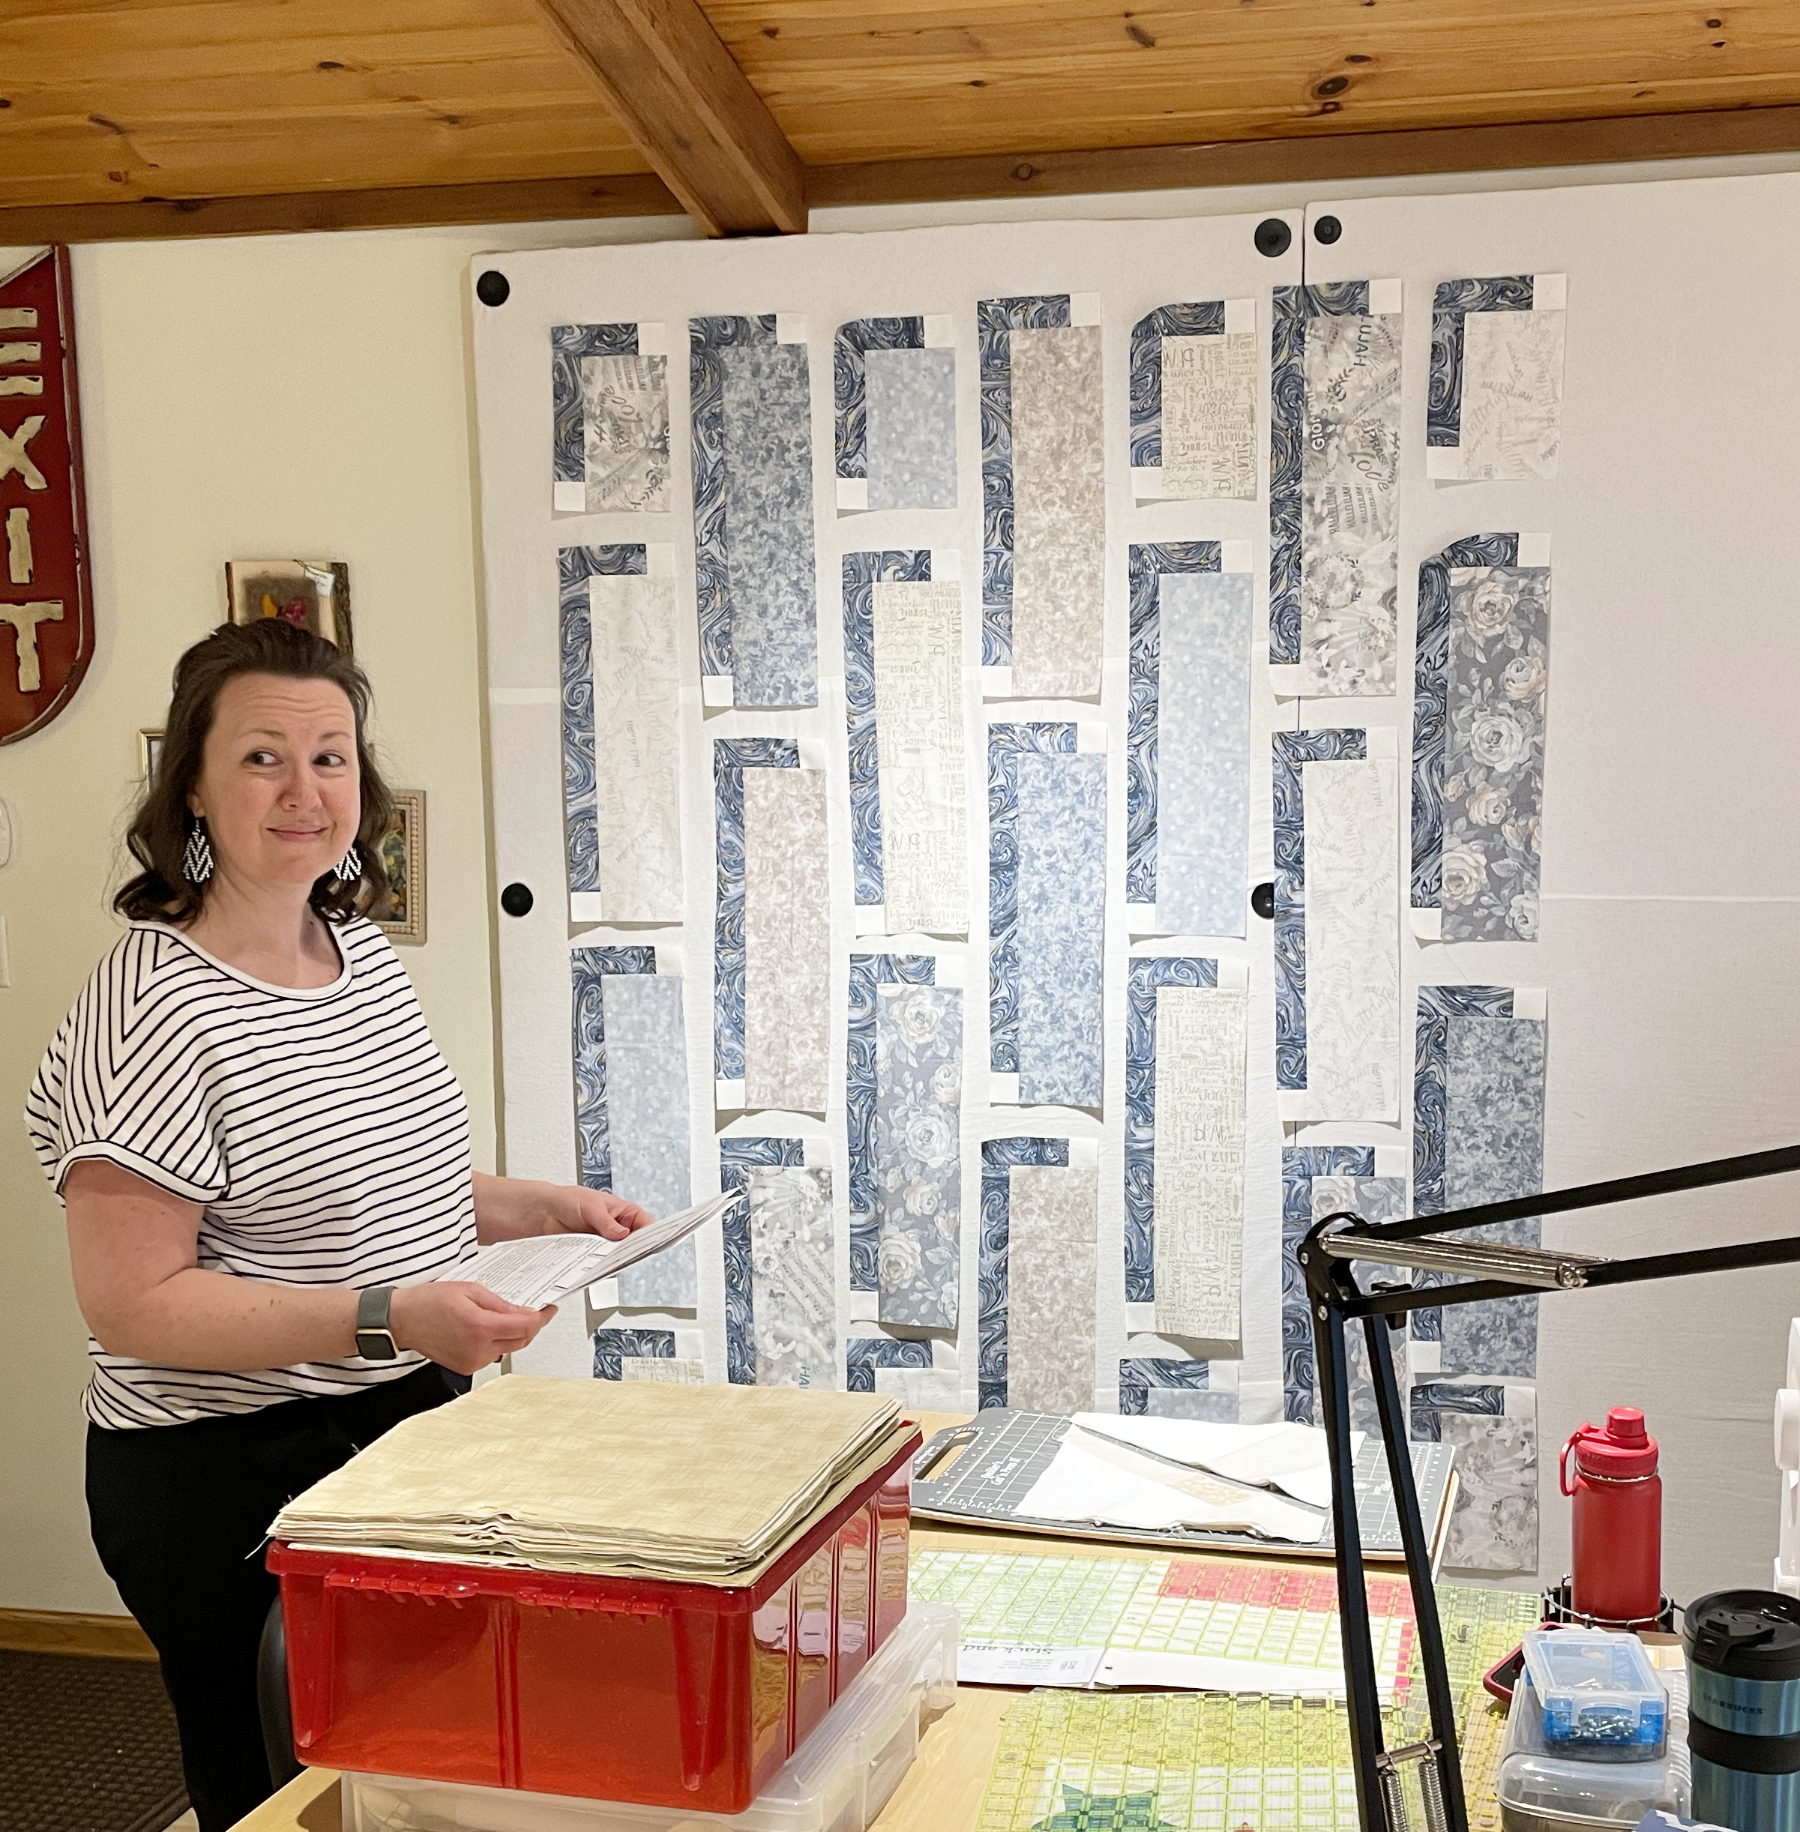
And her daughter Liz made a great “shadow” quilt (I’ll be doing a class on adding shadows to quilts in Paducah next month!)

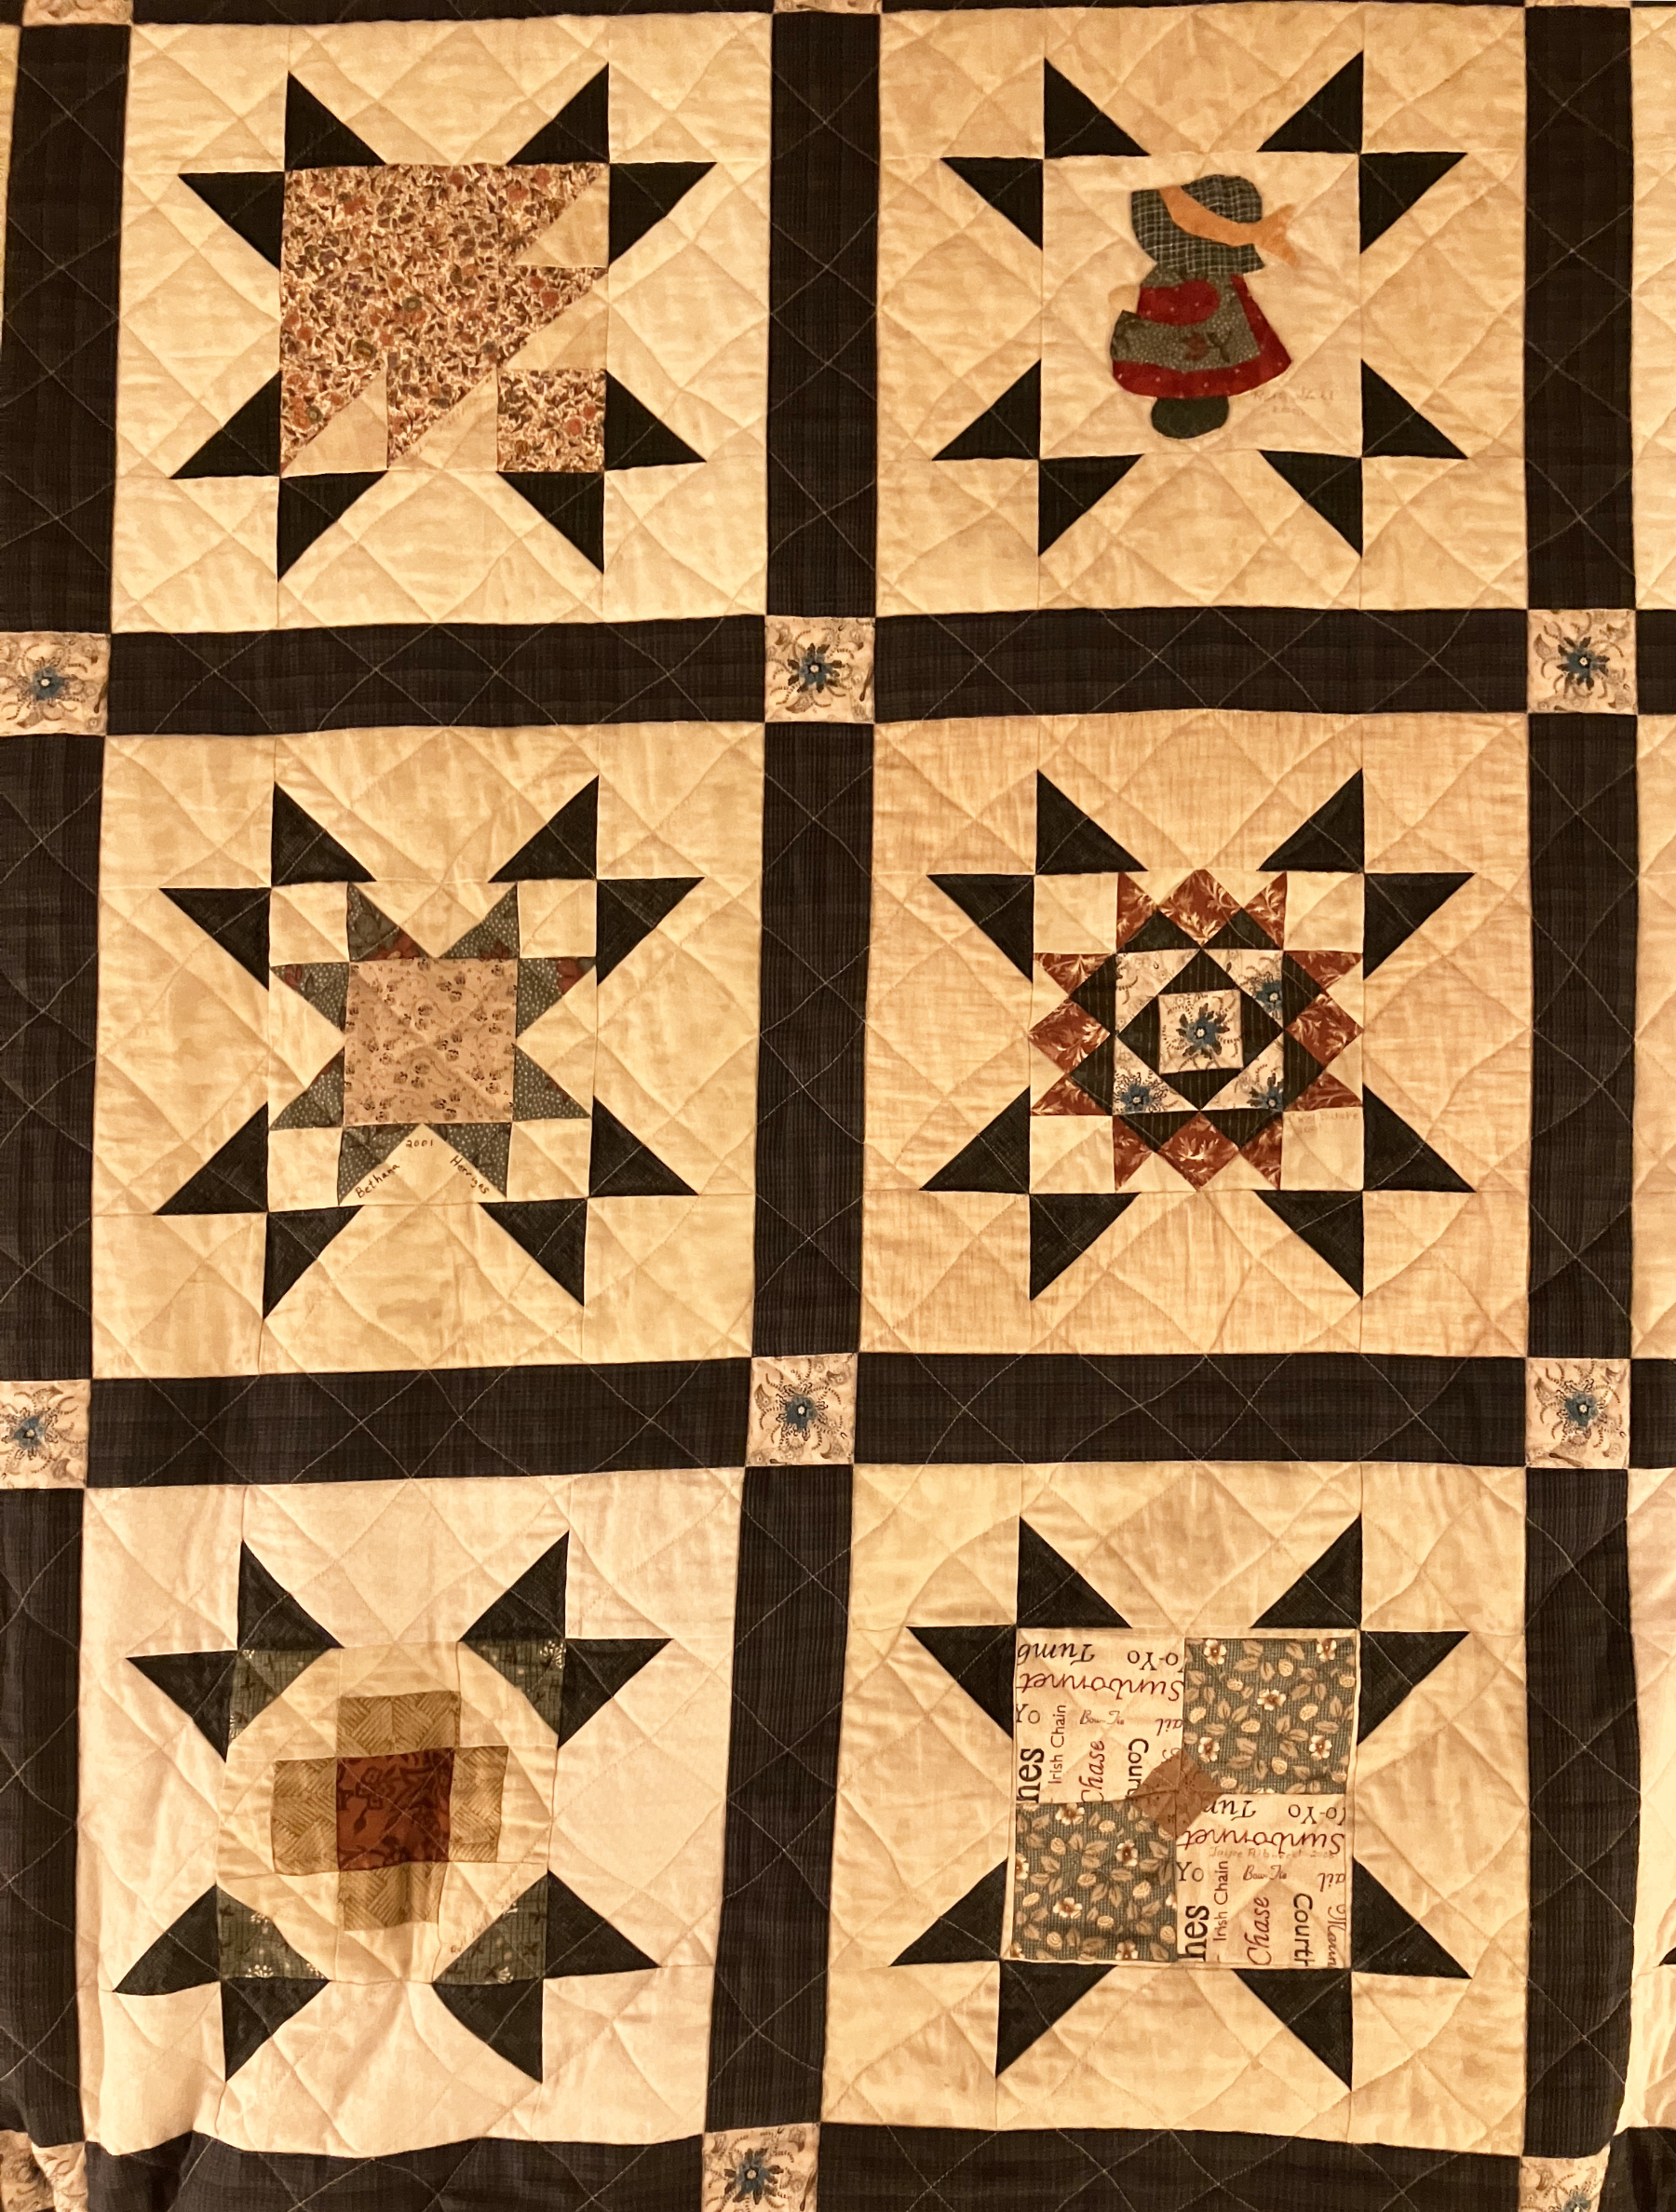
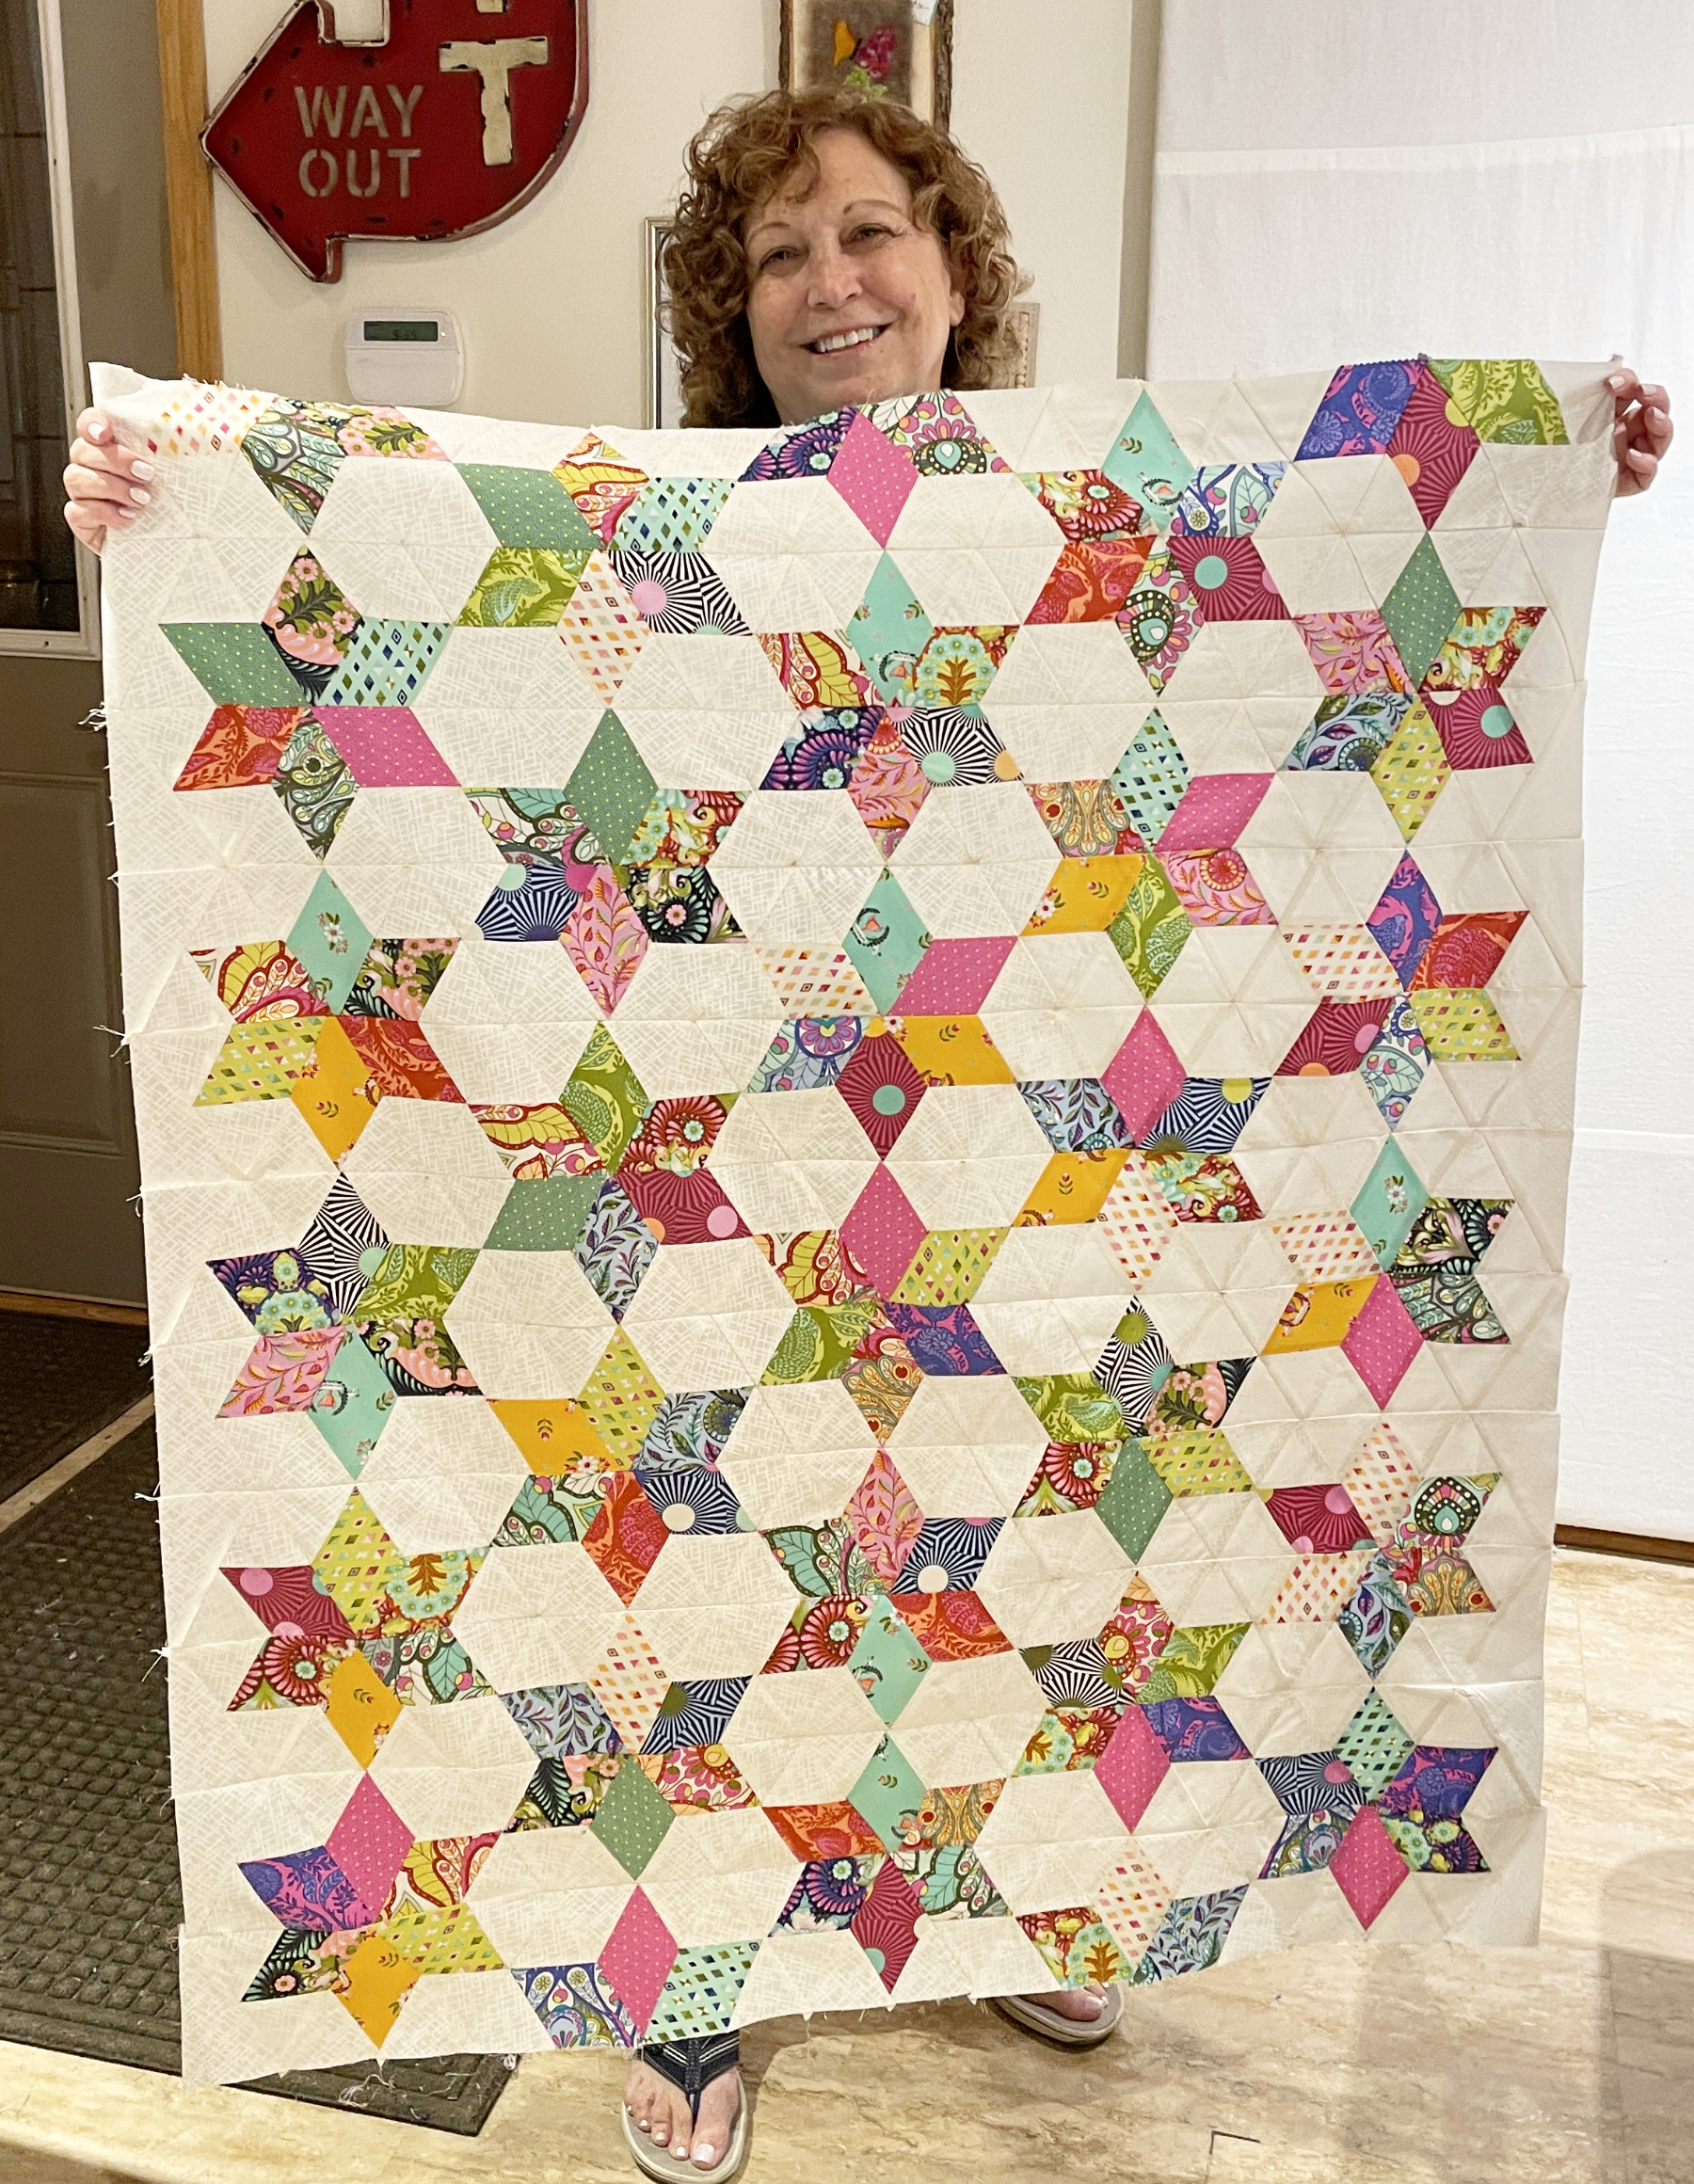
Kathy K’s diamond stars crib quilt:

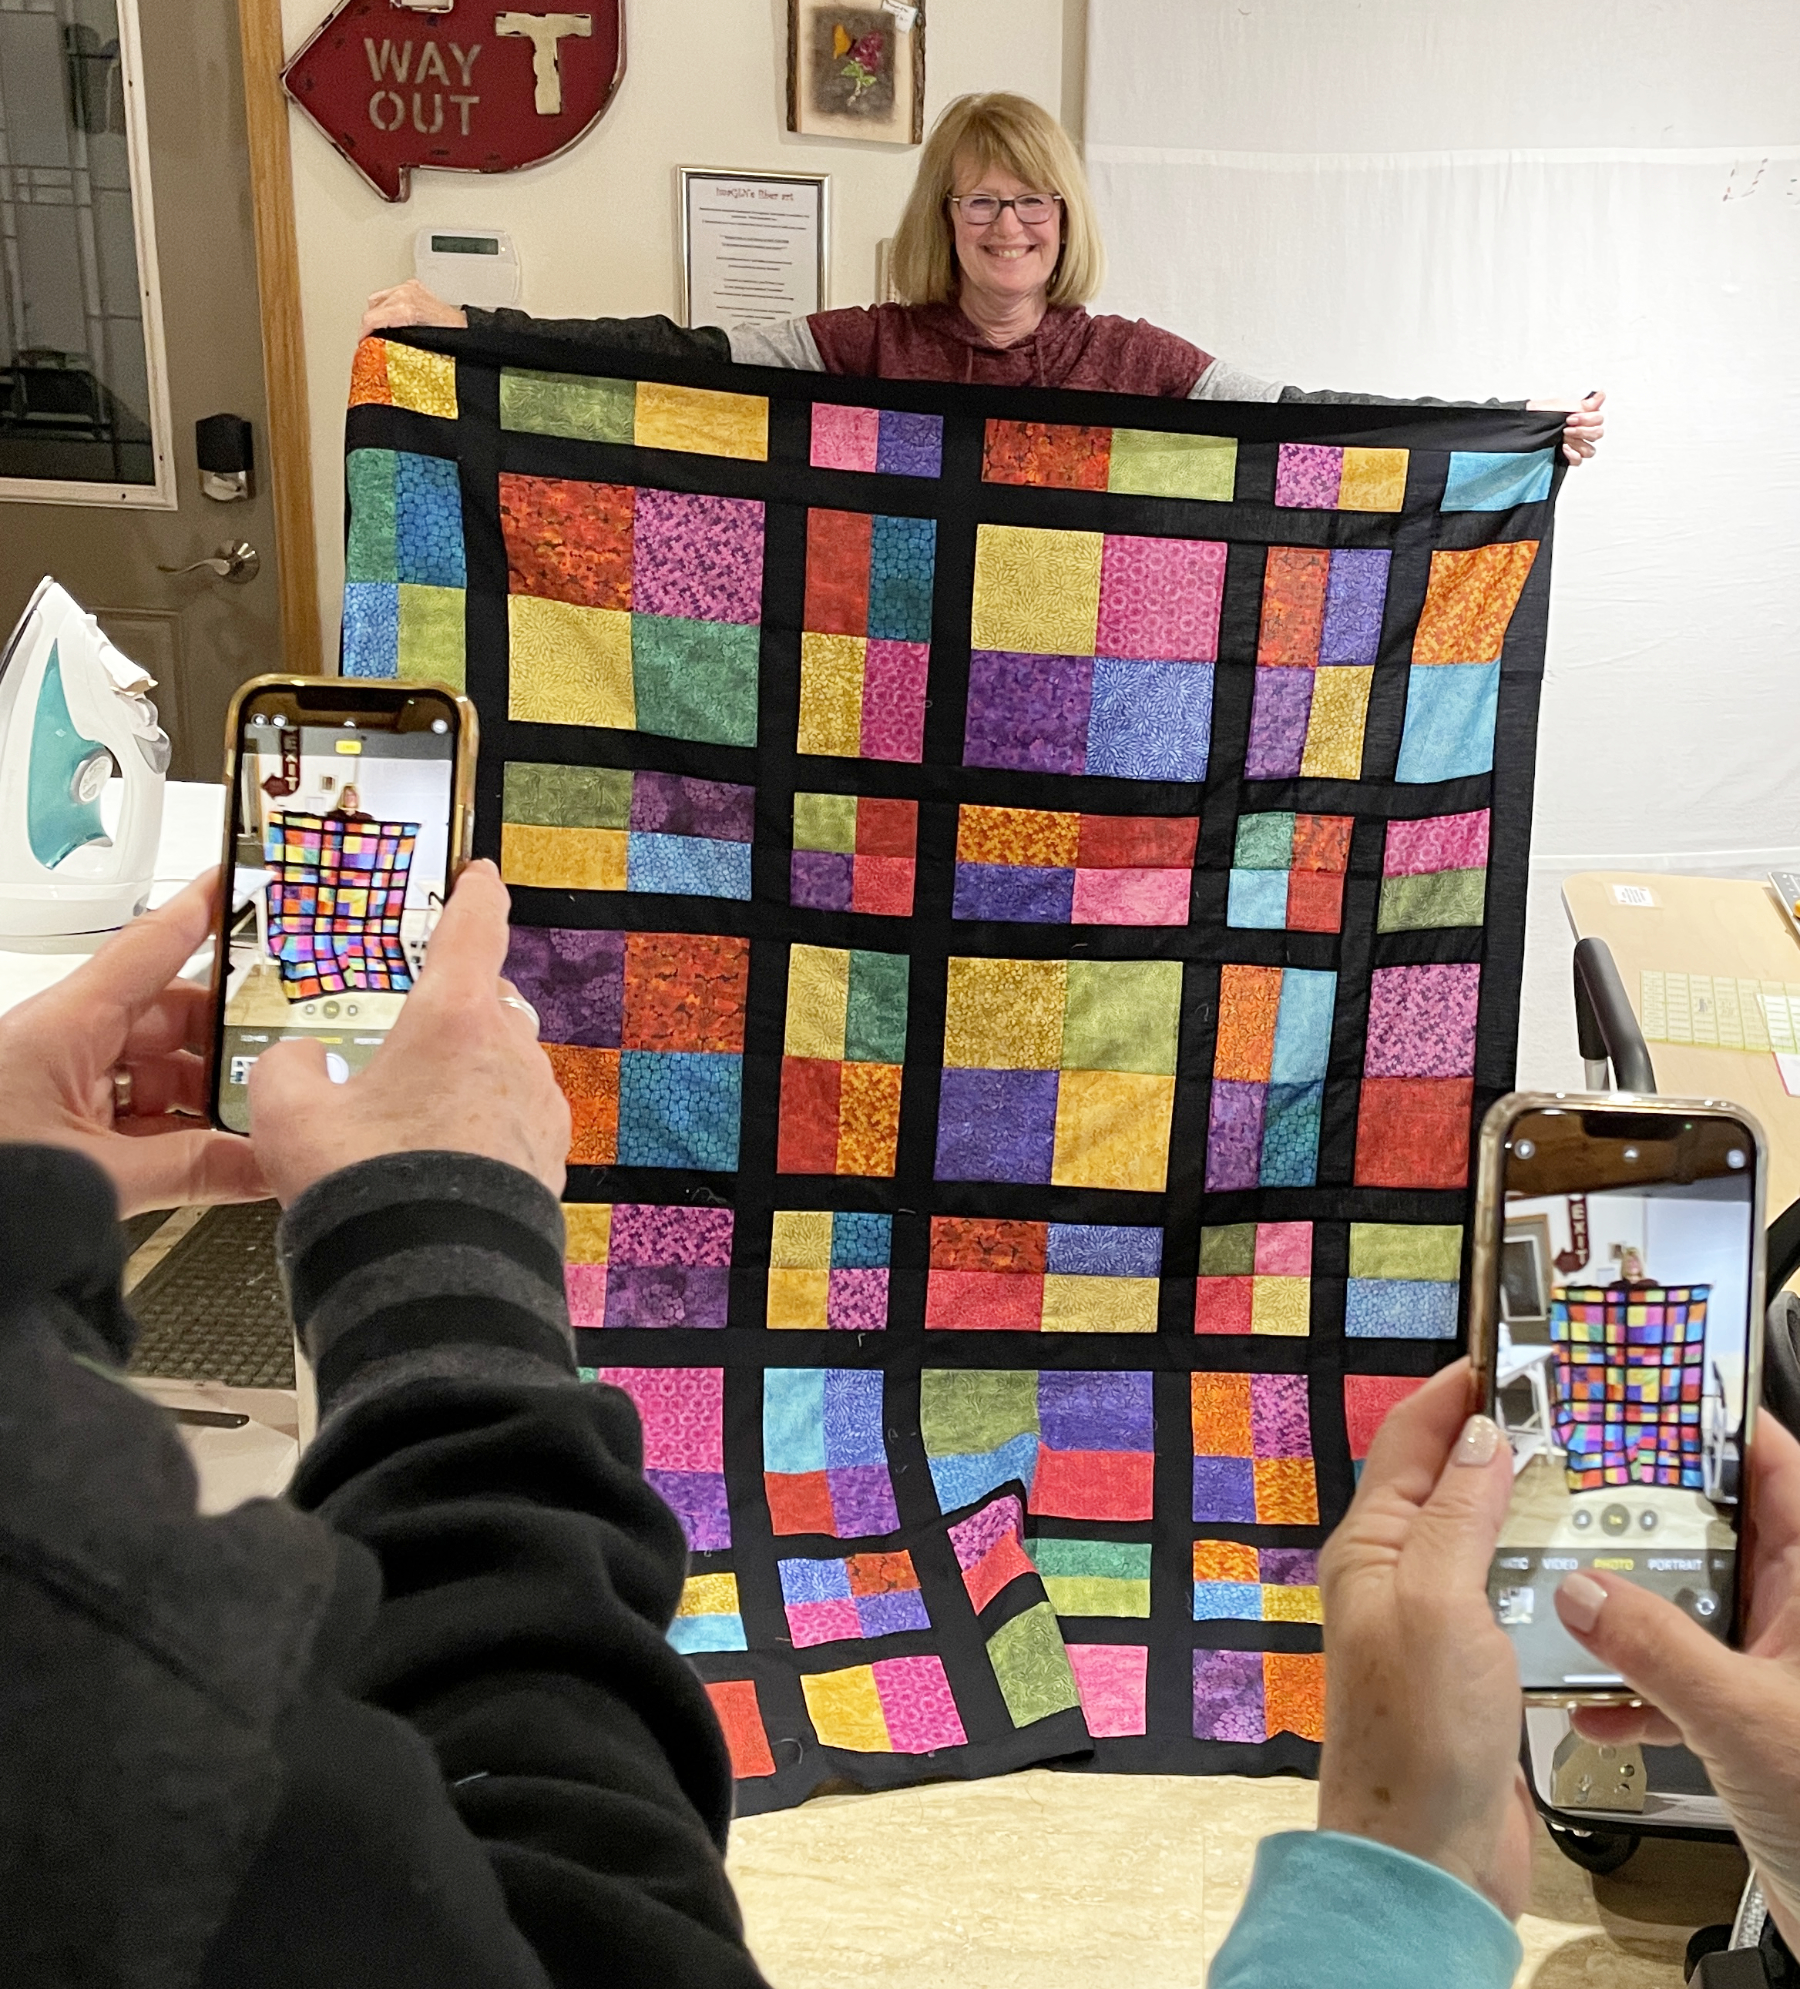
And Sandy completed a bright and colorful top:

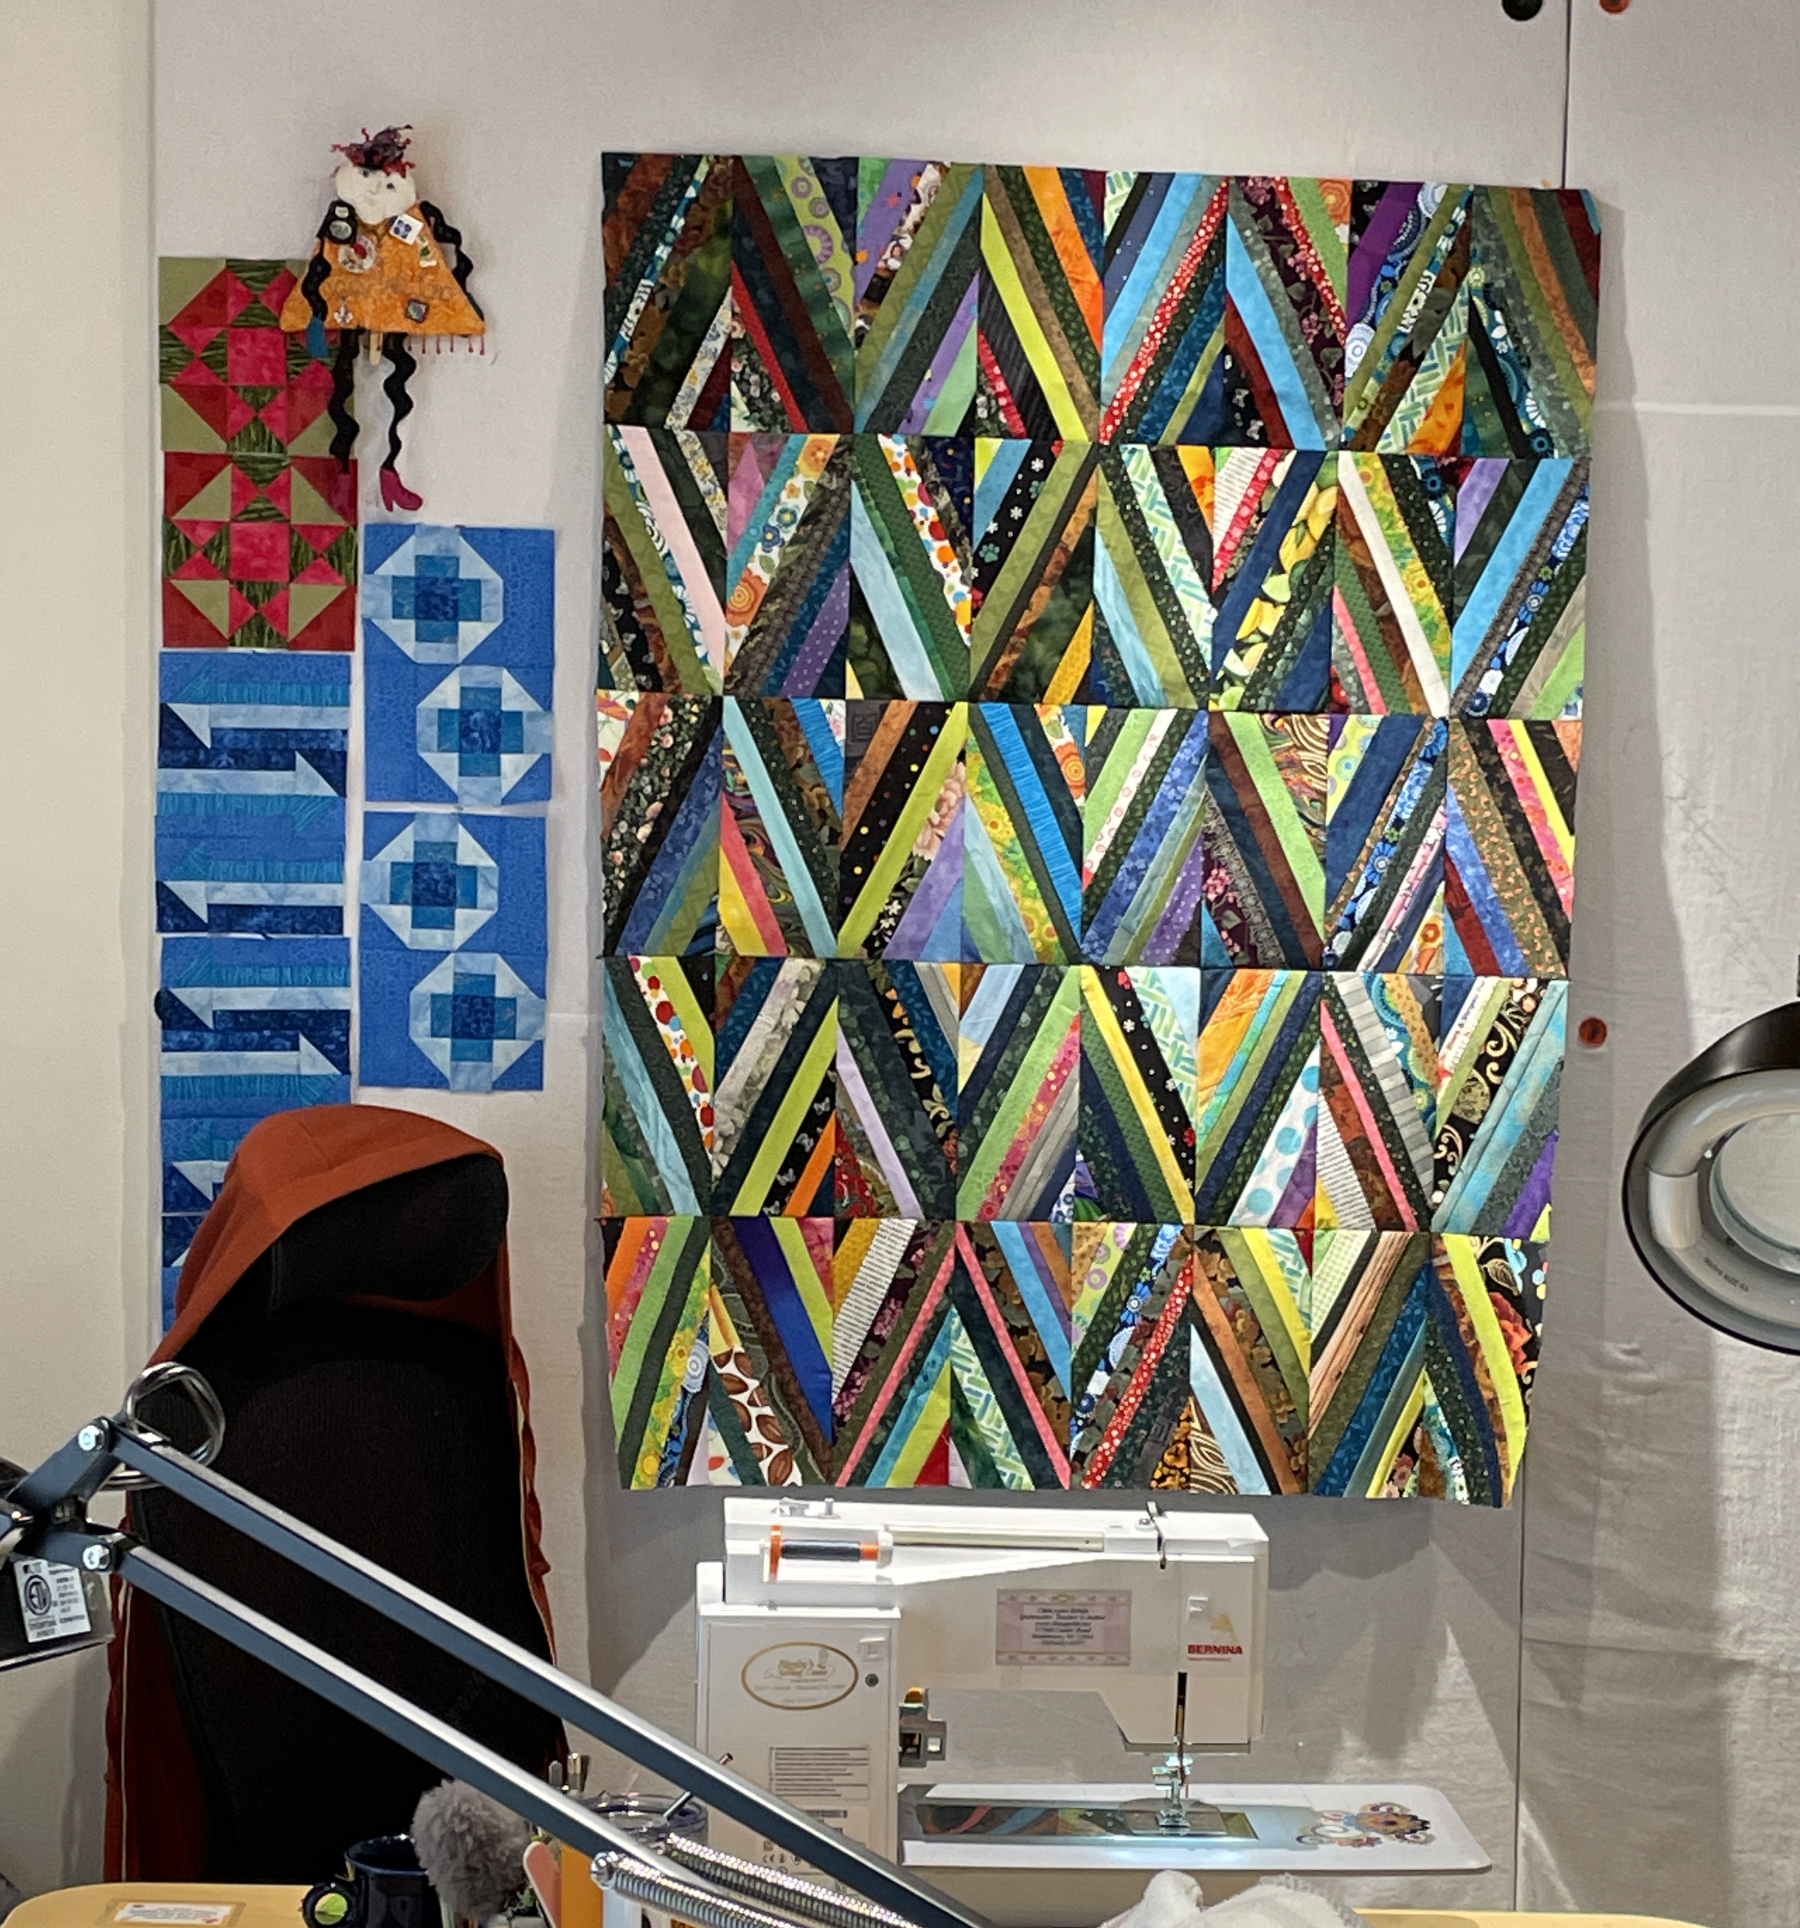
I decided to use up more of my scraps in my favorite string pieced block (while Quiltina and my Murder Mystery Blocks hung around):

On the morning of our last day we decided to make a road trip to a quilt shop in Delavan, WI.

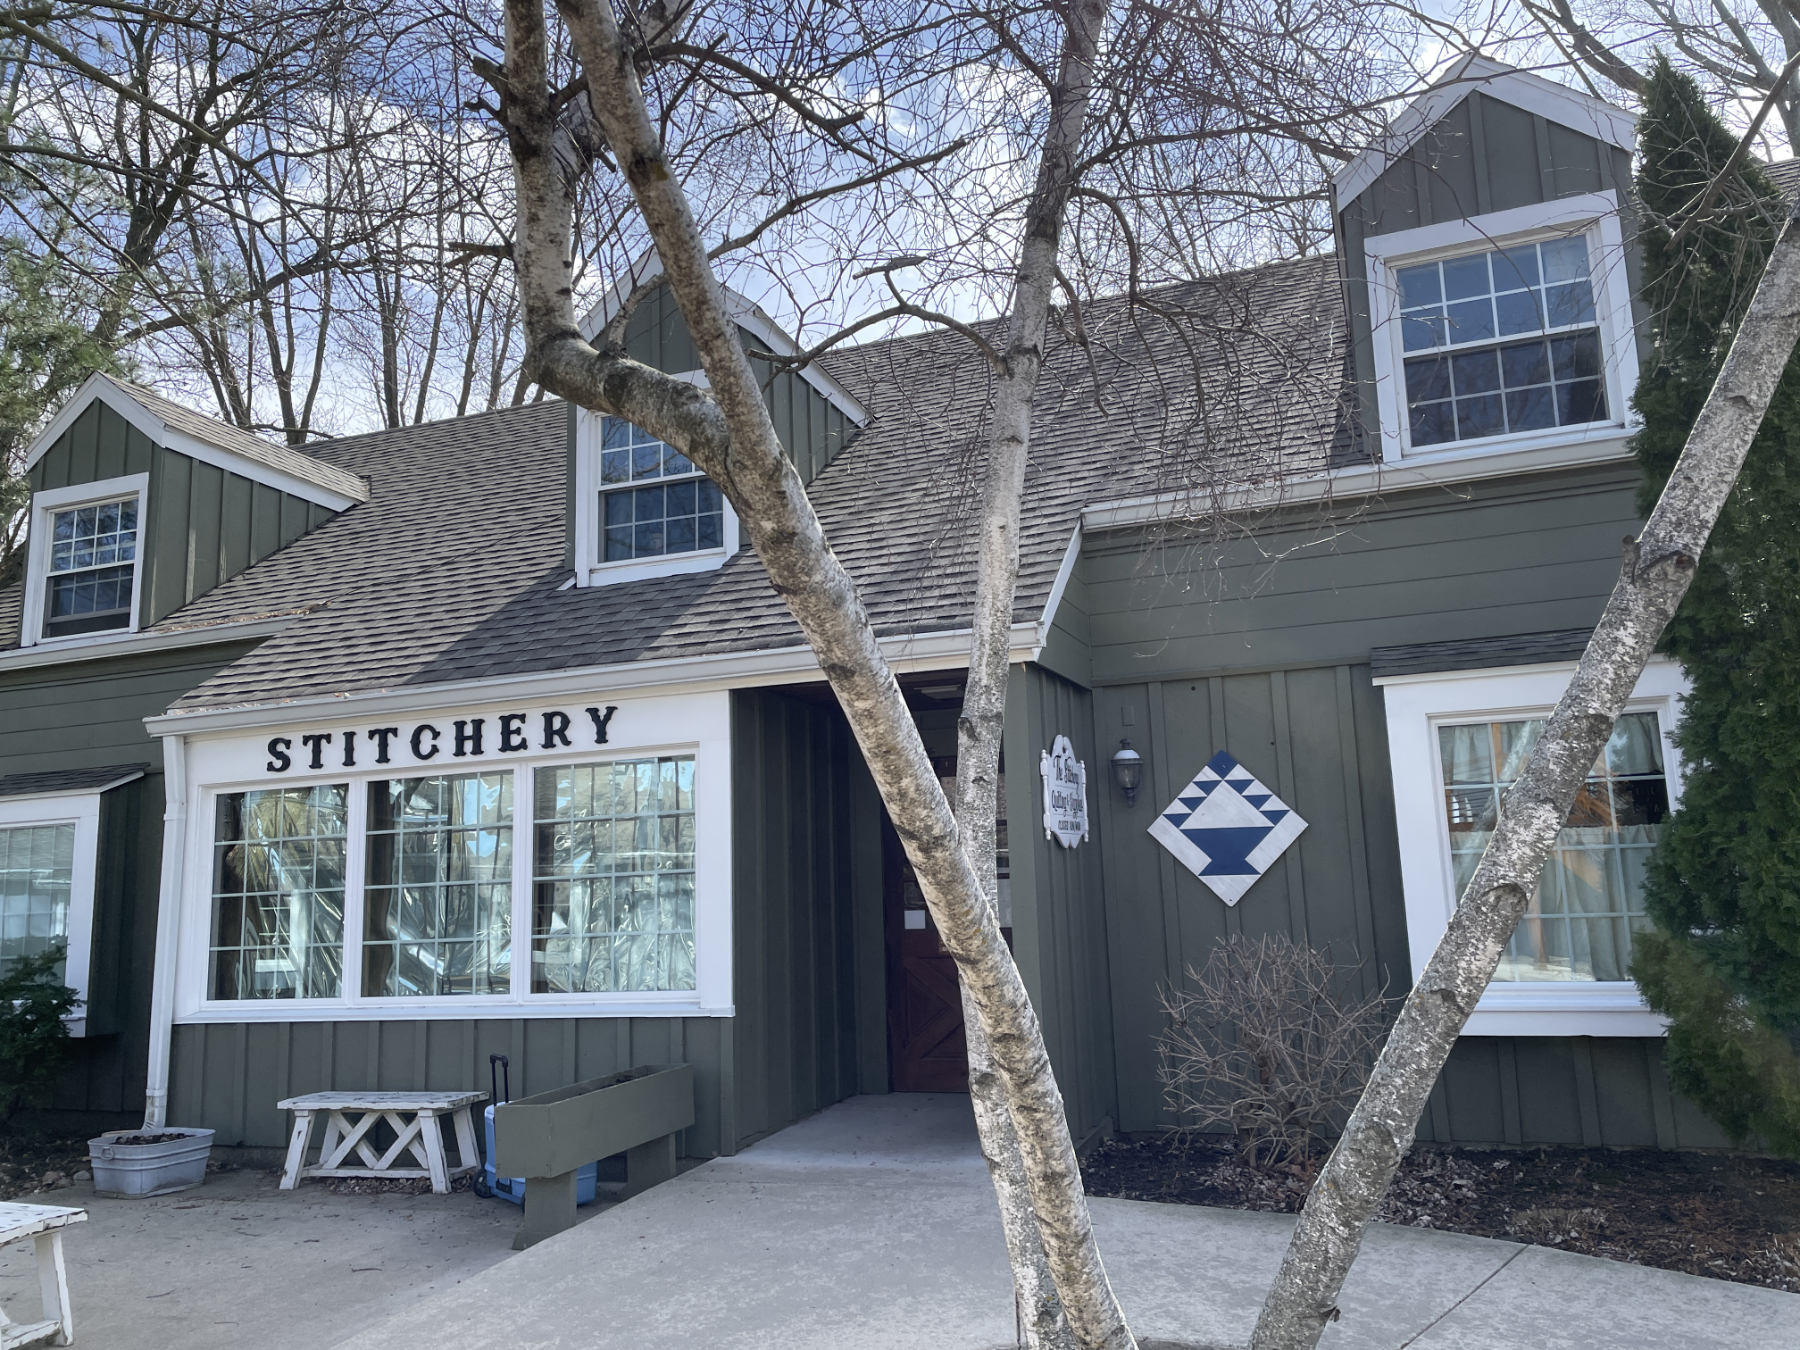
It was lovely and had loads of samples and fabric to drool over. Then, in the afternoon, I offered to do a short class on drafting compasses. I think it went over well.

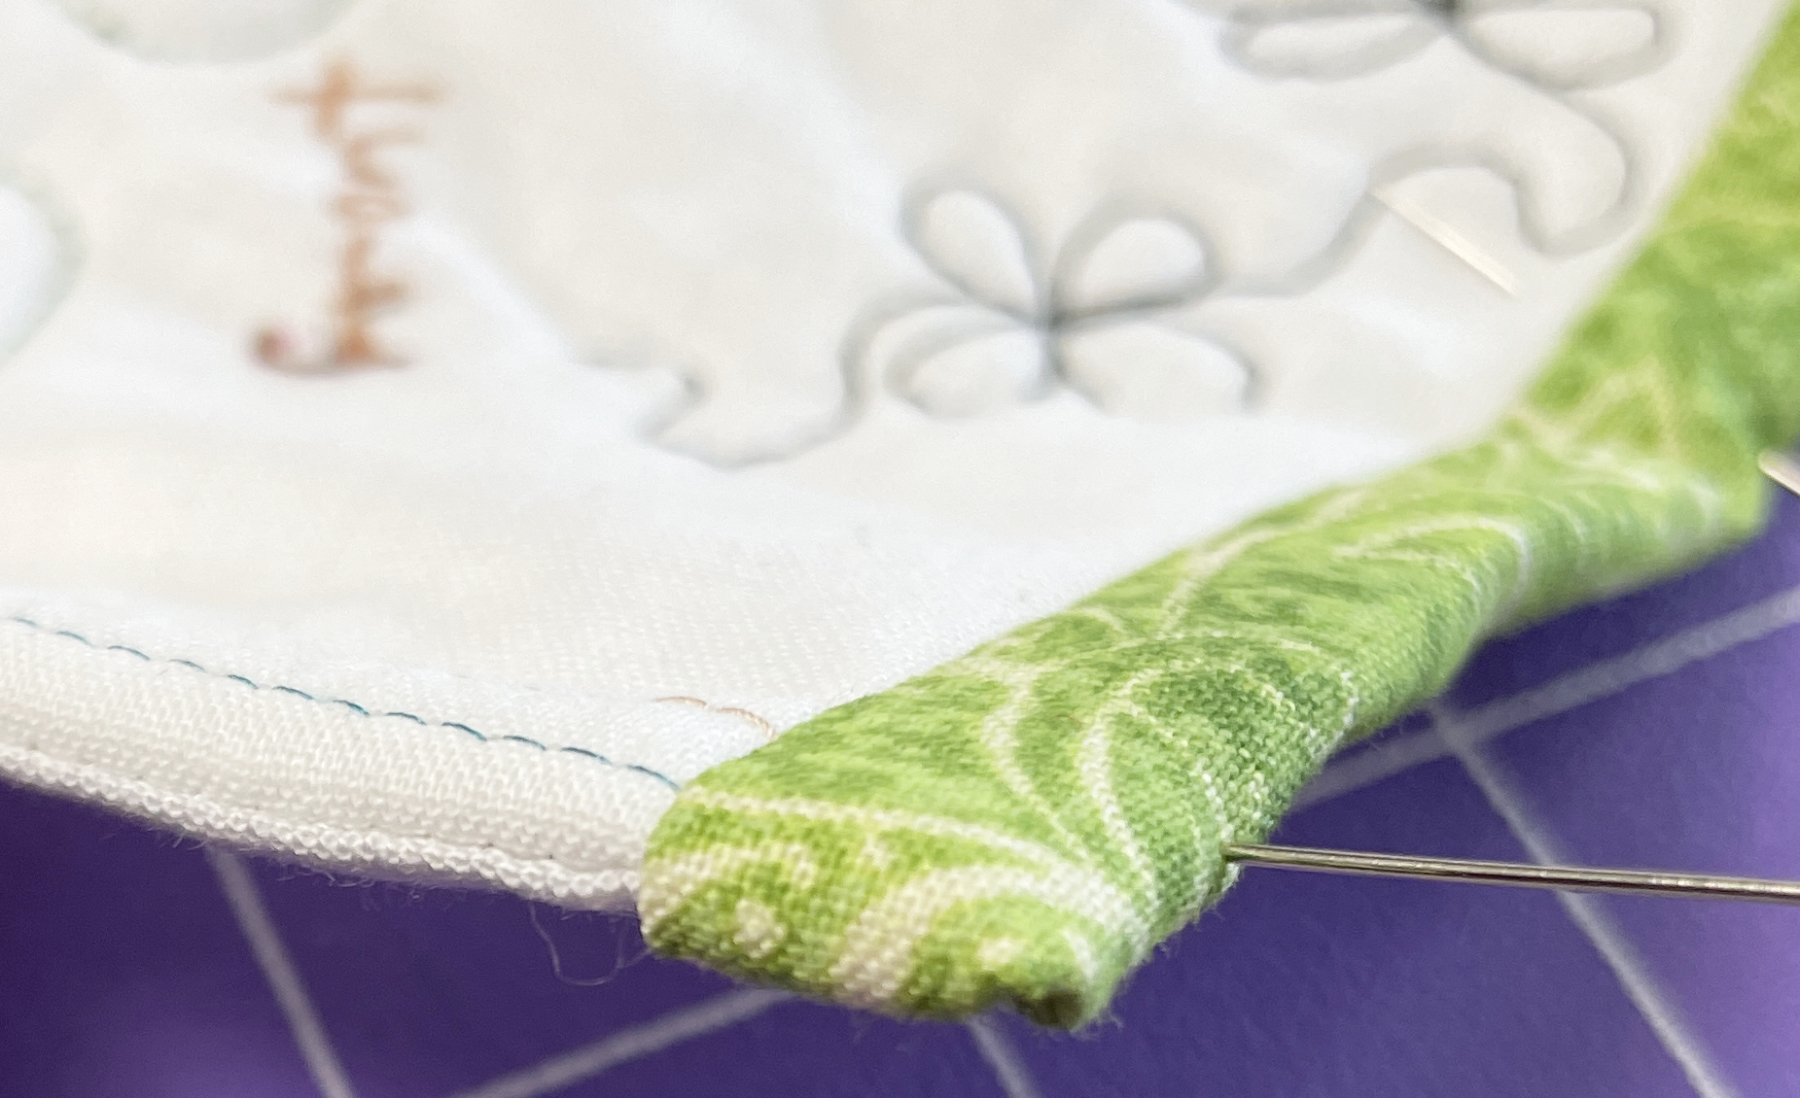
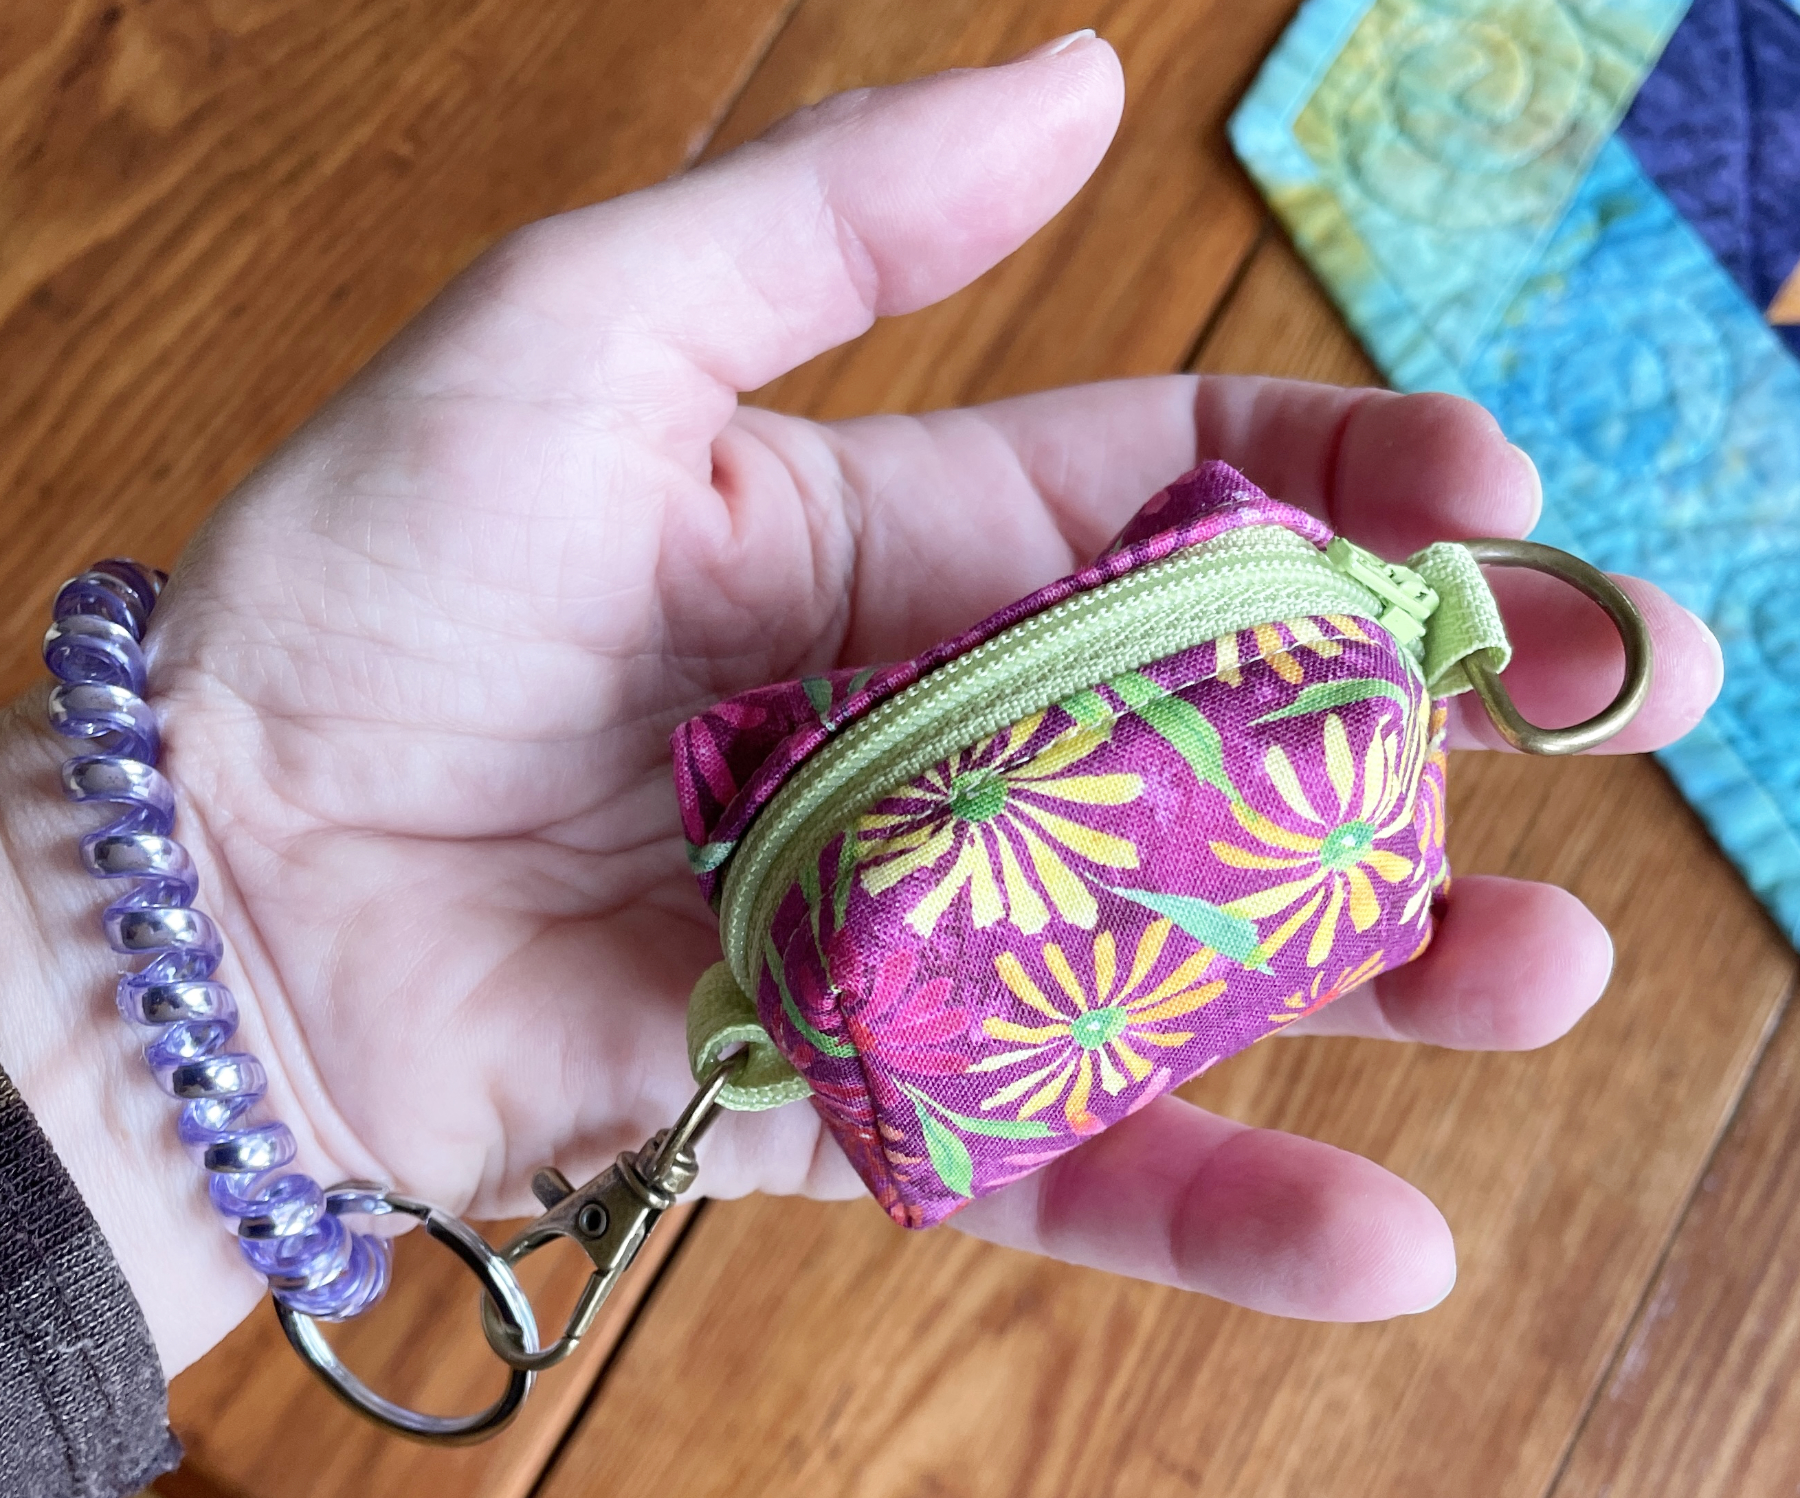
As I was packing up Geri gave me this sweet little wrist purse she’d made. Isn’t it delightful? Thanks Geri!

A wonderful time was had by all. I’m so blessed to be able to hang out with talented quilters!

***************

And one more thing:

Kristi just let me know that there is still one room left on her trip to the Festival of Quilts in Birmingham, England. So… if you were thinking about joining us click here for all the information, and contact Kristi before it’s too late.

Mixing Edge Finishes

March 17, 2024 3 Comments

Last week I shared a link to the ThreadBenders challenge “Progressions” (click here to read that post), along with a post about my journey in making that challenge quilt. This week I’ll bind it all up. To complete my Progressions quilt I needed to have a binding on some of the edges, meeting up with a facing on others. Hmm. This may not be something most of you will ever want to do, but I hope you’ll find it interesting ~ or even helpful 😊. I started by making a sample from scraps to be sure I’d like the results.

I chose to do the faced edges first. The facing strips were cut 1 1/2″ wide, and sewn to the front of the quilt with a 1/2″ seam allowance after it was squared up, beginning even with an edge that will be bound (I apologize for the muslin quilt top and the light gray strip being so close in value).

Next I turned the quilt to the back and pulled the facing strip away from the seam. The back of the facing strip that’s showing should be a 1/2″ wide.

That portion of the strip is folded up and over the seam allowance.

Then folded again to encase the seam allowance, and pulled to the back of the quilt.

This causes the front of the quilt to look as if there is no edge finish. The front just ends at the edge, and the “binding” is completely on the back.

In the next series of photos I’ll be adding the binding. The faced edge is above the binding strip on the left (my sample quilt top has 3 stitched lines on it parallel to the edge). The binding strip is 2″ wide, and begins with excess hanging off the edge. Leave this tail at least 1″ long (mine was a bit short). The strip is stitched to the front of the quilt with a 1/2″ seam allowance.

The quilt is turned over to the back and the binding is pulled away from the seam as with the facing strip in the previous instructions. There will be 1″ of binding strip showing.

Next, the end of the strip is folded over the edge of the quilt.

and the corner is folded, as when wrapping a gift.

The raw edge of the binding strip is then folded up to the raw edge of the quilt,

And this newly created folded edge is folded again, up to the original seam on the back of the quilt.

Where the binding is then hand-stitched in place.

This is what a faced/bound corner looks like from the edge.

Once the edges were finished my Progressions quilt needed to be attached to a sleeve to make it “one quilt”, and then “Storms Coming ~ Rain~Puddle” was ready to be seen.

I think all of our Progressions quilts are quite intriguing. You can see them at the top of this post or, If you missed the link to the ThreadBenders site, here it is! Now I need to get them entered in the Ultimate Guild Challenge at the AQS Grand Rapids show, and see what happens.

Progressions

March 10, 2024 8 Comments

Please pardon the repetition (especially since all our snow has been gone for a while), but you’ll understand my reason for repeating this image as you continue to read. Back in January I put a photo at the top of one of my posts that showed a progression of snowy days.

This could have been the subject of my most recent art quilt, but I already had that quilt almost completed when the multi-day blizzard occurred.

The ThreadBenders current challenge theme is Progressions, and here are the rules:

“The quilt must be a triptych made of 3 panels, each 16″ wide and 31″ long, all sewn onto 1 black sleeve with 2″ between each panel. The theme is a “progressive quilt”, so that your idea “progresses” from one panel to the next.  For example, a pair of hands, first young, then middle aged, then old.  Or a seed, then a flower bud, then the fully open flower. 

The outside edges of the 2 outer quilts, and the tops and bottoms of all the quilts will have binding. All the vertical inside edges will be faced. The binding must be 1/2″ wide in a solid color, but not black.”

We usually shy away from intensely detailed instructions because artists don’t like too many rules. But this idea was so intriguing the group decided it needed to be spelled out well. Some of the artists struggled to come up with examples other than the ones used. When I was telling our grandson Trey about it he immediately said “oh you mean like a tree with orange and red leaves in the first quilt for fall, then a dead winter tree next, and a tree with leaves after that”. He got it! After a great discussion the others in the group did too ~ and the end results are fascinating. To see all the quilts in the challenge click here!

My quilt is entitled “Storms Coming… Rain… Puddle”. It was inspired by two photos I have in my “inspirations” folder that had a similar theme ~ rain. I love to use the camera on my phone, and last July I did a post about some of these pics (click here for that post). The first was taken while riding around on our pontoon boat.

It was a bright sunny day and we’d been out floating on the lake for a while ~ facing south. At one point we turned to the north and this was what we saw! Storms Coming! I grabbed my phone and caught the rainbow and the seagull before we hurried back to the cottage (we made it before the rain came – whew). I decided this would be the first of my panels.

The next photo was taken as I was heading north on the road where we used to live, on a rainy afternoon. As I came to the stop sign at the end of the road, I was enthralled by the image the windshield wipers were creating.

Could I make these photos into quilts? And what would be the third panel in my progression? I found an image by Stefan Holm on the web that completed the trio perfectly ~ “Puddle“:

So I reoriented everything to fit the challenge, and had the images printed on fabric through Spoonflower.com. Here are two of them cropped, resized and ready for printing:

Next it was time to add my artistic flair to each panel. I began with “Puddle”, since that seemed the simplest. A pattern was traced onto Glad Press and Seal™:

Two layers of a sheer fabric were fused together,

cut to fit each light area on the pattern:

fused in place, covered with tulle, layered with batting and a back, and then quilted.

I enjoyed the entire process. Next I jumped into “Storms Coming”. It started with cutting and fusing layers of differing values of sheer fabrics for the clouds.

I really didn’t think it was working very well, but a friend came over and raved about the clouds when she saw it hanging on my design wall. This urged me on (we need our quilting friends – thanks Kathy!) She suggested the rainbow be made with sheers too. I was beginning to like it at this point, and fused the gull in place too.

Lines of rain needed to be quilted in. I spaced the first few out to avoid puckers,

then I filled more in and quilted the rest of the piece:

Lastly I tackled the windshield. The tree and autumn leaves were fused on in dark fabrics. I marked where the wiper would go, then layered and quilted it all. Each of the raindrops on the windshield were quilted around also. I did it in this order so the trunk, branches and leaves would all have texture under the fused white organza “windshield”, which I then placed over the rainy portion.

Now – how was I going to make the raindrops? I ordered a number of different dimensional gels (the stuff that makes fake raindrops on silk flowers), and found the one made by Mod Podge™ to work best on a sample piece. It filled the areas nicely.

But when it dried the raindrops allowed the dark fabric to show through so intensely that it looked like a tree with the measles.

Oh no! I was not happy! I chalked it up to trying new things because it doesn’t always work out the way I envision it should. I couldn’t figure out what to do to fix it, so I chose to fuse the windshield wiper in place anyways (using parchment paper as a pressing cloth). I was thrilled to discover that where the iron touched the gel drops they got a bit fuzzy and less dark. Melting the gel by ironing over the entire piece definitely helped reduce the shininess, and lightened most of the drops enough to make me happy. What a fortunate accident!

Some areas remained a bit dark, but I was pleased with the results.

The quilting was finished and all three panels were ready for facing/binding. That step in itself was a bit tricky, and so I’ll save it for next week’s post. Stay tuned ~ I think you’ll enjoy it!

A Quilter’s Dolls

March 3, 2024 8 Comments

A few weeks ago, in my post from Florida, I shared a photo of a big boo-boo in the block I’d made in class.

I told the ladies in the class that I’d fix it. And I did, as you can see in the photo at the top of this post 😊. Whew!

The lecture I presented to the Southwest Florida Quilters guild is one I call Quilt Tales. I present it while wearing my father’s tuxedo, and I share stories of my quilt journey and the lessons I’ve learned along the way. One of the stories is about a doll I made many years ago in a class with Eleanor Peace Bailey. Her name is Elise.

If you’ve heard my lecture you may remember that my friend Mary, who was with me in Paducah that year, ended up making a doll of her own after seeing mine (it’s a crazy story). She named her doll Evita.

After the lecture in Florida, Robin told me about a doll she’d made in a class with Eleanor. She’s a mermaid and her name is Miranda (thanks for sending the photo Robin!)

Robin asked me if I knew that Elinor passed away last May. I did not and was saddened by the news. Elinor was a fascinating woman and her dolls are a riot. I found her blog on the internet and got lost in her adventures.

To visit it for yourself and discover the joy that is Elinor click here. I feel very blessed to have taken a class with her.

This got me to thinking about the other dolls I have, even if I don’t actually play with them anymore. Sommer asked to make a bracelet with my beads last week and she found this small doll in my large collection of beads and other things. She is only 6″ long and I never named her. I purchased her from a friend in the Milwaukee Art Quilters a long time ago. Pat made many imaginative dolls to sell, and this one actually has a pin back so she can be worn.

Maybe I’ll ask Sommer to name her the next time she’s here.

I don’t have a large doll collection, but don’t we all have a few special ones adorning our homes? In the kids room upstairs we have an interesting antique buggy we purchased at a friend’s rummage years ago. It’s filled with some of my favorite dolls. The ones on the left belonged to my great Aunt Marion. Sarah, the patriotic doll third from the left, was purchased at a craft fair, and I made Molly when my kids were small.

What’s interesting about this buggy is that it can convert to a stroller for toddlers by removing the cushion and exposing the well in the middle where kids can place their feet. So clever!

And then there are my mom’s Nancy Lynn Storybook Dolls. I found a display case for them in Galena, IL years ago and am so grateful to have them.

On top of the case are my yo-yo doll couple. I posted their story way back in 2015. Click here if you’d like to read about them ~ along with a few of my yo-yo quilts. So, I was very interested when a month ago, while at our Sisters of the Cloth retreat, I noticed Sandy had a new friend with her. An adorable yo-yo dog!

She told me her grandmother made many yo yo dolls and she even had a photo of one of them ~ delightful.

After putting together this post I couldn’t resist giving Mary a call. We hadn’t been together for way too long. We decided to meet for lunch and bring “the girls”. It was a fun time of remembering and giggling for all of us!

Perhaps the next time the kids are over I should take all my dolls down and we can have some fun using our imaginations.

Do you have a special doll you’d like to share with the group? Please send a photo and the story to me at:

*****************

And some additional “limited time” information for quilters in southeastern Wisconsin. I was at a fun retreat this past weekend in Mukwanago with my friends in our Fabric-ators group. On our “go to lunch and shop hop” day out, Deb suggested we go to Coins and Quilts in Hales Corners, WI (in the southwest corner of Milwaukee County). Connie and Robert have recently moved their shop to a new location at 5158 S 108 St (Hwy 100), and the deals were jaw dropping! Here’s the scoop:

“We have decided to extend our Grand Reopening Sale through March 31.

$6.00/yd on Bolted Fabric on the Sale Side. Minimum 1yd Cut

$5.00/yd on Bolted Fabric on the Sale Side if You take what is left on the Bolt.

40% Off all Fleece, Wideback & 54″ Wide Fabric on the Sale Side.

40% Off all Kits, Precuts, Fabric Bundles, Books, Single Cuts, TADA Papers & Full Interfacing Rolls On the Sale Side.

15% Off Everything on the Non-Clearance Side.”

 We had a blast, and we did our best to help Connie and Robert make room for new fabrics!

But we did leave quite a bit behind 😁. The website for Coins and Quilts is: coinsandquilts.com.

Then we went back to Tall Pines Retreat Center to sew, laugh, eat and just enjoy being friends. Greetings from the Fabric-ators!

Destination: Birmingham Festival of Quilts

February 25, 2024 4 Comments

Way back in May of 2021 I announced on my blog that I was planning to lead a trip to England and Wales, with a focus on the Birmingham Quilt Show. Sadly, a fresh pandemic scare caused that show to be canceled. At that point I started thinking about all the wonderful quilting adventures I’ve had, and I realized that I’d reached a point where I was ready to step down from leading trips, and start being one of the travelers in the “back of the bus” 😊. So, when Kristi Mirocha, my dear friend and skilled travel planner, announced she was planning a trip to the British show ~ I was one of the first to sign up! We’ll be traveling from July 31 – August 11, and oh the sites we’ll see!

Here’s the information directly from Kristi’s trip flyer:

We are so excited to be able to offer this small group trip in 2024. The aim of this tour is to see the best of local sights, offer textile-related exploration, take in the local culture, and provide free time for you to explore as you wish to make this trip truly your own. With the numbers expected for this summer’s travel overseas, the hotels have offered us 15 rooms at this time. Don’t delay if the phenomenal Festival of Quilts or the beautiful country of Wales has been on your bucket list!

These are some of the wonderful destinations included in the trip:

And here’s the itinerary:

Wednesday, July 31, 2024 • Departure ~ Our journey begins as participants travel to London, England.
Thursday, August 1, 2024 • London ~ Upon landing in London and clearing customs, travelers will transfer to our London Heathrow airport hotel. Depending on your arrival time, the day is yours to explore or rest. This evening, we will enjoy a welcome dinner at a local restaurant.
Friday, August 2, 2024 • Birmingham ~ After breakfast we depart for Birmingham, stopping to explore along the way. We will travel the leisurely lanes of the Cotswolds, past bubbling brooks and quaint villages, stopping to explore as our schedule permits. We end the day in Birmingham, our home for the next three nights.
Saturday & Sunday, August 3 & 4, 2024 • Birmingham ~ We participate in the excitement and learning of the Festival of Quilts.
Monday, August 5, 2024 • Aberystwyth ~ After leaving Birmingham, we head westward, enjoying the scenery of Northern Wales, exploring castles and seaside villages and end the day in Aberystwyth.
Tuesday, August 6, 2024 • Aberystwyth ~ Our focus today is Welsh patchwork and other textile arts. Numerous stops featuring fabric, yarns, and haberdashery.
Wednesday, August 7, 2024 • Swansea ~ We enjoy a tour of Southern Wales as we make our way to Swansea, our home for the next two nights.
Thursday, August 8, 2024 • Swansea ~ Today finds us touring Southwestern Wales before we return to Swansea and dinner on our own tonight.
Friday, August 9, 2024 • London ~ We depart for London after breakfast, visiting sights enroute, leaving time for a panoramic tour of London to get our city bearings.
Saturday, August 10, 2024 • London ~ This morning, we tour various city sights before setting you free to explore London as you wish before a farewell dinner together.
Sunday, August 11, 2024 • Transfer to Heathrow airport today for the flight home.

Click here for the flyer with all the details, along with the form to sign up and join us on this once in a lifetime advernture!

A Grandchild’s Quilt and Grandma’s Ribbons

February 18, 2024 8 Comments

Hanna, Will, Sommer, and my grandniece Lily have all learned to stitch a small quilt when they were around five years old. When Trey was five I asked him if he wanted to make a quilt and he responded “no thanks”. So, a few weeks ago Mike picked up Trey after school and brought him home alone because Sommer had an after school activity. He wanted to see the quilt I was working on in my studio, and as we talked about it I mentioned that the others had made quilts, but when he was younger he didn’t want to. His response: “Can I make one now?” 😀

Grandma was thrilled. He had a blast picking fabrics from my charm squares box, and arranging them just right.

Since he’s almost 9 (his birthday is this Tuesday) we decided he could use my Bernina, I just needed to raise the foot pedal a few inches off the floor and he was ready to sew. He loved “going fast”, but then I needed to slow down the motor speed and teach him about control ~ and a 1/4″ seam allowance. He focused well!

Sommer took a picture of him when he got the top done:

He chose a Spiderman flannel for the back, and the next week he layered everything and stitched all the way around, leaving an opening to turn. This past Wednesday it was time to turn everything right-side-out and quilt it.

He sewed every stitch himself, and learned about pinning and ironing too. I think he was pleased, and his favorite “squishy” was going to be wrapped up warm that night.

****************

Also, this past Saturday was the Winter Quilt Show, hosted by the Wisconsin Museum of Quilts and Fiber Arts. I was supposed to be at a retreat this past week also, but I ended up snuggled on the couch with a head cold and missed it all. I did however enter two quilts in the show, and I was thrilled to discover they both won second place in their categories: Citrus Splash in the Modern Category

and A Walk in the Paper-y Woods in the Art/Improv category.

Praise the Lord! Thanks to Blue Bar Quilts in Madison for sponsoring these awards. And thanks to the museum for hosting this lovely show ~ and for the pretty ribbons.

As I began writing this post I was really wishing I’d been able to see all the quilts. A day later I received an email from the Quilt Museum with a link to photos of the winners of this year’s show! WooHoo! I couldn’t see all the quilts, but I really enjoyed this glimpse at some of them. You can click here to see them too!

And… if you have the opportunity to visit the museum soon, I know you’ll enjoy their current exhibit which is in it’s last week: Conversations in Cloth / Kapad ni Vatchit / કાપડ ની વાતચીત. There is also an exhibit of art quilts from the group “Women Who Run With Scissors” in the stairwell mini-gallery. Don’t miss it! Mike and I found it all fascinating!

Puckering Problems

February 11, 2024 1 Comment

In last week’s post, as well as this one, I’m taking trips down memory lane by repeating some oldies but goodies from way back in my early days of blogging (with a few updates). 

Last week I shared information from a long ago post about getting a perfect scant 1/4″ seam allowance. As I “copied” and “pasted” the information I noticed the word “kisses” was in blue, meaning it would link to an even older post. I’d used that word as a descriptive way to say “just touching the blue line” (click here to read last week’s post).

So where would that “kisses” link send me? To a post from January 2, 2011 – and I truly laughed out loud! I had forgotten about that New Year’s post entitled “Puckerless”.

Here’s the way it began:

Happy New Year! The tradition of kissing your sweetie at midnight on New Years Eve gave me the idea for my topic of the week :-).

A kiss involves puckering and that can be a good thing:

But sometimes its better to pucker less:

This is especially true when machine quilting! Even if you use a walking foot those pesky puckers have a way of sneaking in on the top and on the back too.

Do any of you remember that post from way back in 2011? If so, please let me know. I’m guessing the majority of you reading this blog joined me more recently. The photos are pretty funny (thanks to family members who puckered up for the camera), but the subject is relevant today. I’m still using those techniques for avoiding puckers in piecing and quilting. They are tried and true, and so I’ve decided to do a bit of a review for anyone interested.

To avoid puckers on the back of a small quilt in preparation for quilting I use masking tape to secure the back to the table or floor. I prefer a table because my back and knees don’t work as well as they used to, and when on a table ~ clamps along the edges work great, with tape along the sides that don’t reach to the edge.

Once the back is taut, the batting and top may be smoothed on top and the pinning can begin. I’ve found this very helpful, but be careful not to stretch the back since this can cause the quilt to shrink up when the tape is removed ~ which leads to puckers on the front ~ ugh.

I’ve also found that when I put a stretchy fabric on the back of my quilts, like fleece or minky, I have to be very careful not to stretch the back at all. I just smooth it flat and clamp/tape it to the table.

For larger quilts I’ve shared my basic quilt frame technique before.

Rather than reposting it here, It’s just simpler to send you to that original post if you’re interested. Click here for all the step-by-step information!

So how do I avoid puckers on the top? Here’s a portion from my original post on this topic:

Even if you safety pin baste your quilt sandwich together well (every 3 or 4 inches), and use a walking foot, those pesky puckers still tend to sneak in. So what’s my favorite tip for avoiding this frustration? I call it my “3 Pin Technique” and it’s actually quite simple.

1.  Put the needle down at the beginning of the line you wish to quilt (I plan to quilt between the light and dark purple areas on my fabric).

2. Place a straight quilting pin (mine have yellow heads in the picture) perpendicular to the quilting line and about 1  1/2″ from the needle. Place the second straight pin 1 1/2″ further down the line and repeat for the third pin.

3.  Stitch along the line to the first pin, and then remove it. Continue this way to the second and third pins.

4.  Repin ahead of the needle as in step 2 and continue along the entire line.

Although this may seem a bit tedious, you can really get into a rhythm and the “easing” action of the pins will make pucker problems a thing of the past. The feedback from my students has been great!

So, do you have any tips for avoiding puckers on the front or back of your quilts? Please share them with us!

****************

And… a follow up to last week’s post:

My dear friend and fellow quilting instructor, Margaret Gawlik, sent me a lovely email after my last post. In it she shared photos of some of the ways she’s made blocks of different sizes fit together, and she said I could share these ideas with you. Here are the photos and the explanations she sent:

“The first quilt shows your “on point” idea … worked fabulous in making a charity quilt bed-size with some odd sized blocks.  (I have another group of orphan blocks & need to do this again!)

When guild members gave me blocks, I finally figured out this method to make them all the same size … and large enough for a bed size quilt, since they started out 6″.

I love this ~ sampler blocks in the middle of stars - brilliant! And Margaret continues:

And this is my version of a barn quilt, and a way to make rectangles into squares that all could be made the same size “

Making rectangles into squares and pairing them with log cabin blocks – very clever!

Thanks so much Margaret!

How to Make Blocks Fit

February 4, 2024 8 Comments

Over the years I’ve had the opportunity to organize group quilts for charity events. I’ve also been the recipient of stacks of blocks made by a number of different people. And – I can’t count the number of times quilters in my Open Lab classes brought stacks of blocks like this in, in hopes of my having a method to put them together. The following are some techniques I’ve used a lot and posted about before, but some things just bear repeating. I hope you’ll find them helpful.

No matter how we try, there is no way for all quilters everywhere to sew with identical seam allowances. So what do we do when we want to make these types of group quilts?

Well, if you are in a group where each member is making the same block, I do have a suggestion from a post I wrote about back in 2011. It’s a great technique for keeping your own seam allowances consistent too, and I share it often in my classes. Here’s the story that confirmed it really works:

In 2006 I was asked to organize the making of a queen sized quilt that would hang in the sanctuary of the church I was attending at that time. I recently realized I never took a photo of that quilt, and was saddened not to have it included in my photo collection. So I made a call and was so pleased to have the church secretary send this to me:

As you can see, the “quilting committee” decided on a watercolor style quilt. We asked the congregation to donate woven cotton fabrics. After removing the “bad” ones, we began sorting by value, cutting them into 2 1/2″ squares and laying them out on a huge, gridded piece of flannel. We had enough quilters in our church that this part came together quite well. Once it was laid out it was time to sew. Five of the women brought their sewing machines into the fellowship hall, and five others volunteered to be the runners and pressers. I started at a bottom corner and laid out 5 x 5 groups of squares on trays, labeling them so I could put them back together. The runners would take a tray to the stitchers and, once sewn, they’d be taken to the pressers, and then put back on the flannel in place.

In order to assure the blocks were the same size I went to each machine with an index card and marked a scant 1/4″ seam allowance with masking tape on each machine. When I got to the fifth one the quilter said “you will not put tape on my machine – I have a perfect seam allowance”. She couldn’t be persuaded. The next day I attempted to put all the 25 patch blocks together and every fifth block was too small! The others were perfect. Grrr. After quite a bit of unsewing and resewing, I layered and machine quilted the center. It then was pinned into my hand quilting frame (the only time it’s been used to quilt a bed-sized quilt 😕), and everyone from the congregation was invited to add their own stitches in the black border. It ended up being a delightful project.

This technique really does work. Here are the instructions from that long ago post:

The trick is to use an index card with 1/4″ lines. Cut the bottom of the card on the last line. Place it under the machine and lower the needle into the card so that the left side of the needle just “kisses”  the next line. That’s the trick that makes a scant 1/4″.

Now you simply need to place a piece of tape along the edge of the card, being careful not to tape over the feed dogs.

Remove the card and use the edge of the tape as your guide.

An added benefit is that this technique can yield identical seam allowances on different machines! Let me explain. There are times when I stitch on the same project on 2 different machines (like when taking a class). I can mark the seam allowance on my home machine, take the card with me to class, place the needle on the school’s  machine in the hole and tape next to it.

Voila – it works no matter what foot is on the machines. 

Let me know if you use this technique!

I’ve also come up with a few ways to get random quilt blocks to fit together. The first is by turning them on point. To read my previous “how to” post on this great technique (that was pinned on Pinterest oodles of times – praise the Lord 😁) click here.

Here’s a sampler quilt on which I used this technique to make all the different blocks fit together, and look like they are all the same size (I apologize for the fussiness of the photo, but you get the idea):

Another method I’ve discovered was used by my friend Maria on her barn quilt. She was able to make these pre-printed panel blocks (which are never square or of consistent size) fit together by bordering each one with the same fabric, and then trimming all the blocks to the same size. She added a contrasting sashing between the blocks and folded black triangles to the corners to give the feel of an old fashioned photo album.

I’ve found these techniques to be more fun than re-stitching all the blocks, and the resulting quilts are even more interesting.

Do you have a different technique that works to make unequal blocks fit together? Please let us know! I always love to add new quilting techniques to my tool box.

*****************

And… if you would like help with any of these techniques, or you’ve hit a roadblock in a current project, or you need help with a “project in your mind”, or you just want to sew with friends…

I’m offering a Stitching Together open lab class in Watertown on March 23 from 9-1! For all the details click here!

  • « Go to Previous Page
  • Page 1
  • Interim pages omitted …
  • Page 12
  • Page 13
  • Page 14
  • Page 15
  • Page 16
  • Interim pages omitted …
  • Page 77
  • Go to Next Page »

Primary Sidebar

Archives

Recent Posts

  • The Indiana Heritage Quilt Show ~ 2026
  • Bird’s Eye View
  • The Birds
  • Sew Much Creativity
  • A Last Minute Baby Quilt

Recent Comments

  • Kathy Wuhrmann on The Indiana Heritage Quilt Show ~ 2026
  • Doris Ast on The Indiana Heritage Quilt Show ~ 2026
  • judy raddatz on The Indiana Heritage Quilt Show ~ 2026
  • Jeanette Bussard on The Indiana Heritage Quilt Show ~ 2026
  • clkquilt on The Indiana Heritage Quilt Show ~ 2026

Categories

Footer

My Guide

Whatever you do, do your work heartily, as for the Lord rather than for men.

—  Colossians 3:23

Contact Chris!

  • Home
  • About
  • Gallery
  • Classes
  • Trips
  • Books
  • Blog
  • Contact
  • Sign Up For My Blog

Copyright © 2026 · Chris Quilts · Website by Adunate · Privacy Policy