• Skip to main content
  • Skip to primary sidebar
  • Skip to footer

  • Home
  • About
  • Gallery
  • Classes
  • Trips
  • Books
  • Blog
  • Contact
  • Sign Up For My Blog

Blog

Puckering Problems

February 11, 2024 1 Comment

In last week’s post, as well as this one, I’m taking trips down memory lane by repeating some oldies but goodies from way back in my early days of blogging (with a few updates). 

Last week I shared information from a long ago post about getting a perfect scant 1/4″ seam allowance. As I “copied” and “pasted” the information I noticed the word “kisses” was in blue, meaning it would link to an even older post. I’d used that word as a descriptive way to say “just touching the blue line” (click here to read last week’s post).

So where would that “kisses” link send me? To a post from January 2, 2011 – and I truly laughed out loud! I had forgotten about that New Year’s post entitled “Puckerless”.

Here’s the way it began:

Happy New Year! The tradition of kissing your sweetie at midnight on New Years Eve gave me the idea for my topic of the week :-).

A kiss involves puckering and that can be a good thing:

But sometimes its better to pucker less:

This is especially true when machine quilting! Even if you use a walking foot those pesky puckers have a way of sneaking in on the top and on the back too.

Do any of you remember that post from way back in 2011? If so, please let me know. I’m guessing the majority of you reading this blog joined me more recently. The photos are pretty funny (thanks to family members who puckered up for the camera), but the subject is relevant today. I’m still using those techniques for avoiding puckers in piecing and quilting. They are tried and true, and so I’ve decided to do a bit of a review for anyone interested.

To avoid puckers on the back of a small quilt in preparation for quilting I use masking tape to secure the back to the table or floor. I prefer a table because my back and knees don’t work as well as they used to, and when on a table ~ clamps along the edges work great, with tape along the sides that don’t reach to the edge.

Once the back is taut, the batting and top may be smoothed on top and the pinning can begin. I’ve found this very helpful, but be careful not to stretch the back since this can cause the quilt to shrink up when the tape is removed ~ which leads to puckers on the front ~ ugh.

I’ve also found that when I put a stretchy fabric on the back of my quilts, like fleece or minky, I have to be very careful not to stretch the back at all. I just smooth it flat and clamp/tape it to the table.

For larger quilts I’ve shared my basic quilt frame technique before.

Rather than reposting it here, It’s just simpler to send you to that original post if you’re interested. Click here for all the step-by-step information!

So how do I avoid puckers on the top? Here’s a portion from my original post on this topic:

Even if you safety pin baste your quilt sandwich together well (every 3 or 4 inches), and use a walking foot, those pesky puckers still tend to sneak in. So what’s my favorite tip for avoiding this frustration? I call it my “3 Pin Technique” and it’s actually quite simple.

1.  Put the needle down at the beginning of the line you wish to quilt (I plan to quilt between the light and dark purple areas on my fabric).

2. Place a straight quilting pin (mine have yellow heads in the picture) perpendicular to the quilting line and about 1  1/2″ from the needle. Place the second straight pin 1 1/2″ further down the line and repeat for the third pin.

3.  Stitch along the line to the first pin, and then remove it. Continue this way to the second and third pins.

4.  Repin ahead of the needle as in step 2 and continue along the entire line.

Although this may seem a bit tedious, you can really get into a rhythm and the “easing” action of the pins will make pucker problems a thing of the past. The feedback from my students has been great!

So, do you have any tips for avoiding puckers on the front or back of your quilts? Please share them with us!

****************

And… a follow up to last week’s post:

My dear friend and fellow quilting instructor, Margaret Gawlik, sent me a lovely email after my last post. In it she shared photos of some of the ways she’s made blocks of different sizes fit together, and she said I could share these ideas with you. Here are the photos and the explanations she sent:

“The first quilt shows your “on point” idea … worked fabulous in making a charity quilt bed-size with some odd sized blocks.  (I have another group of orphan blocks & need to do this again!)

When guild members gave me blocks, I finally figured out this method to make them all the same size … and large enough for a bed size quilt, since they started out 6″.

I love this ~ sampler blocks in the middle of stars - brilliant! And Margaret continues:

And this is my version of a barn quilt, and a way to make rectangles into squares that all could be made the same size “

Making rectangles into squares and pairing them with log cabin blocks – very clever!

Thanks so much Margaret!

How to Make Blocks Fit

February 4, 2024 8 Comments

Over the years I’ve had the opportunity to organize group quilts for charity events. I’ve also been the recipient of stacks of blocks made by a number of different people. And – I can’t count the number of times quilters in my Open Lab classes brought stacks of blocks like this in, in hopes of my having a method to put them together. The following are some techniques I’ve used a lot and posted about before, but some things just bear repeating. I hope you’ll find them helpful.

No matter how we try, there is no way for all quilters everywhere to sew with identical seam allowances. So what do we do when we want to make these types of group quilts?

Well, if you are in a group where each member is making the same block, I do have a suggestion from a post I wrote about back in 2011. It’s a great technique for keeping your own seam allowances consistent too, and I share it often in my classes. Here’s the story that confirmed it really works:

In 2006 I was asked to organize the making of a queen sized quilt that would hang in the sanctuary of the church I was attending at that time. I recently realized I never took a photo of that quilt, and was saddened not to have it included in my photo collection. So I made a call and was so pleased to have the church secretary send this to me:

As you can see, the “quilting committee” decided on a watercolor style quilt. We asked the congregation to donate woven cotton fabrics. After removing the “bad” ones, we began sorting by value, cutting them into 2 1/2″ squares and laying them out on a huge, gridded piece of flannel. We had enough quilters in our church that this part came together quite well. Once it was laid out it was time to sew. Five of the women brought their sewing machines into the fellowship hall, and five others volunteered to be the runners and pressers. I started at a bottom corner and laid out 5 x 5 groups of squares on trays, labeling them so I could put them back together. The runners would take a tray to the stitchers and, once sewn, they’d be taken to the pressers, and then put back on the flannel in place.

In order to assure the blocks were the same size I went to each machine with an index card and marked a scant 1/4″ seam allowance with masking tape on each machine. When I got to the fifth one the quilter said “you will not put tape on my machine – I have a perfect seam allowance”. She couldn’t be persuaded. The next day I attempted to put all the 25 patch blocks together and every fifth block was too small! The others were perfect. Grrr. After quite a bit of unsewing and resewing, I layered and machine quilted the center. It then was pinned into my hand quilting frame (the only time it’s been used to quilt a bed-sized quilt 😕), and everyone from the congregation was invited to add their own stitches in the black border. It ended up being a delightful project.

This technique really does work. Here are the instructions from that long ago post:

The trick is to use an index card with 1/4″ lines. Cut the bottom of the card on the last line. Place it under the machine and lower the needle into the card so that the left side of the needle just “kisses”  the next line. That’s the trick that makes a scant 1/4″.

Now you simply need to place a piece of tape along the edge of the card, being careful not to tape over the feed dogs.

Remove the card and use the edge of the tape as your guide.

An added benefit is that this technique can yield identical seam allowances on different machines! Let me explain. There are times when I stitch on the same project on 2 different machines (like when taking a class). I can mark the seam allowance on my home machine, take the card with me to class, place the needle on the school’s  machine in the hole and tape next to it.

Voila – it works no matter what foot is on the machines. 

Let me know if you use this technique!

I’ve also come up with a few ways to get random quilt blocks to fit together. The first is by turning them on point. To read my previous “how to” post on this great technique (that was pinned on Pinterest oodles of times – praise the Lord 😁) click here.

Here’s a sampler quilt on which I used this technique to make all the different blocks fit together, and look like they are all the same size (I apologize for the fussiness of the photo, but you get the idea):

Another method I’ve discovered was used by my friend Maria on her barn quilt. She was able to make these pre-printed panel blocks (which are never square or of consistent size) fit together by bordering each one with the same fabric, and then trimming all the blocks to the same size. She added a contrasting sashing between the blocks and folded black triangles to the corners to give the feel of an old fashioned photo album.

I’ve found these techniques to be more fun than re-stitching all the blocks, and the resulting quilts are even more interesting.

Do you have a different technique that works to make unequal blocks fit together? Please let us know! I always love to add new quilting techniques to my tool box.

*****************

And… if you would like help with any of these techniques, or you’ve hit a roadblock in a current project, or you need help with a “project in your mind”, or you just want to sew with friends…

I’m offering a Stitching Together open lab class in Watertown on March 23 from 9-1! For all the details click here!

Cross Stitch and Embroidery on the Cruise

January 28, 2024 7 Comments

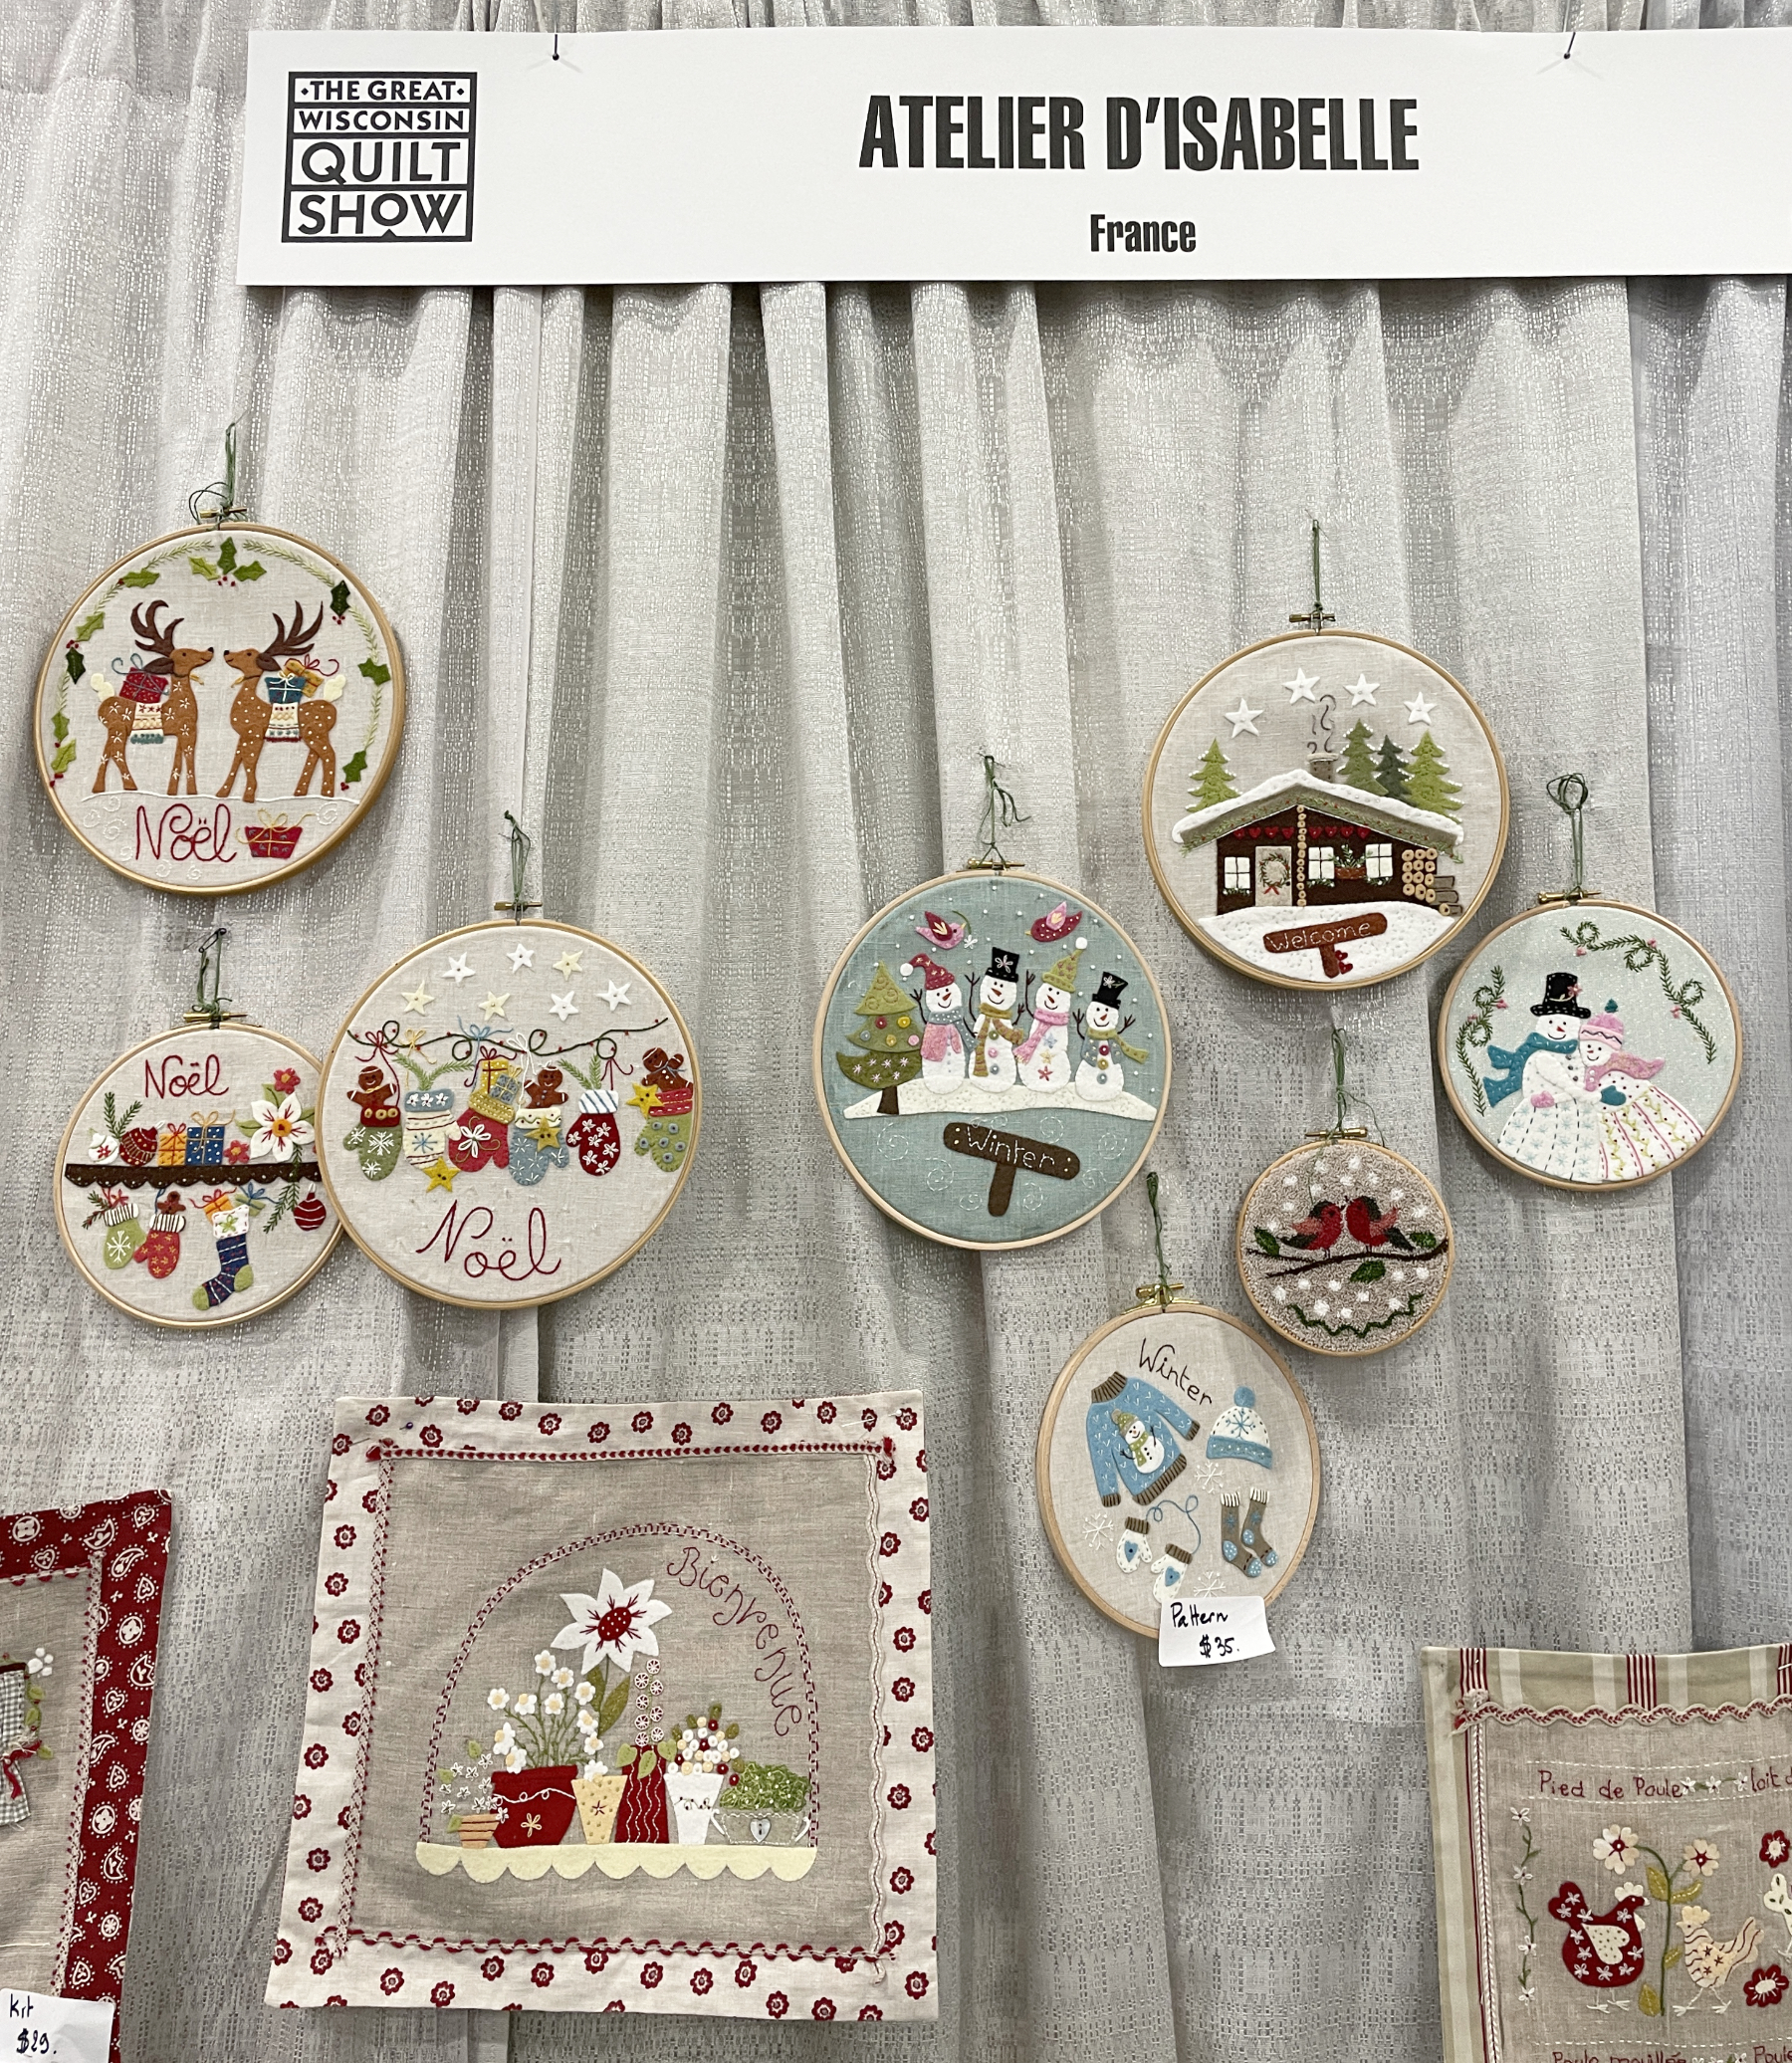
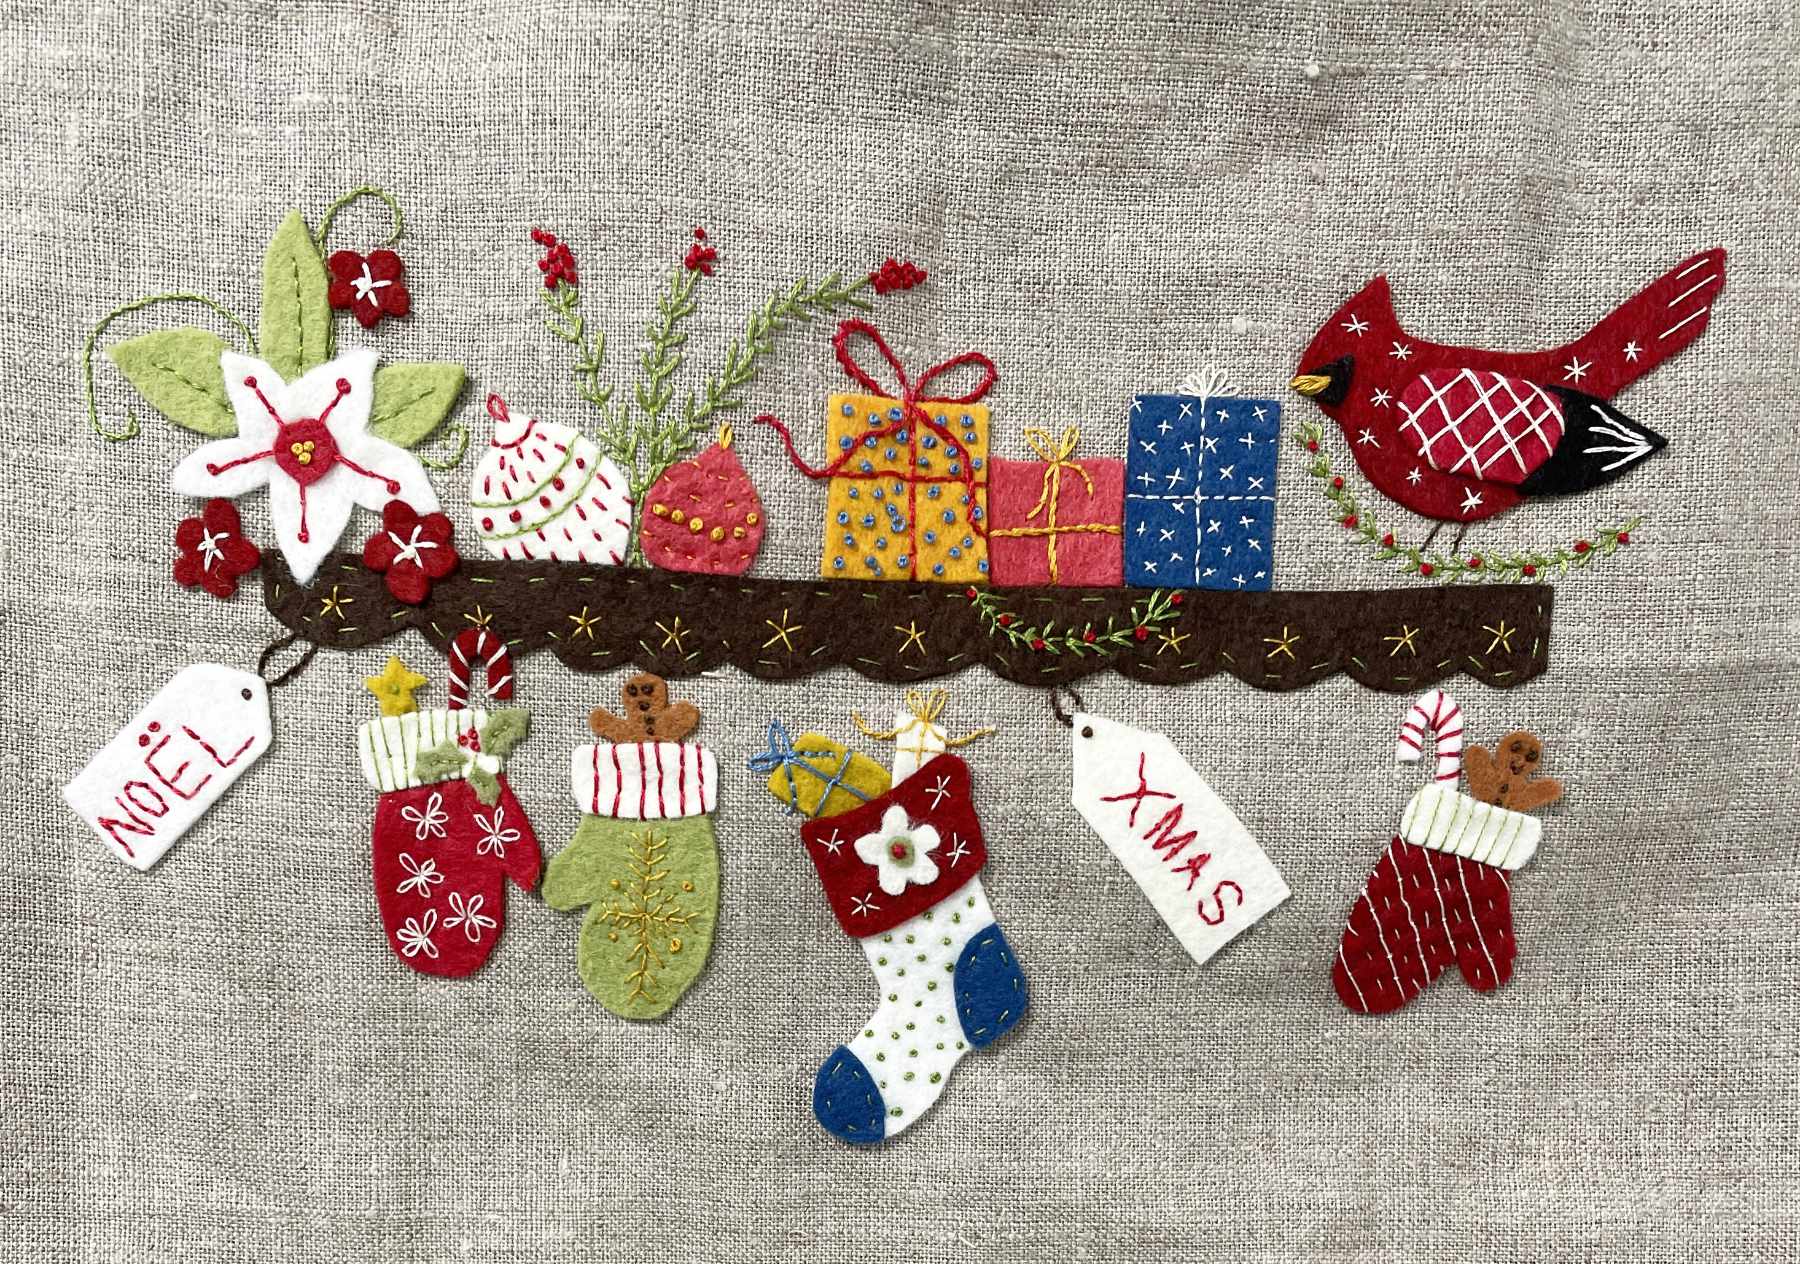
Recently I wrote about my trip to Hawaii with my granddaughter. In it I shared a photo of Hanna and me stitching together while on the trip. She was working on a cross-stitch piece for her boyfriend Cole for Christmas, and she really wanted to get it done. Thus on our flights, and after dinner on the ship each night, she would stitch. I knew she planned to bring needlework with her so I brought a project along too ~ a small embroidered Christmas kit I purchased at the Great Wisconsin Quilt Show last year (you can see a bit in the photo, but you’ll have to wait until I finish to see the whole thing).

Over the years when Hanna and her brother would come to Wisconsin my mom and I would teach her how to do some of our favorite crafts. When she was 5 she made her first quilt for her dolly (click here to read that post).

During subsequent visits she made a quilt for her little cousin, Sommer (click here for that post).

A case for her kindle (here’s the link),

And she even chose to make an art quilt (click here)!

She stitched the binding to the back on her flight home that year. Shades of things to come!

My mom was the one who taught her to crochet and cross-stitch. I don’t have any photos of that, but cross-stitching ended up being her favorite.

So … back to the trip. Hanna was a very good influence on me but I wasn’t as dedicated as she was, and sometimes I just sat and did Sudoku. Occasionally while she was working in the cabin I’d mosey over to see how things were coming along. I found out this caused her some consternation because, without my knowing it, she was actually also working on a Christmas gift for me. I had no idea, so when I’d get closer for a look she would have to quickly cover things up with Cole’s project.

The second to the last night of the cruise she was busily stitching away when all of a sudden she jumped up and ran out onto the balcony, saying she’d be right back. She returned to tell me she’d finished a project for me and went out to put it in the frame she’d brought, only to discover it didn’t fit. Then she presented me with this wonderful piece! A Bible verse with lots of tea cups/mugs, and special touches. I cried.

We hugged and hugged. Then I told her not to worry – I’d find a frame.

Hanna finished Cole’s cross-stitch while on our flight home and shortly after Christmas she sent me this photo:

Cole loves to read and they live in the Pacific Northwest. It was the perfect gift for him.

And how did my beautiful gift turn out? Well, you can see it at the top of this post. And here it is in my studio:

My cup is definately overflowing!

*********************

And one more thing! I will be teaching at the AQS Spring show in Paducah Kentucky in April!!!

Praise the Lord!

General registration for the show opens Tuesday. Click here to see all the classes available at this year’s show.

Great Timing

January 21, 2024 4 Comments

Who would have imagined that I’d be among palm trees again?

Linda is a wonderful friend and she’s been a fun part of quite a few of my blog posts. We’ve belonged to the same guilds, gone on retreats, and traveled to Paducah together quite a few times. Well, she had the nerve to move to Ft. Myers Florida a few years ago, and she’s been sorely missed. You can imagine how pleased I was to hear that she’d joined a local guild, and she told them about a teacher she knew in Wisconsin. If you guessed that the teacher was me ~ you’d be right! And if you thought spending a week in Florida when the temperatures were below zero in Wisconsin was a good idea ~ you’d be right again 😁!

I flew to Ft. Myers this past Monday. It’s been a marvelous week – with some ups and downs! Her guild is delightful ~ they have so many fun and talented members. I loved sharing my Quilt Tales lecture with them on Tuesday, and Wednesday was our sew day.

Did I mention Linda also signed up for the online Murder Mystery Quilt I told you about a while back? It’s time for an update. The first chapter of this Grecian mystery, and the corresponding block patterns, became available January 10th. All of those involved are invited to join a Facebook group in which we share photos, stories and a bit of craziness as we read along and make our blocks. Prior to the first installment I decided to put my “photoshopping skills” into practice and came up with a group shot of our “Grecian” gang to share in the group (click here for a previous post about how April got us all to join in).

We got our January blocks done and can’t wait for the next chapter and block!

It’s not too late for you to sign up. All the information is in the previous link.

On Thursday I drove up to Venice to visit Cindy and Stu. Cindy is the cousin who also decided moving to Florida was a good idea. It was so nice to share news about our kids and catch up with them in their lovely home. Cindy isn’t a quilter, but I still love her 😊.

I returned to Ft. Myers to find Linda in the hospital. She’s struggled with heart and other health issues for years and is scheduled for a procedure to try and figure out what’s going on tomorrow. So, Carl and I have been spending time with her there. He is such a sweet man, and has been very willing to be my chauffeur because I still had some teaching to do. On Saturday I had a wonderful time teaching Repliqué.

It was so much fun getting to know these ladies and they did a great job!

I on the other hand – had a bit of trouble remembering to tape my fabric in place on my block prior to stitching:

I continued to use it for demonstration purposes, and they were all so kind ~ after a good laugh. I WILL repair my Floridian home. Stay tuned for the results.

My husband has kept me updated on conditions at home and, even thought it’s been frigid for the past week there, it should be above freezing when I return tomorrow. I guess I’ll be bringing a little warmth back with me. Hope you’re all staying warm wherever you are!

2023 Quilts ~ the Rest of the Story

January 14, 2024 6 Comments

The image at the top of this post has nothing to do with the this week’s topic, but we’ve been enjoying a multiple day blizzard, and I couldn’t resist the above progression of snow photos. They lead beautifully into sharing information about the Winter Quilt Show taking place in February:

The show is sponsered by the Wisconsin Museum of Quilts and Fiber Art and will be held at the Washington County Fair Park. Click here for all the information.

They have put out a call for entries and I love to encourage quilters to share their work with others. If you’d like to give it a try you can find the rules and entry from by clicking here.

You might even want to get busy making a challenge quilt for the show. The theme this year is:

and you’ll find the challenge details at the link above. I know it will be a fun event! I hope I’ll see you there!

*******************

And now for this week’s actual post ~ a few final thoughts on stories I began in 2023:

Many of my posts this year shared a project or story that didn’t come to a complete conclusion, so at the end I’d sign off with “stay tuned …”. This post will bring some closure to those posts. One story is about a quilt I finally got quilted using designs from a friend. Another contains 2 UFOs given away and the talented quilter who made charity quilts from them. I’ll end this post with photos of family members and the quilts I made for them.

In April I’d completed my Dresden Plate with Windows quilt and my friend Sharon had come up with some designs for the quilting (to read that post click here). I now have it quilted and I’m very pleased.

I combined elements from a number of Sharon’s designs:

The quilting didn’t show as well as I wanted in the previous photo, so I took one in direct sunlight and that did the trick (it’s a great way to get the quilting lines to show):

The quilting is made up of swirling stems with leaves that turn each plate into a “flower”. Here’s a detail image:

It flows well and I think it adds to the overall design. It was great fun! And now it’s done! Thanks Sharon!

Another great conclusion to a previous post back in July (click here to read that post), came in the form of two charity quilts. Here’s Lorraine’s recent email:

“Hi Chris,
Several months ago I sent you a picture of some quilt blocks that I purchased at Granny’s Attic during the It’s a Stitch Quilt Show.  With the blocks was some extra fabric and a set of directions for a class you taught in Jan. 2013 called Black White and Bright.  I told you that I would send you a picture of the finished quilt. Well, here it is!  (Finally!) The original quilter had paper pieced the triangles.  Since there wasn’t a pattern for the paper piecing I appliquéd some circles and squares on the blocks I made.  I was able to complete 20 9” blocks with what was in the bag.  The completed quilt measures 36 X 45 and was donated to Hartford Hospital to be given to a patient who needs cheering up.

In that same bag I found blocks for another quilt using the same black and white fabrics but with a red accent.  Since the fabrics were the same as the other blocks they were probably made by the same quilter.  There were no directions for this quilt but since the first one was started in a class of yours I thought perhaps this one was, too.  By adding another red fabric for the block centers I was able to complete 16 12” blocks. With a thin red border and some of my black, white and red fabric for a wider border this competed quilt measures 60 X 60.  This quilt was donated to the Linus Project.

I hope you consider posting this story in your blog.  Perhaps the quilter who started these projects will read your blog and see that her efforts did not go to waste.  Both of these projects have been completed into beautiful quilts and are now giving warmth and comfort to someone who feels special for having them.

Chris, I hope you enjoy seeing these quilts.  Thank you for your inspiring blog.  I look forward to reading it every week. God’s blessings. Lorraine”

And here’s Lorraine’s Black, White and Bright:

And the bonus photo she sent me of her other charity quilt:

Aren’t they wonderful! The second project is not from one of my classes, but it is a delightful pattern. Thanks Lorraine, for completing these lovely quilts ~ and sharing their stories!

You may also remember that we attended a number of family weddings last year. Each time I made a quilt for the newlyweds, and I now have photos of the couples with their quilts. I made Kyle and Carly’s quilt while on a retreat (click here for that post), to give to them at their wedding in August, and here they are with their quilt:

Rachel and Cory were married in October (click here for the post about the making of their quilt), and here are the newlyweds with it:

Last but not least, I made a quilt top at another retreat for our son’s family (click here for that post). Since we moved here I haven’t made a bed sized quilt. This quilt required my basting frame ~ and it fits in my new studio!

I don’t need to baste quilts in the driveway or Mike’s shed any more!!!

The quilt was finished and given to them at Christmas. It’s twin sized, but Betsy plans to use it as a lap quilt. I hope they’ll all love snuggling under it!

I love a good ending and here’s the one for today’s post:

After placing my snowy snowmen photo at the top of this post, and sharing the story of my snowman obsession a few weeks ago, Janet sent me this photo of the snowmen her daughter Heather made from logs:

Delightful!

PS If you didn’t received an email to link you to this post, please email me and let me know – . Thanks!

Aloha!

January 7, 2024 11 Comments

I tried something new with two of my recent blog posts ~ I scheduled them 2 weeks before they were sent because I was on a wonderful adventure for the 10 days before Christmas. I’m so pleased the posts were sent out as scheduled.

But after that something went wrong. One of the two servers I use to send out my emails each week deleted my account and I’m no longer able to communicate with over 1000 quilters who were on that list. If you received an email ~ you’re fine. If you found this post another way but didn’t get an email, please contact me at , and I’ll add you to my new list. I’m so sorry for the inconvenience. Thanks!

To continue 😊: I’m back and can’t wait to tell you about my trip (which did include a few quilt moments).

As most of you know, my husband was a corporate pilot and traveled all over the world during his 34 year career. Since he retired he doesn’t want to go anywhere. I still love to travel and I enjoyed leading quilting adventures for many years. But as I’m getting older I’ve decided I’d like to travel without the responsibility of leading the tours. So, Mike and I talked it over and decided I’ll get to do some traveling by taking each grandchild on a trip when they reach their senior year in high school. This was the year for the first of those trips!

Hanna and Will are our oldest grandkids and they live in Vancouver, WA. Hanna has plans to become a pharmacist and is doing very well in school. While the kids were here this summer we told them our plans and I asked Hanna where she wanted to go. She asked if she could choose Hawaii – and I replied “absolutely”! I’d had such a wonderful time on our Sew We Go Hawaiian cruise in 2019, that she and I decided a cruise was the way to go (click here for a post about that trip).

I flew to Portland on December 14th and had dinner with the family. On the 15th we hopped on a flight to Honolulu, spent a night on Waikiki Beach,

and toured Pearl Harbor the next morning. We both appreciated that tour very much.

From there we boarded the Pride of America and settled into our cabin. I was excited to find a quilt inspired by the flag of Hawaii near the main dining room.

That night the ship left Honolulu and took us to Kahului, Maui for a two day stop. We saw so much of that beautiful island, but none of the portion destroyed by the storm and fires. Our prayers are with all who suffered that tragedy. We were told that 75% of Hawaii’s income is made through tourism, so please don’t stay away. They need us to visit now more than ever.

Maui is lovely! Our first day we found a beach to hang out on, and simply enjoyed the warmth and beauty. The second we did a bus trip on the Road to Hana. Mike and I had driven this fascinating, and sometimes scary ride in 2000 with our son and his friend. They actually jumped off a waterfall at one of the stops! He and Steve conned me into letting them jump, and it was such a memorable part of the trip that I made a quilt block from a photo I took:

Hanna and I found that waterfall, and there were other crazy people climbing up to jump this time.

From there the tour took us to a black sand beach.

We’d worn our suits for such an occassion, but the breakers were quite big and only a few people were in the water. Hanna and I decided to wade out to about our waists. We giggled as we discussed what to do next, when a large wave made the decision for us ~ it knocked us off our feet and we went for a short swim. It was a blast 🌊!

After more fun on Maui, we sailed to the Big Island of Hawaii and explored the town of Hilo. This was our rainiest day and, when our excursion to Volcanoes National Park took us to the rim of a volcano, it proved to be our coldest time too. The mist made it difficult to see much in the crater of the Kilauea volcano, but the double rainbows dropping into it were beautiful!

Next stop ~ Kona. Kona is on the opposite side of the Big Island from Hilo, and it was our favorite port. Our ship was too large for the harbor, so we tendered into Kona on lifeboats from the ship. A fun experience in itself. Across the dock was a lovely cove where we snorkled (thanks to Jim who told me about this on our last trip).

While there we also found a quilt shop! They had delightful quilt patterns and kits, sashiko designs, yarns and craft supplies.

Hanna was as pleased as I was since we had both brought hand work to do on the plane and in our cabin at night, and she needed more embroidery floss.

Some of you might be interested in a quilt retreat the shop is hosting in February called Quilting on the Beach. They had samples from all the teachers for the retreat hanging in the shop.

Please click here if you’d like to read all about it!

From Kona we sailed to the island of Kauai’, and our favorite part of that port was our visit to Waimea Canyon. Mark Twain is quoted as calling it the “Grand Canyon of the Pacific”, and it was breathtaking.

We were told the waterfall over my left shoulder is 800′ tall! Here’s a panoramic view ~ amazing!

On our last day we found a souvenir mall where we were able to do some surfing.

We were actually quite good at it – LOL!

We both agreed it couldn’t have been a better trip and I’m so grateful for our Hanna. I want to share one last photo. Each day we’d find a new towel critter made by our room steward Eston. Hanna really loved finding them on her bed. They all gathered for one last photo shoot.

Watch for a future post about the item beneath the monkey. It’s very special.

And with that I’ll say

Snowmen Obsession

December 31, 2023 8 Comments

I need to share a quick note before I get to this week’s post. One of the two servers I use to send emails out each week has deleted my account. Because of the holiday I couldn’t get hold of anyone to explain why. This means that over 1000 quilters I usually communicate with won’t hear from me. If you got an email, it means you’re with my other server and you’re ok. If you found this post, but didn’t get an email this week, please email me at: so I can put you back on the list. I apologize for the inconvenience and hopefully will be able to get those addresses back soon. Thanks ~ and now for the post:

Thank you for all the well wishes and kind comments about the nativity my parents gifted me. Those comments meant a lot to all of us 😊. I only have a few nativities, and this one is the most special. On the other hand…

I think another of my collections has become an obsession ~ and Mike thinks I may need professional help!

The collection started innocently enough when I purchased my first hanging snowmen at a craft fair in the 80s.
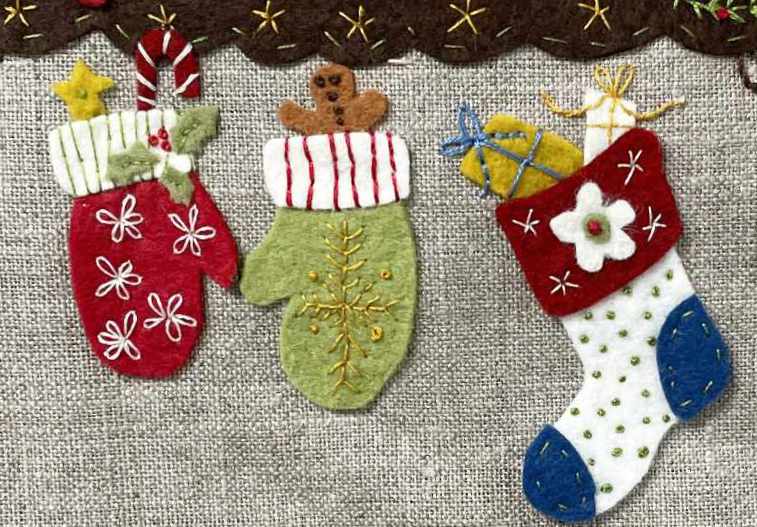
Some I’ve purchased, some were gifts and a few I stitched myself. I didn’t realize how much my collection had grown until I started decorating for Christmas this year. Last year, in the midst of the home renovations, I began choosing spots to hang and set up our holiday trim, only to have things fall off and fall over as the workers shook it all up while tearing the old siding and windows off of our home.

We are really enjoying the peace (and quiet) and beauty (without the muddy mess) of the Christmas season this year.

So I had a blast deciding where the snowpeople in my collection should spend the winter. Well, it really spread out fast. I have tree danglers:

staircase sitters:

front hall freeloaders:

table toppers:

powder room posers:

desktop dalliers:

and a lofty gathering of loiterers over the front hall closet (the antique yarn winder from a previous post is adorning the dining room until the snow season is over):

So you might think I have enough, but no!!! (I told you it was an obsession!). I hadn’t planned to add to my collection, but one thing led to another and… well here’s the story:

In the beginning of December, when Mike and I went out to hang the icicle lights on the back deck rail, all 6 strands were dead. I decided it was time for a creative change and began noodling.

Years ago Mike made a bunch of pumpkins from logs (we have 9 of them, but this was the only photo I could find).

So… I asked myself “do we need a few wooden snowmen?”

The answer was yes! Plus, the hay bale we’d used for our Autumn decorations this year was frozen to the deck. Could it be incorporated? When we moved in we found some giant pine cones and birch sticks behind the shed. Ooh ~ it was all coming together. I grabbed 3 logs from a tree Mike had recently cut down, asked him to slap some white paint on them (he was already painting the inside of the garage), and then I got to work painting faces. After cutting a few strips of fleece for scarves, and adding some abandoned decorations from the bottom of a box ~ it was done!

An early December snow and a new string of lights made the display complete. I hope they make you smile!

PS I don’t need any more snowpeople! I think I’m done collecting! Perhaps I need to find a support group for this 🤣?!?

Happy New Year!!!

Merry Christmas 2023 – My New Nativity

December 24, 2023 34 Comments

I was given a very special addition to our Christmas decor this year.

My Mom and Dad invited us over on my birthday in October ~ and she told me it was going to be a very special birthday. That really had me wondering. When we arrived they both were quite excited and took me into mom’s study to see the special gift she had crocheted for me. You might remember all the delightful items she’s made for family over the years. From Star Wars characters for the great grandchildren,

to snowpeople:

They’ve all been delightful and loved! But this time she outdid herself. She crocheted me a nativity!

Aren’t baby Jesus and Mary precious!

Mom actually placed some of her old earrings in the crowns of the kings. And the gold gift is Dad’s cuff link, filled with leftover gold from his dental practice (which he’s been retired from for decades).

She and Dad built the stable. Mom crocheted the roof and poles, and then they covered the floor and back with pieces of an old green sweater of Dad’s!

And just look at the detail on these delightful animals!

I couldn’t resist setting it in a place of honor right away, and at our family Thanksgiving gathering it was there for all to enjoy!

Trey especially loved rearranging the people and animals, and pointing out all the embellishments Mom included.

What a priceless gift! And a tribute to our Saviour! I am beyond blessed.

A Very Merry Christmas to you all!

  • « Go to Previous Page
  • Page 1
  • Interim pages omitted …
  • Page 14
  • Page 15
  • Page 16
  • Page 17
  • Page 18
  • Interim pages omitted …
  • Page 79
  • Go to Next Page »

Primary Sidebar

Archives

Recent Posts

  • Squirrel Quilts and More
  • Vintage Appliquéd Arrows and More
  • Fascinating Tidbits
  • More AQS – 2026
  • Paducah 2026

Recent Comments

  • TRINDA SUITOR on Chatelaines
  • Jodi Grzeczka on Vintage Appliquéd Arrows and More
  • Sandra R on Vintage Appliquéd Arrows and More
  • Brenda Wathier on Vintage Appliquéd Arrows and More
  • Clarann Zatko on Vintage Appliquéd Arrows and More

Categories

Footer

My Guide

Whatever you do, do your work heartily, as for the Lord rather than for men.

—  Colossians 3:23

Contact Chris!

  • Home
  • About
  • Gallery
  • Classes
  • Trips
  • Books
  • Blog
  • Contact
  • Sign Up For My Blog

Copyright © 2026 · Chris Quilts · Website by Adunate · Privacy Policy