I need to share a quick note before I get to this week’s post. One of the two servers I use to send emails out each week has deleted my account. Because of the holiday I couldn’t get hold of anyone to explain why. This means that over 1000 quilters I usually communicate with won’t hear from me. If you got an email, it means you’re with my other server and you’re ok. If you found this post, but didn’t get an email this week, please email me at: so I can put you back on the list. I apologize for the inconvenience and hopefully will be able to get those addresses back soon. Thanks ~ and now for the post:
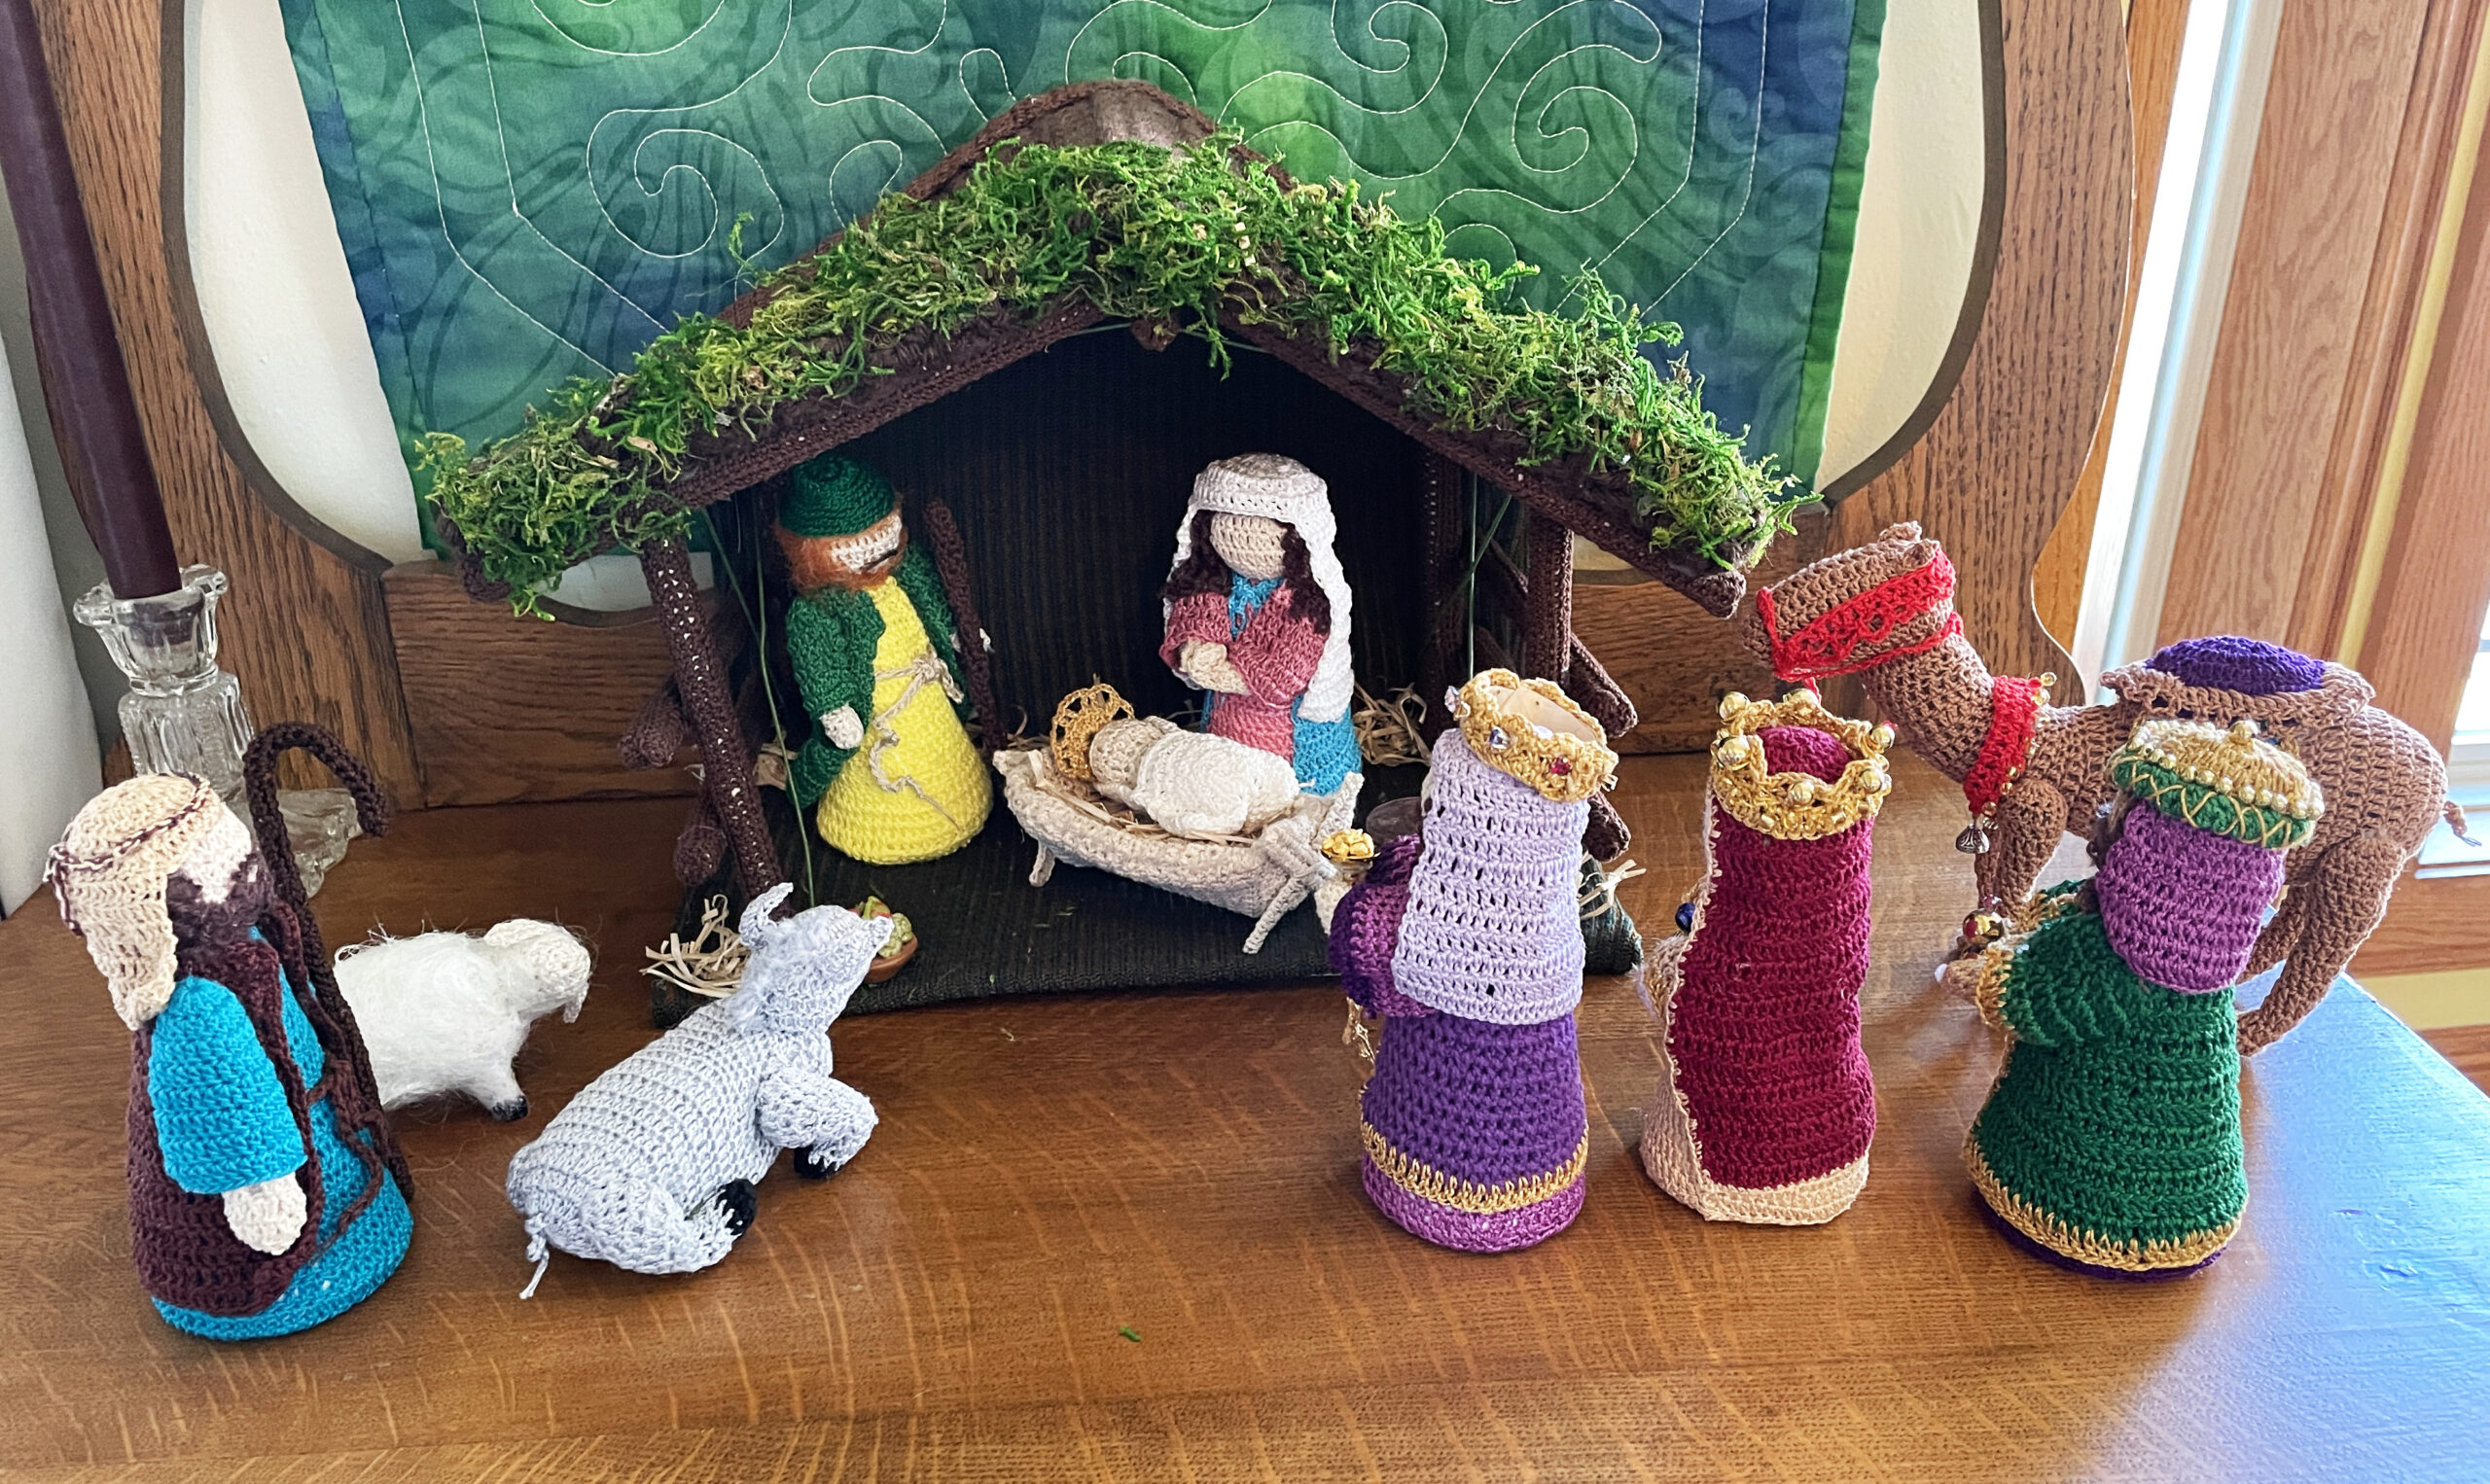
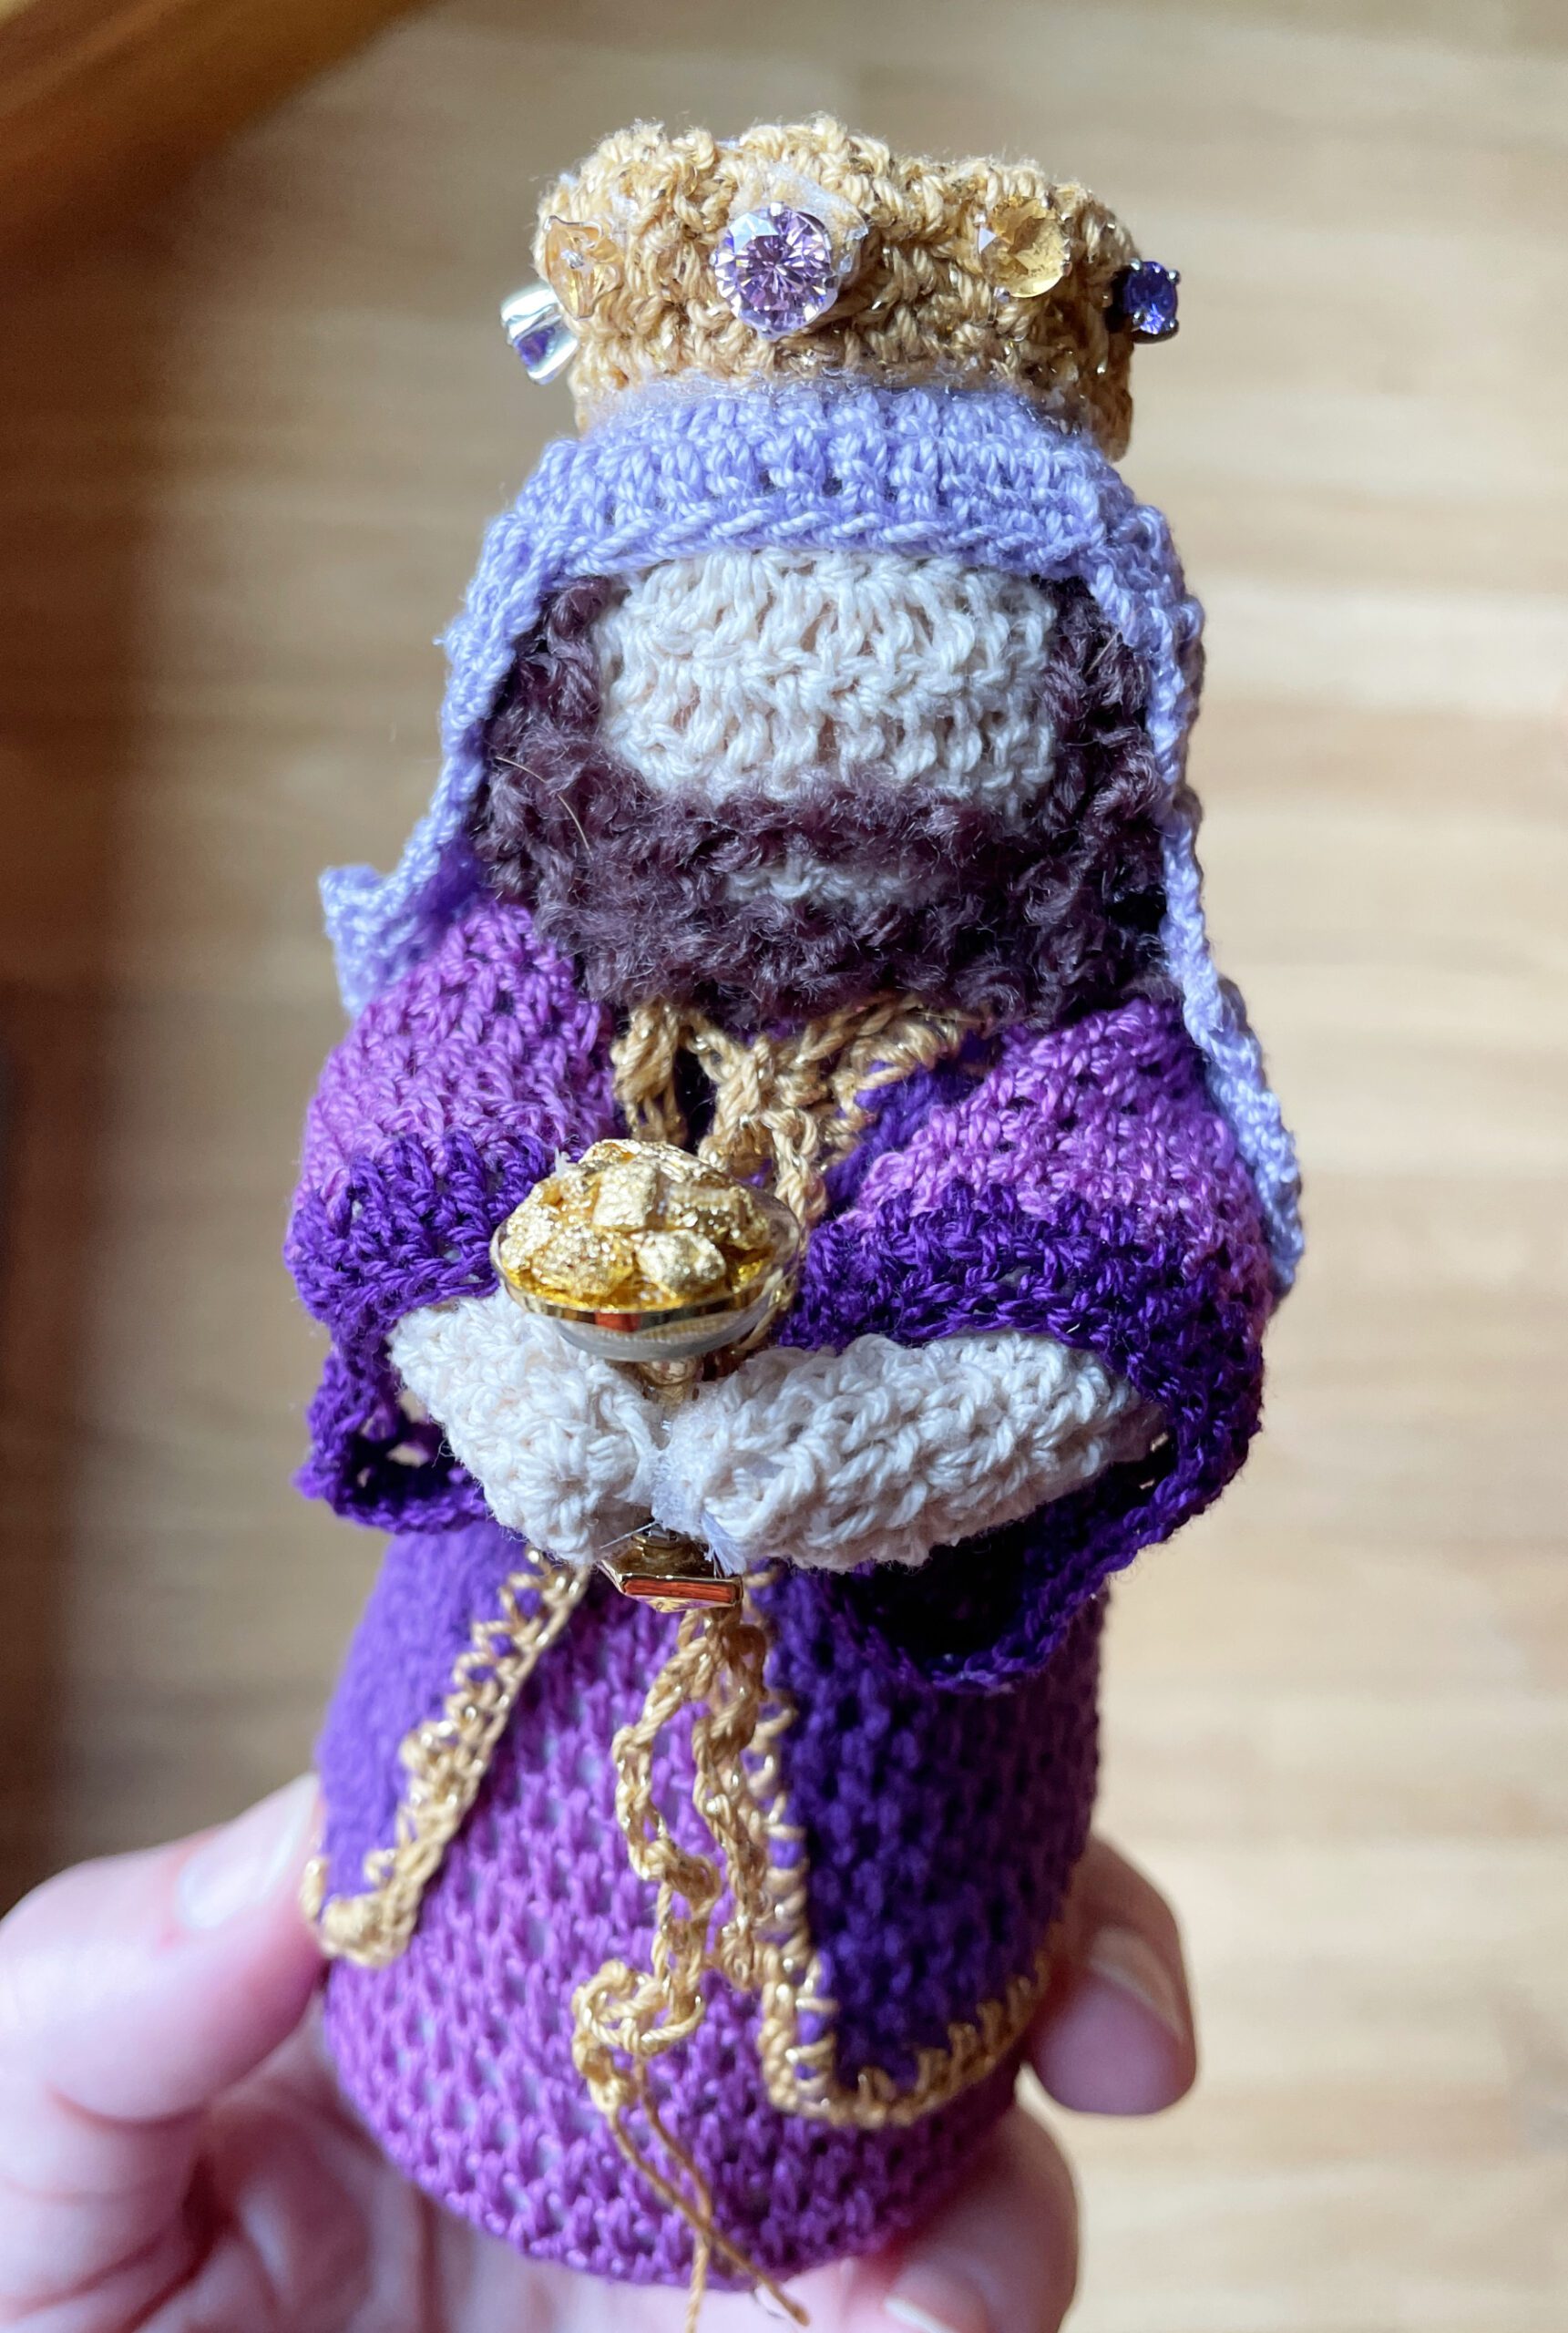
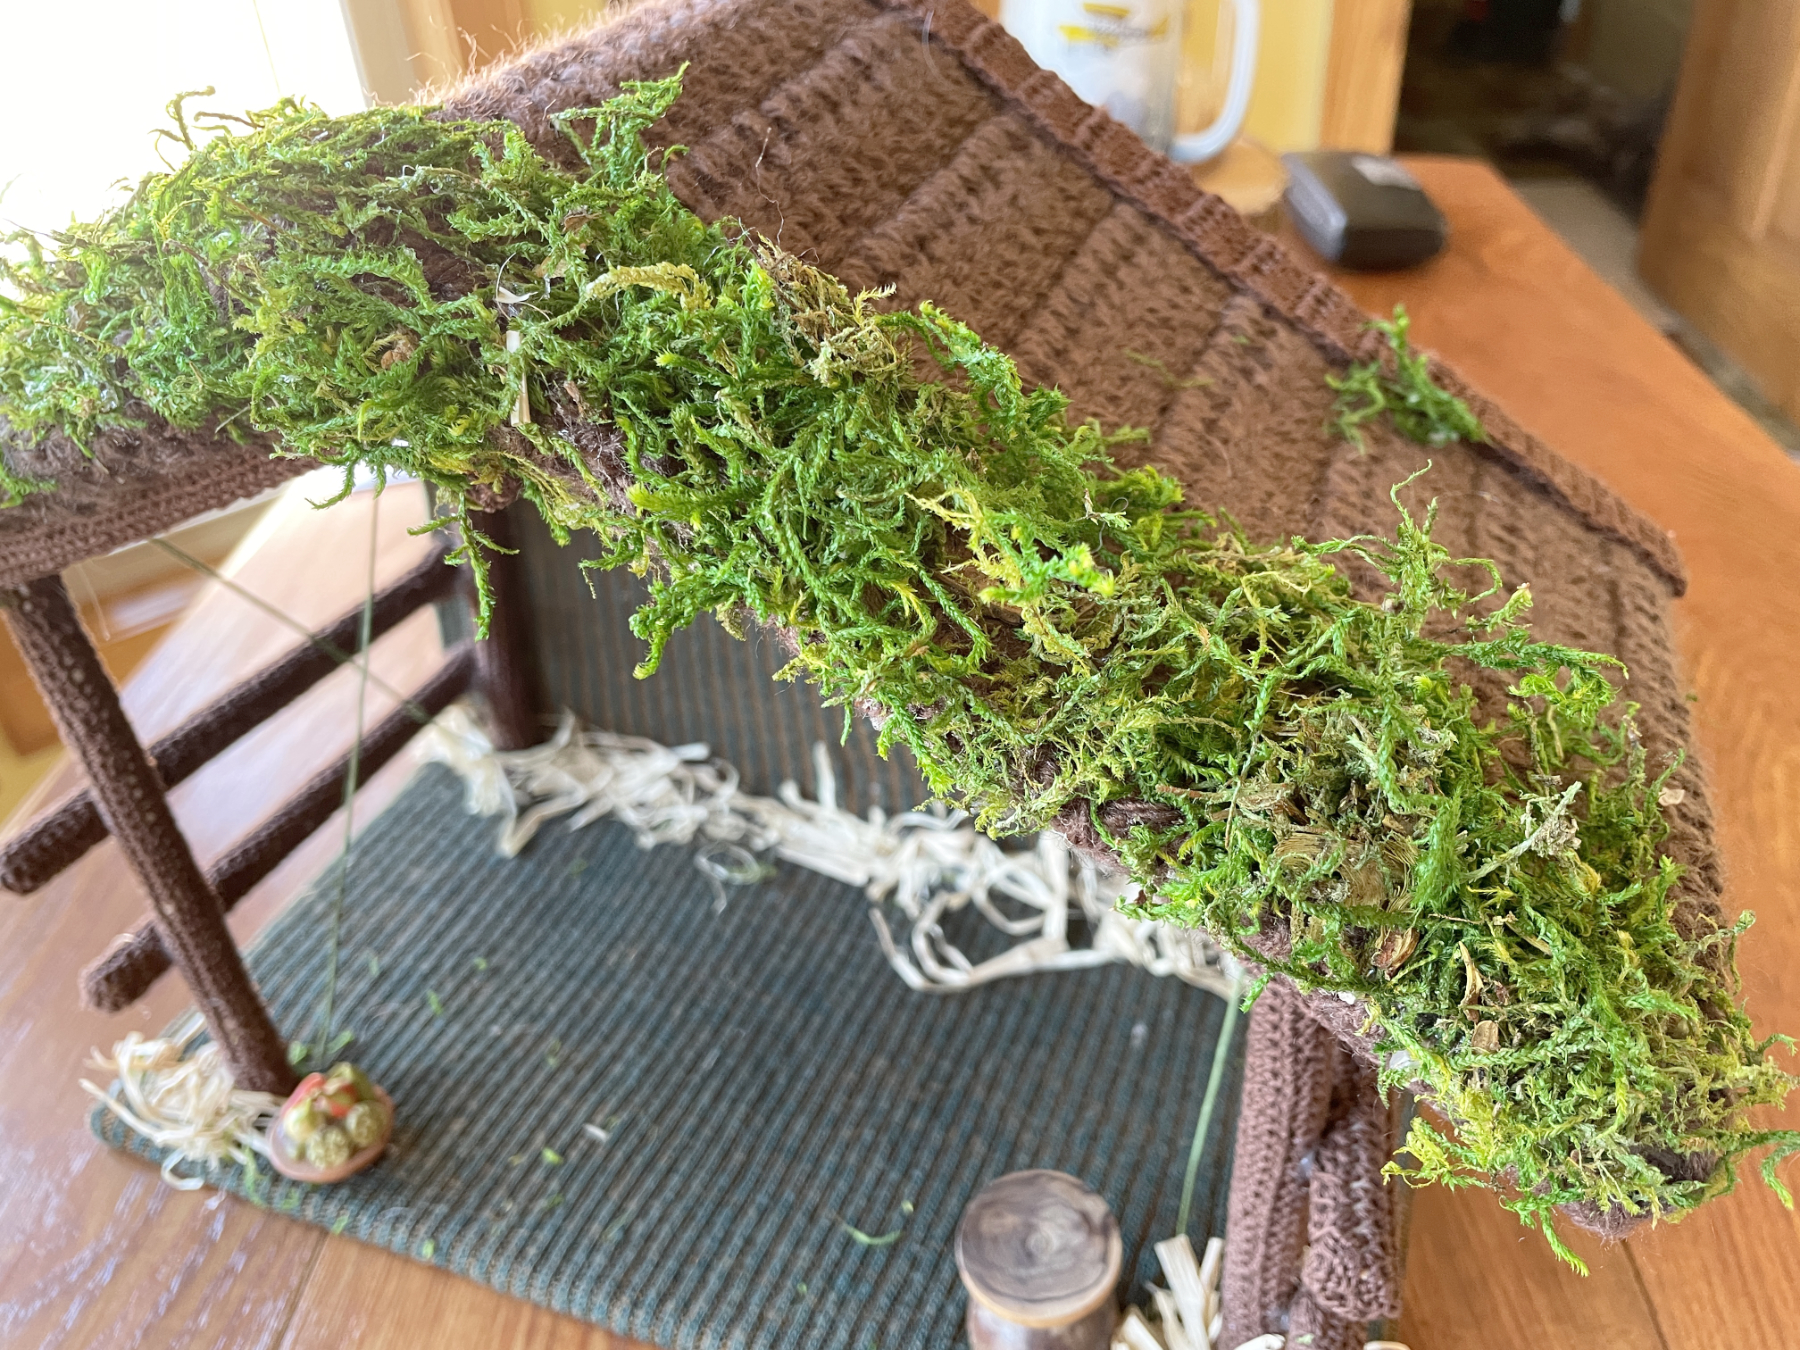
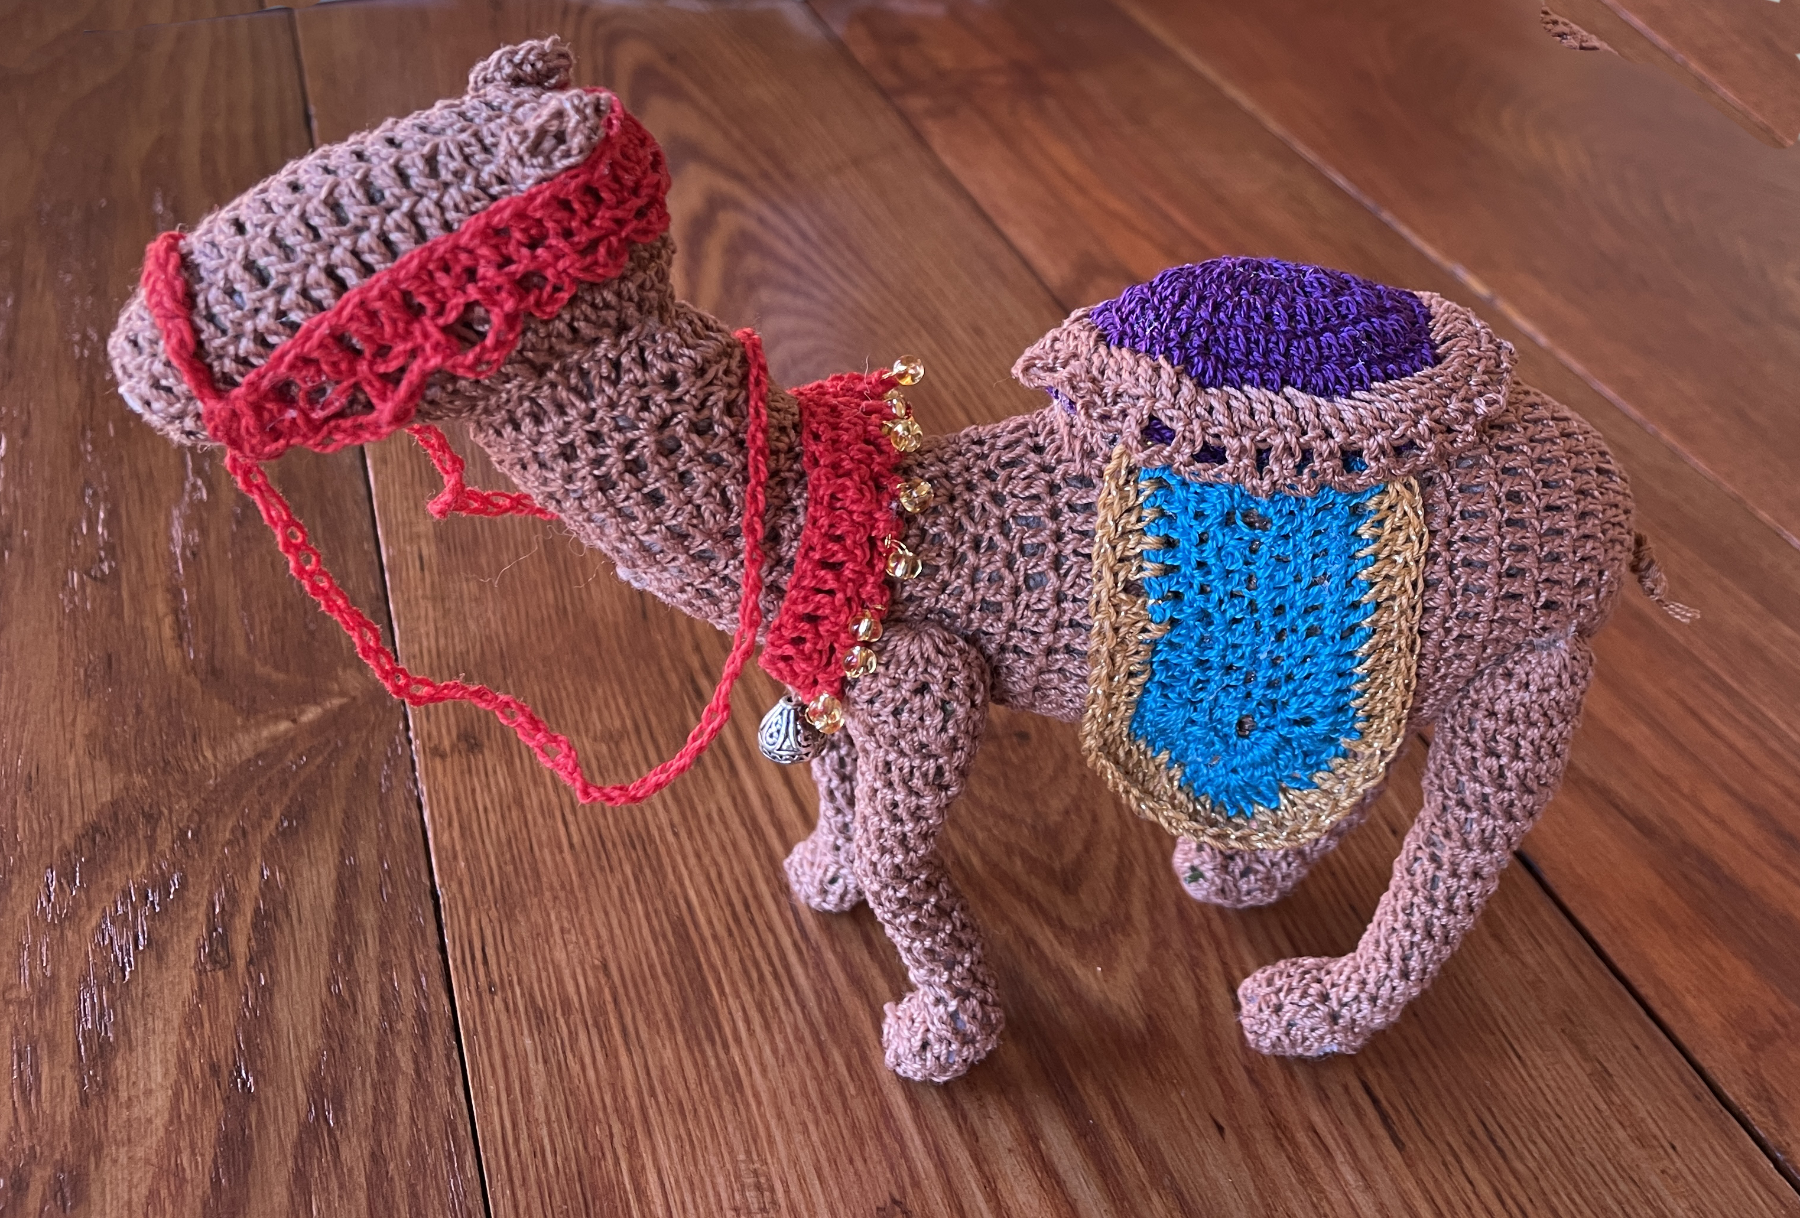
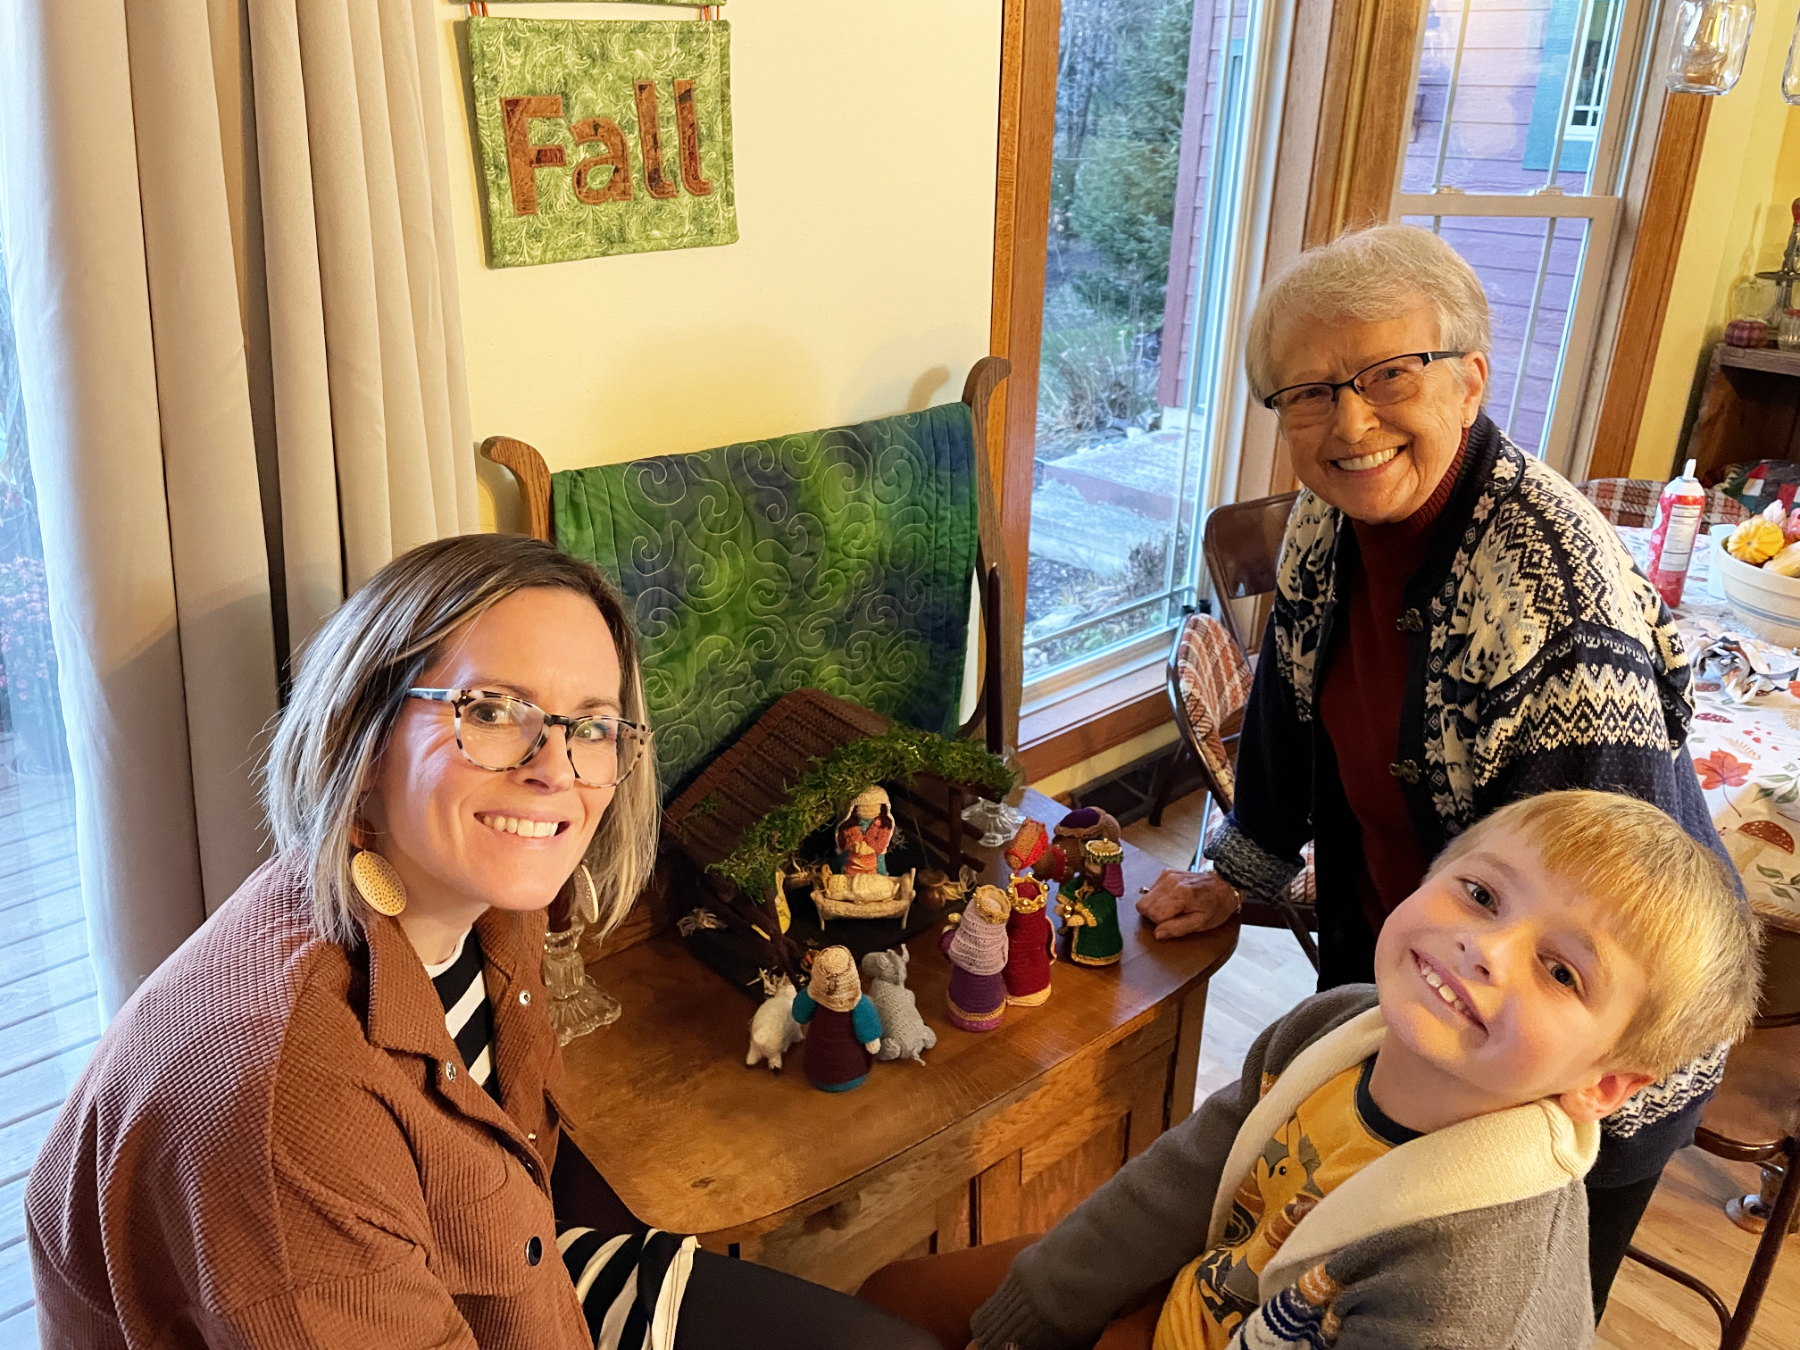
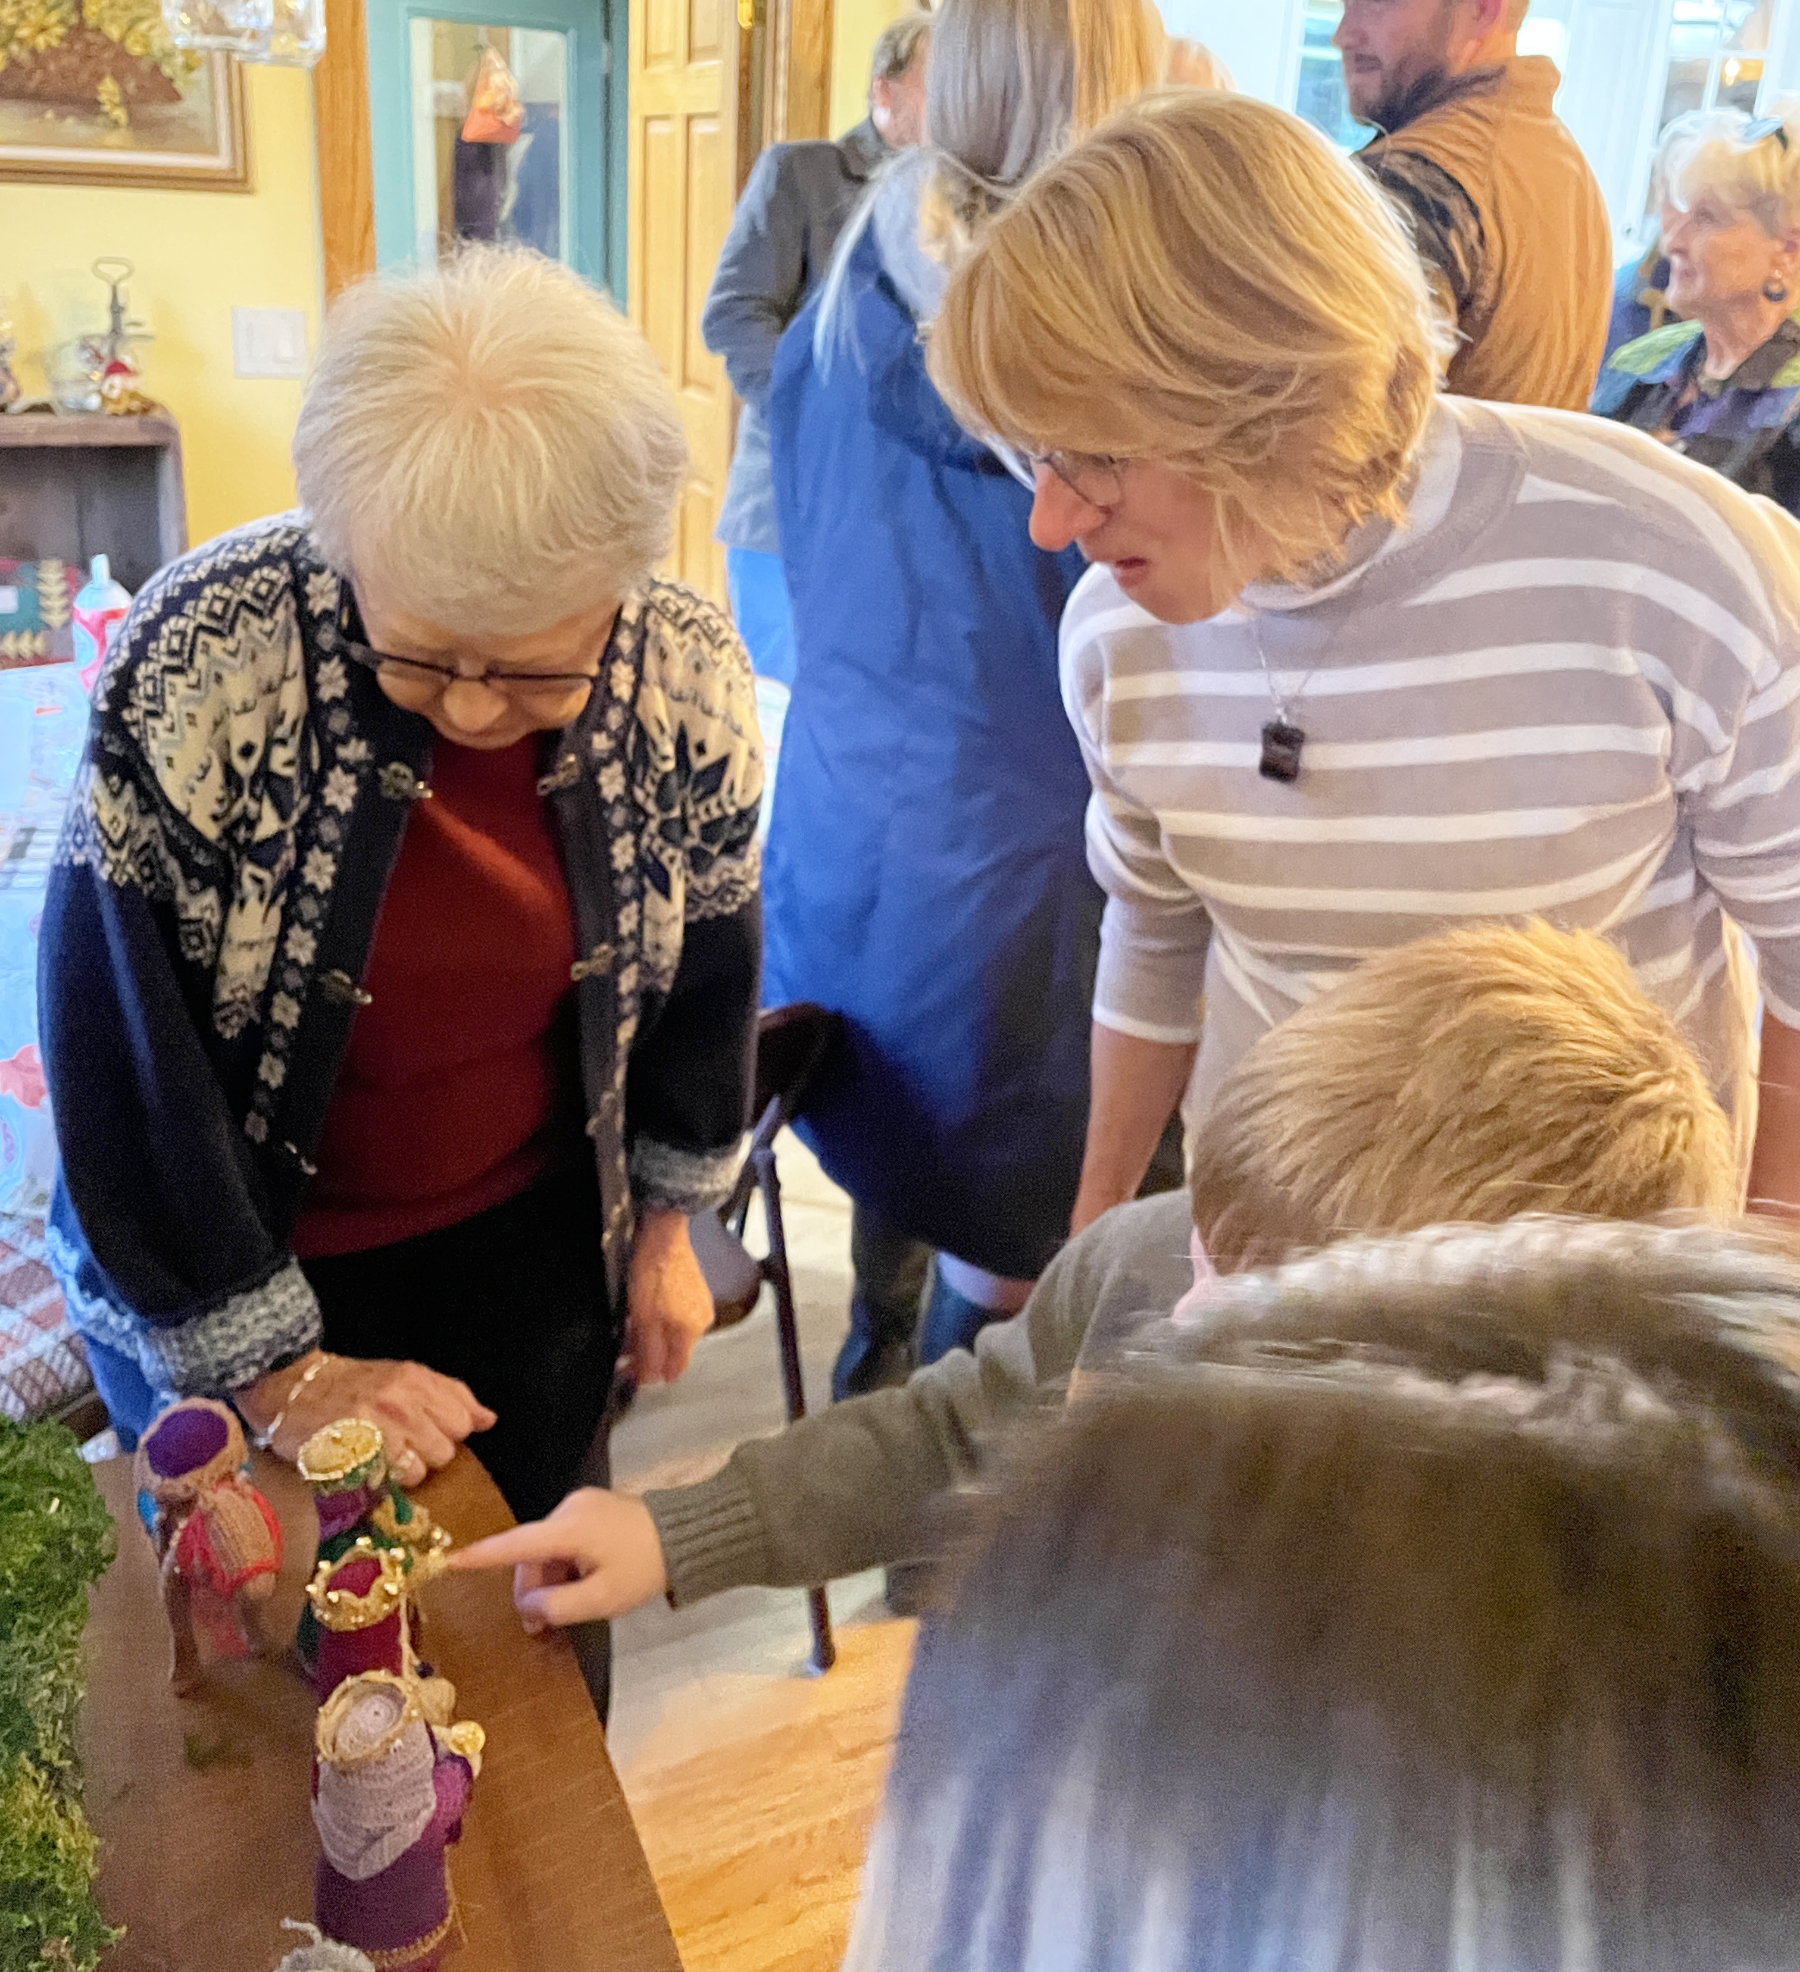
Thank you for all the well wishes and kind comments about the nativity my parents gifted me. Those comments meant a lot to all of us 😊. I only have a few nativities, and this one is the most special. On the other hand…
I think another of my collections has become an obsession ~ and Mike thinks I may need professional help!
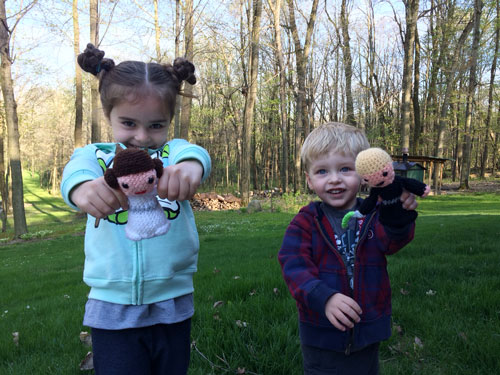
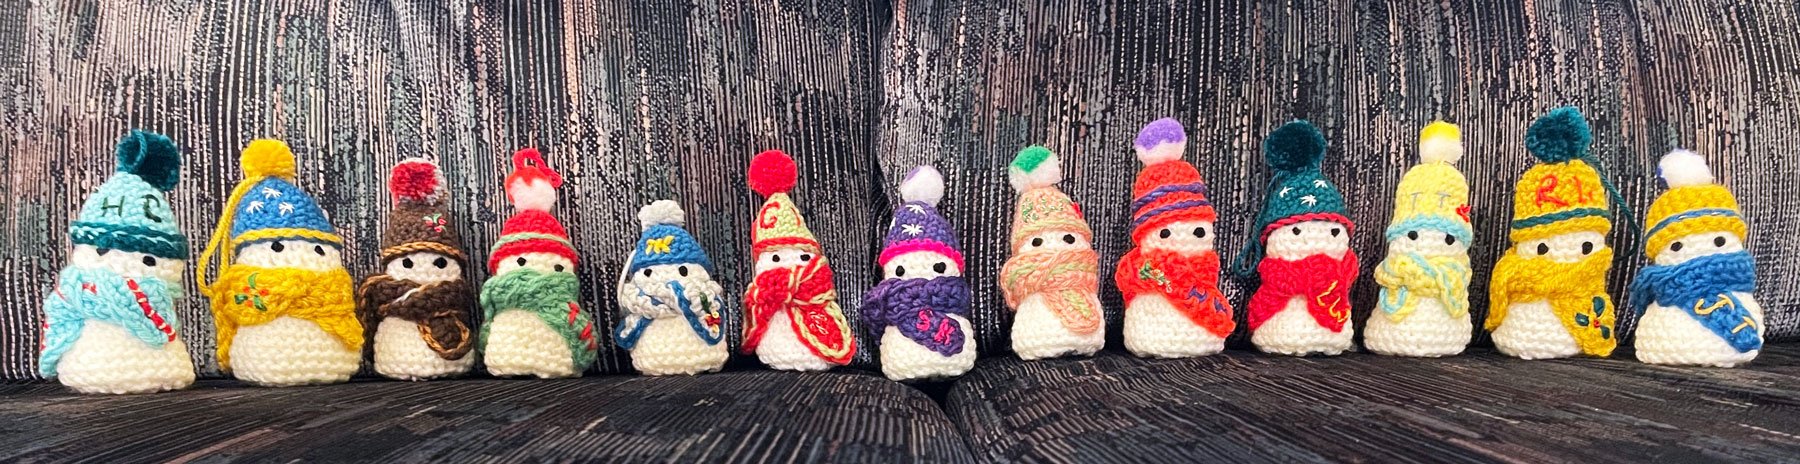
The collection started innocently enough when I purchased my first hanging snowmen at a craft fair in the 80s.
Some I’ve purchased, some were gifts and a few I stitched myself. I didn’t realize how much my collection had grown until I started decorating for Christmas this year. Last year, in the midst of the home renovations, I began choosing spots to hang and set up our holiday trim, only to have things fall off and fall over as the workers shook it all up while tearing the old siding and windows off of our home.
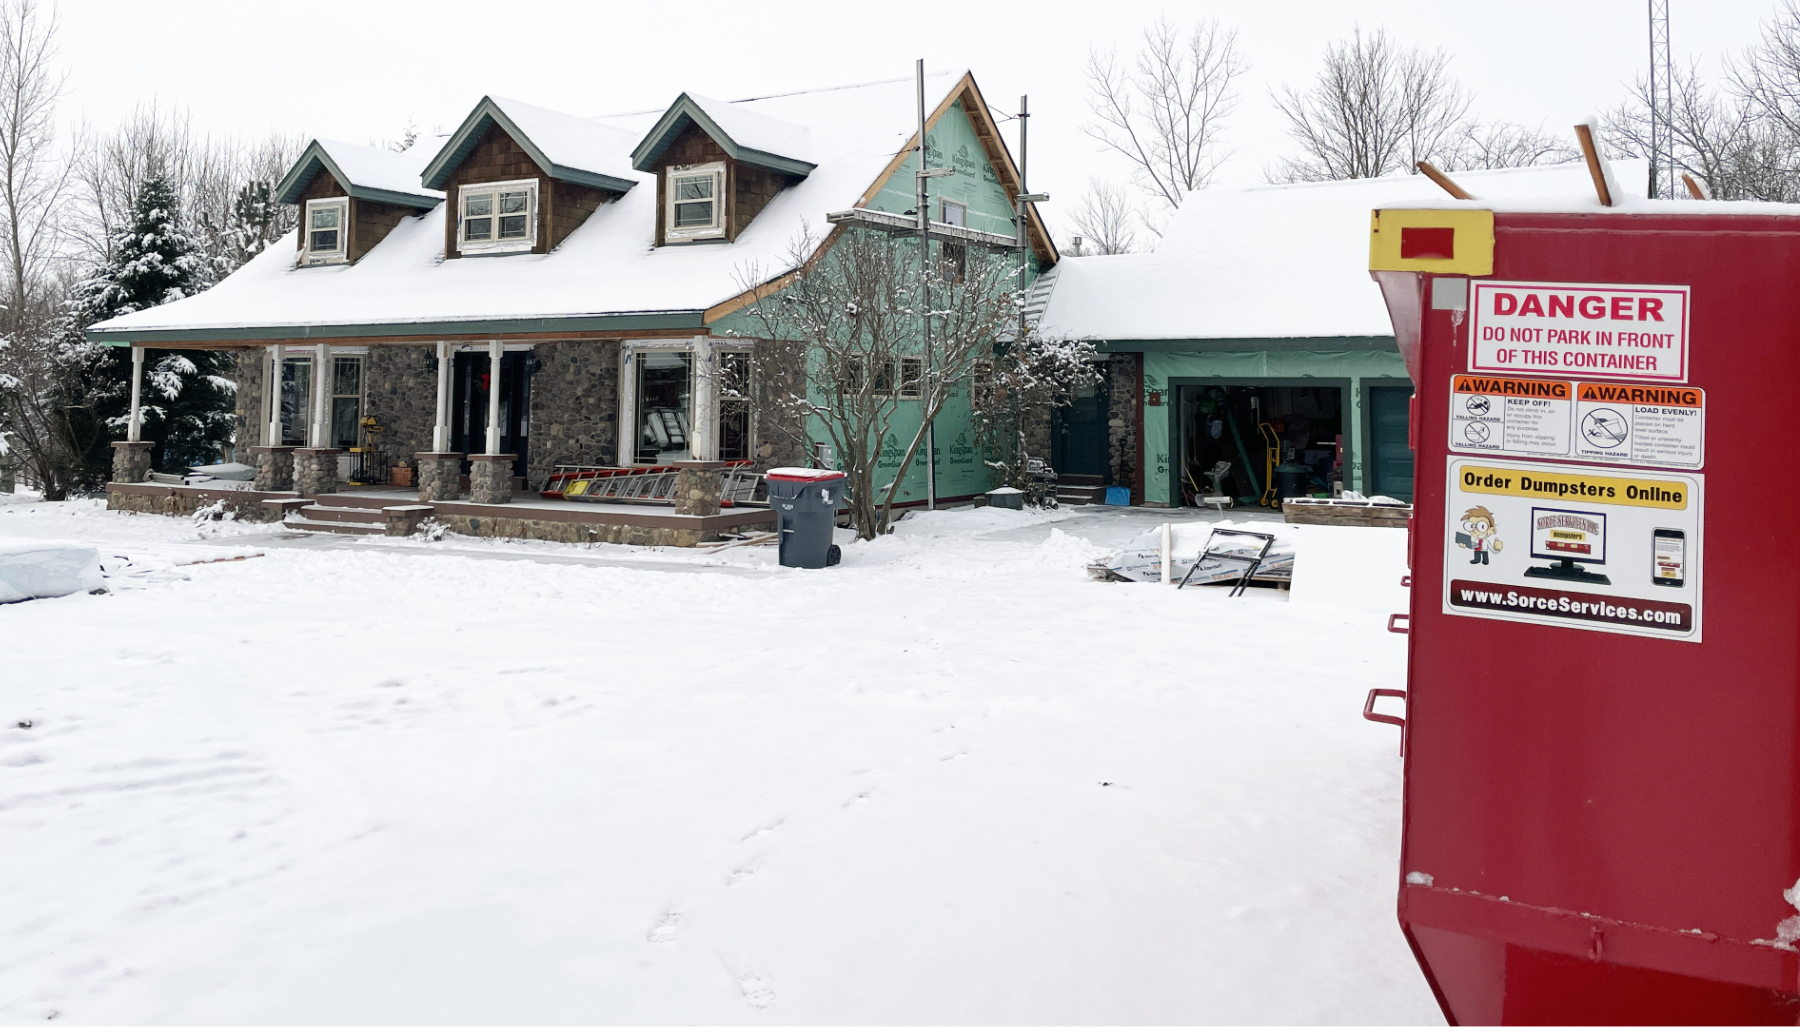
We are really enjoying the peace (and quiet) and beauty (without the muddy mess) of the Christmas season this year.
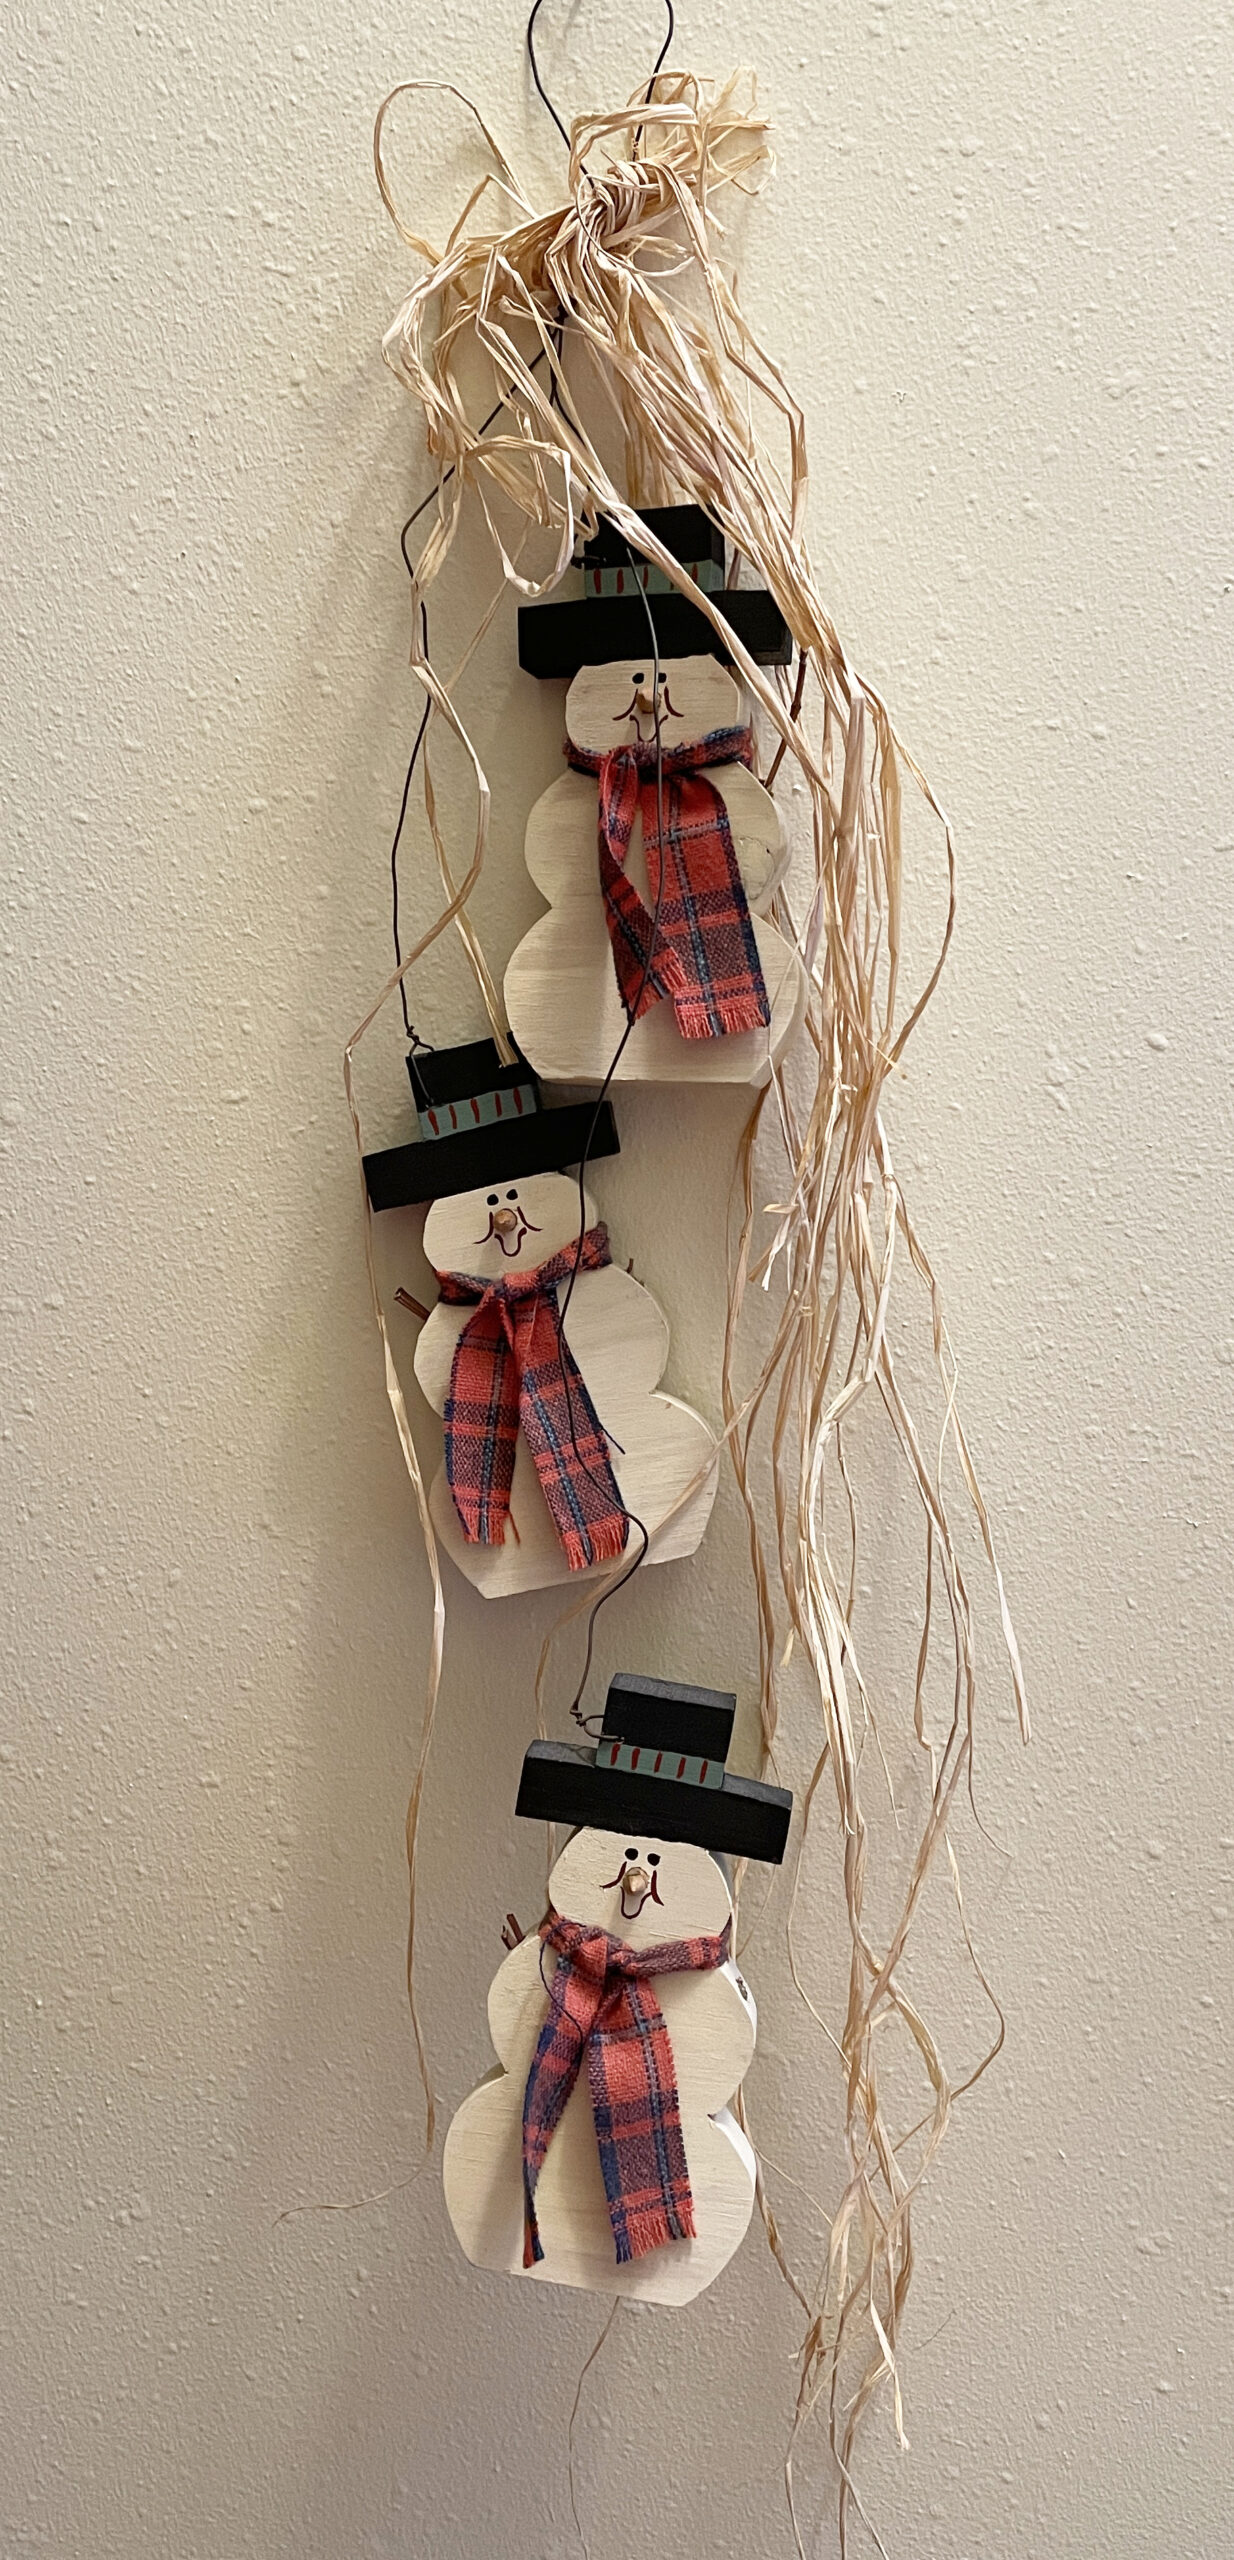
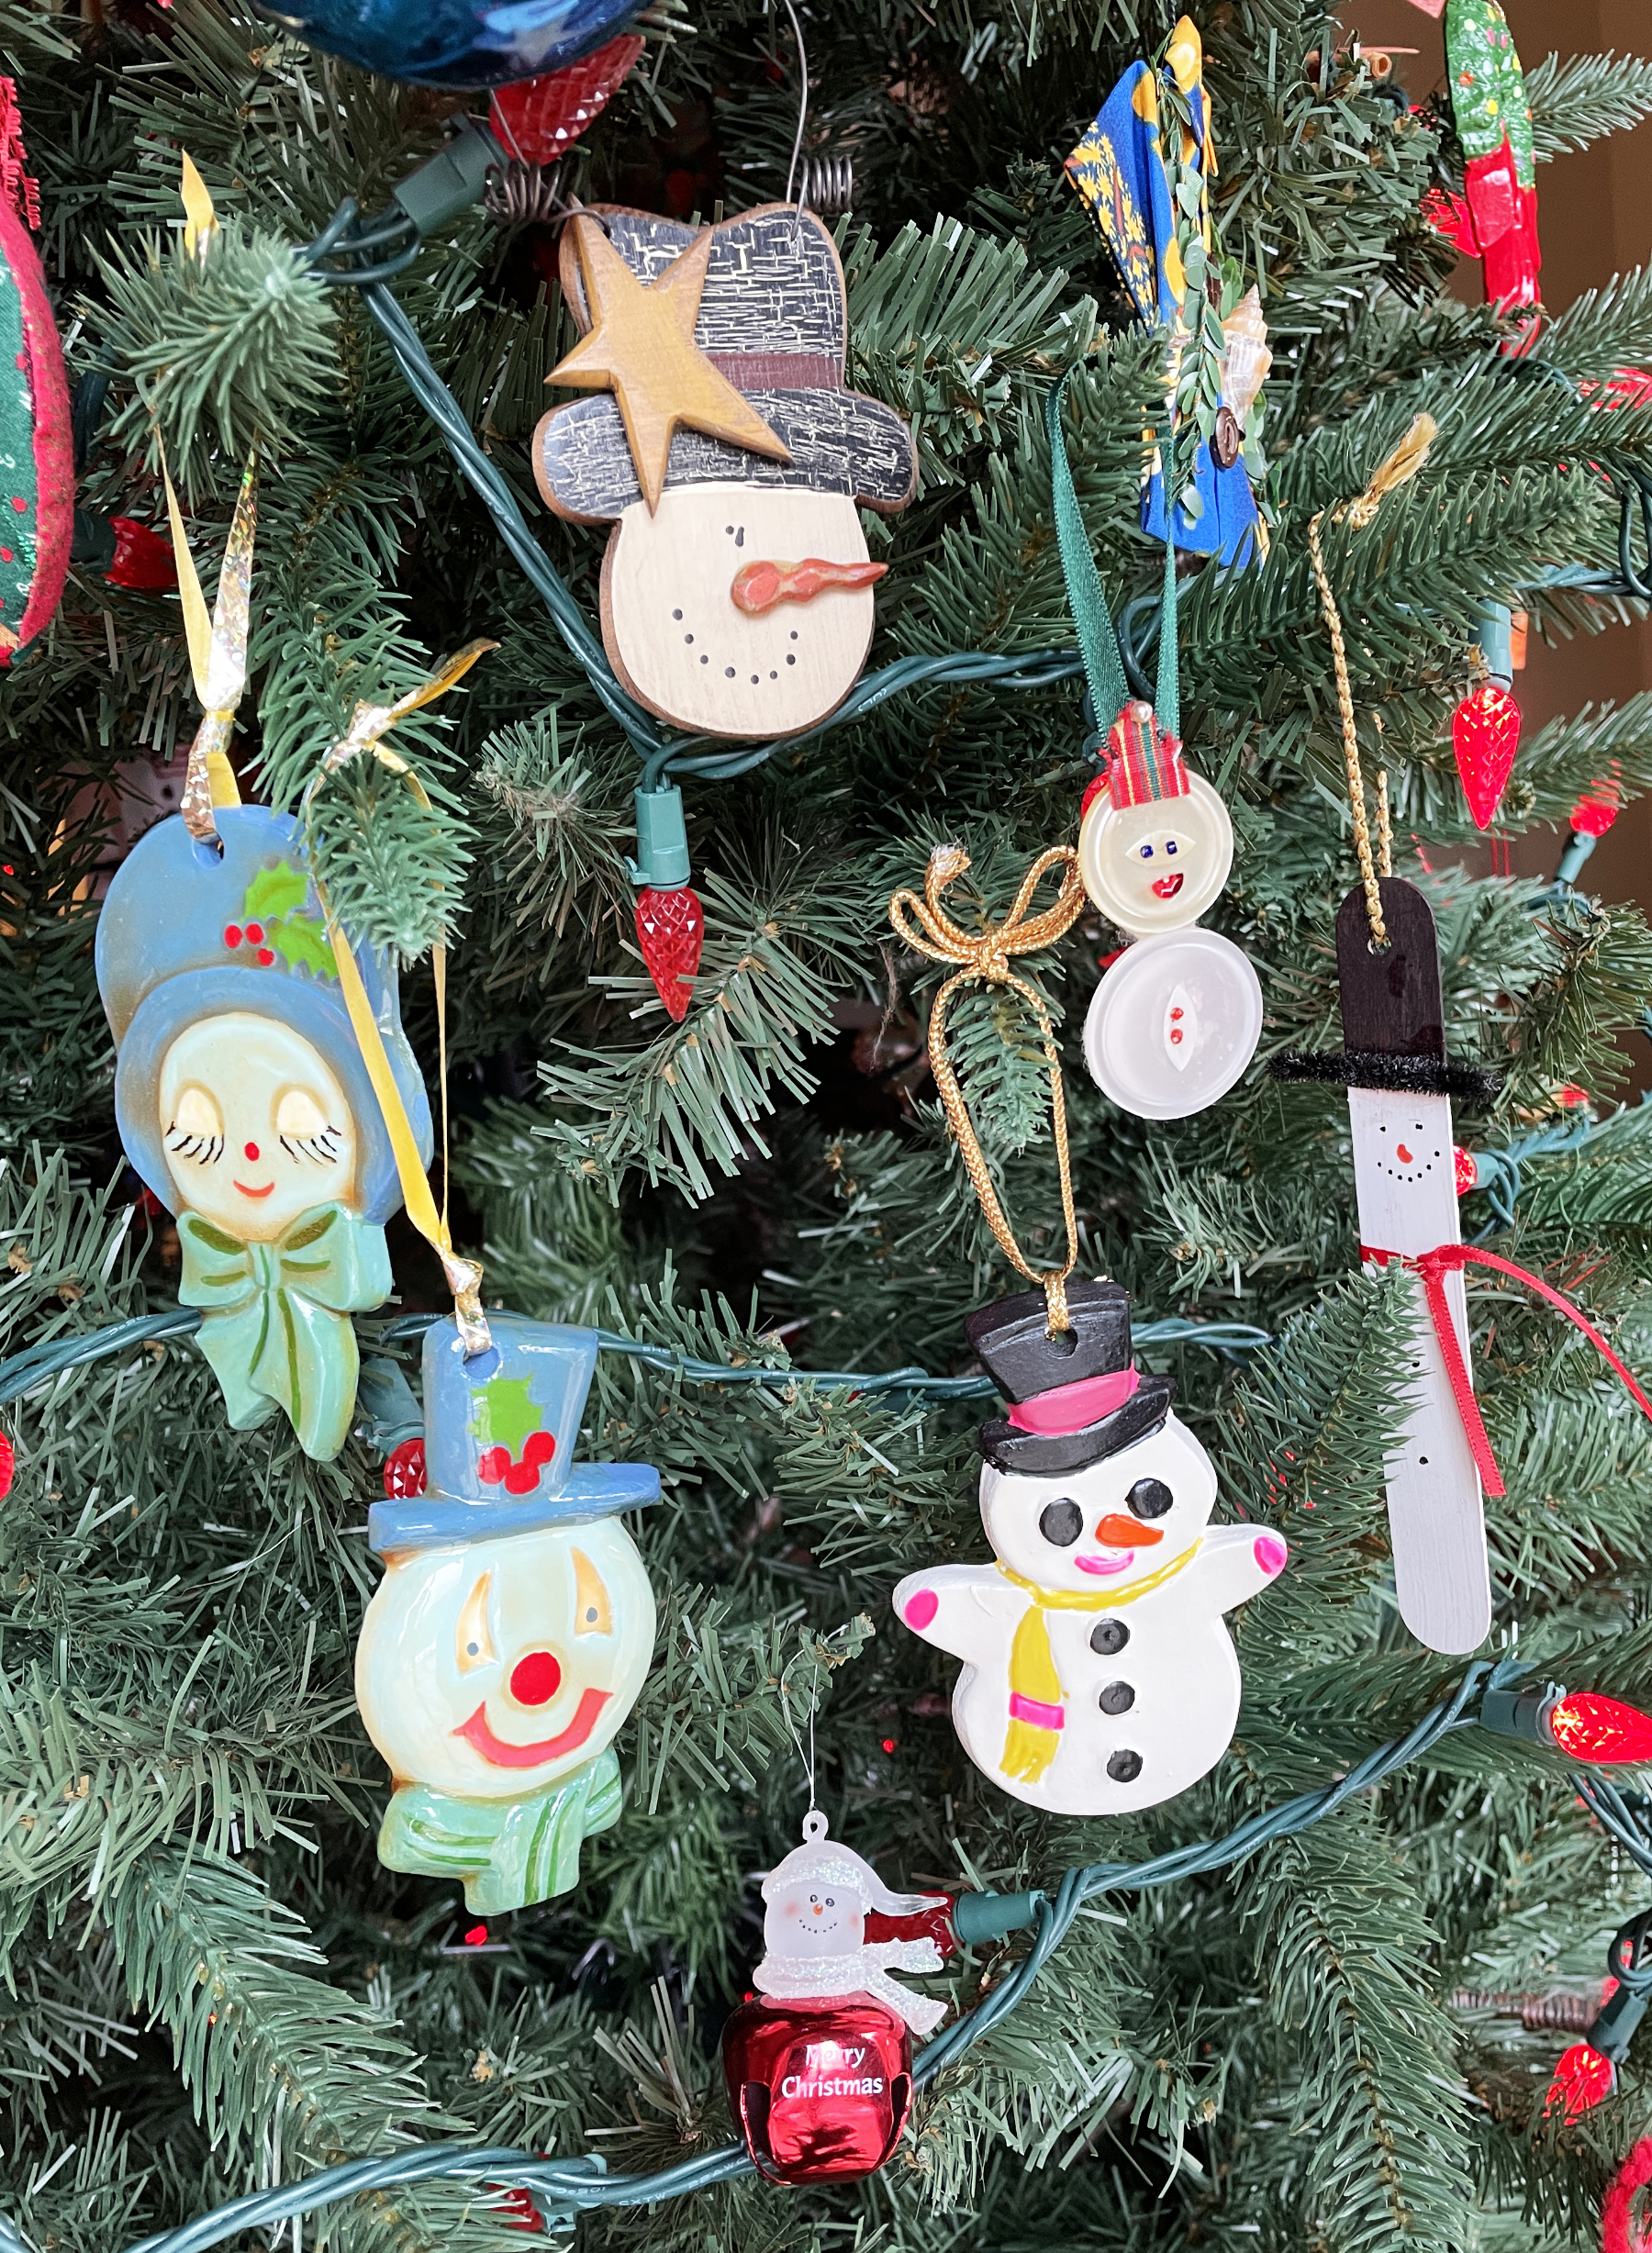
So I had a blast deciding where the snowpeople in my collection should spend the winter. Well, it really spread out fast. I have tree danglers:
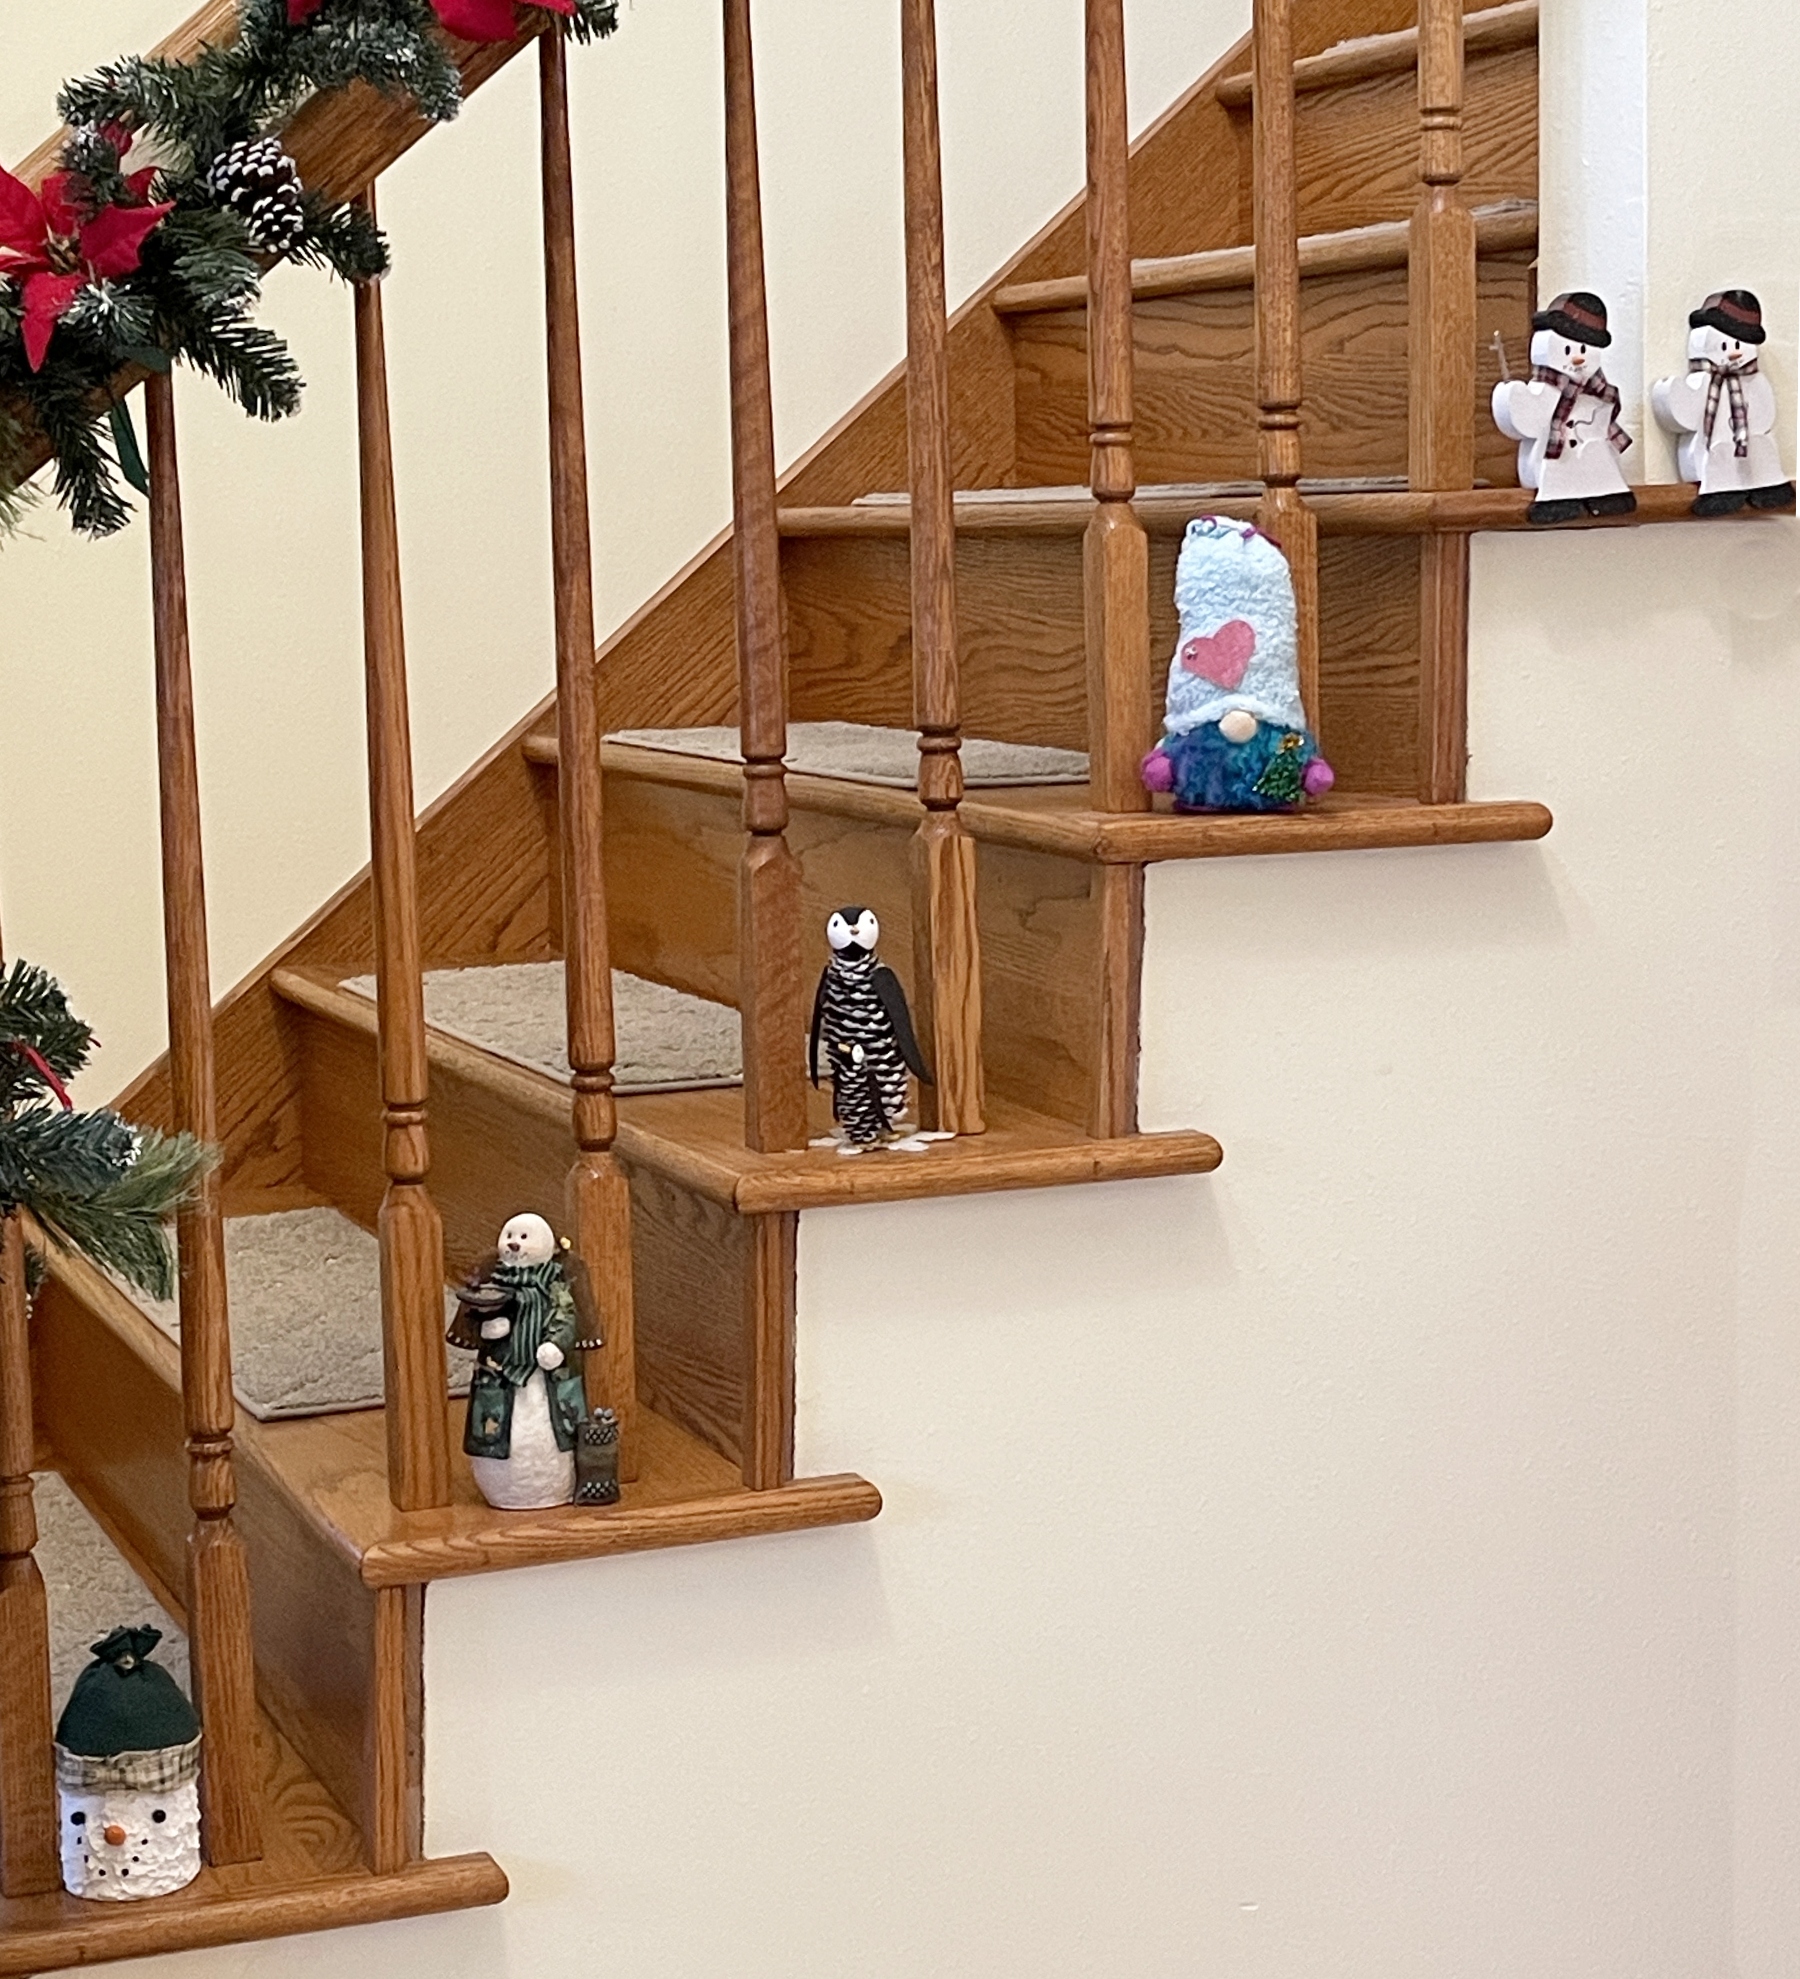
staircase sitters:
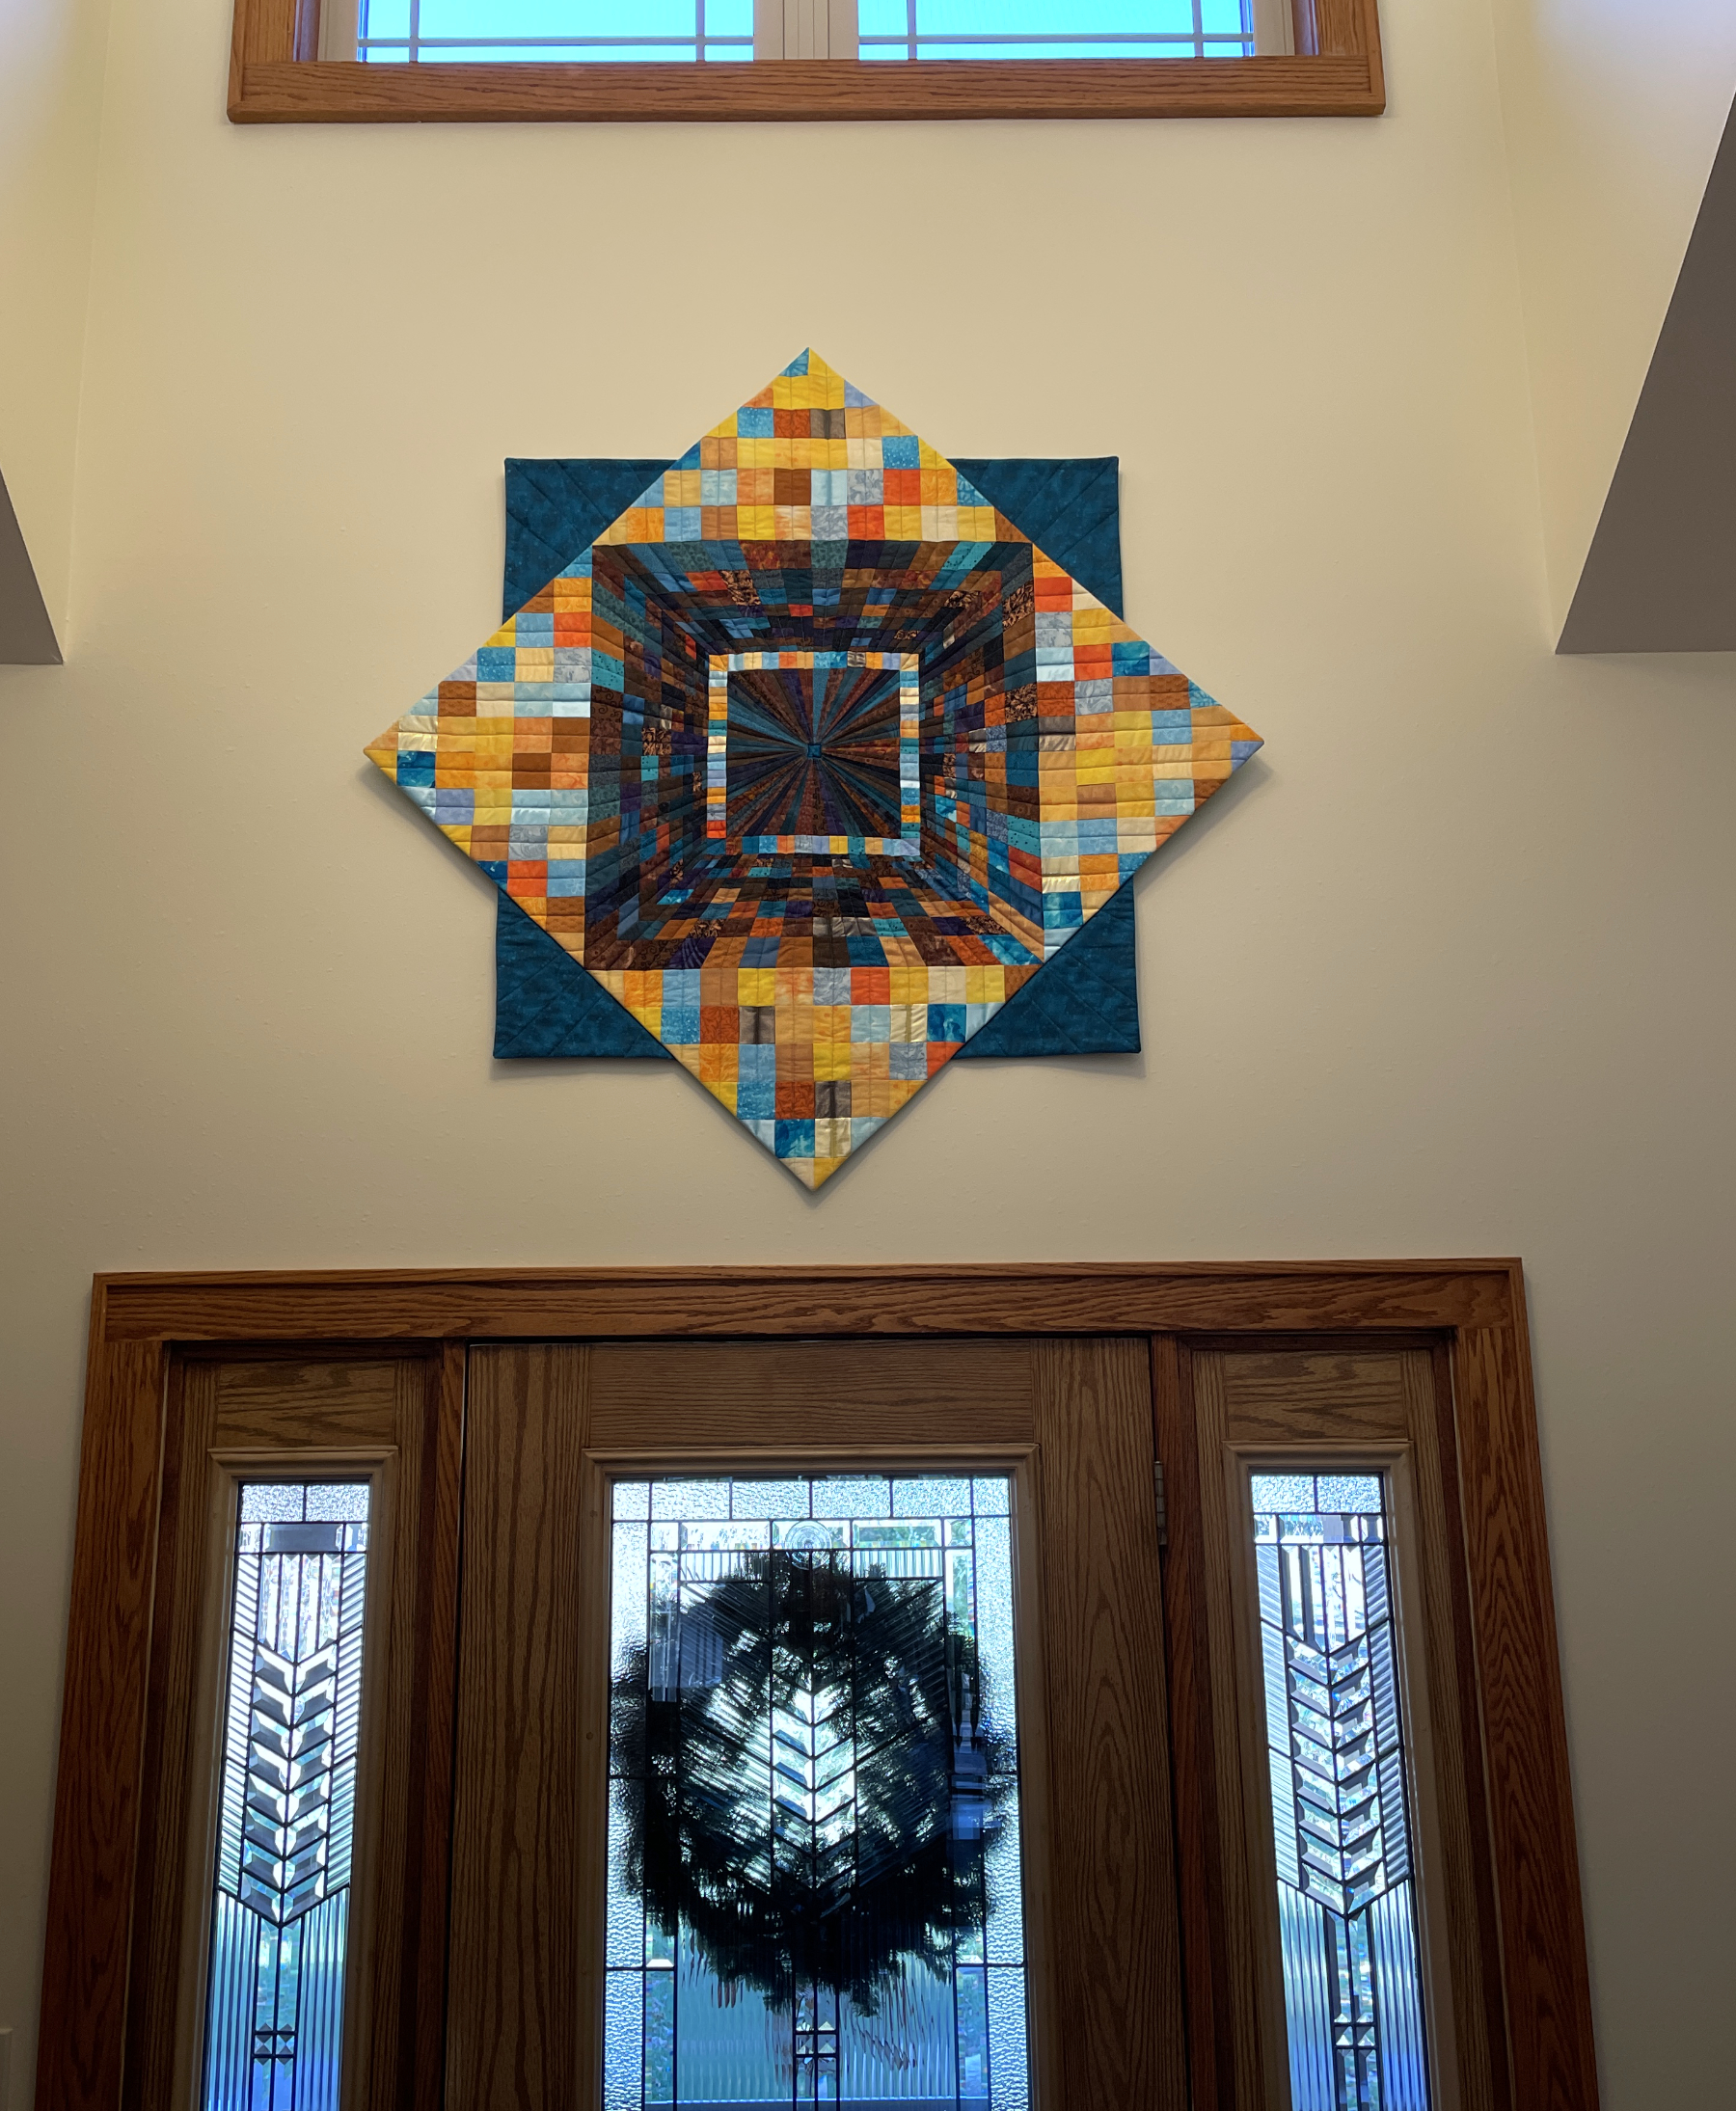
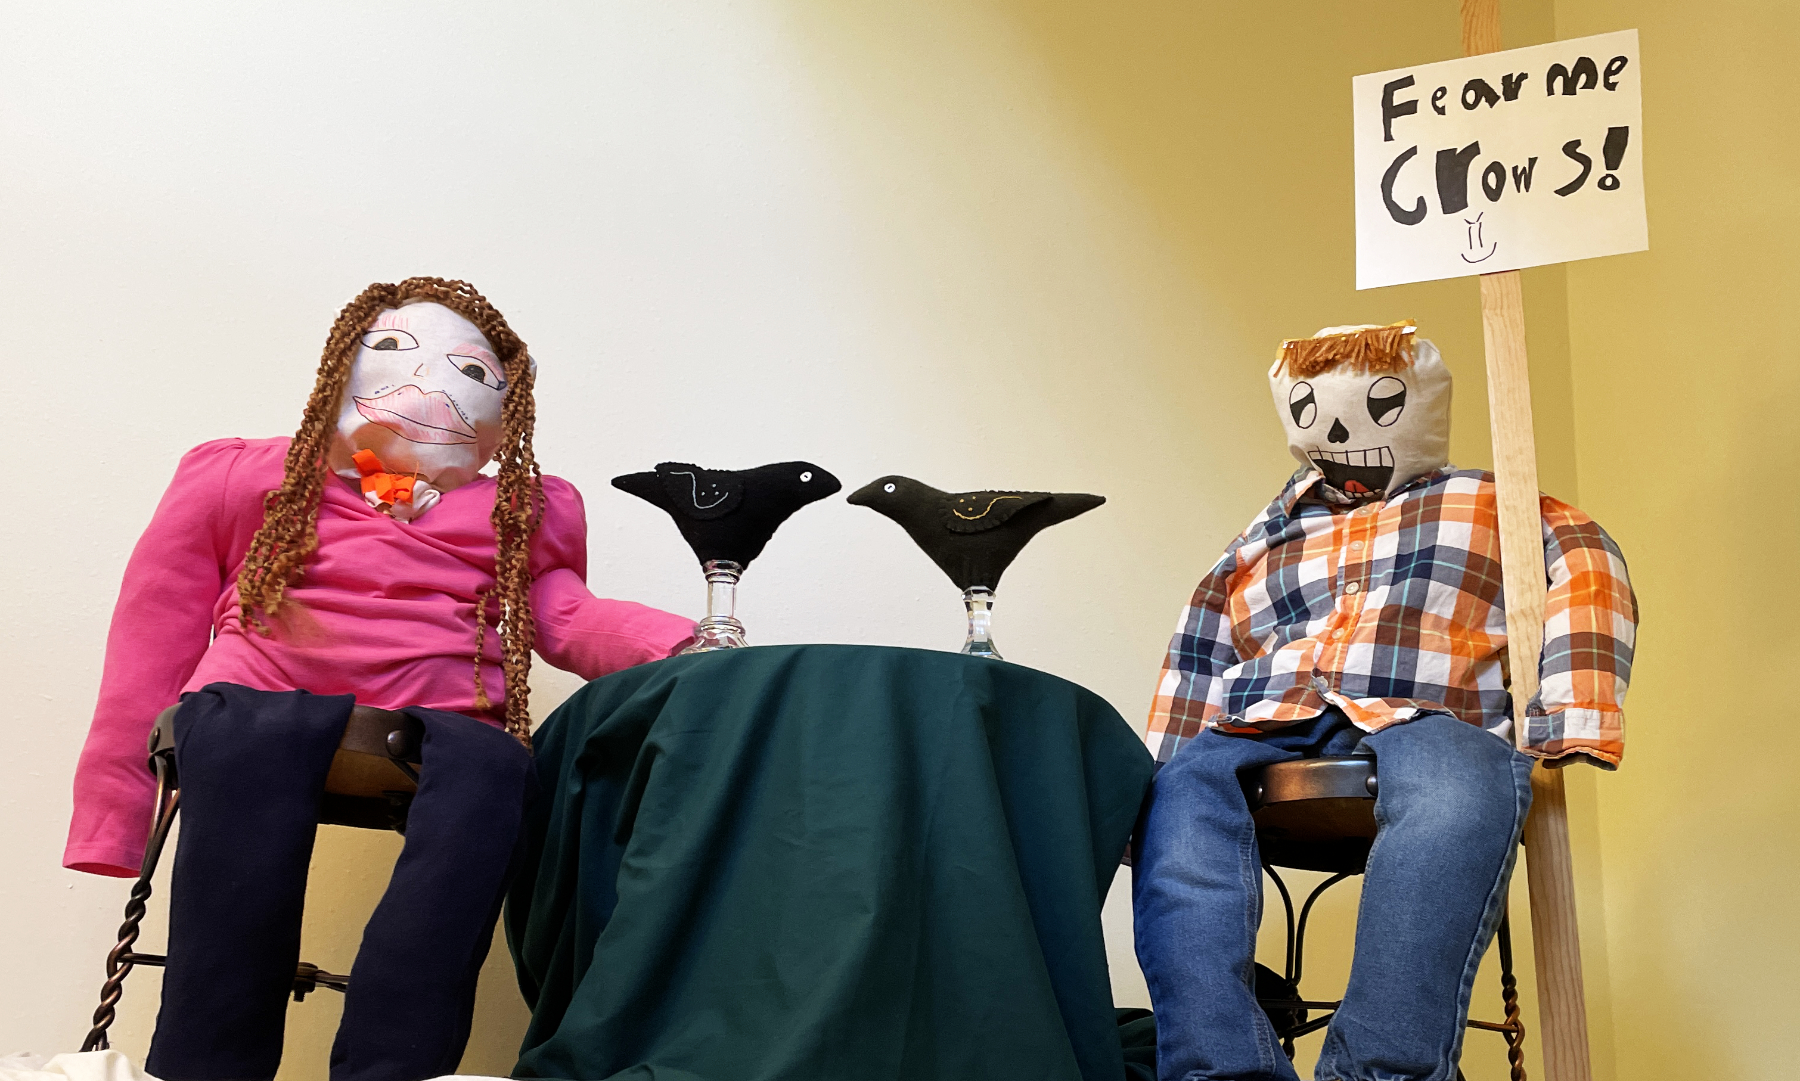
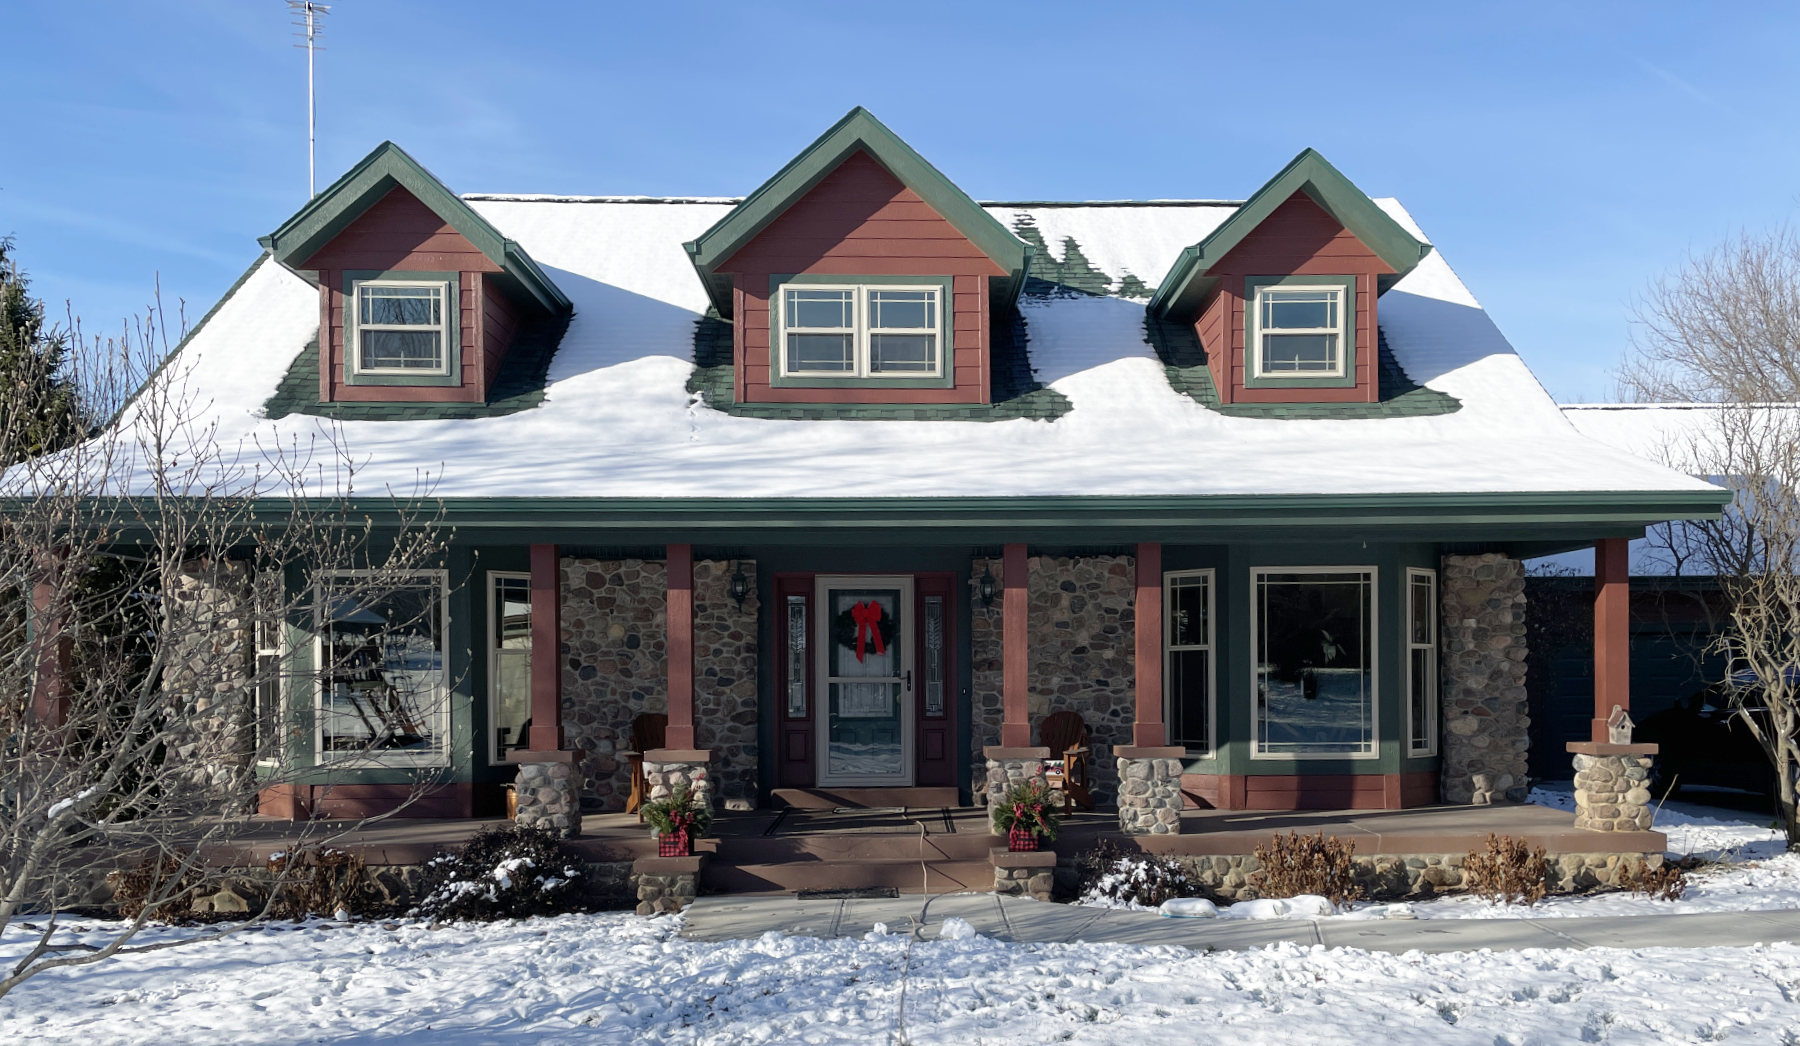
front hall freeloaders:
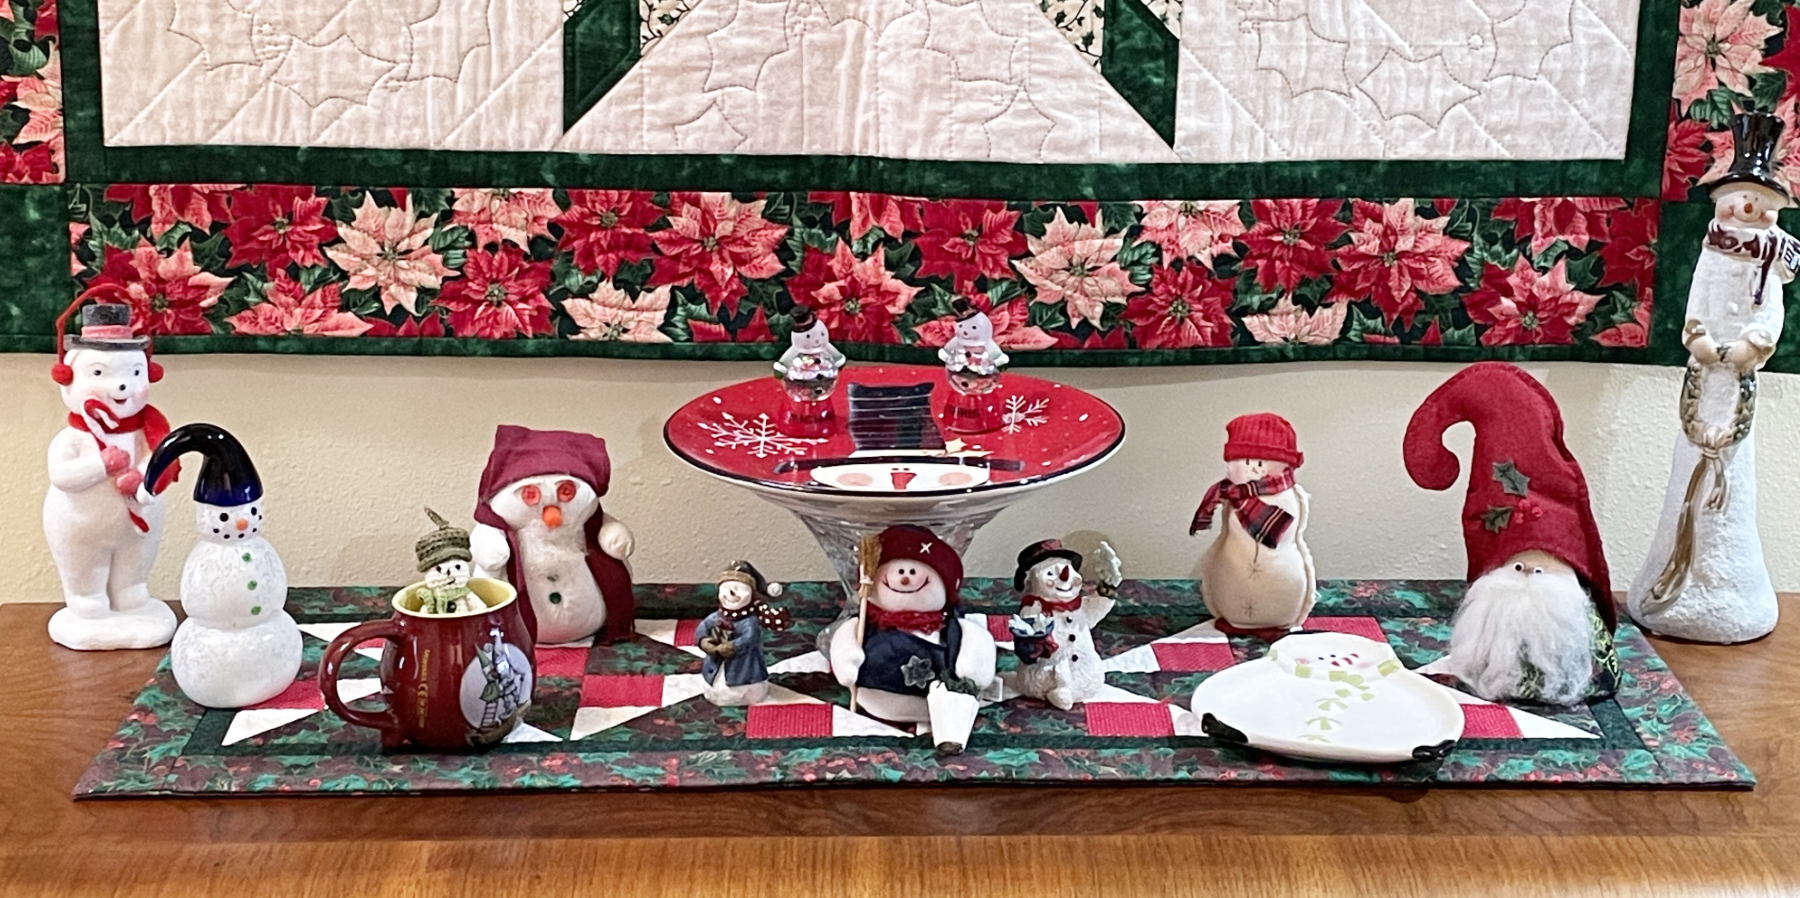
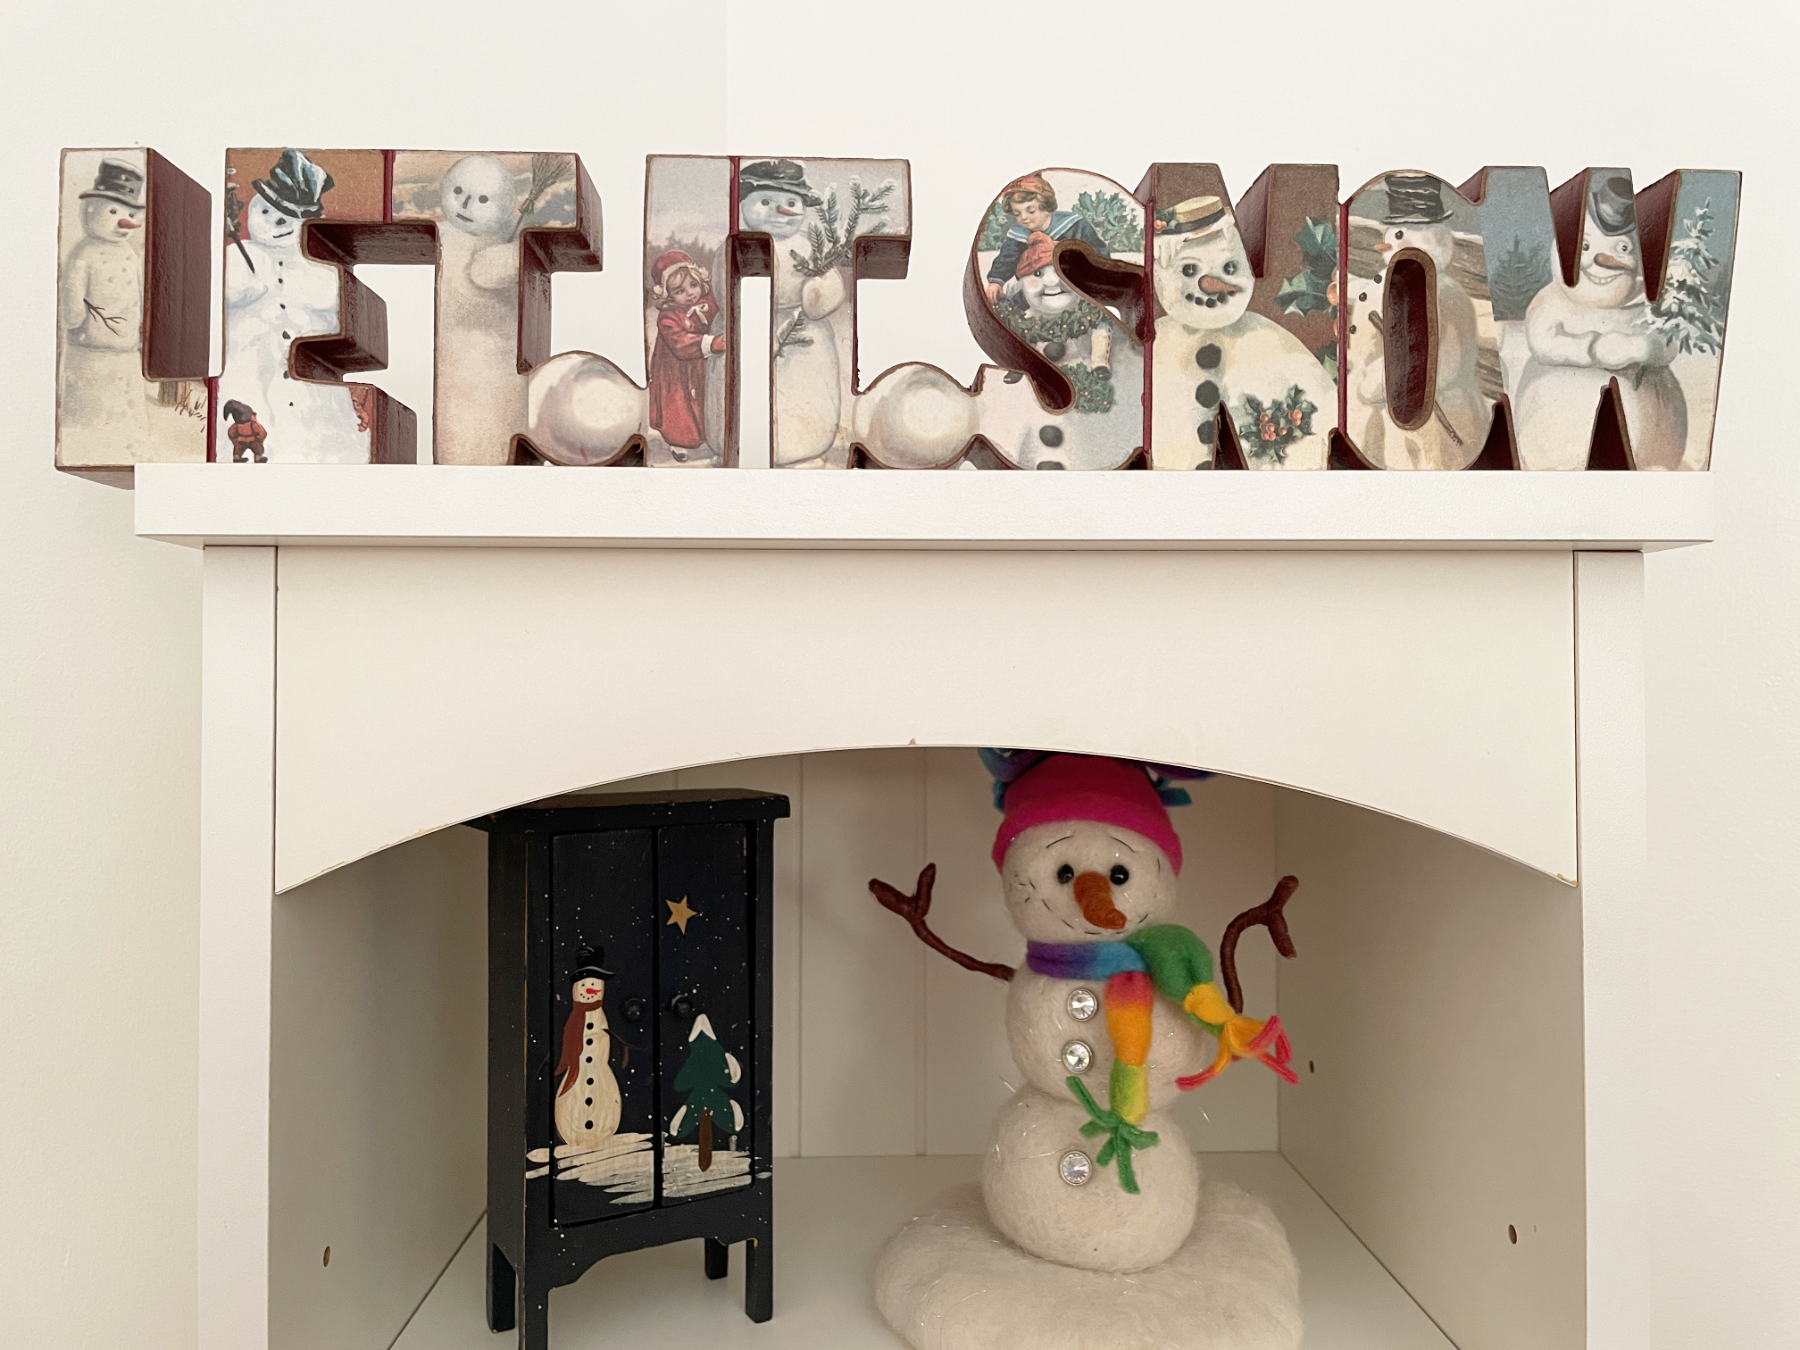
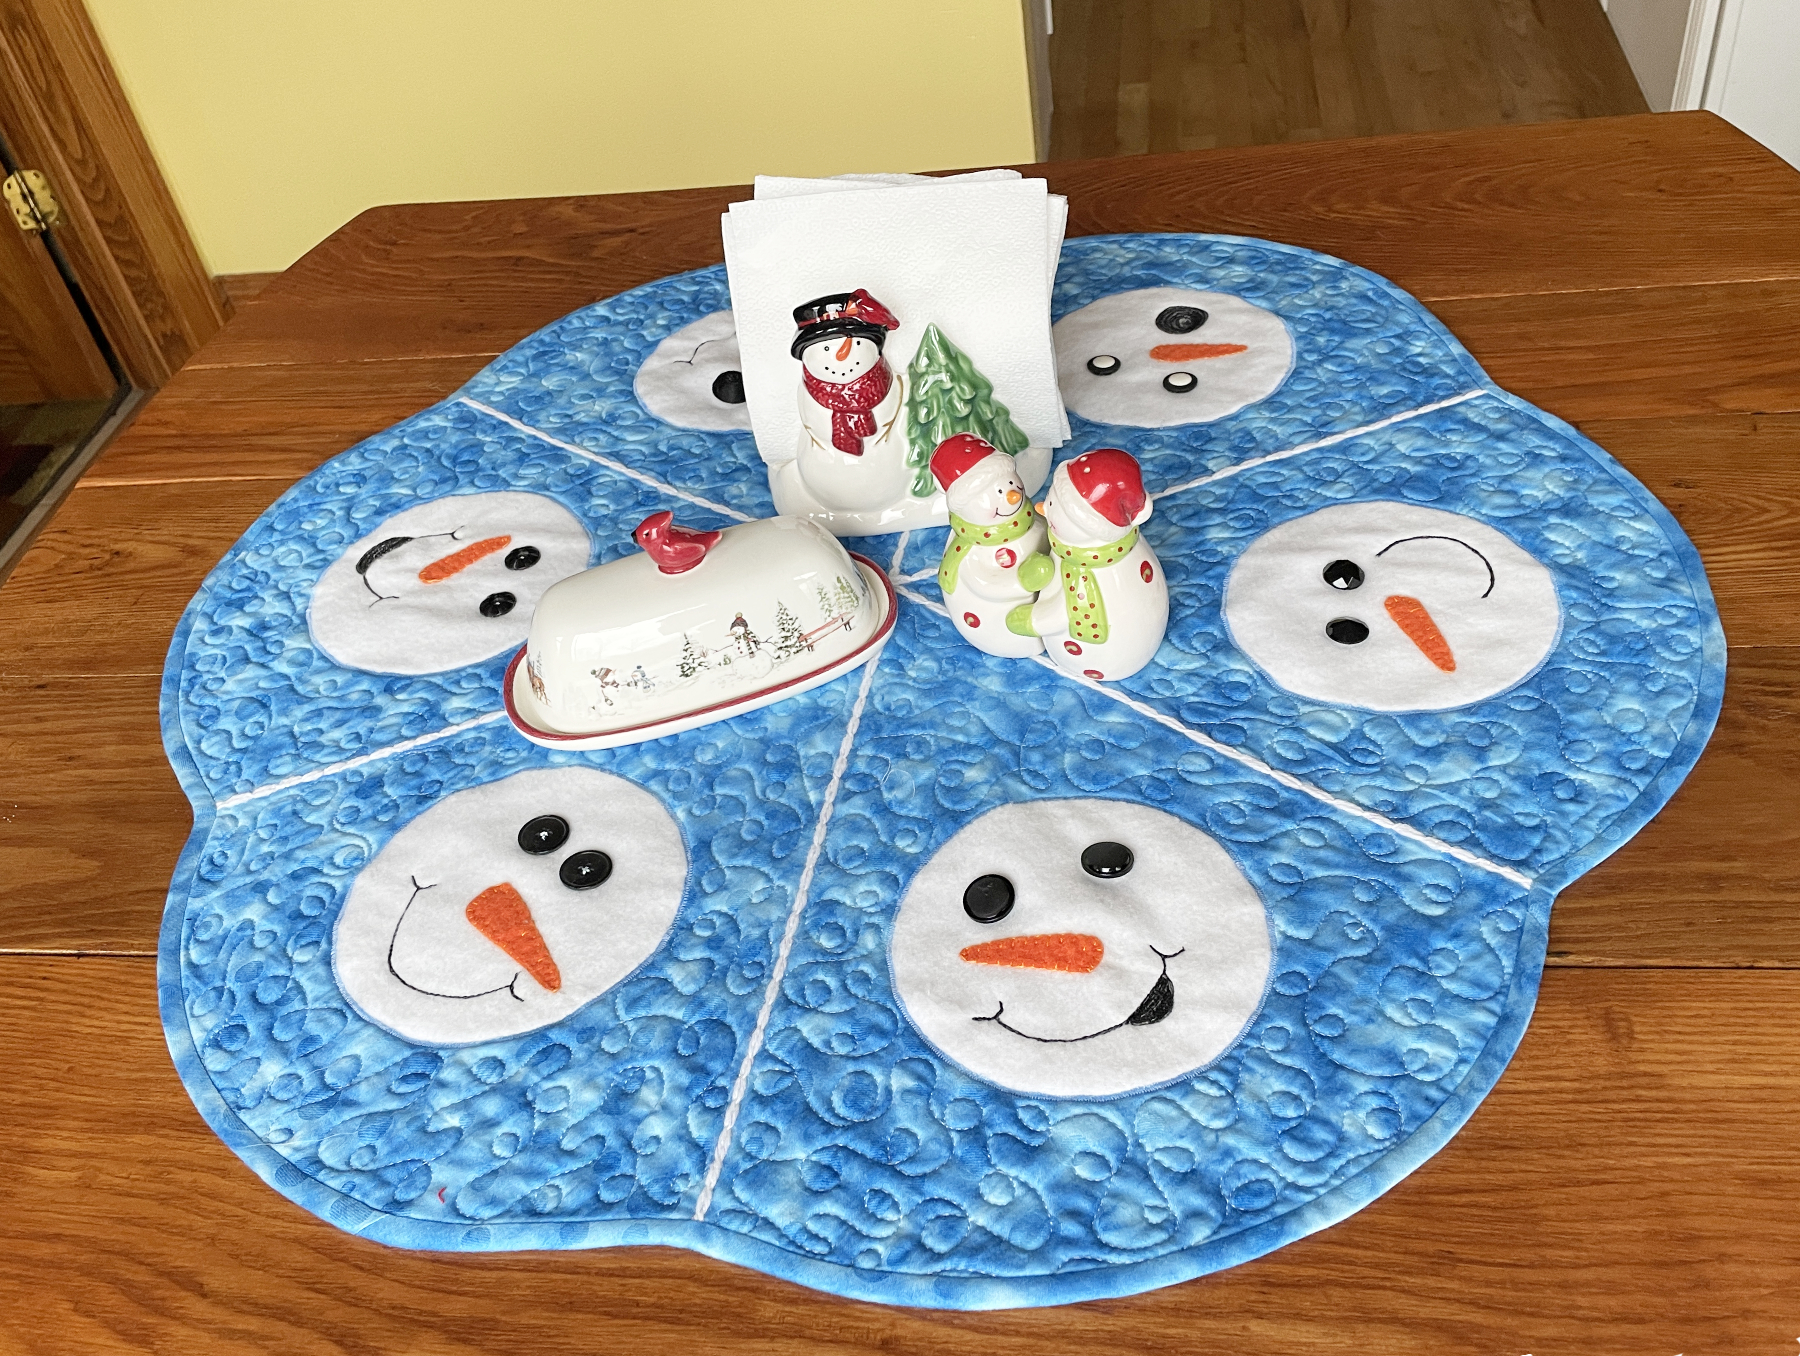
table toppers:
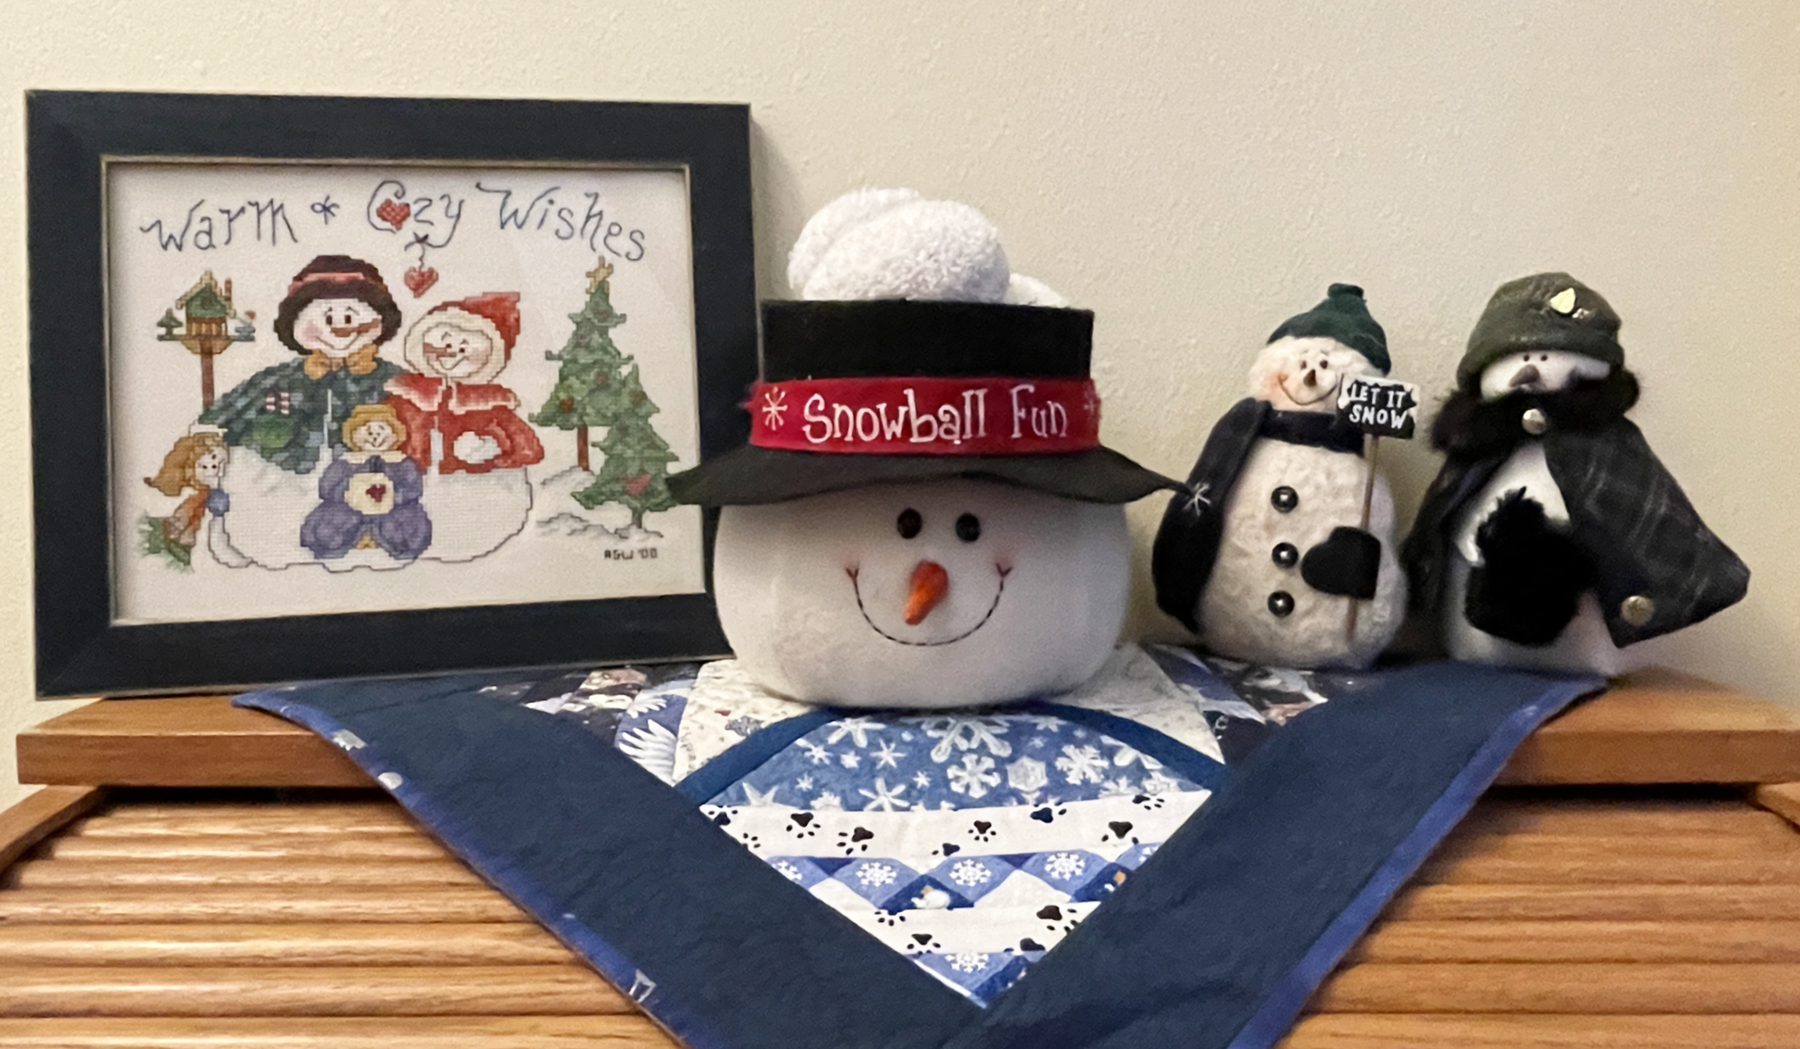
powder room posers:

desktop dalliers:
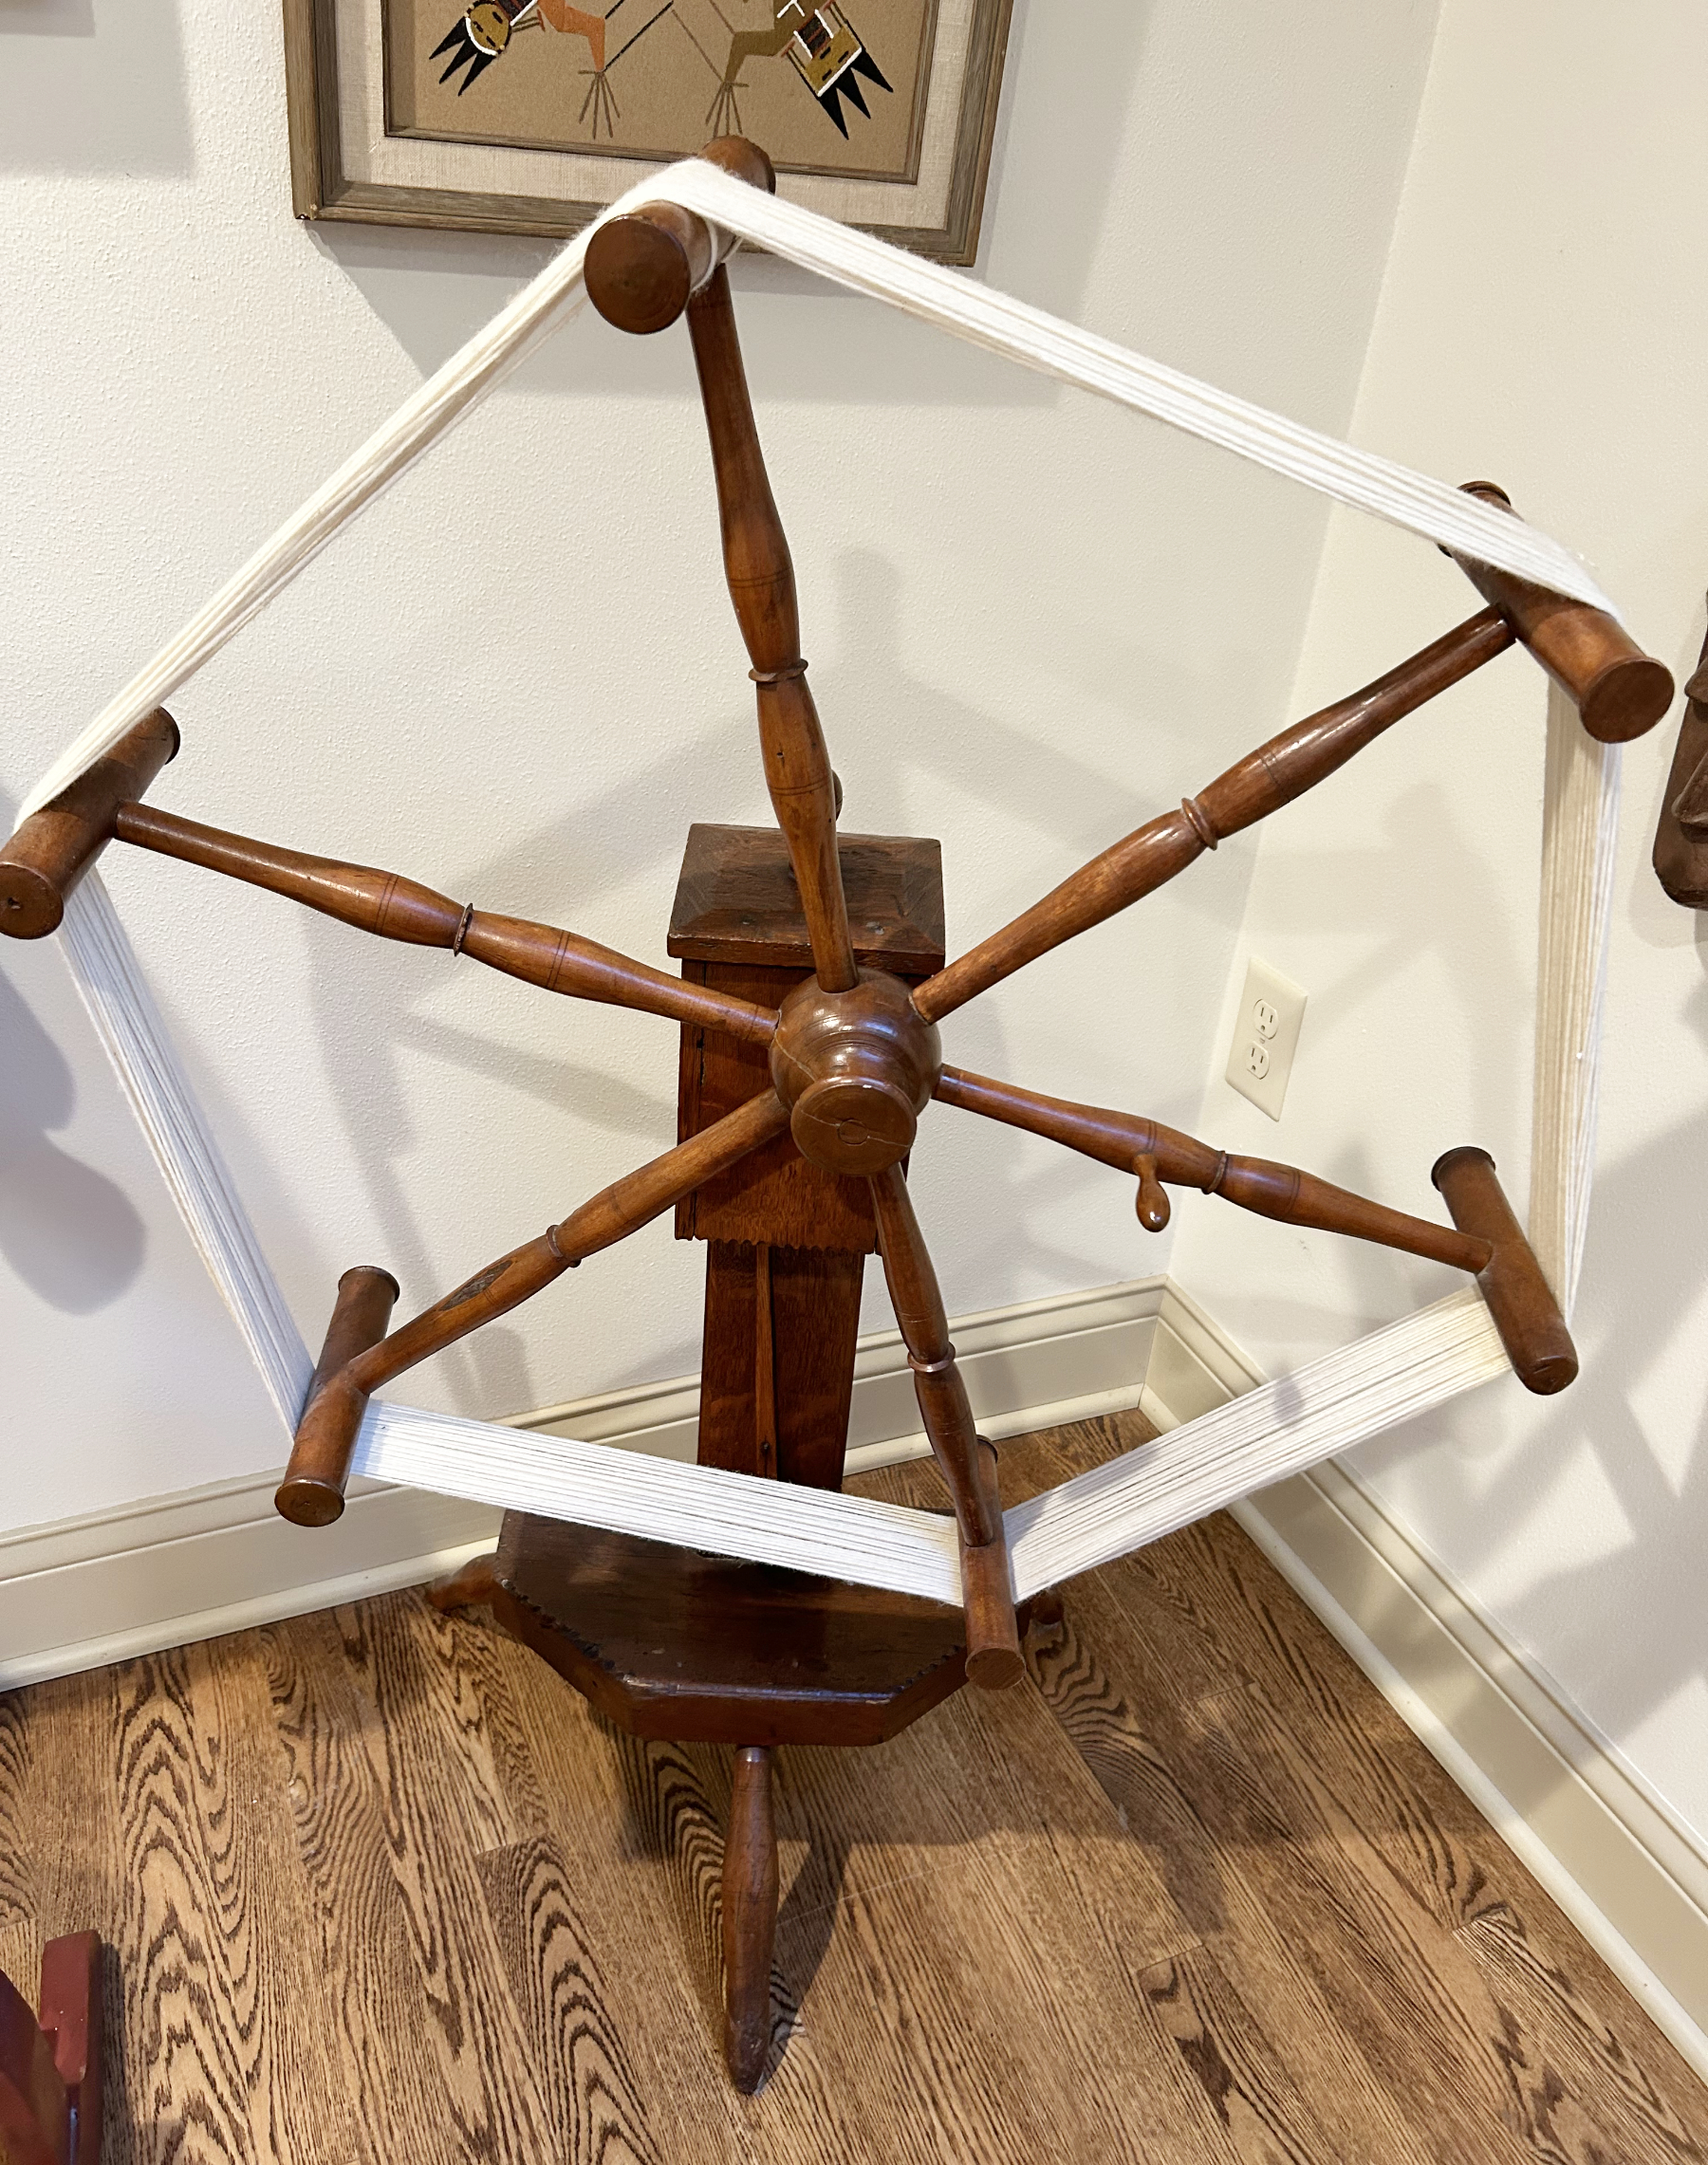
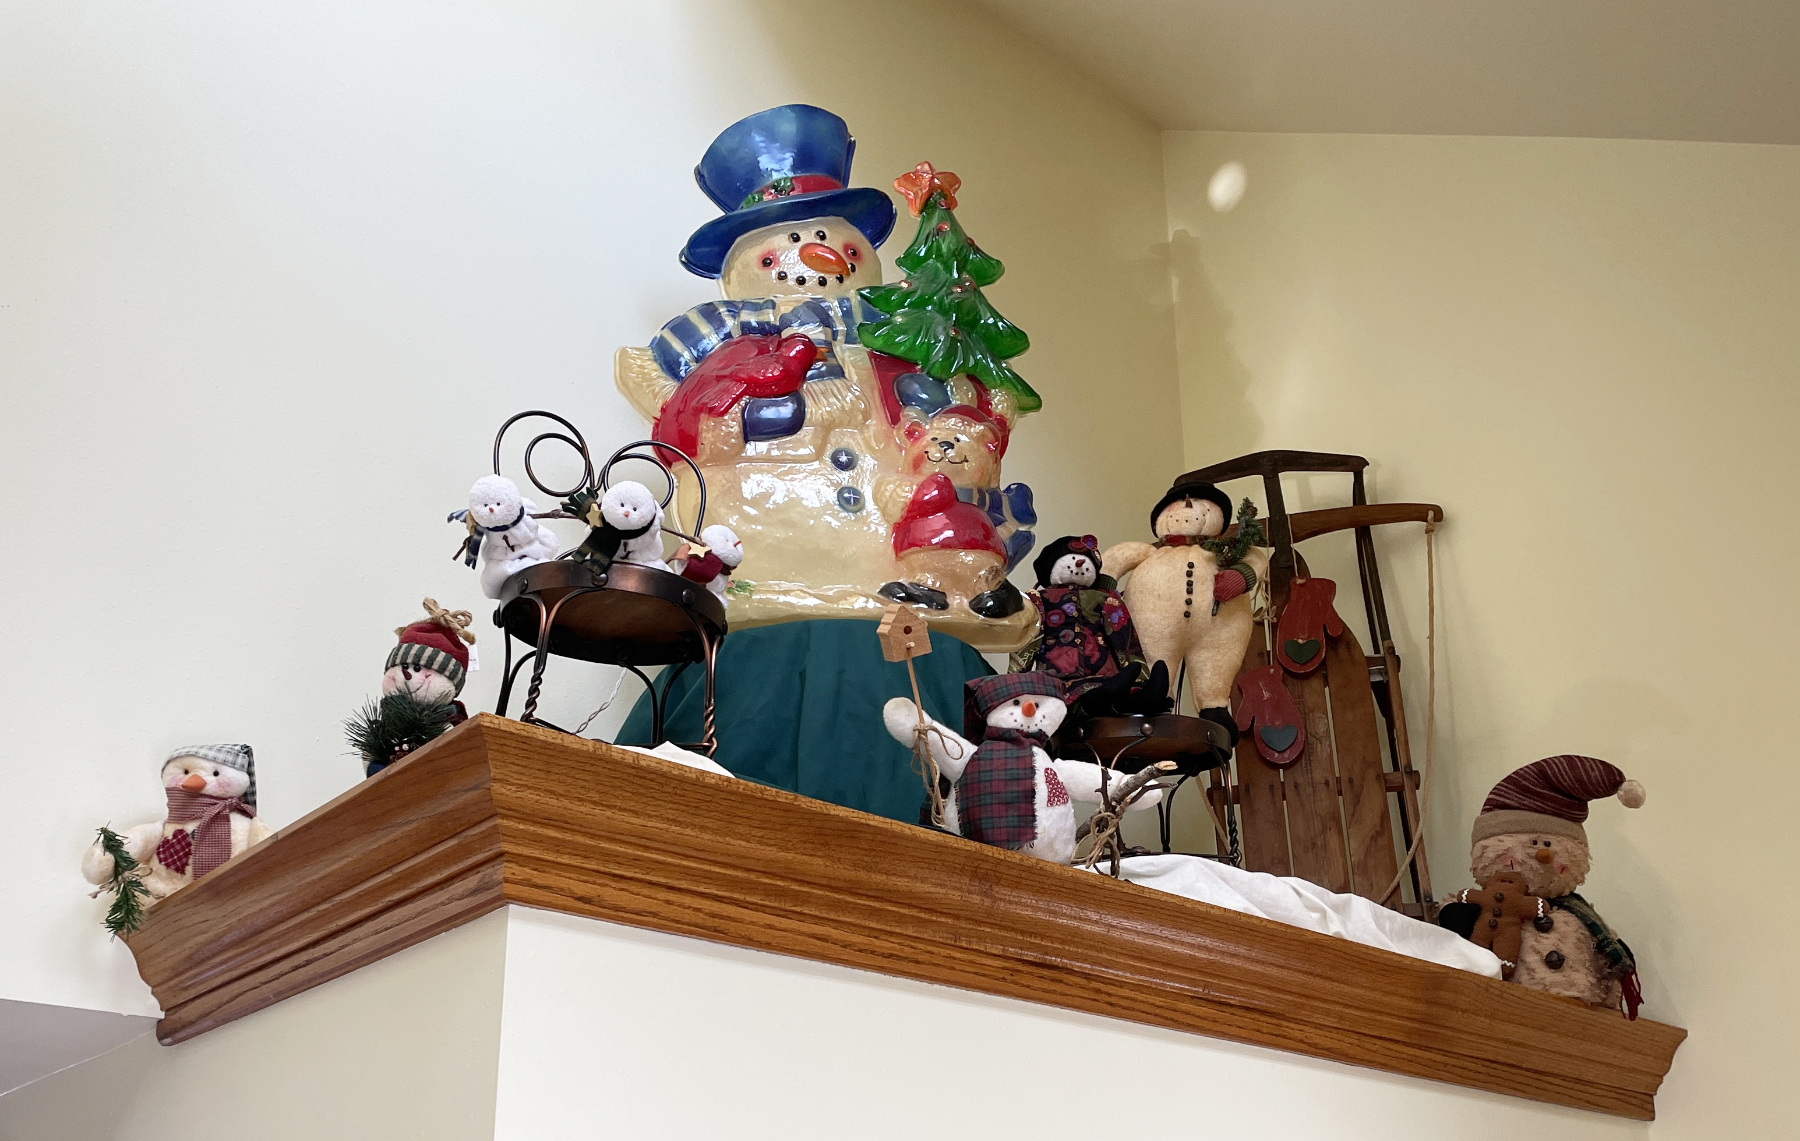
and a lofty gathering of loiterers over the front hall closet (the antique yarn winder from a previous post is adorning the dining room until the snow season is over):
So you might think I have enough, but no!!! (I told you it was an obsession!). I hadn’t planned to add to my collection, but one thing led to another and… well here’s the story:
In the beginning of December, when Mike and I went out to hang the icicle lights on the back deck rail, all 6 strands were dead. I decided it was time for a creative change and began noodling.
Years ago Mike made a bunch of pumpkins from logs (we have 9 of them, but this was the only photo I could find).
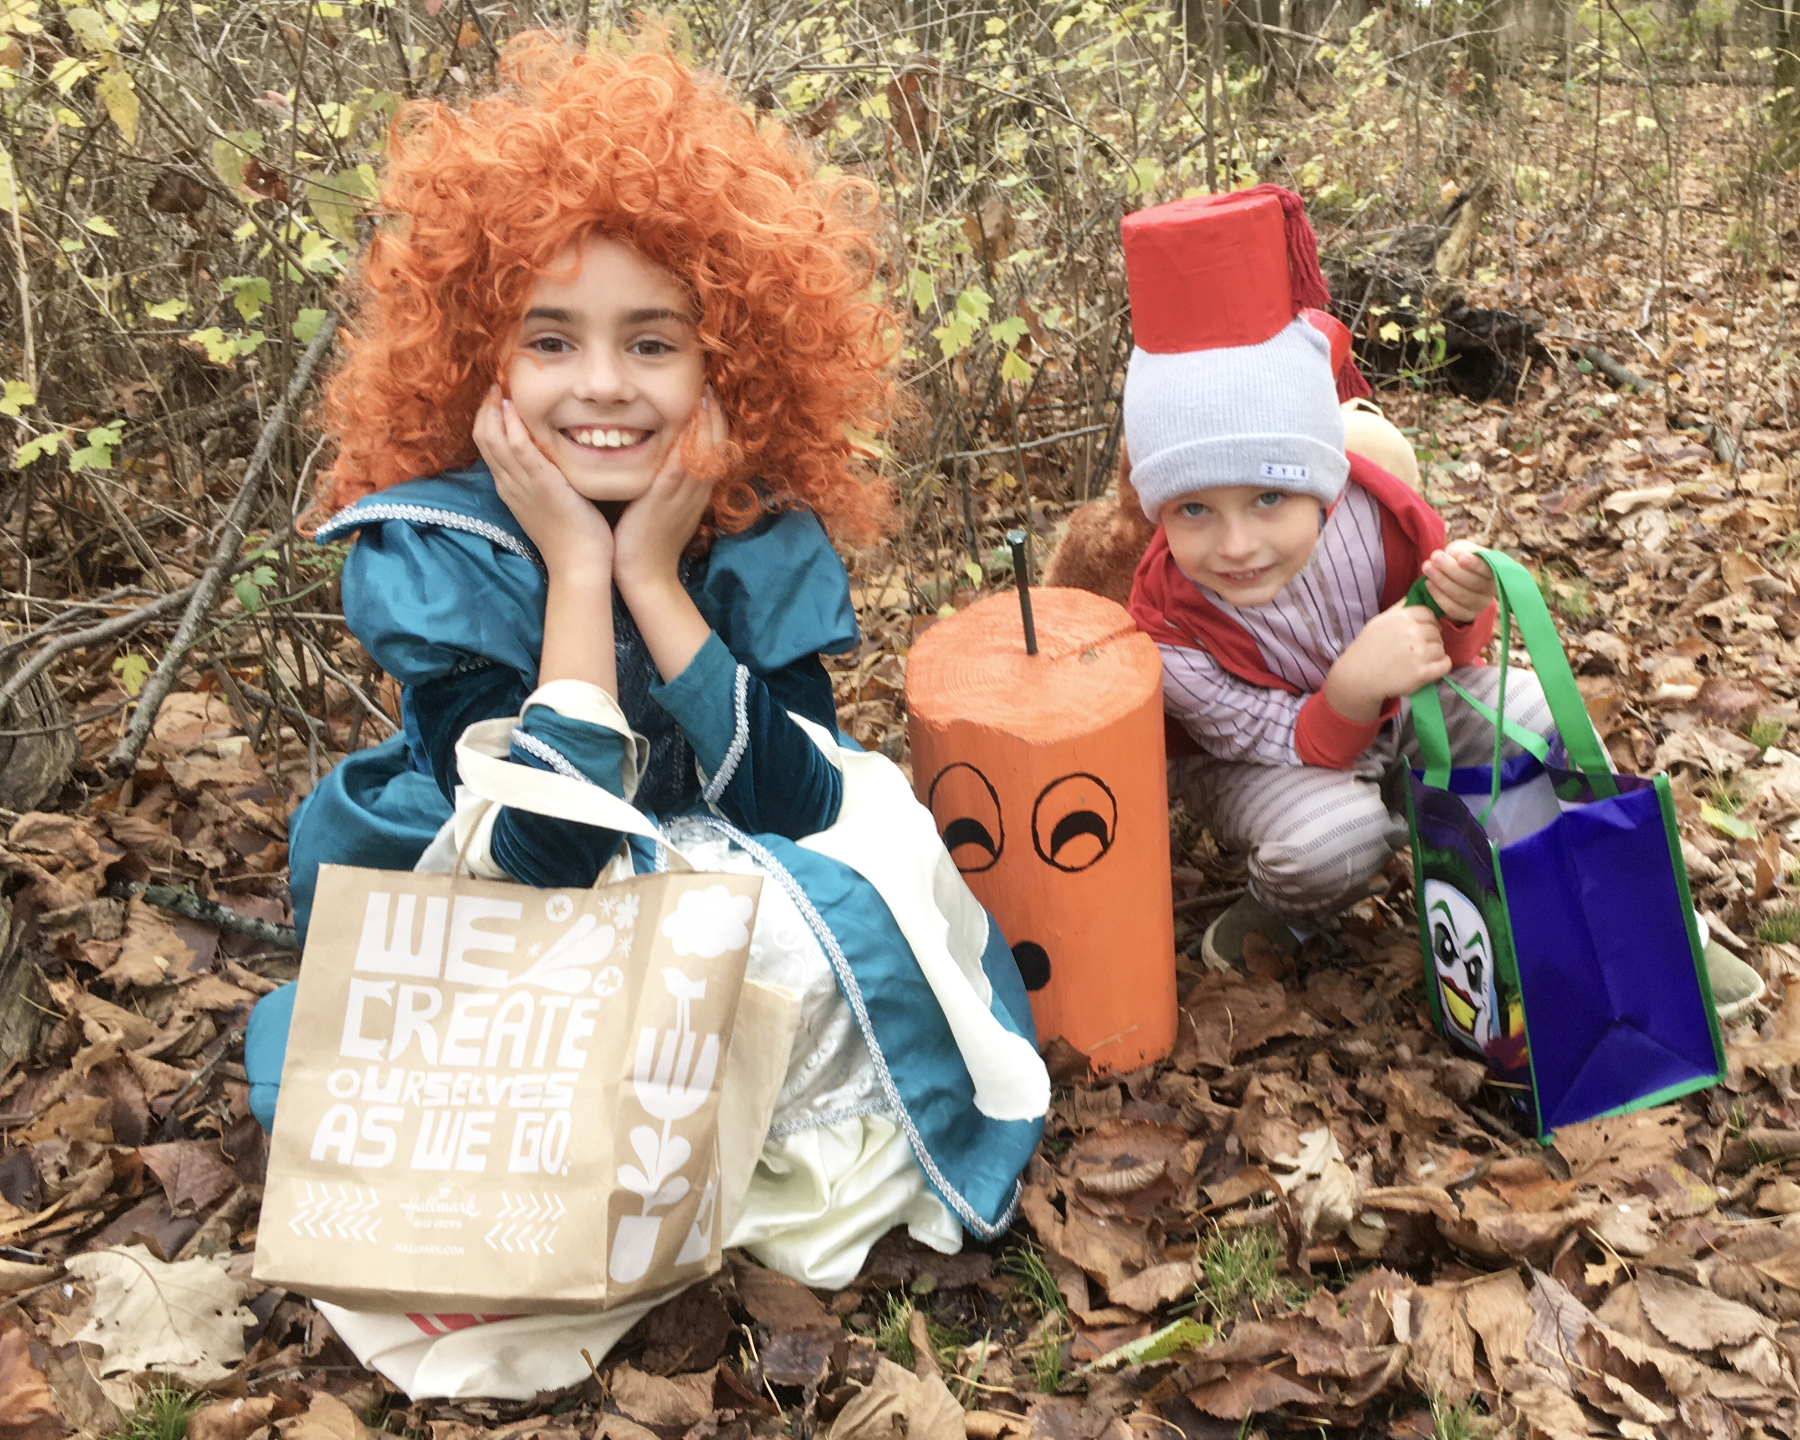
So… I asked myself “do we need a few wooden snowmen?”
The answer was yes! Plus, the hay bale we’d used for our Autumn decorations this year was frozen to the deck. Could it be incorporated? When we moved in we found some giant pine cones and birch sticks behind the shed. Ooh ~ it was all coming together. I grabbed 3 logs from a tree Mike had recently cut down, asked him to slap some white paint on them (he was already painting the inside of the garage), and then I got to work painting faces. After cutting a few strips of fleece for scarves, and adding some abandoned decorations from the bottom of a box ~ it was done!
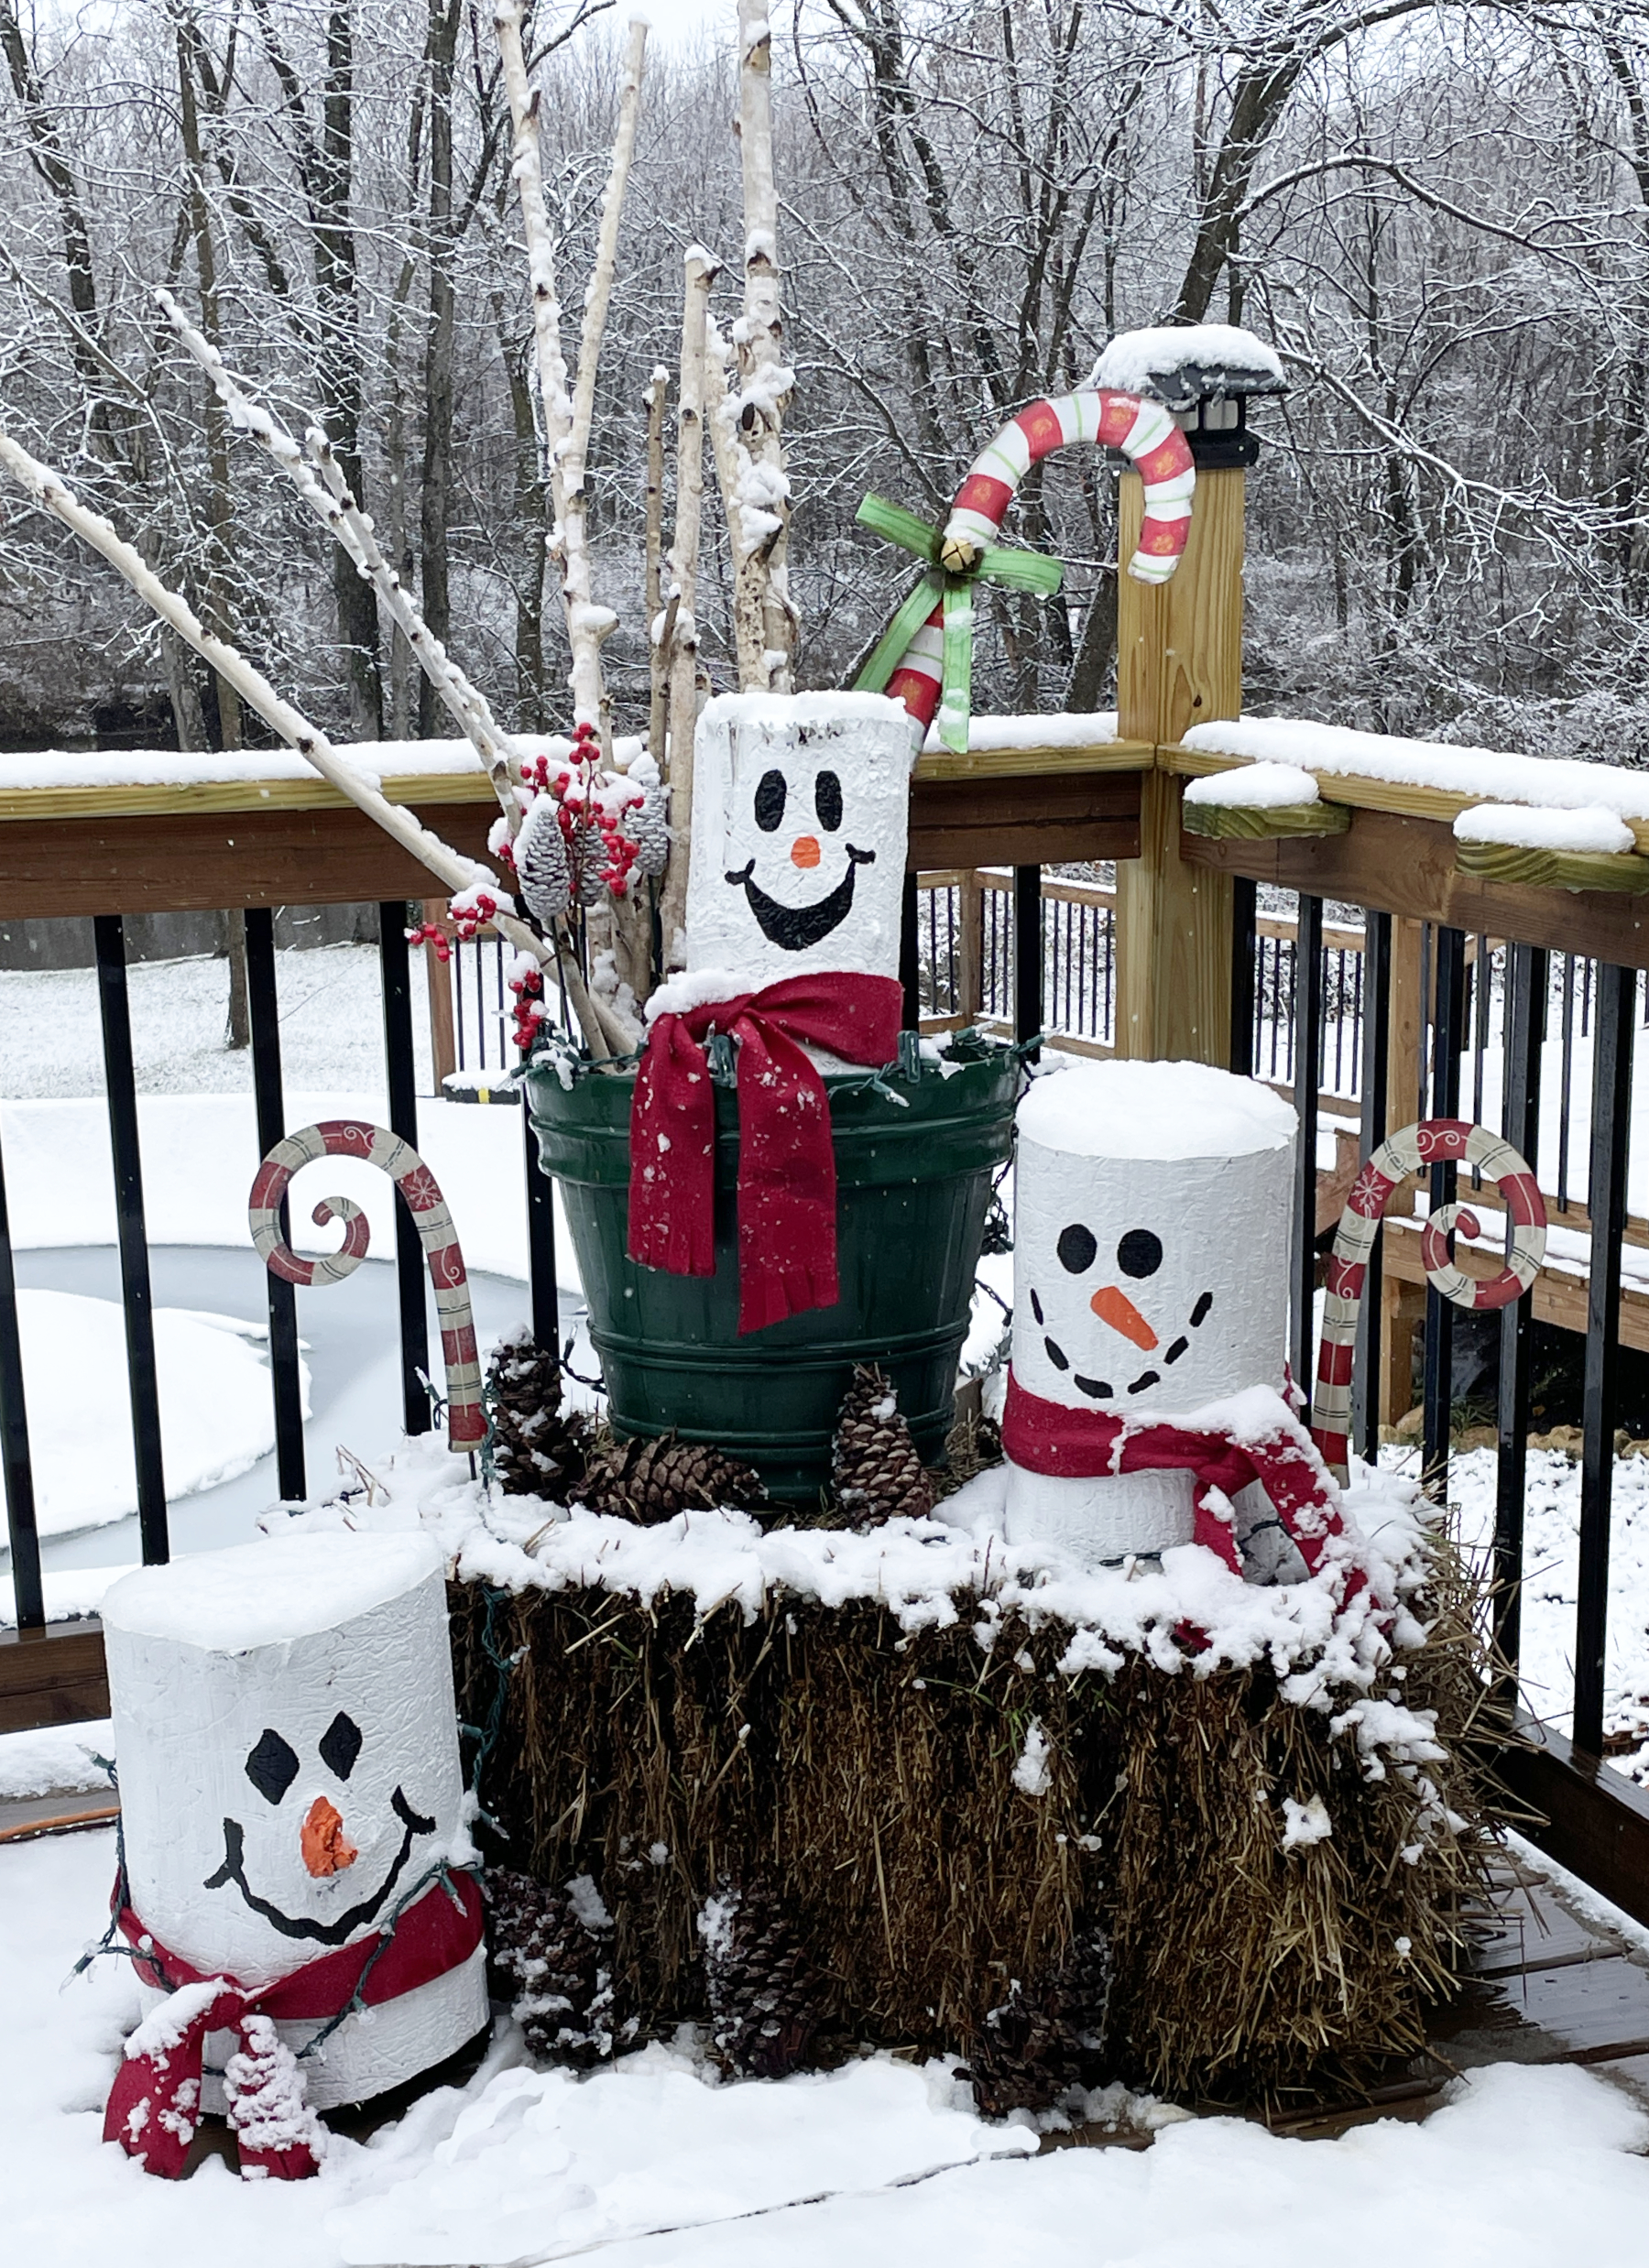
An early December snow and a new string of lights made the display complete. I hope they make you smile!
PS I don’t need any more snowpeople! I think I’m done collecting! Perhaps I need to find a support group for this 🤣?!?
Happy New Year!!!