Back when we used to be able to wander through quilt shows, I found myself drawn to a special type of quilting fabric – it’s called Shot Cotton, and it’s the “green” fabric I used in my nephew Josiah’s quilt.

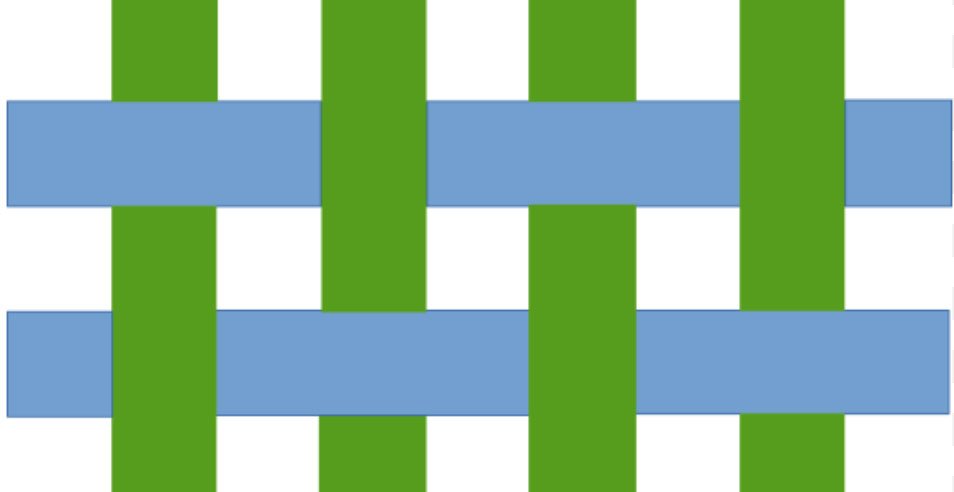
Most of the cotton fabrics quilters use begin as a white fabric that is dyed or printed to make all the beautiful bolts we are so infatuated with. However, Shot cotton is special because the warp and weft yarns are 2 different colors woven together to create a special depth, a “shot” of color. When the edge of this fabric ravels, you can see a bright contrast to the body of the fabric.”

These fabrics are woven using cotton thread which is dyed in small batches. Variations in color and small imperfections in the weaving are a natural part of the process. Here’s an even closer view:

The really exciting part for me in learning more about shot cottons, was learning how to get a really close up “shot” with my iphone. After a bit of searching the internet I discovered that my phone has a magnifier app.

and I can take photographs in that app. This is a close up of my necklace as seen in the magnifier app:

By sliding the yellow dot I’m able to achieve a very good magnification and… by touching the “X” I can take a photo of the image and save it to Photos. We’re always learning 😊!
Back to the shot cottons. They actually do have a bit of a sheen and the colors are beautiful. Have you worked with them? Do you have any in your stash? Perhaps you don’t even realize it.
We tend to buy the fabrics that tickle our fancy and often we don’t even know about these interesting details. I hope you found it as interesting as I did.