• Skip to main content
  • Skip to primary sidebar
  • Skip to footer

  • Home
  • About
  • Gallery
  • Classes
  • Trips
  • Books
  • Blog
  • Contact
  • Sign Up For My Blog

Blog

Barn Blocks

July 14, 2013 10 Comments

As you may know, hanging large, painted quilt blocks on barns is all the rage!

According to the website: Heritage Barn Quilts.com “The history of barn decoration dates back to the mid 1800’s. Painting symbols on barns originated from traditional folk art passed along from the German and Swiss immigrants who settled the Pennsylvania Dutch region in southeastern Pennsylvania. Once these groups including Lutherans, Moravians, Mennonites and other Christian reformists, built their family farms and communities, they would paint small patterns on their barns to celebrate their heritage and bring good fortune.  Originally these patterns were simple stars, compass roses, or stylized birds from traditional folk art.  

Today’s barn decorating revival became popular with a woman named Donna Sue Groves, from Adams County, Ohio.  She wanted to honor her mother by hanging a colorful painted quilt square on her barn.  Instead of just one quilt square, she began a community project with twenty quilts being displayed along a driving trail to encourage visitors to travel through the countryside. This was the start of our first quilt trail in America. Quilt trails are now being organized all across the country. Barn quilts are displayed around communities and then mapped out for tourist to follow these amazing works of art.  They promote tourism and help draw visitors into our rural communities. Traditional stars and various quilt patterns are now being displayed on barns, homes, sheds and sides of buildings.  They are also put on posts and displayed in yards and parks.”

While walking with my neighbor (and website designer :-)) Diahann a few months ago I realized that a nearby farm had a quilt block on the barn. Hmmmmmm. Then my friend Kathy sent me pictures of the log cabin quilt she had painted on a piece of wood and hung on her shed (she did it all herself – I was impressed!).

Kathy's barn quilt

This all got me to thinking that Mike and I had an ideal shed/barn for hanging a block. So, while at the AQS show in Paducah this year I found a vendor who sold smaller (2′ x 2′) metal barn blocks (http://www.classicmetalcompany.com/) and one of the block choices was the Mariner’s Compass! I went home armed with a flyer and presented the idea to Mike. He said “why don’t you paint a big one yourself?” Well my response was “I don’t want to – I’d rather work with fabric than paint!”. The next thing I know, he’s surfing the web and together we found “Heritage Barn Quilts”. We liked the blocks on the site so I contacted Karen and emailed her a photo of the cover of my Compass Capers book. She was able to match some of the colors to my satisfaction and created a 4′ square painted and framed barn block. It arrived a few weeks ago, is now hanging and I’m thrilled!

Another Compass Caper

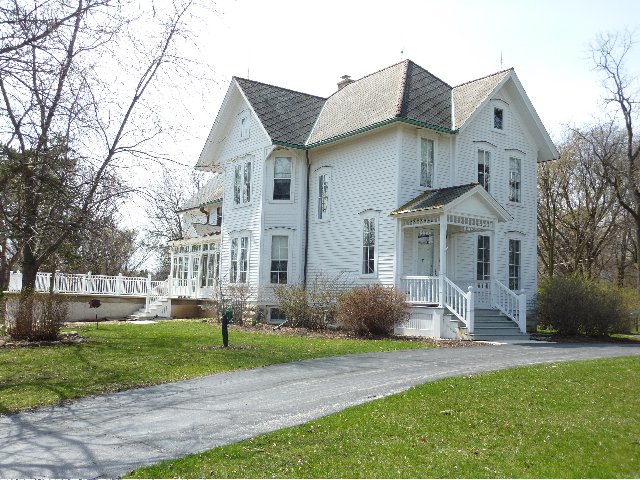
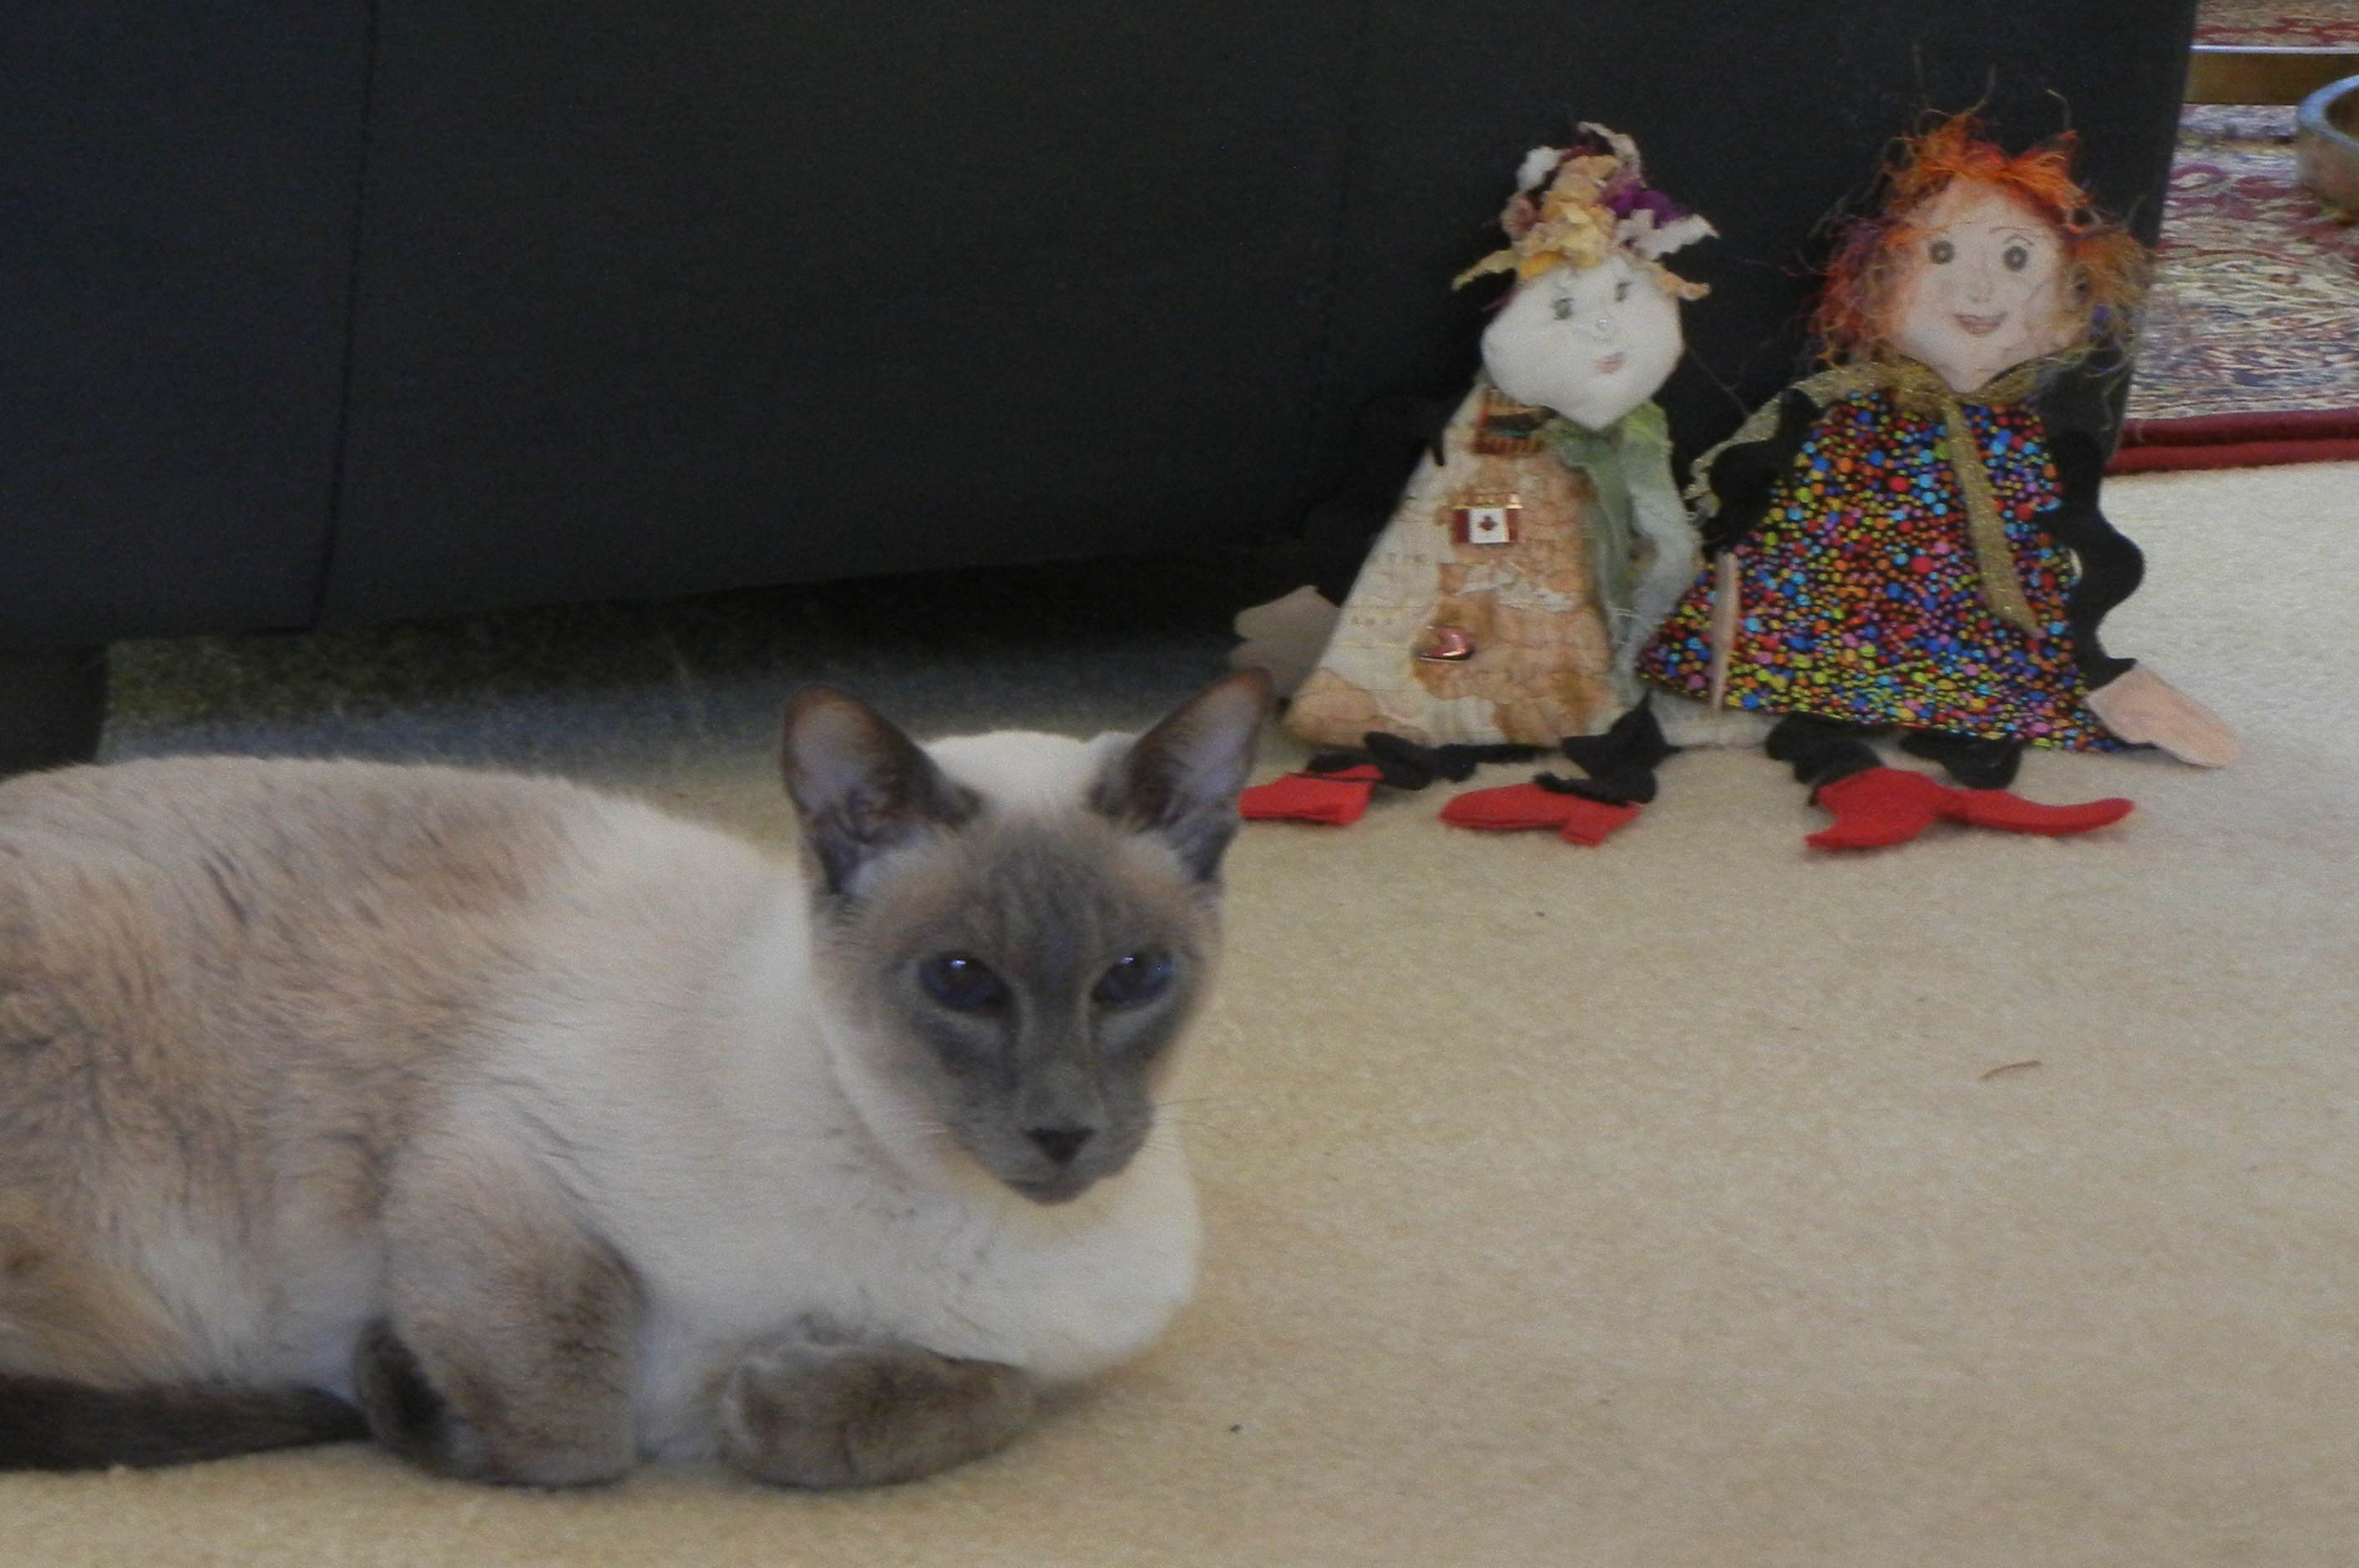
Here’s a view from the road (with a candid of Annabelle and a self portrait of me as well):

barn quilt

and one more shot so you can see it from every angle:

barn quilt

Karen work is excellent and she has pictures of my barn block, along with many others, and a few short stories at this address: https://www.facebook.com/HeritageBarnQuilts. It was fun to see how and where others have hung their “quilts”!

Do you have a quilt block in your yard letting others know “a quilter lives here”?

Have you driven the routes of any quilt block trails?

Please comment and let us know or better yet, send pictures to me at .

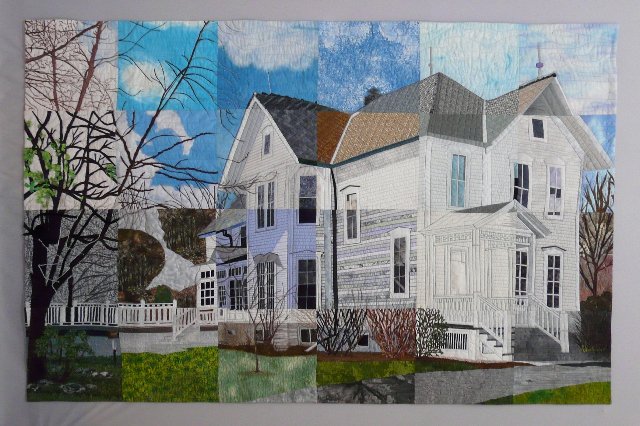
An Exhibit You Won’t Want to Miss!

First Fiber Arts Biennale:  Wisconsin State of the Art

Opens July 17 at the Wisconsin Museum of Quilts & Fiber Arts in Cedarburg, Wisconsin
 
Chris Lynn Kirsch, an Art Quilter from Watertown, WI, will have two of her quilts exhibited in the First Fiber Arts Biennale at the Wisconsin Museum of Quilts and Fiber Arts.
 
Join us for an explosion of fiber arts from the four corners of Wisconsin.  The museum sought out exceptional examples of all media of fiber arts from Wisconsin for this special exhibit.   Wisconsin artists responded creatively – and enthusiastically to this invitation.  Some highlights from the exhibit include:
◊   Quilts from artists Marla Morris-Kennedy of Mequon,  Candy Flynn of Middleton,  Jeanne Pfister of Appleton area
◊    Hooked rugs made by Lyle Drier of Waukesha
◊    Bead embellished fiber artwork from Lisa Binkley of Waunakee
◊    Knitted work by Sara Gryske of DeForest
◊    Fashion creations from nine Pius XI High School students
There will be an artists’ reception on Sunday, July 21, from noon to 3 p.m.  The exhibit runs through October 13, 2013.
The museum is located at N50 W5050 Portland Road, Cedarburg.  Phone number is 262.546.0300.  Hours are Wednesdays through Saturdays, 10 a.m. to 4 p.m., and Sundays, noon to 4 p.m.  More information is available on our website:  www.wiquiltmuseum.com


A Quilting Cousin

July 7, 2013 5 Comments

It was a wonderful 2 weeks! Hanna and Willy were a delight and Grandpa and Grandma enjoyed every moment of their visit. We boated, swam, saw a parade, visited the zoo and they got reacquainted with all their Wisconsin relatives.

One of the highlights was Hanna’s enthusiasm for quilting once again.

quilting kid
Hanna with her dolly’s quilt

The kids were last here 2 1/2 years ago. At that time (Hanna was almost 5) she really wanted to learn to make a quilt and when she finished one for her dolly she asked if she could make another one (to read that post click here!).

We ran out of time that visit, but it was one of her first questions after arriving this time. So I set up my featherweight once again and asked her what she would like to make. We had all just spent a day with her cousin Sommer at my parent’s lake cottage.

cottage-cousins-So she decided she wanted to make a quilt for Sommer. I pulled out my box of 6″ charm squares and she chose her favorite 24. Hanna pieced them all by herself and her 1/4″ seam allowance was pretty consistant :-).

quilting kidOnce the piecing was done, we layered the top with batting and backing and pinned it all the way around.

quilting kidThen she sewed around the perimeter, leaving an opening, and turned the quilt right sides out.

quilting kidWe marked the diagonals and she quilted the layers together by machine.

quilting kidOnce again she completed a project with a smile on her face (although this one took a little longer and she didn’t ask to make another right away).

quilting kid

The night before they went back to Washington she gave the quilt to Sommer and this was the thank you picture Uncle Brad sent us from Sommer that night.

quilting kidThe message read: “Goodnight! Thank you for the quilt Hanna and Grandma”.

What a joy! Willy was a bit put out that he didn’t get to quilt. There just wasn’t enough time. But I promised to help him make whatever he desired on their next visit. Should be interesting :-).


Word Patterns

June 23, 2013 Leave a Comment

A few months ago I got a new computer and thus I needed to adjust to a new version of MS Word. In my second book, “Snuggle and Learn Quilts for Kids”, I use Word to create my word patterns. These patterns need to be a mirror image of the word so that they can be stitched using my Repliqué technique (which reverses the pattern). I know many of you have this book or have seen my demonstration on how to make these patterns. Here’s the problem: MS Word no longer allows us to type a word in Word Art and then stretch it to fit the page, nor can we use “flip horizontal” to reverse the image. Grrrrrrr.

So I decided I needed to try to find an alternative – and I have :-)! If you have my book, please copy and paste these new directions into a blank document, print them and place them in your book for future use.

To Create a Word Pattern:

1. In the Layout menu select “Orientation” and check “Landscape”.layout,orient,landscape

2. In the “Document Elements” menu select “Word Art” (the tipped “A”); select the simple outlined letter (mine is in the upper left).

wordart

Your Text Here

A Text Box should appear. Type the word or name you want in the box. If you attempt to type and it doesn’t work, highlight “Your Text Here” first and then retype the word.

3. Make sure your Name/Word is still highlighted and select “Effects” (the fuzzy “A”); select Warp square“Transform” and under the “Warp” menu cursor over the different options and click on the one that reads “square”.

4.  You may now stretch (warp) your word by “left clicking and holding down” the “handle” on the lower right corner of the text box then dragging it to the desired size for your pattern.

stretched word

To Reverse the Image:

1. Highlight the Name/Word once again (it may shrink back to it’s original size, don’t worry – just proceed).

2. Select “Effects” once again; select “3-D Rotation”; select “3-D Rotation Options” at the bottom of the menu box.

3d rotation options

3. In the new menu type “180” in the “X” box and click “ok”.

180

Your Name/Word should now be the desired size, reversed and ready to print!

ready to print

I hope this was helpful. These patterns may also be used for fusible web appliqué, but I would recommend Repliqué :-)!

Upcoming Classes

I have a few one day workshops open this Summer. If you are available I hope you’ll consider signing up.

Logs and Chains – Friday, 8/9, 9-2:30

logs and chains

Click here for all the information: http://www.wctc.edu/class-search/course-search-results3.php?code=304&num=617F&term=201405&credit=any&item=QUILTING&by=&delivery=any&session=any&coursenum=&itematch=&restriction=&avail=all&prereqs=any&startdate=all&where=class_search

Compass Capers – Friday, 7/12, 9-2:30

Mariner's Compass

Click here for all the information: http://www.wctc.edu/class-search/course-search-results3.php?code=304&num=608U&term=201405&credit=any&item=QUILTING&by=&delivery=any&session=any&coursenum=&itematch=&restriction=&avail=all&prereqs=any&startdate=all&where=class_search

Slice Quilts

June 9, 2013 3 Comments

A lot of excitement has been arriving in my mailbox recently! First came the latest issue of Quilting Arts and an article about the Milwaukee Art Quilters and our award winning Jennings quilt (more about that to follow :-)). Then came the Summer issue of the National Quilting Association‘s magazine – “Quilting Quarterly” – and Wendy Rieves and I are cover girls! Our quilt, “Welcoming the Son Into Our Garden” is featured on the cover of the magazine!

Sunflower Quilt

We are thrilled and I have to give Wendy a lot of credit because those beautiful sunflowers are her creation. Thanks Wendy!

So, now for this week’s actual topic:

I’ve mentioned the Milwaukee Art Quilters in previous blog posts and during the AQS show in Paducah this year, a group quilt we made won an award. I believe the Jenning’s Homestead Quilt was the first project made by this group that wasn’t made for competition and it’s been winning awards in every show it’s traveled to – go figure :-).

Milwaukee Art Quilters Jennings Homestead

The Jenning’s Homestead quilt is an example of a slice quilt and here’s the story:

When Marq began we would hold our monthly meetings in member’s homes. As our numbers grew this became a bit difficult. One of our founding members, Suzanne Riggio, came to the rescue. Her daughter and son-in-law, Theresa and Paul Jennings, owned a business and made space available for us to meet. Over the years they never charged us anything for this privilege and Suzanne suggested to the group that we make a slice quilt of their beautiful, historic home as a “thank you”. Another member, Judy Zoelzer-Levine, had had some success with this technique and volunteered to enlarge a photograph of the home and divide it into 24 portions. All willing members were given a picture of the home (for color and continuity),

Jennings photo

an actual sized “cartoon” of their chosen section (this was mine),

Jennings-cartoon

And a mapped “cartoon” showing how the portions fit together:

Jennings-mapped

We were allowed to use any techniques of our choosing and were asked to leave at least 1″ extra fabric all around our block to aid in putting things back together. Suzanne preferred the colors/theme to be early Spring so that the house would not be blocked by foliage. Once the blocks were completed they were assembled and the quilting was done by Terri Kirchner.

We invited Theresa and Paul to a meeting where we presented them with their quilt. They were stunned and overjoyed. Suzanne then informed them that she wanted to enter it in a show or two because it did turn out so well and … the rest is history!

Marq and the quilt were even featured in the most recent issue (June/July) of Quilting Arts magazine. It is such a blessing to be a part of this talented group!

Have you ever been a part of a slice quilt project? Please comment and tell us about it!

PS My daughter-in-law sent me this picture of Sommer at Discovery World on the lake front in Milwaukee. She seems to be reaching for the Calatrava designed Quadracci Pavillion at the Milwaukee Art Museum. It made me smile!

Sommer at Discovery World

Re-Purposing

June 2, 2013 3 Comments

After last week’s post about Mary’s well organized sewing room, Lorraine Bahr sent me this email message:

“Chris, Just read your blog about how your friend Mary organized the closets in her quilt studio.  Thought you would enjoy seeing how I resurrected an outdated cabinet, gave it new life and now use it to organize my studio.

card catalog repurposed

Several years ago the high school in the district where I taught was going “digital” and was sending the old card catalog cabinet to the dump.  I asked to have it delivered to my house instead.  I gave it a fresh coat of paint, labeled the drawers, and now have it as a conversation (as well as an organizational) piece in my quilt studio.  Enjoy the photos below.”

card catalog repurposed

Here’s a detail shot. Lorraine is not only organized, but has an exciting color sense! Thanks for sending the pictures Lorraine!

Lorraine Bahr cabinet close up

Mike and I love to go antiquing and have done a bit of repurposing of our own. We came up with my favorite quilt related project prior to my new studio being built. When I wrote my first book our desk top computer sat atop a big, old desk and the keyboarding was so awkward that I ended up with a pinched nerve in my neck and a mid-evil looking traction device for a few weeks (it attached to a door and no – I’m not including pictures :-)). We knew we needed a computer desk, but didn’t like any of the modern ones available. So we decided to go antiquing and see what we could find. At the Columbus Antique Mall we found a pretty 1940’s enamel table in good condition. It had 2 leaves attached to the inside of the table that pulled out and into position with an ingenious use of springs. I asked Mike if he could remove one of the leaves and permanently attach it at the right level to make an ergonomically correct keyboard platform. He figured it out and I’ve been pleased with it ever since.
repurpose old table new computer desk

Have you had any quilt related adventures in re-purposing?

The Saga Continues

It seems Quiltilly’s story hasn’t quite reached it’s end.

A short while after Evelyn and Quiltilly’s reunion, Chris received this message and some pictures from Evelyn:

“Poor Quiltilly was quite traumatized from her kidnapping ordeal, so we invited a new quiltsissy, Quiltimae, to keep her company.  They wanted to play with Blue Bunny, but she wasn’t in a playful mood.

May 3

So they went out into the sunshine, climbed the lilac bush, and listened to the birds sing.

Mae-1

They sat in the violet garden until Quiltilly felt much better.  She needs to stay here to make regular visits to her psychiatrist, so she won’t be going on the cruise to the Baltic.

Instead, Quiltimae will accompany Evelyn on her first traveling adventure.

Mae-4

She is very excited to be going to all the capitols of Scandinavia as well as stops in Germany, Estonia, and St. Petersburg, Russia. She will be keeping a journal and will have lots of pictures to share with Quiltilly when she returns.

Bon Voyage Quiltymae! Since this is a similar cruise to the one Wendy and Chris are leading next May, we will be very interested to learn all about Quiltymae’s first travel adventure.


Ladies of the Lake

May 26, 2013 2 Comments

I met Mary Van Grinsvin at a PTO meeting when our sons were in middle school and we decided to volunteer to be co-presidents. We soon discovered that we both were quilters. We enjoyed some fun times together, but then our sons headed off to different high schools after which Mary and her family moved away. She and her husband recently retired to a beautiful home on a lake in northern Wisconsin and she became connected to a quilt guild in Minocqua. As fate would have it she volunteered to co-chair the program committee with Glennes Youngbauer, another quilter I had known years ago through a guild in the Milwaukee area. I’ve run into both Mary and Glennes at quilt shows over the years and was so pleased when they invited me to teach for the Ladies of the Lake quilt guild last weekend. It is a very talented and friendly guild and both workshops were a lot of fun (at least for me they were :-)). Silly me, I forgot to get my camera out during the classes, but Mary did send me a picture of some of ladies and the Mariner’s Compasses they made in class.

Mariners Compass quilt classNot only were the classes a blessing, but I had a wonderful time staying with Mary and Greg. Their home is lovely, but what blew me away was her studio.

quilt studio

What wonderful natural light and everything is so neat (she did admit to picking up a little before I arrived). Mary is an organizational genius and after seeing her storage closet, I knew I had a blog topic to share.

quilt studio

She had her shelves built with 8″ between them and she places each of her projects in a bin. She found these bins through a medical supply company and had to order 100 of them. She has used 64 so far and sent one home with me. Doesn’t this inspire you to get organized? It certainly has given me the organizing bug.

After class each night we had a bit of time on the lake. A ride in Greg’s new boat was a joy on Saturday and on Sunday Mary and I chased a loon while kayaking. What fun!

kayaking quilters

kayaking quilterThanks Mary for a delightful weekend!

Mary-V-and-me

The Quiltilly Conclusion

To refresh your memory – last week Quiltilly ran away and got into some mischief. Upon her return she decided to hide because she knew Chris wasn’t too happy about her nose ring!

While Chris looked high and low for that naughty Quiltilly, Quiltanna felt it her responsibility to expose her hiding place (the fishbowl of scraps):

KK-P13q-fishbowlAfter climbing out everyone talked it through and the Quiltsissies were back to having fun. So much so that they were found hanging from the rafters.

L P13q-rafter-hangingIt was at this point Chris realized how much Tilly’s missing hand hindered her and she decided to do something about it – a cup hook fit the bill handily!

M P13q-new-handAll too soon this little adventure was reaching a conclusion. Evelyn was heading to the Baltics for an exciting cruise and she really wanted to take Quiltilly along. Chris invited her to lunch (Wendy wasn’t able to be there) and Evelyn arrived with the ransom in hand. She was a bit reticent to hand it over, but Chris was happy to take it:

R-P13-paying-ransomOoooh! Diamonds!

S-P13-diamonds

Joy only a Mom can display!

T-P13-Tilly-handoff

But Evelyn wasn’t too sure about the hook!

V-P13-a-hookThe Quiltsissies served a yummy lunch and afterwards Chris sent this note to Wendy:

“Diamonds! And they’re batiks! We’re rich! Evelyn and Quiltilly were happily reunited and excited about their trip to the Baltics next week. Only wish you and Quiltina could’ve been here. All’s well that ends well!”

and they all lived happily ever after.

The End

PS Chris received this note a few hours later:

“We had to drive thru almost  blinding rain but Quiltillie and I are safe at home.  Quiltillie cried all the way.  She has been thru such an ordeal.  I was so glad to rescue her from the clutches of her kidnappers.  I’ll probably have to take her to a psychiatrist.”

Perhaps not everyone lived happily ever after :-(.


The Strip Stick and Quiltilly Saga part 3

May 19, 2013 5 Comments

I’m always on the lookout for new notions, gizmos or gadgets that work – and I’ve found a new one. Last year while in Paducah I watched a vendor demonstrate a pressing tool called the Strip Stick. It looked intriguing, but I had that ever popular thought: “I bet I can make myself one for less”. So I went home and forgot all about it. This year I watched the same demo, thought the same thought and the next day walked right back to the Strip Stick booth and bought one! I’m so glad I did! First of all – it works. Secondly – it is a great idea and I need to support those who developed it. Thirdly – it is well made, the price is fair and now I don’t need to try to make one :-).

The Strip Stick

Here’s the scoop: the Strip Stick is a narrow padded pressing stick used to crisply press seams open or to the side without distortion to adjacent seams. This is especially helpful when sewing many strips together into “strata”.

To press seams open they need to be ironed from the back.

Strip StickWhen pressing seams to one side, it can be done from either the the front or the back of the block.

Strip Stick to the sideWhat I really like about this tool is that when I press the seams to the side the edge of the seam allowance underneath is “over the hump and out of the way” and therefore I don’t get shiny lines on the right side of the fabric (a problem I have struggled with in the past).

To order your own Strip Stick go to www.thestripstick.com.

and now:

The Saga of Quiltilly, Part 3

In this week’s installment, Tilly is feeling better and settling into life in her temporary home.

Quiltilly and Quiltanna are enjoying this extra bit of time together. They are quite a mischievous team and Annabelle doesn’t seem to be enjoying their antics quite as much as they are:

Quilt dolls and dogAfter teasing the dog they decided to chill in the birdbath and enjoy the beautiful Spring weather:

Quilt dolls in bird bathThey even snuck in a slide down the banister:

MM P13q-bannister

Later that day Quiltilly went missing. Quiltanna and I looked all over the house to no avail and then I spied her out the window, sitting on the bird feeder:

J P13q-scaring-birds


By the time I got out the door she had disappeared. She didn’t return until morning and what a shock – she had a nose ring (a Swarovski crystal no less)!

K-P13q-nosering

I wasn’t sure what to do and sent a message to Evelyn:

“You may want to come up with that ransom soon. QuilTilly snuck out last night and got her nose pierced. I’m afraid she’s a bad influence on my little QuiltAnna! Ps she’s also started wearing makeup!”

to which she responded:

“I’m gathering up the diamonds.  Can’t schedule the exchange until next week.  She will be grounded forever for the nose piercing.  I’m sure it was Quilt Anna who put her up to it.”

Please return next week for the conclusion of this high flying adventure :-)!


A Tribute and the Quiltilly Saga – Part 2

May 12, 2013 2 Comments

The Milwaukee Art Quilters is a very talented group of artists and I am honored to be a member. Recently we had a showing of a group of our quilts that were made as a tribute to a dear member who passed away in 2011.

Nancy Kimpel was not only a skilled quilter, but her many talents also included knitting, and dyeing of fabric and yarn. She was a great inspiration and encouragement to the group. When she died her dear husband John and close friend, Mary Ellen Heus, decided to divide up her hand dyed fabrics/threads into 40 bags, bring them to a meeting, and challenge members to create a piece of fiber art from the contents of the bag for an exhibit to be called “Inspired by Nancy”. We all clamored for a bag.

The fabrics and hand dyed perle cottons in my bag were lovely and I decided that I didn’t want to add anything to them. They were interesting enough to stand alone. I’d always wanted to play with overlapping geometric shapes in a positive/negative fashion and the patterns in one of the pieces of Nancy’s fabrics gave me a great place to start. So I began drafting and drawing until I got a design I liked, used my Repliqué technique to appliqué the top and then had a lot of fun quilting it all.

kirsch-chris-lynn-inspired-by-nancyI was pleased with the effect of extending the designs from the center into the border with the quilting.

The resulting group of quilts were amazing. If you missed the exhibit at UWW, you can still see the quilts on our blog: http://milwaukeeartquilters.wordpress.com/.

The Saga of Quiltilly, Part 2

As you may remember Quiltilly, one of the Quiltsissies, has been kidnapped and is being held for ransom. We will begin with Evelyn’s cryptic response to the ransom note: 

“I’m sorry.  How high is the ransom?  Hummmm.  I’ll have to check my stash.”

The kidnappers quickly realized she hadn’t actually read the note and gave her a bit of instruction:

“Click on the first picture above to read the ransom note!”

This was her next unsatisfactory response:

“Sorry I haven’t learned how to download to my computer and could only read about half of the ransom note.  I was able to read the tattoo.  Sounds like you two are having way too much fun since we left.”

To which the impatient kidnappers replied:

“Can you tap on the picture and then reverse pinch on the screen?  Remember we are the kidnappers, do not humor us. Tilly is in good company. No suffering…….yet“

At this point she caught on and sent this message:

“Wow. The kidnappers even have to educate the victims.  Okay, will diamonds do? I’ll do anything you say to get my Tilly back.”

To which they messaged back:

“Any unmarked jewels wrapped in a brown paper bag. Just make us happy.” 

So the kidnappers and the Quiltsissies had an enjoyable ride back to Wisconsin with time to climb a tree:

zz P13-Quiltsissies-2

And a cultural stop too!

F P13-Quiltsissies-1 From there began the long portion of the ride back to Wisconsin and the stress and excitement were a bit much for poor, little Quiltilly. This message and photo were sent back to Evelyn:

“Not traveling well. She threw up”

FF P13 carsickWhat will happen when Tilly gets to her new home? Will she behave? Be here next week for the continuing adventures of the Quiltsissies!


  • « Go to Previous Page
  • Page 1
  • Interim pages omitted …
  • Page 63
  • Page 64
  • Page 65
  • Page 66
  • Page 67
  • Interim pages omitted …
  • Page 77
  • Go to Next Page »

Primary Sidebar

Archives

Recent Posts

  • Quilting in Bloomington ~ Part 2
  • The Indiana Heritage Quilt Show ~ 2026
  • Bird’s Eye View
  • The Birds
  • Sew Much Creativity

Recent Comments

  • Tearle D Dwiggins on Quilting in Bloomington ~ Part 2
  • Laurie Neubauer on Quilting in Bloomington ~ Part 2
  • judy raddatz on Quilting in Bloomington ~ Part 2
  • Kathy Wuhrmann on The Indiana Heritage Quilt Show ~ 2026
  • Doris Ast on The Indiana Heritage Quilt Show ~ 2026

Categories

Footer

My Guide

Whatever you do, do your work heartily, as for the Lord rather than for men.

—  Colossians 3:23

Contact Chris!

  • Home
  • About
  • Gallery
  • Classes
  • Trips
  • Books
  • Blog
  • Contact
  • Sign Up For My Blog

Copyright © 2026 · Chris Quilts · Website by Adunate · Privacy Policy