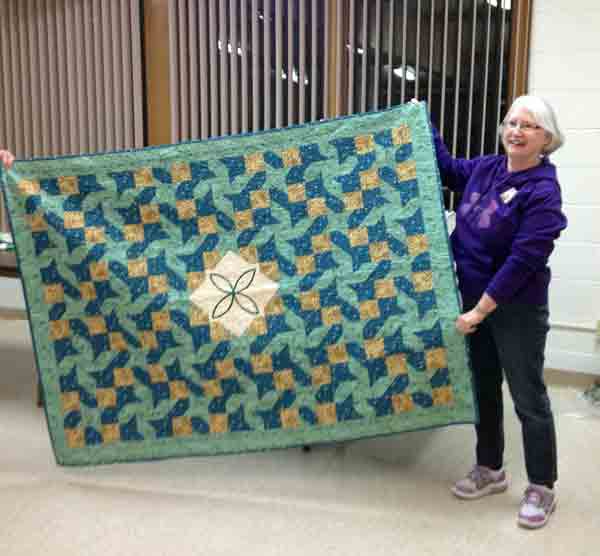
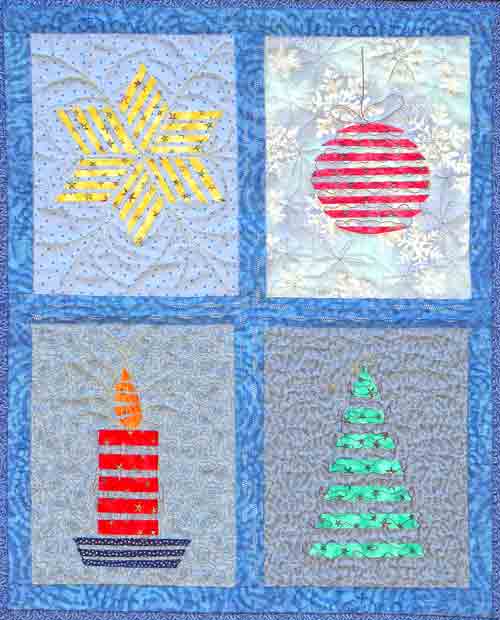
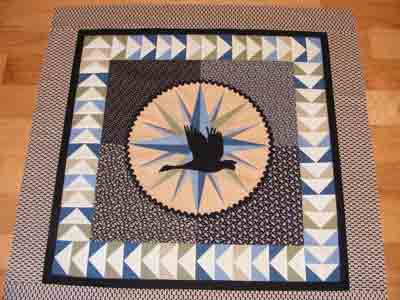
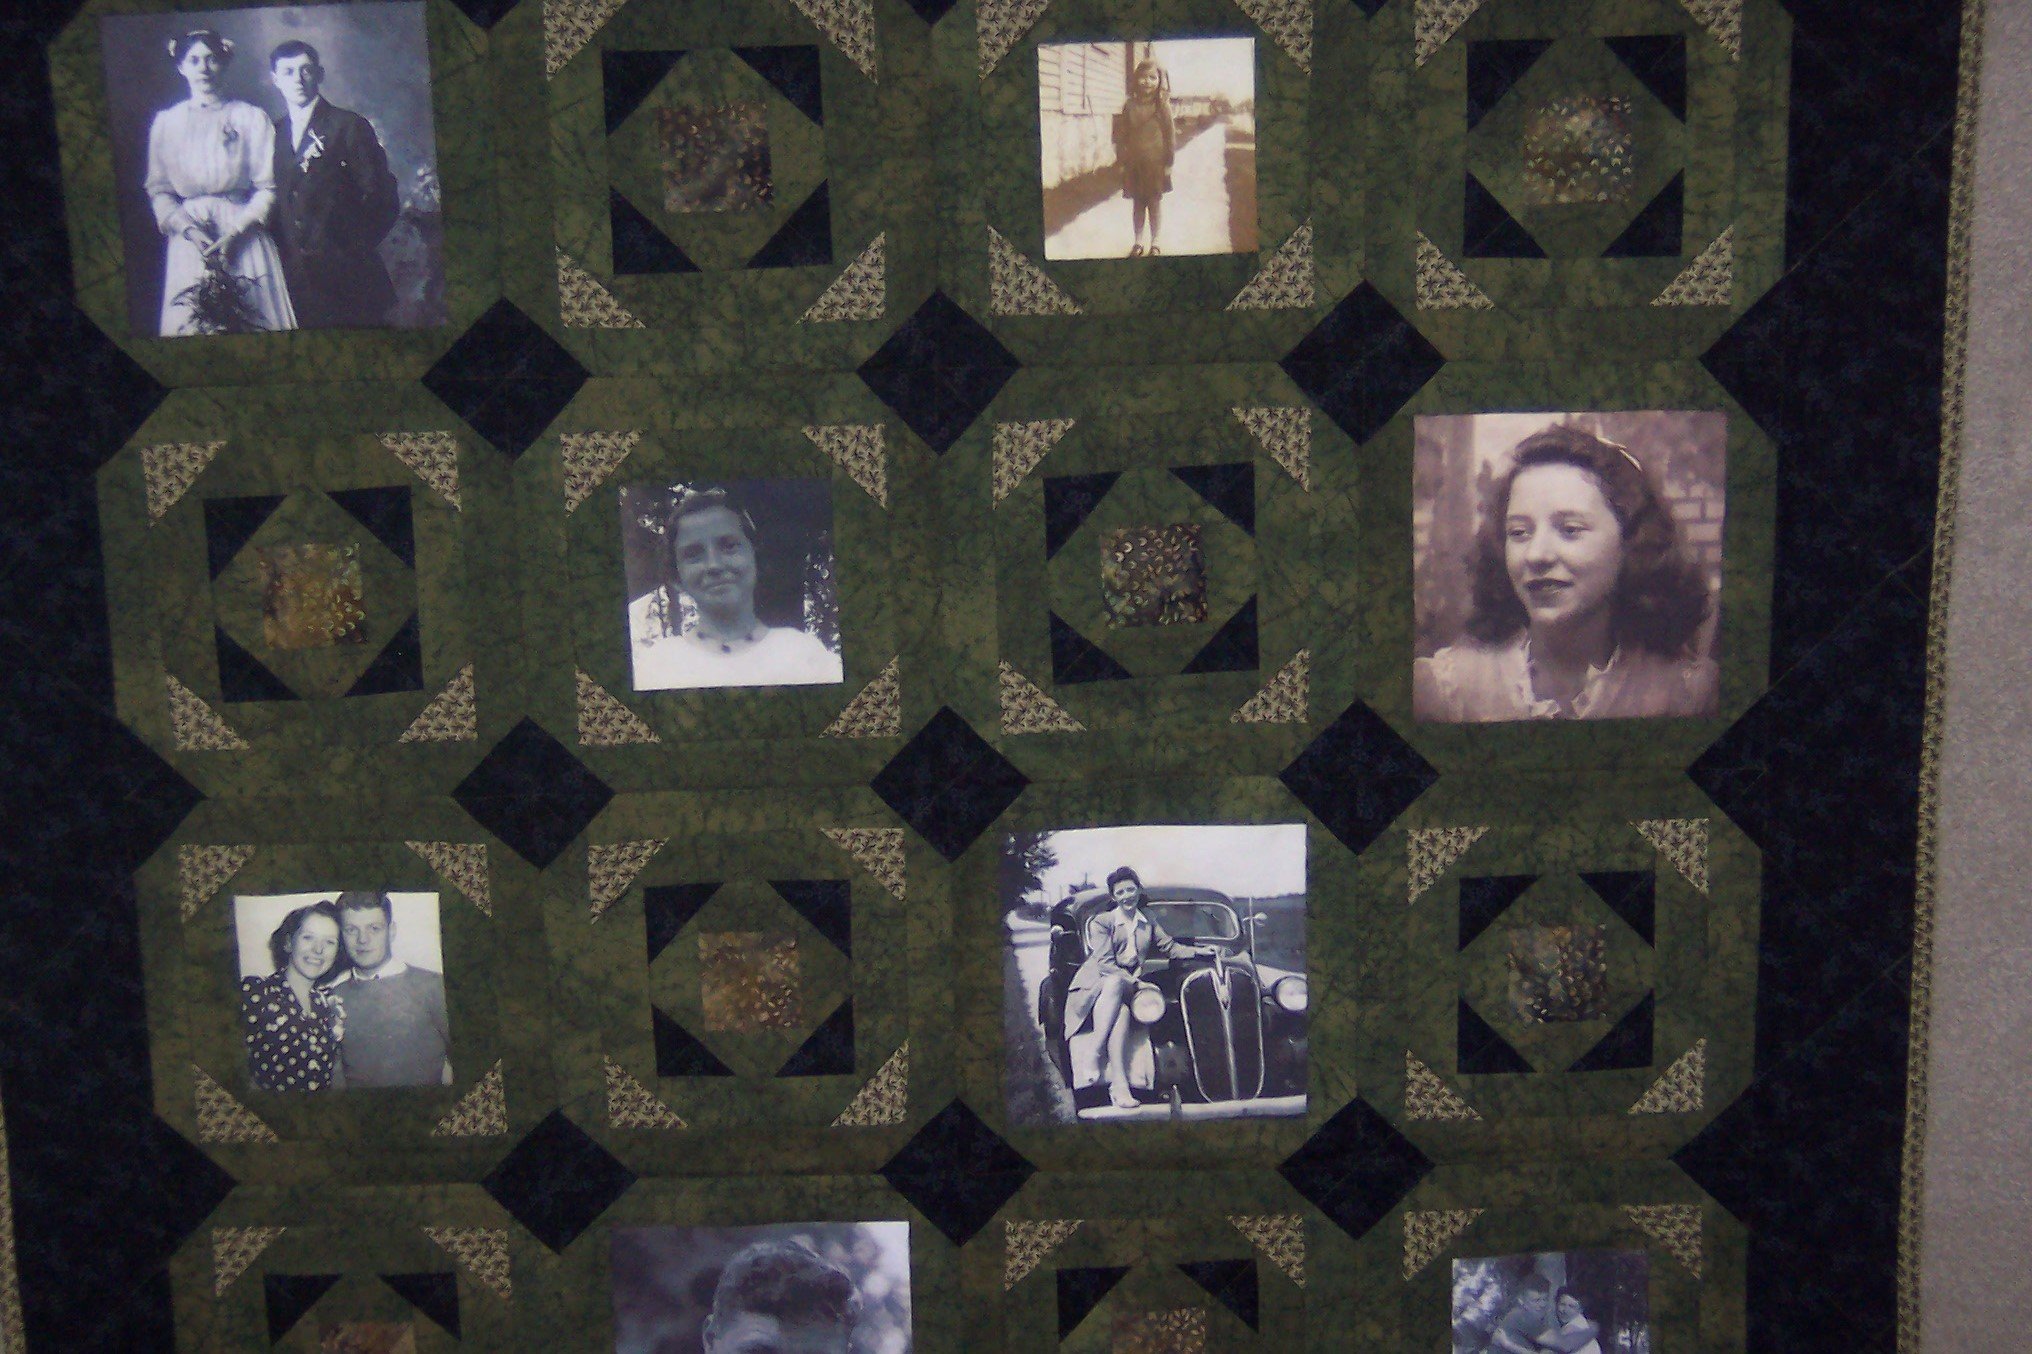
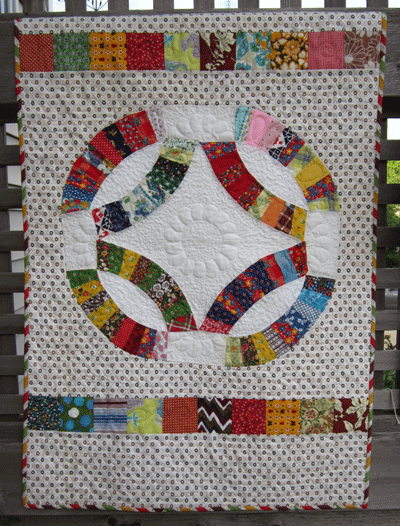
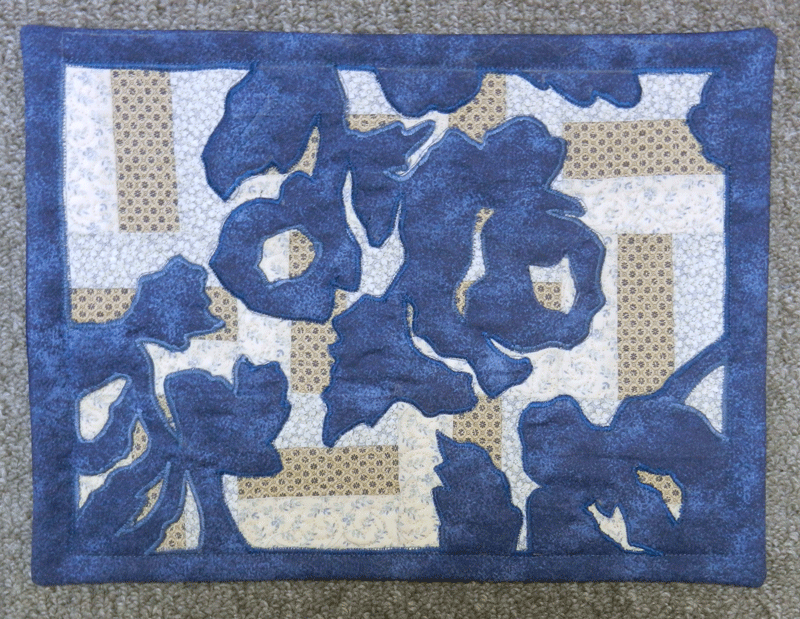
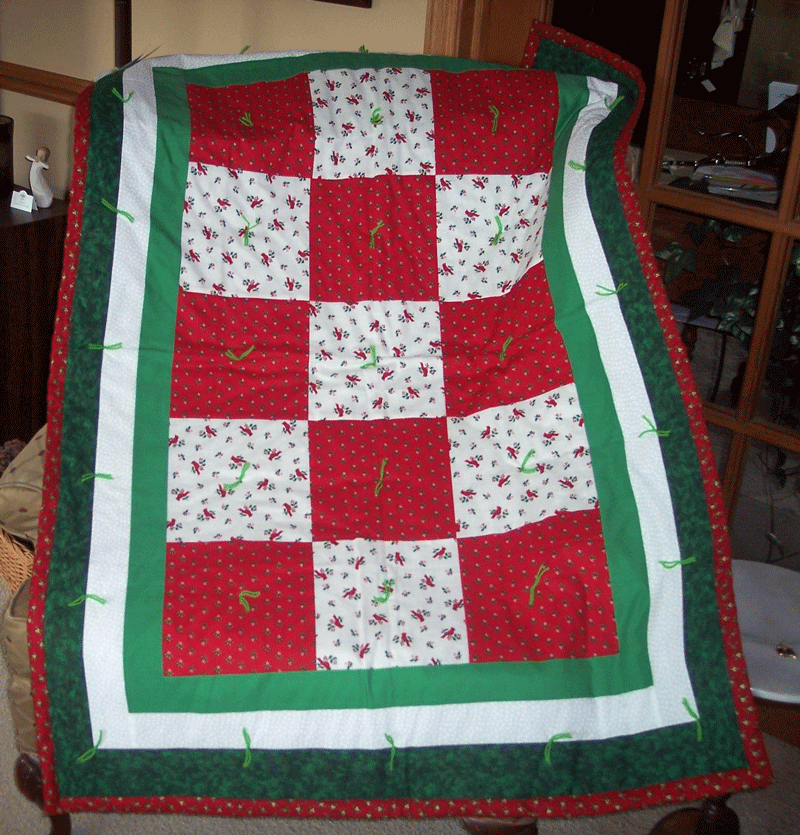
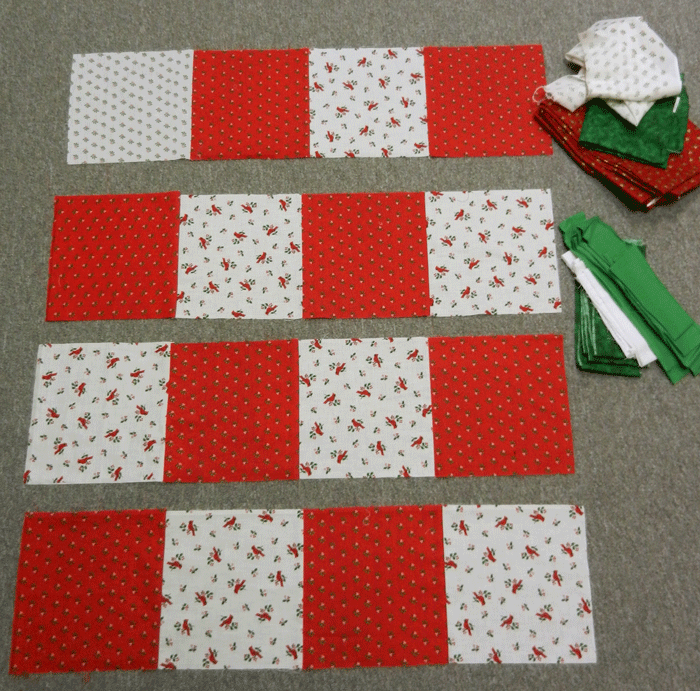
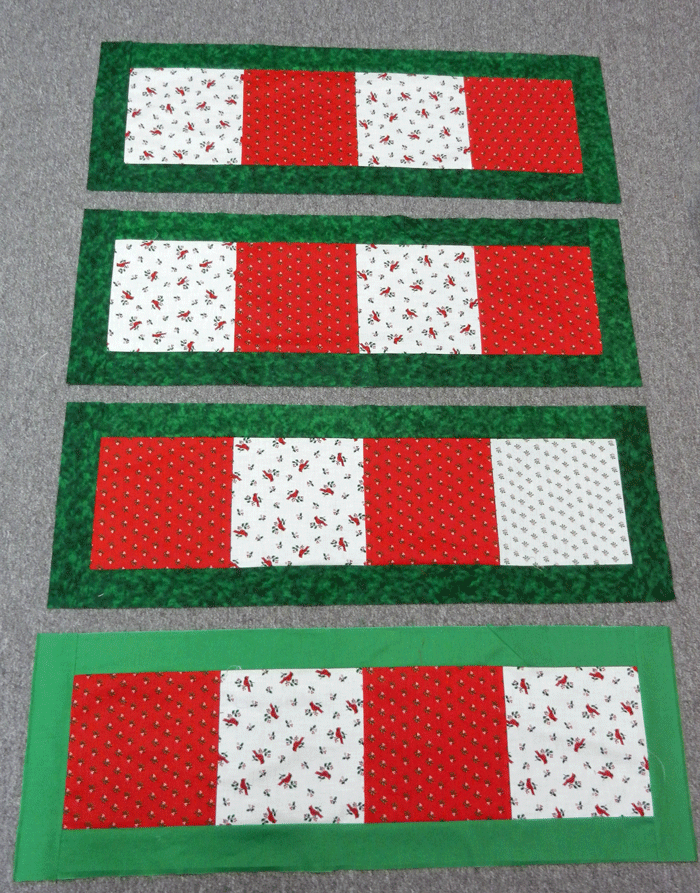
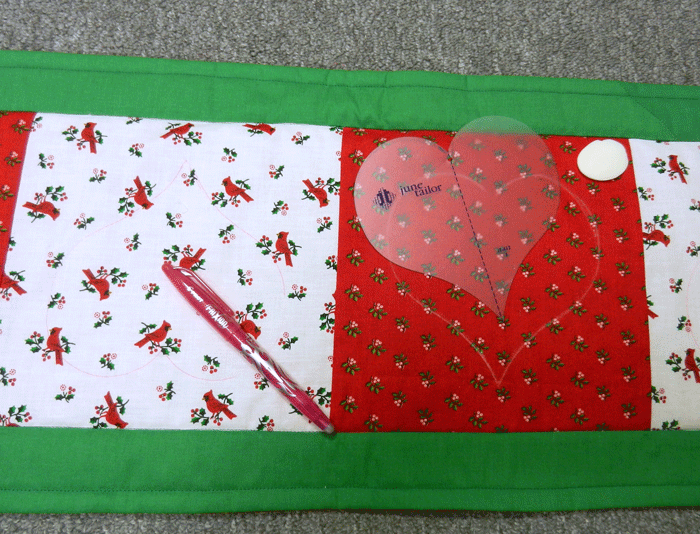
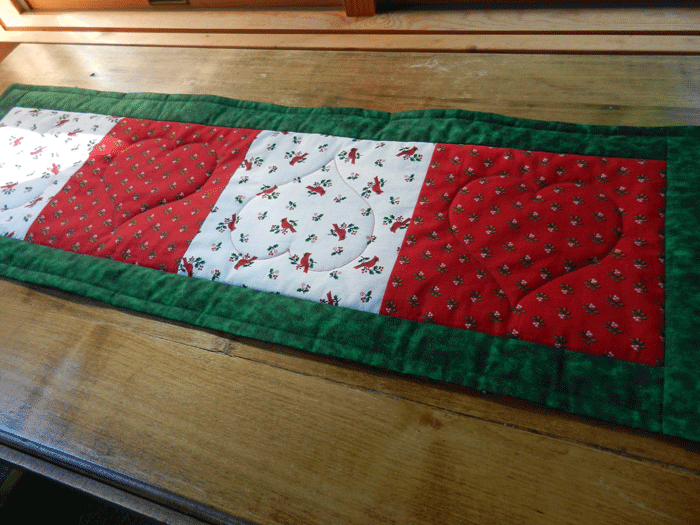
In last week’s post I asked to see pictures of Christmas projects you were making and Nancy sent me these:
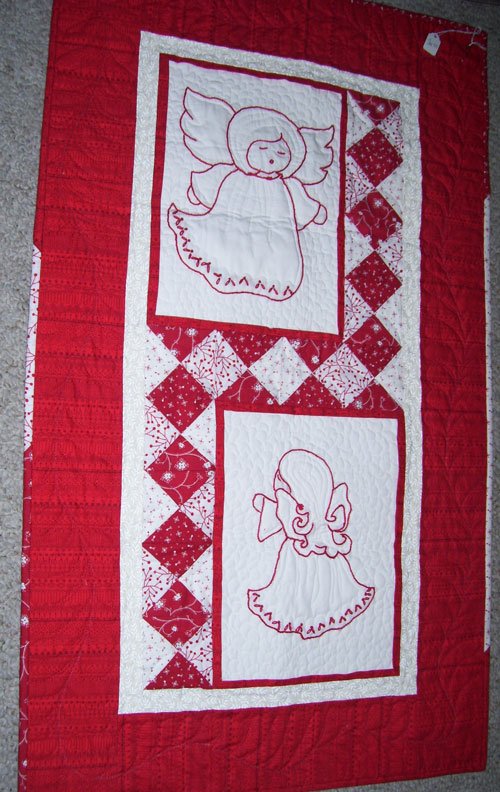
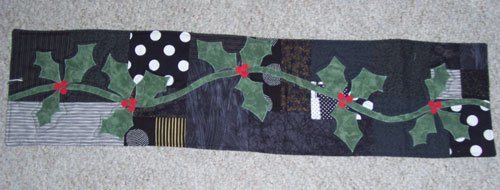
Delightful! Thanks Nancy!
********************
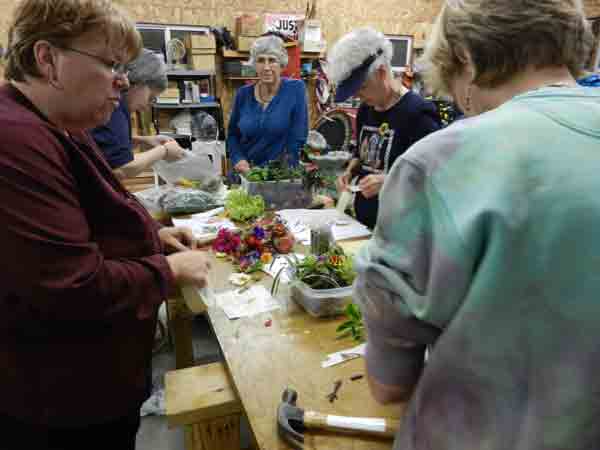
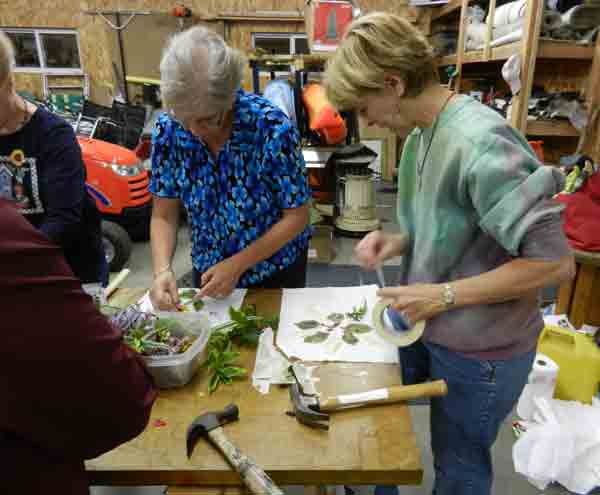
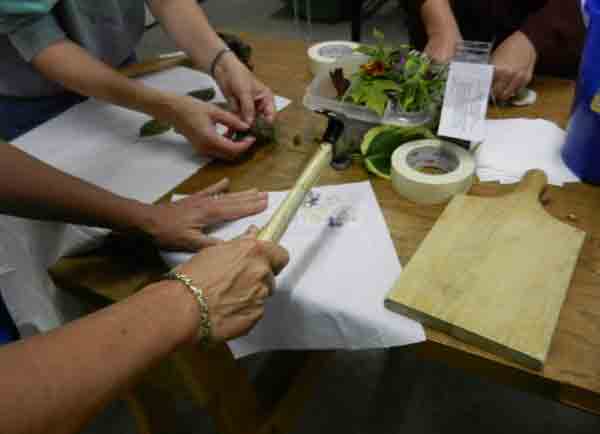
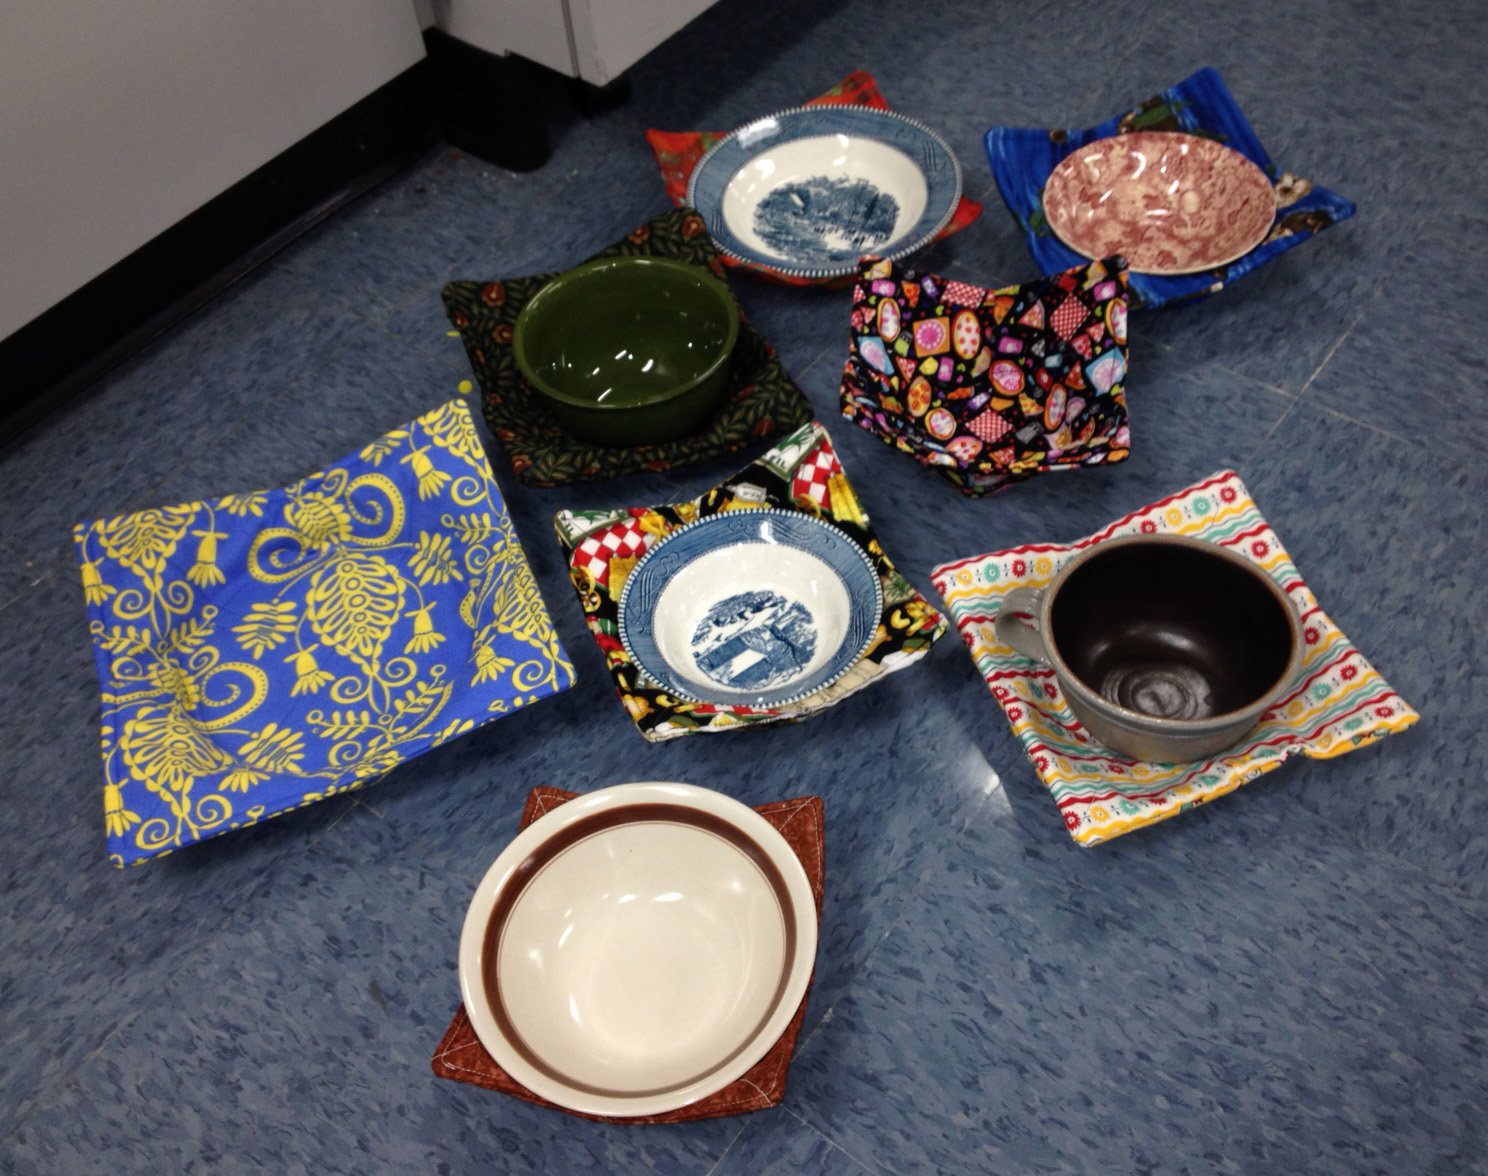
A few quilters in my Open Lab class at WCTC have recently made variations on the “microwave bowl holders” that are so popular right now. The idea behind them is great! You place your bowl of soup (or whatever) in the holder and put it in the microwave. Once the cooking is done, the bowl can be removed by holding the pad without burning fingers. It can also be used to keep your fingers warm when eating ice cream :-)!

I decided I wanted to make some as gifts and my friend, Barb, shared the web address for a blog with great instructions. Click here to visit that blog and learn how to do it: http://syzygyofme.blogspot.com/2012/06/microwave-bowl-potholder-and-tutorial.html,
I made a few and loved using them. One addition I would make to Karen’s instructions on her blog concerns the quilting of the sections. She recommended just quilting with an “X”.
On mine I also quilted a circle a little larger than the bottom of the bowl in the center of each piece. In this way I knew where to end my darts … 1/4″ from the quilted circle!
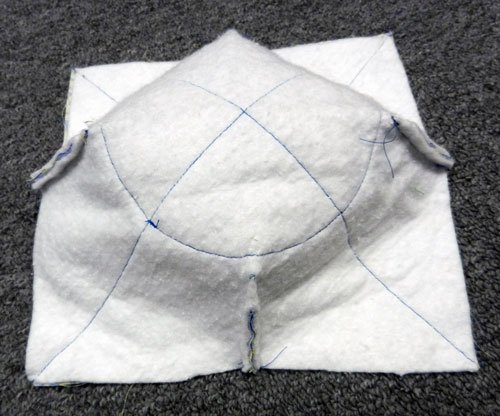
I highly recommend pinning along the 4 lines the darts will be sewn on and then setting the bowl in place before stitching, to make sure it will fit. Adjust as needed.
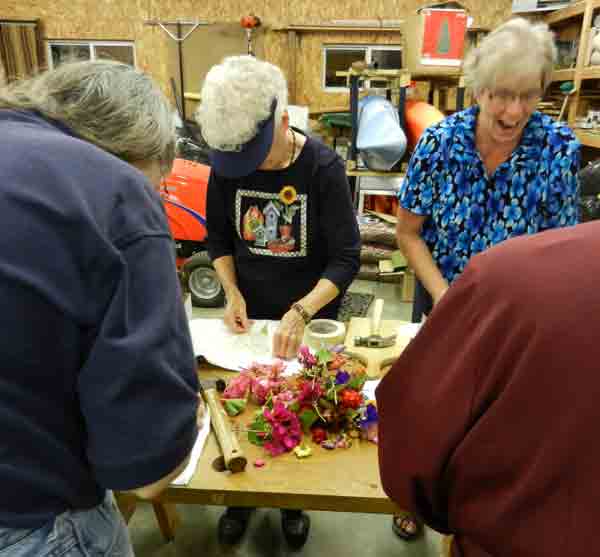
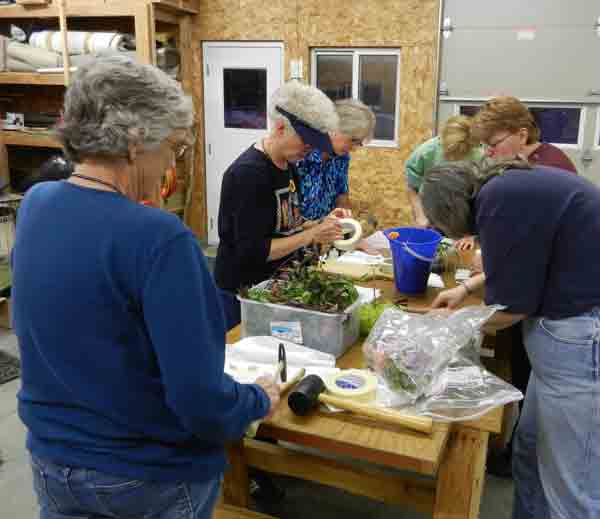
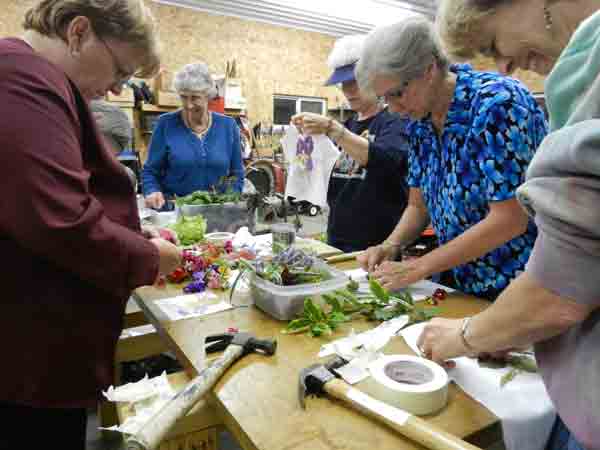
Here are a few pictures of the ladies making them in the Open Lab class.

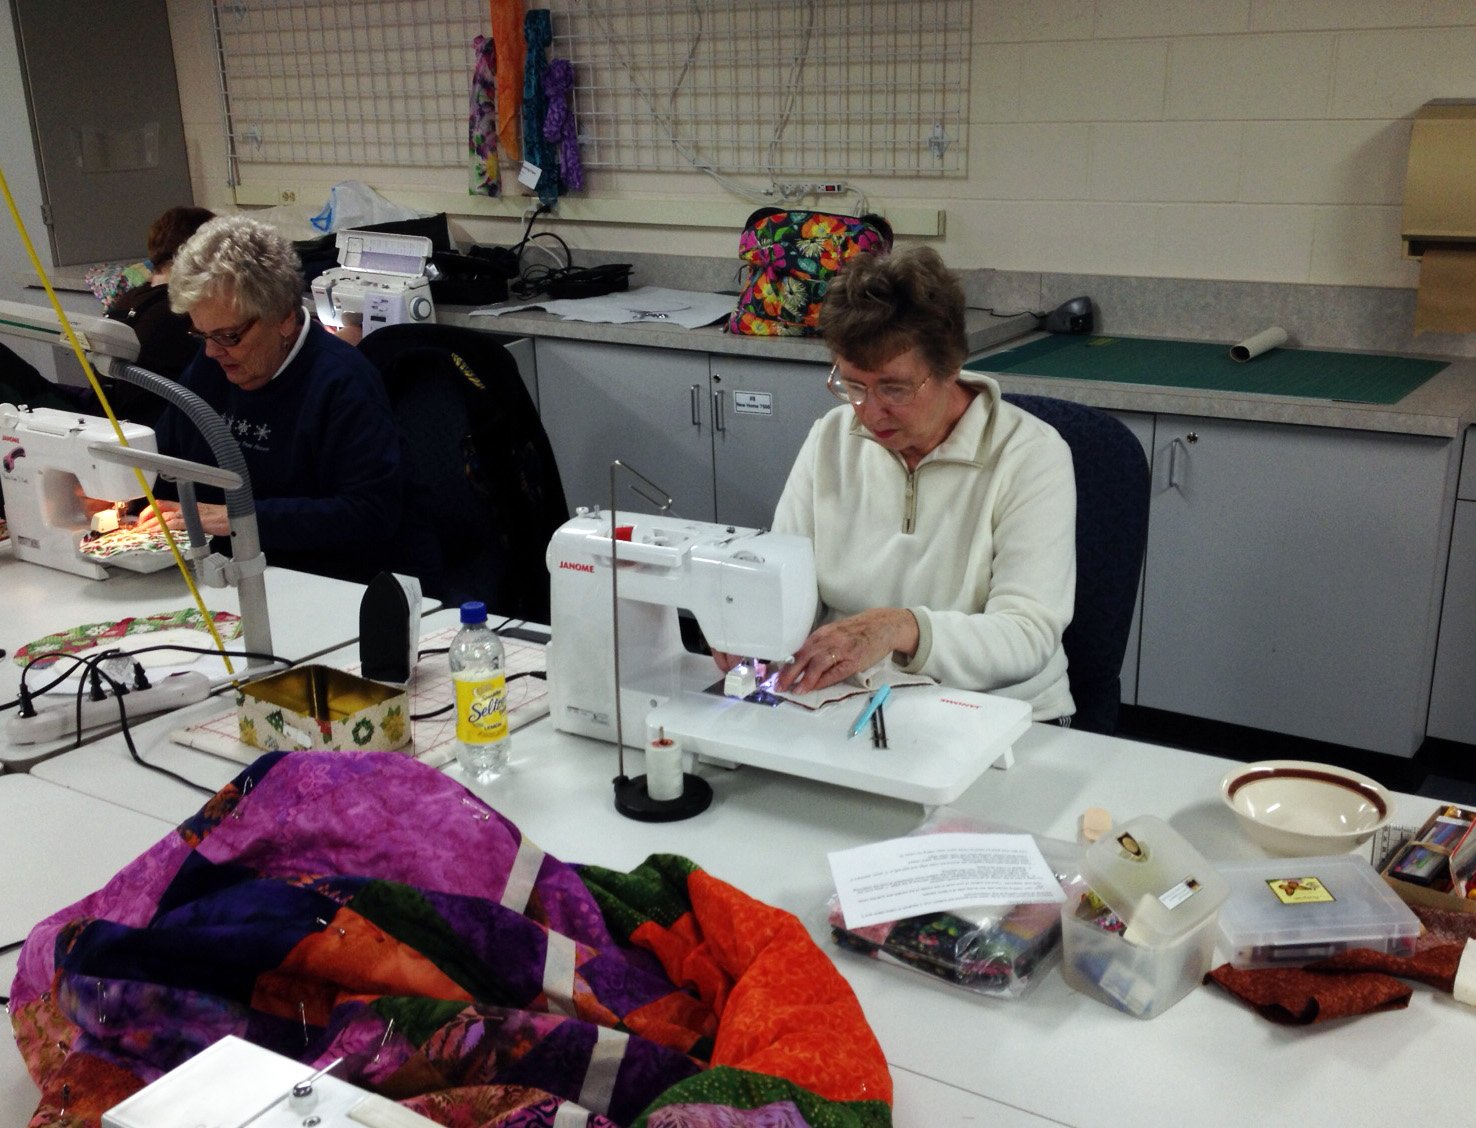

We had a good time and the pads were lovely!
********************
Just one more Christmas gift suggestion that was made by Barb M. on Facebook a few days ago (she was the quilter I wrote about in my November 3, 2013 post, who finished the quilt her Aunt Jeanette had started on my first cruise).
Barb wrote: “I NEED a Chris Kirsch style quilt float–it would make quilting this quilt so much easier! Oh why didn’t I make one sooner. May have to take a break from quilting (when the fog lifts) and make a trip to Home Depot for the necessary components. Chris Kirsch, you may want to consider reposting the instructions for making your quilt float in one of your upcoming blogs. There may be others that would like to request the components for Christmas!”
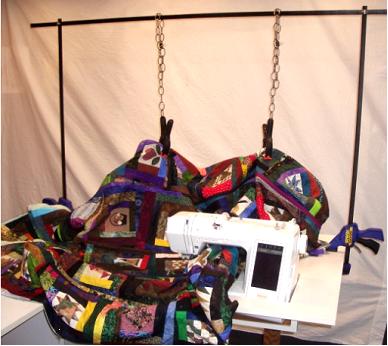
So, if you are planning on quilting a crib quilt or larger in the near future and someone is asking you what you want for Christmas; the needed supplies and assembly instructions can be found in 2 past posts. Just click here for part 1, and here for part 2!