Have you ever been quilting a large quilt on your domestic machine and needed to cut the bobbin thread? Climbing beneath the mass of quilt can be a miserable act of contortionism. Here’s a simple way to cut the bottom thread from the top!
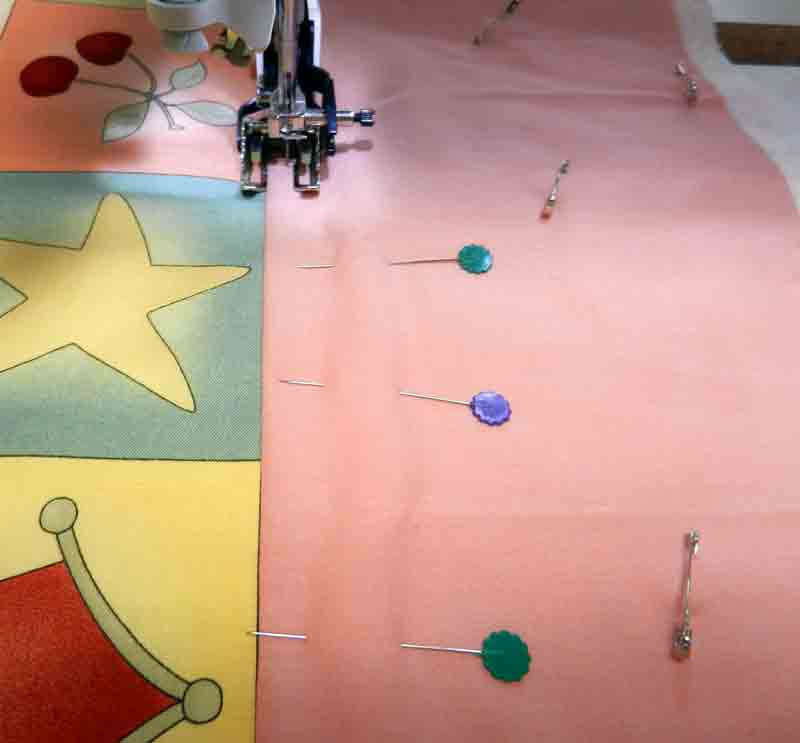
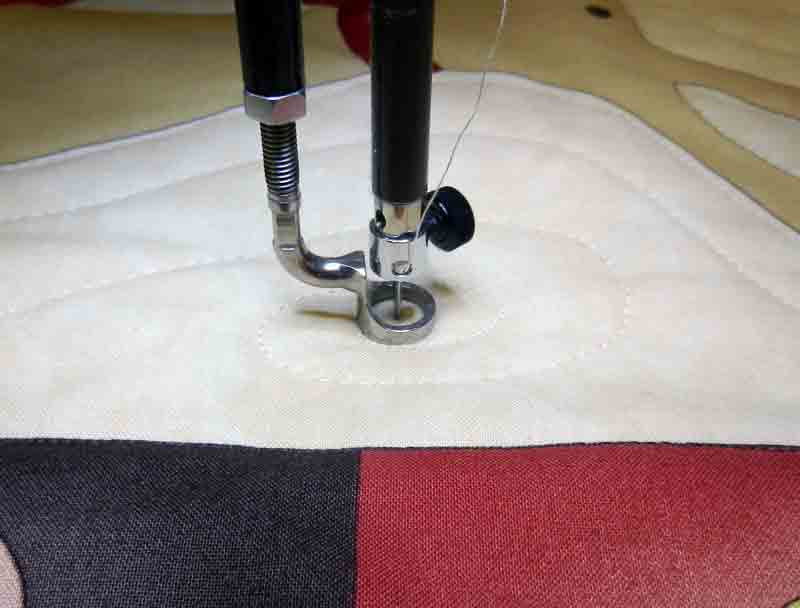
1. Sew a number of tiny stitches close together and stop:
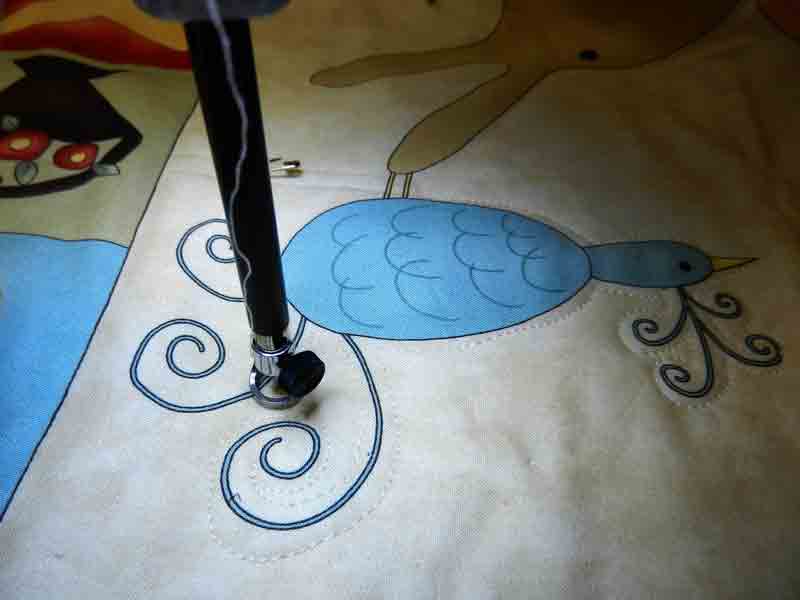
 2. Raise the needle, and pull the quilt away so you can grab the top thread:
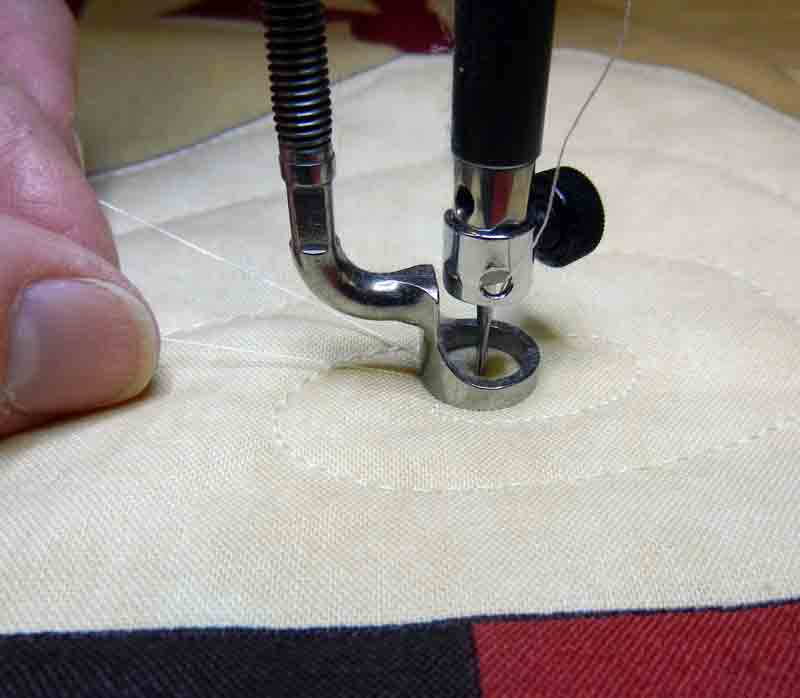
 3. While holding that thread, place the needle back in the same hole (close is good enough):
 4. Raise the needle again, then tug on the thread you’re holding. You may need to grab the thread above the eye of the needle with your other hand and tug on both threads. The bobbin thread should pull to the top:
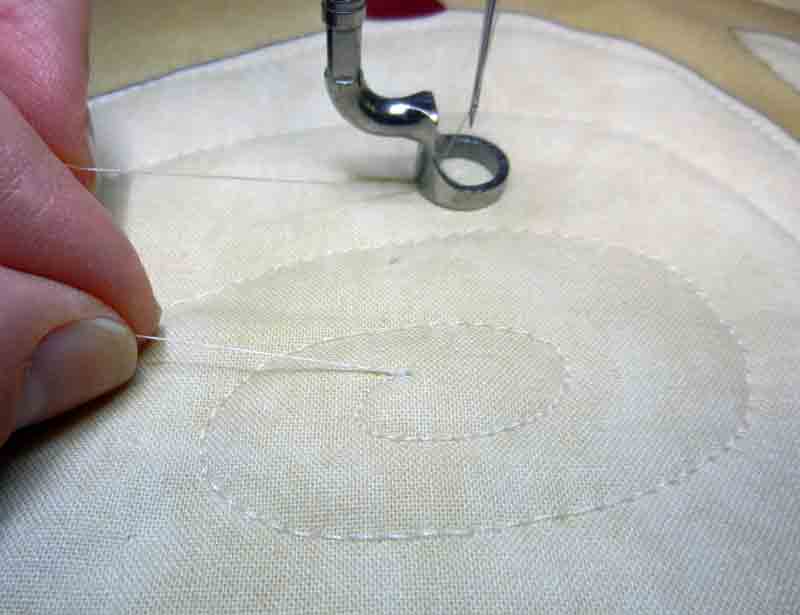
 5. Pull the quilt away from under the needle while holding onto the threads. Continue to tug on the threads until about a 1″ loop of bobbin thread comes to the top.
 6. Cut all 3 threads that are coming out of the hole (the top thread and both ends of the bobbin loop.
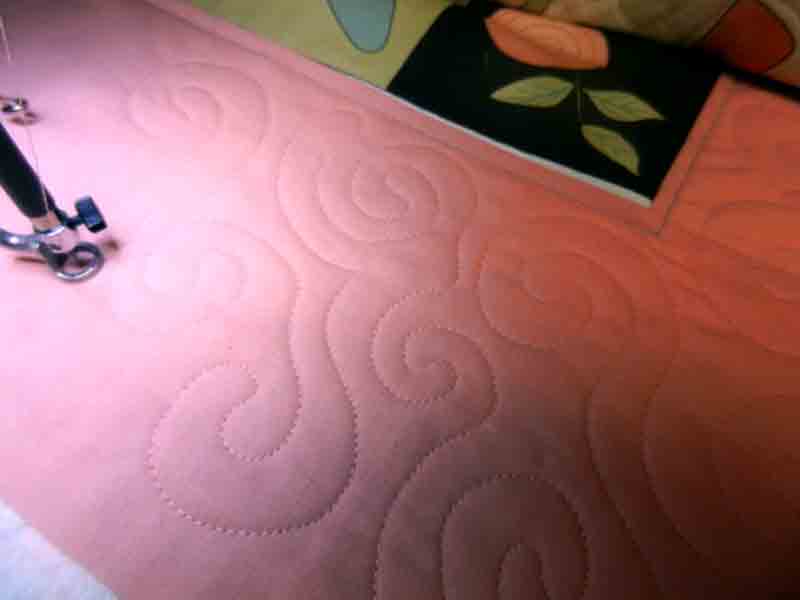
 7. The top thread will now be cut even with the quilt top, and the bobbin thread is now severed, with no tail on the back. Here’s a picture of the loop of bobbin thread cut off:
 It really works! Try it, you’ll like it!
This week I’d like to share a second topic. I hope you’ll enjoy:
Quilting With Kids Revisited
This past week, my nephew’s 7 year old daughter, Lily, came for an overnight visit because she wanted to learn to quilt. She had seen the quilts her cousin Hanna had made and wanted to make a quilt too (click here to read about my granddaughter, Hanna’s, quilting adventures).
Right after a breakfast of Uncle Mike’s waffles, we had to head to the studio (she didn’t even want to change out of her jammies). Lily is very bright … but she’s always moving, so I thought this might be a bit of a challenge (here’s a typical shot of her :-)):
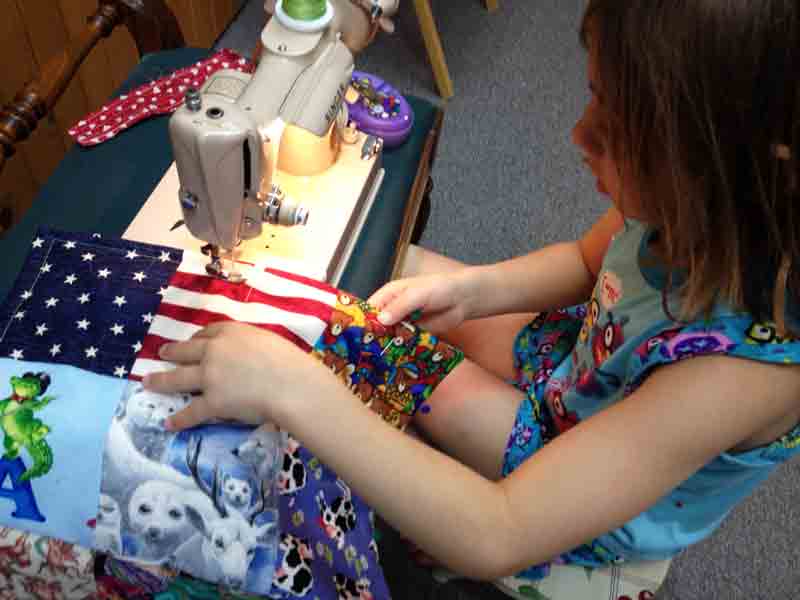
She did great! I had her pick out 12 charm squares from my box of 6″ squares, in order to make a doll quilt. She arranged them in a 3 x 4 set and the sewing began. She listened well and was very careful.
Once the top was pieced, she chose a piece of flannel for the back, layered it with batting, pinned all around, and sewed – leaving an opening for turning.

She then poked out the corners.

And quilted 1/2″ away from the outer edge and with an “X” through the middle. She sewed every stitch herself!
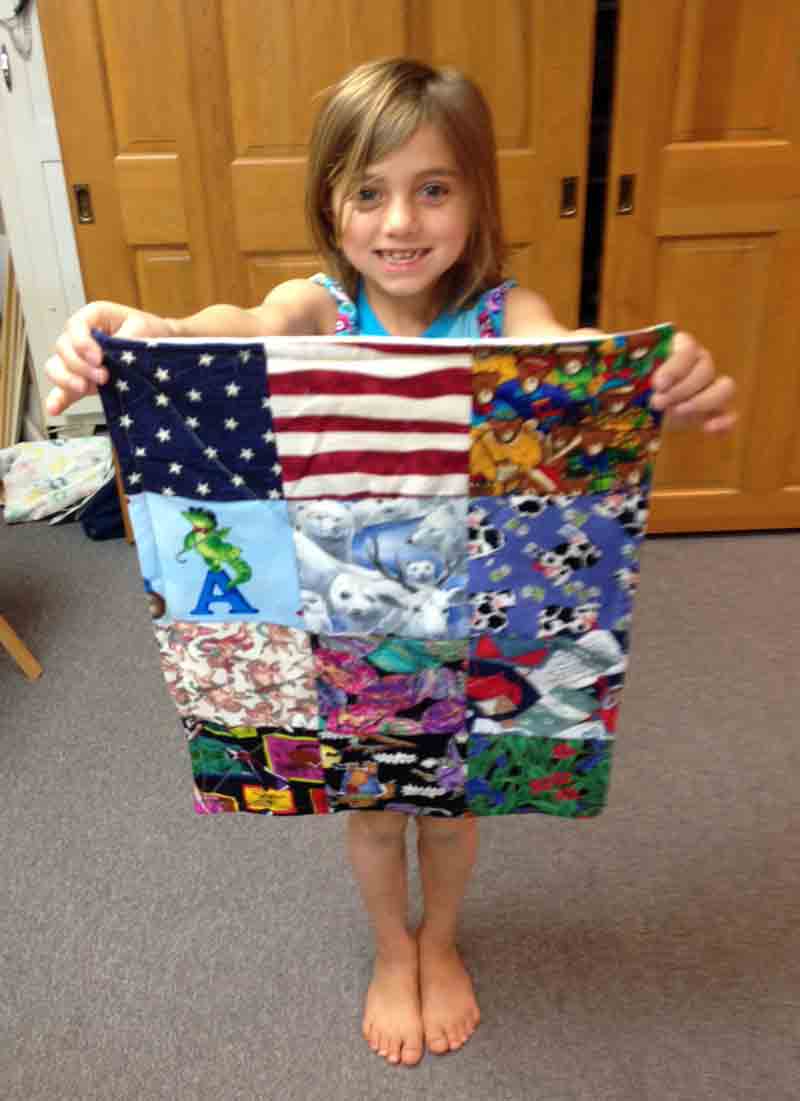 Then she wrapped a dolly in it and said “can we make another one?”
 By this time Aunt Chris decided we all needed to take a walk in the woods :-)! It’s so much fun to share your passion with the younger generation!