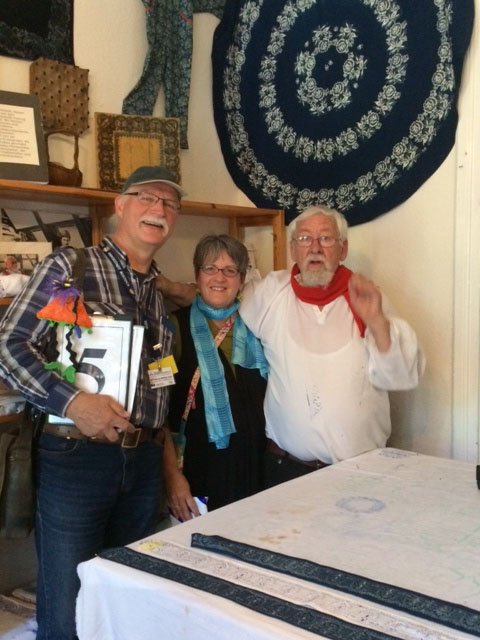
A quick addition to last week’s pictures from Rostock, Germany. I didn’t want you to think I was the only one hugging German men. Wendy found two (Reinhard, and Klaus – the tour guide):
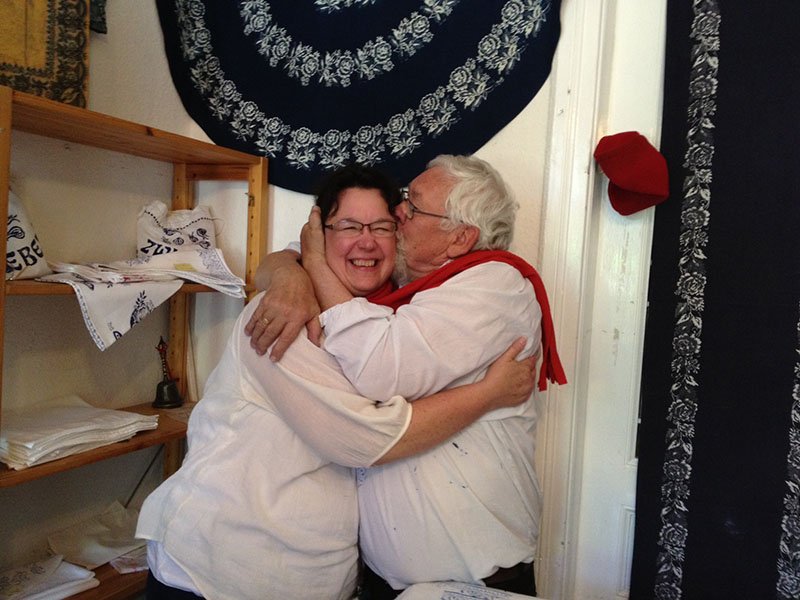
And Kristi (our fantastic travel planner) rated a kiss!
Speaking of Kristi, she arranged for a phenomenal trio of classes while we were in Tallinn, Estonia. Estonia holds artists in very high regard. We began with a stop in a handicraft type shop. This shop had quite a variety of items (from hand knit sweaters to wooden trivets and so much in between). They were all made in traditional Estonian style.
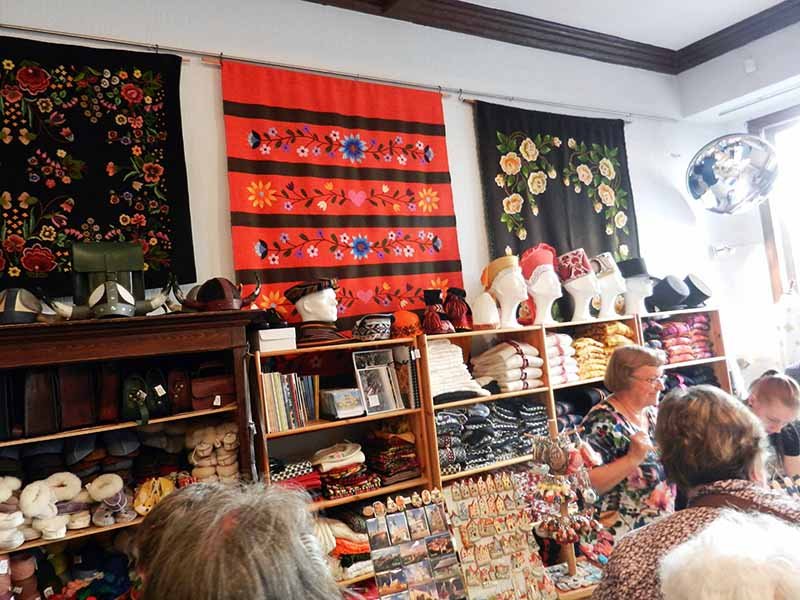
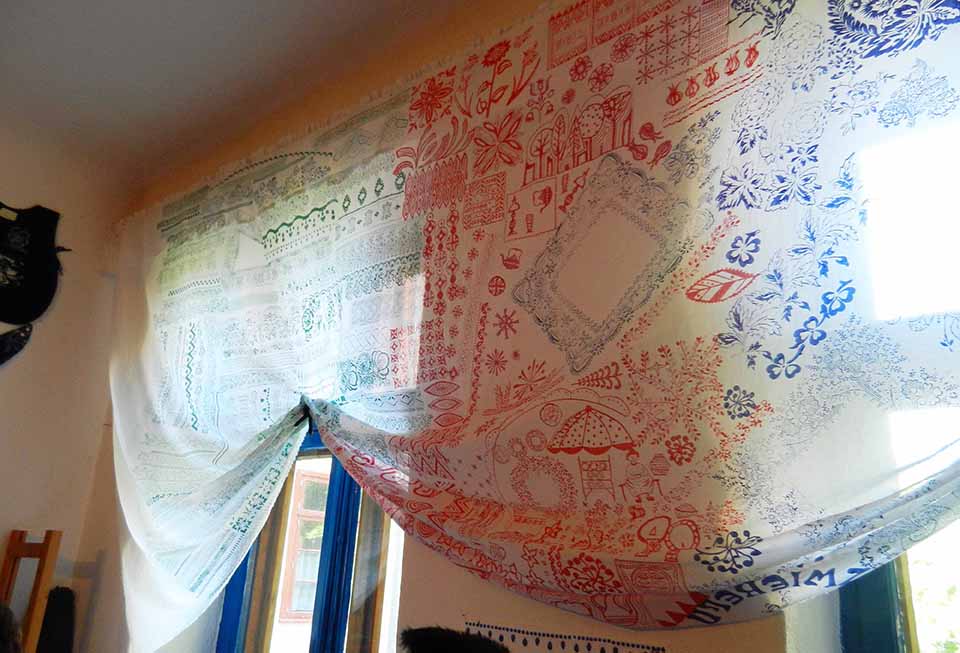
In the back room of the shop was an exhibit of fiber art. The artist’s made wall art inspired by jewelry (the jewelry was displayed in shadow boxes next to the art).
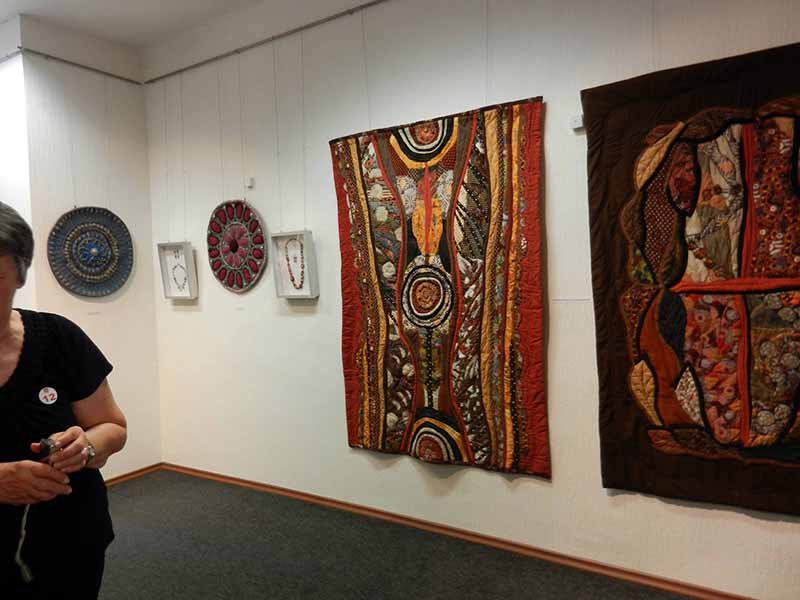
This reminded me of a recent Milwaukee Art Quilters challenge called Bead Inspired (click here to see the quilts in that exhibit).
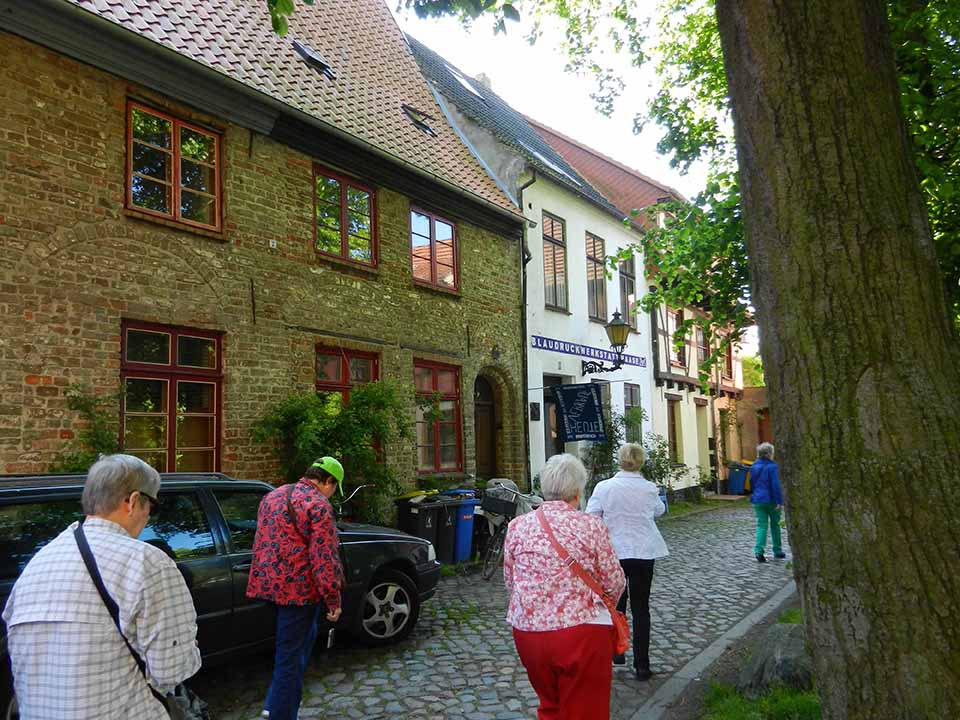
Many artists are trained at the Universities in Estonia, and the old town of Tallinn is filled with shops and studios featuring these very creative individuals. A short walk from the handcraft shop we discovered more fiber art for sale:
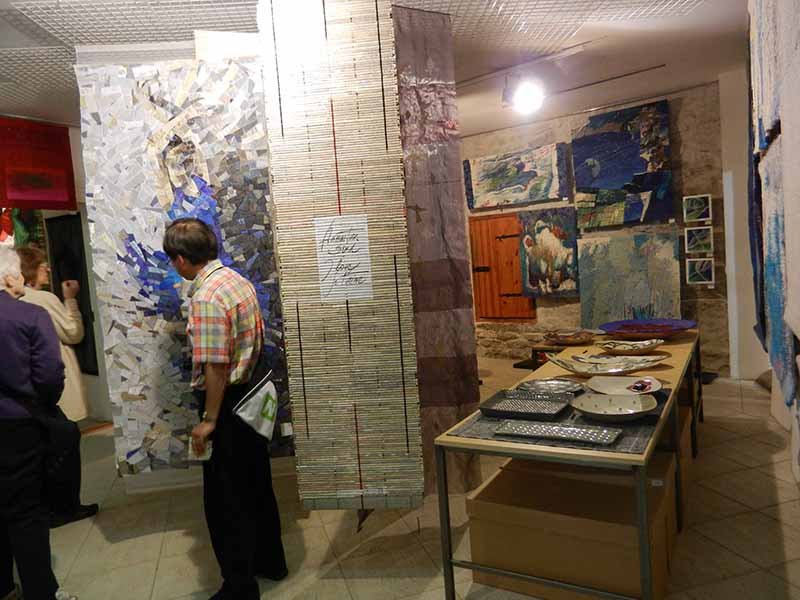
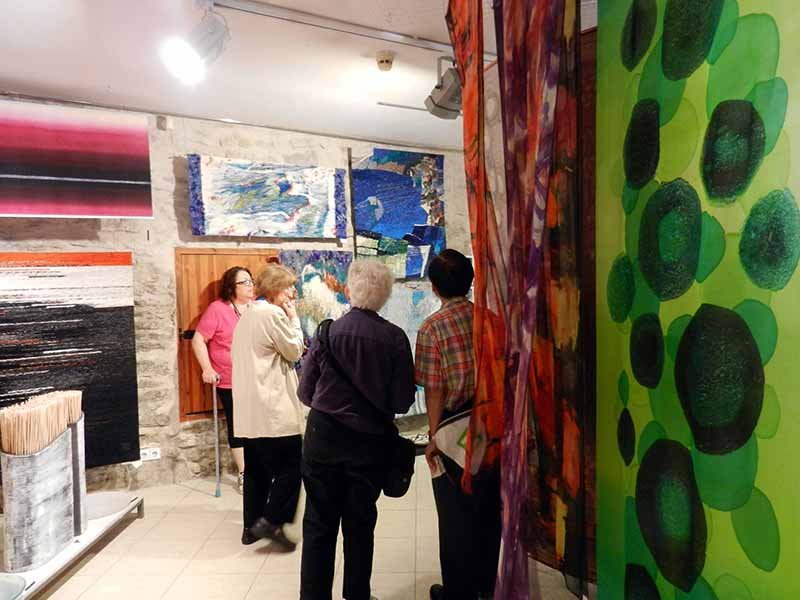
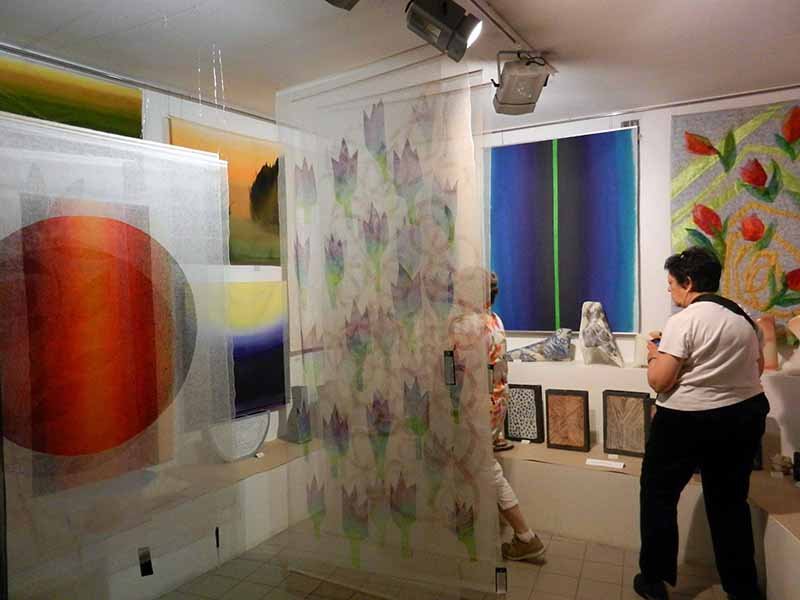
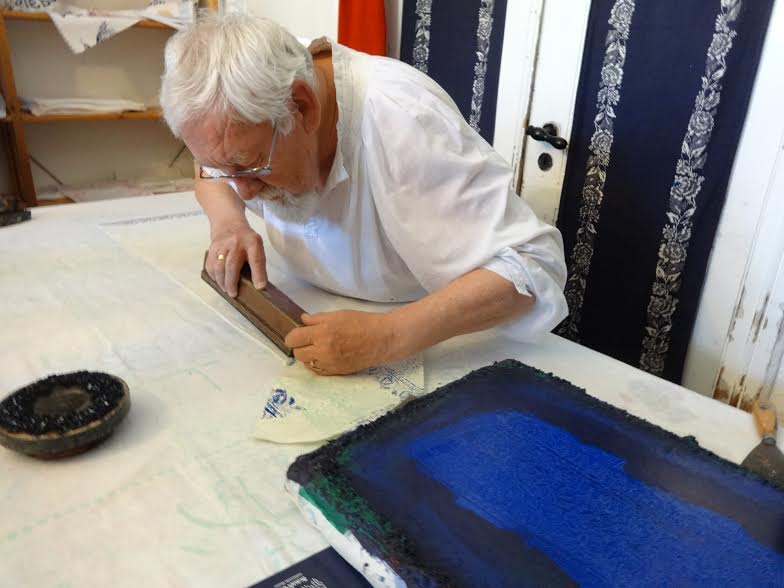
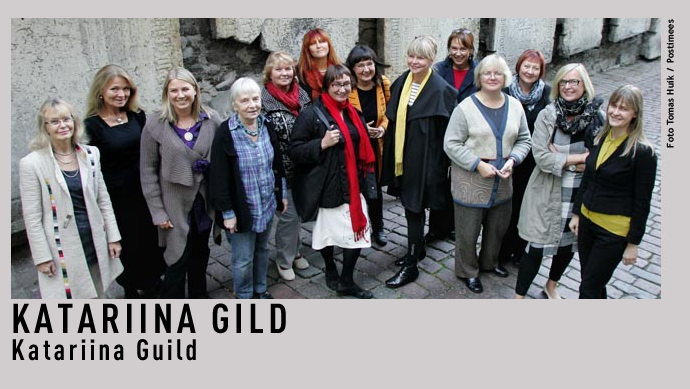
What a feast for the eyes. But this was nothing – Kristi had scheduled our travelers to take classes with a group of Estonian artists! Our next stop was the studios of the Katariina Gild.
Here is a picture of the members of this “Gild” from their website: http://katariinagild.eu/index.html (I highly recommend visiting their site! It starts in Estonian, but if you scroll down a ways it’s in English! Be sure to visit all the pages 🙂 )
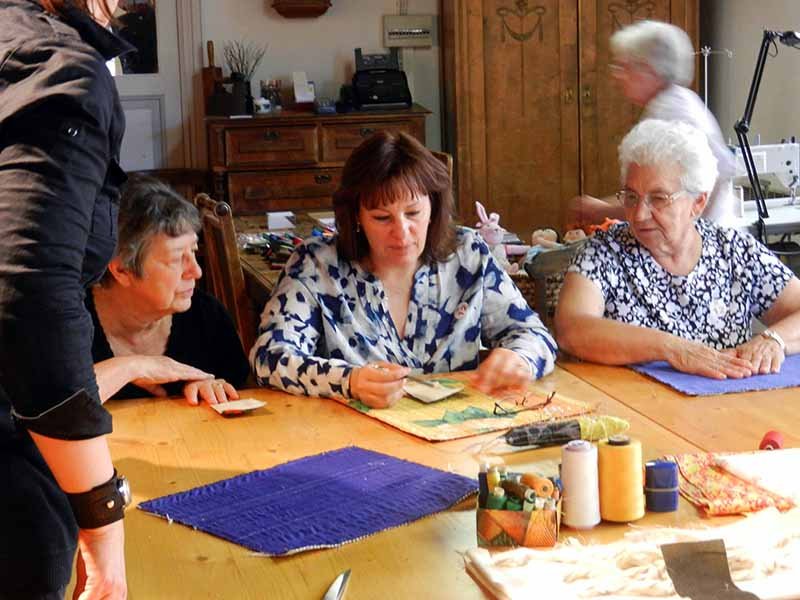
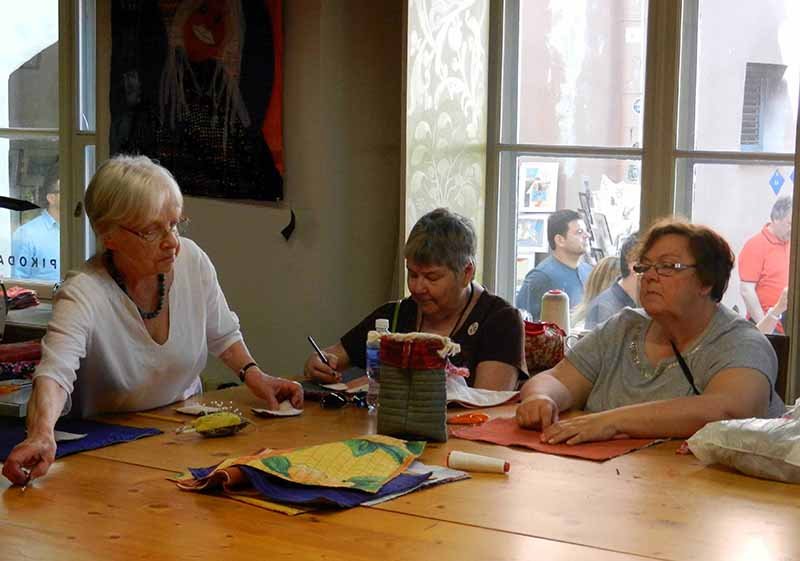
We broke up into smaller groups and some of us took a class in Patchwork, making an embroidered and quilted bag:
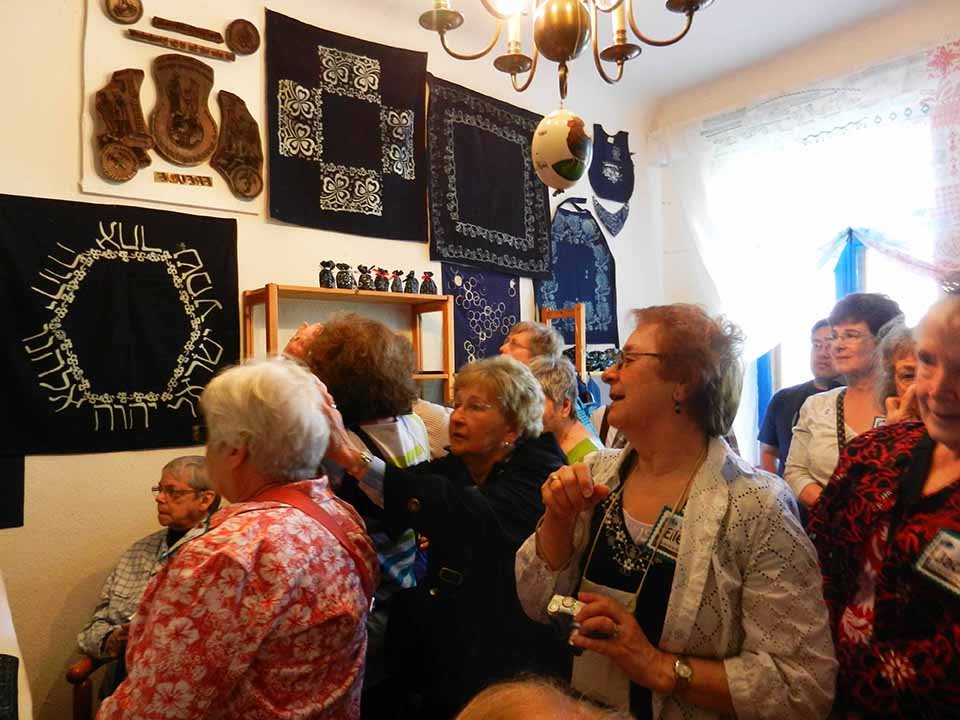
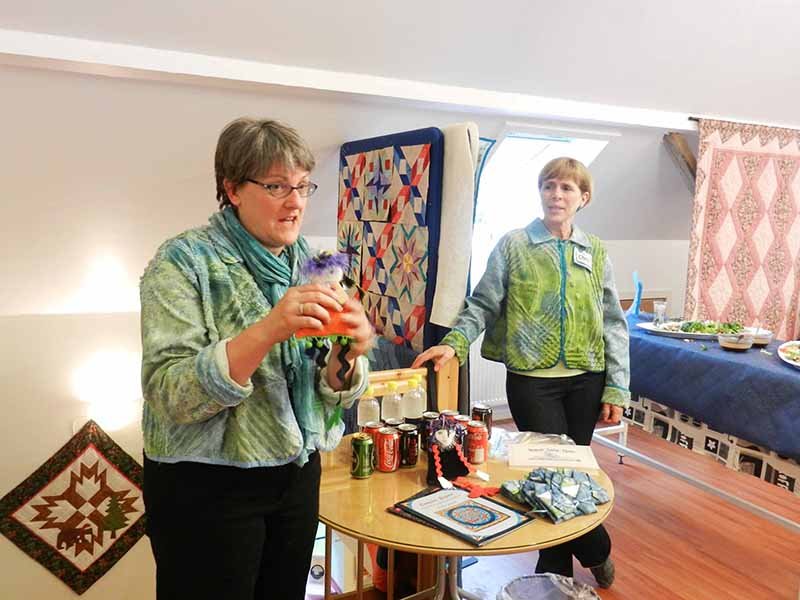
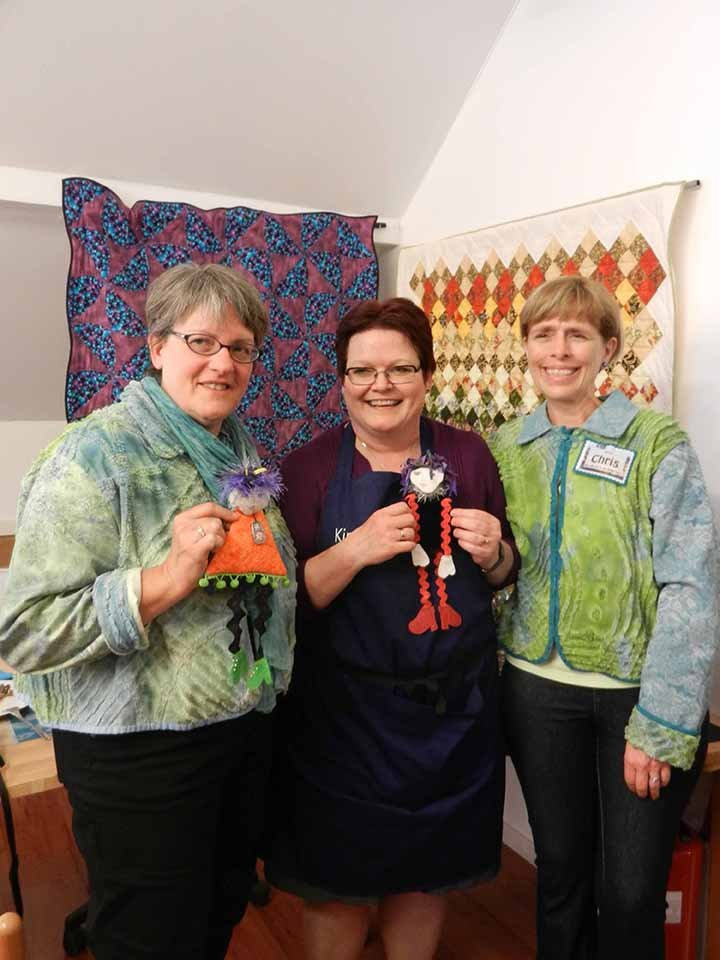
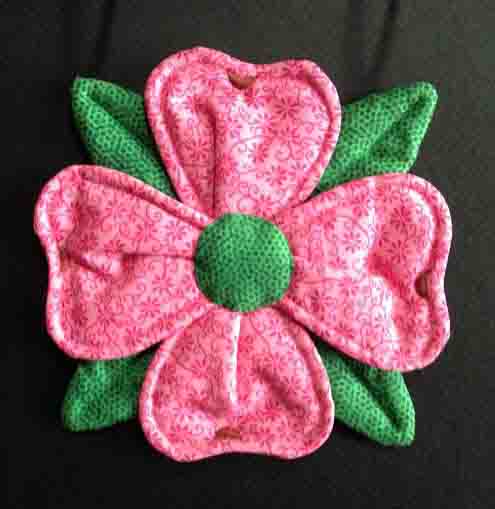
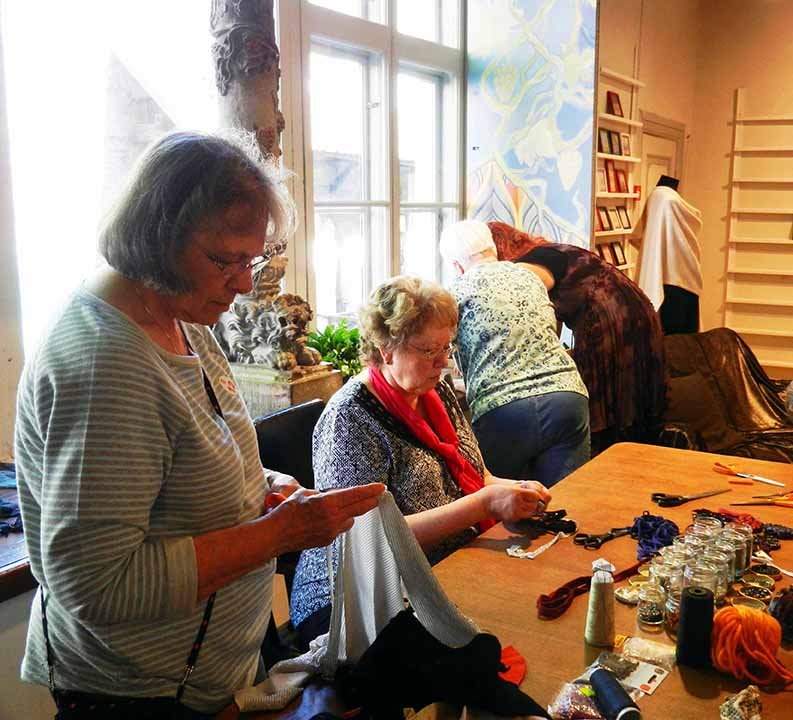
Others took a Fiber Art class, and made broaches from yarn and other embellishments.

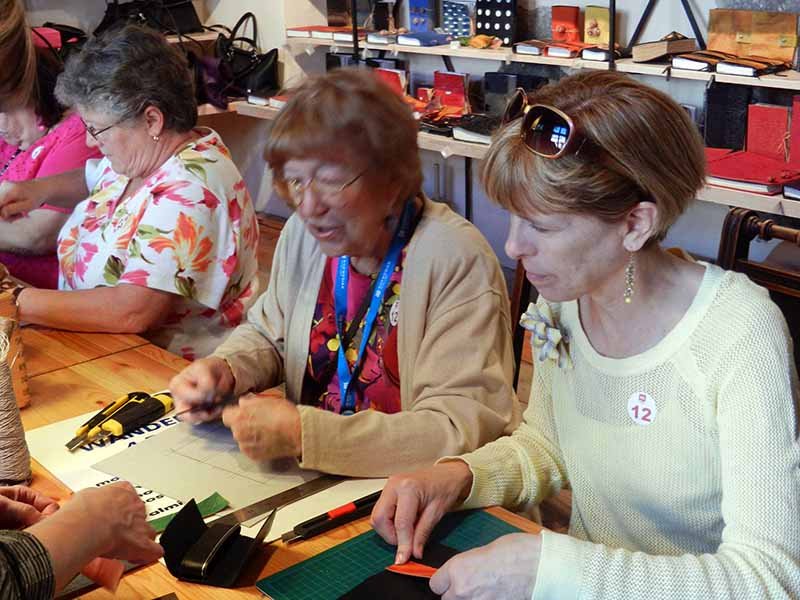
and there were even workshops in Leather Art. I found that intriguing, and the instructor, Pille, was very talented and very inspiring. In the first photo Jerrie and I are making business card wallets. In the second we’re posing with Pille and our finished creations. It was an interesting process, and I did buy one of her handmade books (on the shelf behind us).

It was a wonderful day of inspiration and learning. I didn’t take any photographs of the finished projects (the patchworkers actually placed their projects into a packet and stitched it closed for the trip home – so none of the rest of us got to see them), but we’re having a cruise reunion in July and I’ll be inviting everyone to bring what they made for show and tell. Watch for pictures in a future post.
I wish we could have had another day in Estonia – what a wonderful place to explore!