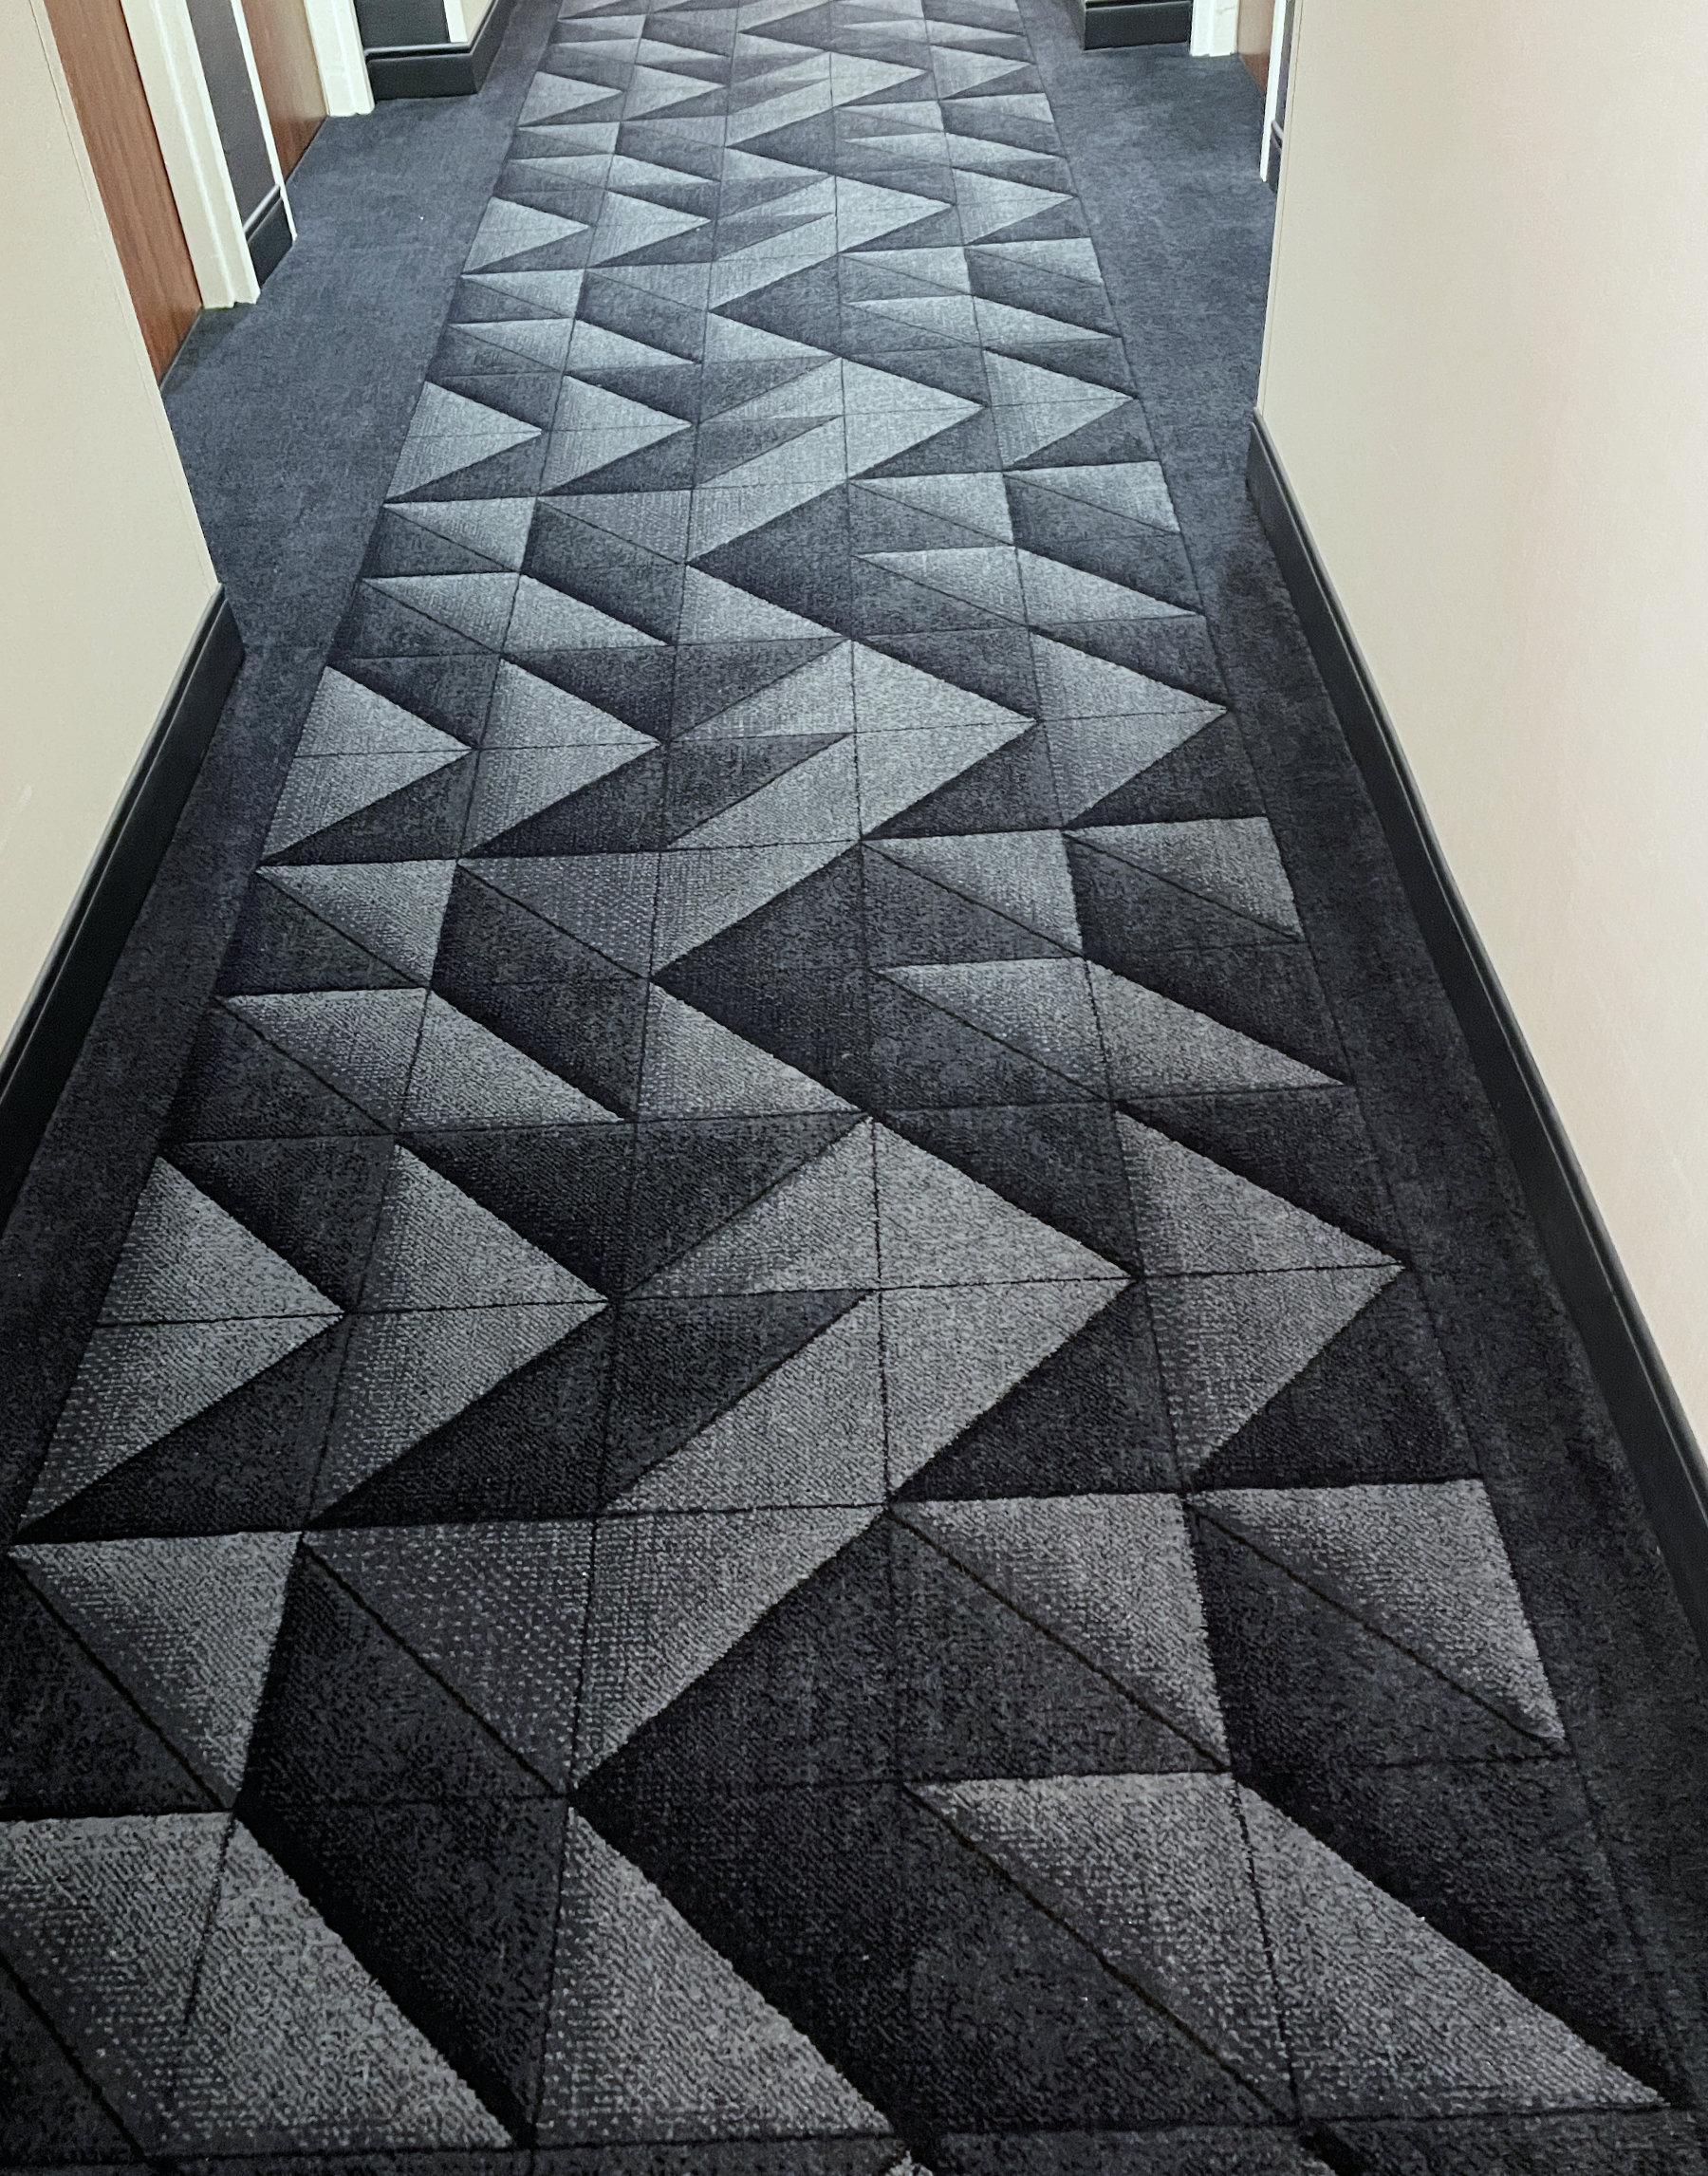
Last weekend I had the great privilege of teaching in Bloomington, Indiana. Every aspect of the show was delightful. It was held in the Bloomington Convention Center near the campus of the and Indiana University, and I stayed in the hotel connected to the Convention Center. This was such a blessing because they were experiencing a lot of rain last week (some students couldn’t even attend my classes because of flooding 😞). As I checked into the hotel I couldn’t resist taking a photo of the carpet outside my room – loads of blue half square triangles!
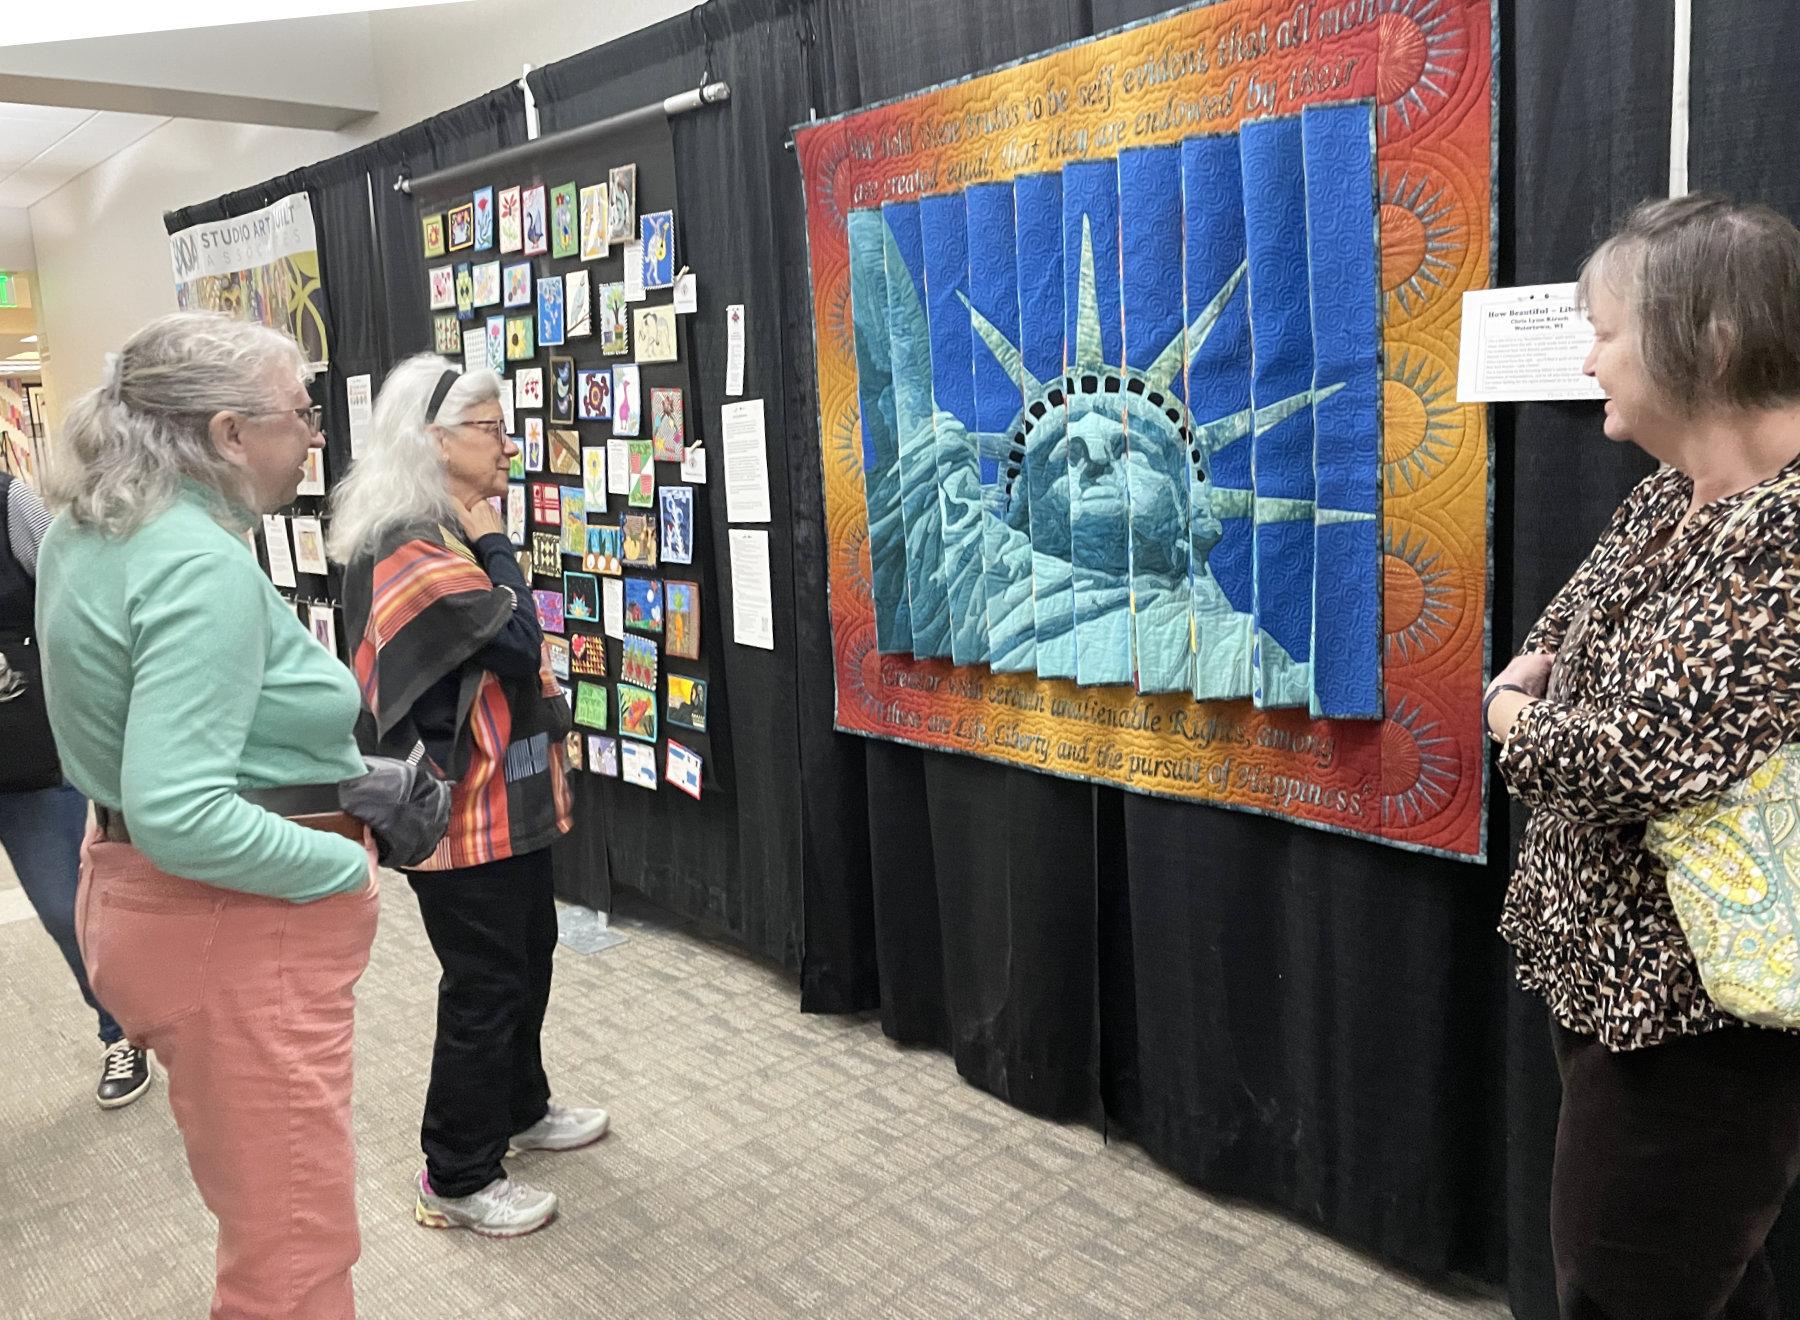
Upon my arrival on Wednesday night I was able to help hang my “faculty” quilt. I brought “How Beautiful Liberty” in honor of our nation’s 250th birthday. It hung in a hallway, which was perfect because of it’s 3-dimensionality, and it got a lot of attention. I enjoyed standing near it and sharing the story when I could.
After hanging “Liberty”, I was able to wander through the competition quilts without the crowds.
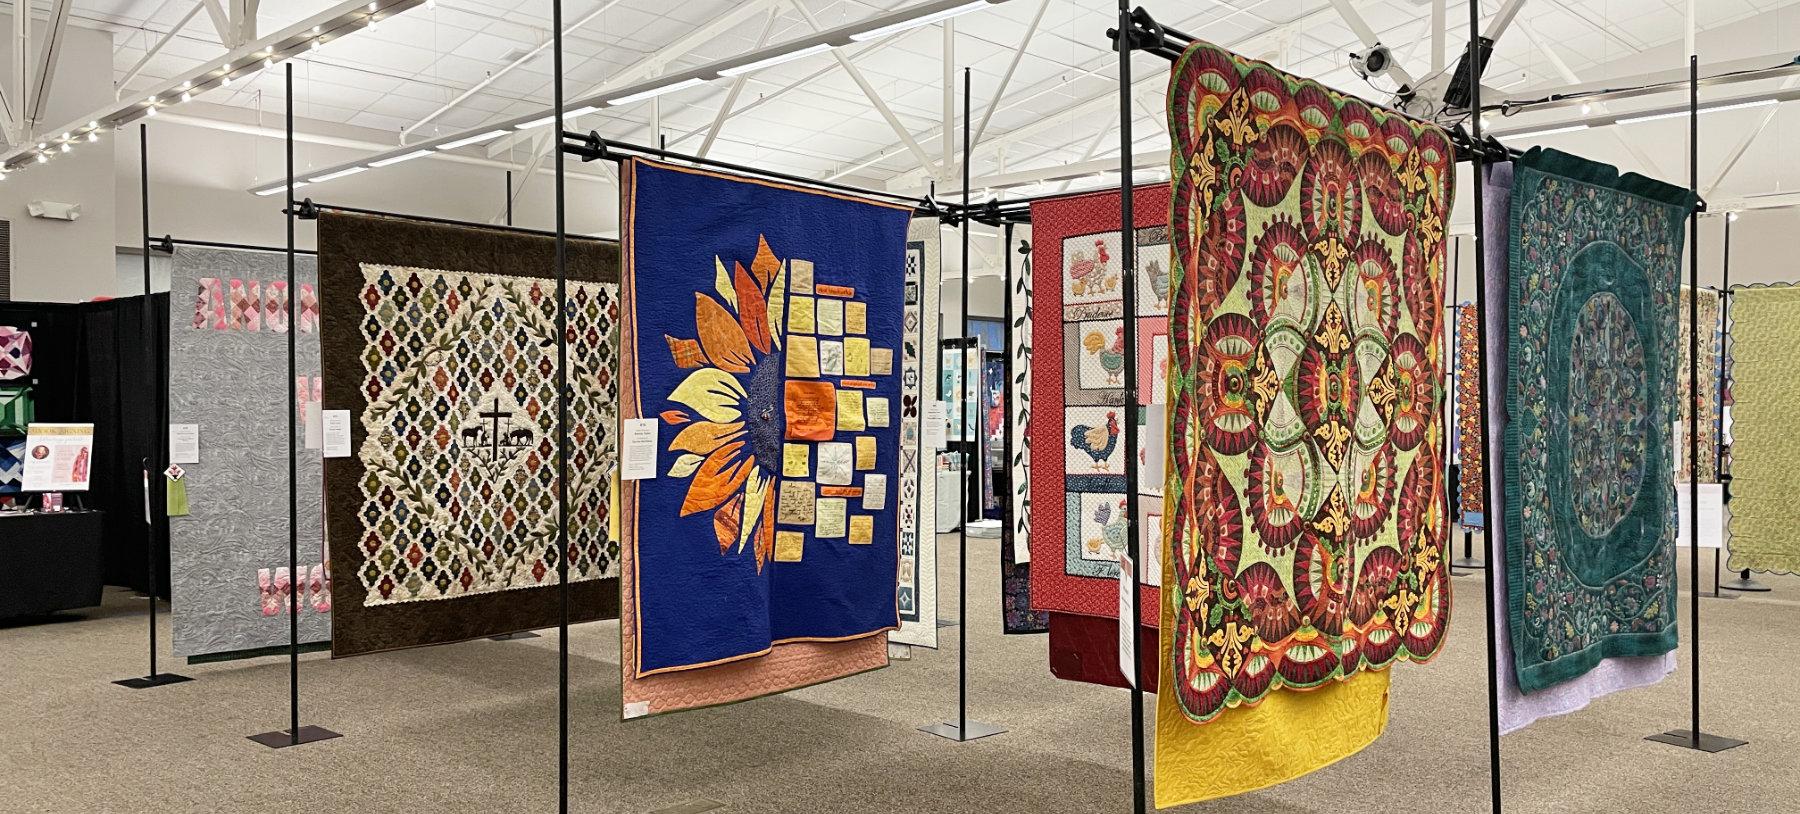
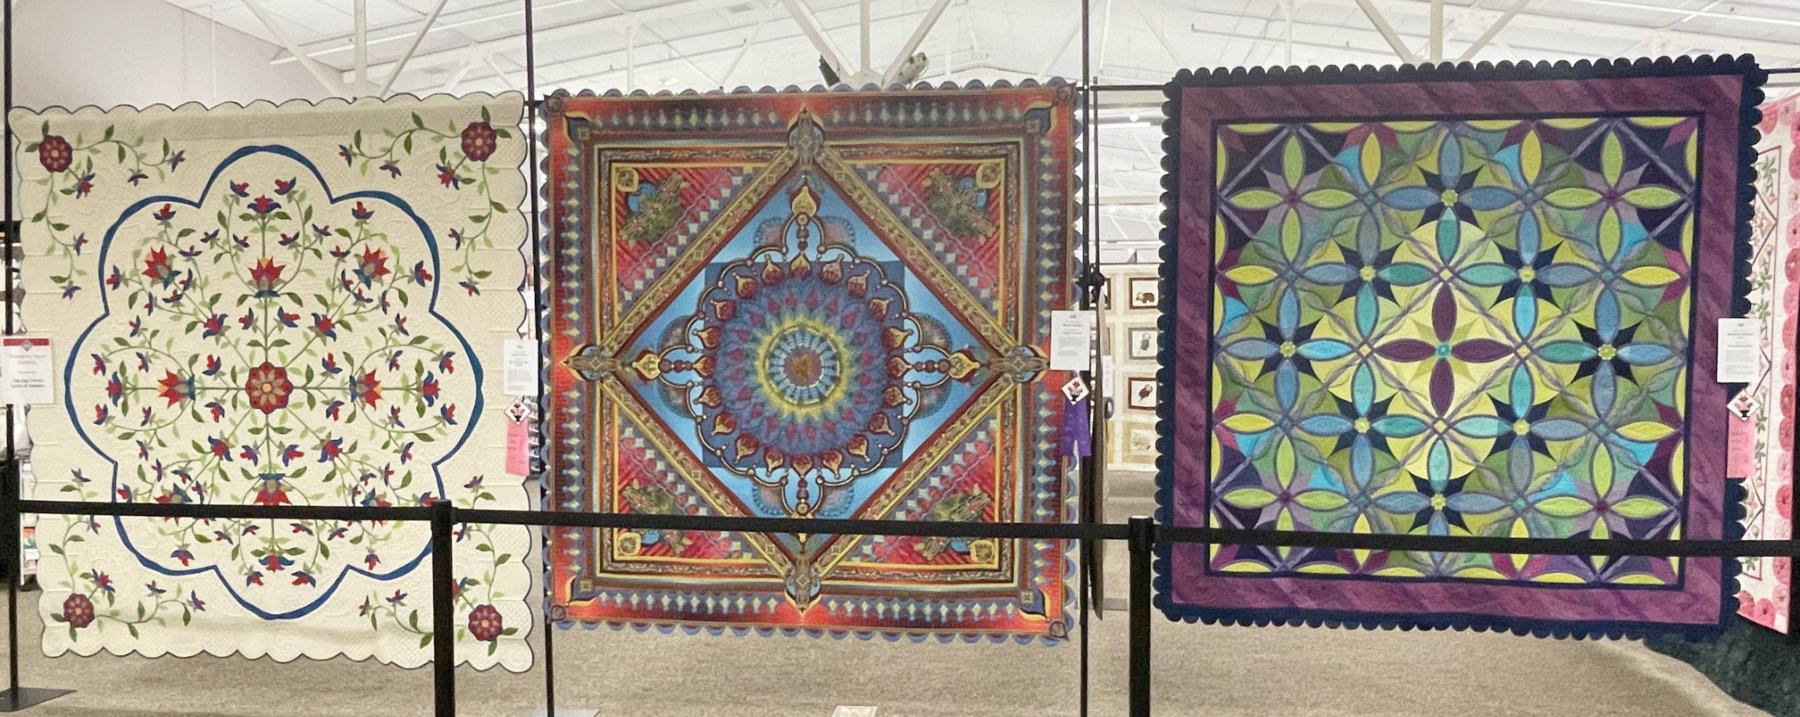
The image at the top of this post is of the top three prize winning quilts. They were made by Barbara Clem, Marilyn Badger and Margaret Solomon Gunn. It was impressive to see quilts from such prestigious quilters in the show, hanging with so many other wonderful quilts made by local and “not-so-local” quilters. And there was so much more!
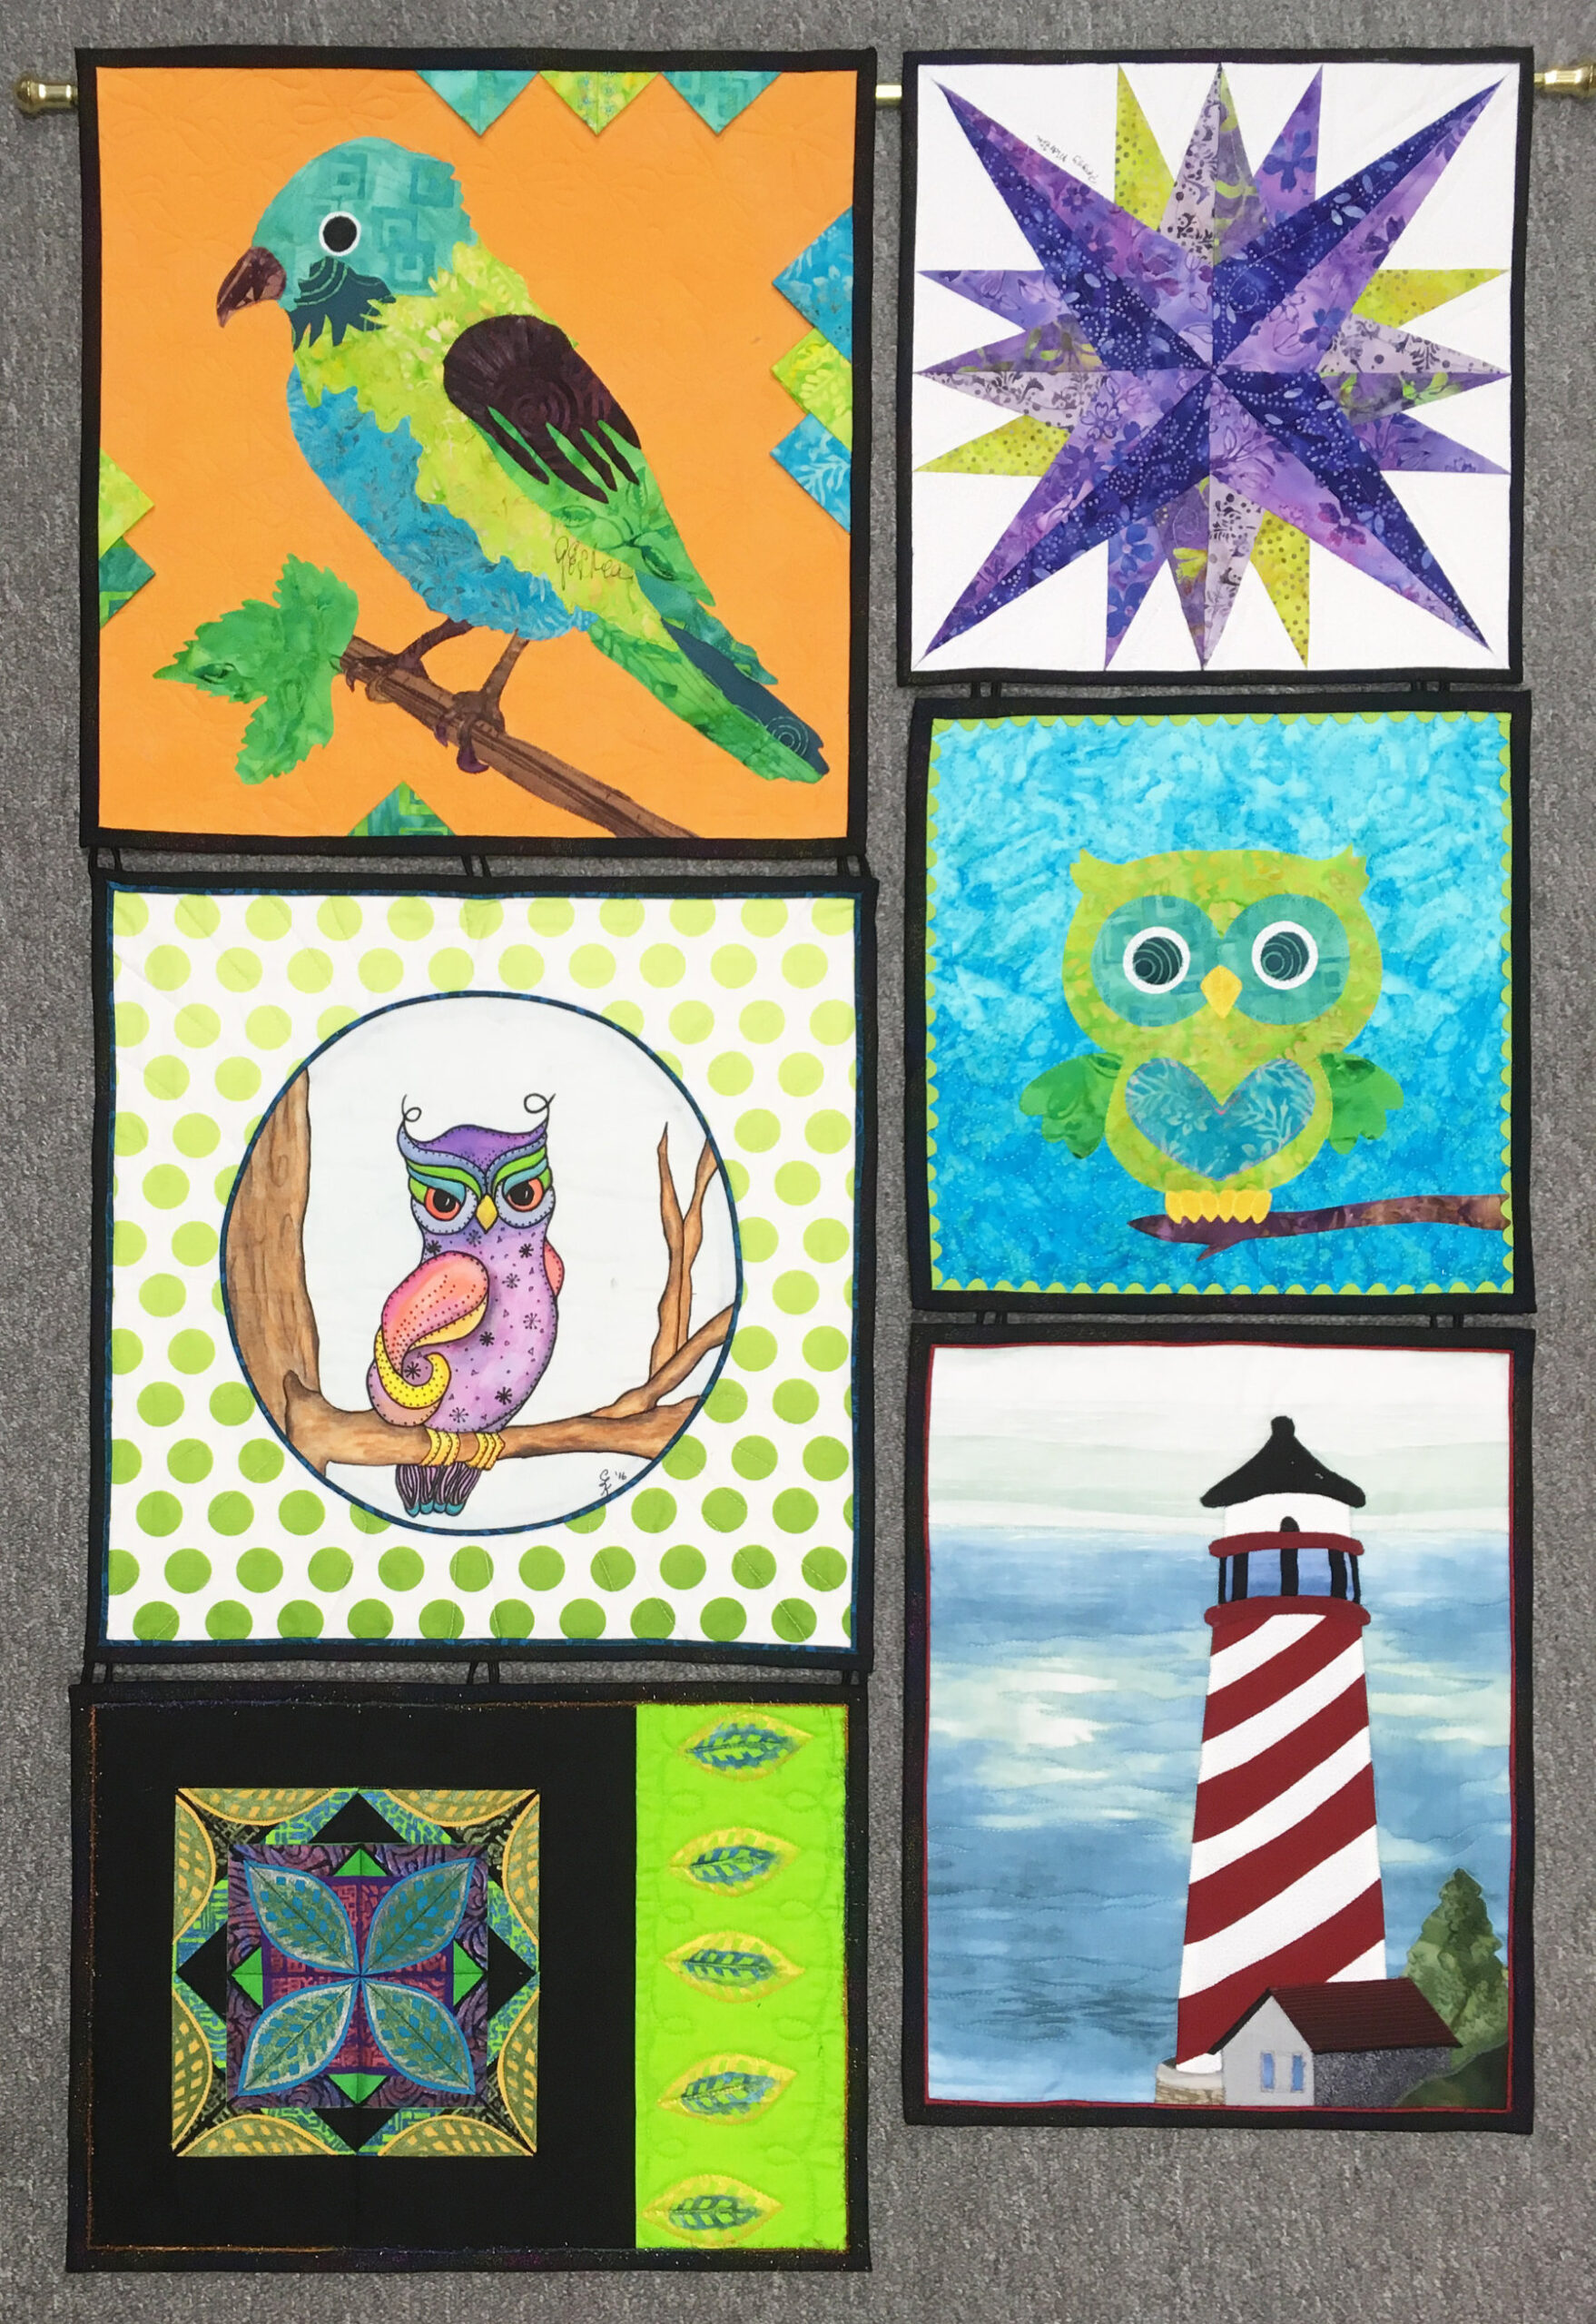
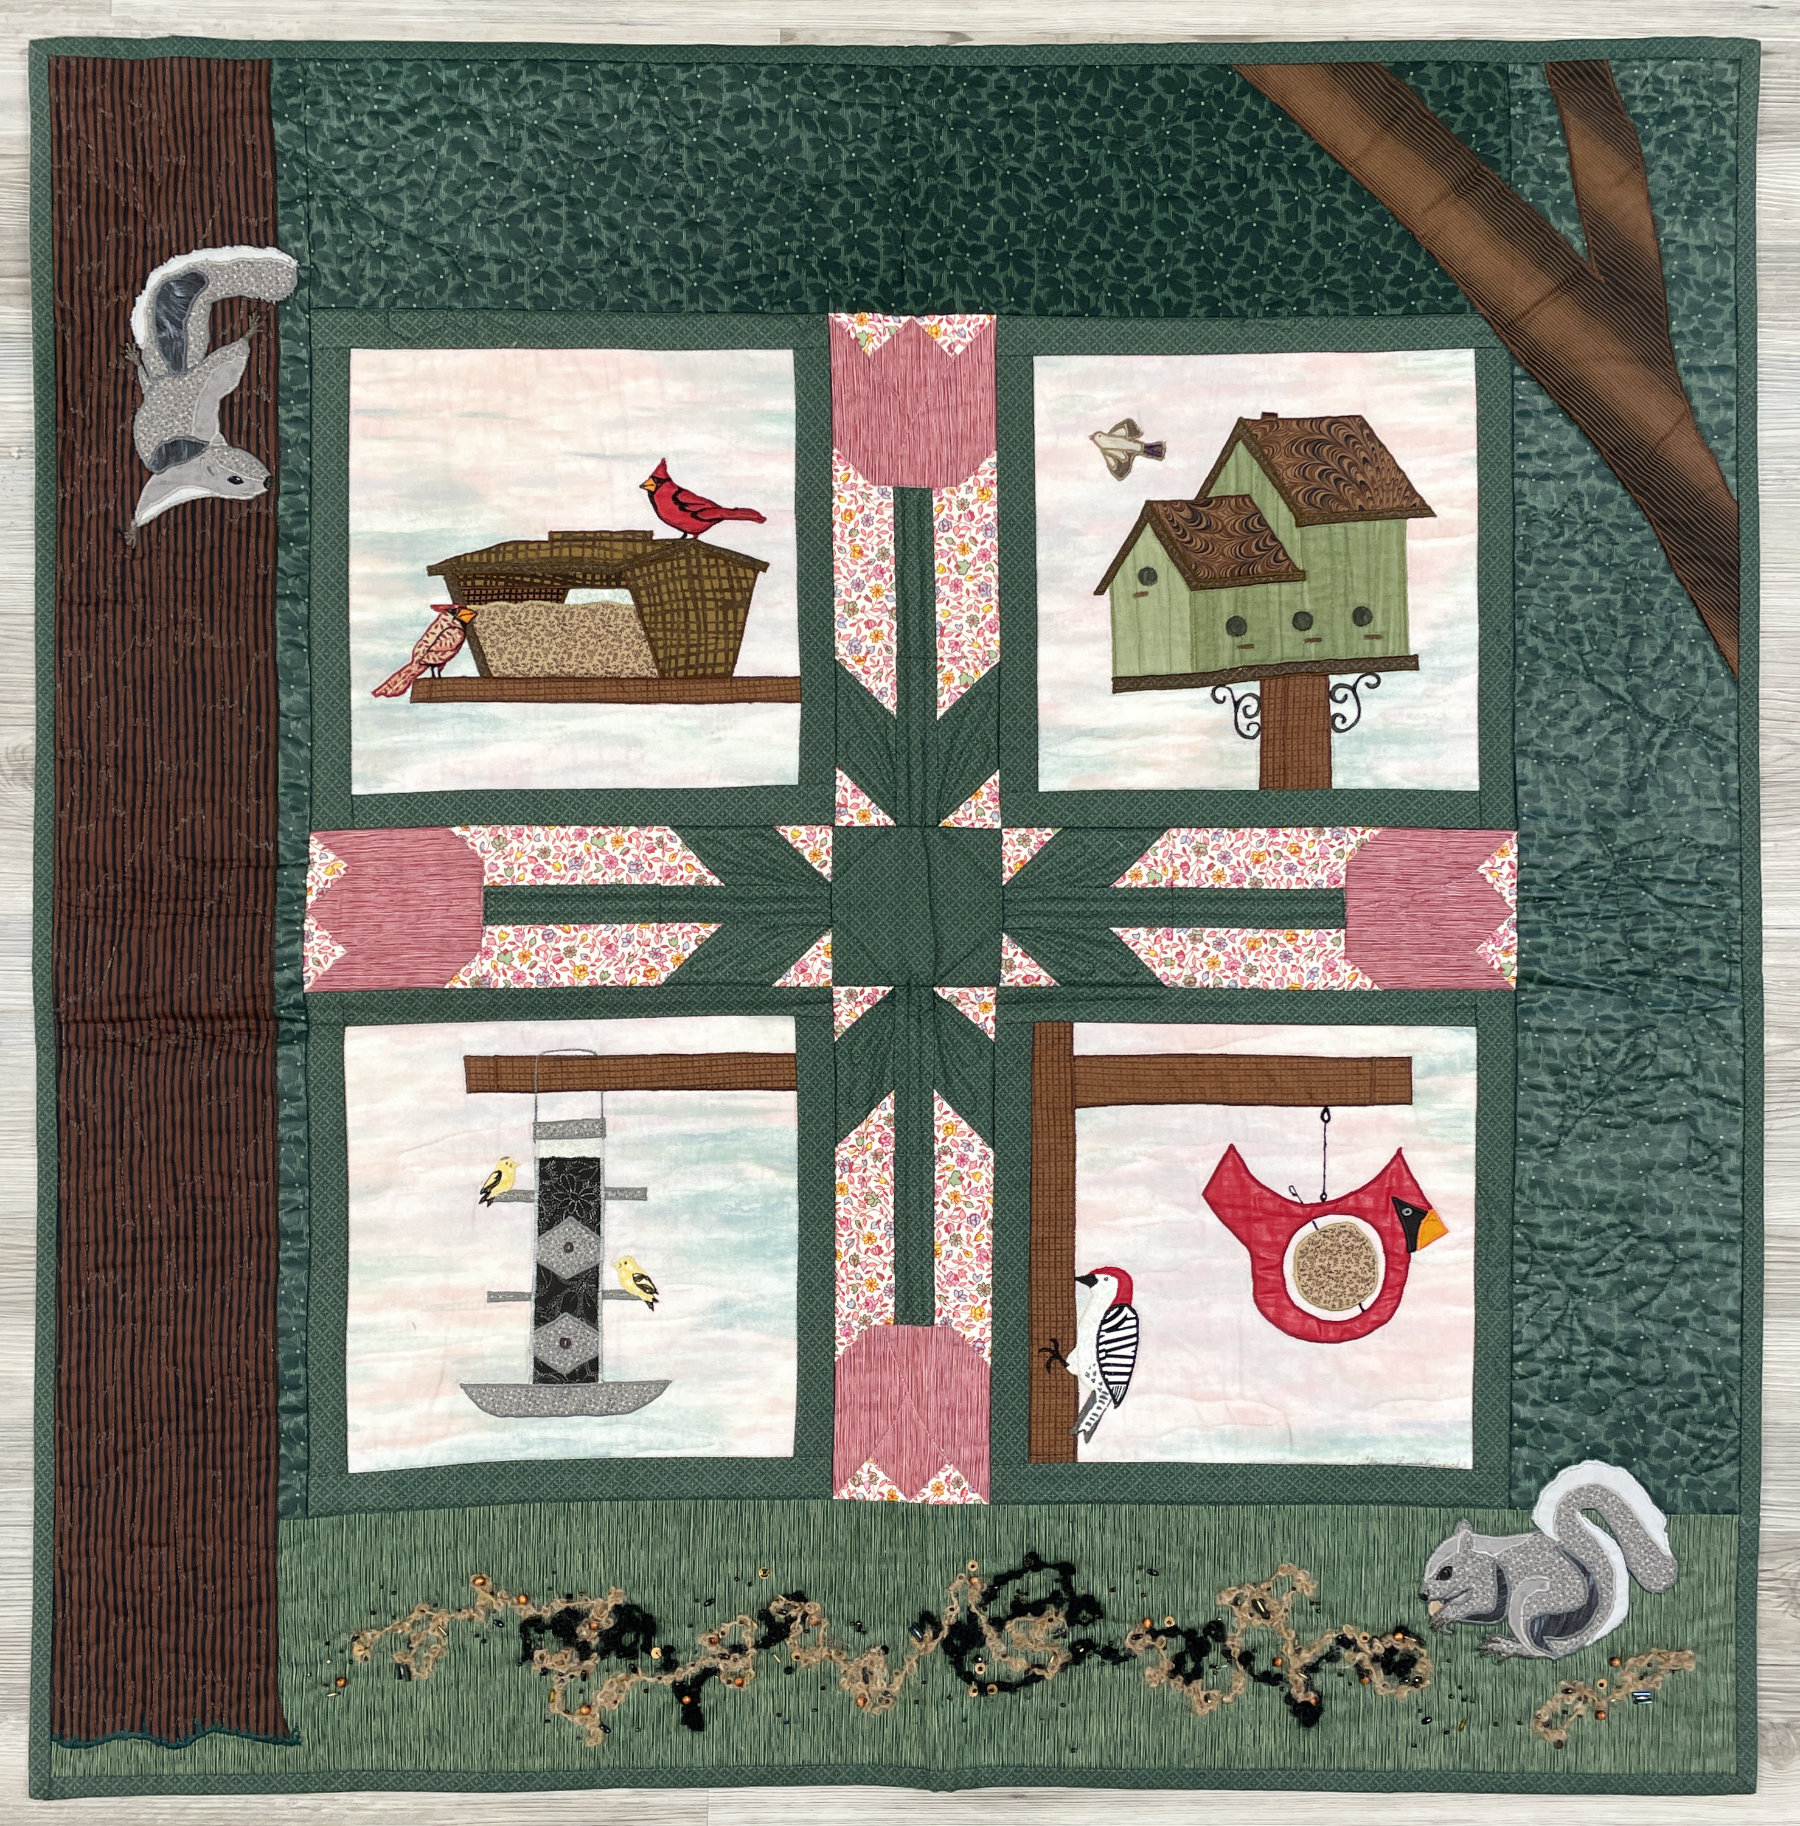
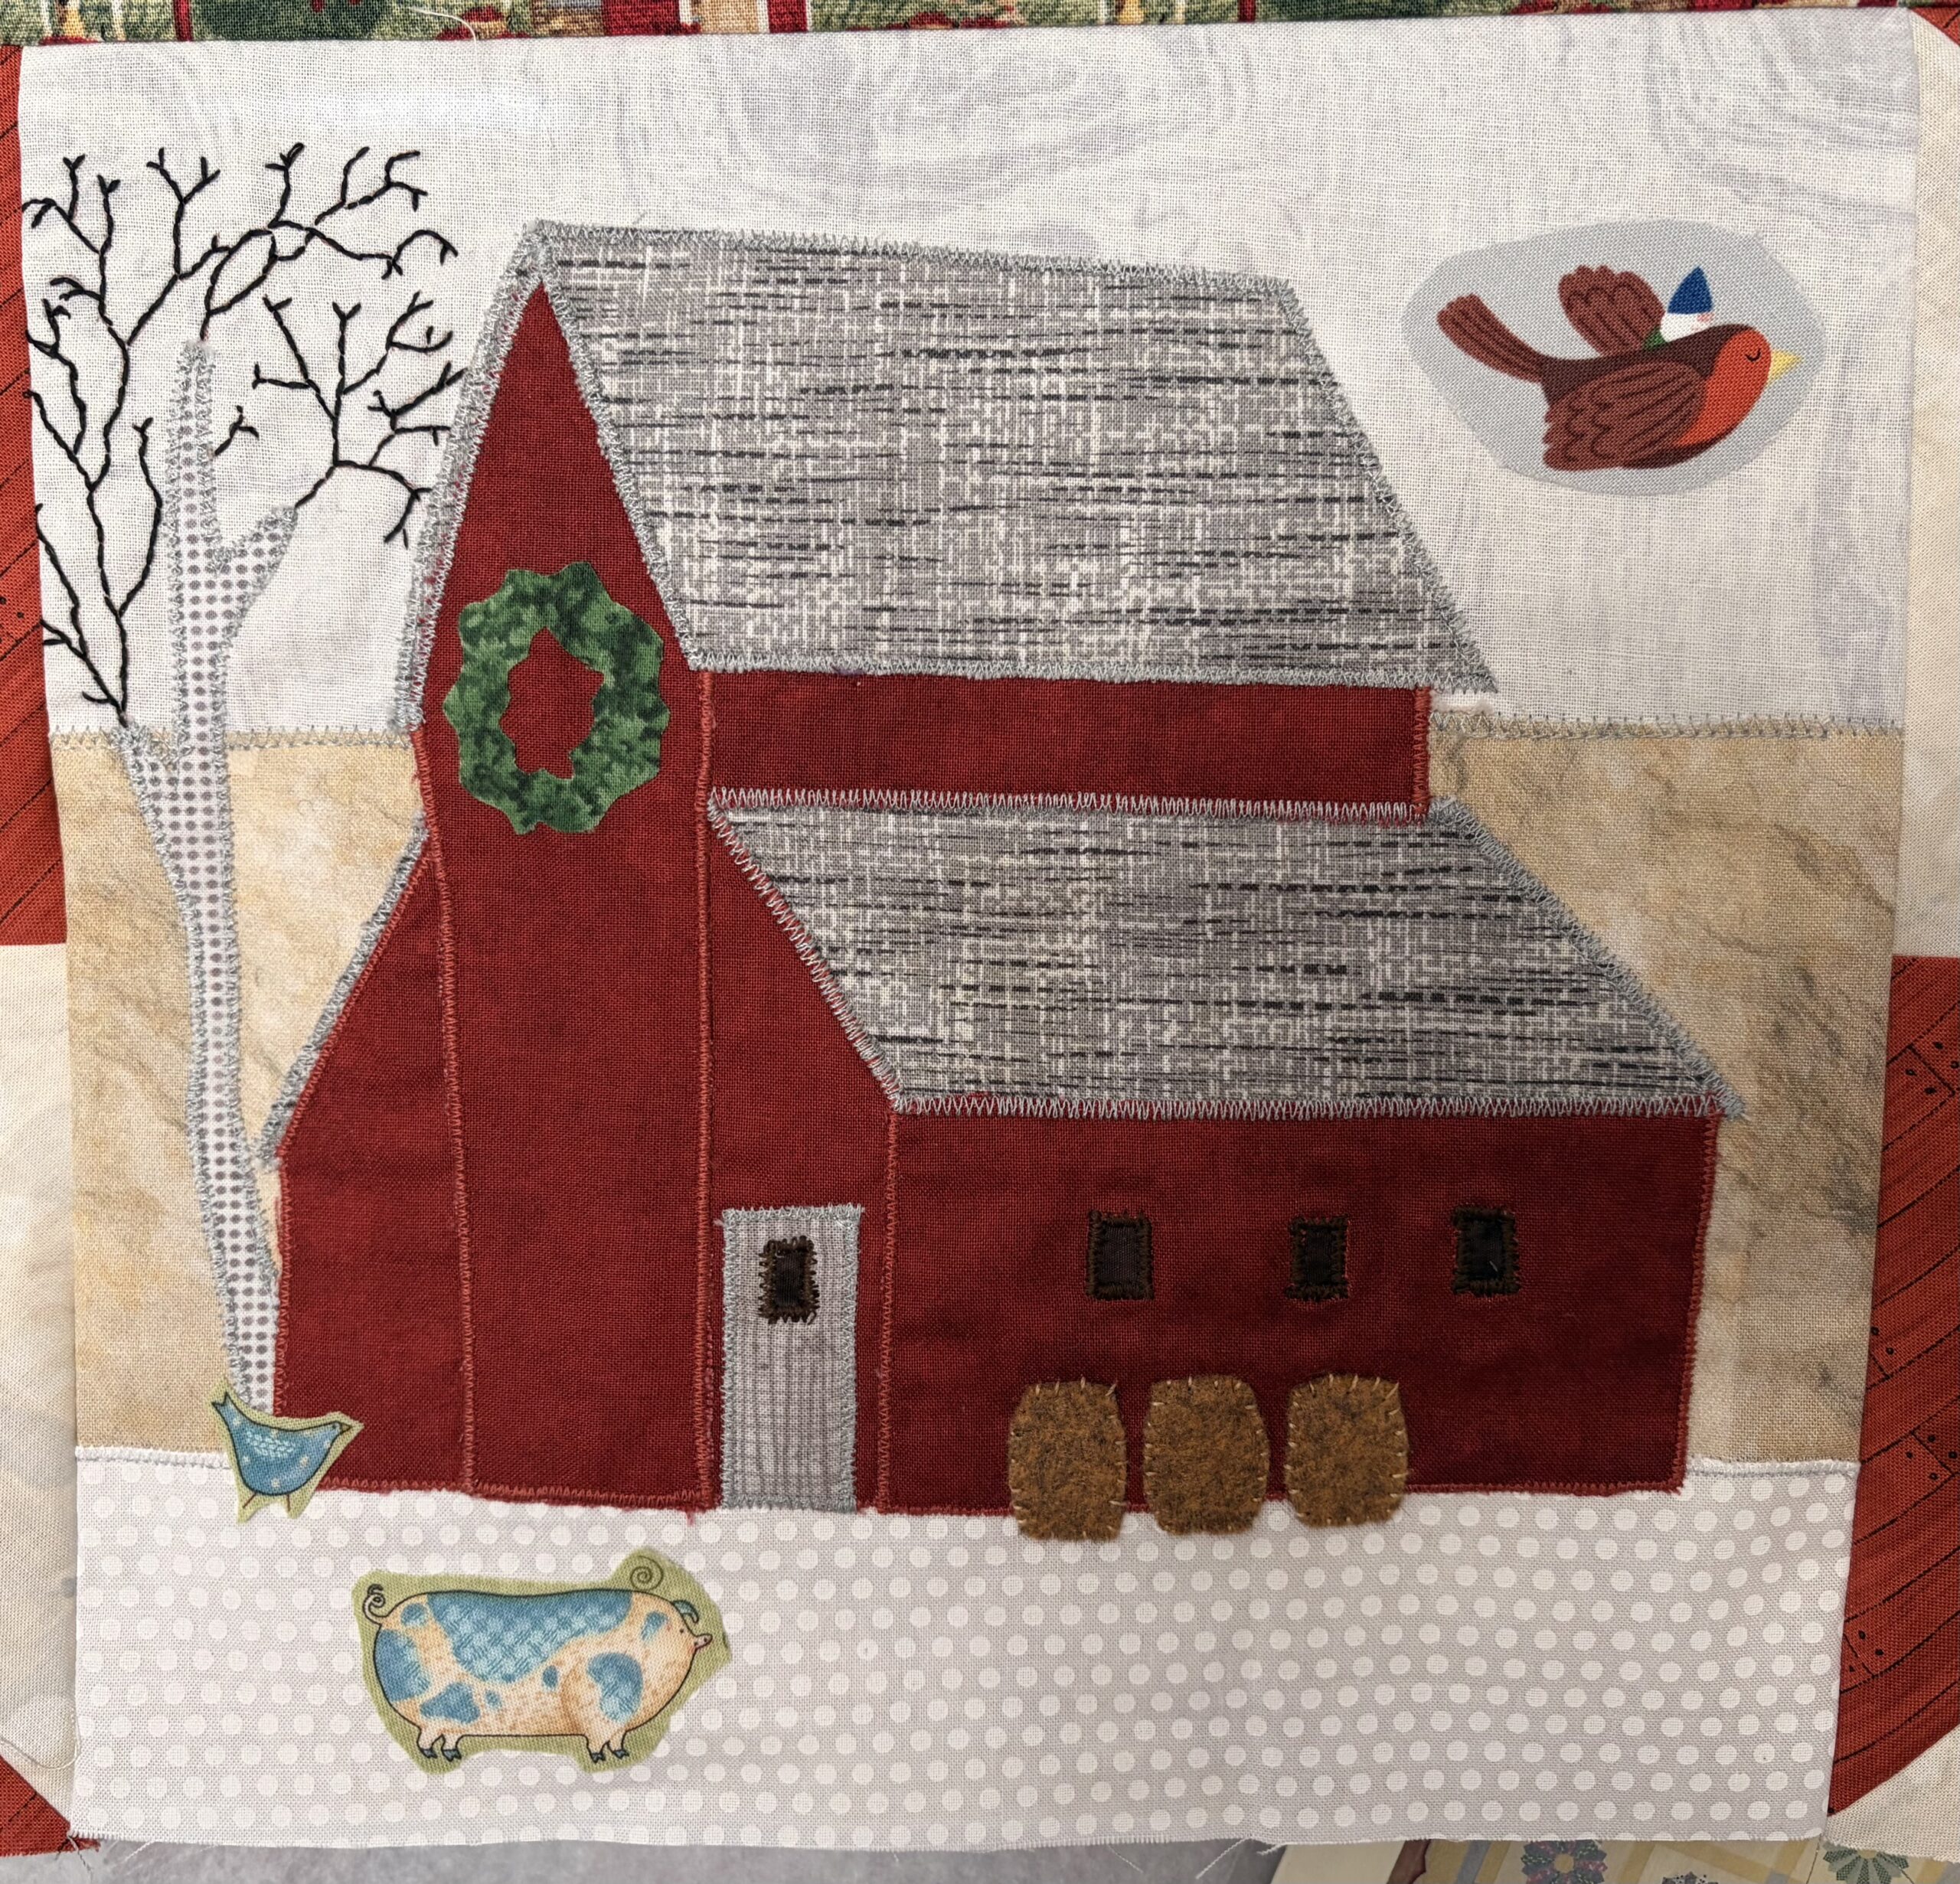
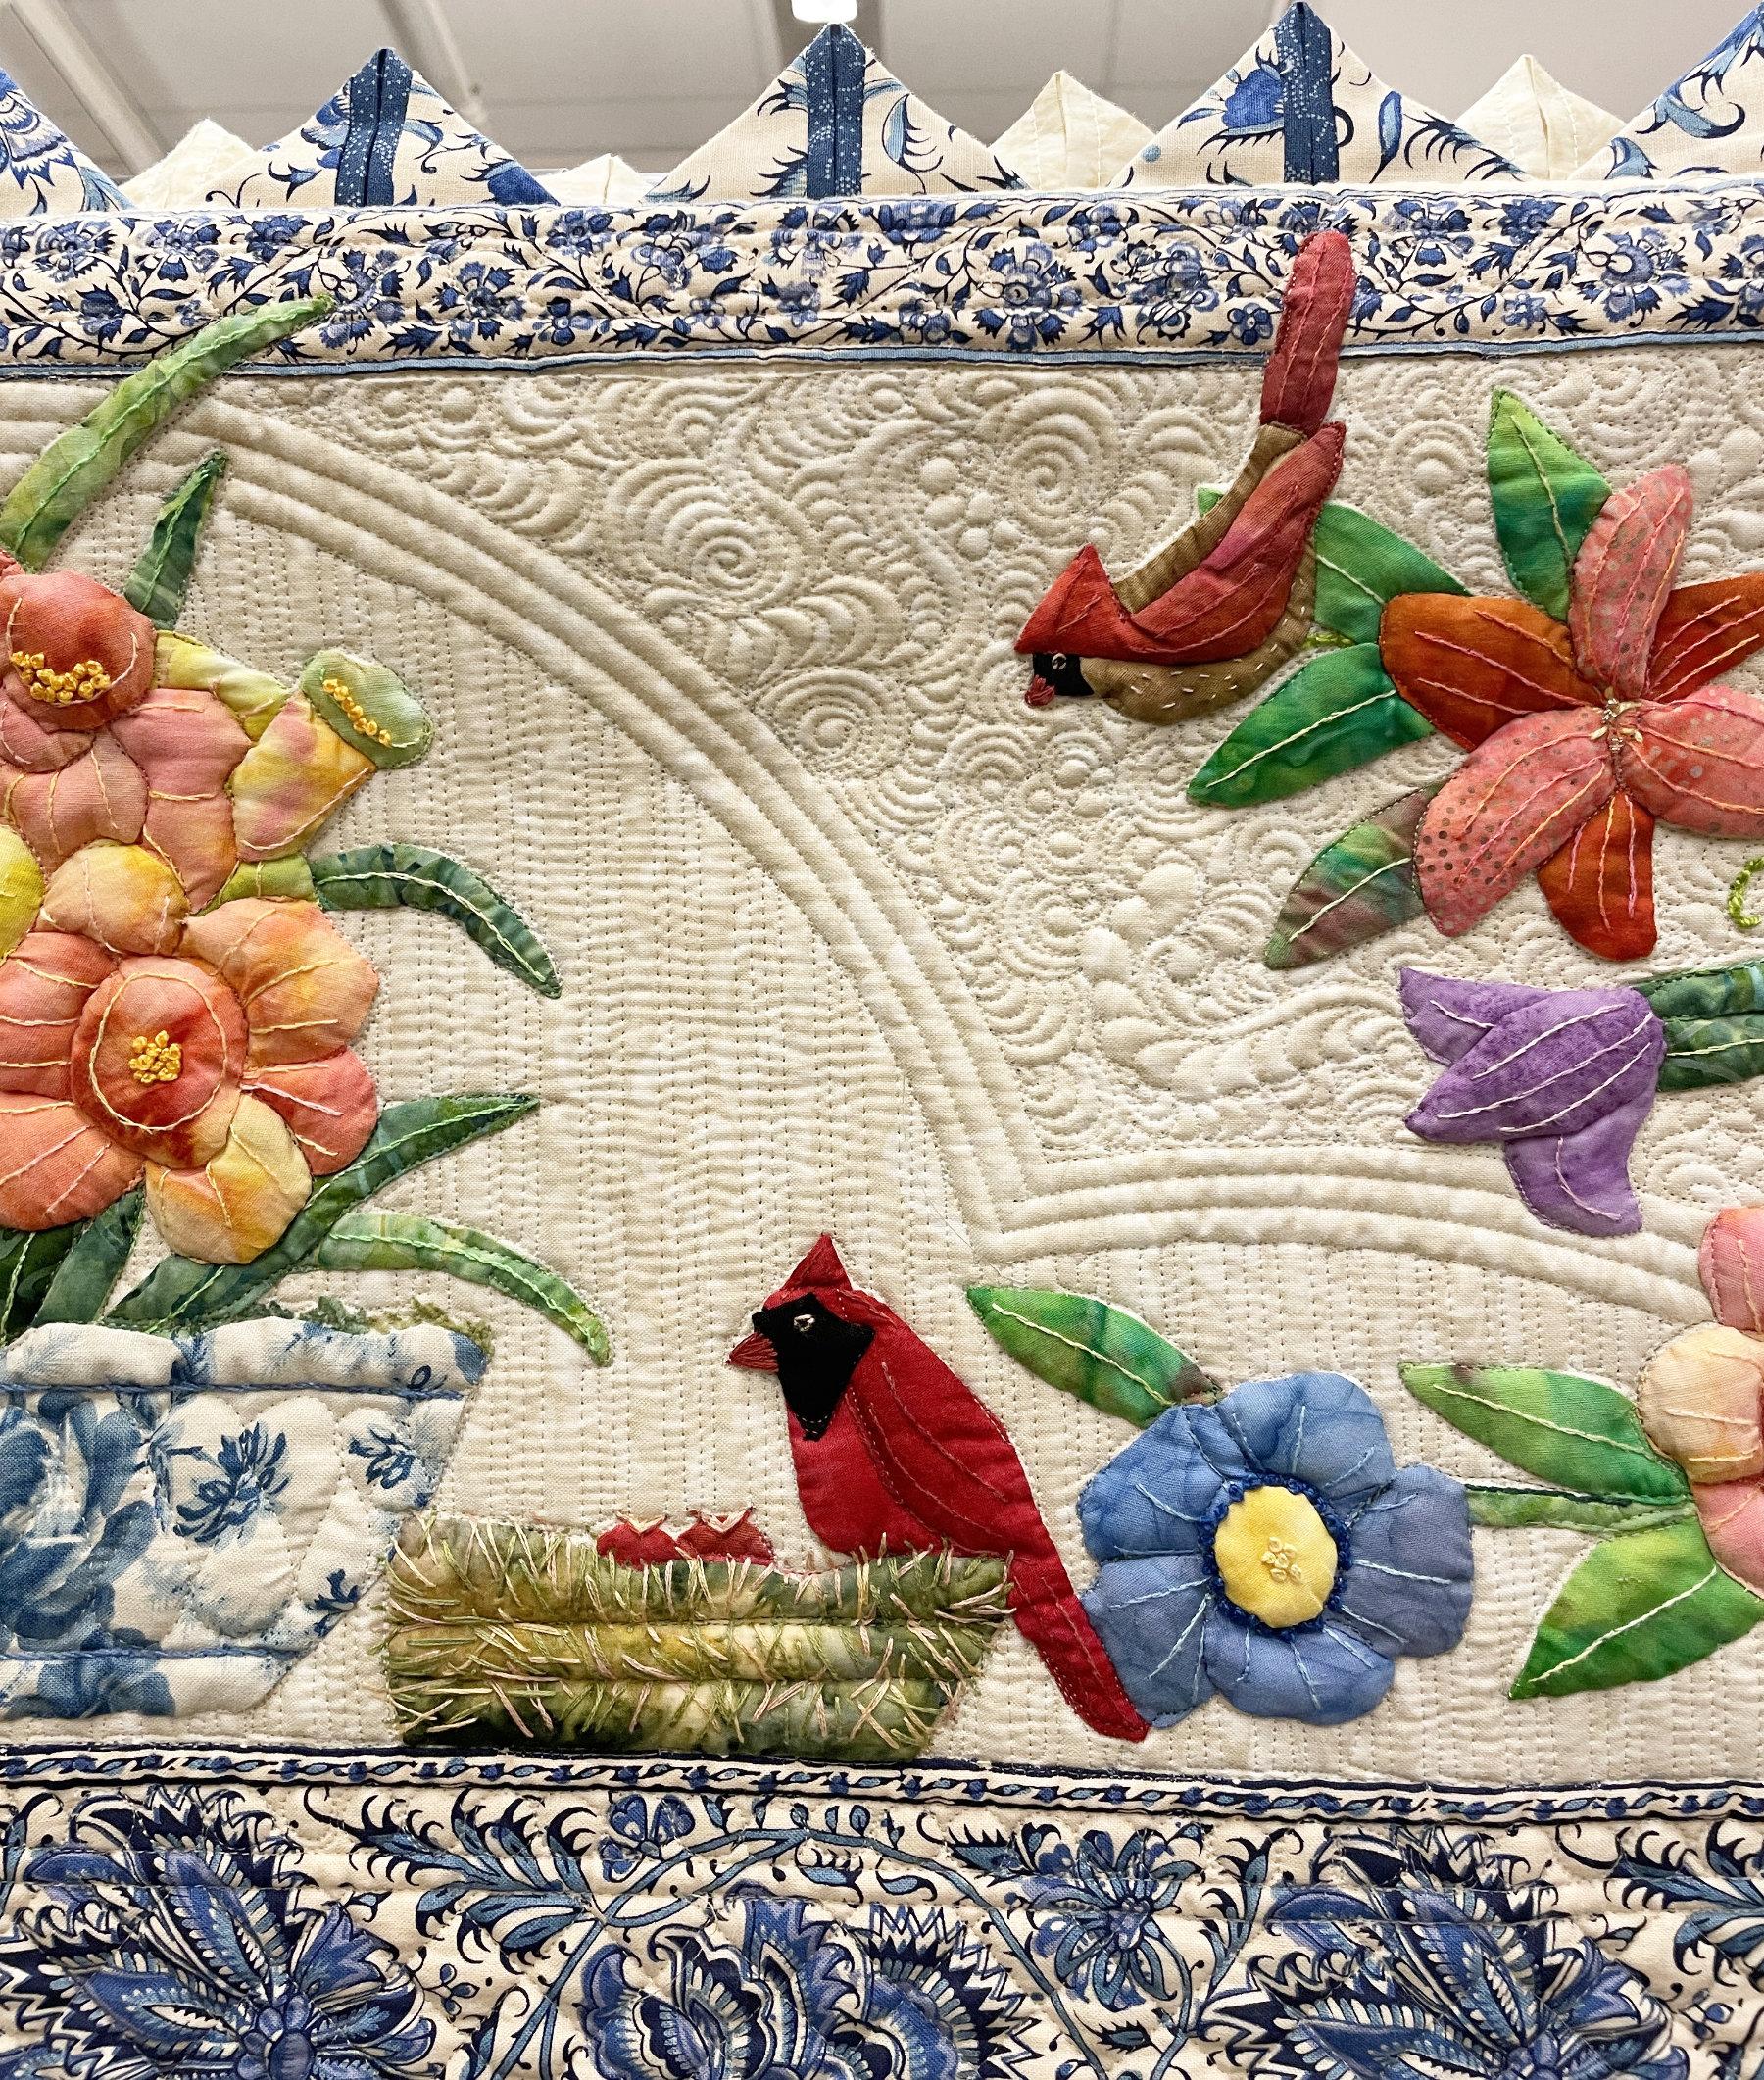
I was honored to be asked to choose one of the quilts in the show as my favorite. I LOVE these opportunities! I don’t have to put my judges hat on. I can just pick a quilt that makes my heart sing. I chose “Dutch Whimsy” by Judith Craddock. Judith did every aspect of this quilt well: fabric choices, appliqués, embroidery, prairie points, and her quilter fit the design perfectly.

My favorite part was finding all the sweet critters she lovingly stitched throughout the quilt.
It brought back many memories of the quilting tour/cruise Wendy and I led to Holland way back in 2007.
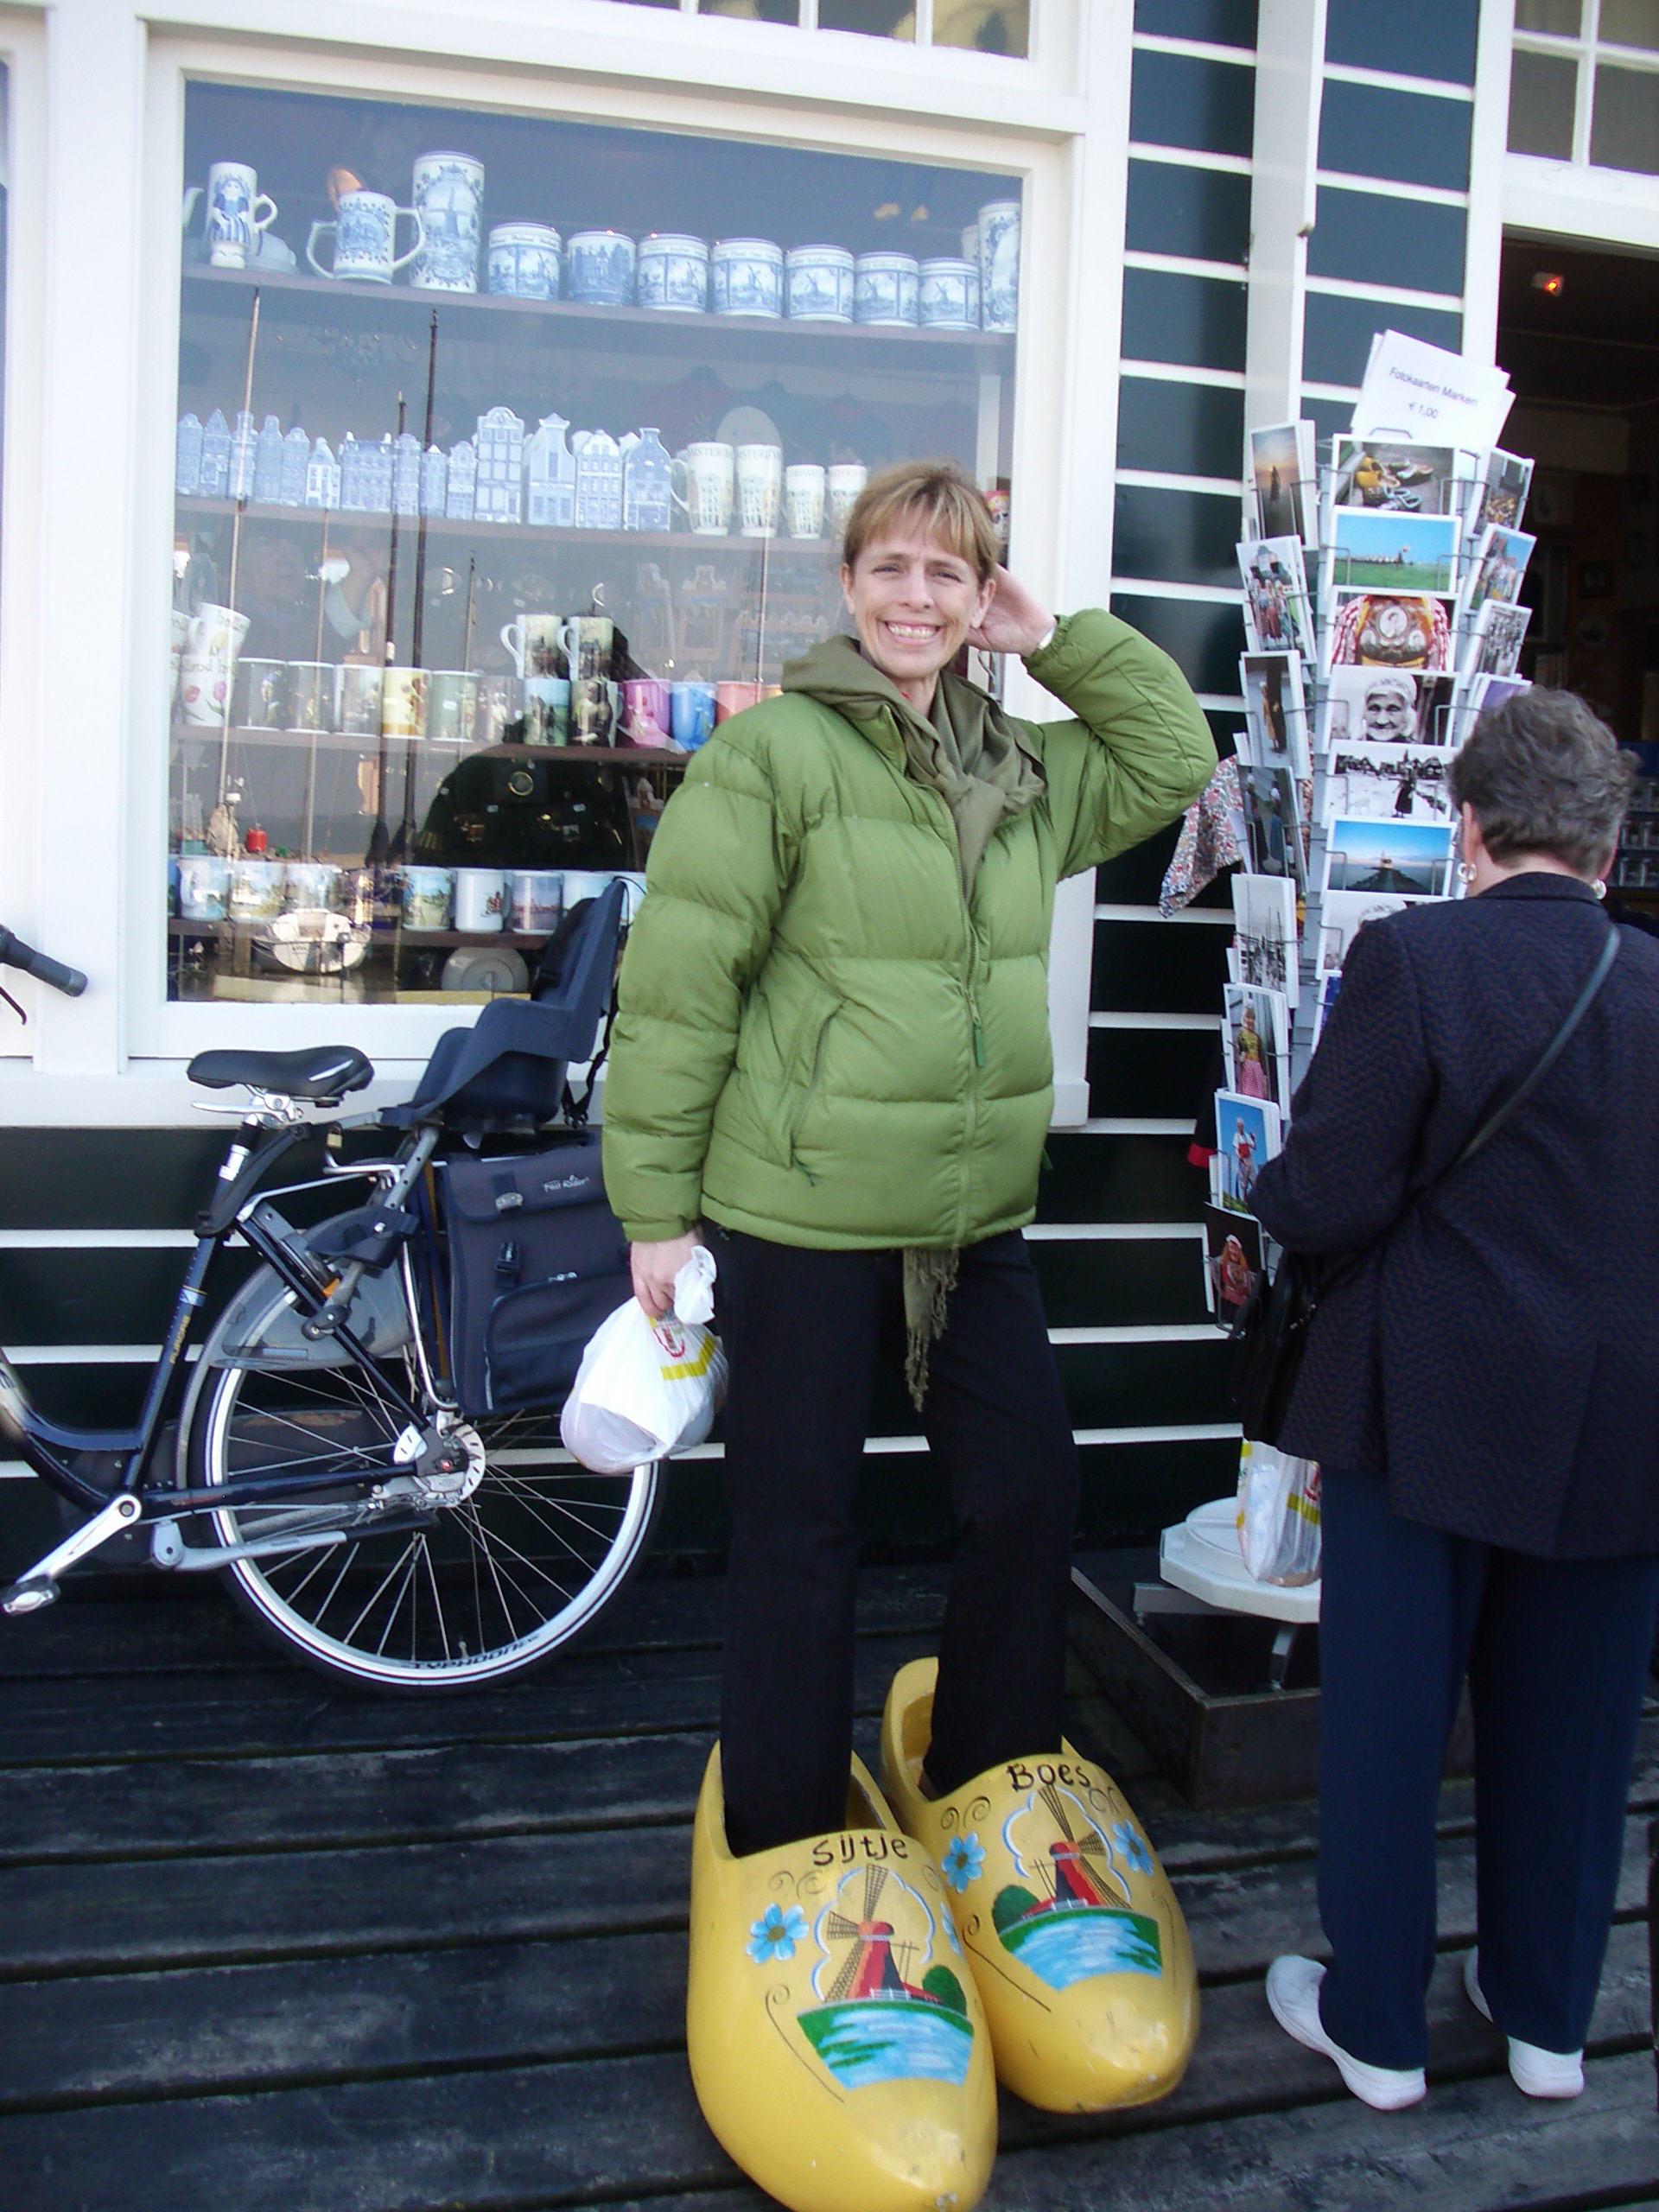
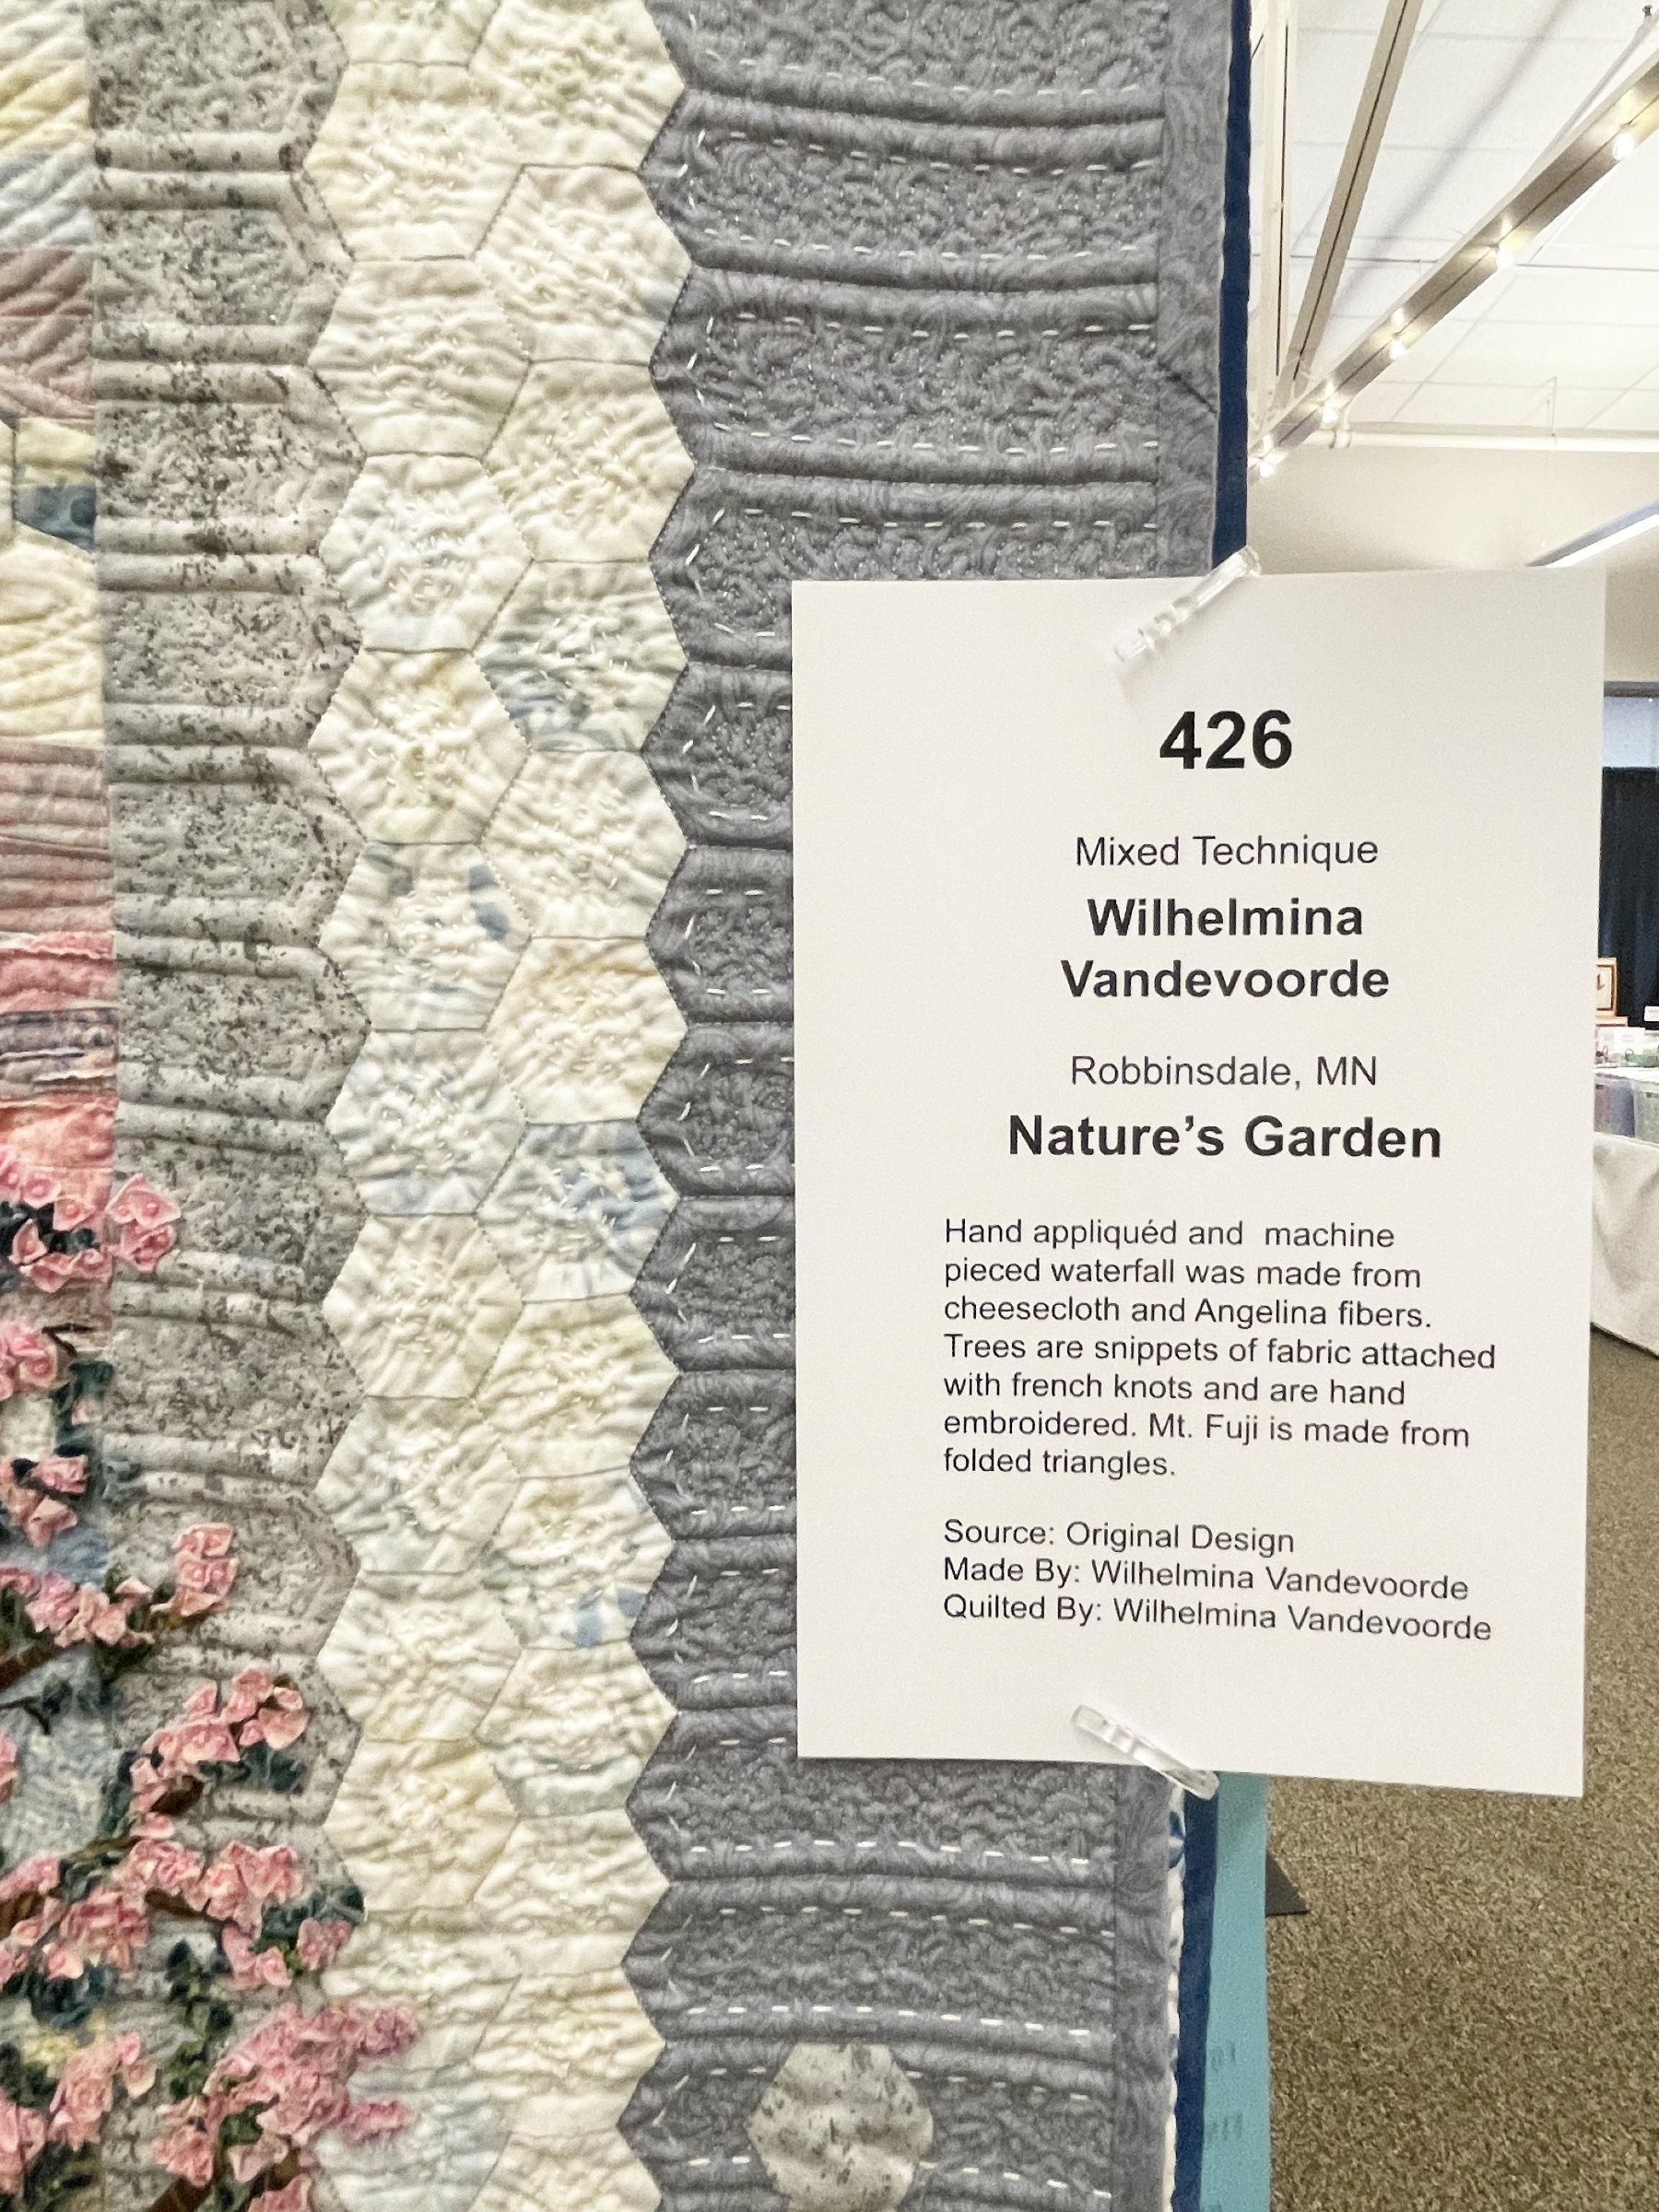
So, as I walked through the show before the crowds (without the wooden shoes 😁), I snapped a few photos of some of my other favorite quilts. This one also reminded me of a previous quilting adventure. Wilhelmina’s quilt “Nature’s Garden” is a beautiful tribute to Mt. Fugi during cherry blossom time.
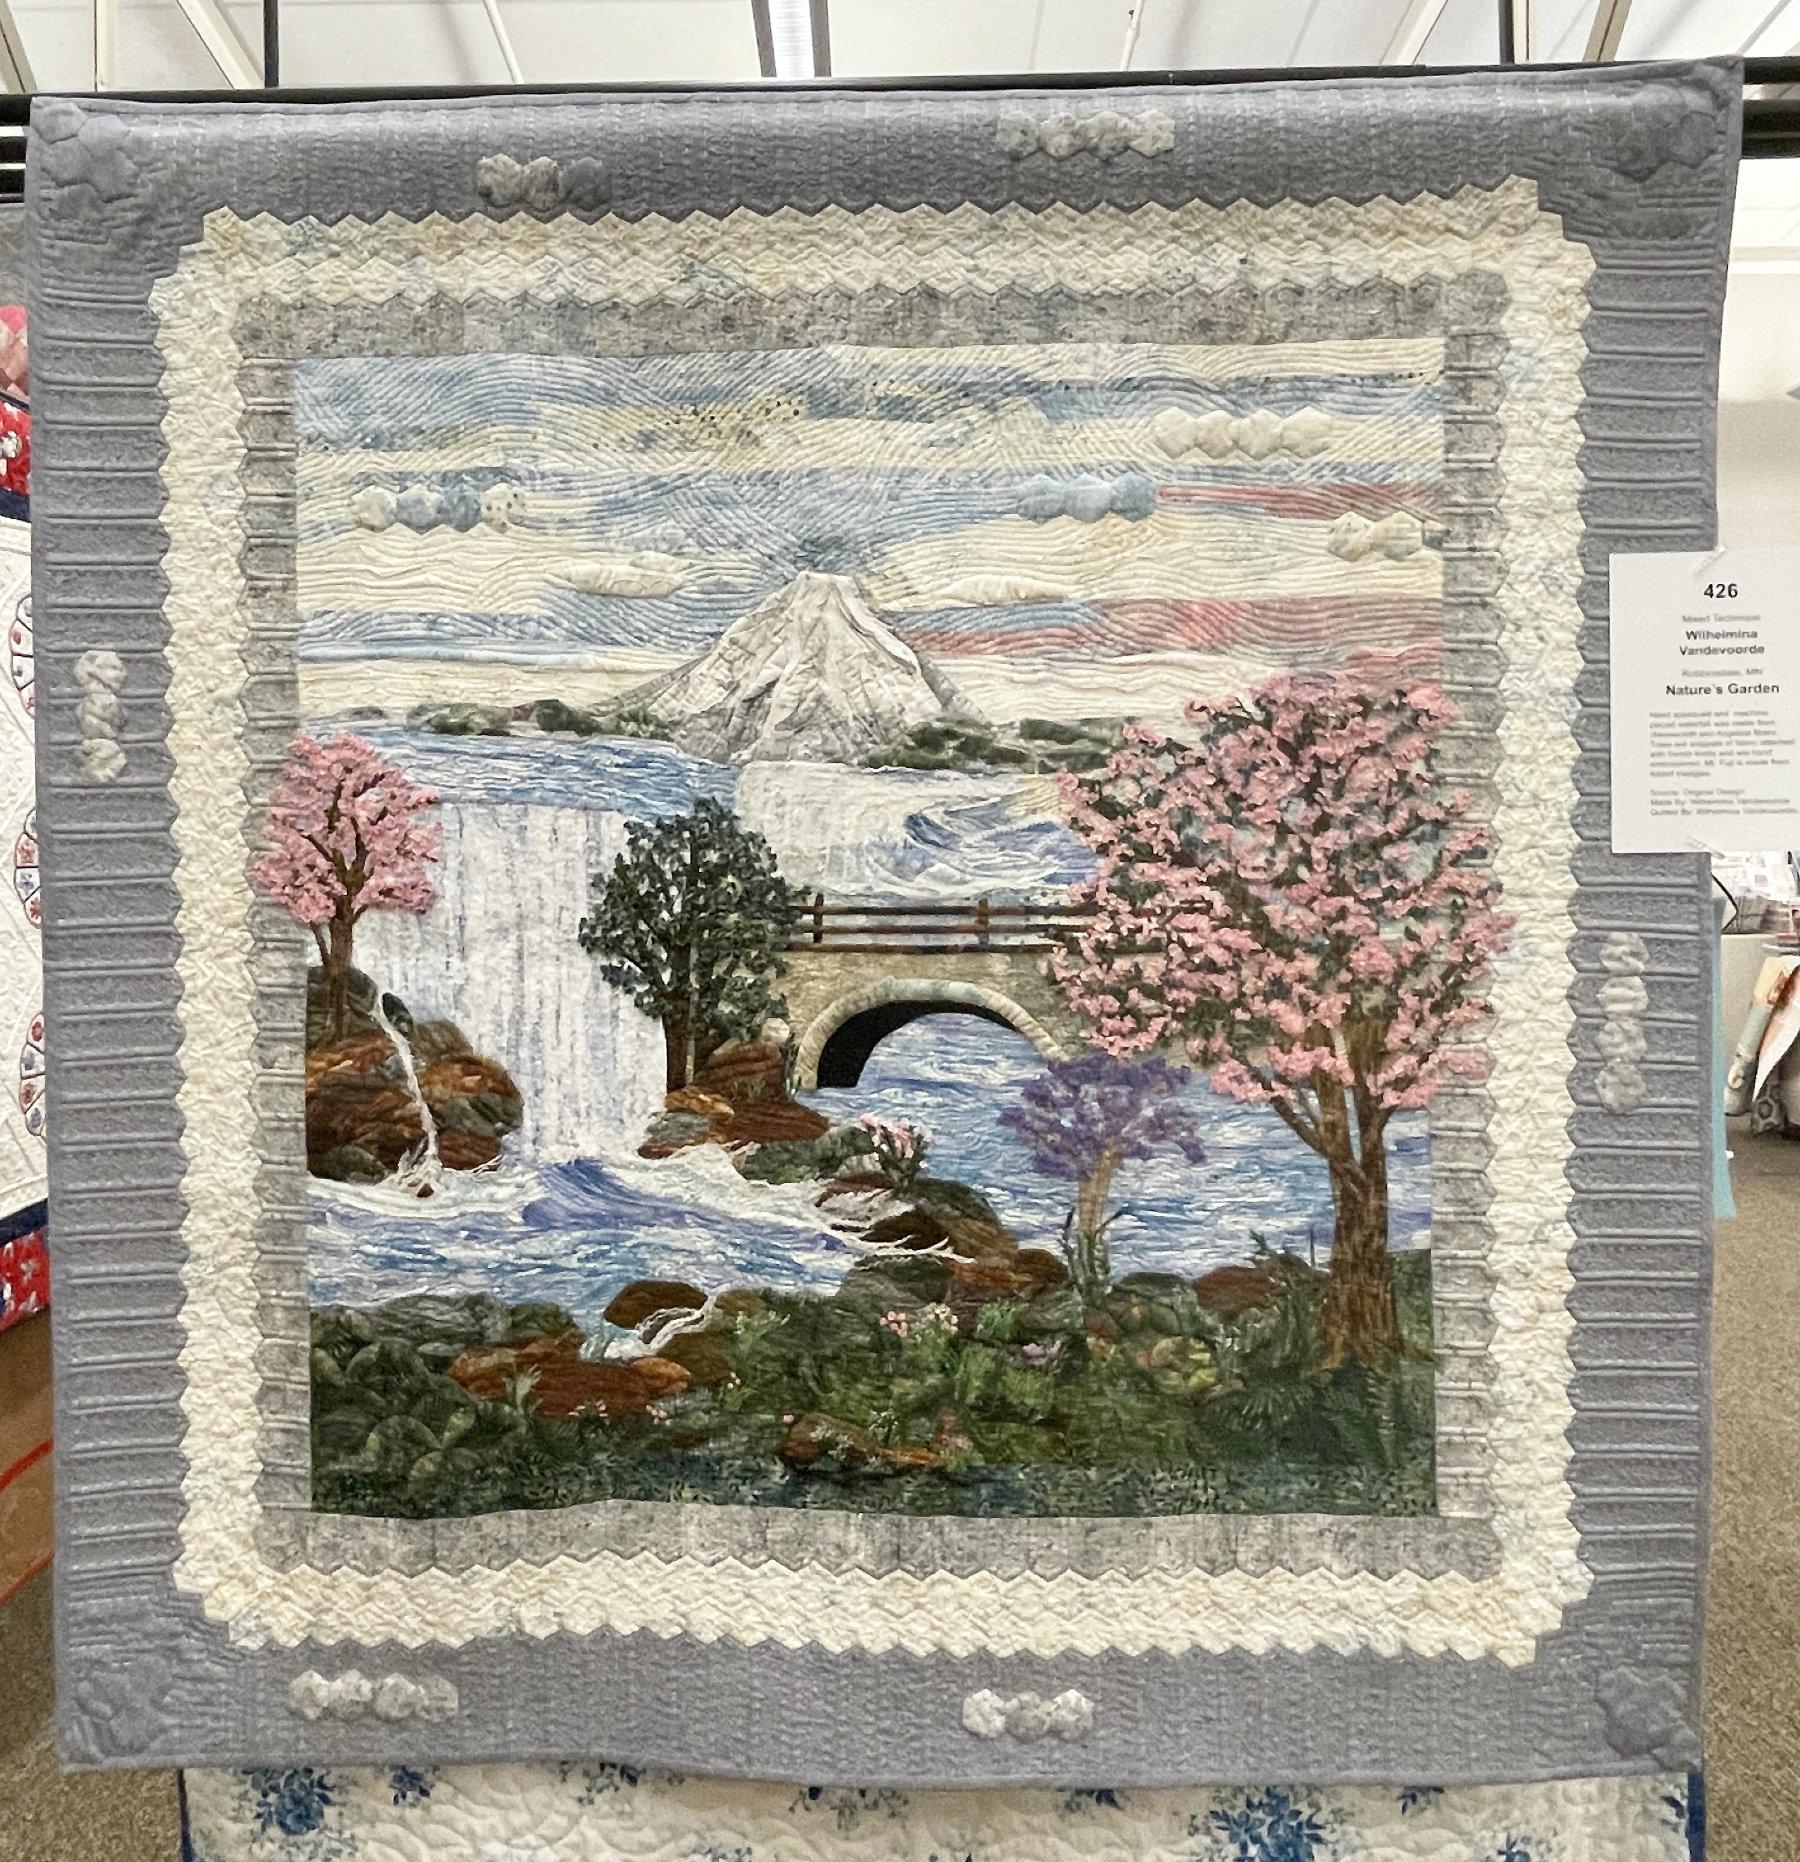
In January of 2020 I took a group of quilters to Japan. We spent a foggy winter night at the foot of Mt. Fugi. The next morning the fog broke for only about 20 minutes – but I was able to see the mountain from my balcony:

I loved seeing it again through Wilhemina’s work.
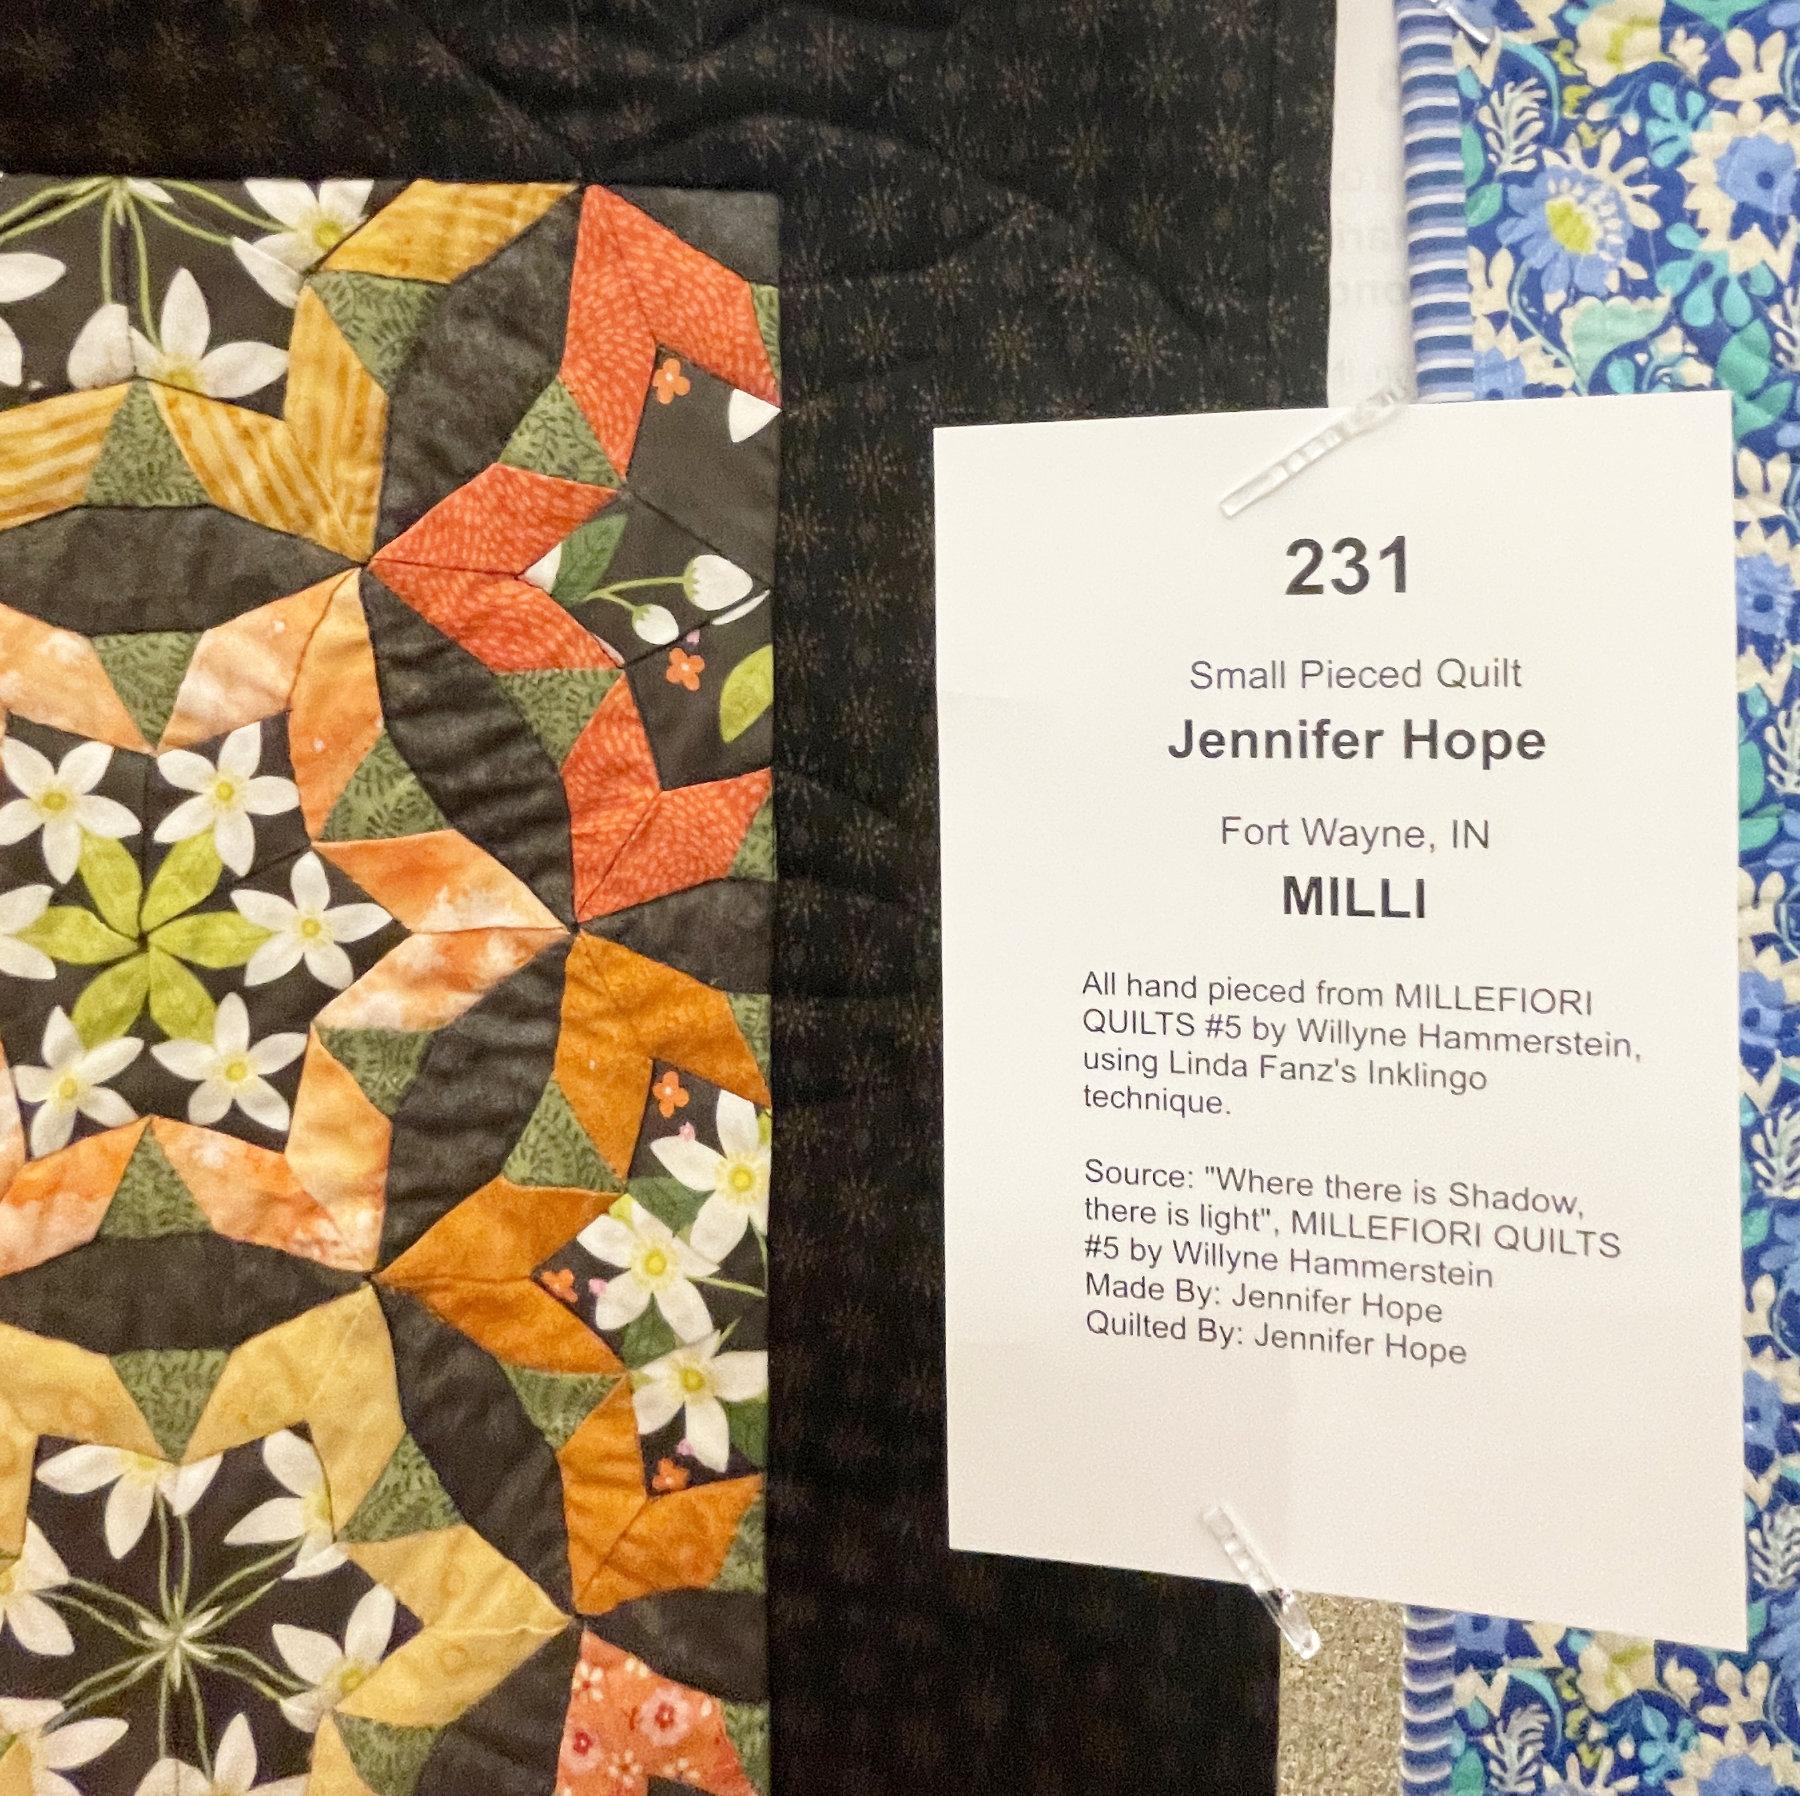
I admire hand piecing, but am not very good at it. So, I’m often drawn to quilts by piecers who are. “Milli” by Jennifer Hope is a stunning example:

Her fussy cutting was also very well done.
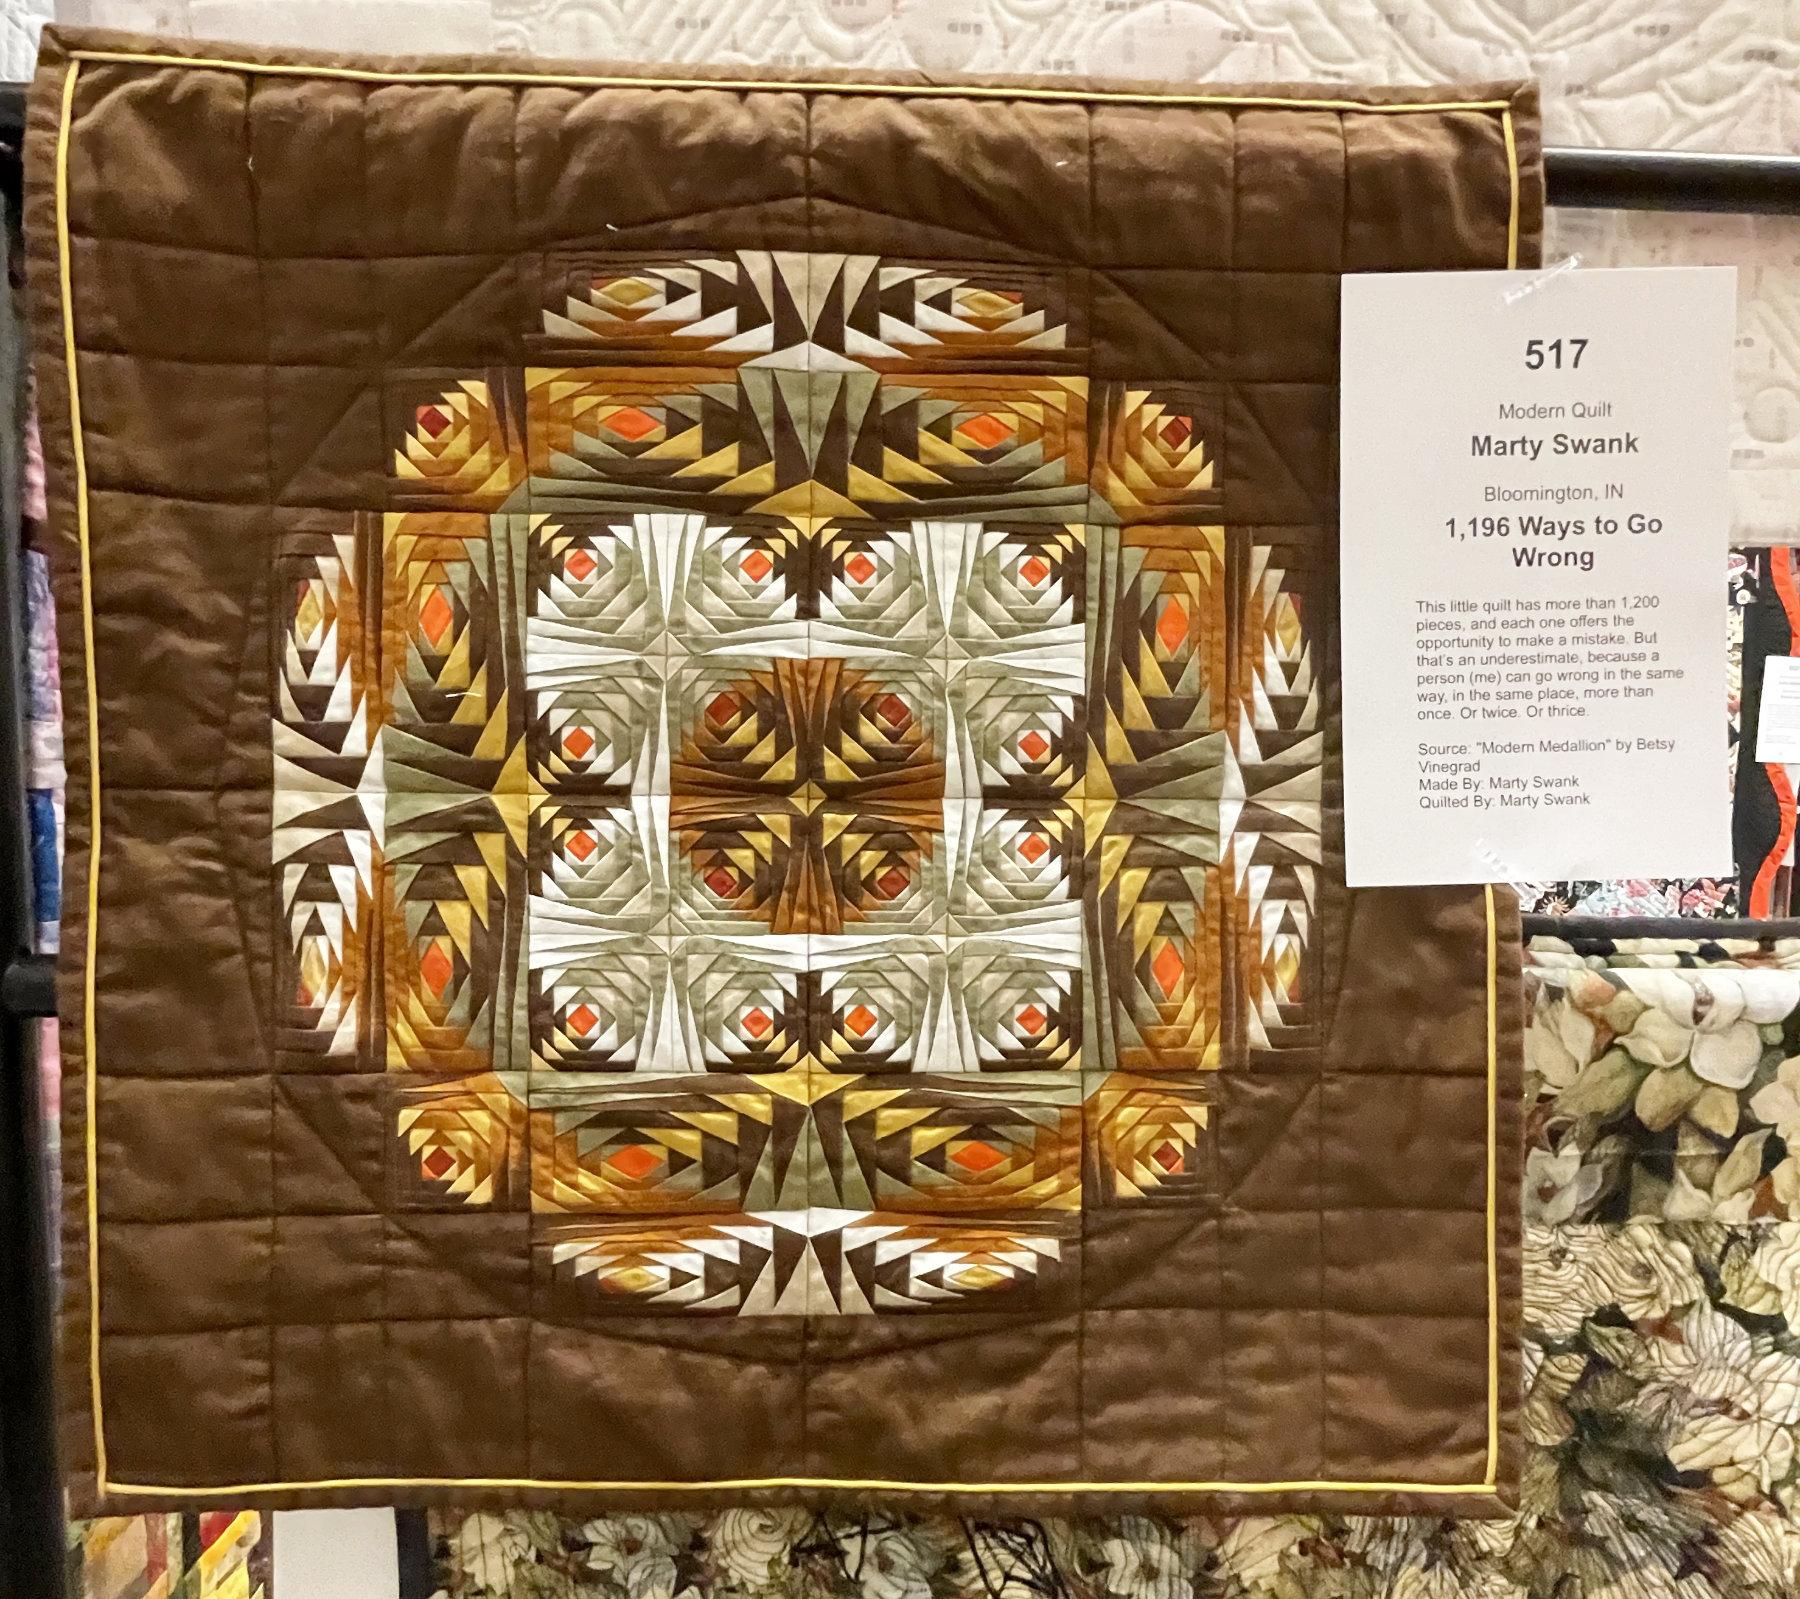
“1,196 Ways to Go Wrong” is a sweet little quilt, and Marty’s description made me laugh out loud.
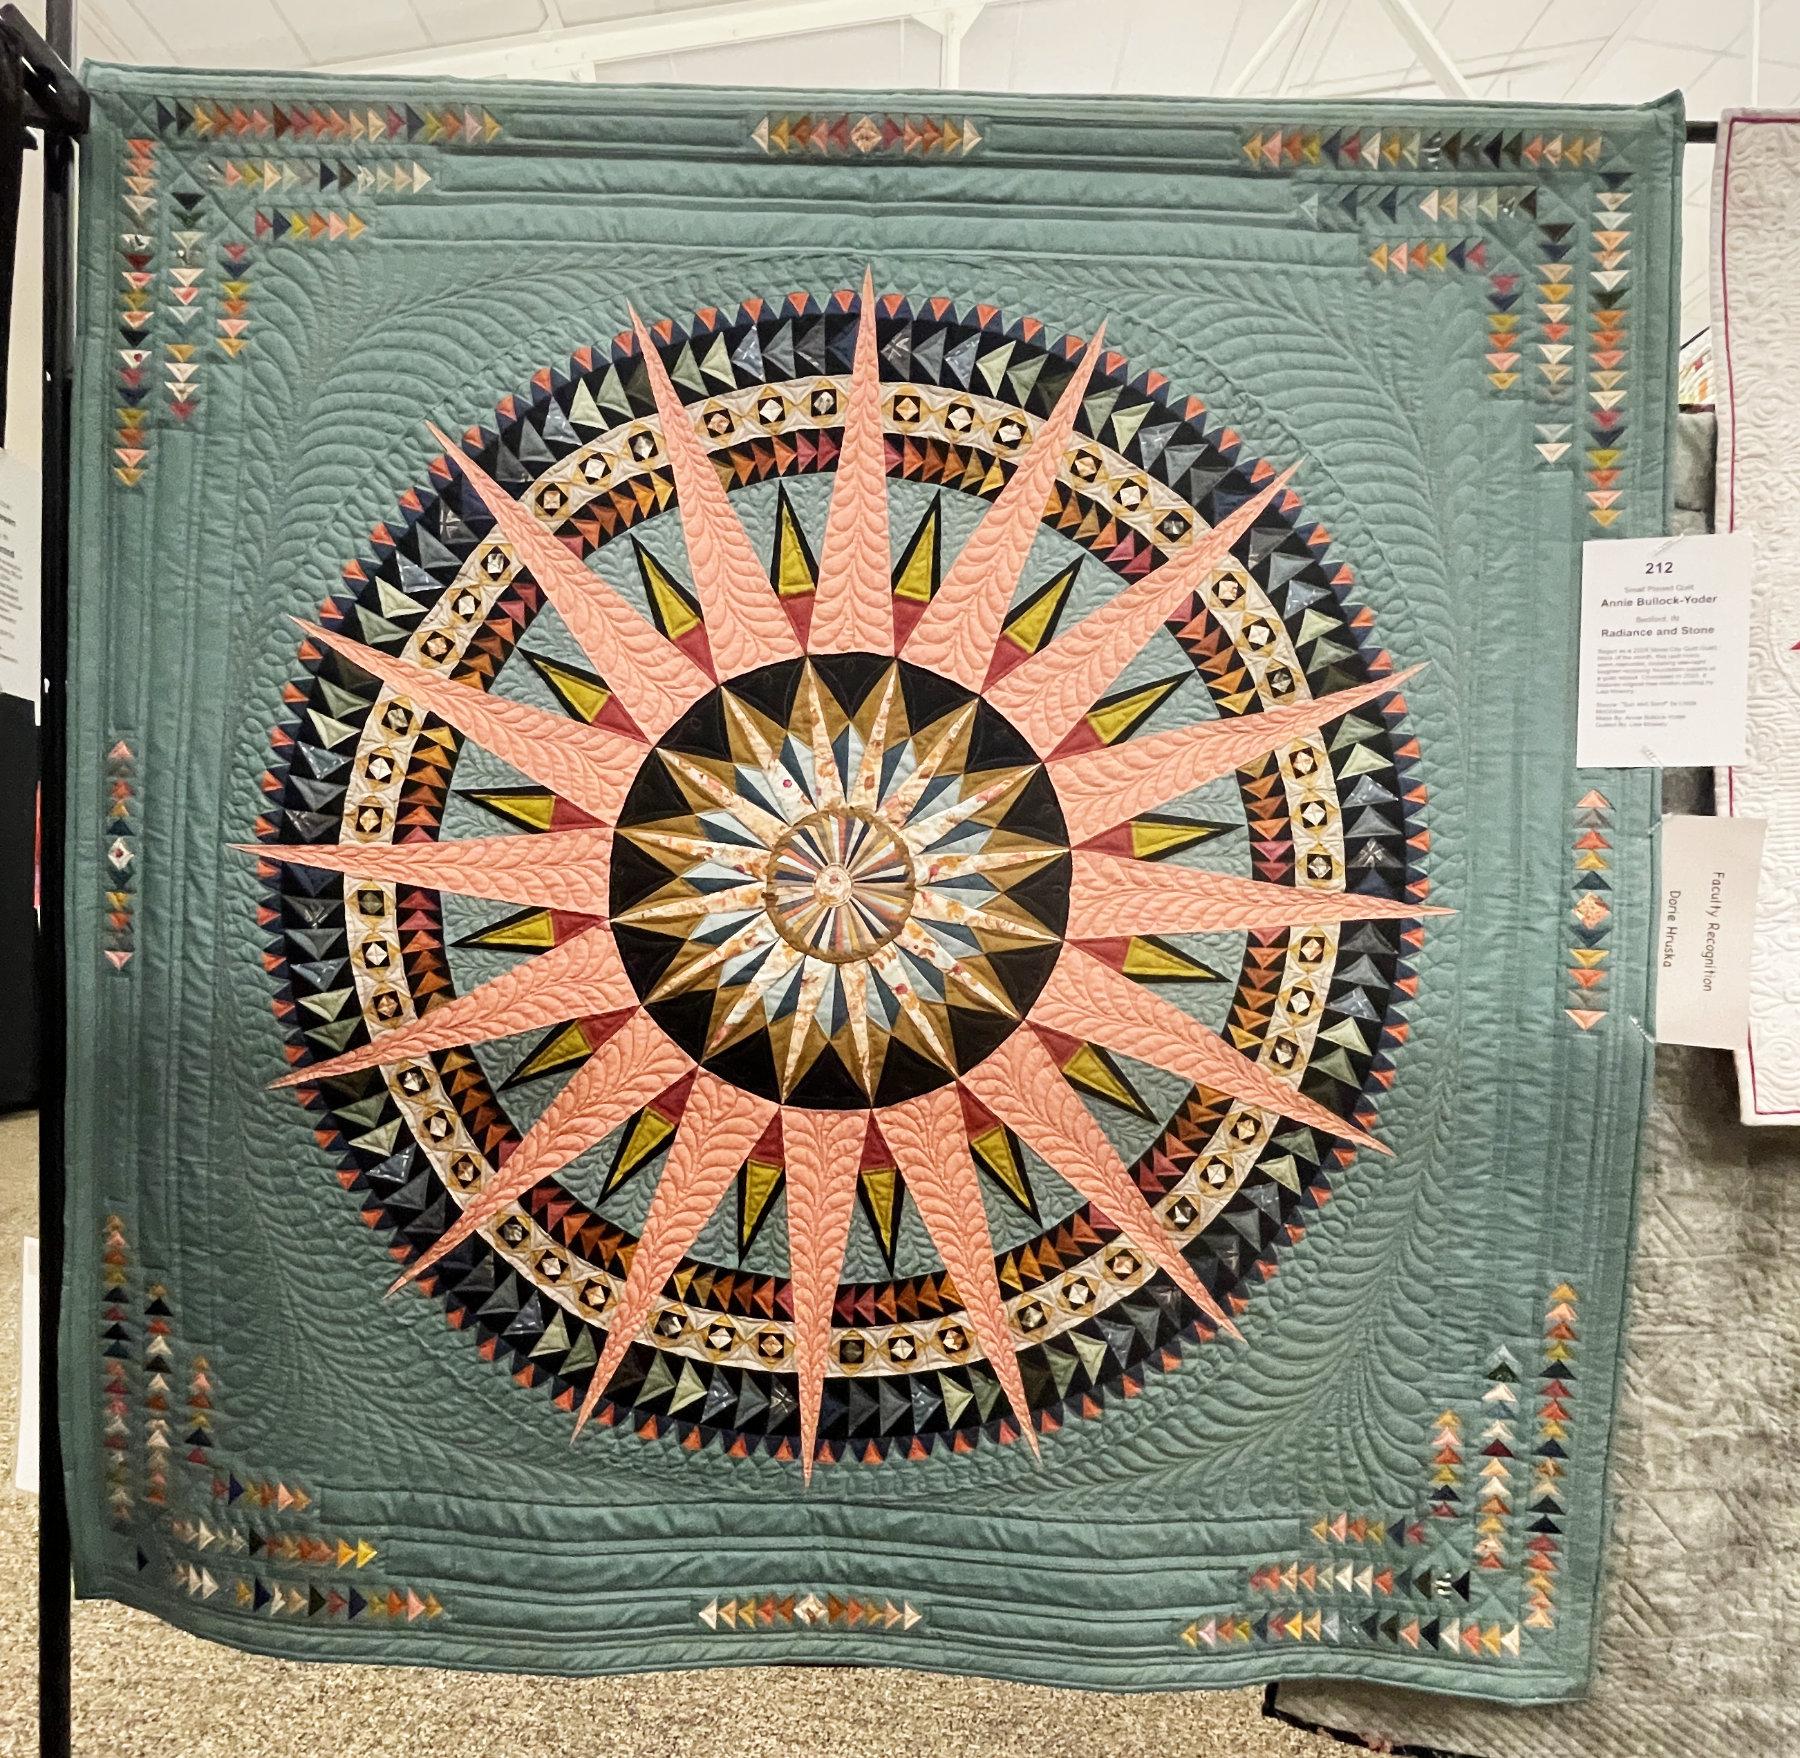
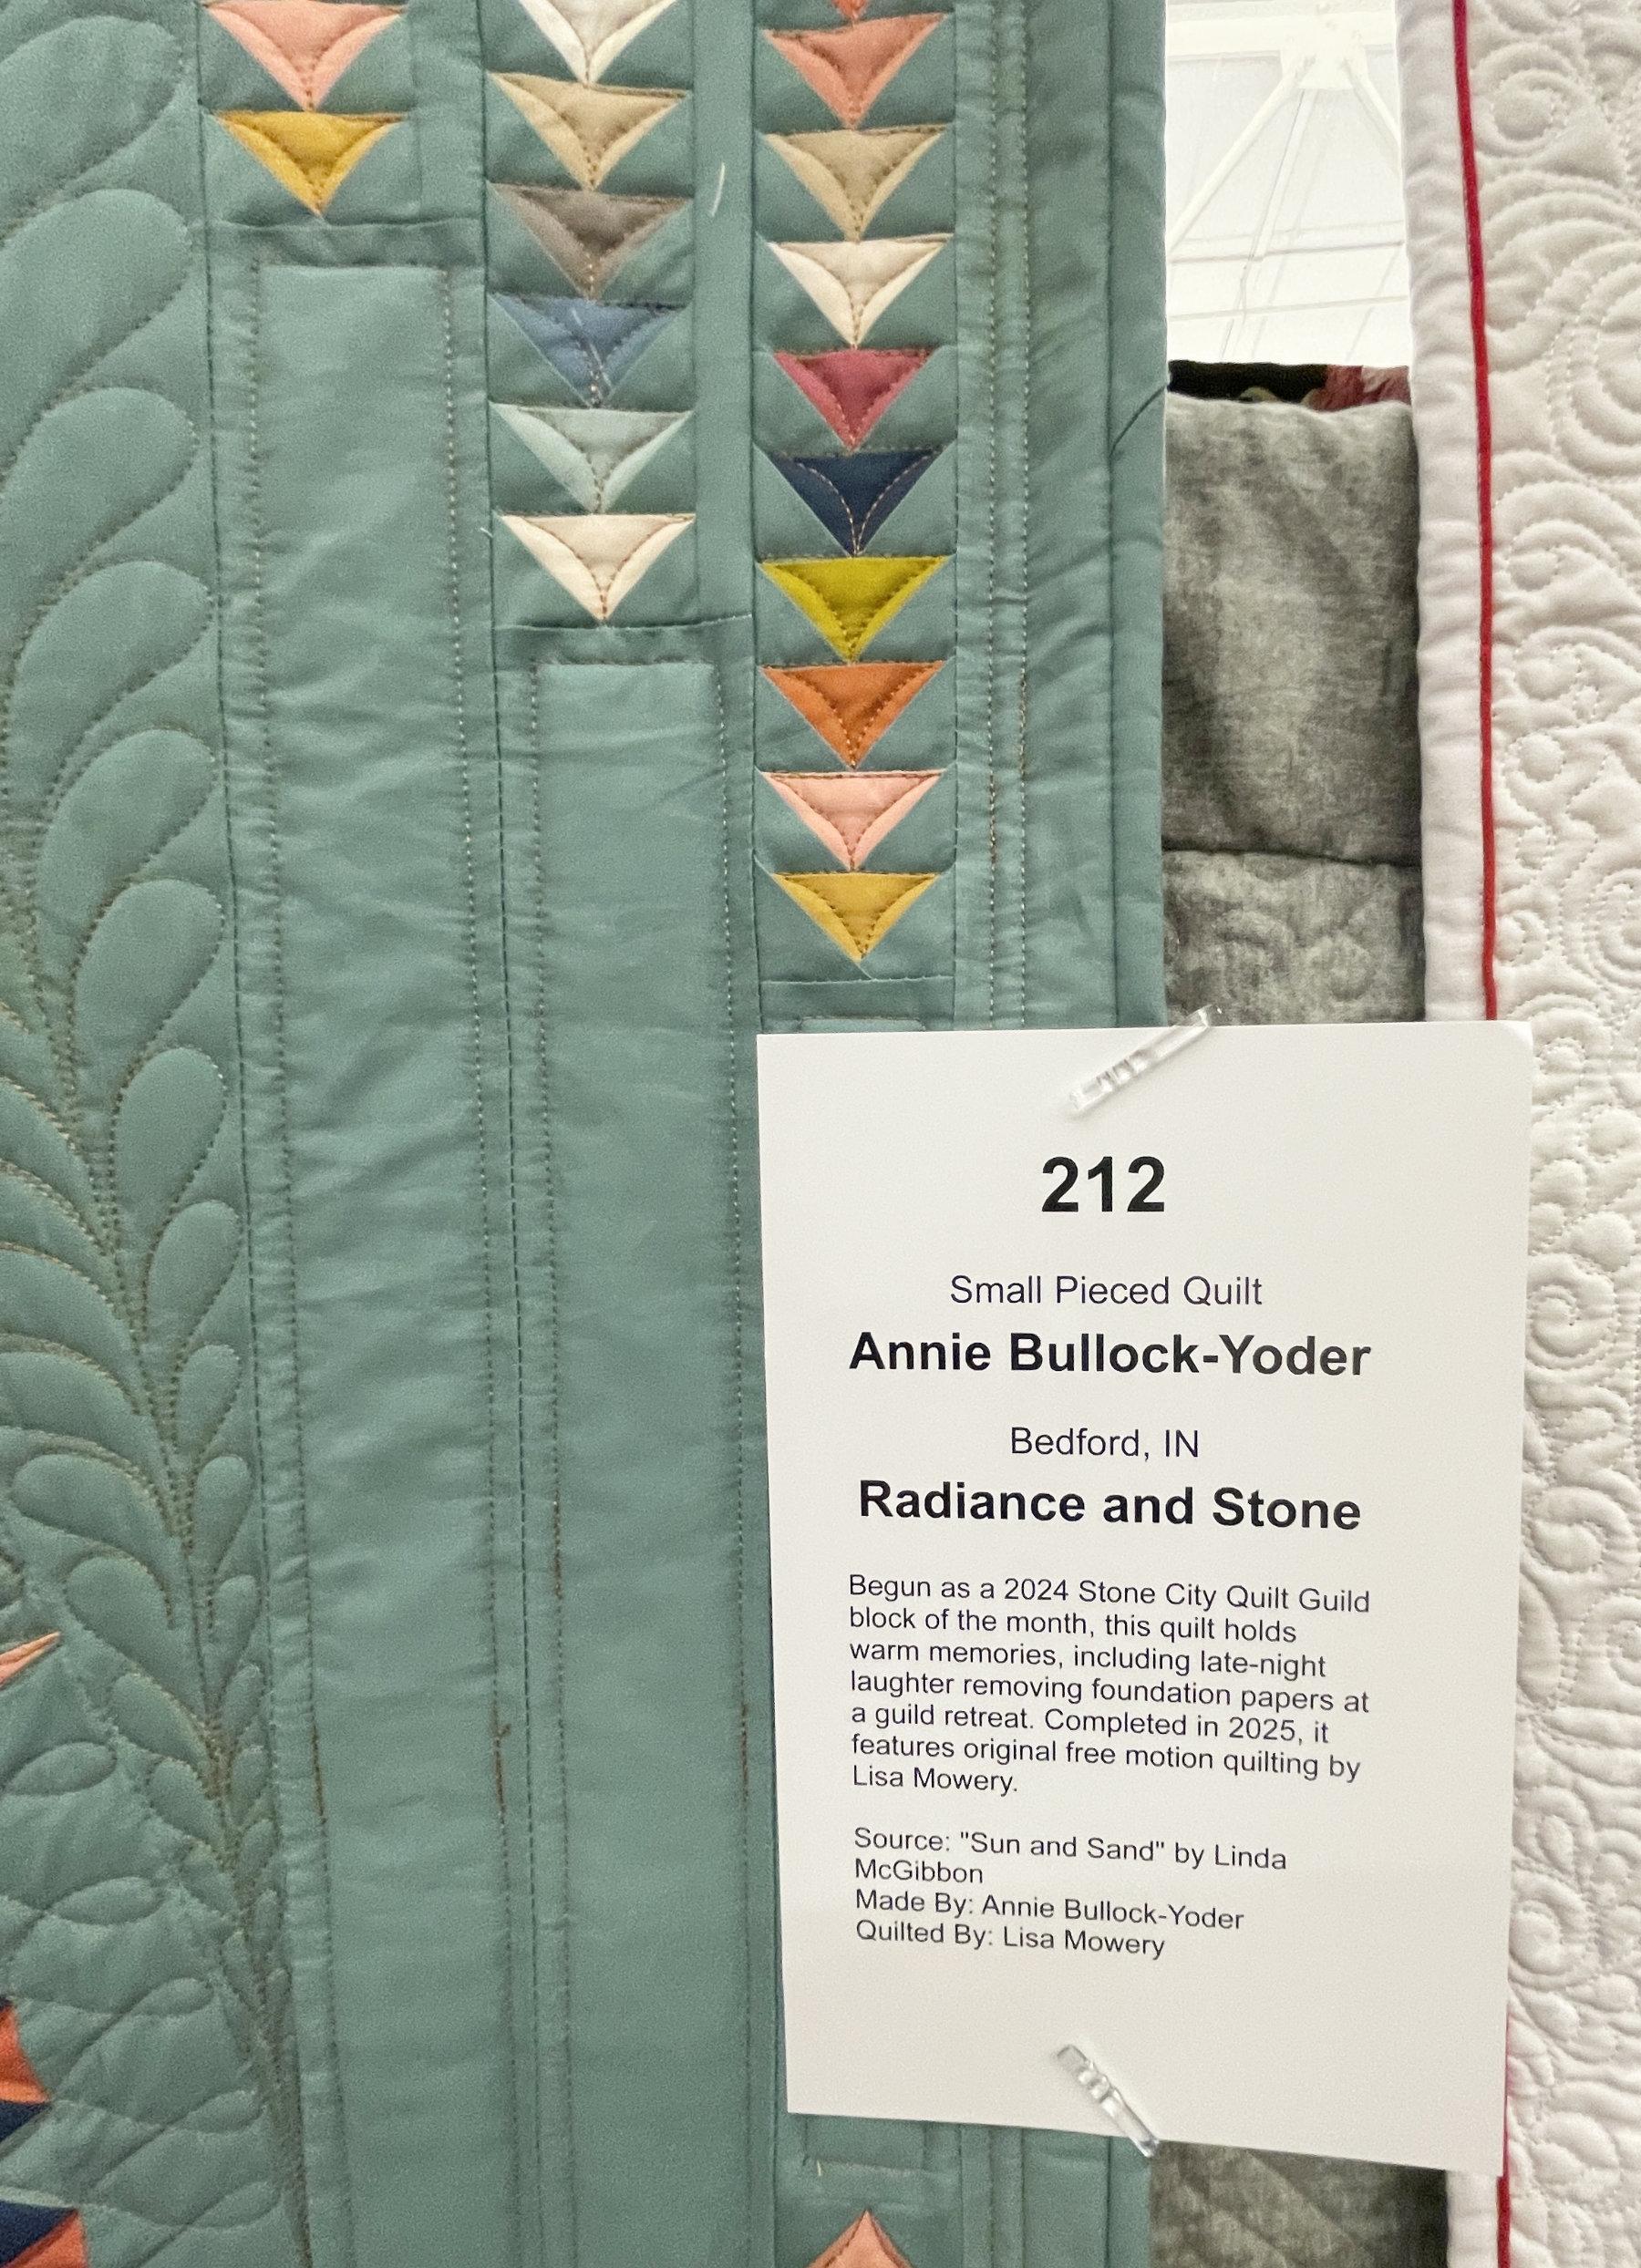
And while I’m on the subject of great piecing, “Radiance and Stone” by Annie Bullock-Yoder has flying geese galore, along with a spikey center medallion. I really like her color palette.
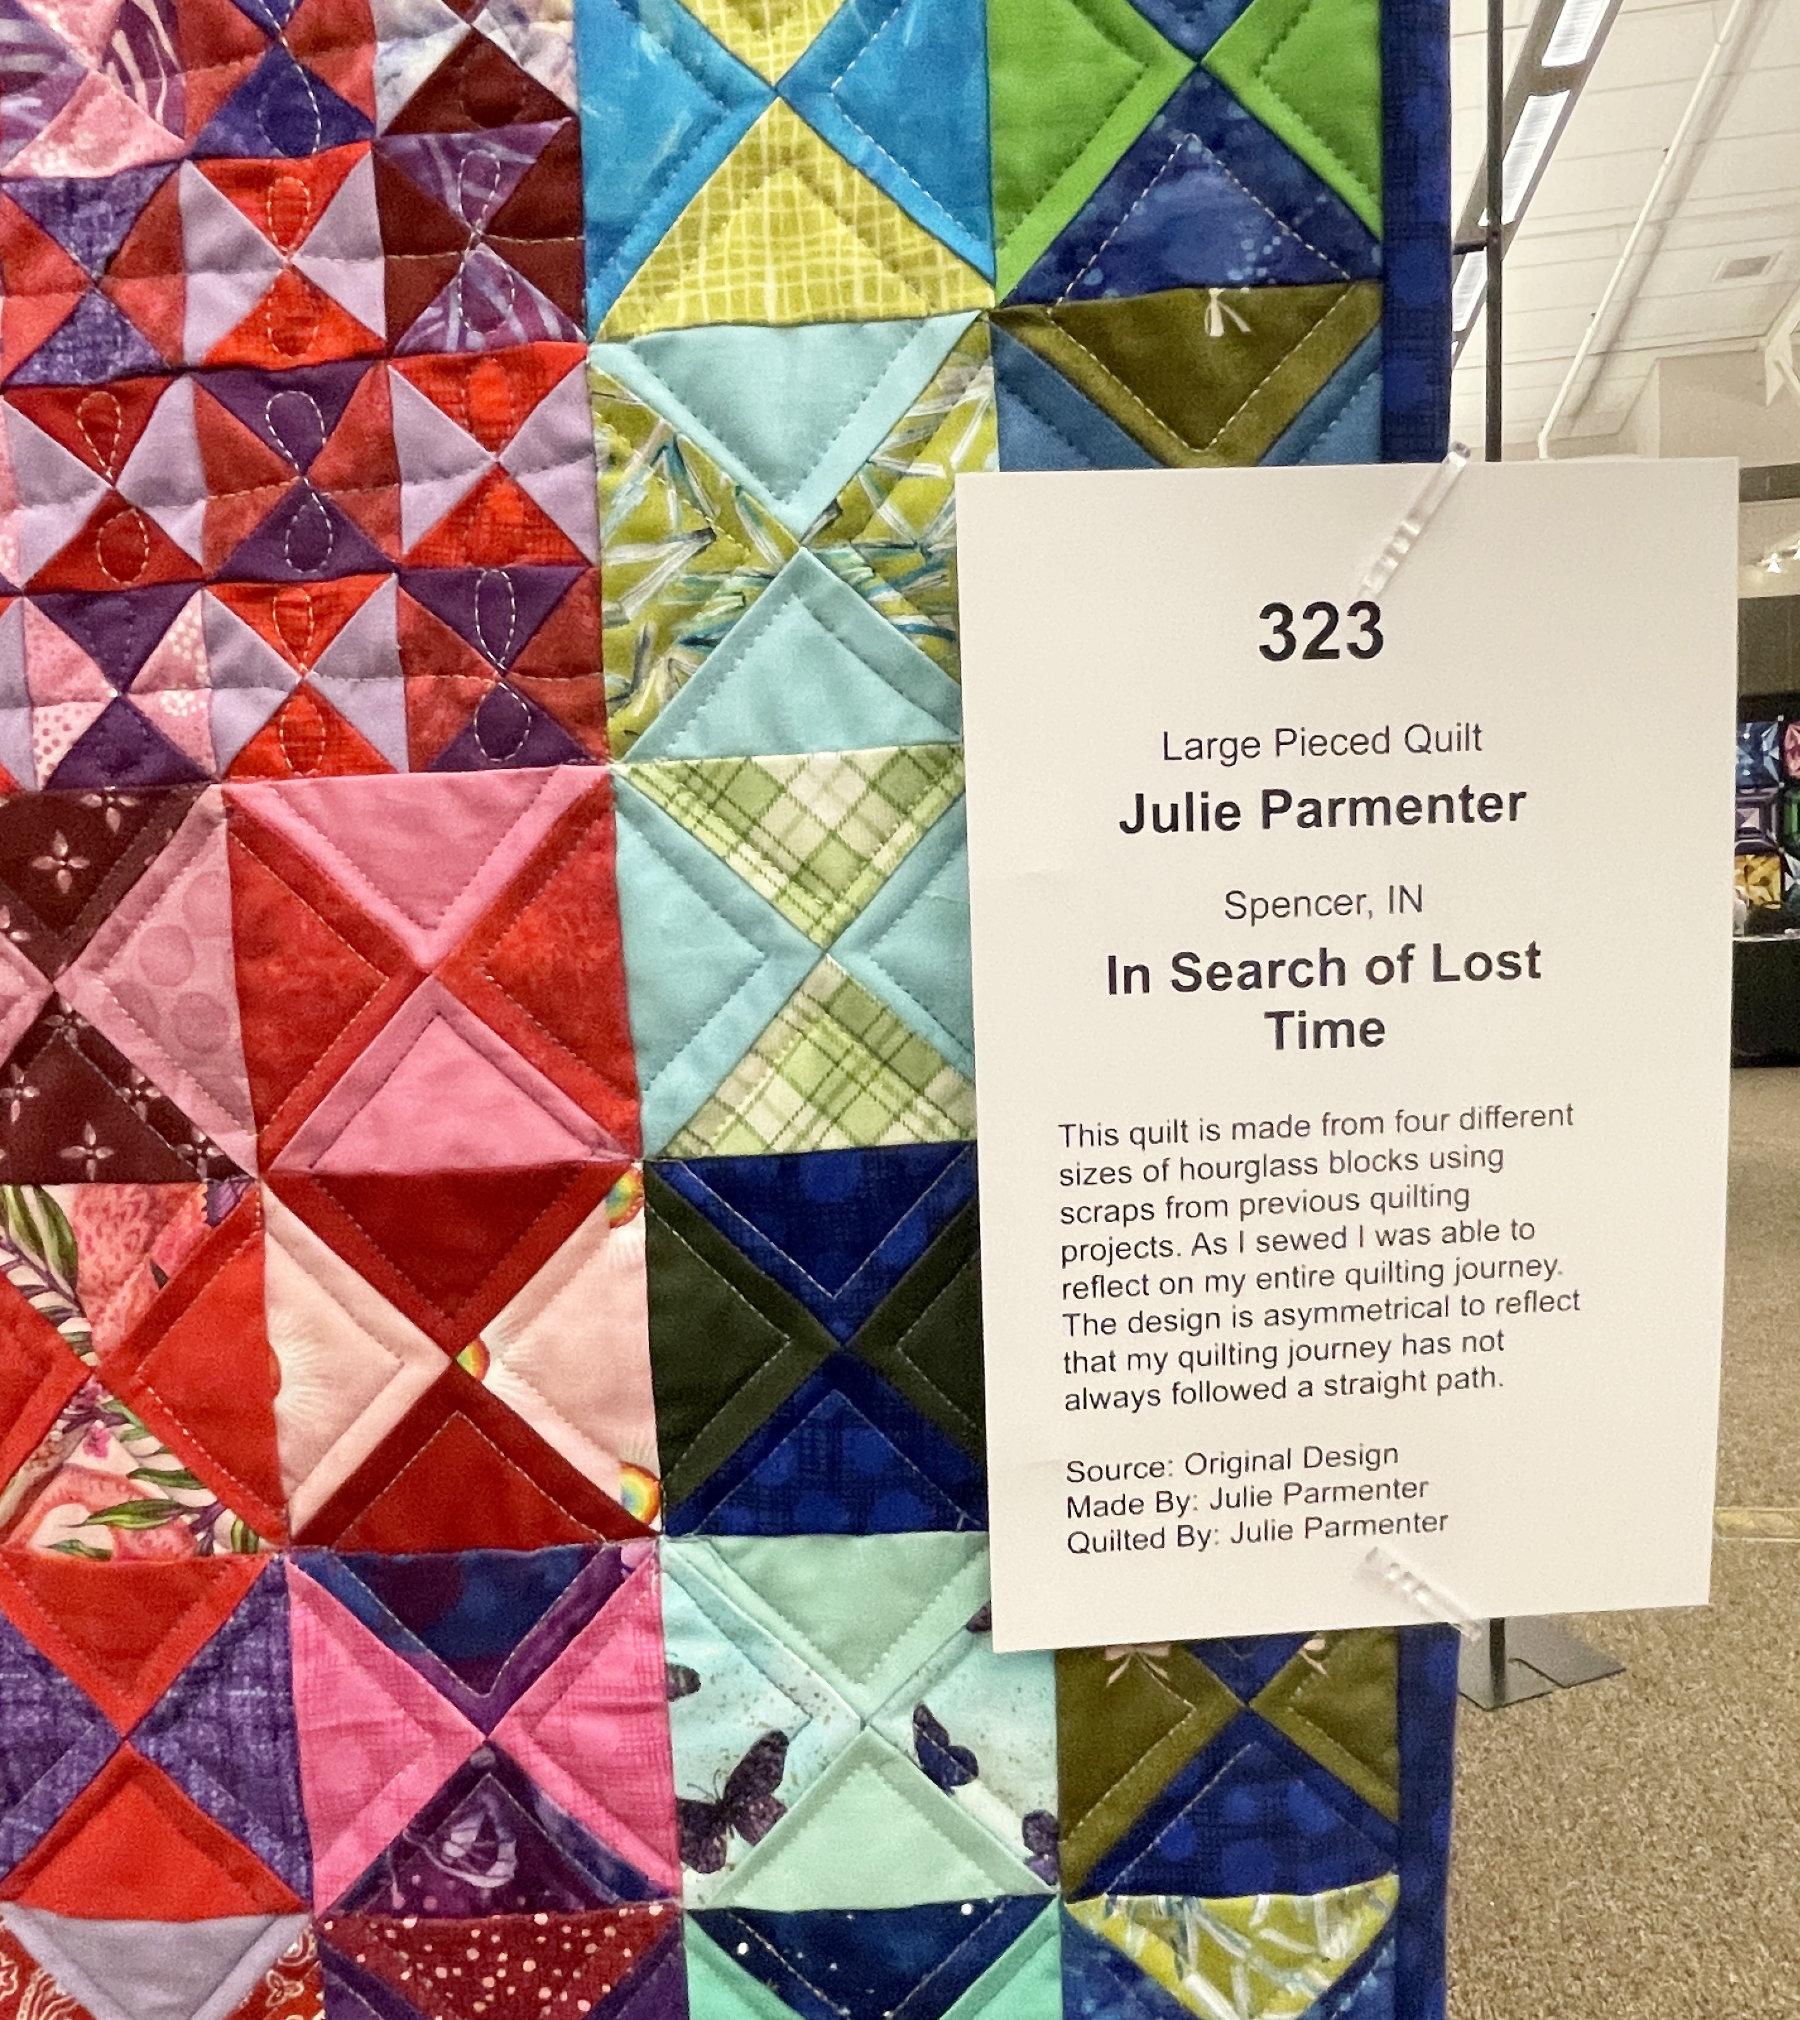
And I think my favorite pieced quilt was “In Search of Lost Time” by Julie Parmenter. She chose to use leftover scraps to make the hour glass squares in 4 different sizes, and arranged them in a very pleasing way. Imagine my delight when I discovered that Julie was in 2 of my classes!
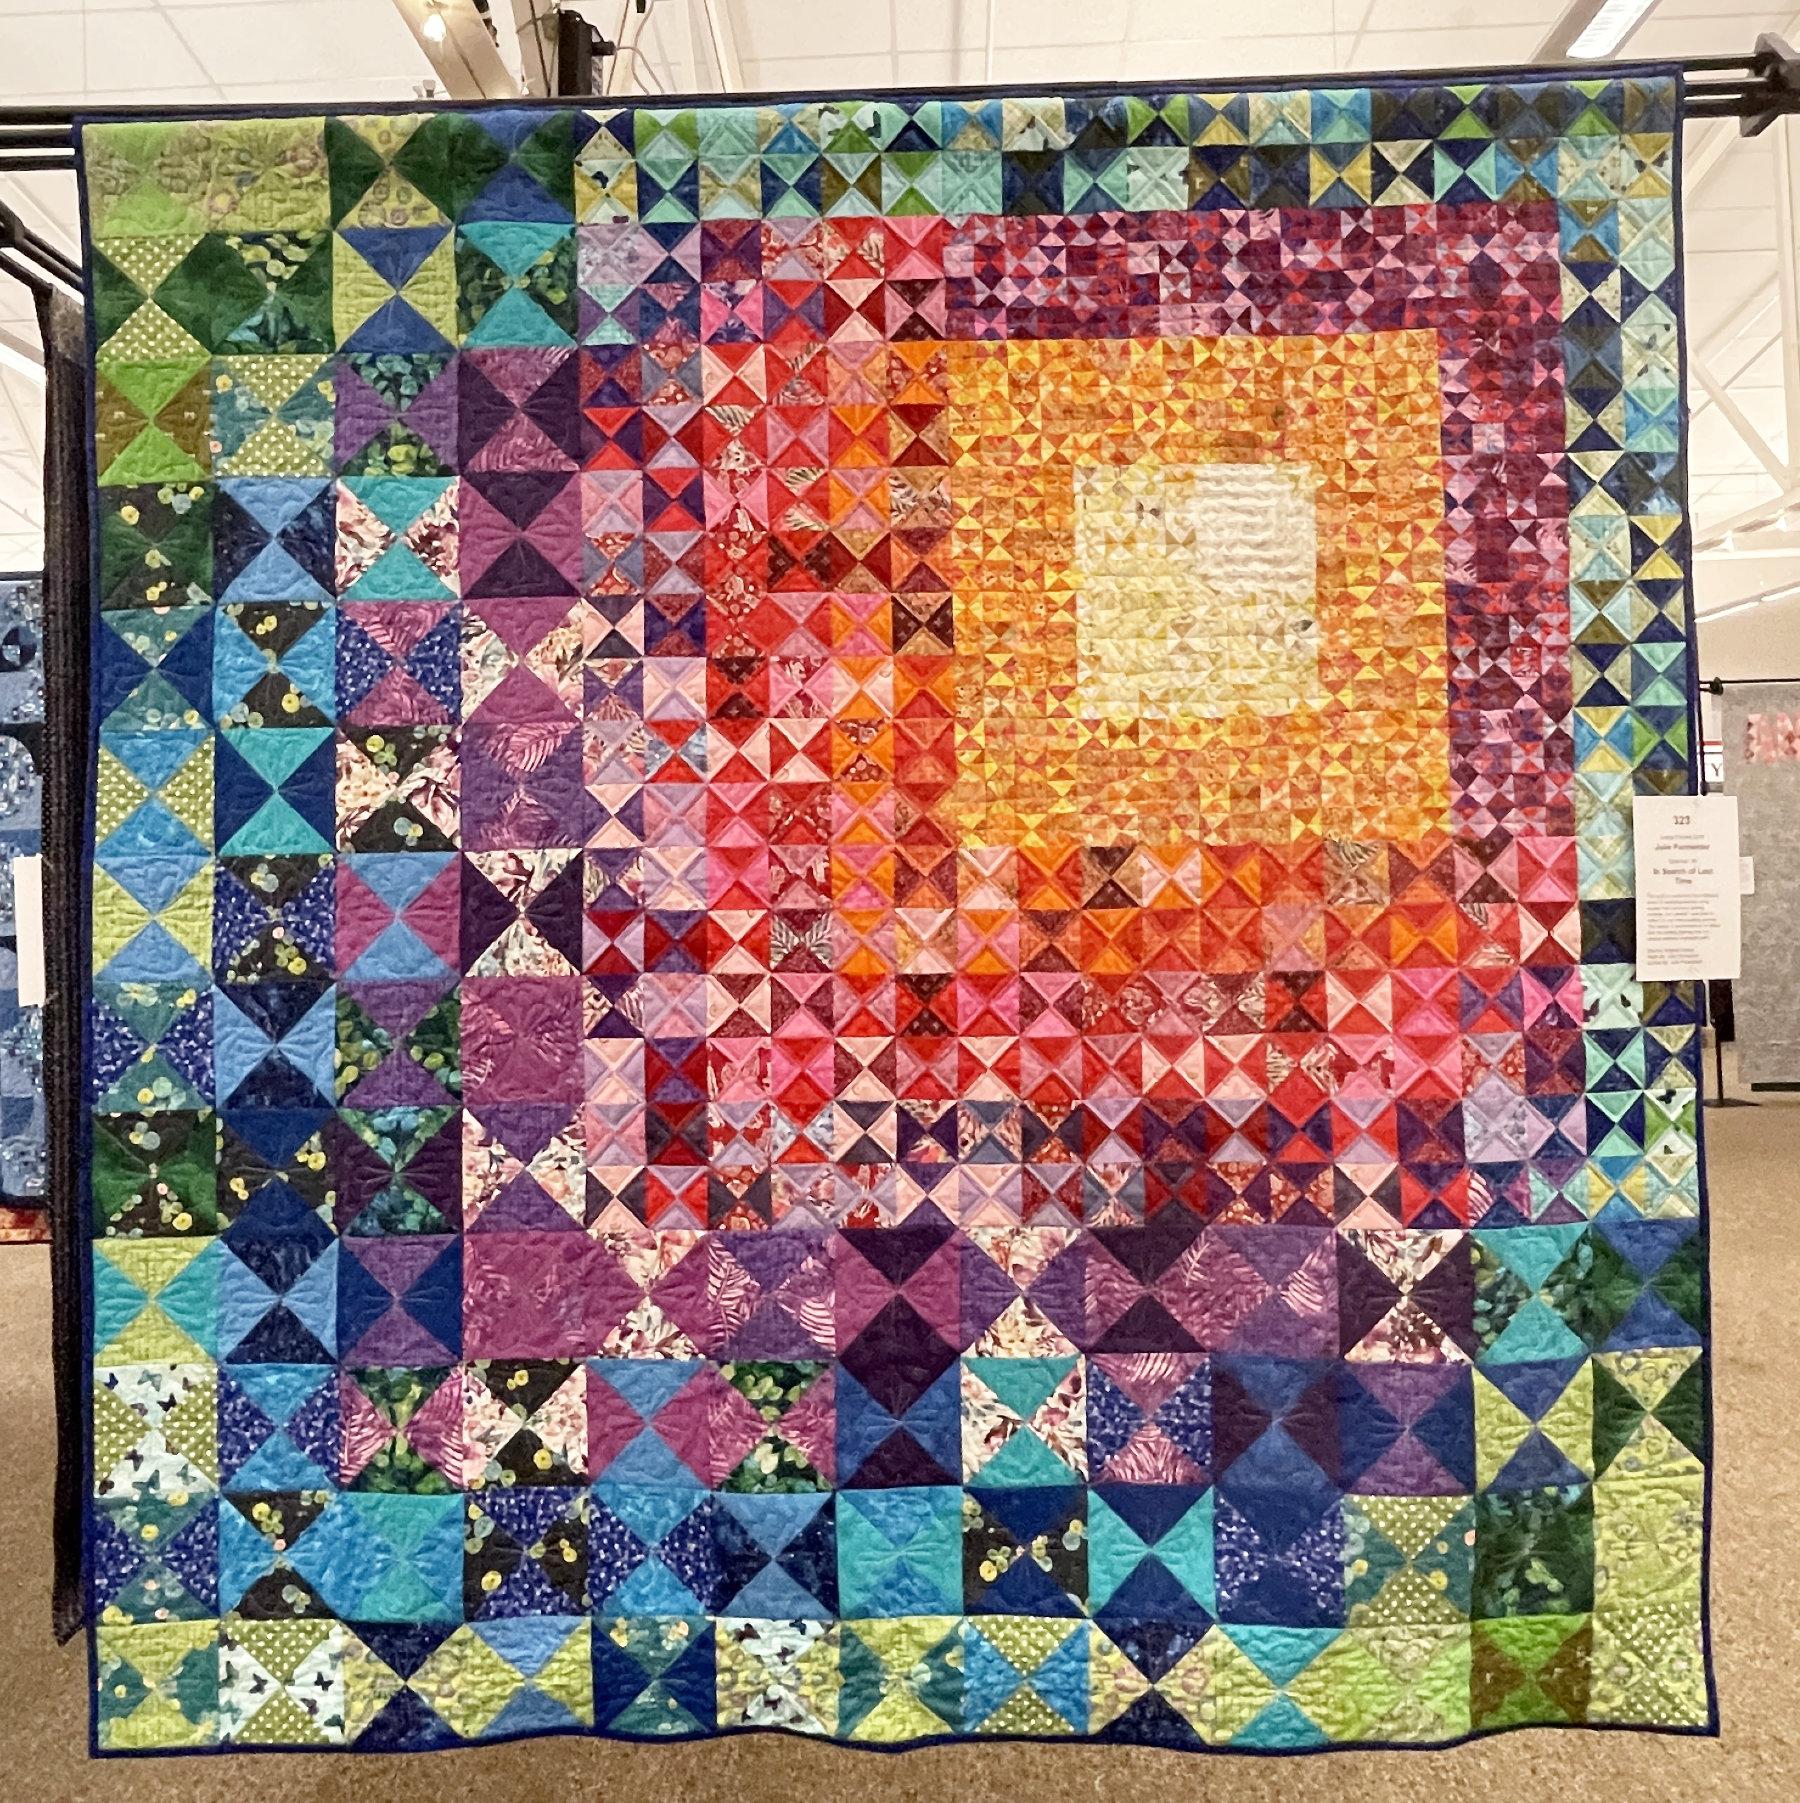
I loved her simple use of a very traditional block.
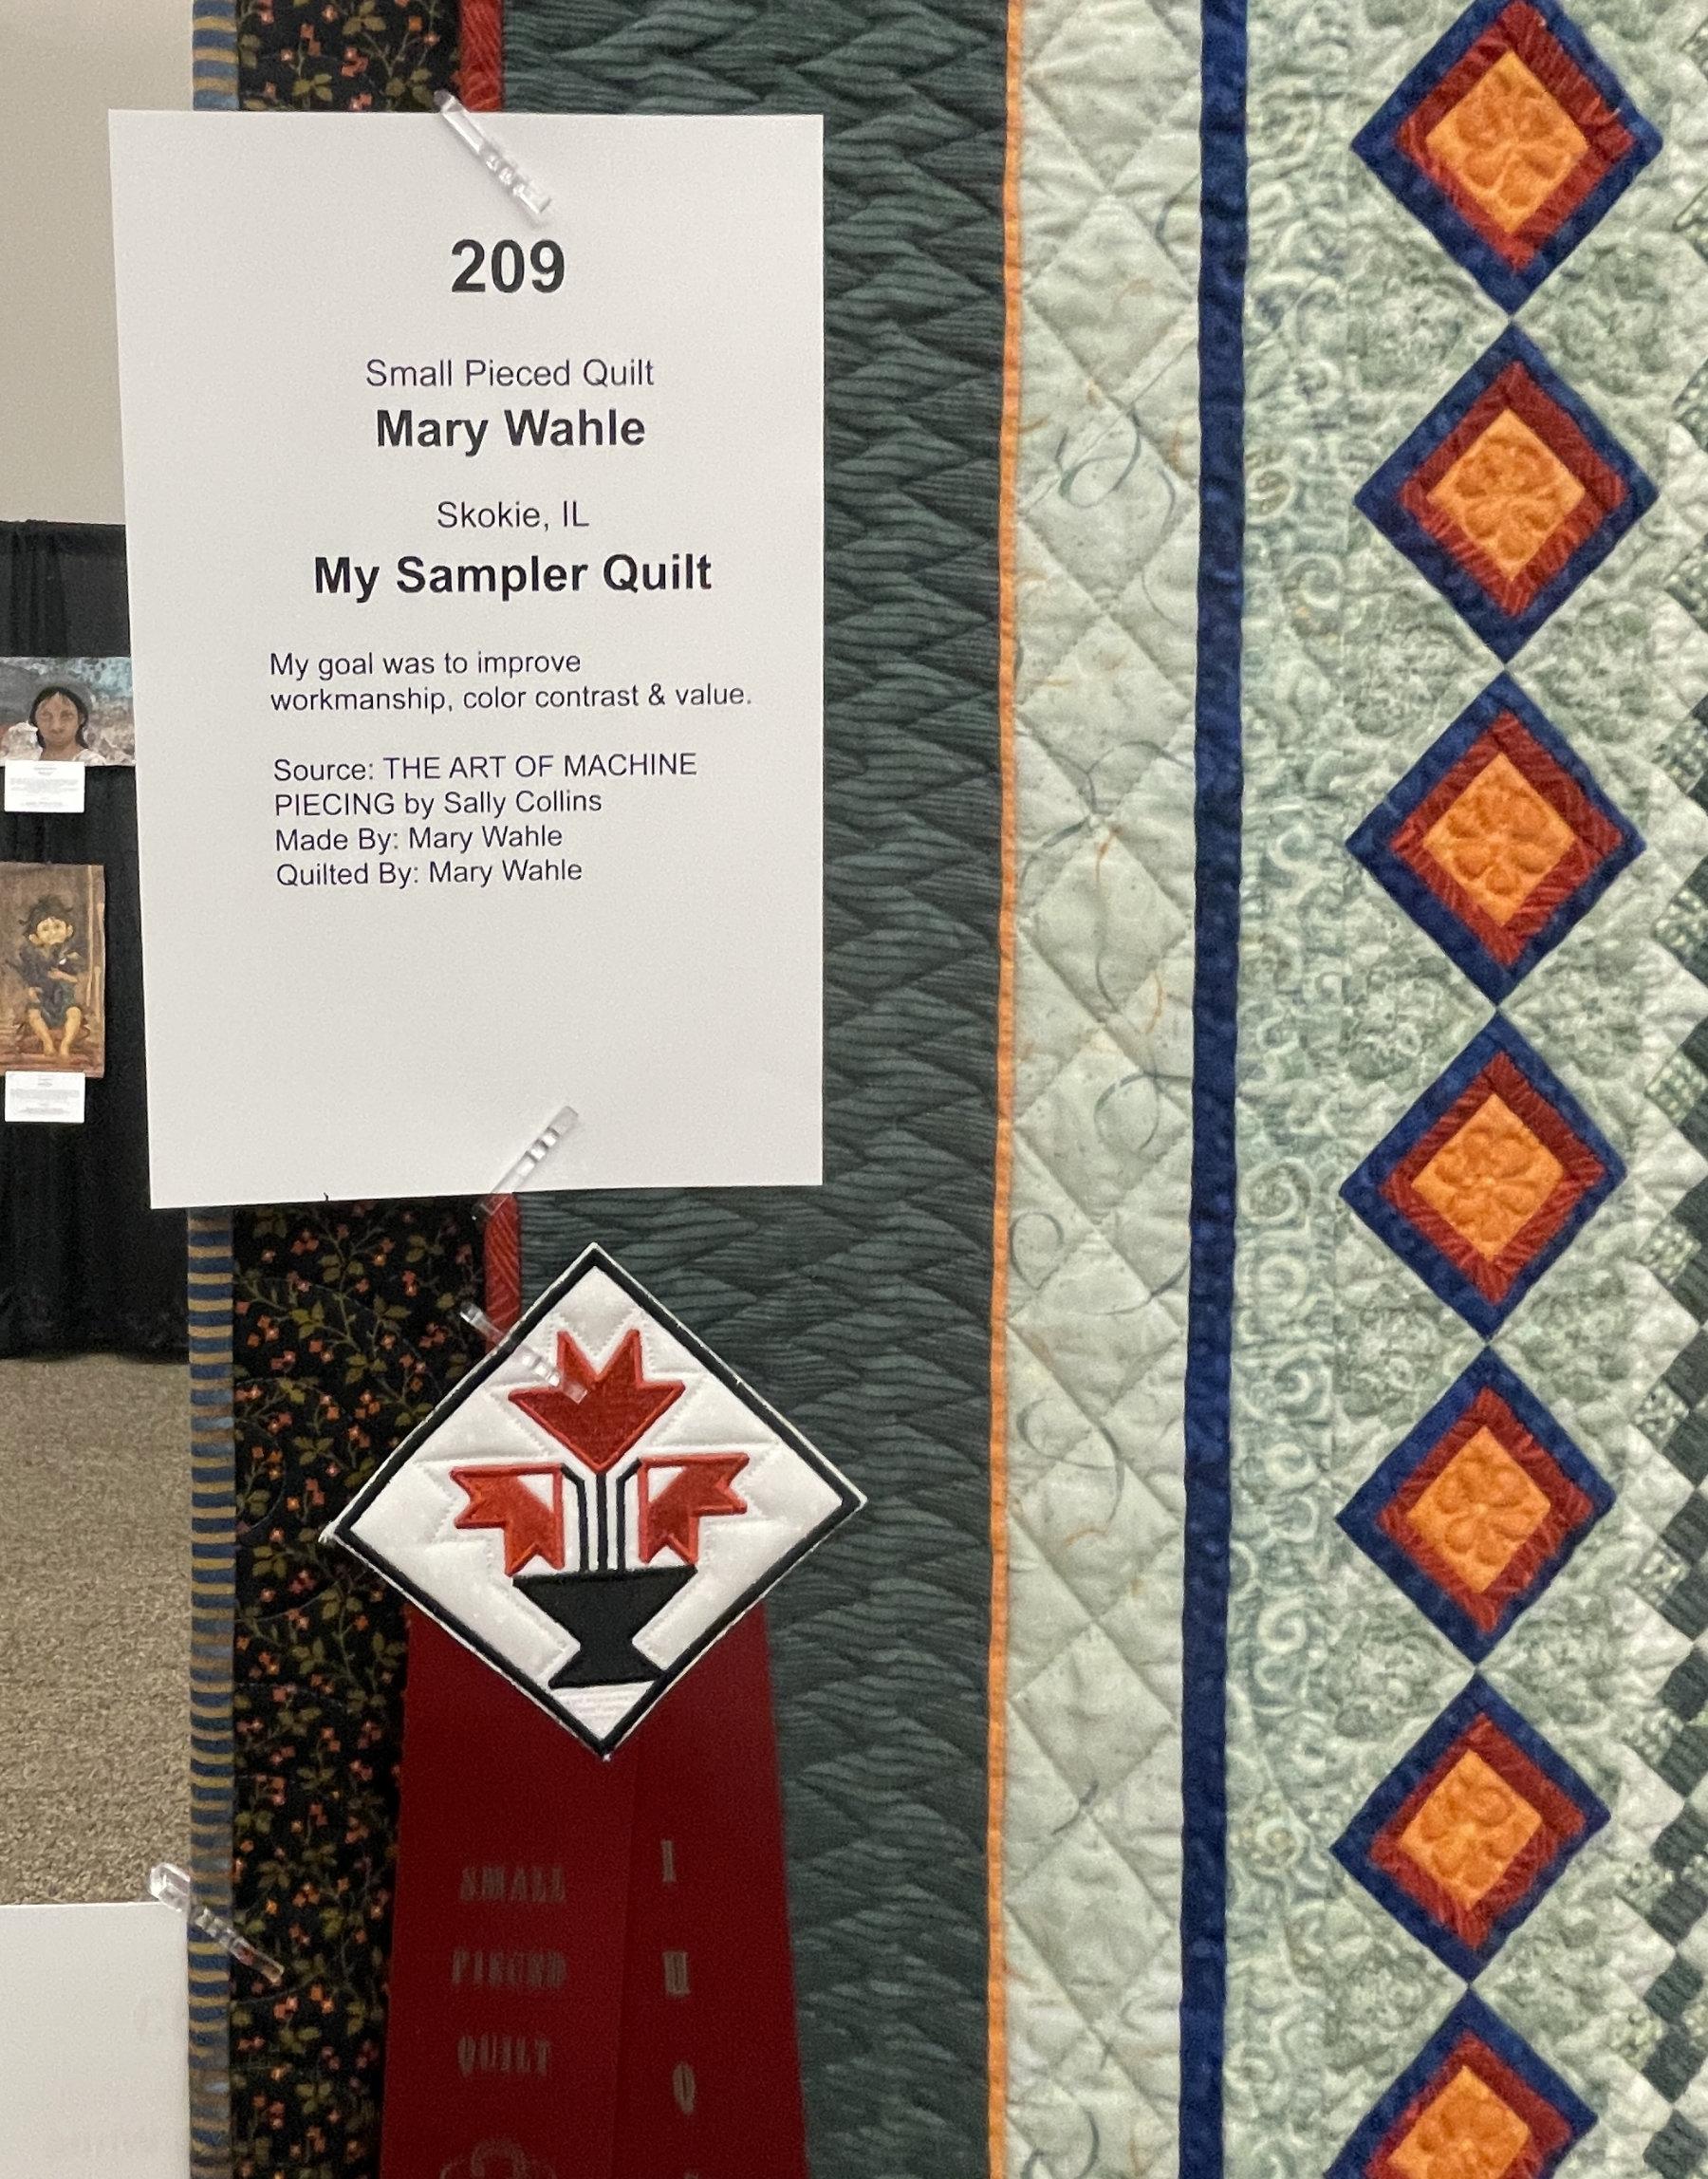
And one more pieced quilt just had to make my list. “My Sampler Quilt” by Mary Wahle does something that always fascinates me. It’s a sampler quilt in a setting that doesn’t scream “sampler quilt”. It obviously is, but there is so much additional piecing that it really draws all the diverse blocks into a pleasing whole.
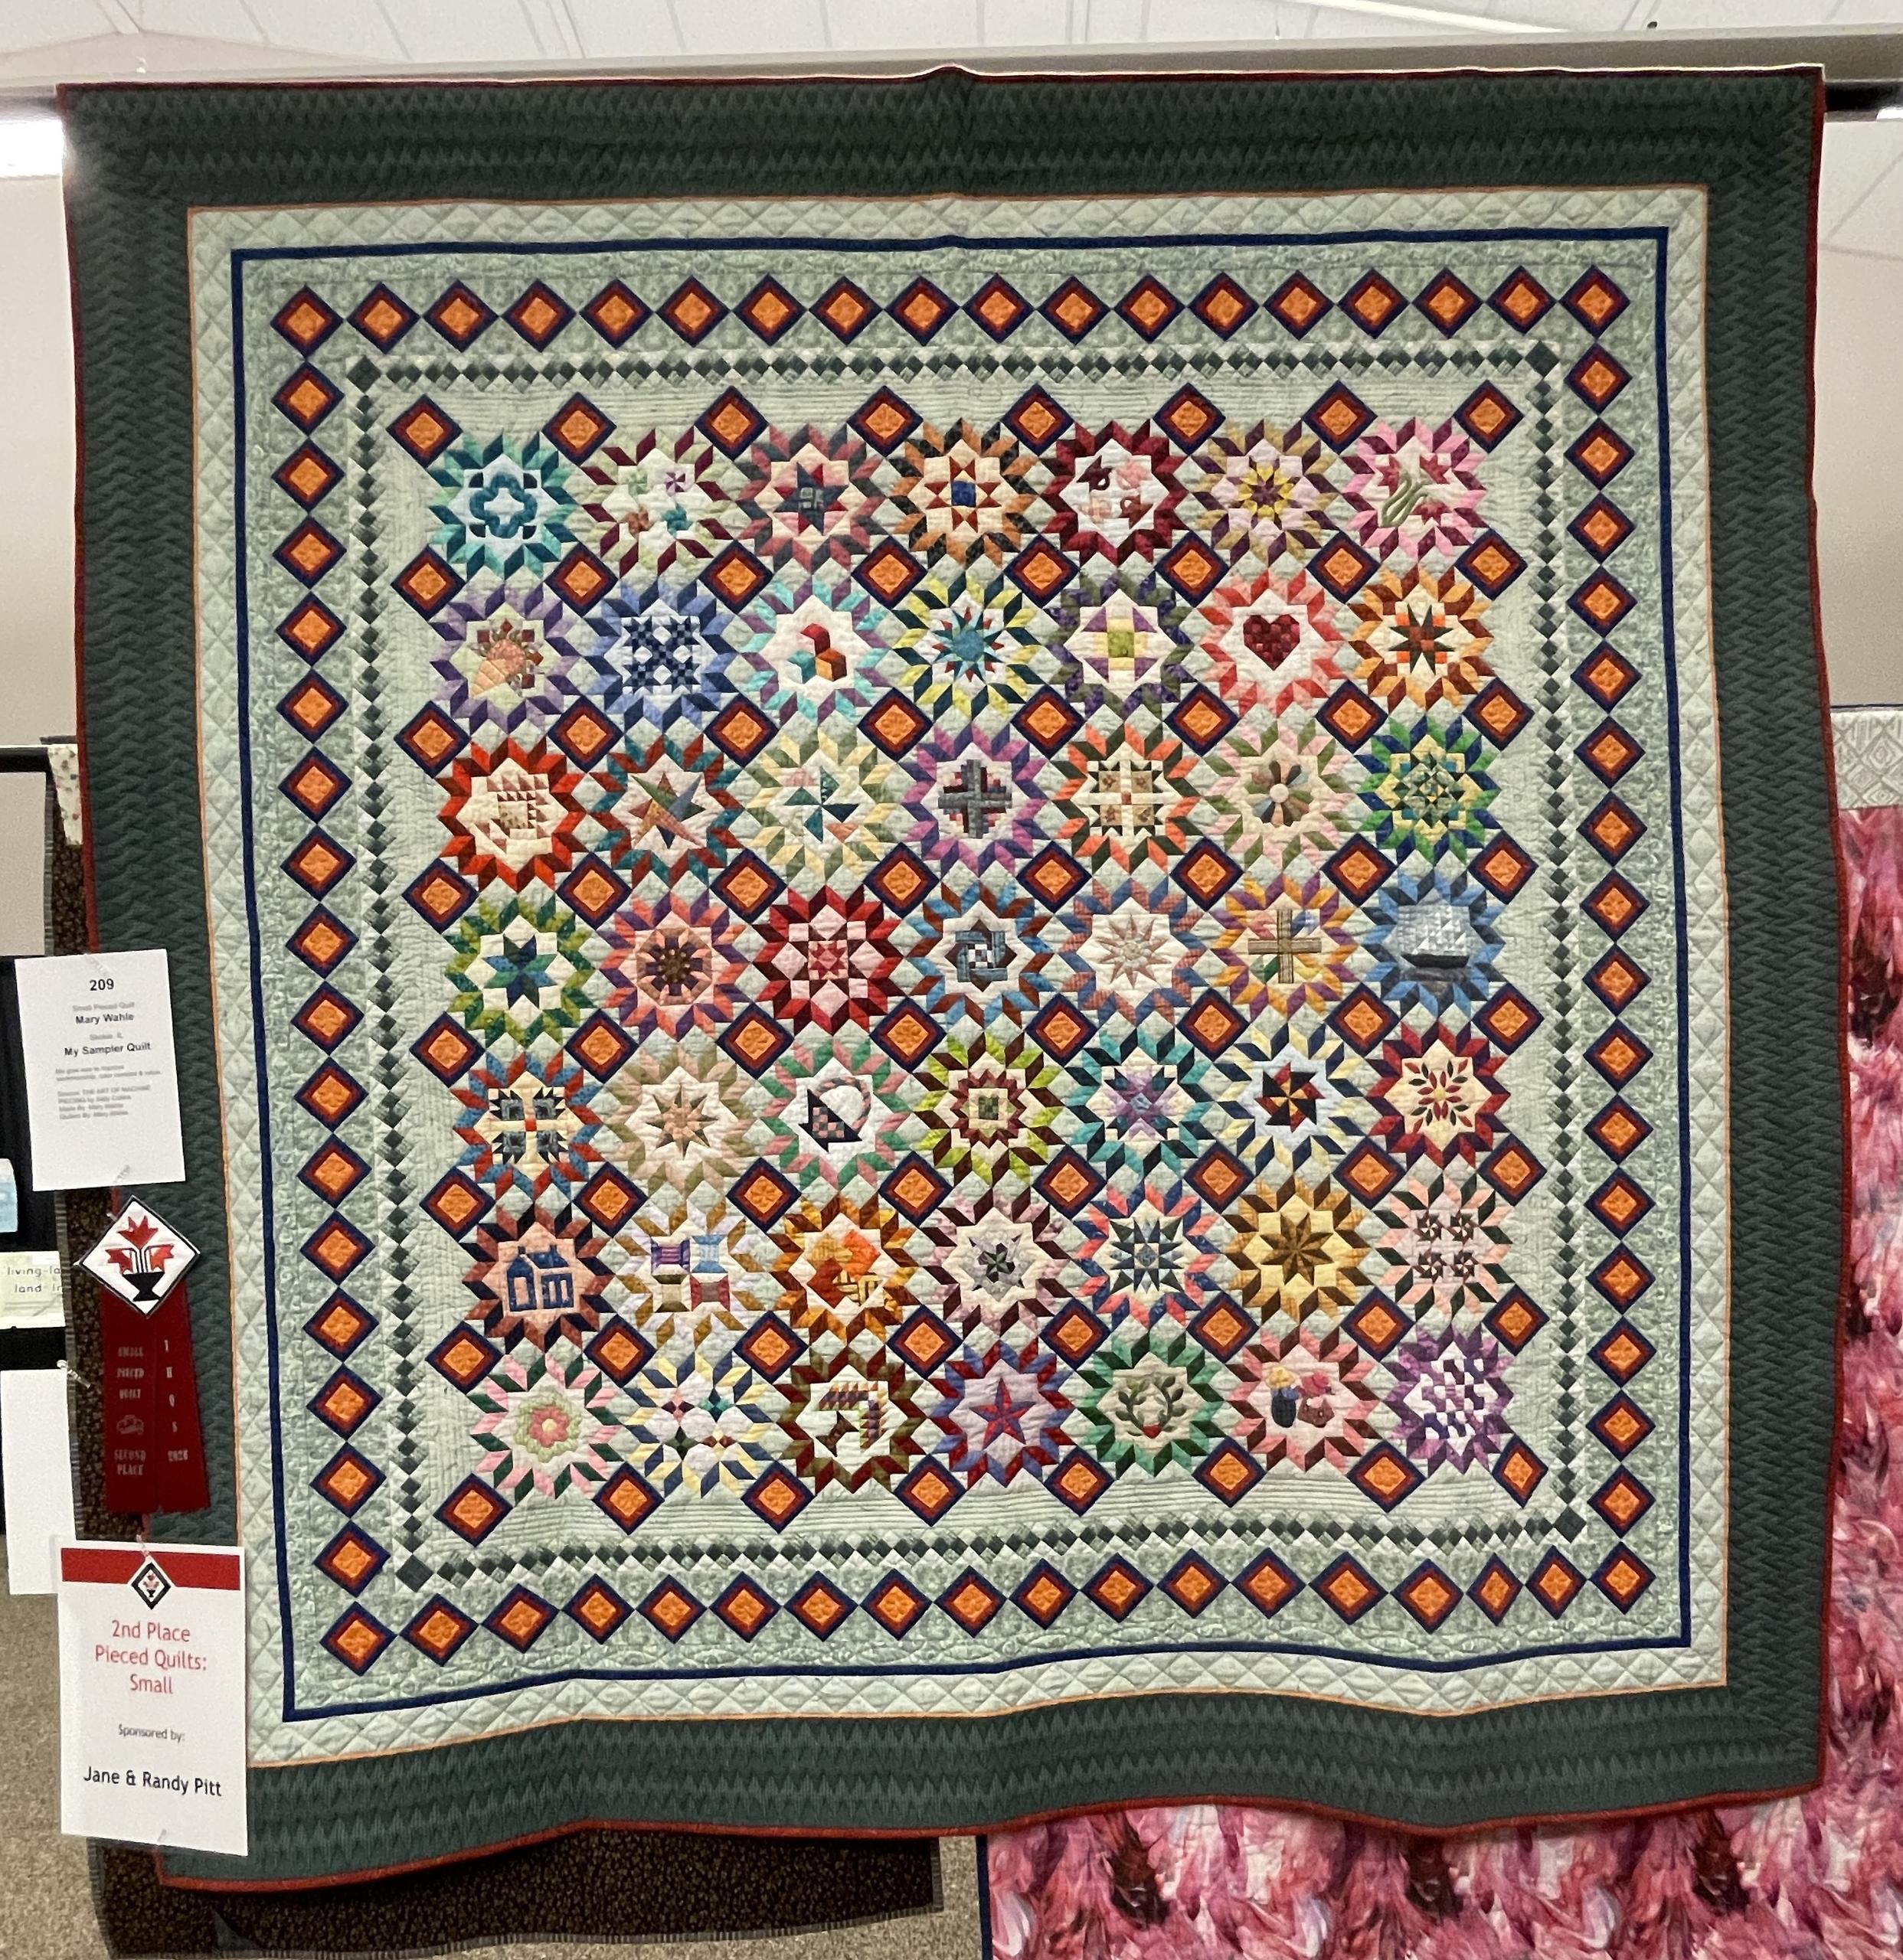
I think she accomplished her goals.
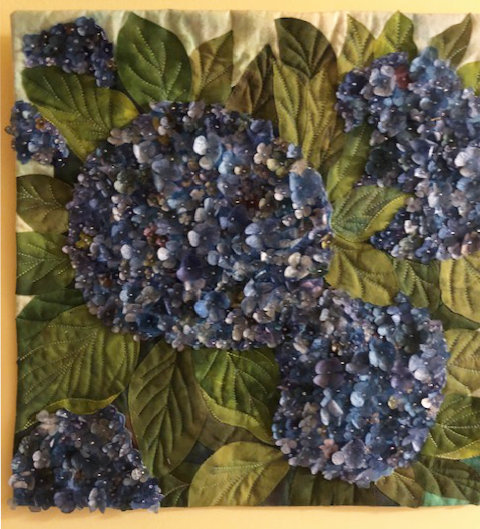
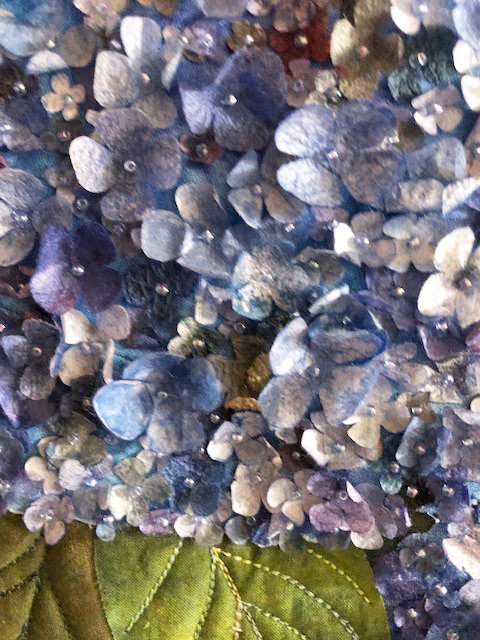
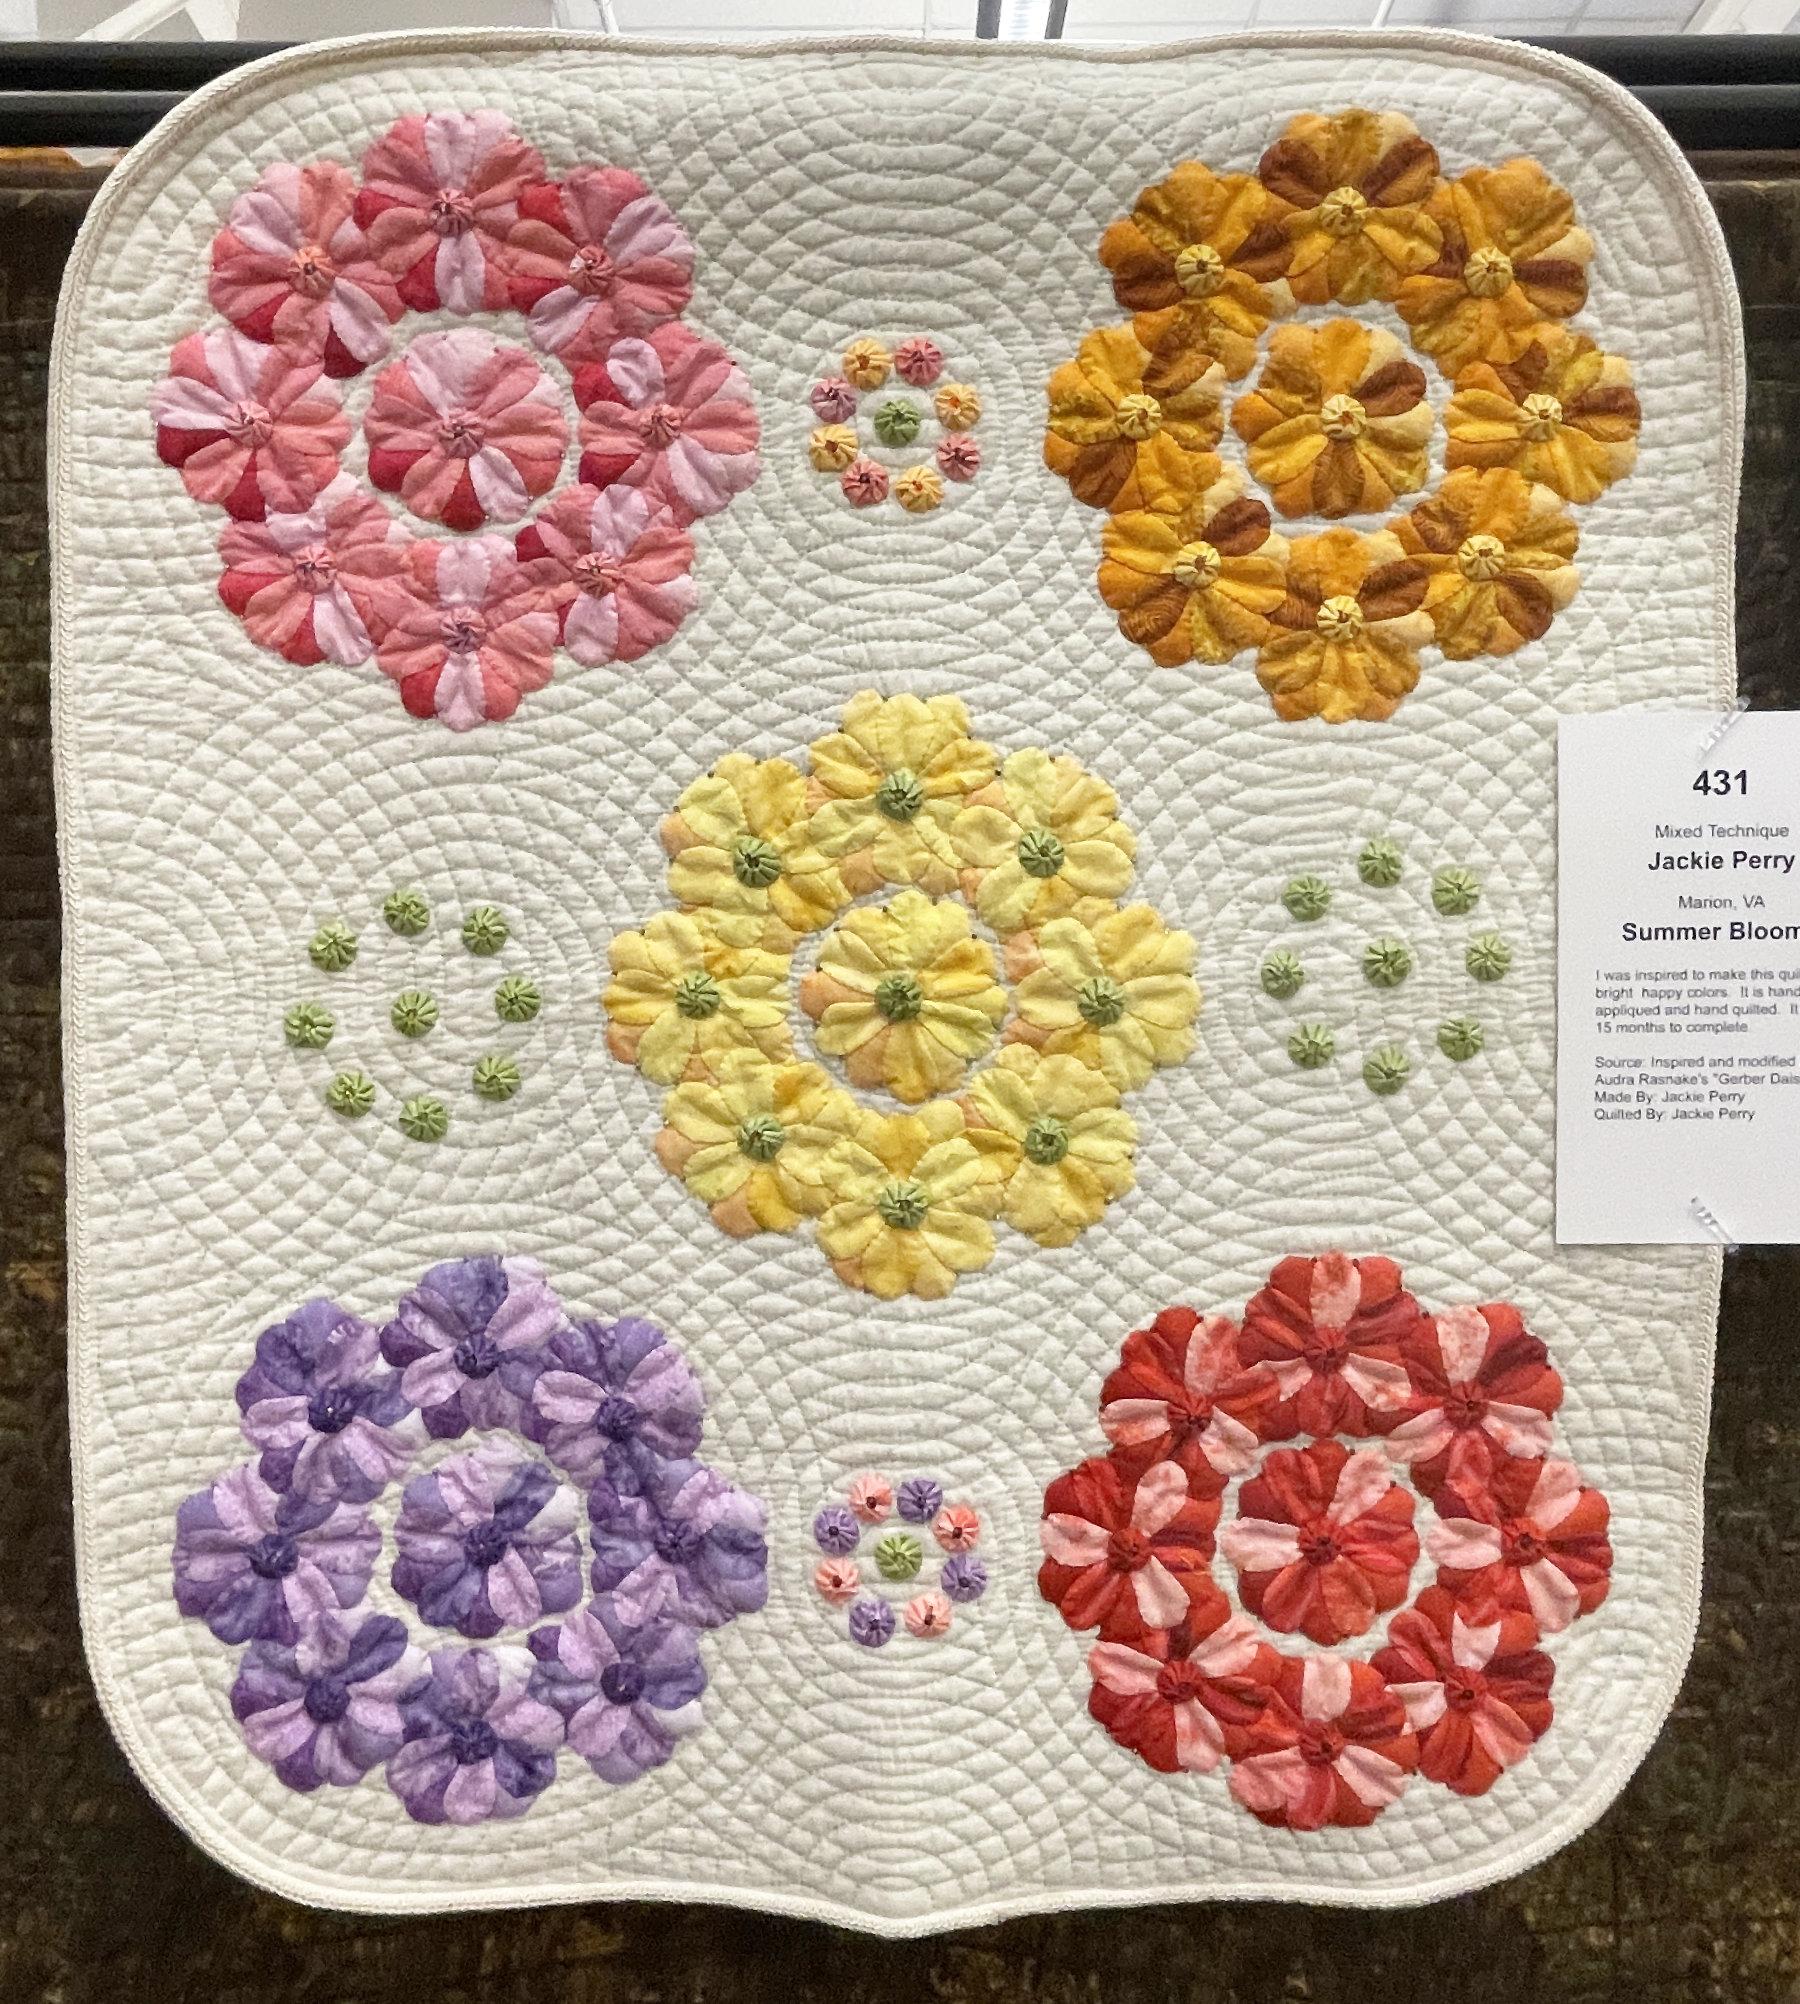
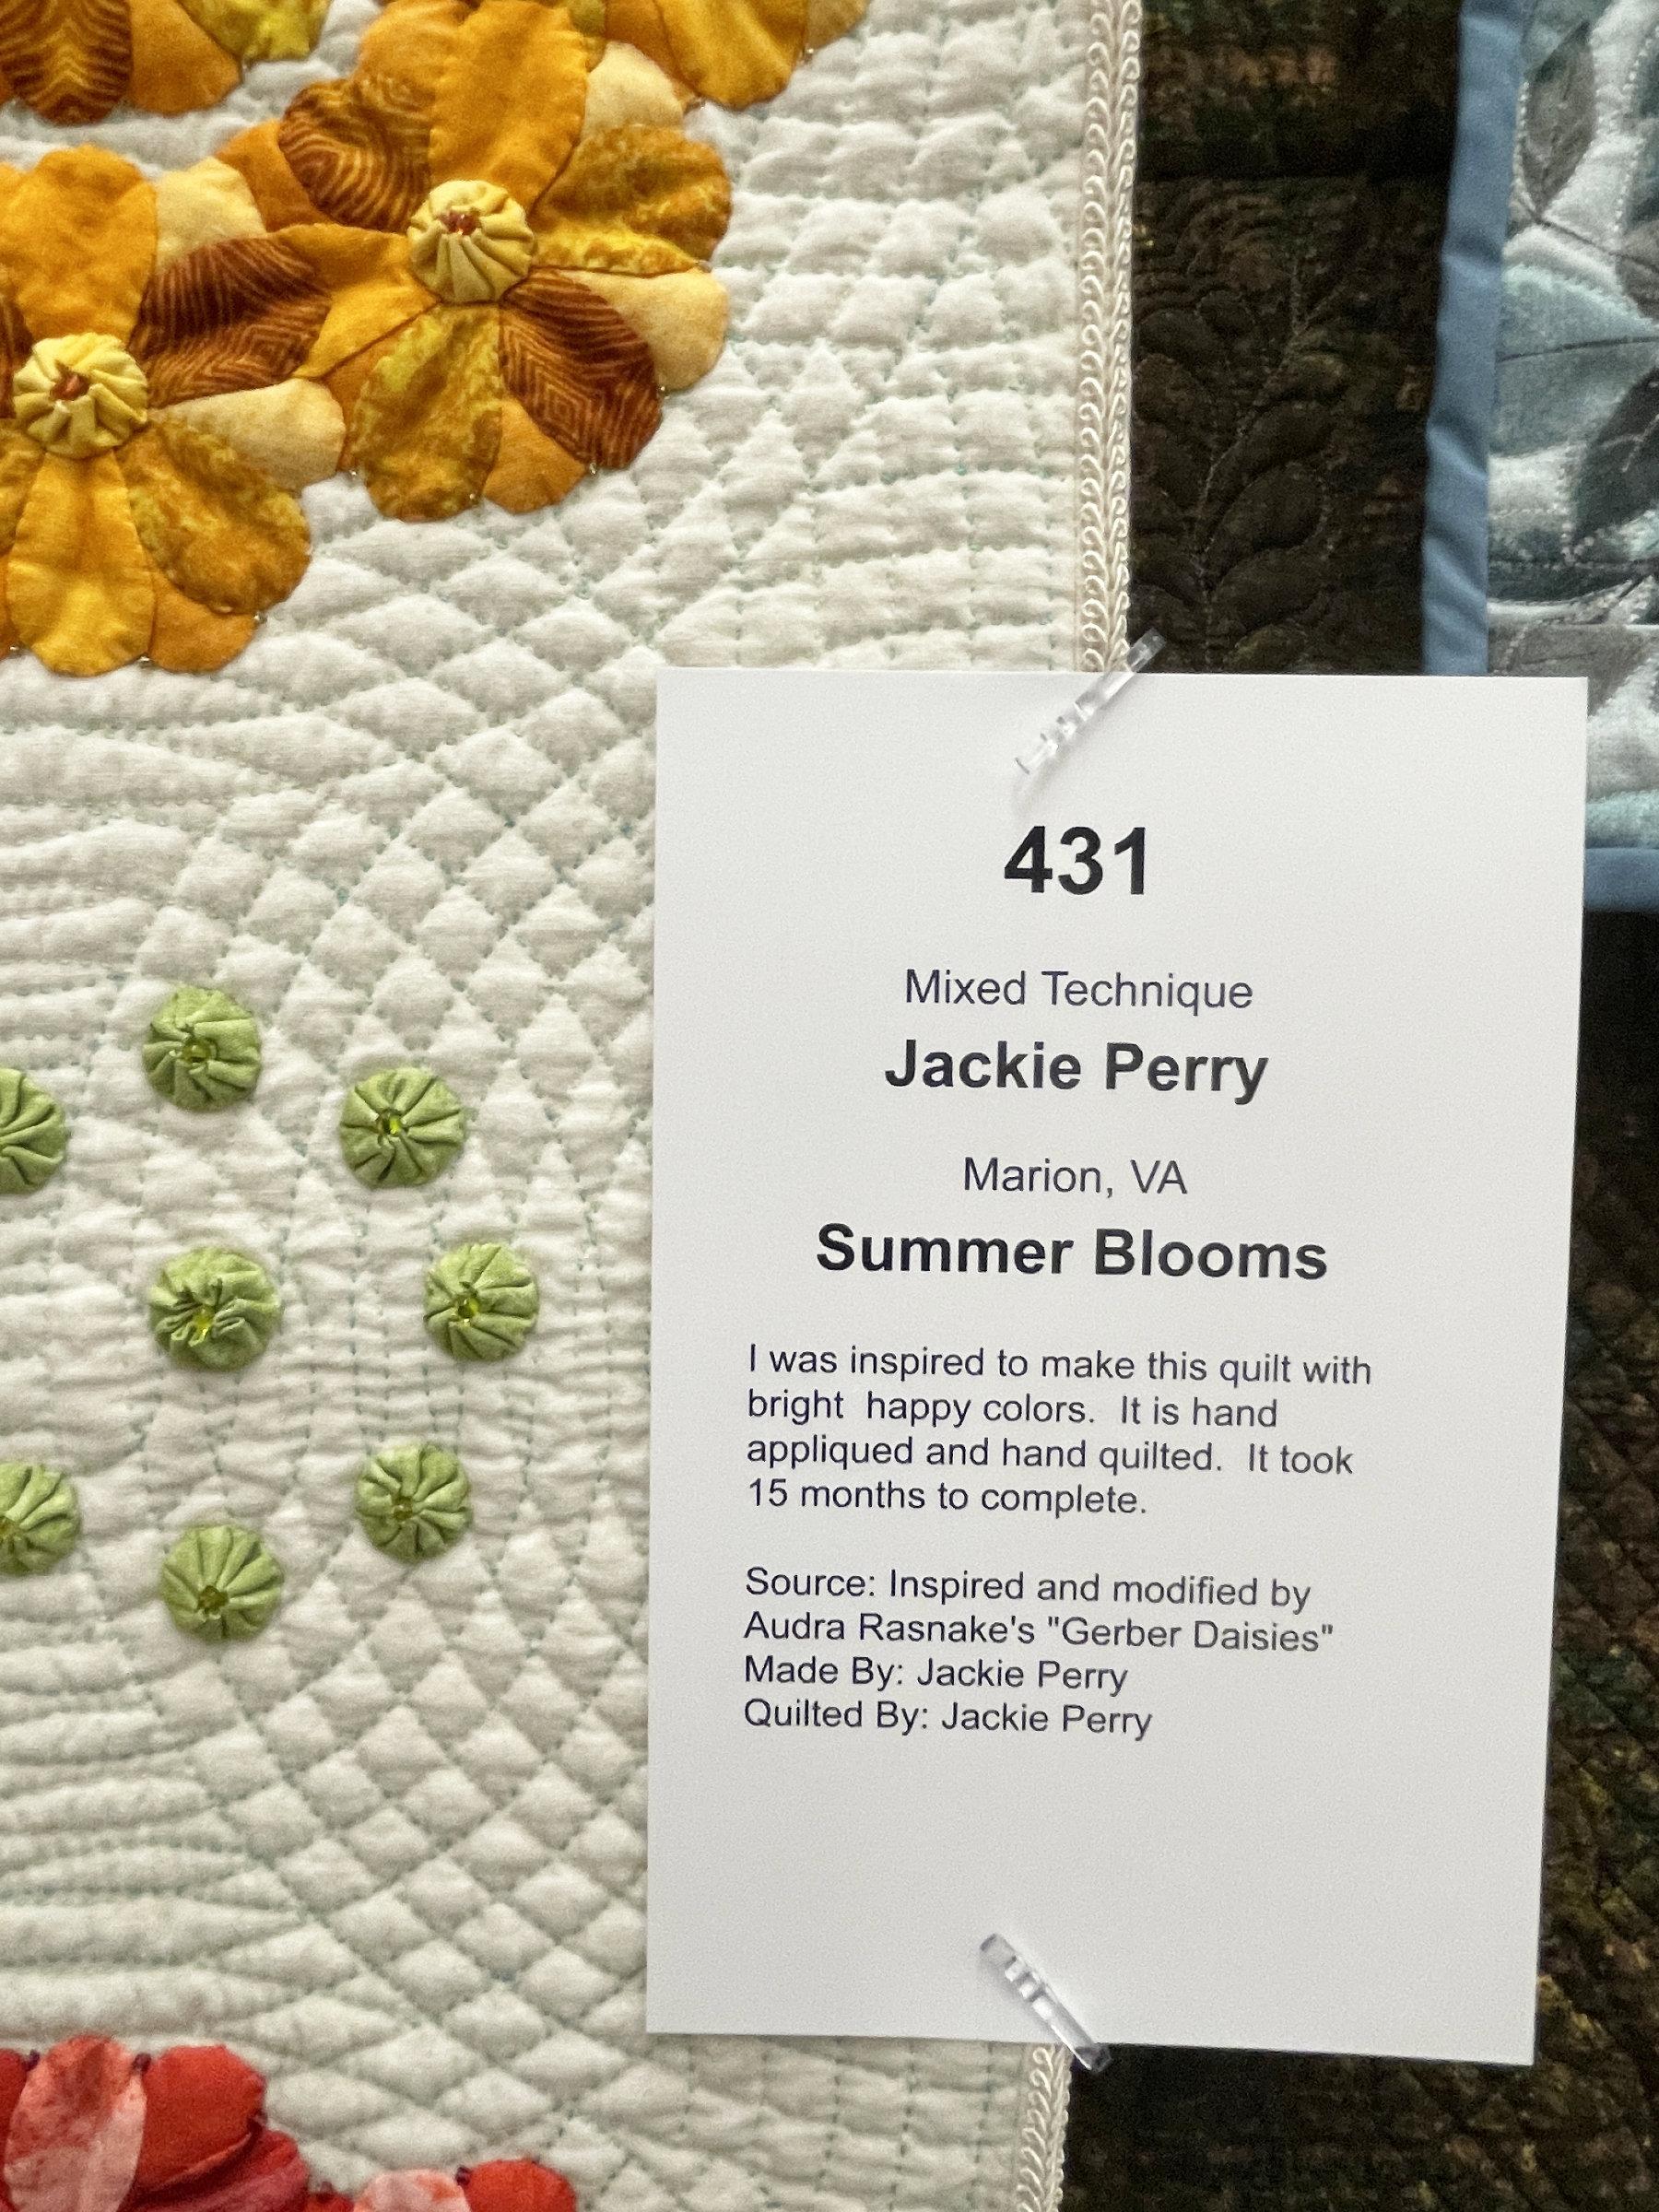
And the last quilt I want to share is a wall hanging of flowers with fun quilting and delightful tiny yo-yos. Jackie’s hand-quilting “knocked my socks off”:
And that was just the show quilts! There were also special exhibits and a fantastic array of vendors. And then there were the wonderful quilters! I think I need to save the rest for next week’s post. Stay tuned!