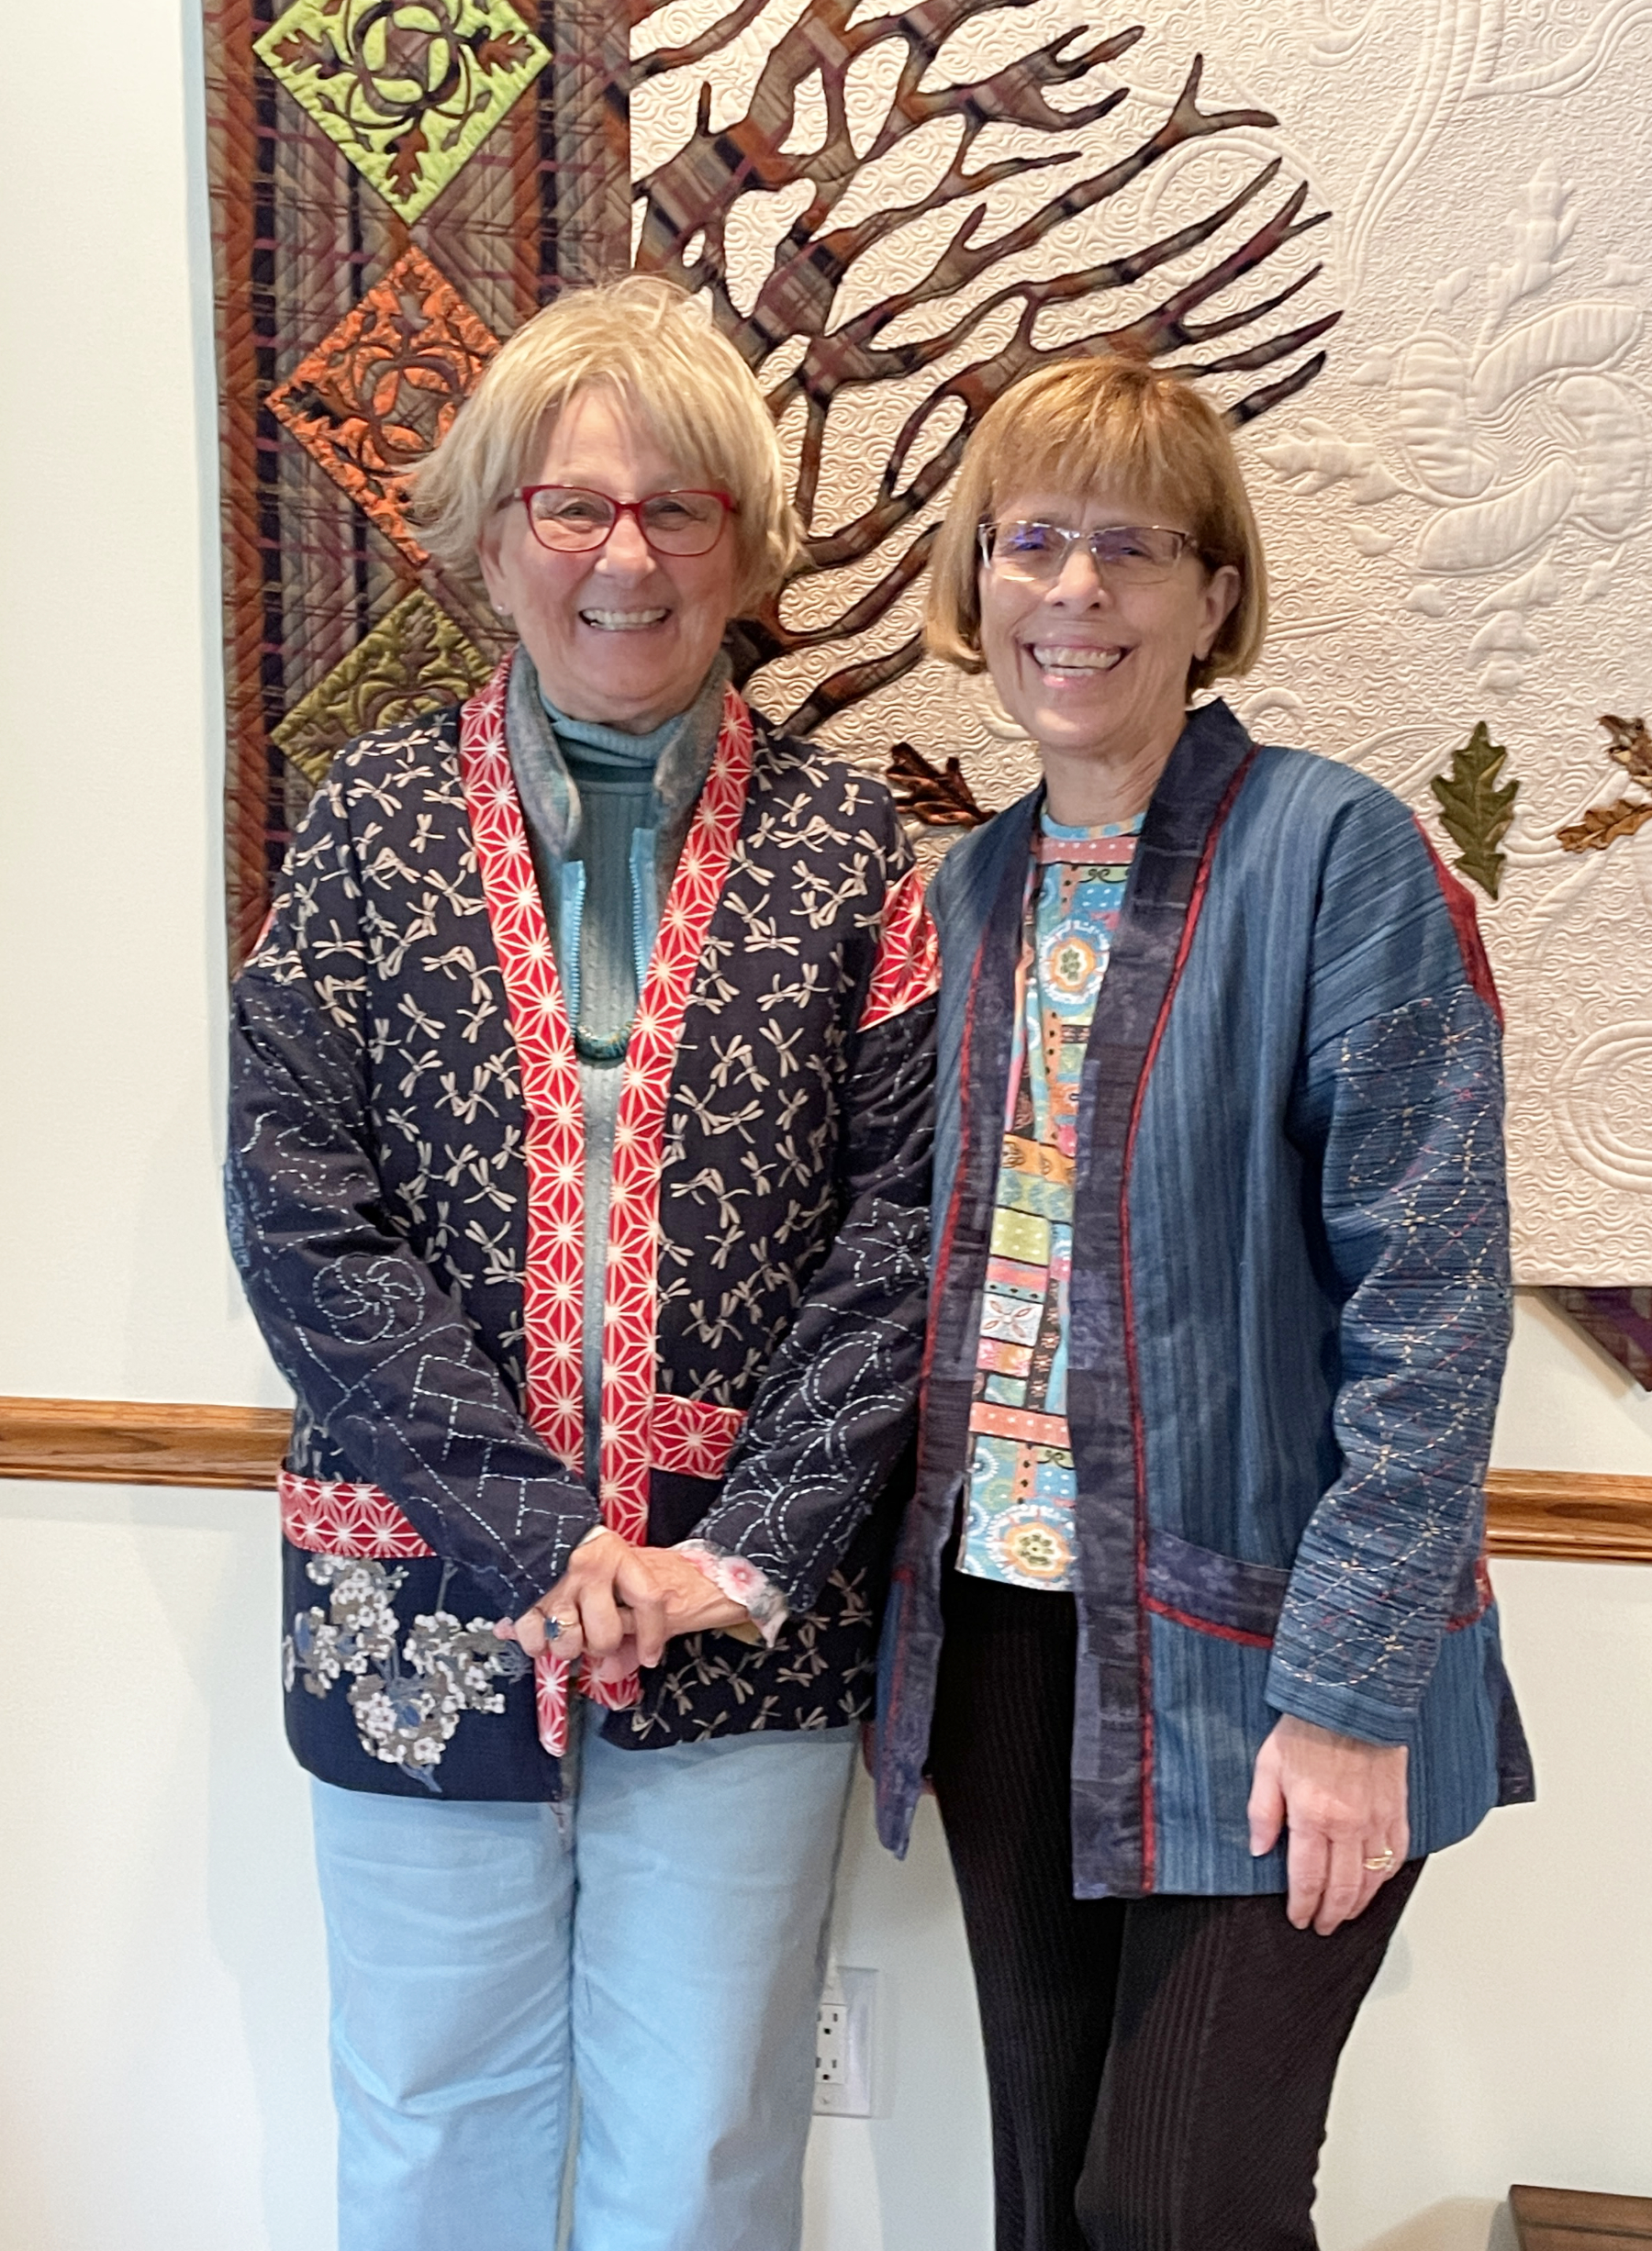
My friend April is a hoot! She makes wonderful quilts:

And occasionally wrestles with water snakes while at retreat:

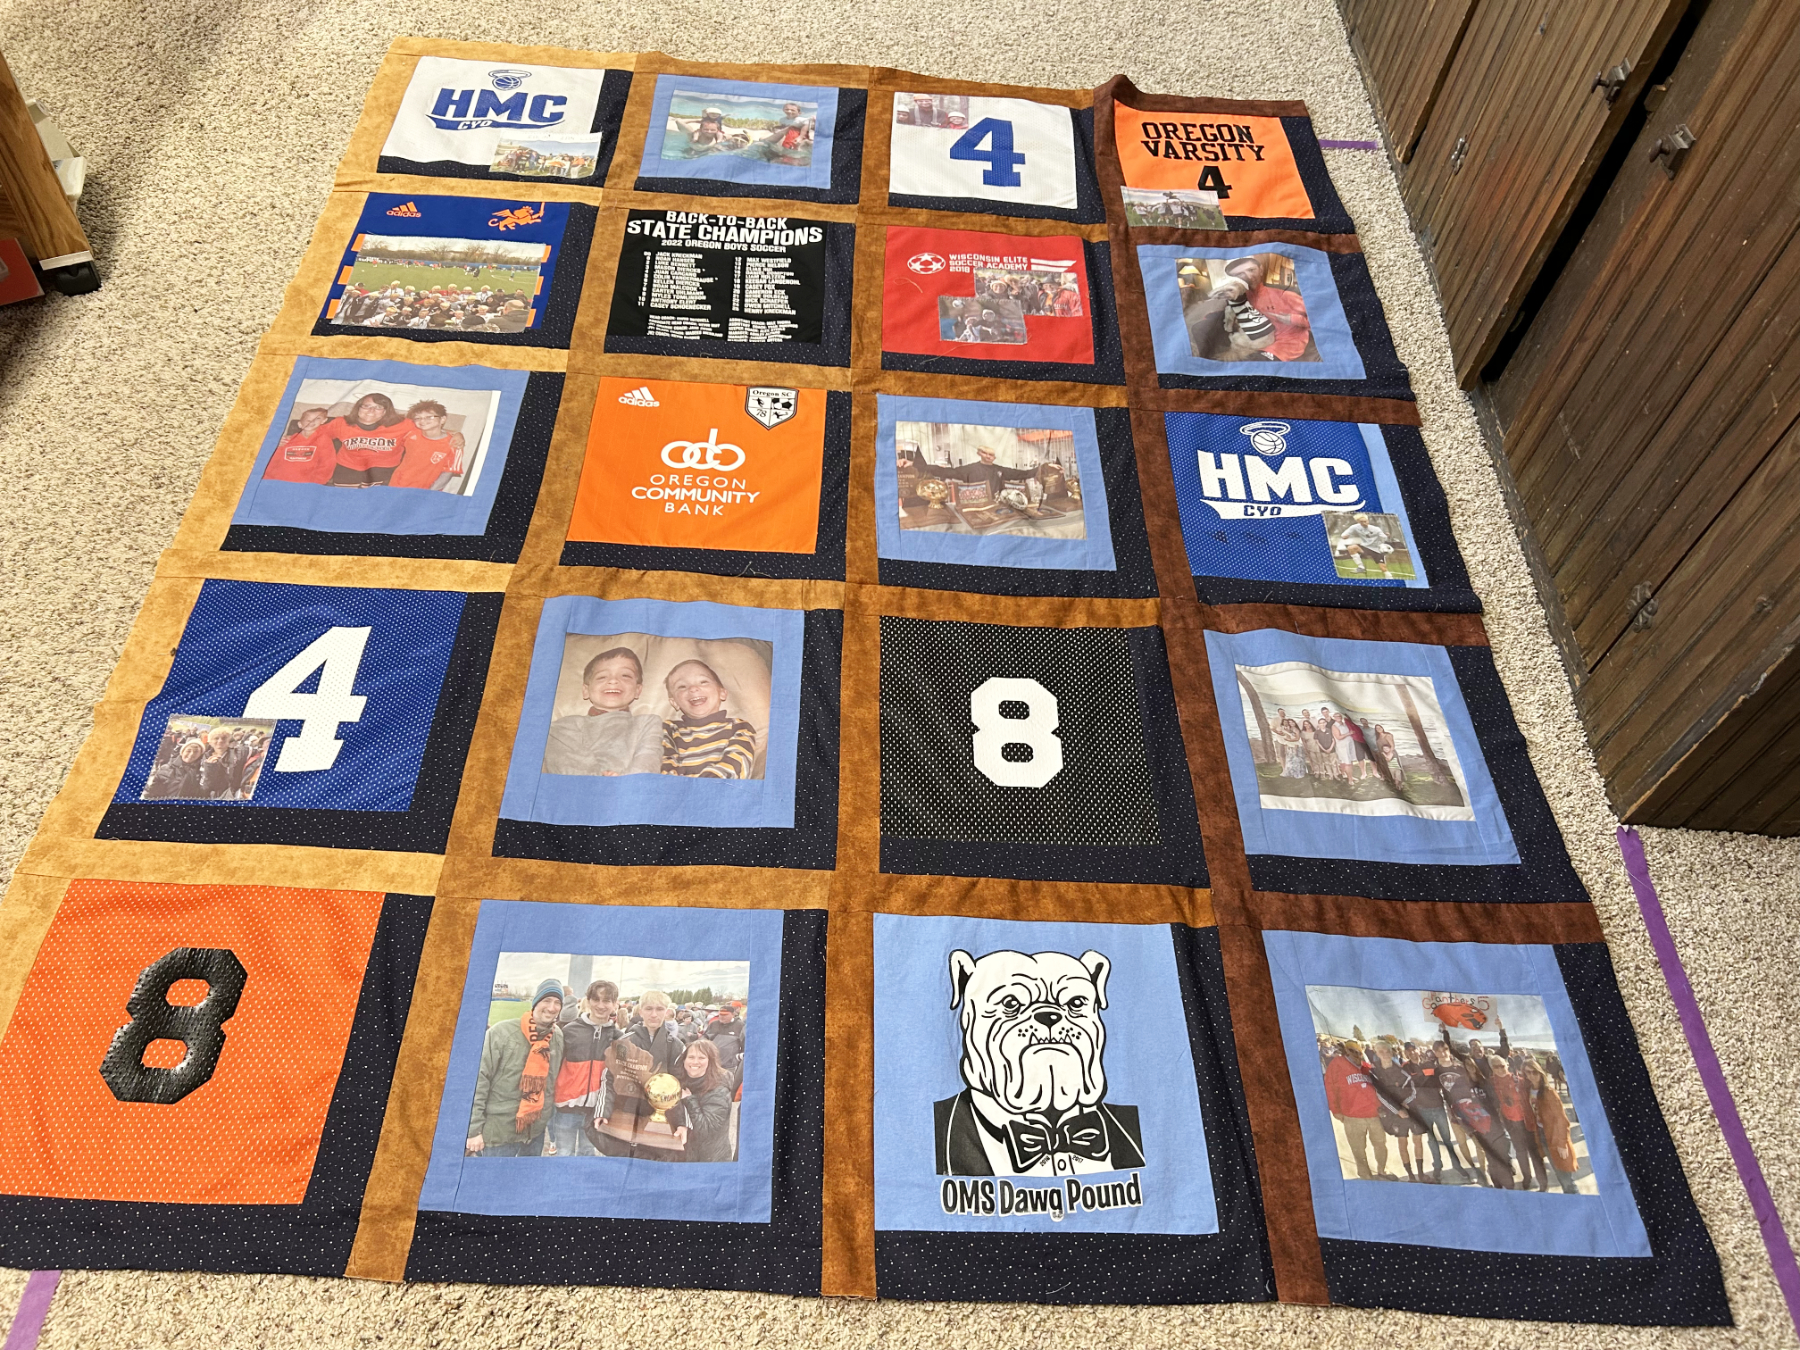
This past year she’s been super excited about an online adventure she joined. As April explains it, each month she received a chapter from a murder mystery in which an archeologist/detective discovers clues to solve a murder. Included with each chapter are directions for a quilt block, or blocks. The way the blocks go together is not revealed until the end of the year, and the mystery quilt holds the clues that solve the crime. In 2023 she embarked on a Viking adventure, and these are the blocks she made as of our October retreat:

She laid out the blocks in a way she thought might be correct, but she won’t know until the end of the year. I can’t wait to find out “who dunnit” along with her.
Many of us got caught up in her excitement ~ and now we’ve signed up for the 2024 mystery. Here’s the information from their website:

I’ve been many places in the world, but not Greece ~ yet. So I thought it would be fun to travel there via mystery quilt. Are you intrigued? Would you like to join us? I’m not affiliated with this organization in any way ~ besides having signed up. I’m just passing the information along in case you’re as interested as I am. All the details can be found at: murdermysteryquilt.com. And, if you think you’re not advanced enough to participate, there are helpful videos included that make it fun and achievable for every skill level.
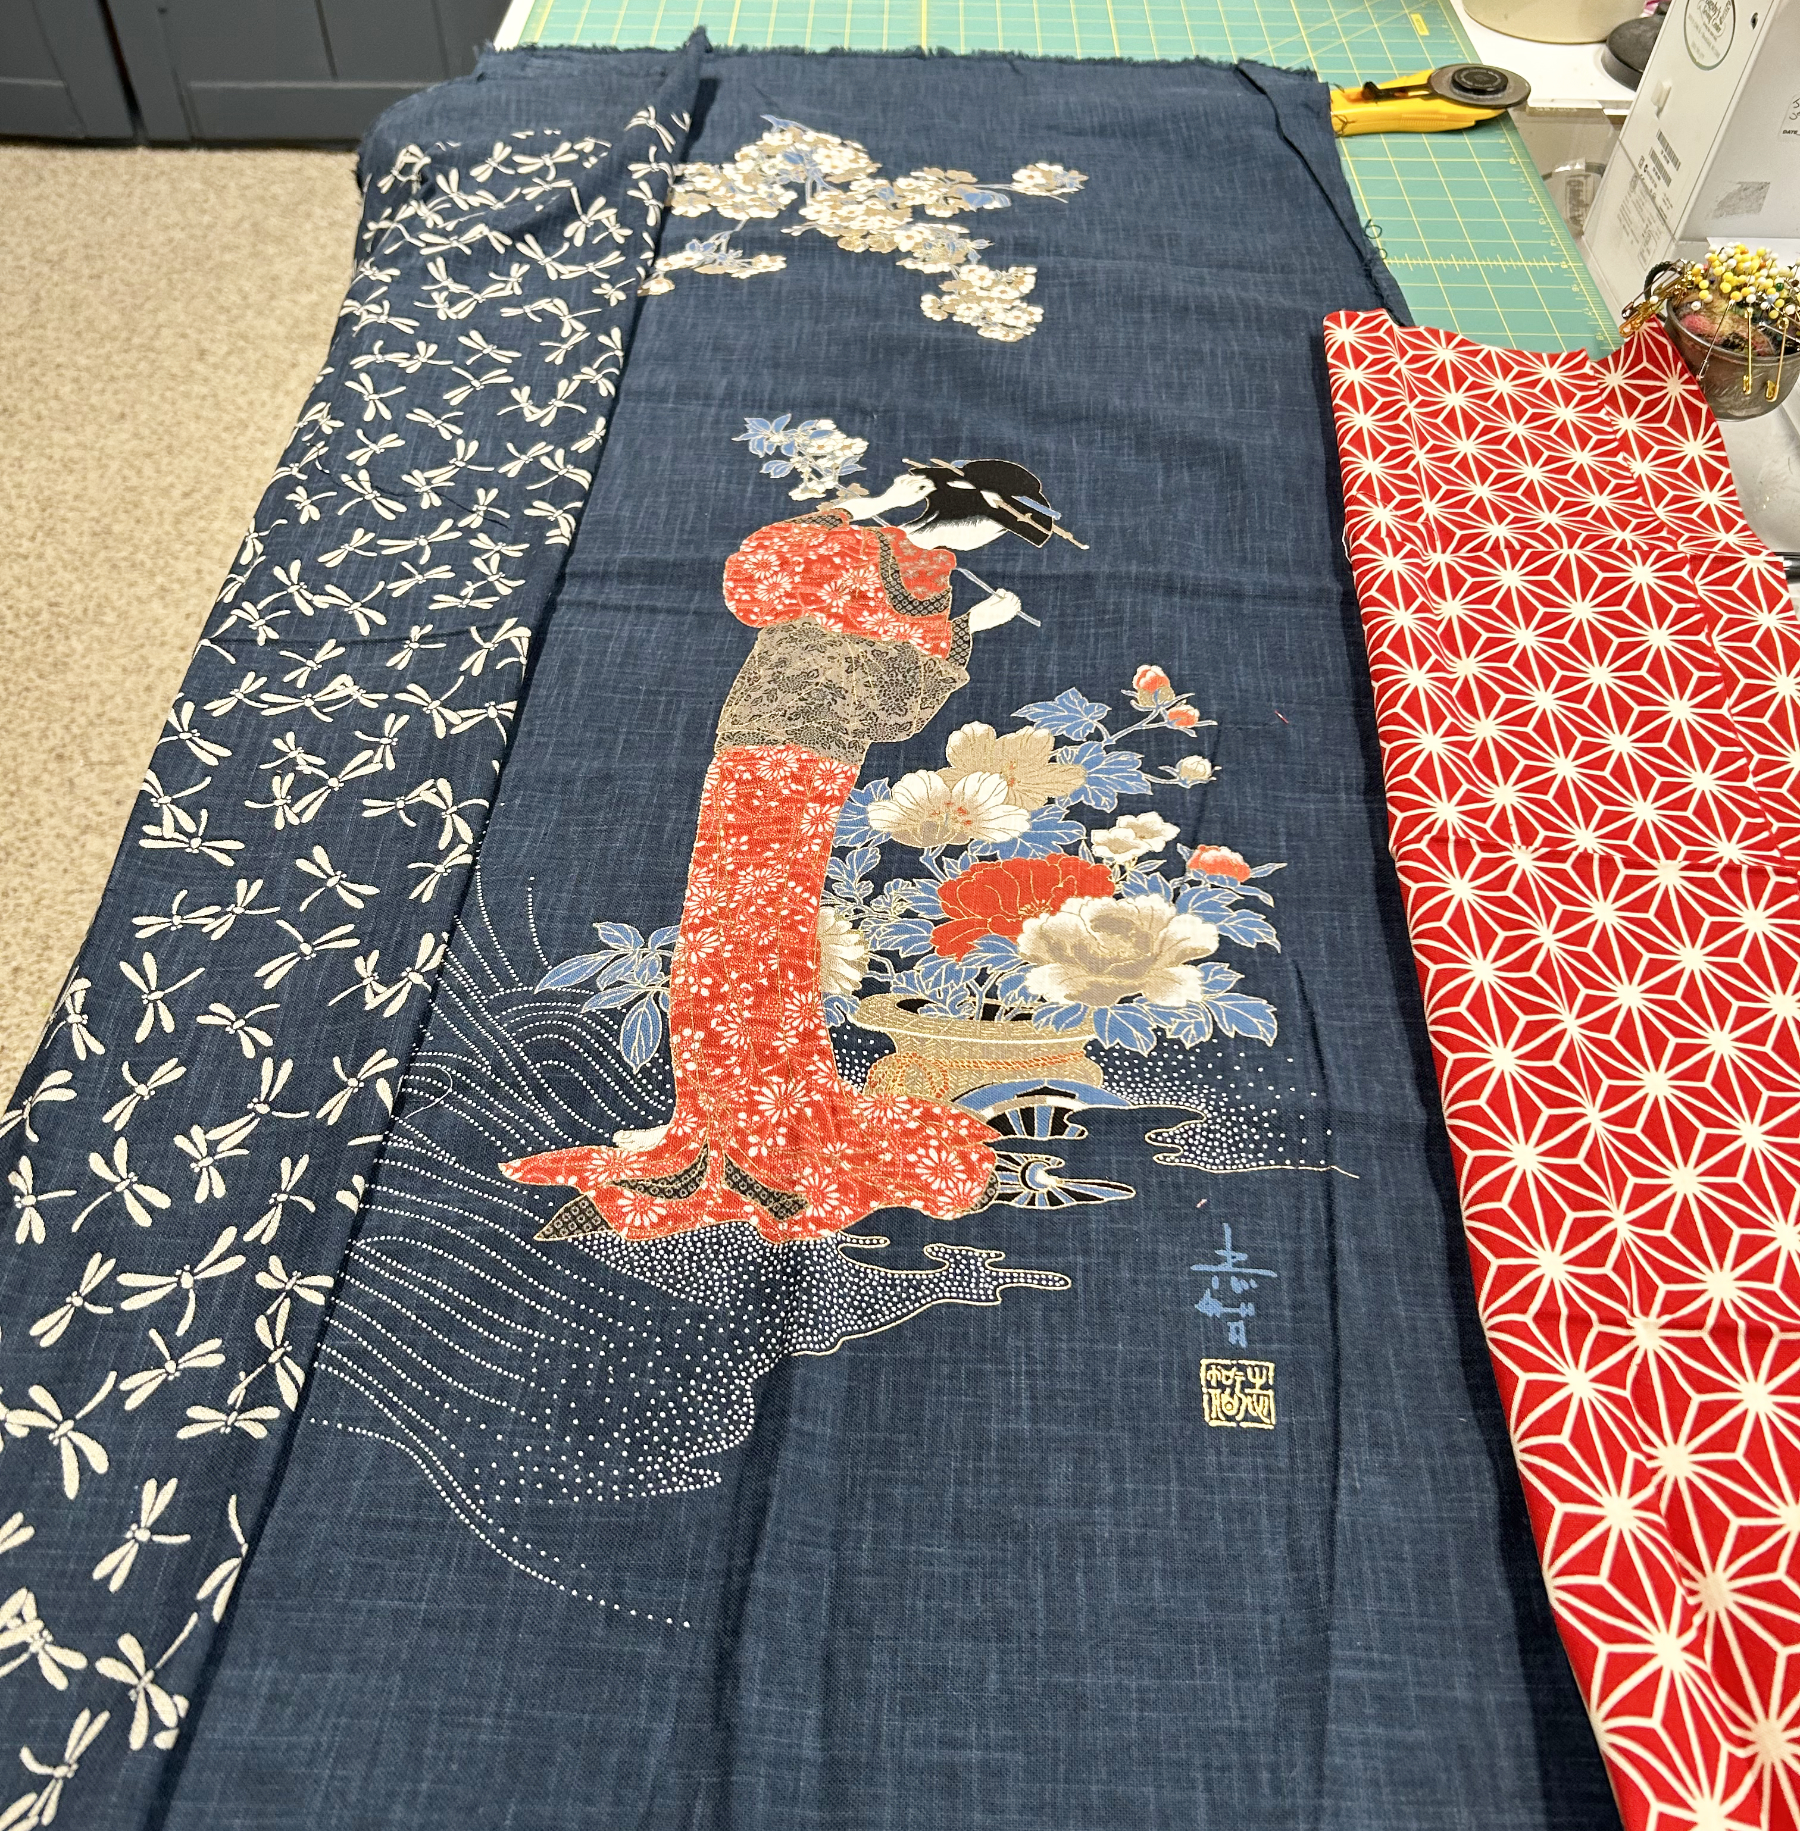
The story and stitching begin in January. Recently they revealed the “where”, connected us up with others in a Facebook group to kibitz with (I’m in the “Poseidon” group), and gave out the fabric requirements. I realized how healthy my stash is because all of the fabrics I chose were found there!

April inspired us to begin a binder to hold all the information. So I’m ready to begin!

I will occasionally include updates at the end of a blog post for anyone who doesn’t sign up, but is still curious. So stay tuned. It should be fun!