Recently I wrote about my trip to Hawaii with my granddaughter. In it I shared a photo of Hanna and me stitching together while on the trip. She was working on a cross-stitch piece for her boyfriend Cole for Christmas, and she really wanted to get it done. Thus on our flights, and after dinner on the ship each night, she would stitch. I knew she planned to bring needlework with her so I brought a project along too ~ a small embroidered Christmas kit I purchased at the Great Wisconsin Quilt Show last year (you can see a bit in the photo, but you’ll have to wait until I finish to see the whole thing).

Over the years when Hanna and her brother would come to Wisconsin my mom and I would teach her how to do some of our favorite crafts. When she was 5 she made her first quilt for her dolly (click here to read that post).

During subsequent visits she made a quilt for her little cousin, Sommer (click here for that post).

A case for her kindle (here’s the link),

And she even chose to make an art quilt (click here)!

She stitched the binding to the back on her flight home that year. Shades of things to come!
My mom was the one who taught her to crochet and cross-stitch. I don’t have any photos of that, but cross-stitching ended up being her favorite.
So … back to the trip. Hanna was a very good influence on me but I wasn’t as dedicated as she was, and sometimes I just sat and did Sudoku. Occasionally while she was working in the cabin I’d mosey over to see how things were coming along. I found out this caused her some consternation because, without my knowing it, she was actually also working on a Christmas gift for me. I had no idea, so when I’d get closer for a look she would have to quickly cover things up with Cole’s project.
The second to the last night of the cruise she was busily stitching away when all of a sudden she jumped up and ran out onto the balcony, saying she’d be right back. She returned to tell me she’d finished a project for me and went out to put it in the frame she’d brought, only to discover it didn’t fit. Then she presented me with this wonderful piece! A Bible verse with lots of tea cups/mugs, and special touches. I cried.

We hugged and hugged. Then I told her not to worry – I’d find a frame.
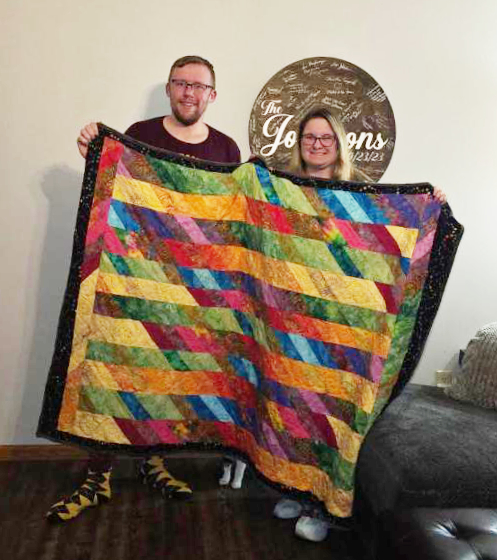
Hanna finished Cole’s cross-stitch while on our flight home and shortly after Christmas she sent me this photo:

Cole loves to read and they live in the Pacific Northwest. It was the perfect gift for him.
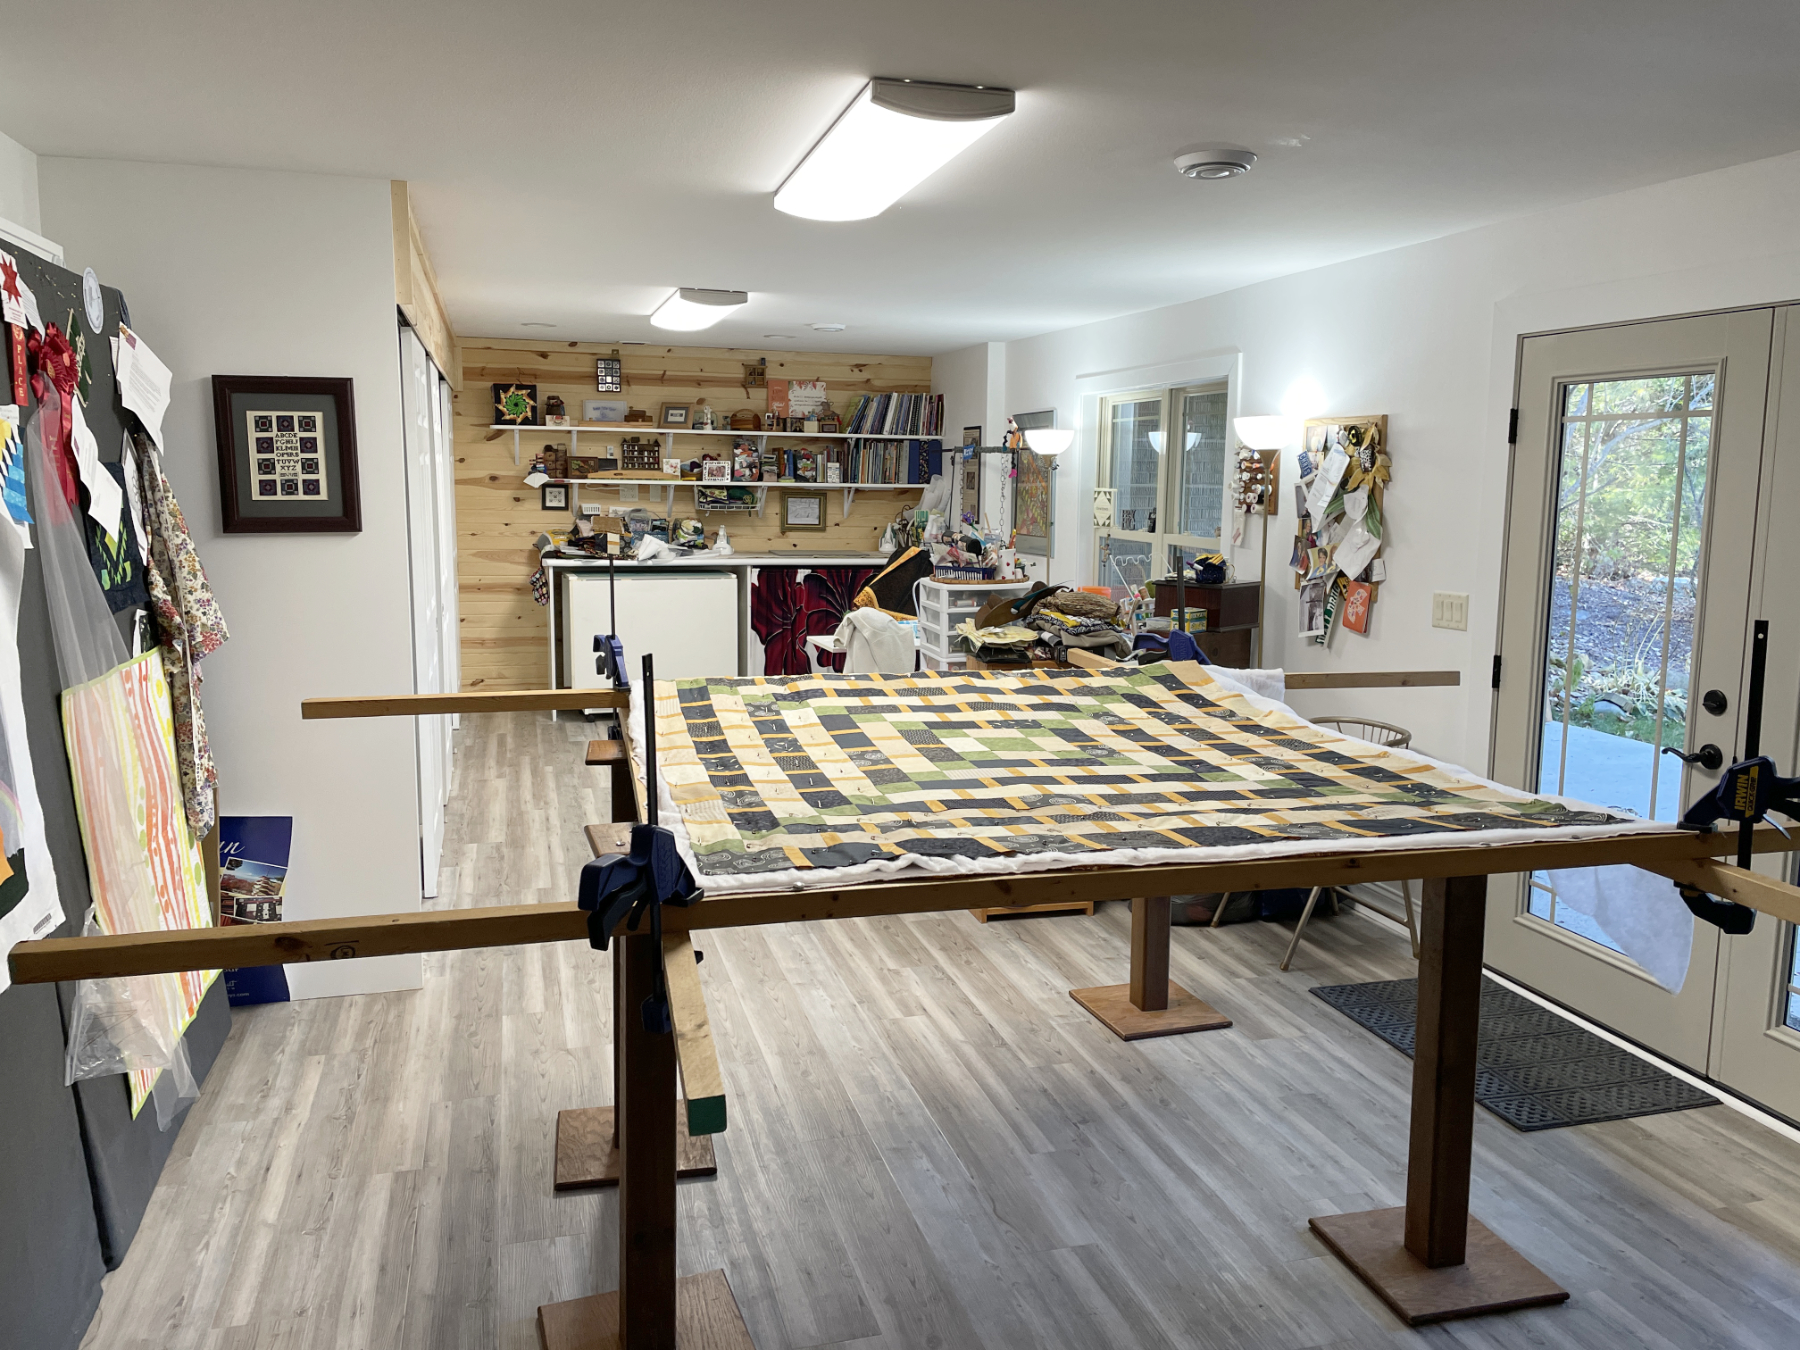
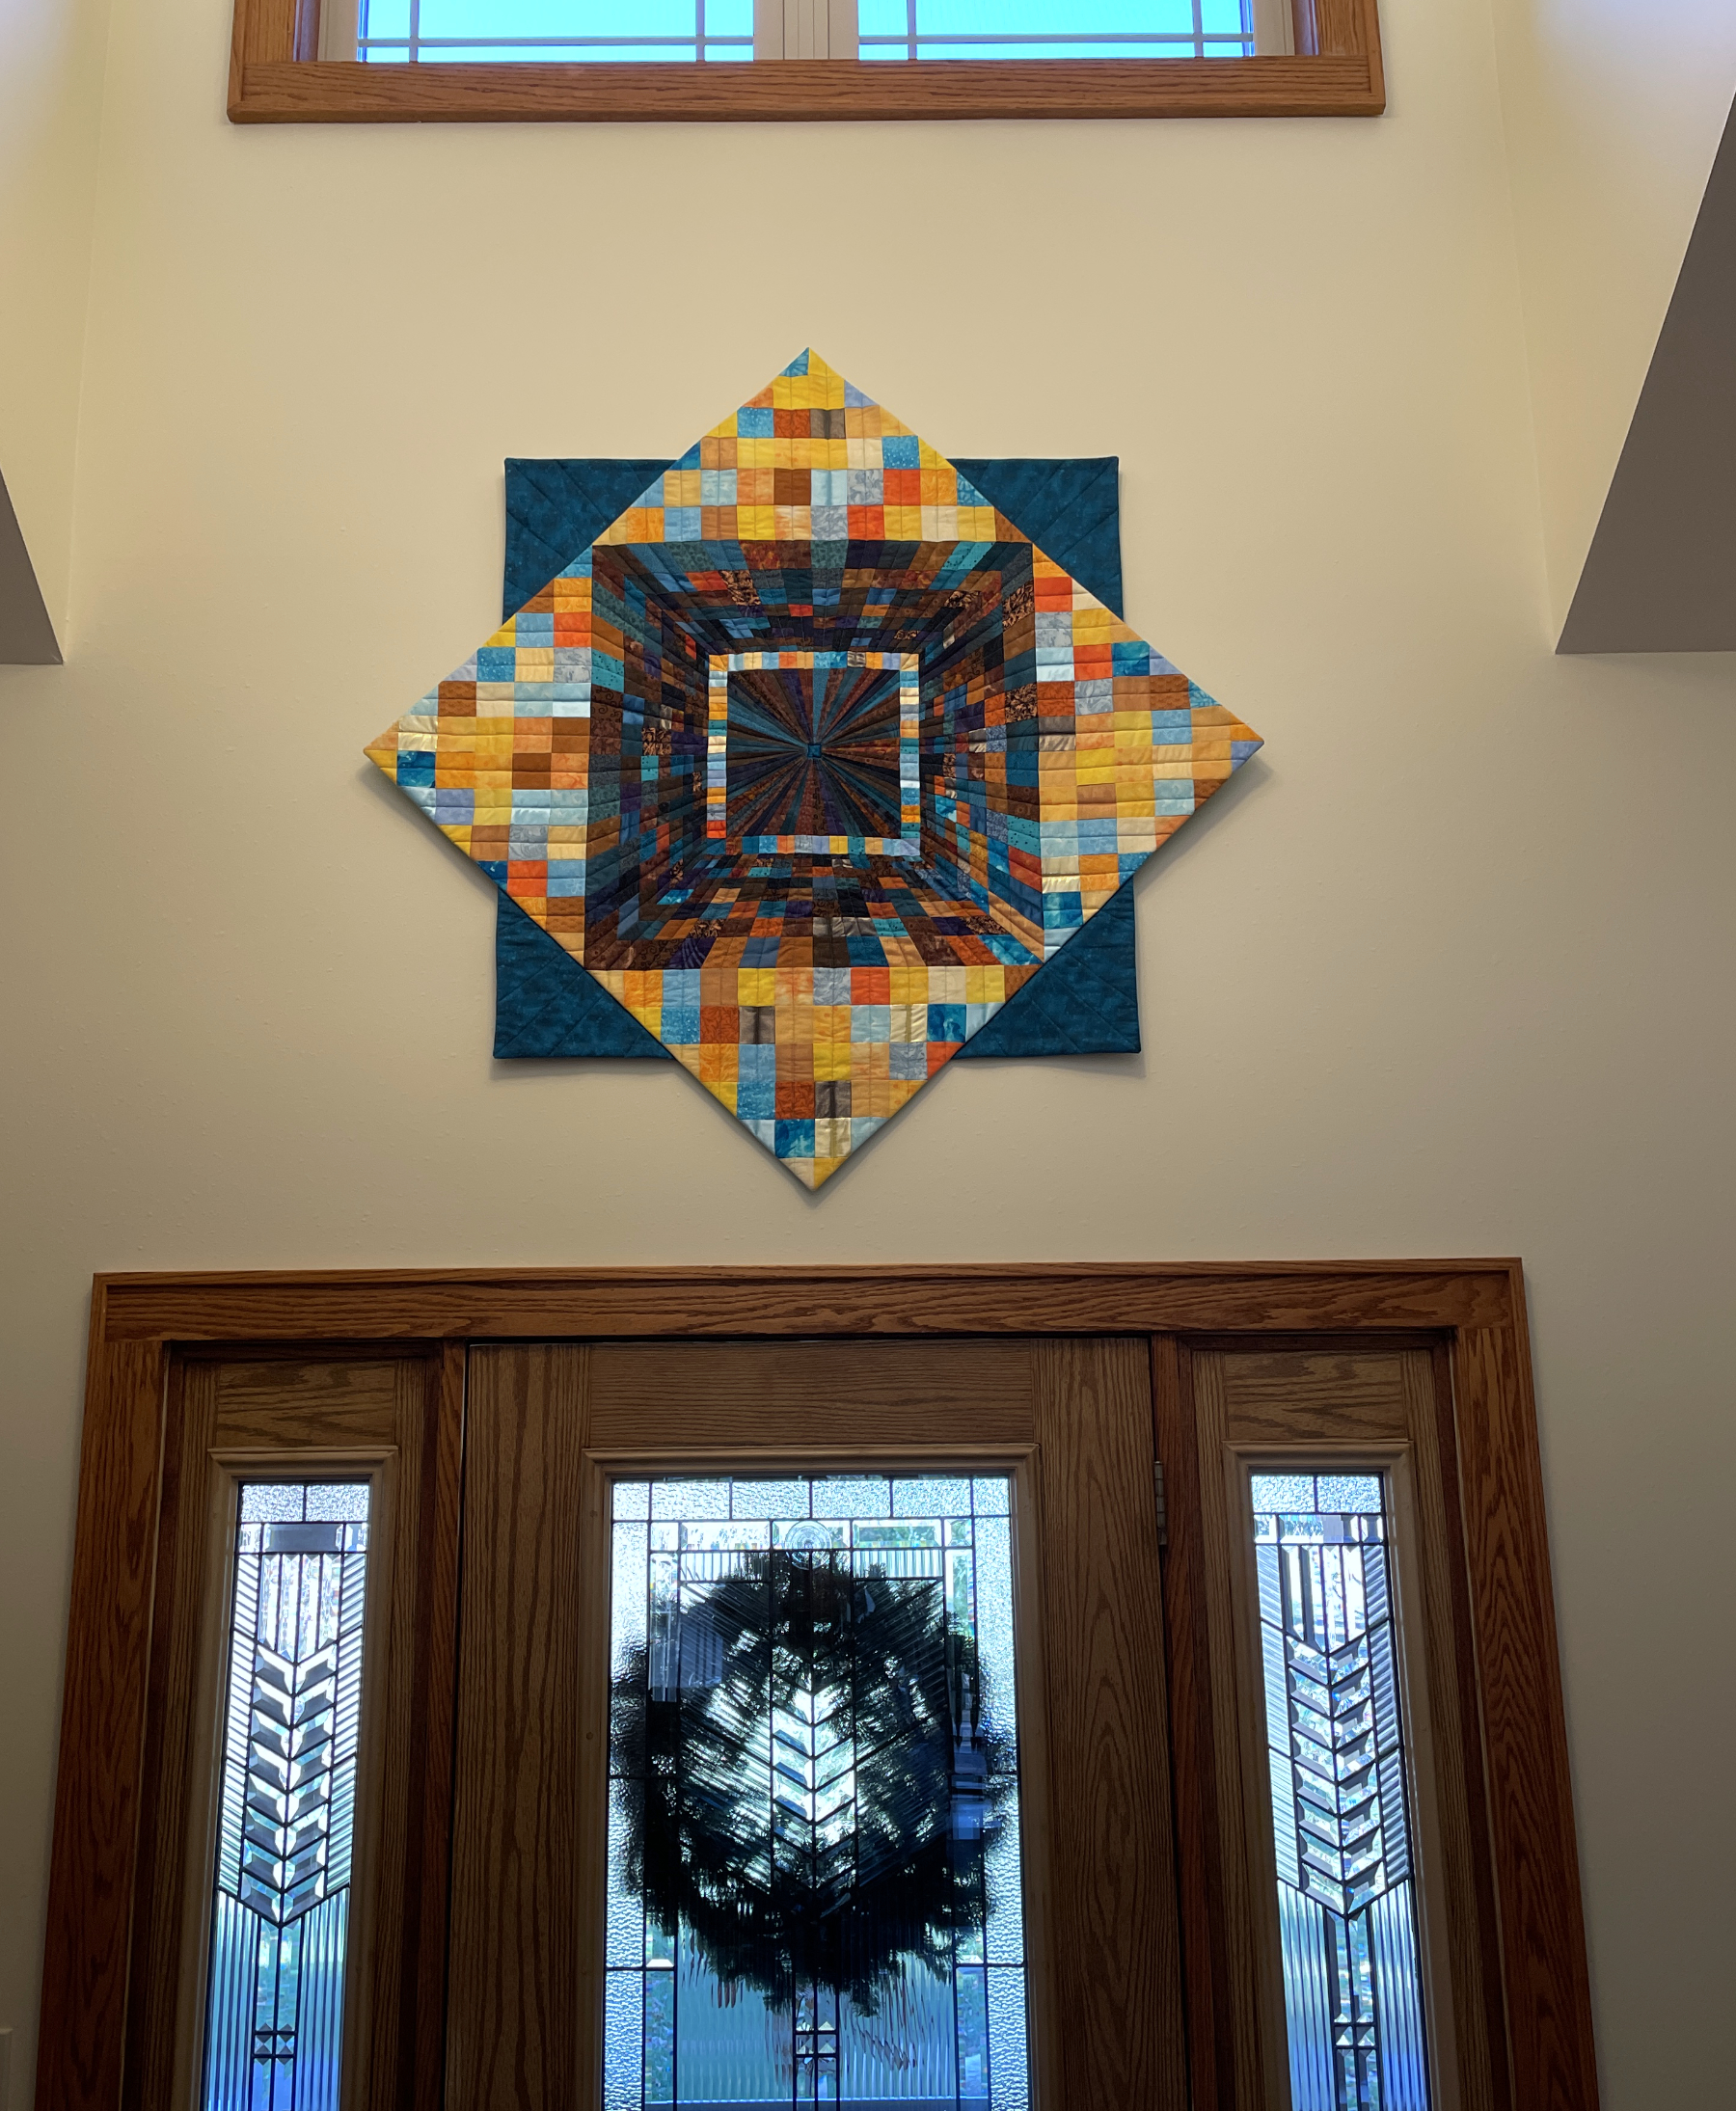
And how did my beautiful gift turn out? Well, you can see it at the top of this post. And here it is in my studio:

My cup is definately overflowing!
*********************
And one more thing! I will be teaching at the AQS Spring show in Paducah Kentucky in April!!!

Praise the Lord!

General registration for the show opens Tuesday. Click here to see all the classes available at this year’s show.