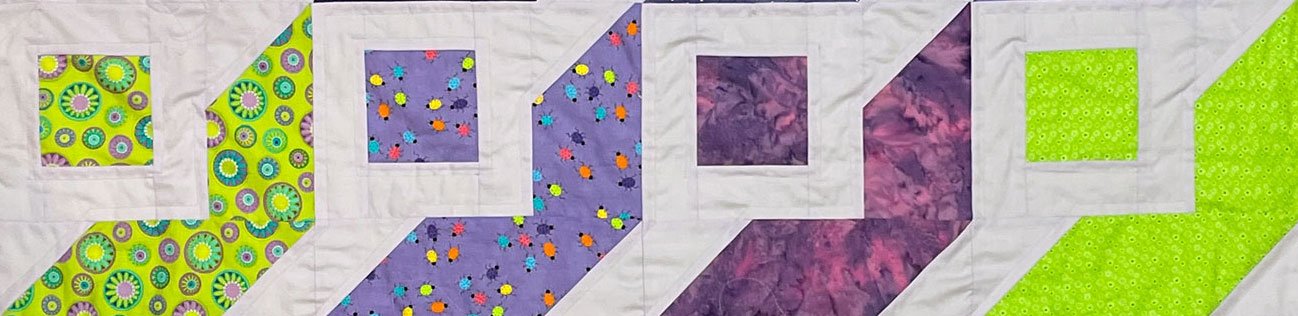
Our recent challenge in the Fiberistas was a “do it yourself round robin”. During the pandemic we’d been meeting via Zoom, so it really wasn’t feasible to do a typical round robin border challenge. We decided we could do one if we came up with different border themes each month, BUT we’d work only on our own original blocks. Some of these quilts are now complete and I hope you’ll enjoy reading about my quilt’s border progress.
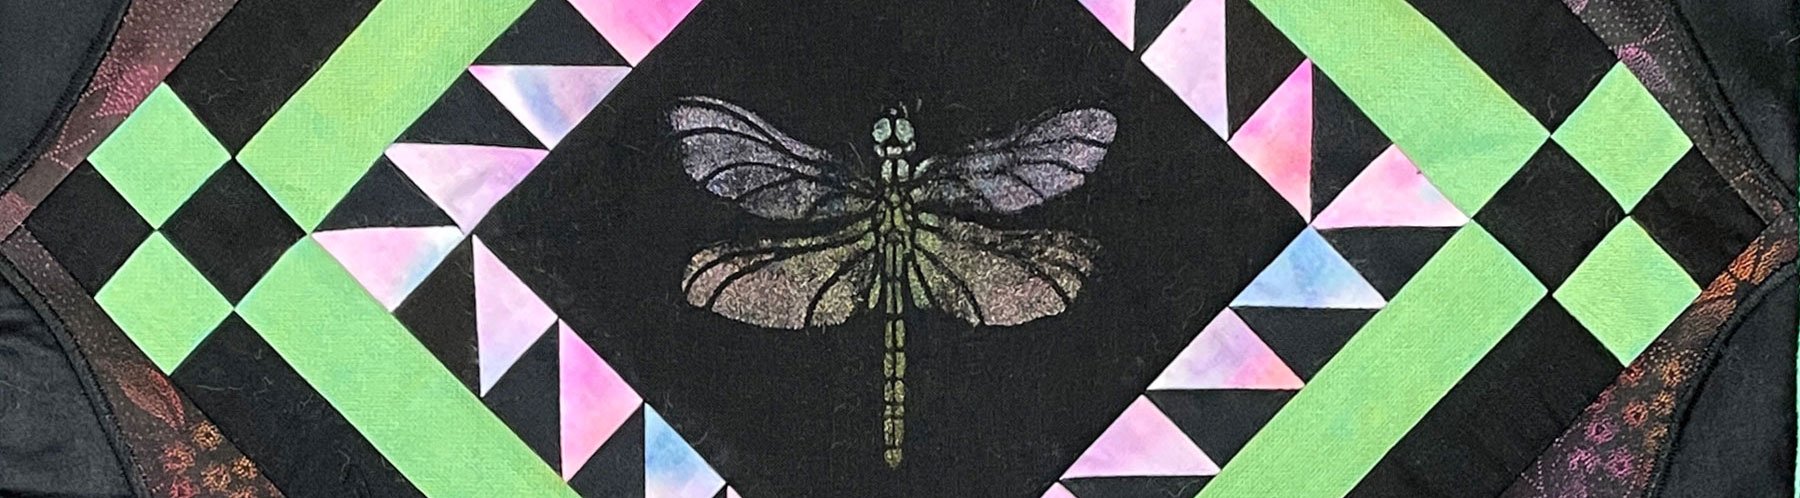
The Fiberistas have done a lot of hands-on meetings in the past, in which we experiment with different types of fabric manipulation and dying. This is a piece I made in the meeting in which we played with Shiva Paint Sticks™.

I was thinking that I might like to make this challenge quilt a small one. Perhaps the dragonfly in the upper right corner would be a fun center for a wall quilt (who knows what will become of the other motifs on this piece?) So I cut it out on-point and was ready to add my first border ~ which had to include half square triangles. While looking through some of my other meeting technique samples I found a piece of fabric I’d dyed using Sharpie™ markers and alcohol. These 1″ finished triangle blocks bordered the dragonfly nicely.

The next border theme was rather specific, we were to add a double border with 4 patch corners. I decided it would be nice to bring a bit of the green from the dragonfly into the mix.

The next theme was curves. This little guy needed to be put upright again, so adding corners with curves was necessary. I found a lovely black print in my stash that coordinated well without taking away from the center, and black arcs along the edges made a great frame (I added them with my replique techniqué).

Our final group theme was rectangles. My small quilt had gotten quite busy and I didn’t want the next border to take away from the previous work. So I repeated the black print as a wide border with black cornerstones. By stenciling a few more dragonflies in the corner squares

he didn’t seem so lonely. I then couched light green embroidery thread in the seams.

“Quilters Choice” was the last theme. An option was to add one last border of my choice, but I liked it just the way it was, so it was time to quilt it and square it up. Friends of mine were recently talking about a video they watched by Jordan Fabrics where they learned to make rotary cutting easier by putting an actual weight on the ruler to keep it from slipping. I tried it while squaring up this quilt and loved it!


I had Olivia use the weight while she was cutting her fabric too (Olivia was the teenager who’s quilting adventure was shared in a previous post – click here for that post) and it gave her great ruler control. You can find the video and so much more at Jordan Fabric’s website: https://jordanfabrics.com/
Here’s my finished dragonfly quilt, Dragonfly Fun, along with challenge quilts from other Fiberistas!


Isn’t it interesting how different they are, even though the borders had consistent themes?