It’s been 3 long years since I’ve been in Paducah ~ but I’m happy to report that the AQS quilt show was back and better than ever! This year my friend Cathy joined me for the first time.

We drove through Illinois and made some fun stops in Amish country. We settled into our second floor “condo” and set up our studio in the kitchen… it’s a tradition!

On Monday it was time to help hang the quilts. Over the years our job was to make the wall quilts look their absolute best. This year we also had the fun of pinning the miniature quilts into the cases.

Wow! They were beyond amazing! Just look at the size of the logs in this pineapple quilt!

We must have done it well because we were exhausted by the end of the day. Then the fun of the show began. Linda flew up to be with us on Tuesday. She had the nerve to move to Florida a year ago – so it was really fun to spend some quality time with her!

Linda has roomed with me on this trip before and the 3 of us make a great team. However – Cathy took so many classes, we never got a photo of all of us together 😔. Separately I made it to Etcetera Coffee House for bubble tea with both of them.

The first night Linda was with us we went to the Awards Presentation. There were yummy snacks in a lovely venue. Susan Cleveland did a great job of announcing all the winners and it was fun to see the ones who were there go up on the stage and receive their award.

One of the quilters at our table had a quilt in the show. Lori said she made it to go on her bed, not a wall. And I was excited to see it in the show.

Two other women joined us right before the ceremony began and both of them were ribbon winners. In fact, Karen Stone won two ribbons and Cathy and I were in her class the next day. I’ll be posting about my classes next week.
After the ceremony we attended the “Sneak Preview” of the quilts for two hours and it was overwhelming and inspiring.
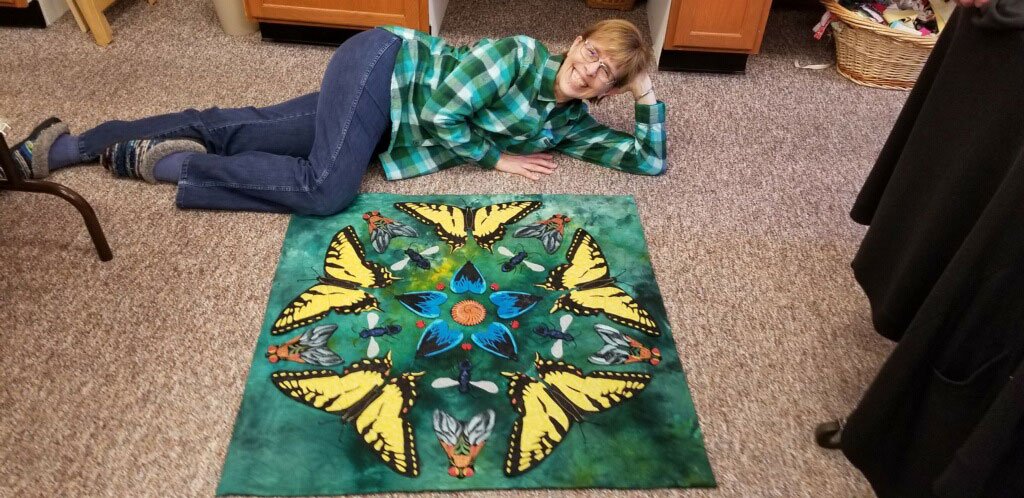
To me the quilts are the best part of the show (with apologies to all you “vendors first” quilters out there 🤣), so I’d like to share some of my favorite ones with you. You can see all the ribbon winners on the AQS website, and some of my faves were among them, but some were not and I hope you’ll enjoy the variety of the ones I chose (and believe me ~ I could have included so many more!).
We’ll start with the best of show quilt: Crazy for Ewe by Janet Stone.

As I examined this quilt front and back I was confused because the quilting didn’t match. This was the center elongated rectangle filled with the alphabet, from the back:

and here it is from the front:

Where’d the alphabet go?!? Fortunately the maker was there and she explained that the front of the quilt was made with blank red “boxes” wherever a block was supposed to go. She quilted and bound each block separately and appliquéd them into the red boxes which had previously been quilted from the back, and thus a frame was created around them. Amazing!
The best wall quilt was equally fascinating in a completely different way. Just look at the depth the maker acheived by using the appropriate value of fabrics in this stunning pictorial quilt!

As I share more of the quilts I hope you get a feel for the variety and skill level each required. I can’t imagine judging a show like this. The following award winning quilt in the modern category stopped me in my tracks.

My friend Sharon and I made a quilt with almost the identical design for the National Quilt Museum’s New Quilts From an Old Favorite contest in 2009. It was part of the touring exhibit and won numerous other awards. What a hoot to see it done as a modern quilt in this year’s show (Do note our center block is 3/4″ finished 😁).

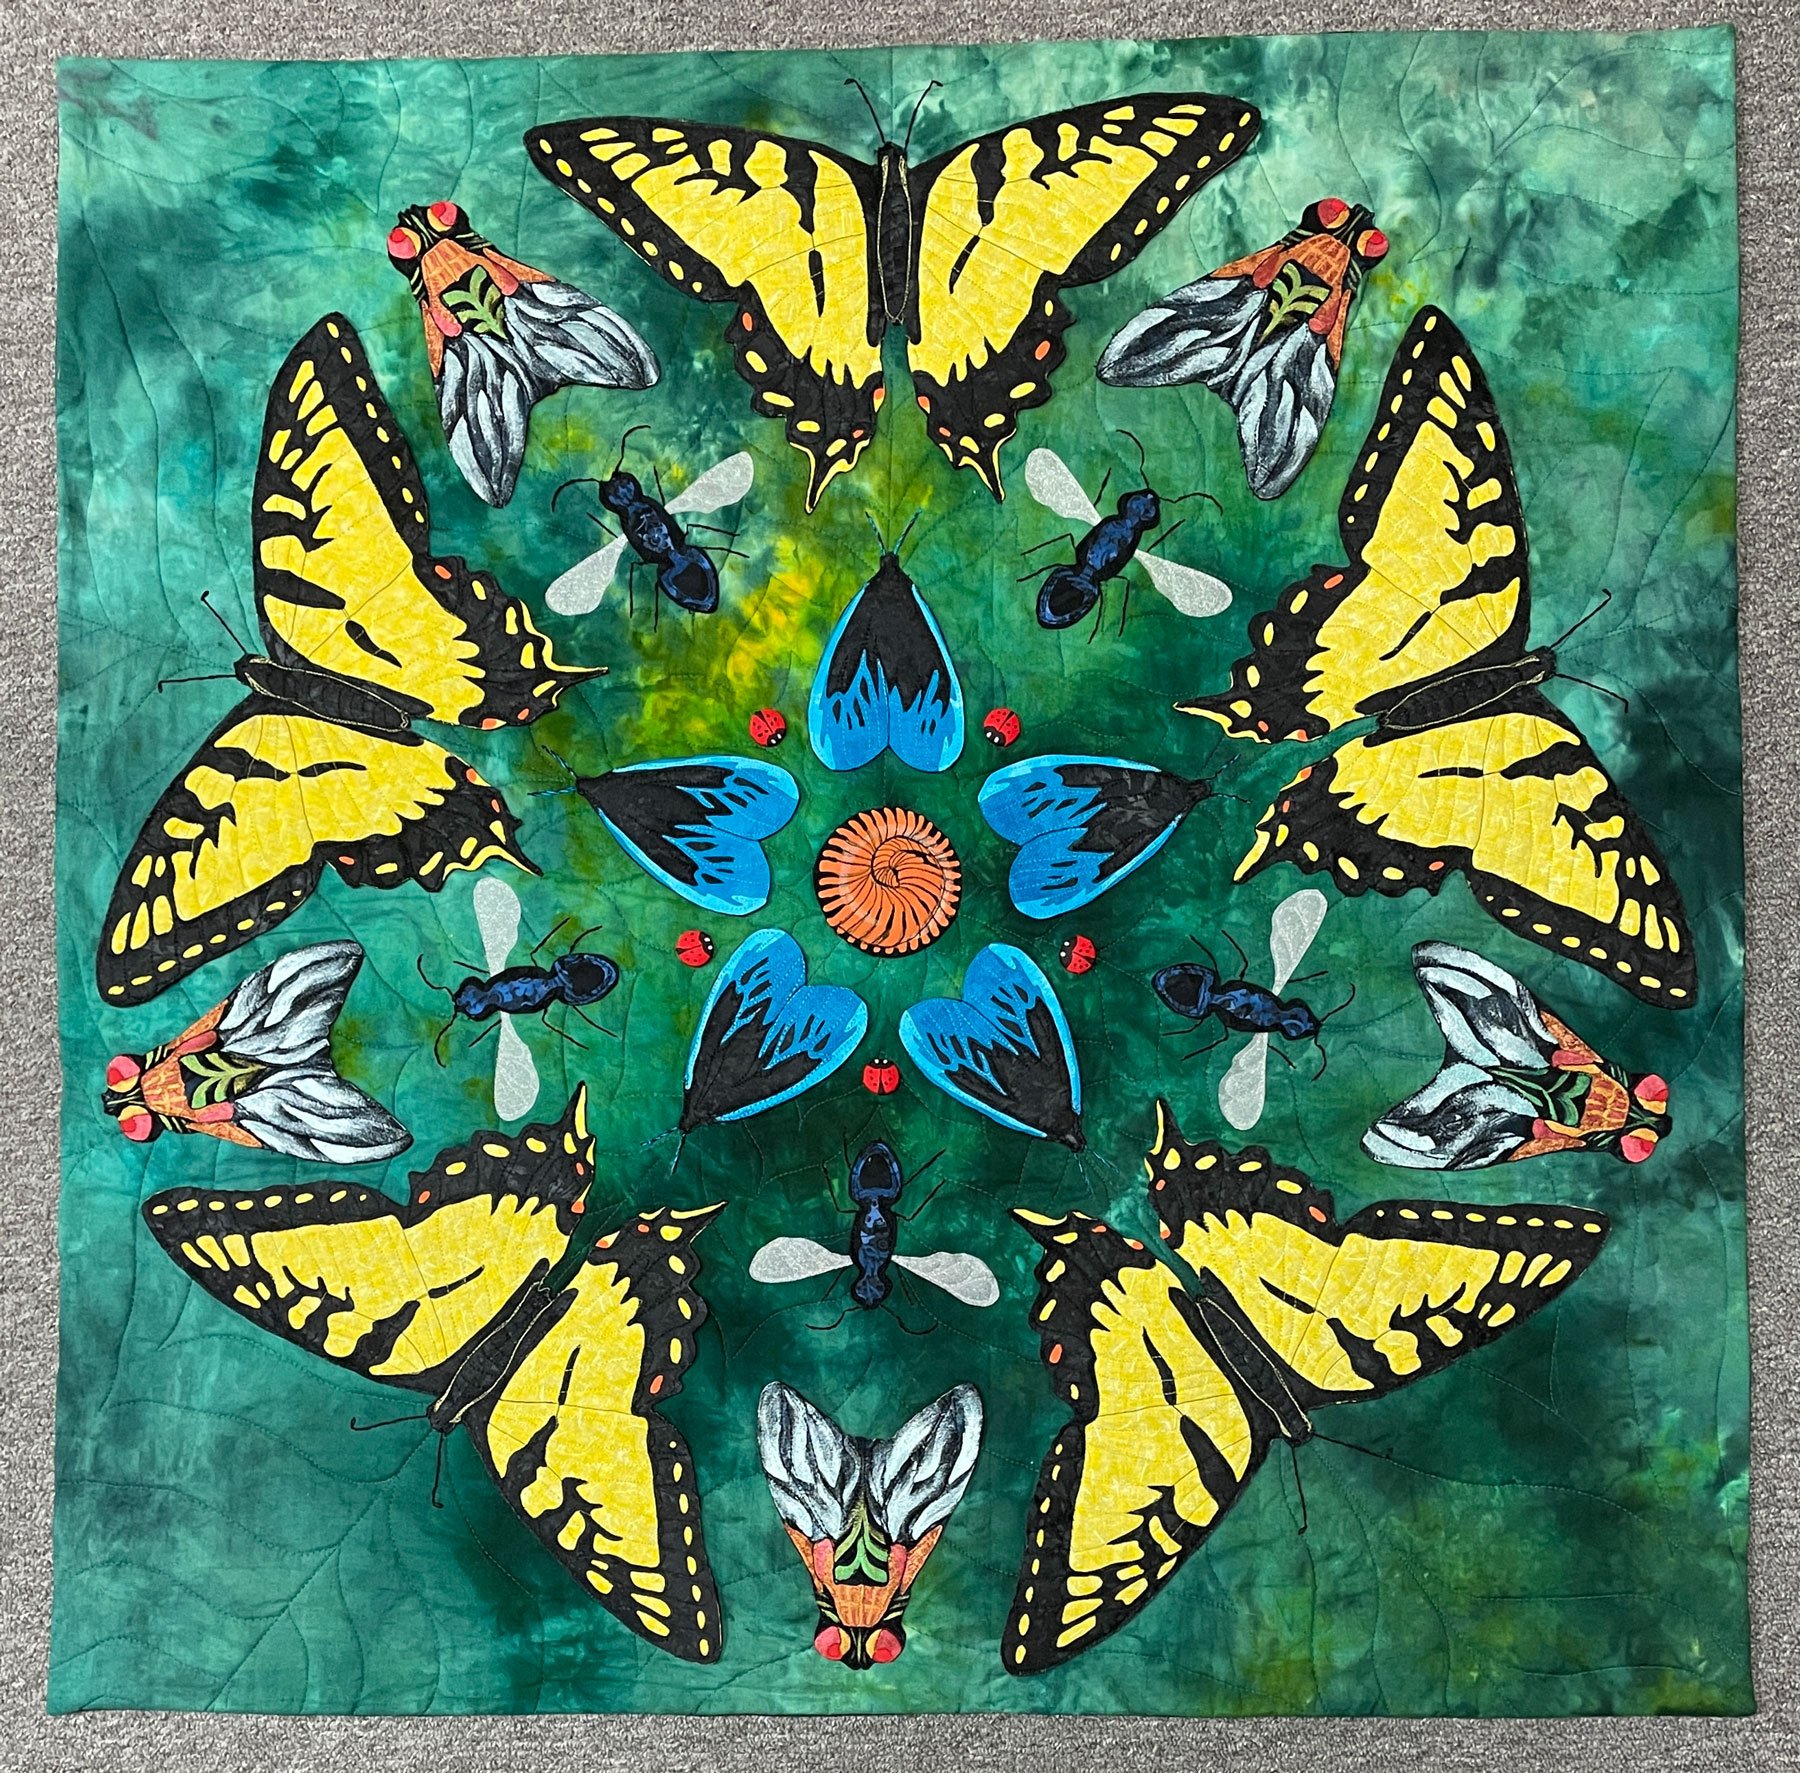
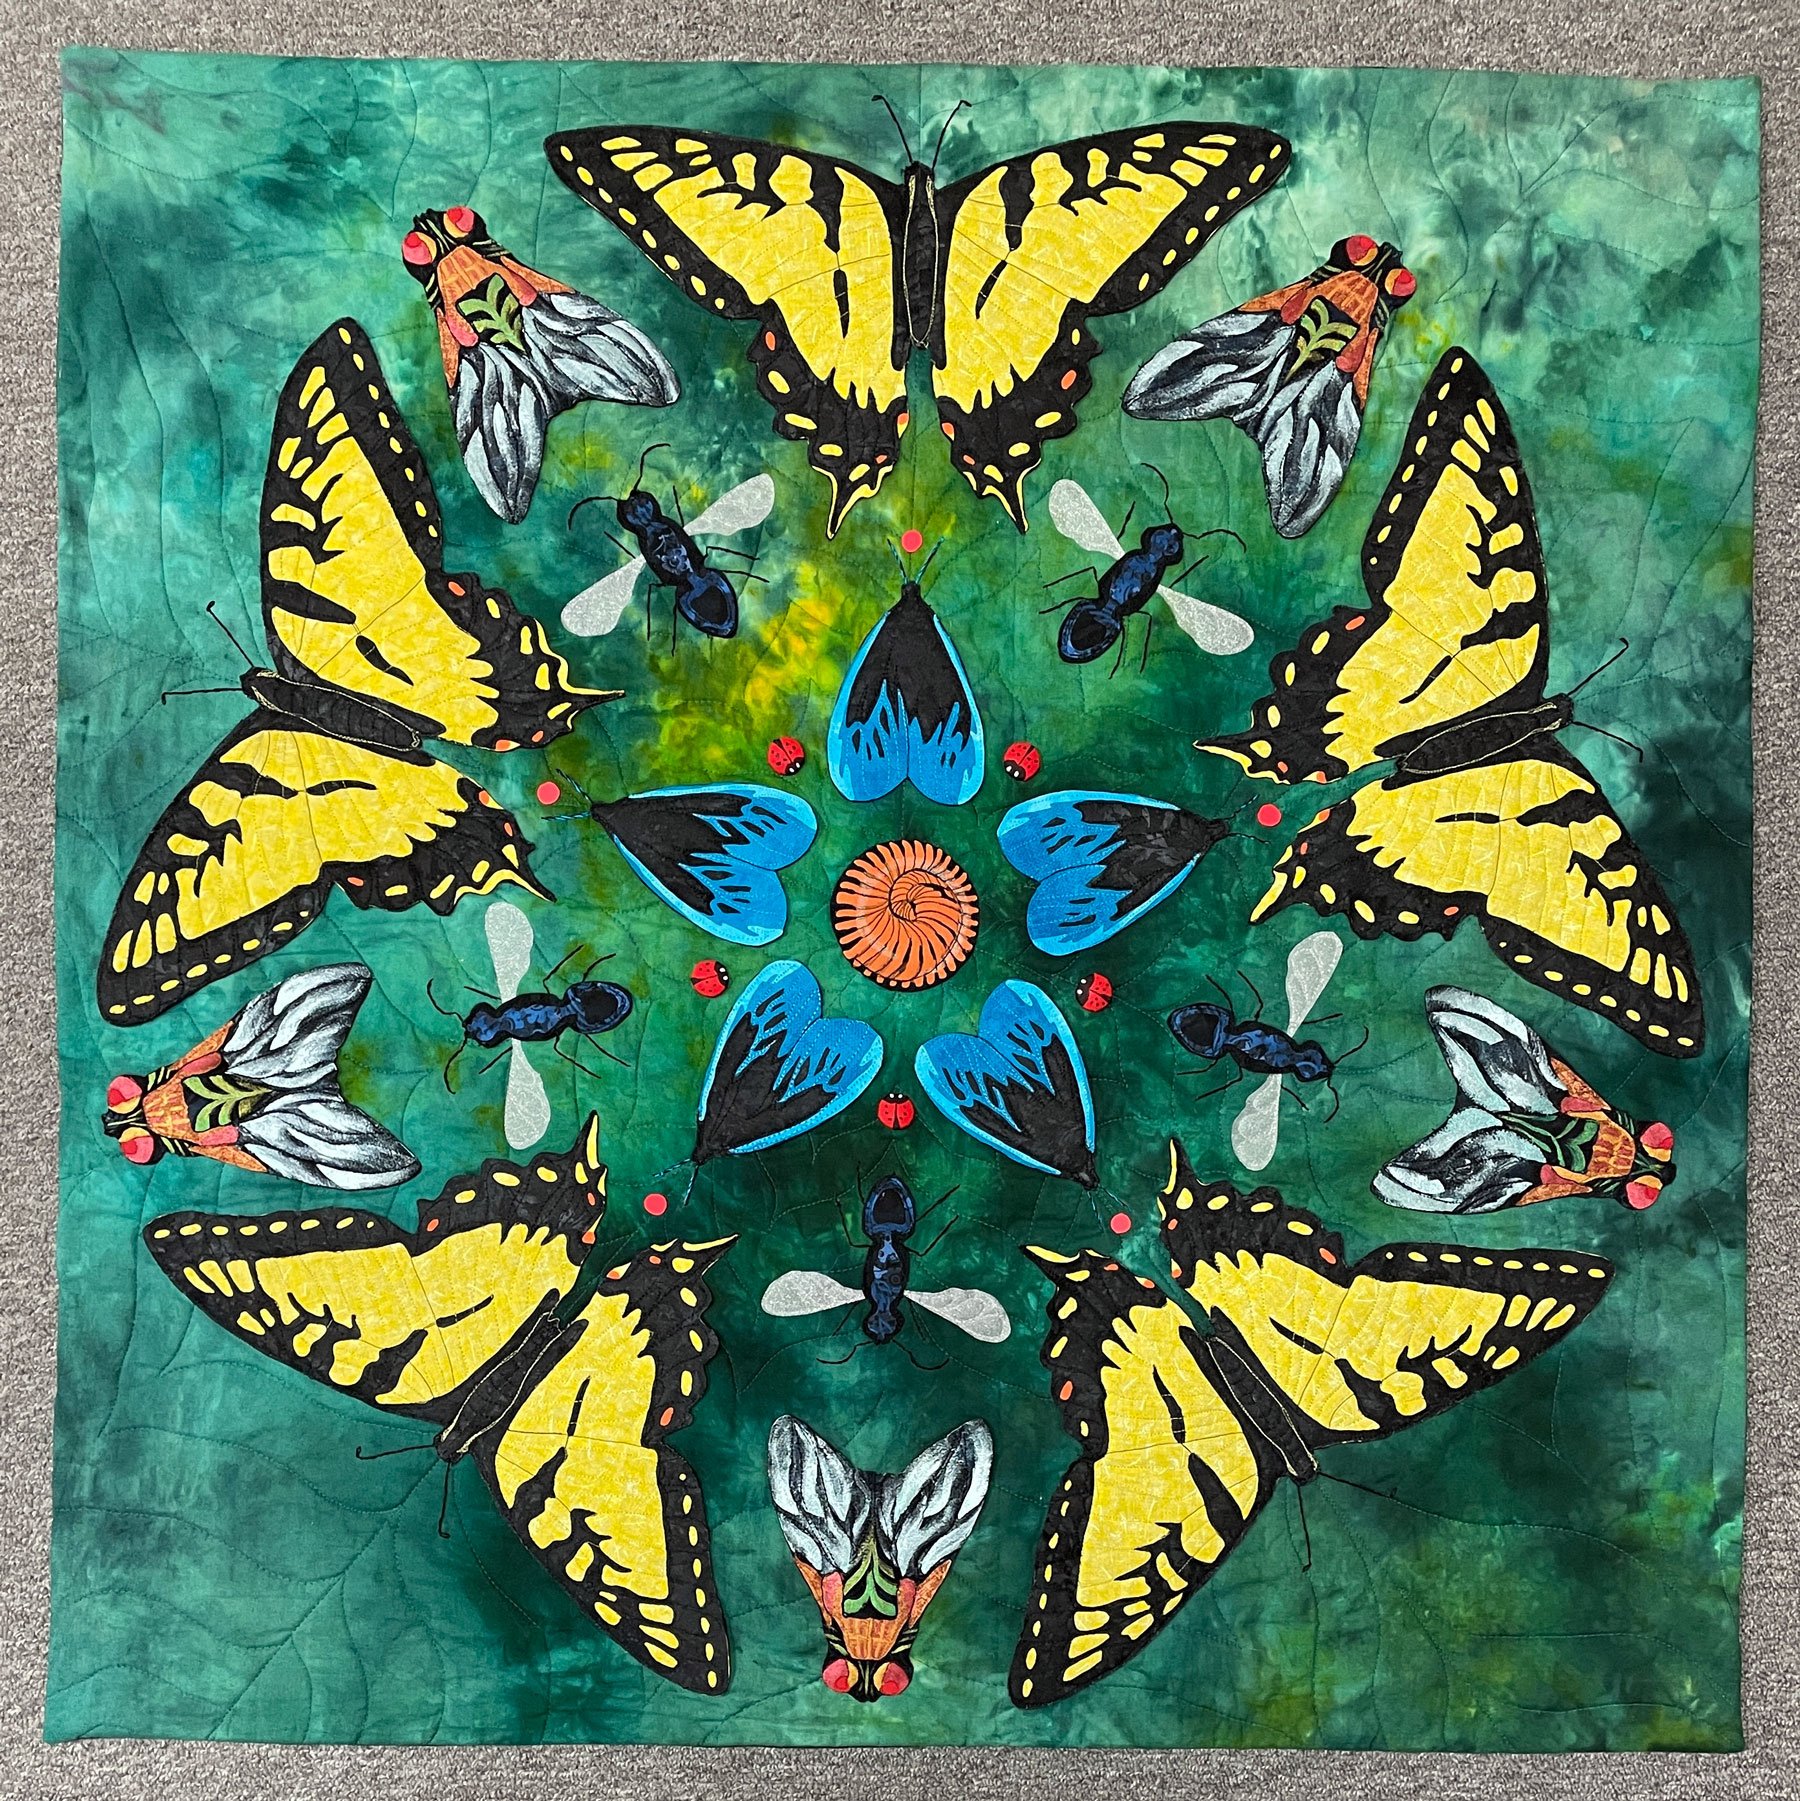
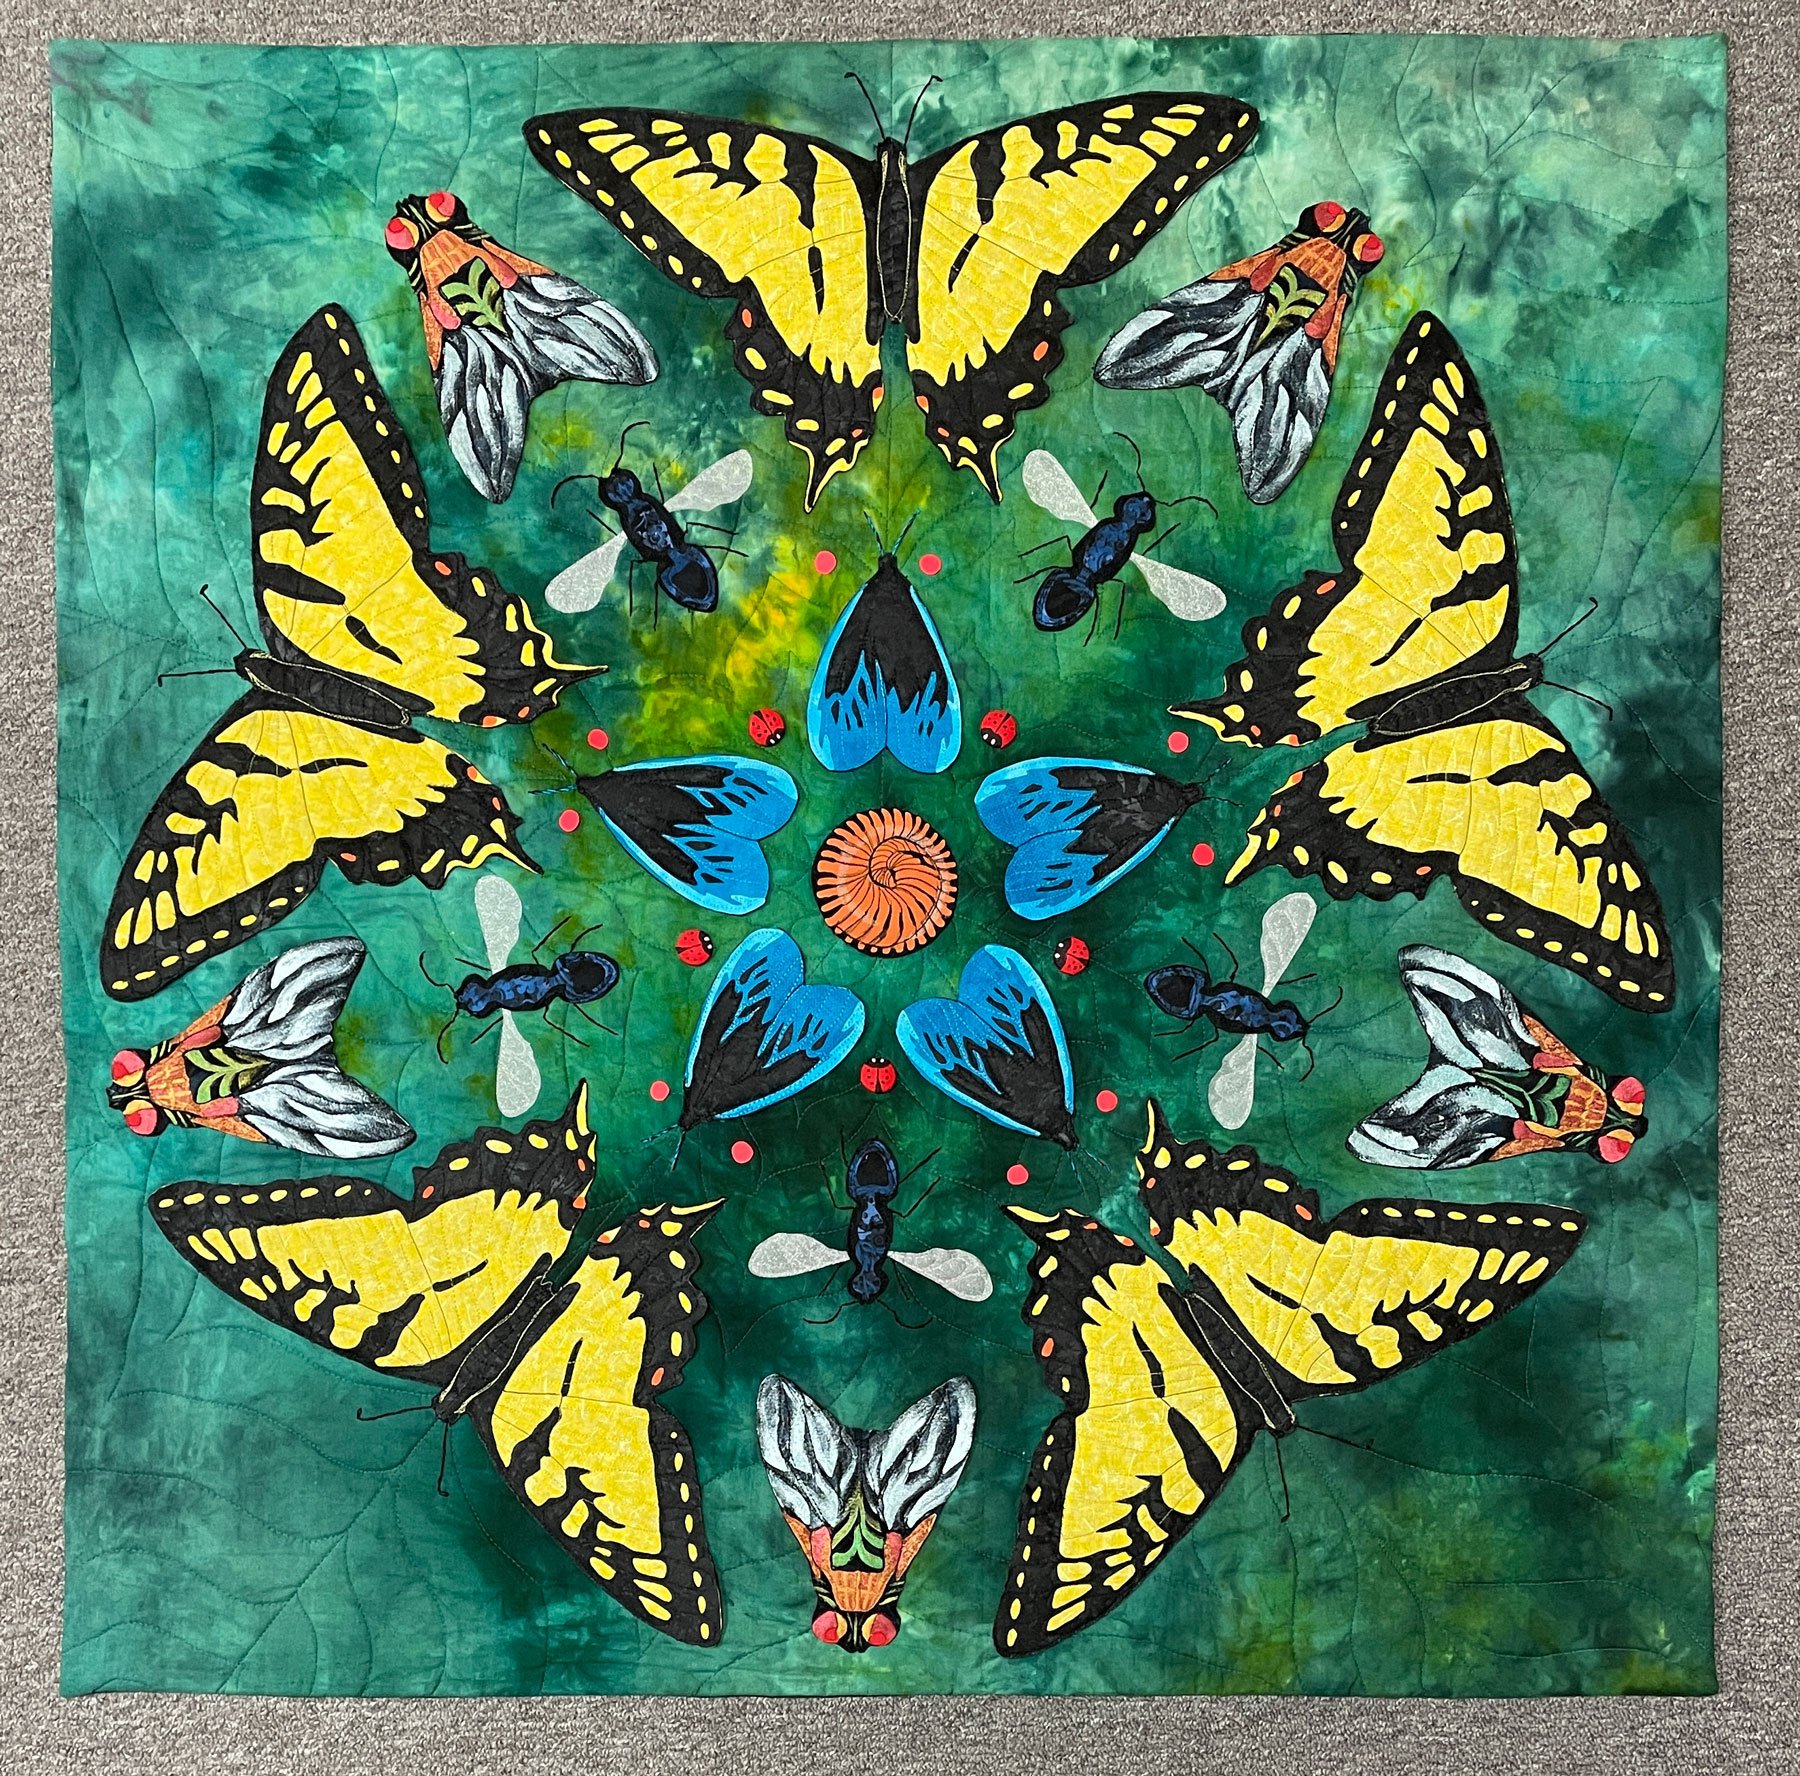
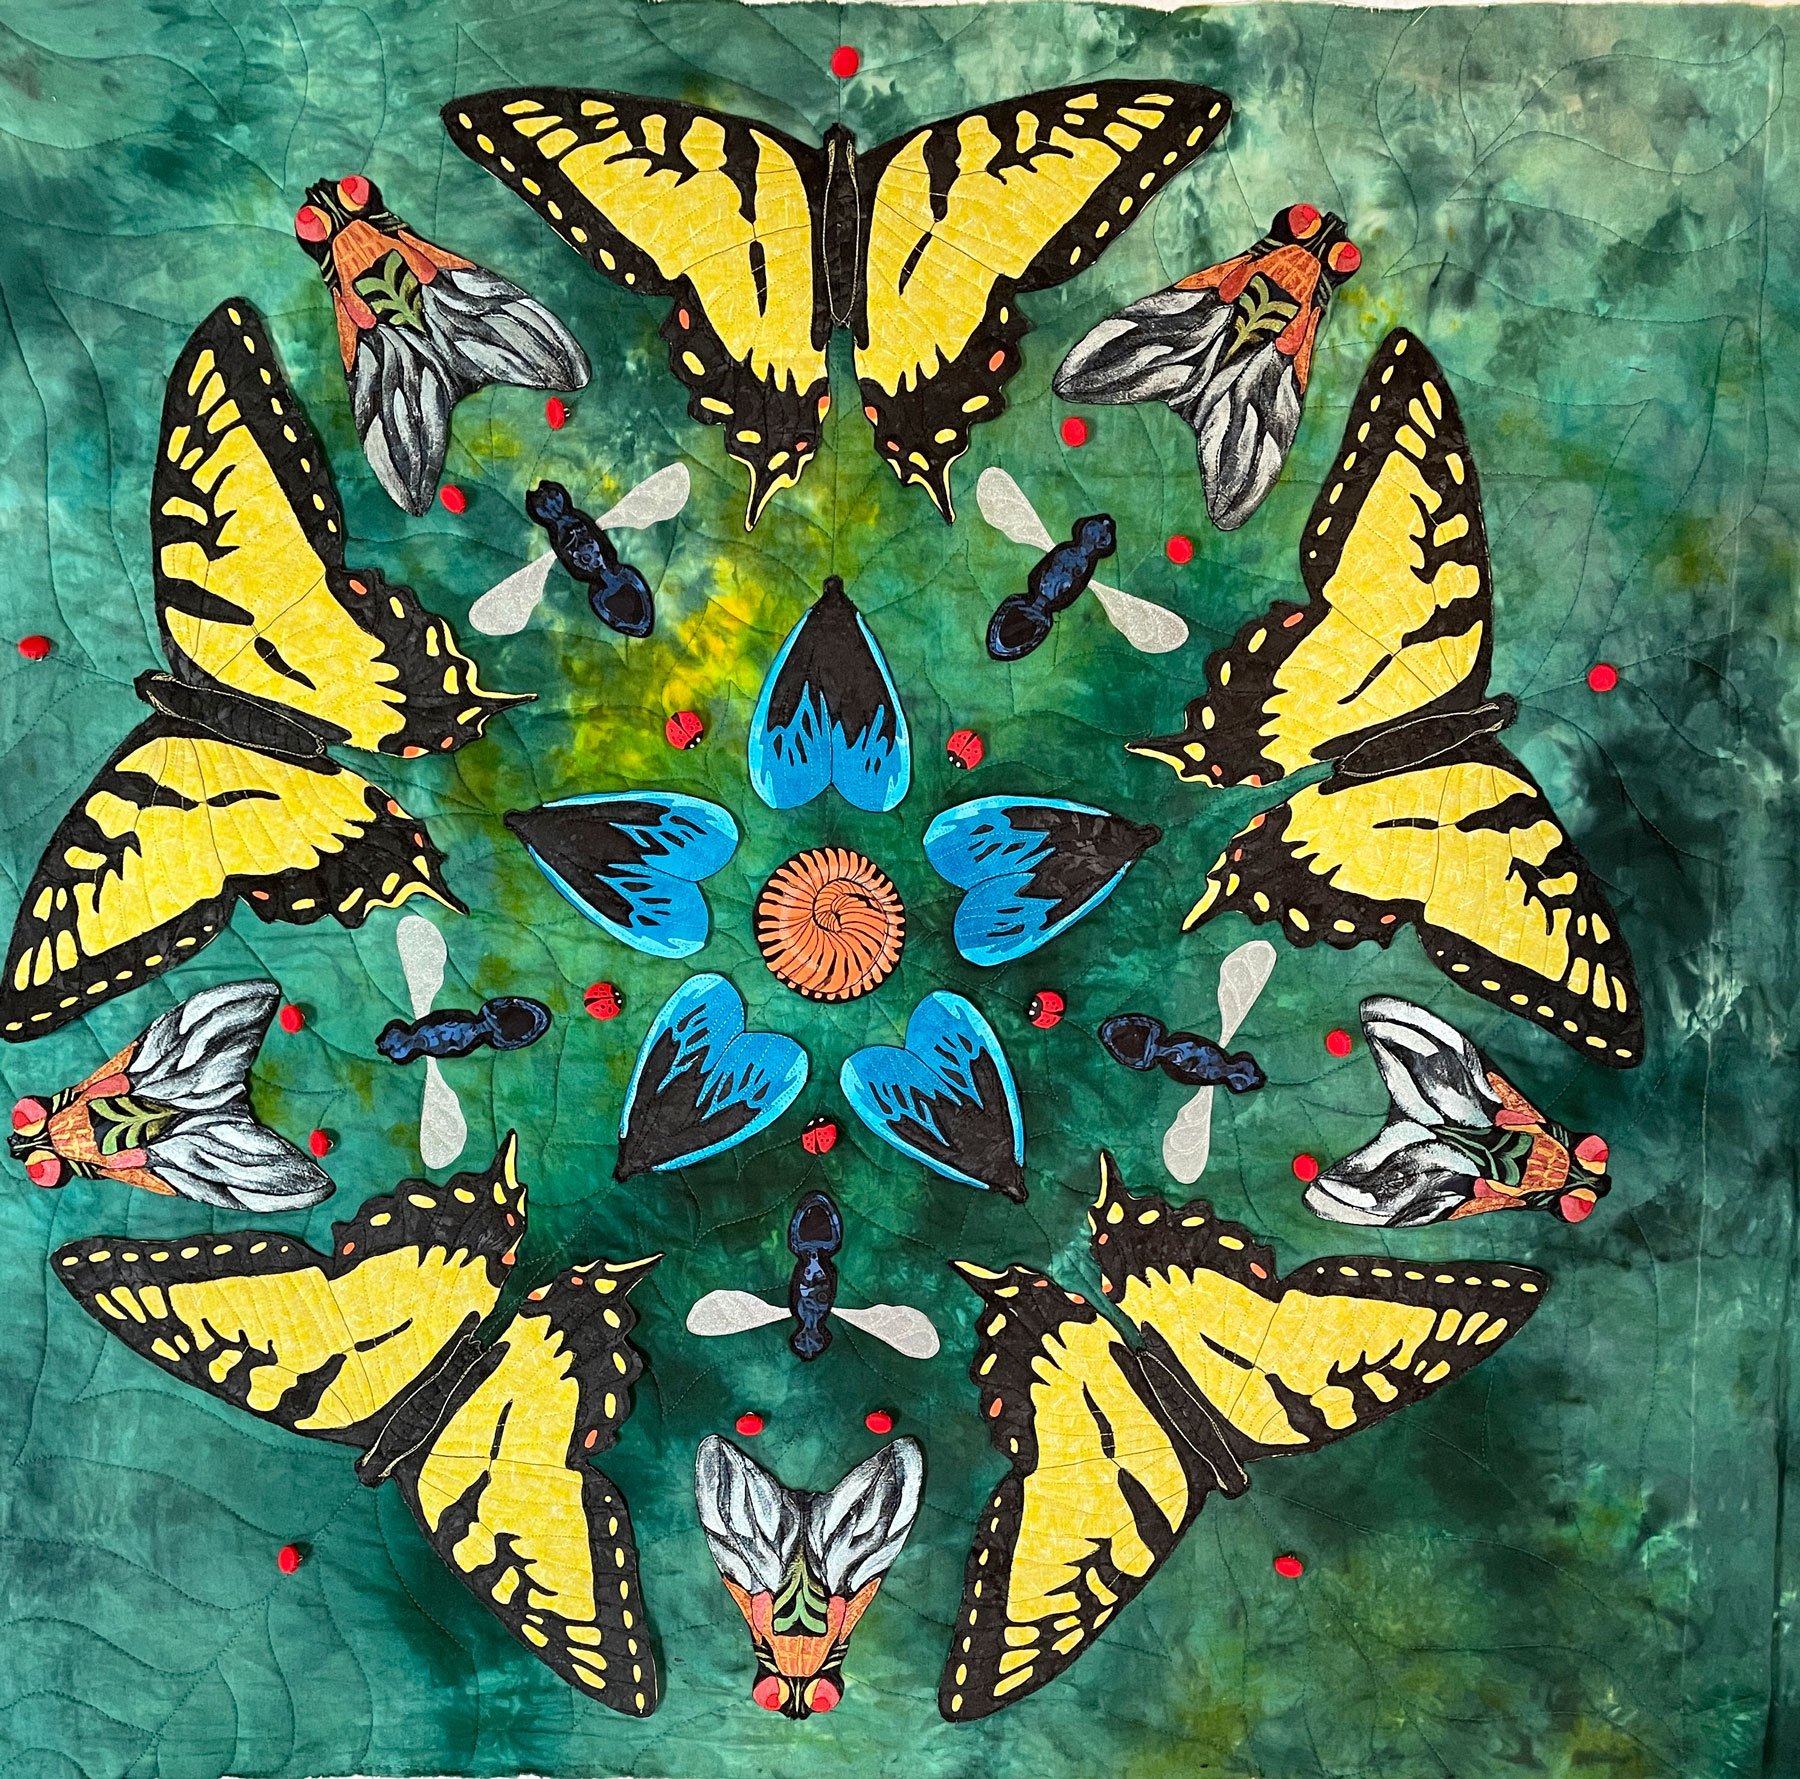
Here are the rest, in no particular order (and note that I tried to include the tag in each so you can read the name and maker – but in a few, I was so excited I missed it):


There were challenge exhibits, and lectures, and bicycle taxi rides too this week, but I think they’ll have to tumble over into next week’s blog. I’m so grateful for another wonderful week in Paducah!