• Skip to main content
  • Skip to primary sidebar
  • Skip to footer

  • Home
  • About
  • Gallery
  • Classes
  • Trips
  • Books
  • Blog
  • Contact
  • Sign Up For My Blog

Blog

Olivia’s Quilt

March 20, 2022 5 Comments

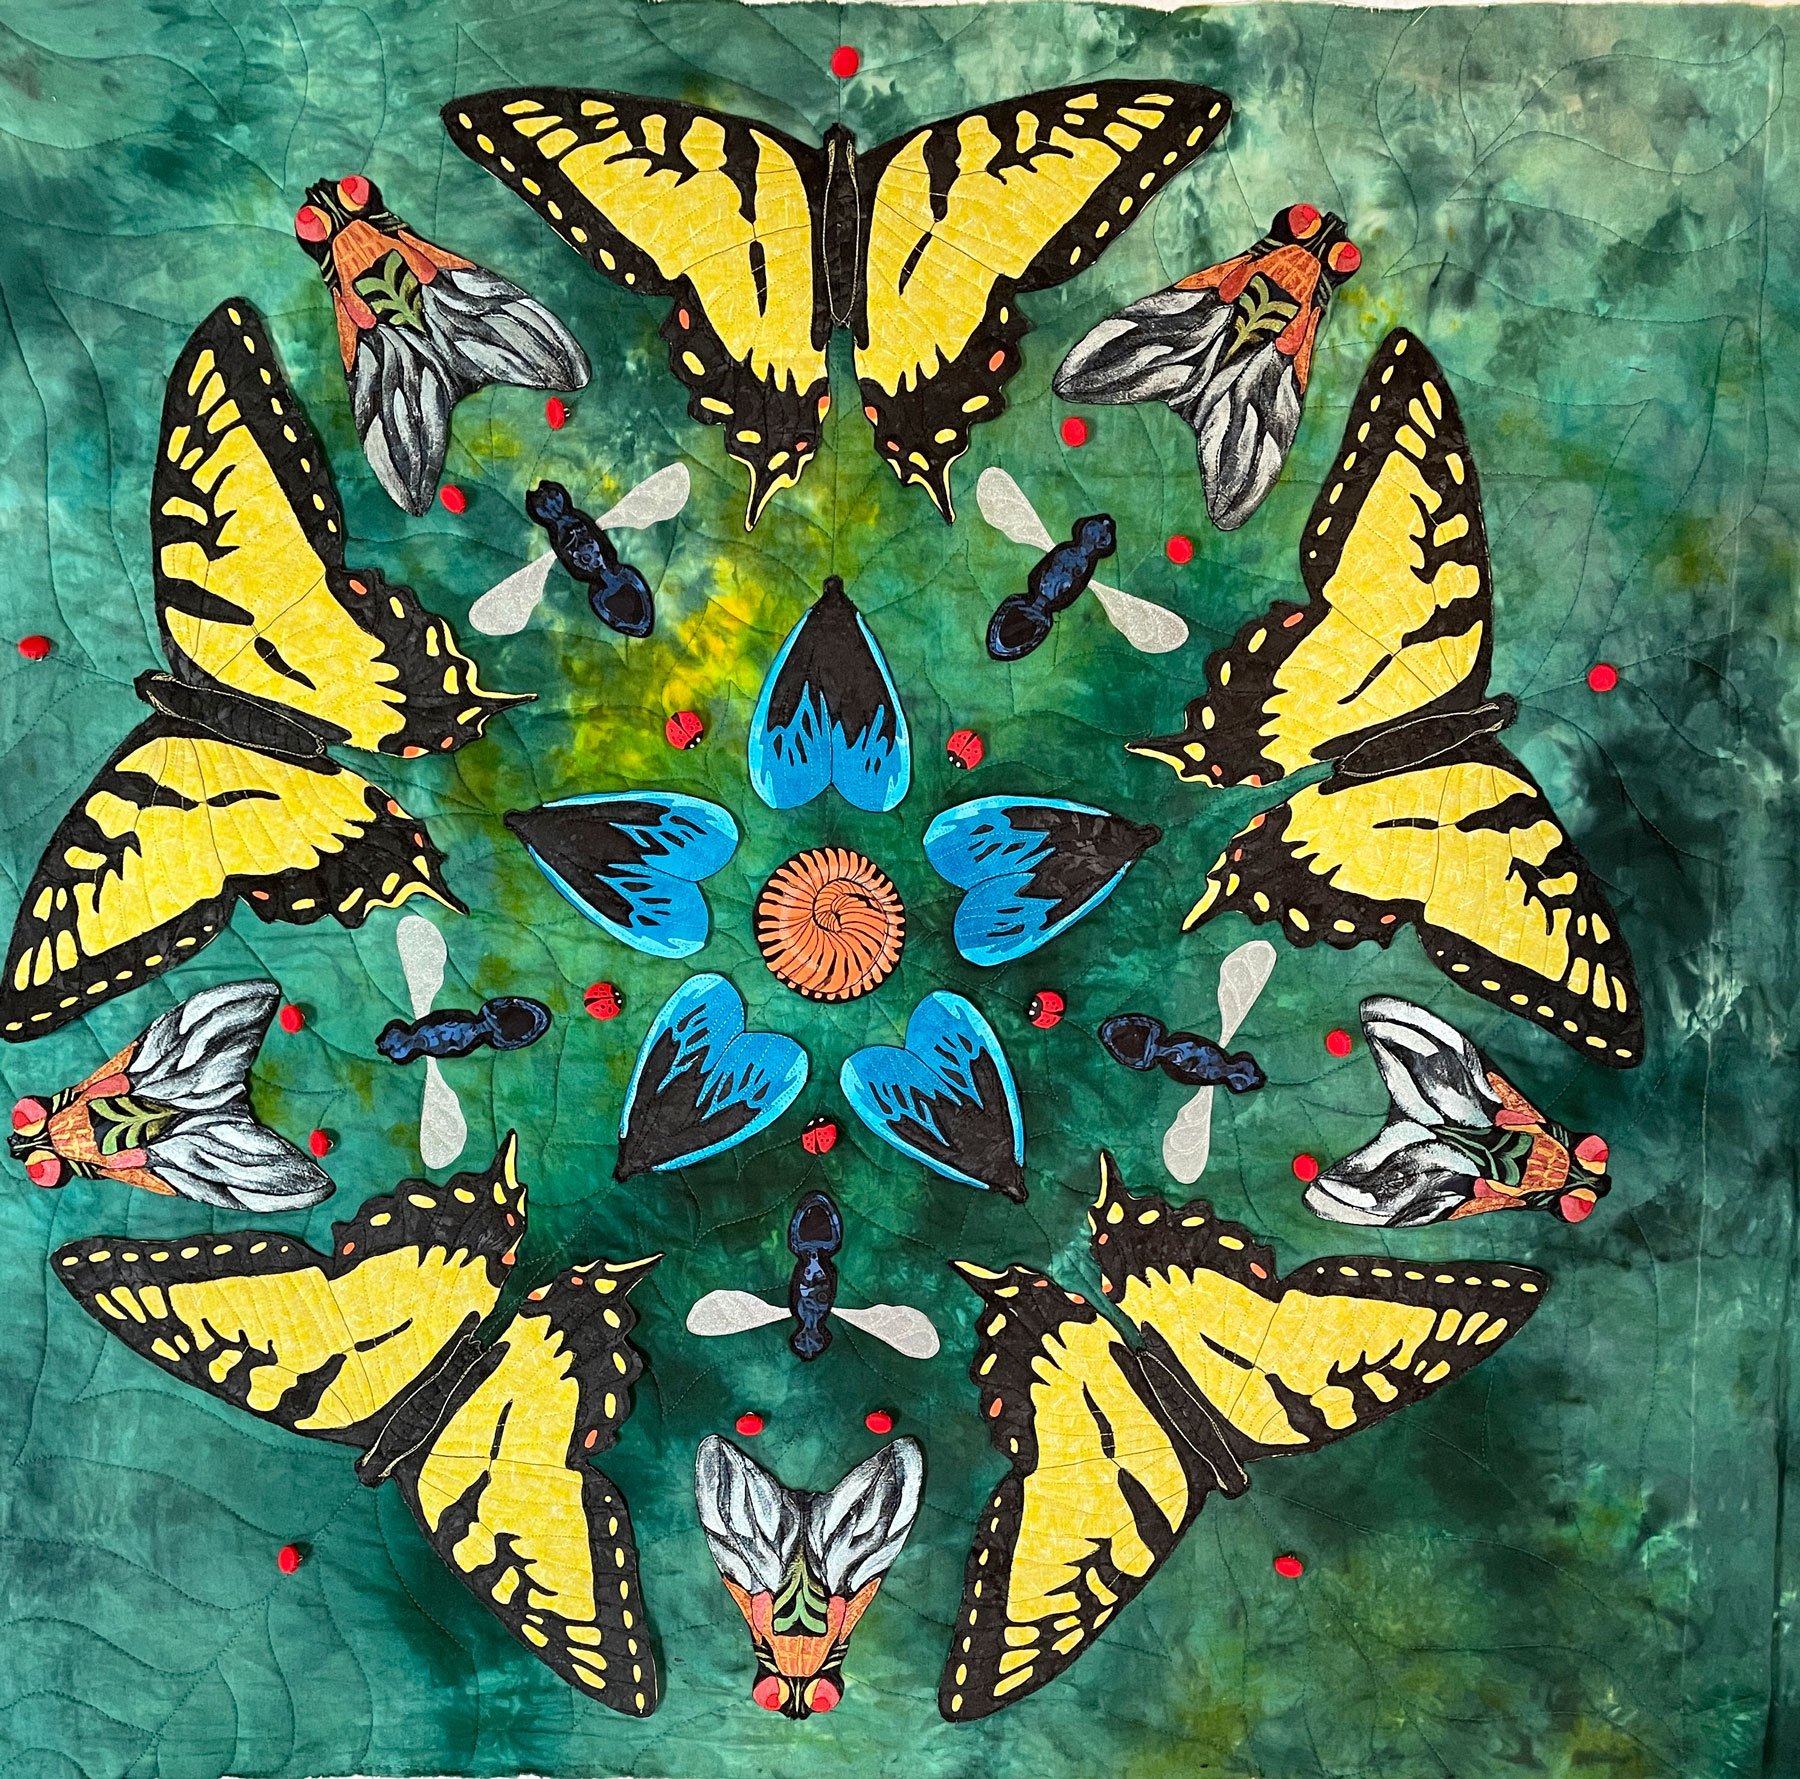
You may remember my dear friend Olivia and the joy I had as I began to teach her how to quilt ~ way back in December. Olivia and her family are missionaries in Estonia and they were here on furlough. They had plans to visit family in California over Christmas and we had to take a break from her lessons. When Olivia and her family returned to Wisconsin in the end of January, she was very excited to get back to quilting (click here to read part 1 of this story). She had completed all of her blocks before she left for California and in her first class in 2022 she sewed them together,

and added the border. Her enthusiasm is contagious ~ and her quilt top is lovely. She’s decided to back her quilt with fleece.

So her assignment was to make a trip back to the fabric store and choose something that would match her quilt top, since she was planning to turn the back to the front in place of a binding.

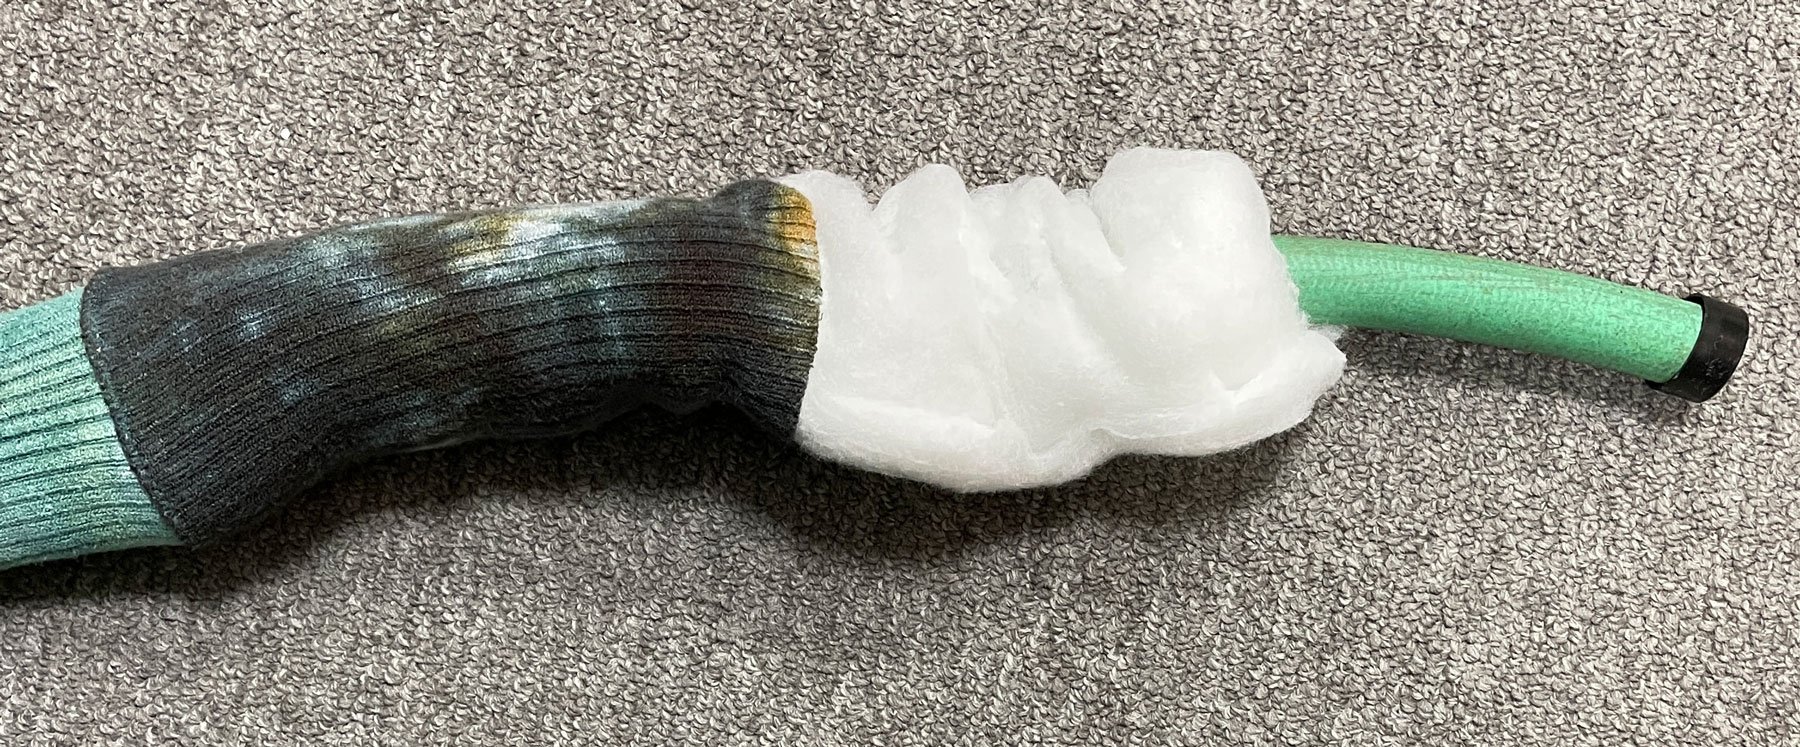
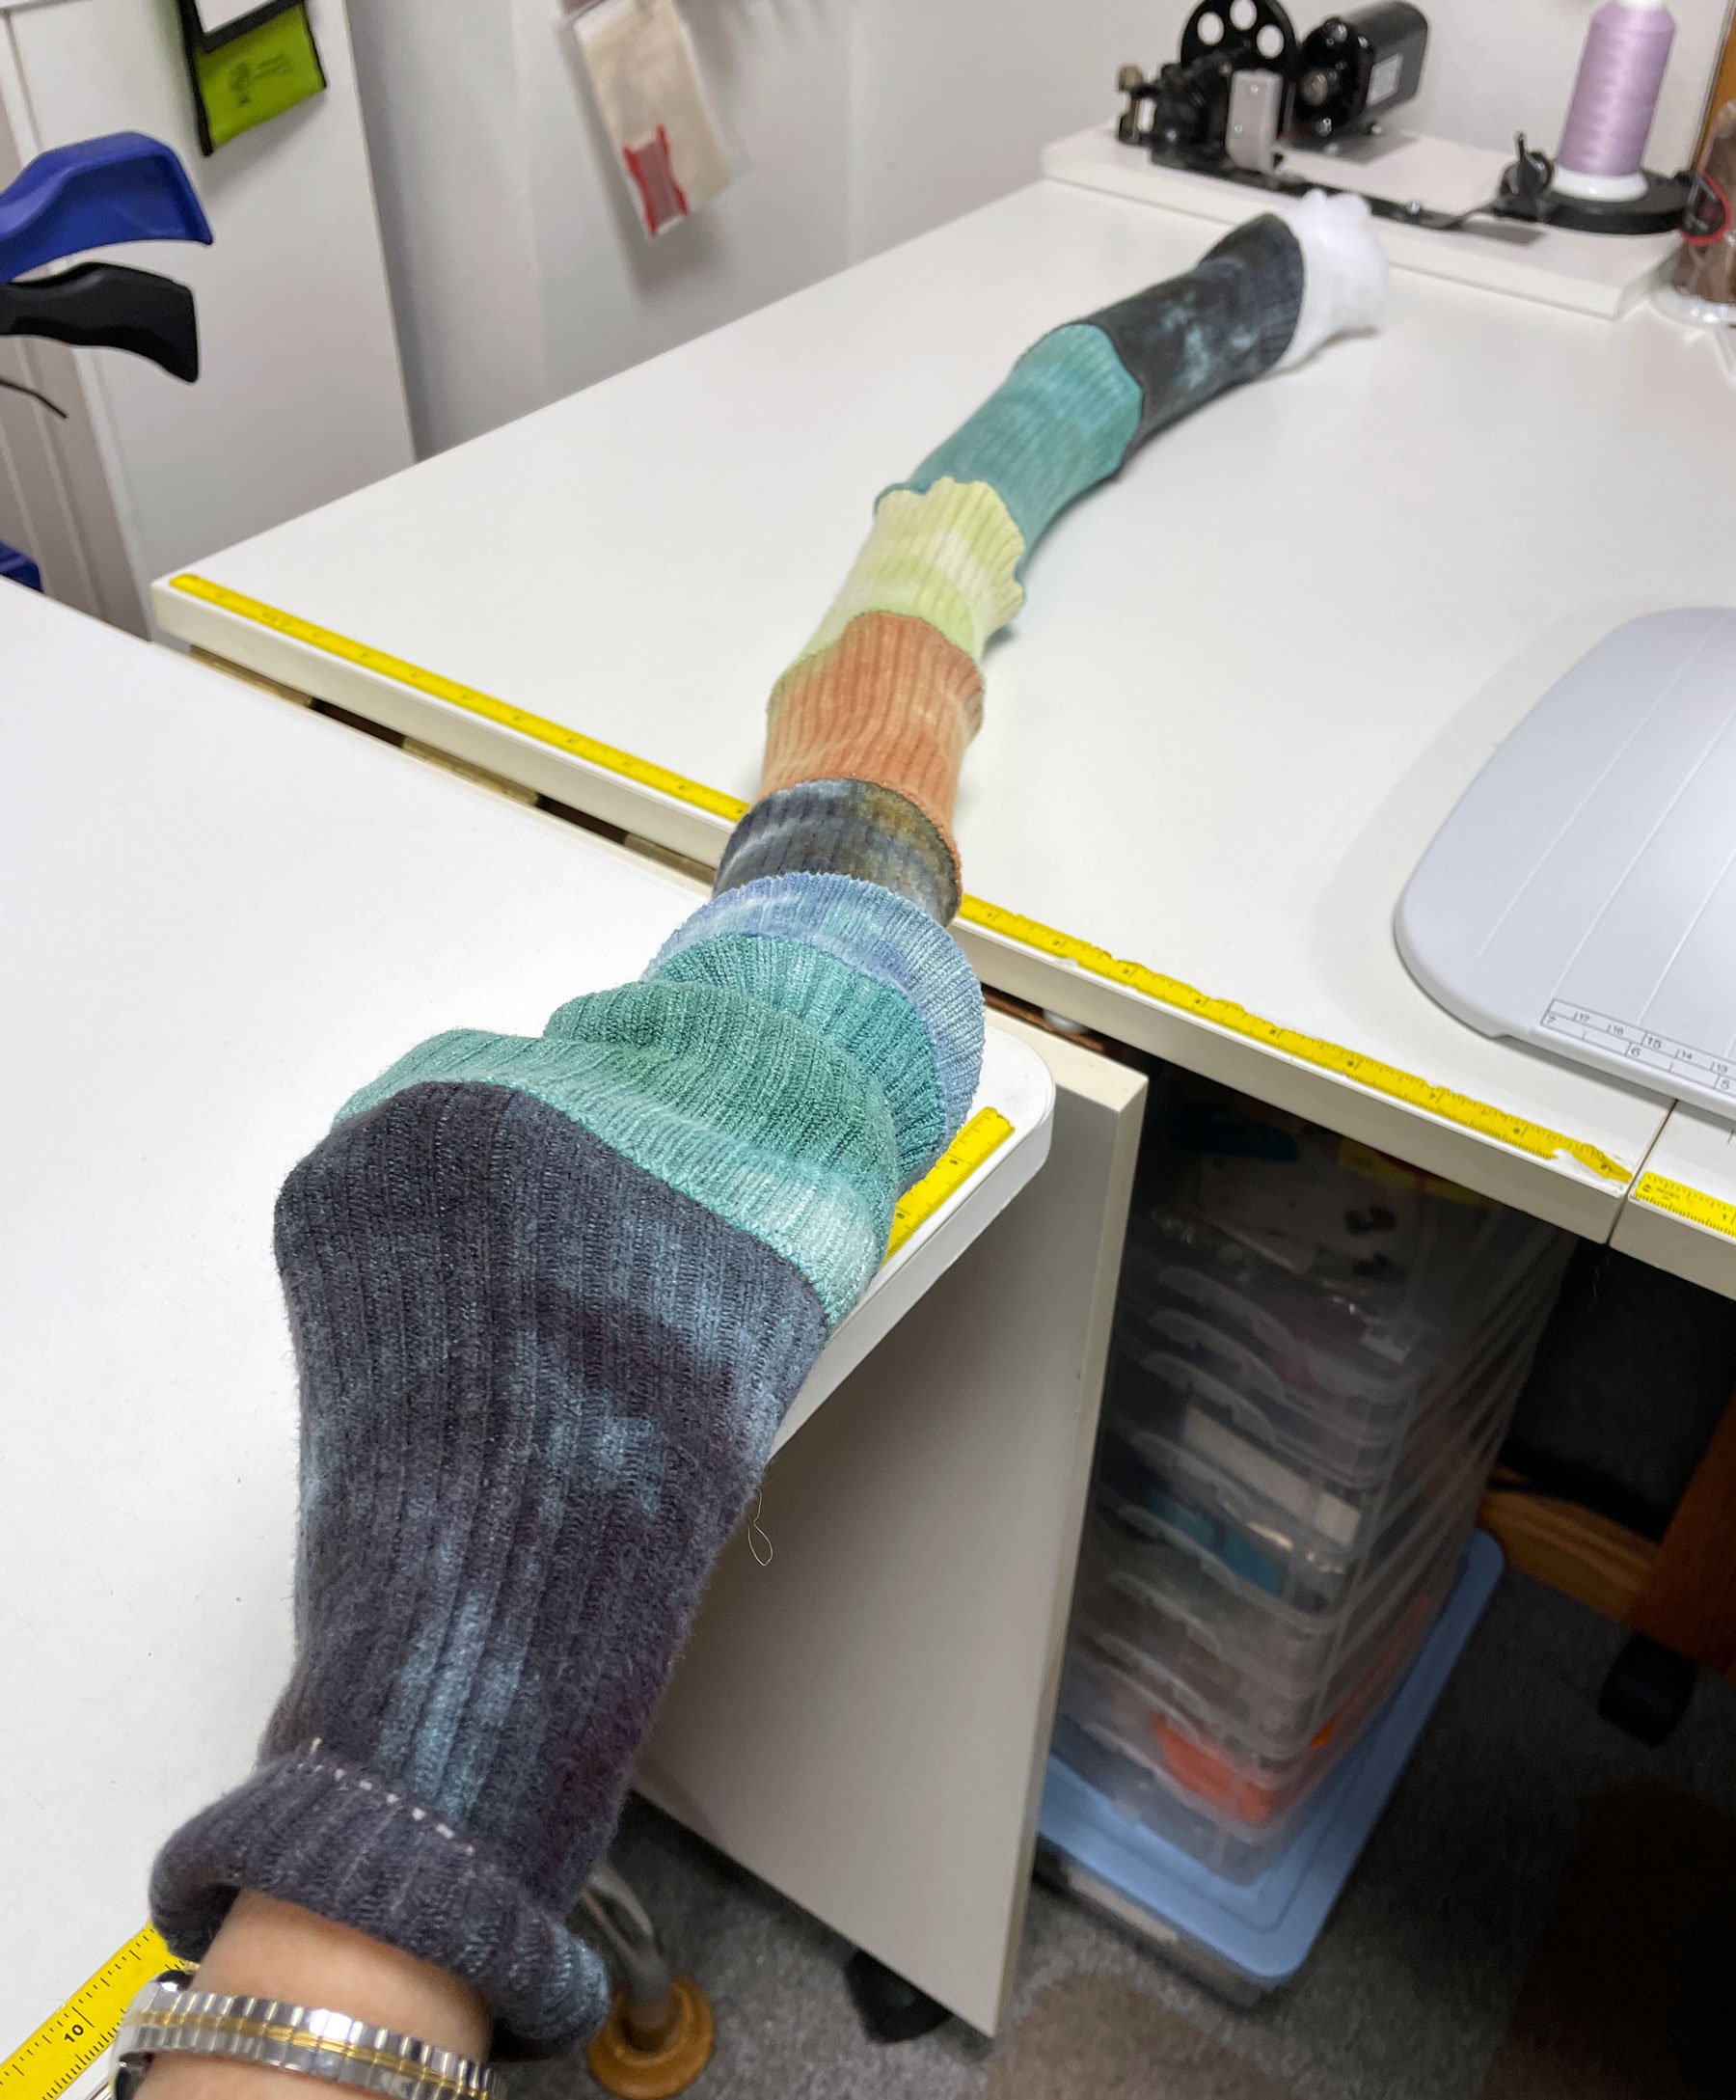
That was the plan, but when Olivia arrived with her backing fleece we discovered something weird – the width of the fabric, right off the bolt, was not a consistent 60″.

I’ve never seen this before. The width is 60″ at the top of the photo above, but it shrinks towards the bottom to 56″ ~ and it isn’t wide enough to bring it forward as a binding. So Olivia got to learn how to bind a quilt the traditional way 😊. Have you ever had such a drastic width variance with fleece?

Back to Olivia ~ she pinned the layers together and chose to quilt with a serpentine stitch over all the seams. She spent over an hour quilting and once again she didn’t want to stop when her mom came to pick her up (I really love this girl!)

Due to our conflicting schedules we couldn’t get together again for over 2 weeks. So when we did we knew it would be our last time because Olivia and her family were heading back to Estonia soon 😔. We made the most of it starting with a quick time for cookies and catching up. I asked her about her love for creating art and she showed me photos of some of her work which she had on her phone. She especially loves doing portraits and abstracts. I couldn’t resist sharing a few of her favorite pieces here.

My grandmother
Talya
Euphoria
Boat

I know both her grandmother and Talya and she captured them beautifully. She is a young women of many talents – and she gives God the glory for all of them!

Back to binding. Olivia sewed it to the quilt, turned it to the back, and machine stitched it in place with her favorite Serpentine stitch.

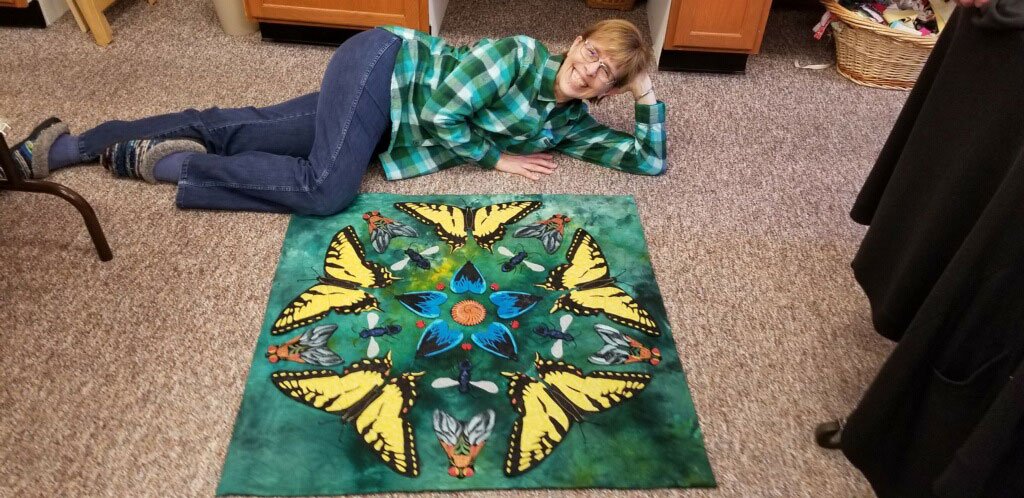
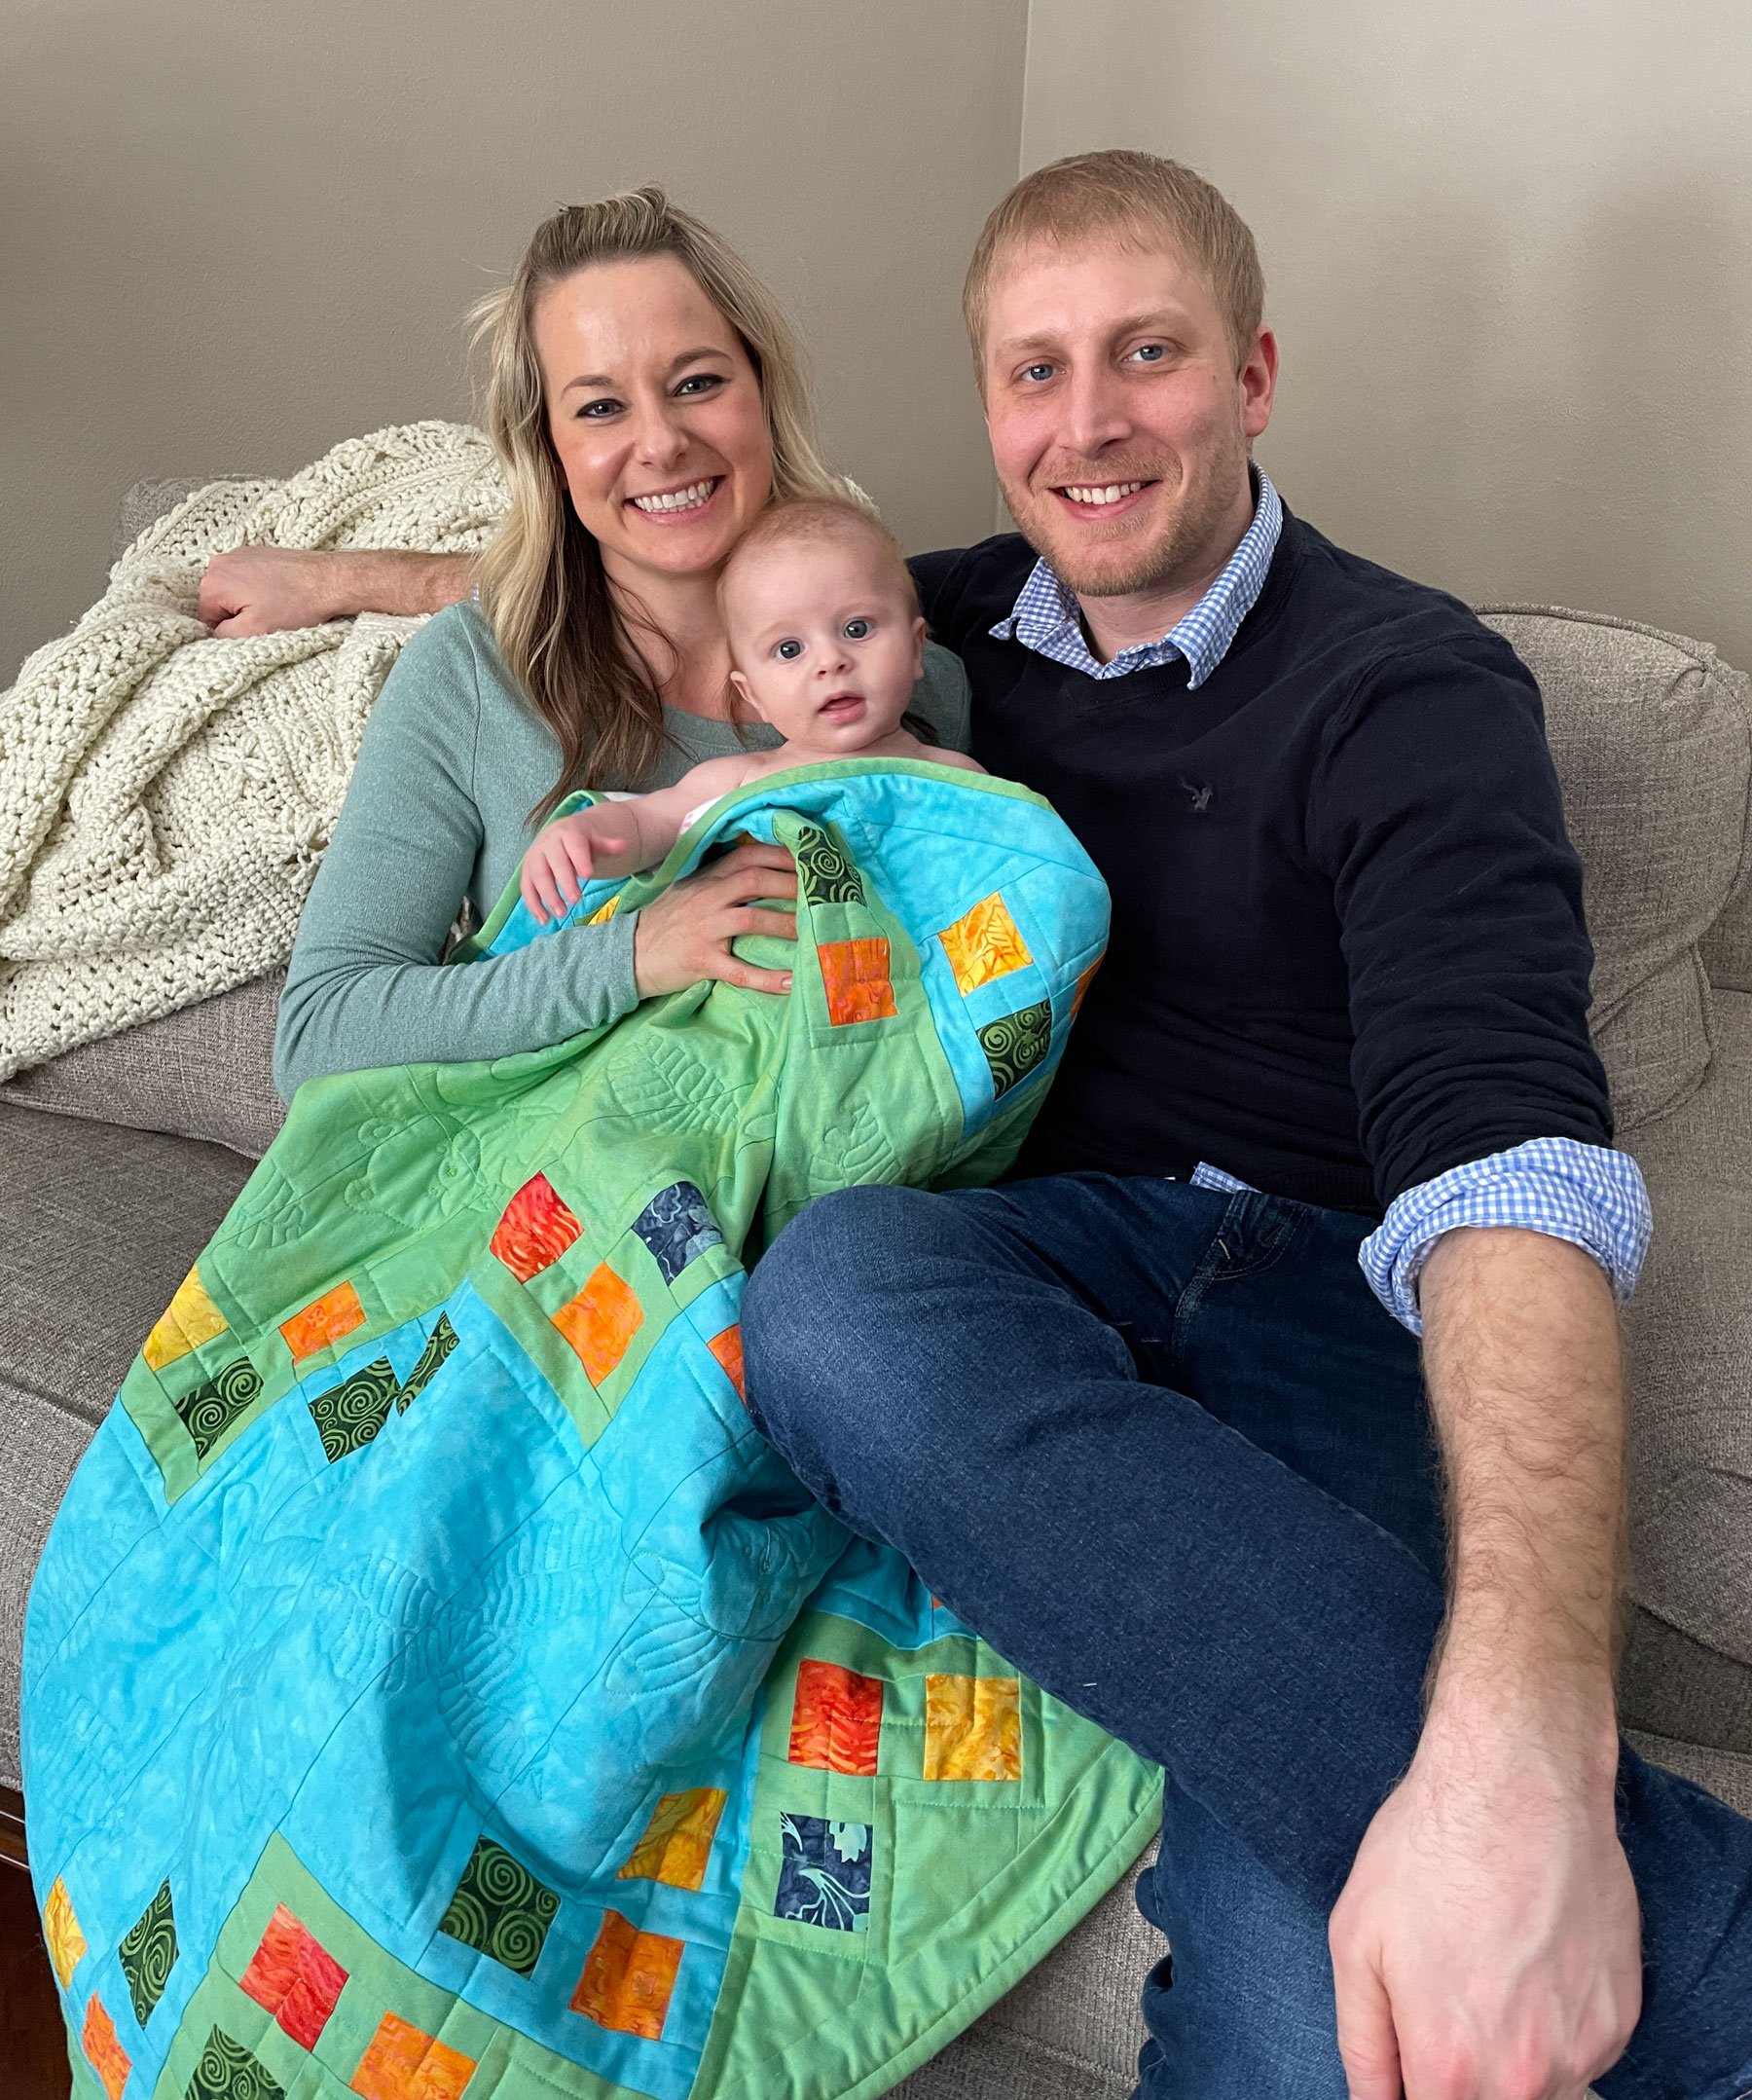
All before her mom came to take her home. The quilt was done in time for a grand finale photo!

I’m going to miss my dear friend and all the fun stitching and conversations we shared. Rumor has it she will be coming back to Wisconsin to go to school at Maranatha Baptist University here in Watertown. What a joy to have her near. Until then I’m praying God will keep Olivia and her family safe in Estonia, and use them to further the Gospel there.

When is Enough Enough?

March 13, 2022 24 Comments

My bug quilt came together nicely. I finished it with a facing and hung it on my design wall with 5 ladybugs in place. Was it done? I’d made 20 small ladybugs in anticipation of placing them on the quilt. Making them was like eating potato chips, I couldn’t stop myself. Should they infest my quilt? I’d hate to waste them, they’re so cute.

Because of the tippy-ness caused by the shanks on the buttons, I couldn’t get a good visual by just laying them out. I asked for a critique from my friends in the ThreadBenders group and got a number of good suggestions. The best was from Lori who recommended I cut circles from red paper and audition some layouts.

Here it is with just the five larger ladybugs attached:

And here are 3 more options using the paper circles for the ladybugs. #1:

#2:

and #3:

I laid out one using 15 of the little ladies and I thought the quilt looked like it had the measles, so I knew 20 would be way too many.

I took it to my quilt retreat and got a lot of opinions there, along with this crazy photo:

taken by my crazy friends:

I wish I could have waited for all of your input, but it needed to be finished before this post would reach you. I was grateful for everyone’s opinions and, in the end, I got to make the final decision. So what did I decide?

I decided five was enough. I was sad about leaving the smaller ladybugs off. They’ll have to wait for a future project.

I could use your help with one last decision. Coming up with a name is driving me buggy. What should I name it?

Bug Bouquet

Insect~themum (like chrysanthemum)

Blooming Bugs

Bugs in Bloom

Call the Exterminator (that was Mike’s 😊)

I’m open to your suggestions. Please vote for one of the above, or send original titles to me as a comment to this post.

Ladybug Buttons

March 6, 2022 7 Comments

As I continued to work on my “Driven Buggy” quilt, I was excited to use Cathy’s button press to add more bugs, and ladybugs seemed like the obvious choice. I thought about thread painting the bugs onto fabric before making them into buttons, but the buttons were so small. While pondering this I realized I just wanted to make buttons. So I covered a bunch in red fabric, in two different sizes,

and drew the bug’s features with a Sharpie™ marker and white paint. Now that was fun!

I knew where I wanted to place the five larger ladybugs. But these buttons had a shank on them (bottom right in the following photo),

and I didn’t like the way the the shank caused the button to “flop” around on the quilt. In the next photo the ladybug on the right is not sitting flat because of the shank, while the other ones were put on in a rather unorthodox way that I think looked much better.

Here’s what I did to make them lay flat: I determined the center of the spot where I wanted to place the bug and marked it with a pin. I needed to determine the angle of the shank (because I wasn’t consistent when I drew the bugs on the buttons), and I angled the pin in the direction of the shank in preparation for the next step.

Are you ready for the “crazy” part? I placed the tip of my scissors on the center mark on the quilt top, at the angle of the shank, and pushed a small slit through the entire quilt.

Did that make you cringe??? Me too!!! But it worked. I was able to push the shank of the button through the slit

and stitch it securely to the back.

My ladybugs all perched tightly on the quilt and I was very pleased with the results.

I began to place the smaller ladybugs on the quilt and had quite a dilemma deciding where to put them, or if I should use them at all. I think I’ll save that part of the story for next week’s post, and continue this week’s with another covered button story.

*********************

My friend Laurie has taken my classes for years and is a regular follower of my blog. When I posted about the button press, I was delighted to receive this email from her:

“This family picture is from 1972. 

“I  sewed the polyester lime-green outfit I’m wearing and I covered my own buttons.  It also has wide legged pants!“

I was a stay at home Mom at the time with 3 young daughters and our extra money was sparse. So I made my own clothes often, as well as the 3 purple outfits our daughters are wearing in the picture. You will notice that the same purple flower fabric is in each of their outfits. I would buy remnants and work with them so I had enough for all our girls outfits to save money.  People would give me their old big clothes and i would cut them up to make clothes for the girls. Just like Maria in The Sound of Music! Lol!
 They often had matching outfits during those years. I even made my husband, Dave, 3 leisure suits. That is Not one of them that he’s wearing in the picture.

Well, low and behold on a fluke, after I got out of the hospital from Covid in Sept. 2021, one of my daughters went in the basement and found that old outfit from 49 years ago! What a surprise! So I had to fill your request for anyone dealing with covered buttons. I didn’t have a tool like you saw to do them at the time, but my buttons covered well with a Woolworth’s commercial button covering kit!
That outfit is Almost an antique now, But Of course, it doesn’t fit anymore!  that polyester withstood the test of time because it never dies!  We all laughed about this outfit.  I still have it and can’t seem to part with it, yet!

I responded to Laurie’s email commenting that I didn’t know she was such a talented garment seamstress, and asking if I could share her story in a blog post. This was her response:

“Yes, God has given me a talent. I started hand sewing my doll clothes when I was 8 years old without patterns  and then my Mom had me helping her make curtains and do  upholstery. As I got older I followed patterns. 
I am humbled that you want to share my story and pictures. Yes, you can share my story in a future blog. Maybe it’ll bring others to share their stories how God has worked in their lives. He always provides!” 

Thanks Laurie for the story and the pictures!

Making Bugs

February 27, 2022 8 Comments

You may remember a post I did last year about cutting out blue moths with my Scan and Cut™ (click here for that post). I finally put them to use. The ThreadBenders group’s latest challenge is entitled Driven Buggy. Fifty percent of the 36″ square quilt must be covered with a bug, a portion of a bug, or a bunch of bugs. I opted for the latter.

I made a bevy of bugs using fusing and fabric painting. I decided to back them with black wool felt and stitched details into each one before putting it on the quilt in a 3D fashion. To do this I fused them all to a single piece of wool felt and began to stitch.

I added stitching to each one, securing them to the felt well:

Then I cut them out close to the edge.

Next I quilted the background in a large “leafy” design, and started stitching my felt-backed bugs in place in a medallion style bursting out from the center millipede:

Once they were all in position, it was time to embroider legs and antennae.

Then I let myself play with Cathy’s button maker ~ it was time for ladybugs to descend on the quilt ~ but that will have to wait until next week’s post!

Socking it to Drafts

February 20, 2022 5 Comments

Last March I posted about my love for hand-dyed bamboo socks (click here for that post). This post is about a crazy idea I had for socks that get holes too large to mend. Sadly many of my colorful socks have been wearing out this year. Each time a pair reaches that stage I just can’t bear to throw the whole thing in the ragbag, so I cut off the tops. I have quite a collection. Here are just a few.

I asked my friends what to do with them, and did a bit of web searching too, but nothing grabbed me (I’m really not into fingerless gloves).

Recently Mike said that we needed some sort of draft stopper to keep the frigid west wind from blowing under the back door. Hmm…🤔

I decided to zig-zag a bunch of sock tops together.

Then I realized that batting wouldn’t have the weight I needed to keep it in place. Mike to the rescue! He filled a piece of an old garden hose with sand and capped the ends (with leftover caps he found in the shed ~ don’t you love using something you’ve hung on to but didn’t know why?)

The hose was wrapped in leftover batting, and the sock tube was carefully pulled on.

And it works!!!

Hot dog!! Or at least not cold dog when Koda lays in front of the door 🤣.

I may not always post about quilting per se, but this one did involve fiber, stitching, and problem solving. I hope my whacky ideas make you smile once in a while.

*****************

This week I’d also like to share a concluding photo about a quilt I made a few months ago. Our Christmas family get-together was delayed a number of times for a variety of reasons, but I finally got to deliver the quilt I made last Fall to my great nephew Josiah Thomas. Here he is enjoying his new quilt with his parents, Brianne and Scott.

What a cutie! To read my previous post about making his quilt click here!

Book #5 ~Modular Memory Quilts

February 6, 2022 7 Comments

It is with great excitement that I make this announcement… my newest book is now in print!!!

For years I’d been contemplating making a quilt with blocks representing each of our Sew We Go adventures. The problem was – we kept having more adventures. Plus, I had other trips that I wanted to include.

Once a quilt is done ~ it’s pretty much done. Adding or removing something is not typically an option. Was there a more “fluid” way to make a memory quilt? I discovered the answer was yes, and Modular Memory Quilts was born. It’s not only for travel memories… there are oodles of options, but a travel quilt was my first project, and I found each step of the way was fun.

First, I needed to go through my photographs and distill each trip down into one memorable shot that portrayed the entire trip for me. That was one of the best parts. I so loved reliving each adventure. It wasn’t always easy to narrow it down to one, but with a little perseverance, I was pleased with the results.

Next I needed to determine which technique to use for each photograph. It turns out this book is not just a showcase of my quilts, it’s a journey into the problem solving and step-by-step techniques that will make each block a joy to create and view. I came up with an entire toolbox full of these techniques. Some blocks were pieced, like the flags from the six countries we visited on our Baltic Cruise:

I try to avoid photos with faces because they can be difficult to reproduce in fabric, but when the most memorable part of the trip is the people, photo transfer is an option. This block is of a trip to Florida we made with our two older grandkids and my parents in 2016 (note the Epcot Ball photobombing in the background).

Some photos just screamed to be Repliquéd, like this one of the Mississippi Queen riverboat. Repliqué is the technique from my first book, Repliqué Quilts ~ Picture Perfect Replicas in Machine Appliqué, which has been out of print for years. I recently received the rights to my book’s content and have included much of it in this new book ~ so it’s available in print again!

There are some blocks made with raw edged landscape techniques, such as the one of my son jumping off a waterfall in Maui.

And quite a few blocks were a combination of techniques, like this one with the photo transferred view of Budapest from the raw-edged Repliqué of the Fisherman’s Bastion.

I actually connect the blocks with a combination of simple notions and, when a “quilt” gets too big, it can be rearranged into multiple quilts. This works great for children/grandchildren quilts ~ more can be added as the family grows. And eventually each child can have their own quilt.

I’ve combined sample blocks from classes I’ve taken into a fun MMQ:

I hope you’re getting the idea. There are so many more possibilities even I haven’t thought of. To purchase your own copy of Modular Memory Quilts from my site please go to: https://www.chrisquilts.net/books/ .

I will be presenting a lecture about my new book at the Winter Quilt Show 2022 this coming Saturday, February 12th, at the Washington County Fairgrounds.

For all the information click here! Advance tickets are no longer available online or by phone, but tickets will be available all week at the museum in Cedarburg and at the door.

****************

And one more thing! My friend Connie let me know that Jinny Beyer is retiring. She has been an inspiration to me and I have used many of her fabrics in my quilts. Everything on her website is 40% off. Click here to check it out.

Sun Shiny Art Quilts

January 23, 2022 4 Comments

As I write this post it is a very sunny day here in Wisconsin (in spite of the low temperature). Last year was a “challenging” year in many ways. The challenge I’d like to talk about in this post is a bright and happy one 😄.

The ThreadBenders decided to have one large challenge this year entitled Vintage Travel Posters which I wrote about in November (click here for the post about that challenge).

We also chose to have 3 small challenges since three themes were presented and we couldn’t make up our minds. The first was to make a fabric postcard and mail it. I posted about that in April,

and you can access that post by clicking here.

Our second small challenge was due in July, but gathering them all up for photography proved to be a bit of a challenge itself. I did have mine completed on time and I had so much fun stitching and beading it that I did a three episode post at these links: Sun 1, Sun 2, Sun 3 (I apologize for being a bit repetitive to those of you who have read all the posts on these links, but I have had many new followers join in recent times who may have missed them). I call my sun quilt “Feel the Heat”.

All of our Sun quilts are now completed and featured on our ThreadBenders site, and I thought it would be fun to share them with you here!

Radiant Sun by Cindy Vick
High Noon by Lori Schloesser
Vicki Spiering
Susan Fohr
My Sunshine by Vicky Wolf
Susan Schlobohm
Tommy Sunshine by Cathy Borneman

I love being a part of this very talented and creative group!

*******************

In conclusion to the challenges for 2021 ~ our last challenge was to make a piece using sheer fabrics. It turns out that most of our fiber artists were hesitant to use such a non-traditional fiber, as we so far have seen just 2 of these challenge quilts. But those 2 were fascinating!

Melody by Lori Schloesser
Bouquet of Peonies by Mary Clare Schuller

I have used sheers quite a bit in my quilts, so instead of making something new I brought one of my favorite Parallelisms quilts to the December meeting (I know, it’s cheating, but there were no prizes 🙂). I call it Spheres.

To be honest, many of us suffer from a bit of procrastination, so you may see more of these challenge quilts completed in the future 😁.

Olivia

January 16, 2022 11 Comments

A missionary family from our church is home on furlough. I first made contact with Denise when I was gifted a huge amount of embroidery floss, and I sent some of it to her to use in their ministry (to read a post about that encounter and see a photo of a younger Olivia click here).

Shortly before Christmas Denise and I reconnected and she asked me if I would teach their now 15 year old daughter how to quilt while they are here. I was thrilled!

Olivia is a delight! She came over to discuss her project and I showed her a bunch of quilts and patterns. She then went home to think about it and do a bit of web searching. This is the pattern she decided on.

A perfect choice for a beginner. Her assignment then was to go shopping and choose her fabrics, and she did a great job! On her second visit she learned all about rotary cutting.

She cut the 5 1/2″ strips for the 4 patches and sewed the strips together. On her third visit she crosscut the pairs and started laying them out with alternating 10 1/2″ squares.

She sewed the pairs into 4 patches, pressed some more and… it was time to go home. I love that she told me she didn’t want to stop 😊.

On her next visit she squared up the 4 patches. She said she even enjoyed that process (one I sometimes complain about). Then she began laying out the pattern in earnest,

until she found just the right one.

She was over half way done with piecing the blocks to one another

when it was time to go home ~ and time for her family to do some traveling around the US. When she returns to Wisconsin there are borders, quilting and binding in her future 😁! And all before her eventual return to their home in Estonia. Please stay tuned!

She reminds me so much of my 15 year old granddaughter in Washington (who actually turns 16 this week!), and Olivia and Hanna are now friends on social media. What a blessing!

  • « Go to Previous Page
  • Page 1
  • Interim pages omitted …
  • Page 25
  • Page 26
  • Page 27
  • Page 28
  • Page 29
  • Interim pages omitted …
  • Page 41
  • Go to Next Page »

Primary Sidebar

Archives

Recent Posts

  • London ~ and More
  • Designed For a Purpose
  • Squirrel Quilts and More
  • Vintage Appliquéd Arrows and More
  • Fascinating Tidbits

Recent Comments

  • Karen Ann Moore on London ~ and More
  • Cheryl McLean on London ~ and More
  • Sue Halpern on London ~ and More
  • judy raddatz on London ~ and More
  • Joanne Corrigan on London ~ and More

Categories

Footer

My Guide

Whatever you do, do your work heartily, as for the Lord rather than for men.

—  Colossians 3:23

Contact Chris!

  • Home
  • About
  • Gallery
  • Classes
  • Trips
  • Books
  • Blog
  • Contact
  • Sign Up For My Blog

Copyright © 2026 · Chris Quilts · Website by Adunate · Privacy Policy