• Skip to main content
  • Skip to primary sidebar
  • Skip to footer

  • Home
  • About
  • Gallery
  • Classes
  • Trips
  • Books
  • Blog
  • Contact
  • Sign Up For My Blog

Blog

Madison Quilt Expo – 2017

September 10, 2017 6 Comments

This year’s Quilt Expo did not disappoint. The crowds were even bigger than last year! The quilts were spectacular! The vendors well stocked and oh, so tempting! What a great show!

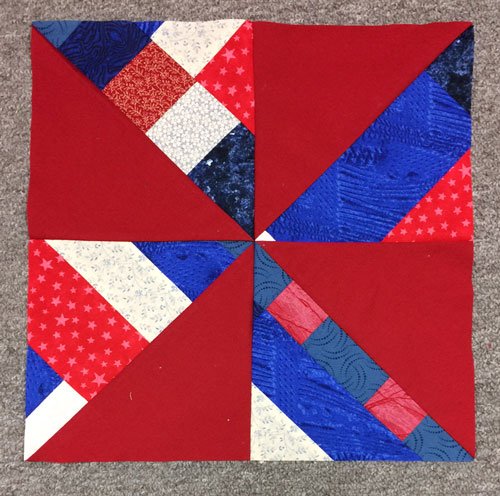
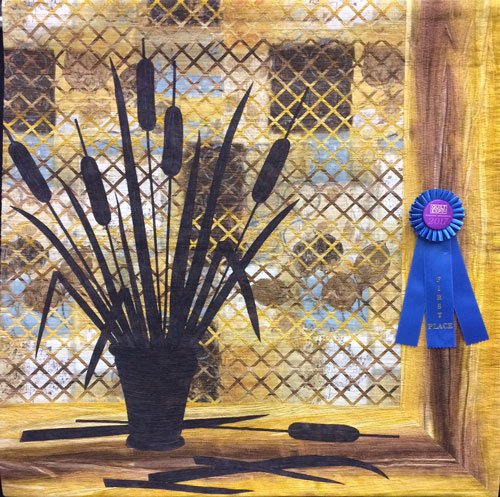
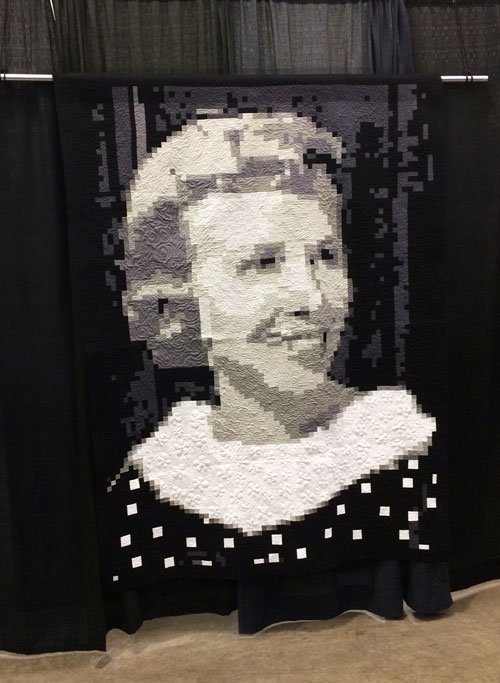
I especially love immersing myself in the competition quilts. I enjoyed them all, and here are a few I found particularly captivating:

A Glimpse Through the Cattails by Julia Graber of Brooksville, MS
Rainbow Hosta Queen by Grace Kragness of Oak Creek, WI
The Engagement Photo by Nancy Carney of Verona, WI
Remembering Roatan by Pamela Kuck of Shawano, WI

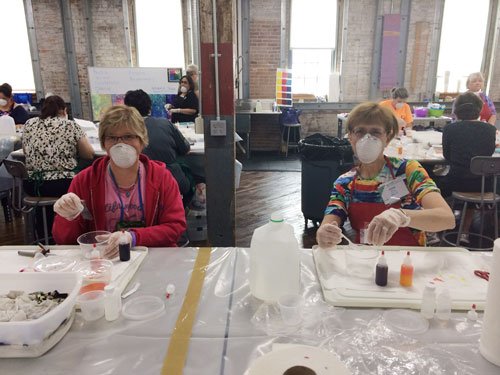
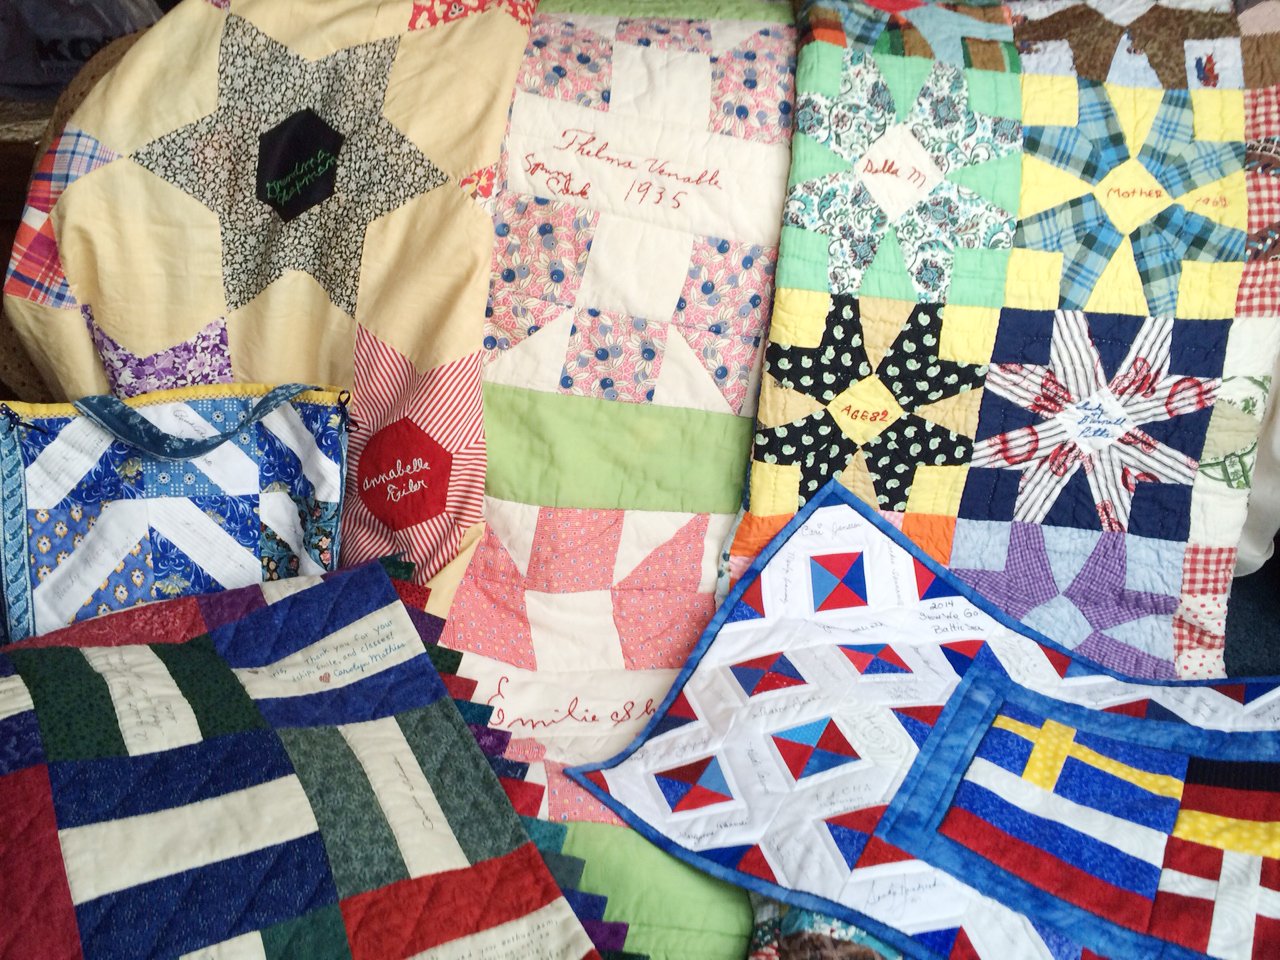
When I wasn’t on the show floor admiring the quilts, I was sharing my passion for quilting in lectures and workshops. I’ve been invited to teach at the show every year since it began, praise the Lord! And the teaching kept me very busy this year (so busy I tended to forget to take pictures). Each morning at 8:30 I presented my lecture “Friendship Quilts – Then and Now”. The antique quilts and their stories were very well received and I hope the patterns I shared, along with the contemporary signature quilts themselves, inspired quite a few of those present to plan for a future autograph quilt of their own.

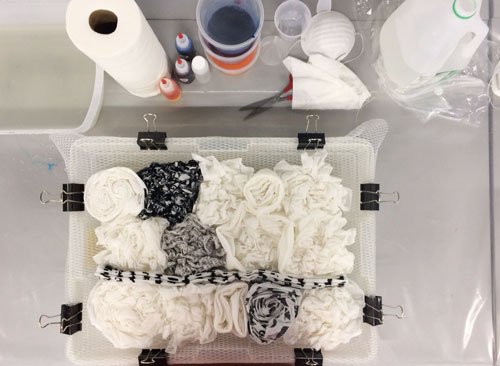
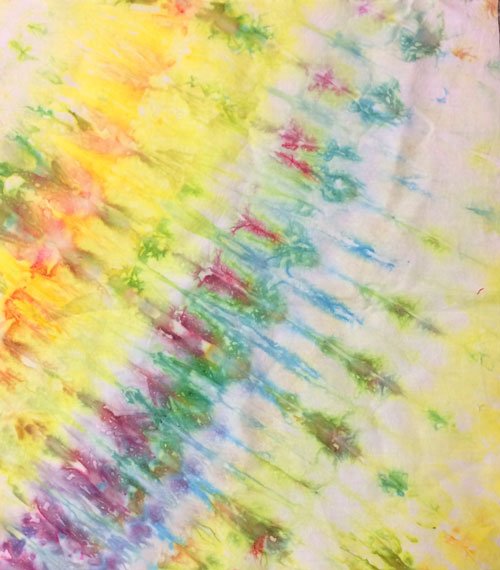
On Thursday and Saturday I taught 3 hour workshops on Beginning Fiber Art (formerly named Parallelisms). It’s such a joy to encourage quilters who haven’t done much artsy style quilting to give it a try. I just hope the students had as much fun as I did :-).


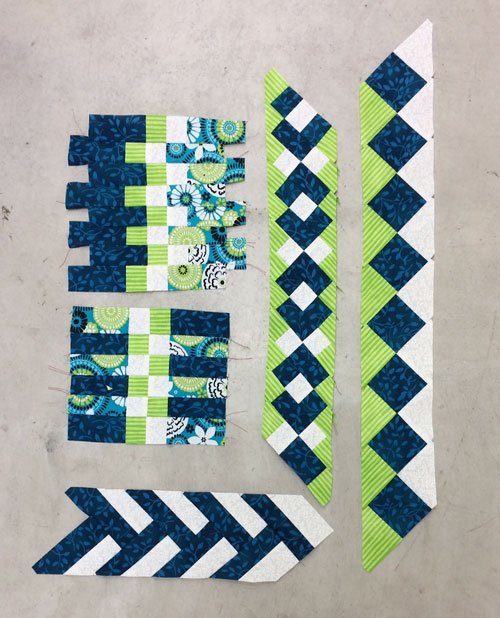
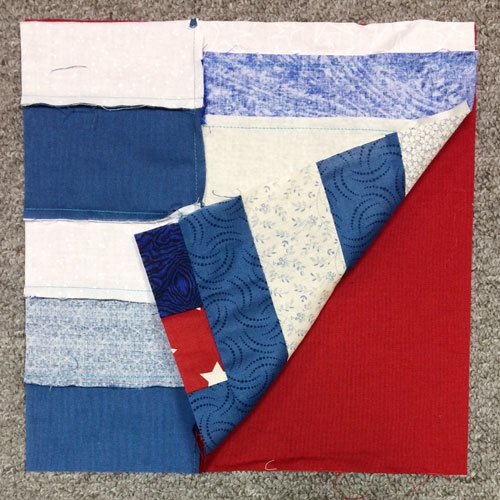
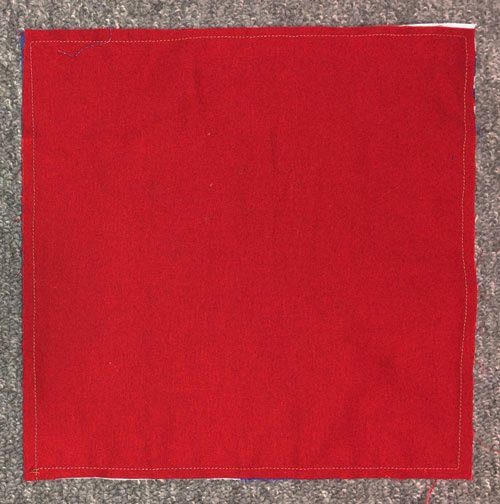
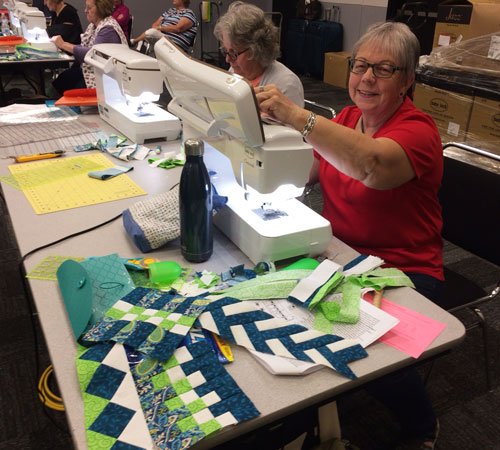
On Friday I shared my Seminole Sampler workshop to a full house. The students enjoyed the fact that the kit provided all the fabric strips cut and ready to sew.

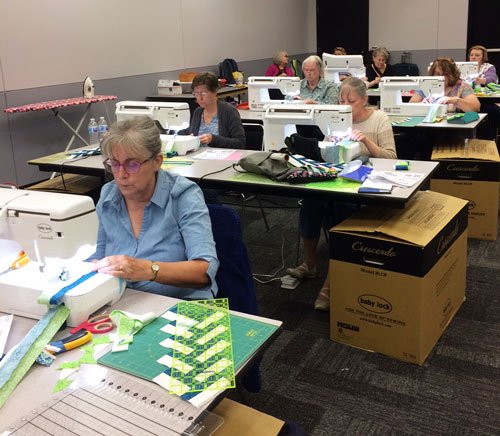
A highlight of the class was having Delores show us the skirts and apron she had purchased from the Seminole Indians for her daughters.

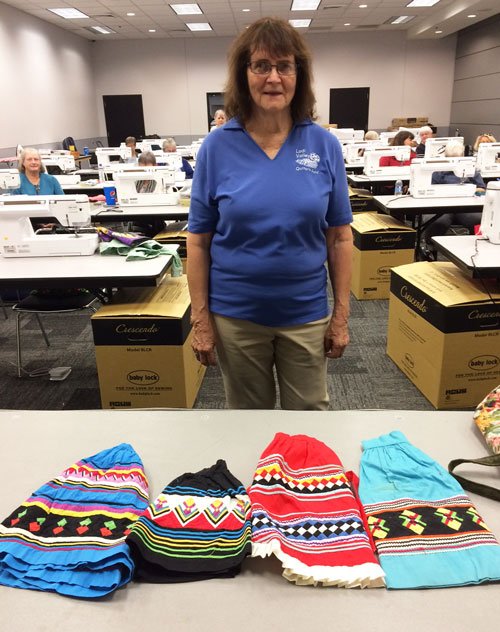
She was kind enough to let me pose with the apron. Isn’t is lovely?

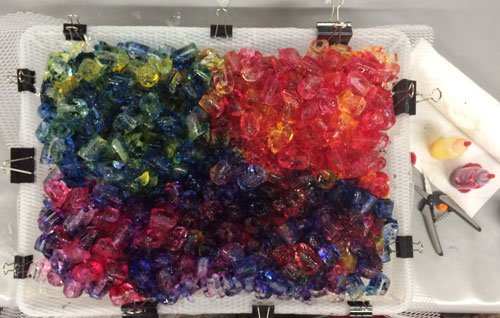
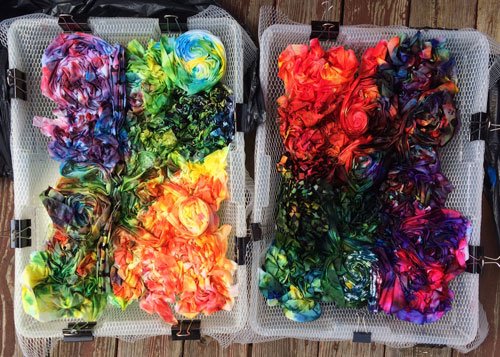
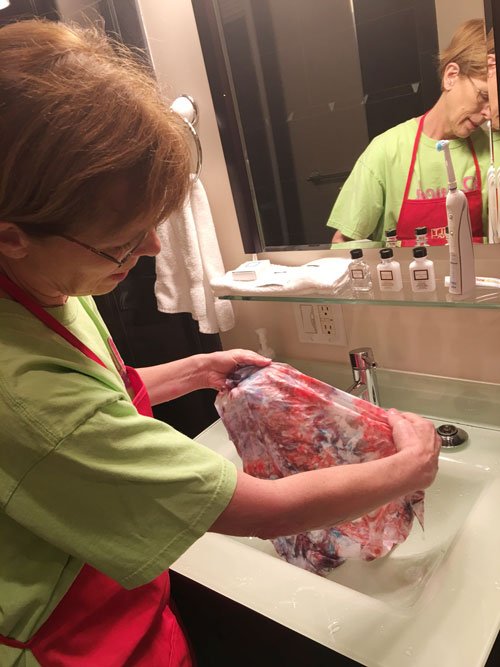
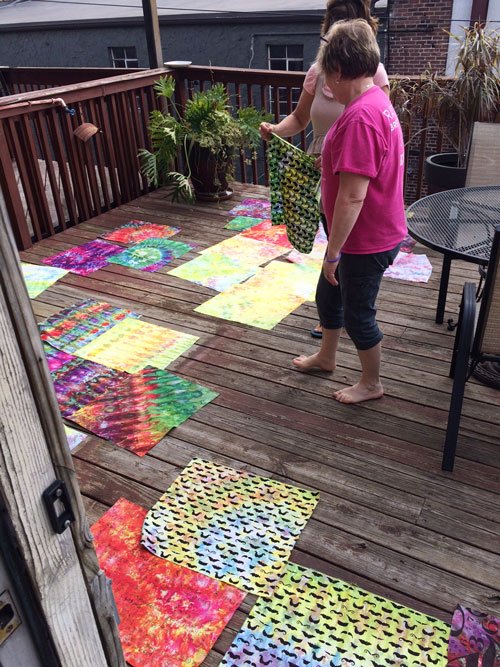
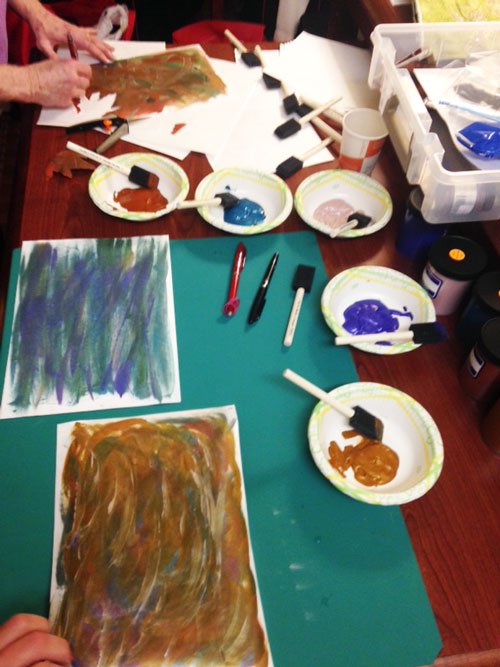
On Thursday night my roommate Laura and I were invited down the hall for a Tyvek™ painting/burning party.

Linda provided all the supplies and showed us how to make leaves with this fun technique.

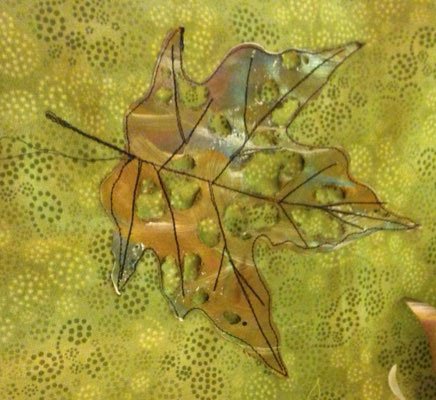
Not bad for a first effort, and it was a lot of fun. Thanks Linda!

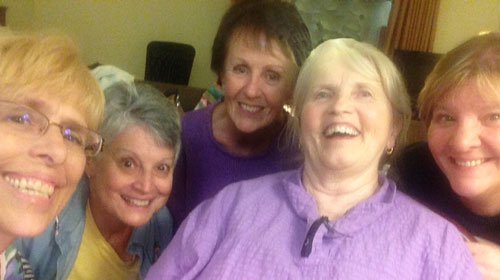
Spending time surrounded by quilts and quilting friends – it doesn’t get any better than this!

*****************************

And one more quick note for those of you in Southeastern Wisconsin. My friend Jodi told me about a “Quilter and Crafter Bonanza Sale” being held this weekend between Williams Bay and Elkhorn. Here’s the flyer she gave me:

Maybe I’ll see you there!

Seminole Piecing – Part 3

August 27, 2017 7 Comments

Last week I shared a picture of 3 Seminole Indian dolls Tomi Fay Forbes brought to my Seminole workshop.

Just look at the lovely piecing in the skirts!

I asked Tomi to please share their story and she replied that she would do some research and send me what she found. Her research began: “When I was a little girl in the early 1960s my grandmother bought me three Seminole Indian dolls, each one outfitted in the dress of the Seminole Indians.” (pictured above)

Tomi continued with a 7 page research article, including sources, and it is well written and fascinating (if you would be interested in reading Tomi’s essay, please let me know and I’ll send it to you via email – I’m unable to post it in the blog). She tells of the history of the Seminole Indians and how the women began making patchwork and dolls, which they would trade for other goods. Here is an excerpt telling about the dolls:

“Foraging in the forests, the women collected palmetto fronds. The Seminole women were familiar with the traits of palmetto because they used palmetto and cypress to build their homes, called chickees. One palmetto plant provided enough material for about five dolls. The Seminole woman shaped the palmetto into a doll’s body, stuffing the body with more palmetto. She cut a round of cardboard and inserted it at the base of the body to give the doll a sturdy footing so it would not tip over. She then sewed a rough seam in the palmetto to retain the stuffing. She shaped the head and used thread to embroider eyes.

One would assume that the protruding ridge on the top of the doll’s head, covered with black cloth, represents a hat. It looks very much like a bonnet one would expect to see on an Amish doll. Not so. In the nineteenth century, the Seminole women pulled their hair back into a simple bun. With the acquisition of hair nets and hair pins from the traders, the buns grew in size and complexity. By the 1920s the Seminole women were combing their hair forward over their face, placing a roll of soft cloth across their hairline over their forehead, and combing their hair smoothly over the roll.

During the next two decades, the women competed as they developed complex hairdos held in place over rolls of fabric or hair boards.


Seminole doll-makers reflected their hair traditions by placing a piece of shaped cardboard over the crown of the doll’s head and covering it with black cloth. Today many Seminole dolls have braids rather than the black fabric head covering.

The Seminole woman then dressed the doll in the traditional cape and skirt. The clothing of the smaller six-inch dolls are decorated with rows of colorful rickrack. The larger 9.5 inch dolls will often have a tiny, intricate pieced pattern inserted in the skirt. Hence the name Seminole patchwork.

Finally, the seamstress gave the doll beaded earrings and tied rows of beads around its neck. Historically, the Seminole women proudly wore as many necklaces of genuine glass beads as they owned. A stack of multiple necklaces could fill the entire neck. Today we would find these necklaces heavy and cumbersome to wear. We would wonder if the women’s necks ached all the time.”

Tomi then included information about her grandfather and his history living in that portion of Florida. I am so grateful to have “the whole story”, but the icing on the cake was that Tomi told me of a doll available on Ebay! I wasted no time in making her my own!

Thank you so much Tomi!

I will be teaching this workshop at the Madison Quilt Expo next month – and the class is full!  If you’d like to learn how to do Seminole style piecing, and if you think my class on Seminole Piecing would be of interest to your quilt guild, please share my website, https://www.chrisquilts.net/classes/ with the program committee at your guild. Thanks!

Seminole Piecing – Part 2

August 20, 2017 4 Comments

Two weeks ago I introduced one of my latest quilting fascinations – Seminole piecing. This week I’d like to share pictures from the class I taught on this technique at the Wisconsin Museum of Quilts and Fiber Arts  in June. I made kits for the students, so they could focus on the piecing techniques. They did a great job and everyone went home with samples of 5 different border patterns to refer back to when they’re ready to add some extra excitement to their quilts.

I will be teaching this workshop at the Madison Quilt Expo in September – kits and all, and I’m hoping it will be a hit! If you’d like to sign up go to:  https://store.wiquiltexpo.com/collections/sit-sews.

I will also be teaching half day workshops on a class I call “Where Do I Start With Fiber Art” (formerly “Parallelisms”). It is based on my book of the same name. To register for that class please go to:  https://store.wiquiltexpo.com/collections/hands-on-workshops.


A few days after the Seminole class in Cedarburg, Beth sent me this picture of the project she bordered with the Seminole braid pattern she’d learned in the workshop:

She used a striped fabric in the braid and I think it’s spectacular. Beth said that each length of striped fabric only made 8 units so the braid changed looks every so often. I can’t wait to try striped fabric in my Seminole borders. Thanks Beth!

Tomi was in the class too and she brought along a trio of Seminole dolls she was given by her grandfather.

She had some fascinating information about these dolls. Next week I’ll share their story and how I acquired my own Seminole doll!

Have you used Seminole piecing in your quilts? Do you have any pictures you’d like to share? Please email them to me at .

Landscape Quilts – Child’s Play!

August 13, 2017 8 Comments

I’ve been playing with a new version of my Repliqué technique – and it’s great for making picture perfect landscapes.

My Washington grandkids just went home after a 2 week long visit 🙁  . Hanna (who learned to quilt when she was 5 – click here to read that post) told me she wanted to make a mountain landscape quilt for her room. Since I was already playing with this technique, I decided it was time to test it out and see if it was as user friendly as I thought it might be.

I had her find a picture on the internet and we printed it out to size.

She then chose her fabrics. She wanted to make her quilt in purples and I had a gradation fabric in my stash that was just right.

She sewed:

trimmed:

then sewed and trimmed some more:

Because there is no satin stitching step, it is quite quick and easy. Here’s a shot after the final mountain was added:

And here’s a picture of the back:

Next it was time to quilt and bind. She machine quilted over the Repliqué stitching, then sewed the binding to her quilt from the front. We folded and clipped the binding to the back and she hand-stitched it down on the flight home.

She got it almost finished and promised she would complete it at home.

I’m pretty proud of my 11 year old artist – and I think she’s pretty pleased too.

And one more thing – I showed her an appliqué stitch to secure the binding to the back. She quickly turned it into a whip-stitch, and I decided it was fine for her first effort on the back. Then she asked me why hers didn’t look like mine. I explained and showed her the appliqué stitch again. She was off and running. My original stitches run for about an inch to the left of the clip (did I mention Hanna is left handed?). Her tiny whip stitch continued from there for about 2″. I did a quick re-demo and the rest (around the corner and down) is her appliqué stitch (she’s a pretty quick study).

A month ago I asked Hanna’s 5 year old cousin Sommer if she wanted to make a quilt, since Hanna made her first quilt when she was 5. Sommer thought for a moment and replied “no thanks”. After watching Hanna make the landscape quilt during her recent visit, Sommer told me she changed her mind and wants to make a quilt. Stay tuned!

Seminole Borders

August 6, 2017 5 Comments

I’ve had the wonderful privilege to teach at the Madison Quilt Expo every year since it began. After each show I begin thinking of what new project or technique I should share the following year. While noodling on this after last year’s show an idea began to form. I learned to do Seminole patchwork back in the early 90’s. I hadn’t seen or heard much about it recently and thought it might be a good topic to revisit. I found 2 great books in my own collection and couldn’t wait to start playing with some of the patterns. The quilts I have to share at this time are just tops, three of which I’ve shared for various reasons in previous posts, but I’d like to point out the extra zip the Seminole style borders give to each piece.

Simple Seminole Border
Simple Seminole Border 2 – on all four sides of the center “square on point”
Seminole Braid Border
Straight Seminole Borders – top and bottom only

I shared my way of doing Simple Seminole with my Open Lab class at WCTC and some of the ladies jumped right into it. Three of them were kind enough to allow me to share these pictures:

Judy’s Simple Seminole border – it seems her cat approves!
Sue’s Simple Seminole border, done in short segments on all four sides.

And Laurie has used the technique on 2 bed sized quilts.

Simple Seminole using 5 strips
Simple Seminole using 3 strips (laid out, but not yet trimmed and sewn on)

I recently put together a 3 hour workshop on Seminole piecing and taught it at the Wisconsin Museum of Quilts and Fiber Art earlier this Summer. It was a hit! I’ll share pictures from the class and some background information on Seminole piecing in next week’s post.

Strip Pieced Topper

July 30, 2017 2 Comments

My friend Barb sent me a picture she found on Facebook of a lovely table topper. It was a pattern by Ruthann Eckersley called Sew Easy Strata Star (all of her patterns are available at: https://ruthsquilting.com/patterns/).

I decided to play with this design, but in my own way (of course). I pulled out a 1 yard batik from my stash that was dyed in gradation,

and cut it into 1 ½” strips.

I sewed these strips back into strata and cut the triangles to make the topper. I didn’t have enough fabric for the small triangles that complete the 3D effect in Ruth’s pattern, but was happy with the spinning star. Here are the 3 possible layouts I came up with:

I pressed the strata using my strip stick. It’s a wonderful tool, and I posted about it a few years ago https://chrisquilts.net/?p=3497. It was so helpful in this project, because I wanted the seams to press crisply. The Strip Stick is a padded piece of half round moulding covered in muslin. By laying a seam at the top of the curve, and pulling the adjacent strips down with my thumb and forefinger,

I’m able to press the seams to the side without any pleats or puckers on the right side. It also allows me to only press one seam at a time. I love it!

To purchase your own, go to: http://www.thestripstick.com/.

Since I didn’t have enough fabric for the pieced corner turn triangles, and I didn’t want to figure out how to finish those 45 degree points, I added corners and made a square.

It’s ready for quilting, but I really wanted to try the original pattern, so I pulled a gradation of blues and greens out of my stash and here’s the results:

I like them both.

**************************

And I’d like to leave you with this parting picture my friend Eileen’s husband took of her while she was quilting.

She had quite a special helper :-)! Thanks for sharing the picture Eileen!

Ice Dyeing

July 23, 2017 3 Comments

I’ve had so many fun posts to share recently that one from my trip to Paducah got pushed to the bottom of the pile. When I discovered this I just knew it had to be this week’s topic!

I’ve tried dyeing fabric and would usually rather buy from those who are good at it. Never-the-less, Laura and I both decided to sign up for Cindy Lohbeck’s class on Ice Dyeing during Quilt Week in April – and it was a BLAST! Here’s one of my favorites from the 14 fat quarters I went home with:

Cindy is a great teacher and has developed her own techniques that are virtually no fail. She was featured in the most recent issue of American Quilter Magazine and I would recommend her classes to everyone.

We purchased a kit for the class which included her specially prepared for dyeing fabric, the dyes and almost everything else we needed: We did a bit of pre-treating of the fabric, twisted and turned it in a number of different ways, and then placed it in Cindy’s very clever “sling” type holder.

She showed us how to mix the dyes –

how to layer the ice and then how to apply the dye to get the best effects:

We had the choice of a number of different color palettes. Laura chose the dark one above and I chose the lighter.

Once the ice melted, the fabric looked really yummy!

We took our bins home to do the rinsing, It was a bit tedious,

but the unveiling of each piece made it so worthwhile. Here are two more of my favorites:

Once they were rinsed and dried we laid them all out on the deck and took turns picking so we each got a good mix of lights and darks.

I highly recommend Cindy. To learn more about her classes, fabrics, and “Dye It Yourself” kits go to: http://www.handsonhanddyes.com/about-us.htm

Patriotic Pinwheels From Scraps

July 16, 2017 3 Comments

It seems I can’t get away from playing with my scraps lately. You may remember a few weeks ago –  I ended up with a 1/2 yard of patriotic fabric made from the leftovers of two “Quilts of Honor” tops I’d made. This is what that “chunk” looked like (click here to read that post):

The week after I made it Patched Lives Quilt Guild had Jan Bretzel give a lecture titled “Making Quilts that Look Complicate but are Not”. One of the quilts she showed was made with a simple piecing technique she shared – and I had to try it!

So I cut my patriotic “schnibblework” into 10″ squares, along with 10″ squares of a solid red fabric. I layered 1 square of each, right sides together,

Patriotic pinwheels

sewed all the way around this square with a 1/4″ seam allowance,

cut on both diagonals,

pressed the resulting new squares open,

and voila – a lovely pinwheel block!

So far I have 3 blocks made and I can’t wait to make the rest. Each one is so interesting because of the unexpected nature of the scrappy squares. I’ll post a picture of the pinwheel quilt top – when I get it put together.

Thanks Jan, for a great lecture – and for teaching me a fun new technique!

  • « Go to Previous Page
  • Page 1
  • Interim pages omitted …
  • Page 46
  • Page 47
  • Page 48
  • Page 49
  • Page 50
  • Interim pages omitted …
  • Page 77
  • Go to Next Page »

Primary Sidebar

Archives

Recent Posts

  • Quilting in Bloomington ~ Part 2
  • The Indiana Heritage Quilt Show ~ 2026
  • Bird’s Eye View
  • The Birds
  • Sew Much Creativity

Recent Comments

  • Laurie Neubauer on Quilting in Bloomington ~ Part 2
  • judy raddatz on Quilting in Bloomington ~ Part 2
  • Kathy Wuhrmann on The Indiana Heritage Quilt Show ~ 2026
  • Doris Ast on The Indiana Heritage Quilt Show ~ 2026
  • judy raddatz on The Indiana Heritage Quilt Show ~ 2026

Categories

Footer

My Guide

Whatever you do, do your work heartily, as for the Lord rather than for men.

—  Colossians 3:23

Contact Chris!

  • Home
  • About
  • Gallery
  • Classes
  • Trips
  • Books
  • Blog
  • Contact
  • Sign Up For My Blog

Copyright © 2026 · Chris Quilts · Website by Adunate · Privacy Policy