I think you’re going to love my technique for FACING A QUILT, but first let me tell you about the sample quilt I’ll be demonstrating on 😀 !
When Wendy and I lead quilting tours we come up with projects that can be created onboard the ship, and we like to include creative techniques. As I was contemplating what we could do to make a traditional Hawaiian appliqué style project that was fun and inventive, the Lord dropped this idea into my head! I’m so excited!
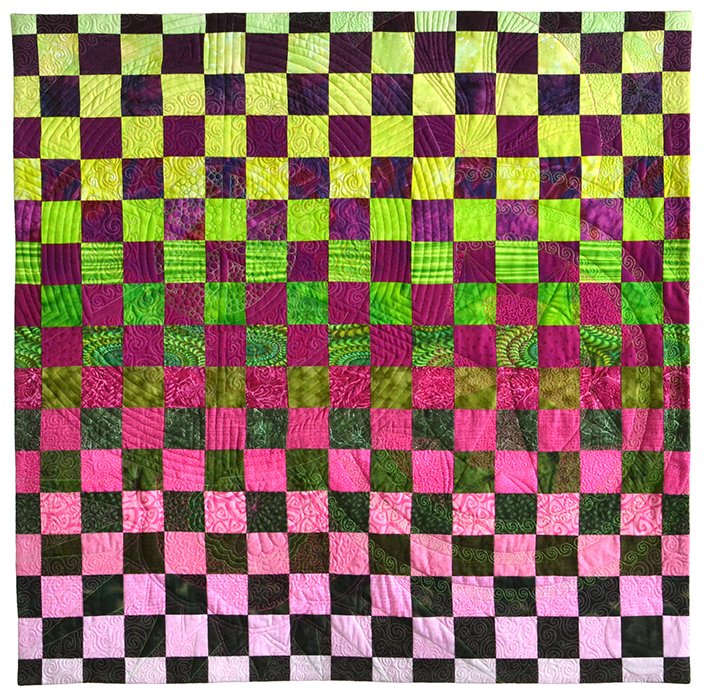
Each participant (the projects are always optional) will make their own unique pattern from their initials, and then “stencil” the pattern onto fabric using Shiva Paintstiks™. Here’s my first “Cruise Hawaii” quilt, using the initials for “Sew We Go” and palm trees:
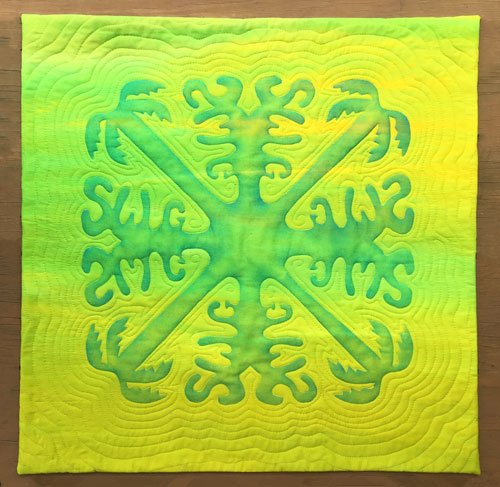
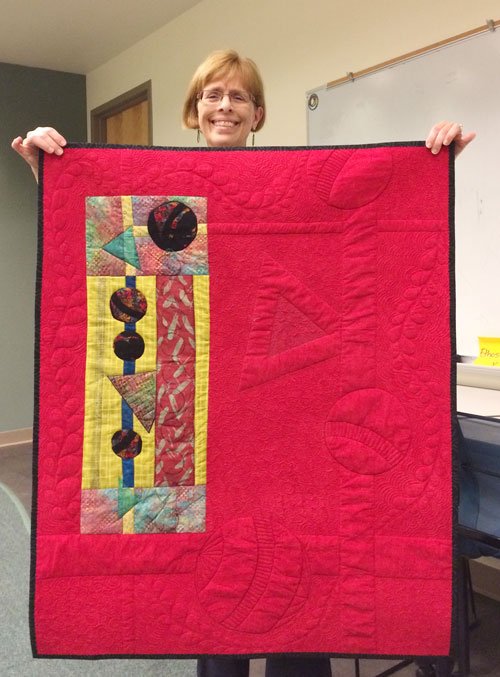
Do you see the “SWG”s? I echo quilted this 25” wall quilt by machine and faced the edge.
Our Hawaiian cruise adventure will take place in January 2019. That may sound like a long way off, but this sailing on NCL’s American Pride will sell out. We need to release cabins back to Norwegian if they are not spoken for soon so if you’ve been contemplating joining us, please let us know. Simply click here for a printable version of the cruise flyer!”
And now – on with this week’s post:
In my last post I shared a simple technique for finishing a quilt without the need for a traditional binding. There is another option for a “binding-less” finish and it’s called a facing. I’ve seen many faced quilts while judging quilt shows and, as with the turned quilts we talked about last week, the corners are always the problem area. They tend to be lumpy, and they’re often messy looking along the edge and the back.
BUT THEY DON’T NEED TO BE!
This really isn’t any harder than attaching a binding:
• Begin by squaring up your quilted quilt 1″ longer in each direction than you’d like it to finish, because the facing requires a 1/2″ turn under allowance all the way around (a binding fits over the cut edge of the quilt and thus no length is lost, but a facing does require this extra inch, so remember to allow for it).
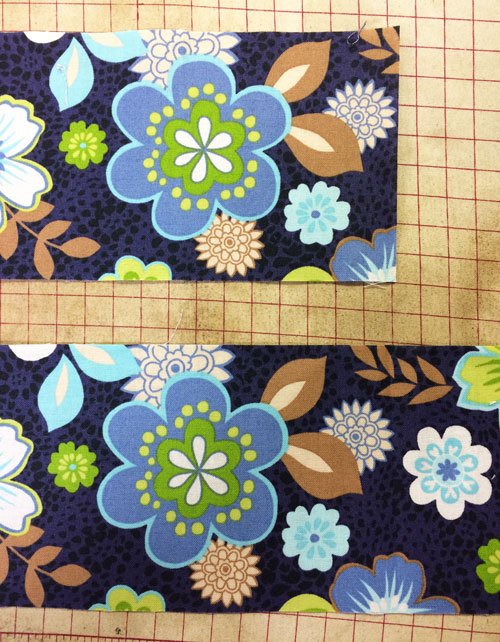
• Choose a facing fabric that is similar in color and value to the fabric along the outer edge of your quilt. Measure the width and length of your squared quilt. Substract 4” from each measurement and cut (2) 1 ½” strips at both measurements (ie. a quilt measuring 30” x 40” would need 2 strips cut 26” and 2 strips cut 36”). Cut (4) 5″ squares also.
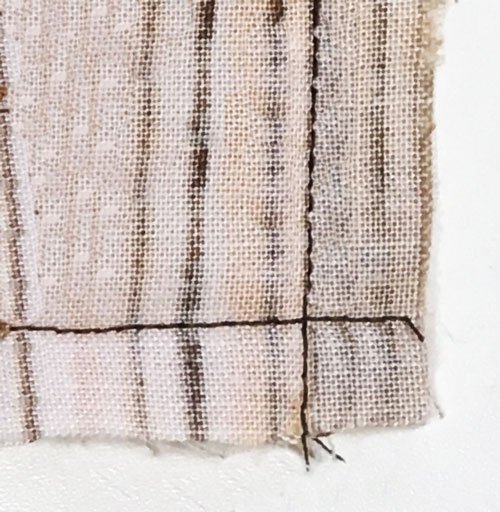
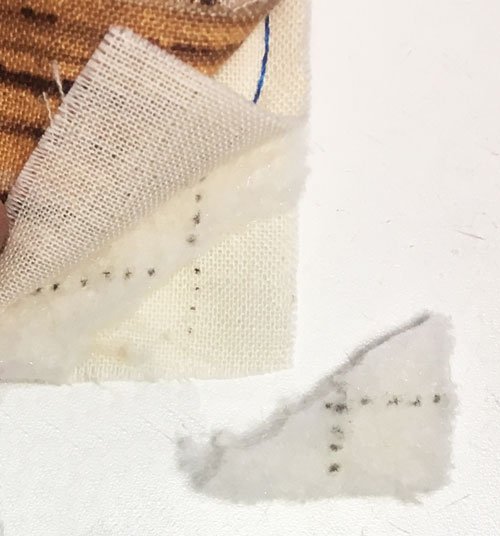
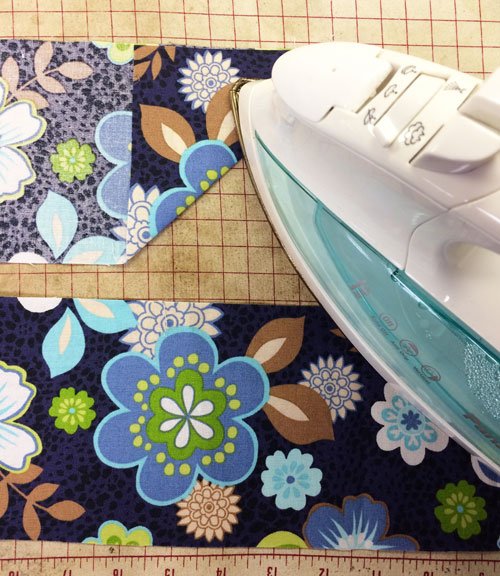
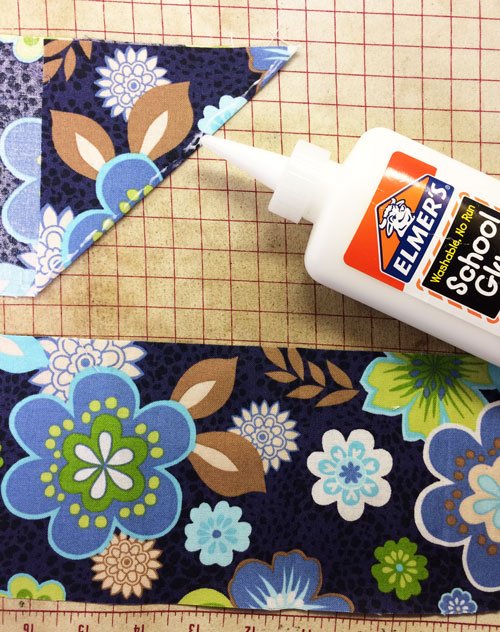
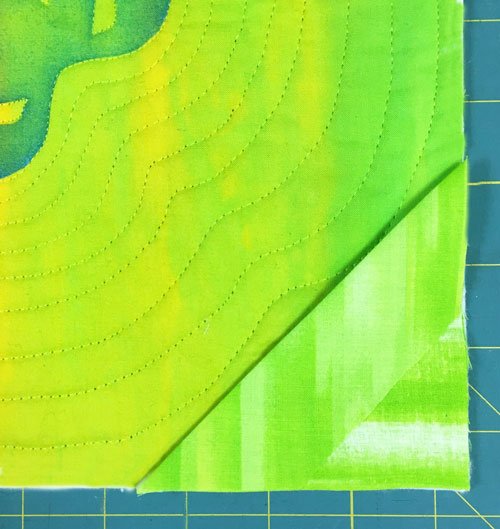
• Press the 5” squares in half diagonally, right side out. Trim about 1” from one corner as in the picture below.

• Place a folded square against the right side of the quilt, in one corner, raw edges even, with the trimmed corner facing up.
• Place all 4 corners on in this manner. Then place the long strips, right sides together with the quilt, along all 4 edges, and pin in place. The strips will overlap the corners.

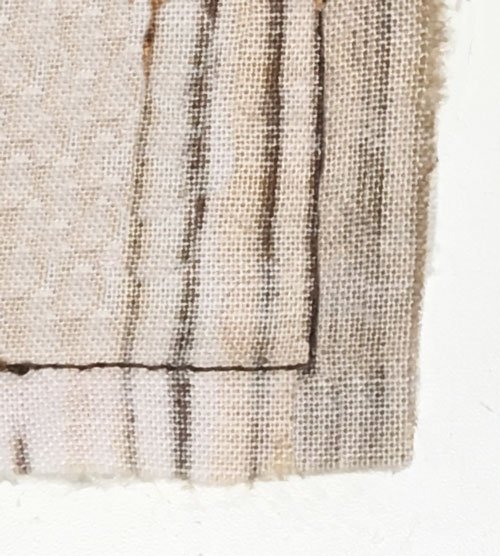
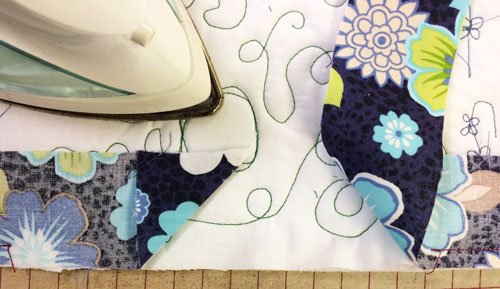
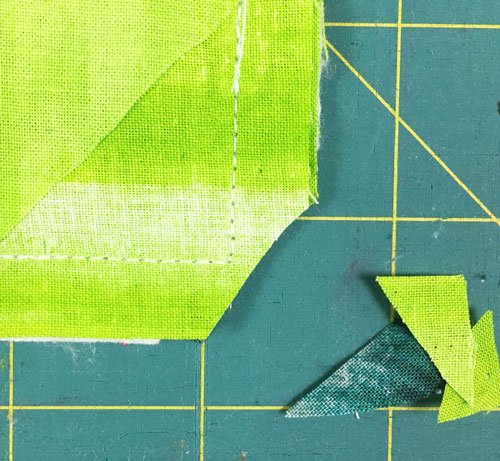
• Using a 1/2″ seam allowance, stitch all 4 sides of the quilt, going off the edge on each end instead of pivoting at the corners (this portion is a repeat of last week’s instructions).
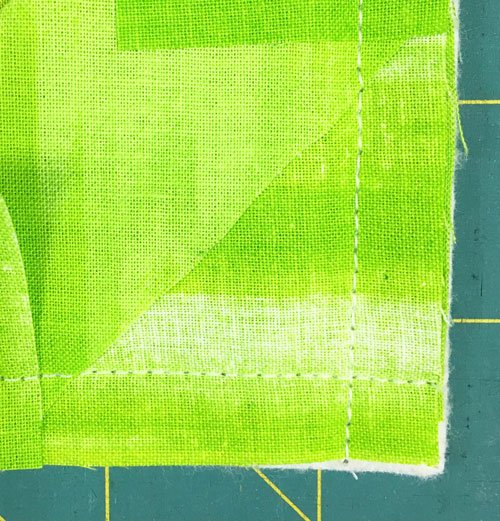
• Using a seam ripper, remove the last 1″ of stitches in both directions (if there is quilting in the seam allowance, that will need to be picked out too).
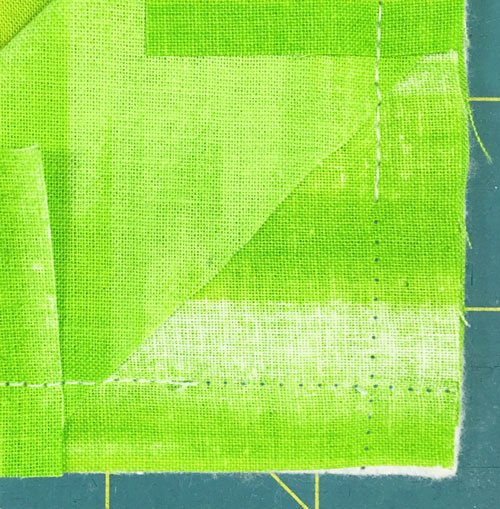
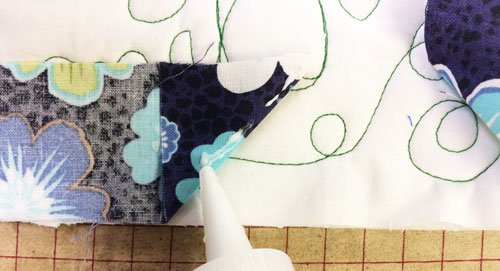
•Pull back the square and the quilt top from the batting in the corner, exposing the previous stitching holes.
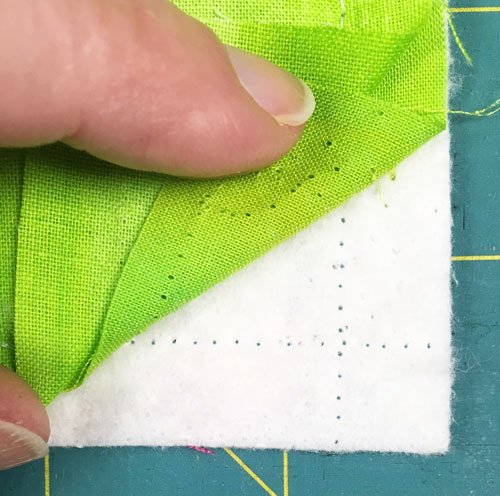
• Trim the batting corner off just inside the crossed stitches. Make sure you trim the batting only!
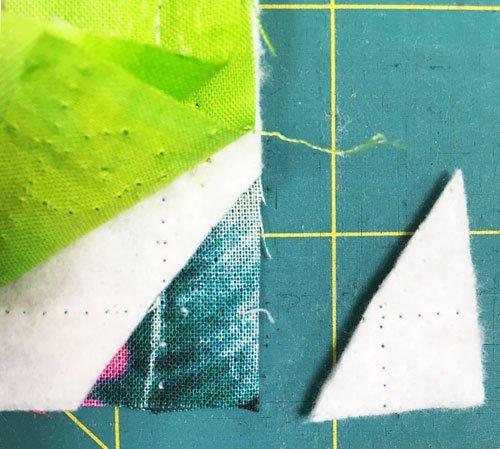
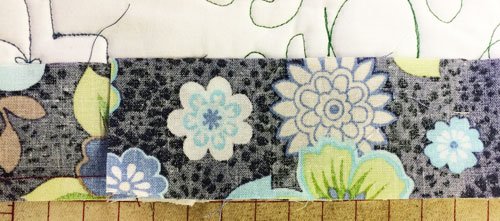
• Put the layers back in place and repeat for all 4 corners. Re-stitch the corners, pivoting this time. Trim.
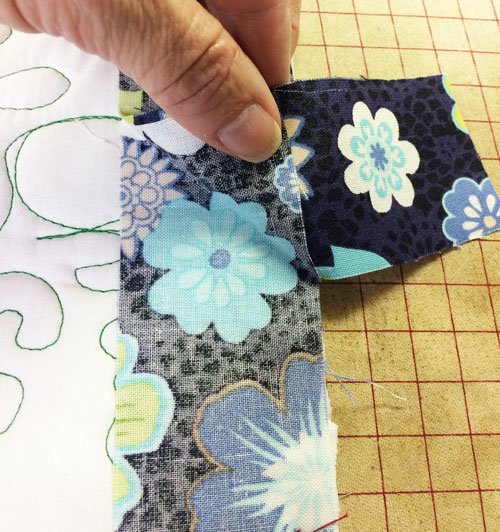
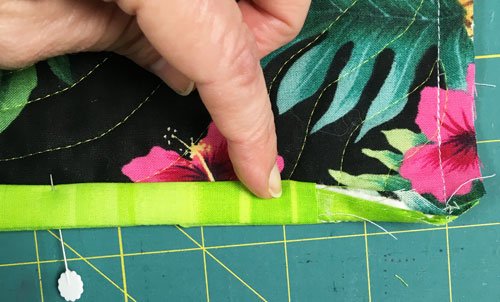
• Turn the quilt over to the back and pull all the side strips out along the edges.

• Beginning at the end of one strip, wrap the strip to the back tightly around the outer edge of the quilt.
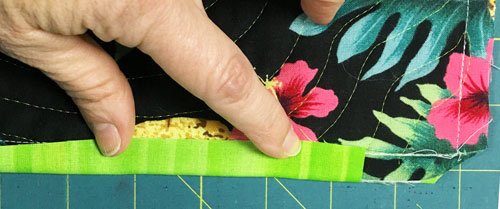
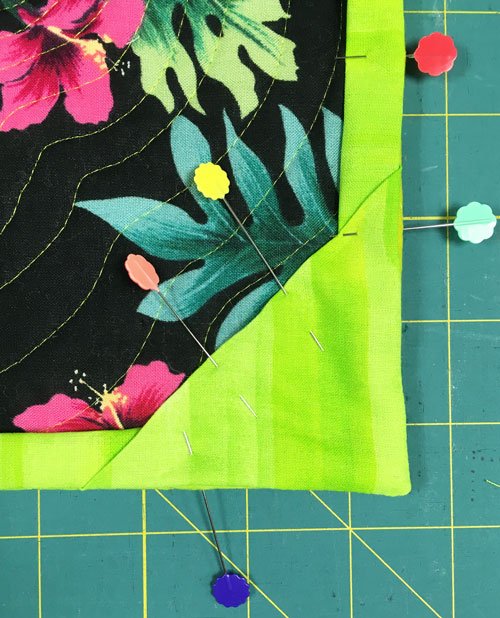
• Then fold the facing to the back of the quilt leaving the seam at the quilts edge. Pin and continue along the entire length.
• Repeat for all four sides.
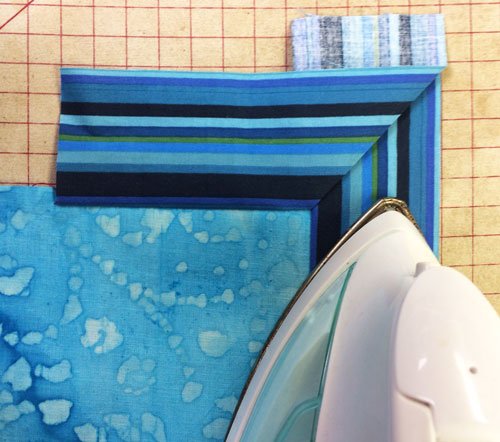
• Turn the corner pieces to the back of the quilt. Push out the corners so they lay flat and sharp. Pin in place.
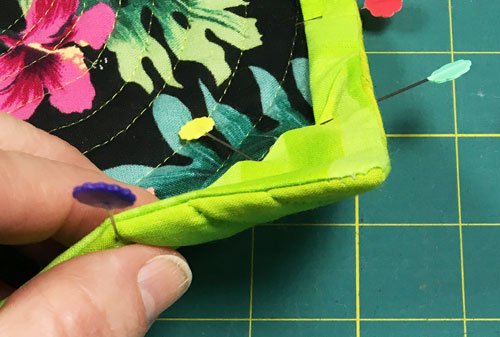
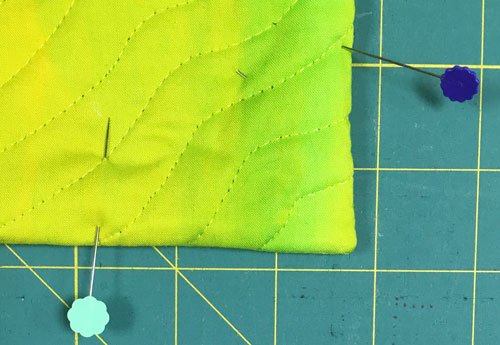
• Hand-stitch the facing to the back of the quilt.

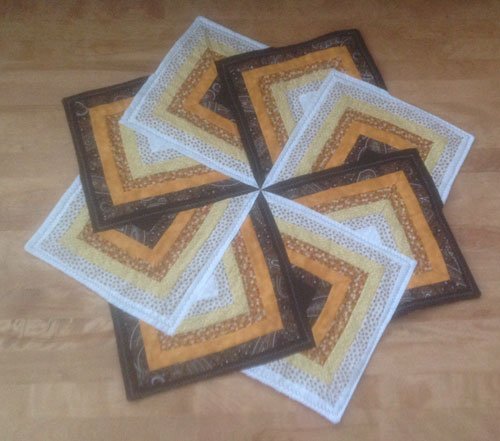
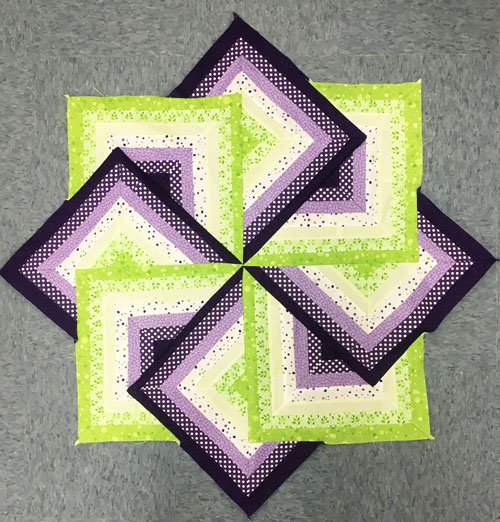
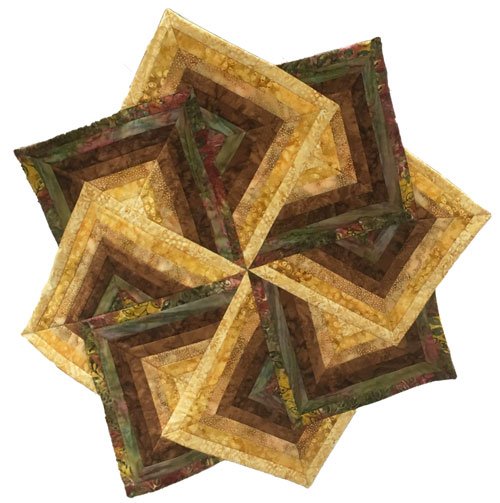
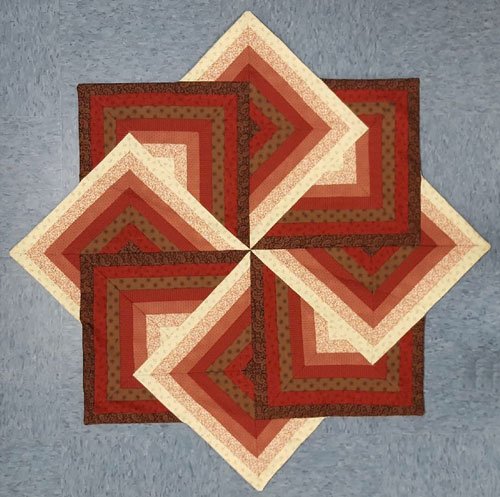
This technique isn’t for every quilt, but it’s a good one to have in your toolbox when you need it 😀 !
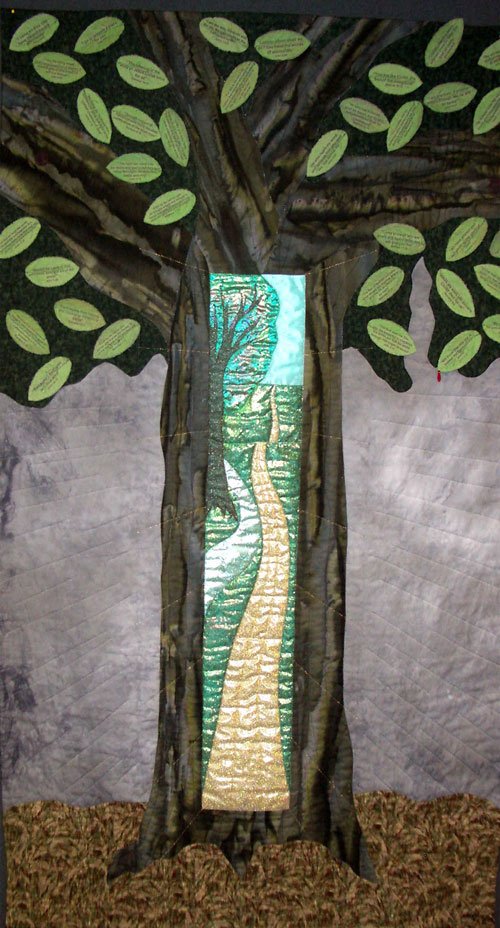
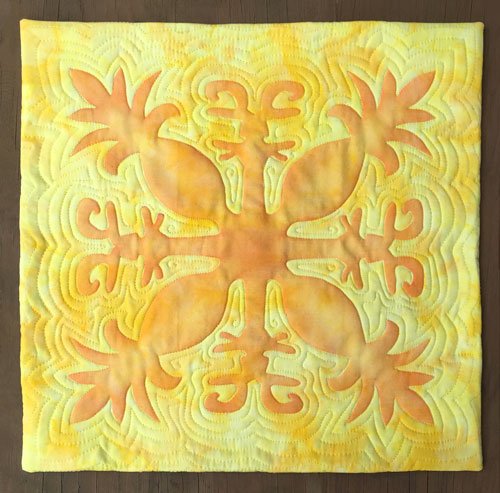
And here’s a quick peek at two other Hawaiian quilts I’ve made. The first includes pineapples and my initials (CLK):
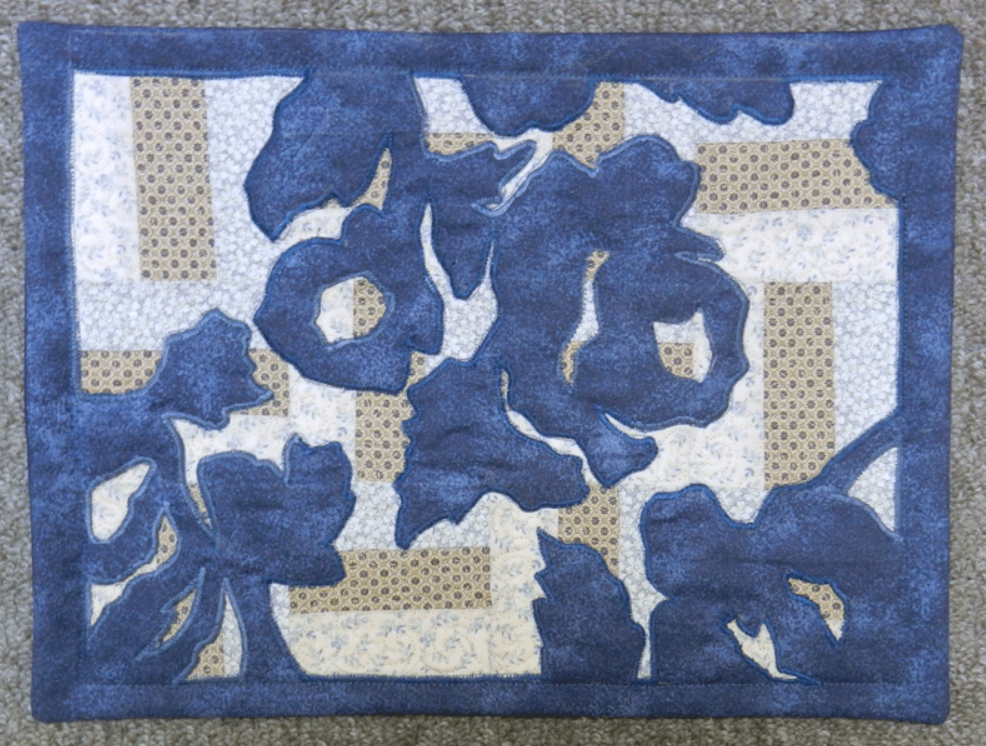
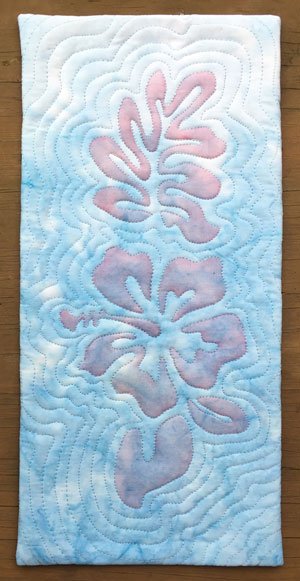
And this one is a small hibiscus flower quilt – just because it’s pretty (no initials or repeated designs):
They’re like potato chips – I can’t stop making them!
And I discovered an added plus – it’s quite simple to use one of the corners on the back of the quilt as a label!

I apologize for this post being a bit lengthy, but I’m hoping you found it interesting and worthwhile.