In February I shared a number of posts on some great uses for School Glue while quilting. I was very excited with how it worked for finishing the ends of my quilt bindings (click here to read that post), but I’ve found another tip that makes it even easier!
When sewing my binding ends together the lazy girl in me hated to stop when I was almost done to heat up the iron and press the glue dry. What to do?
Head to the store for another must have notion – “Wash Away Wonder Tape™”!
Once you have the tape the hard work is over. Prepare to be amazed 🙂 .
This works for single or double (French) binding (my example is done with a double binding). Sew your binding to the quilt, Beginning about 8″ from the end of the beginning tail, leaving at least 12″ open between the stitching of the tails, and leaving 8″ of ending tail open too – with a good overlap.
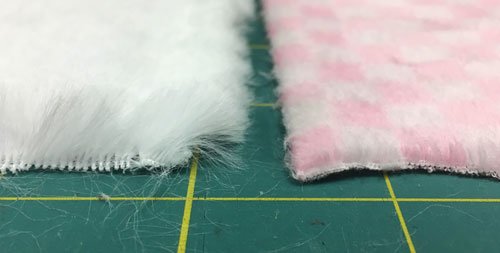
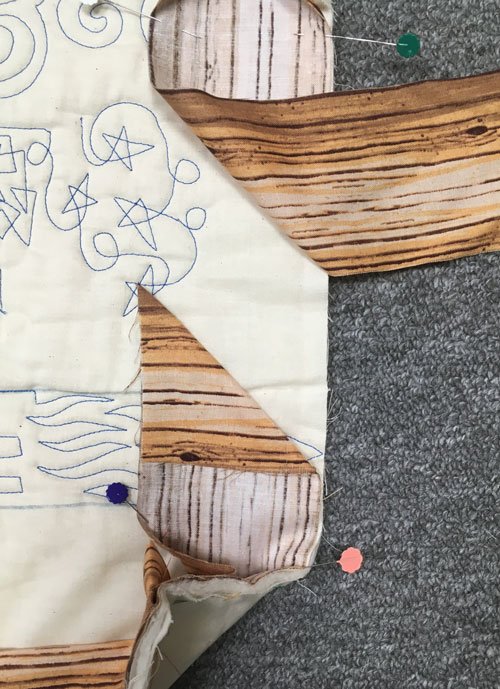
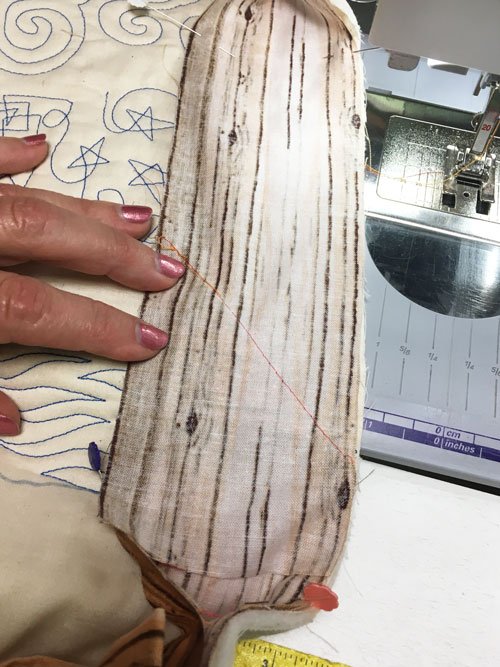
Because I made a double binding, I need to lay it open against the quilt to connect the ends. This works best if I pin the tails flat against the quilt (the corners of the quilt may “cup” up to allow for the opening of the tails).

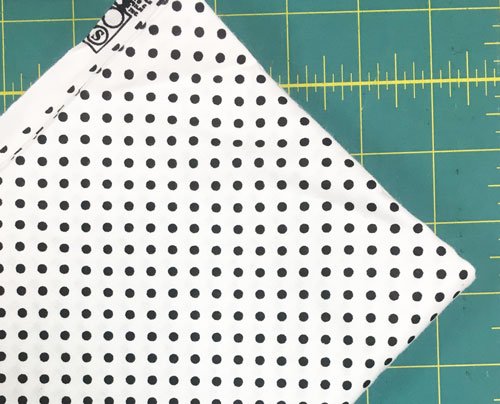
Fold the end of one tail at 45° and finger press.
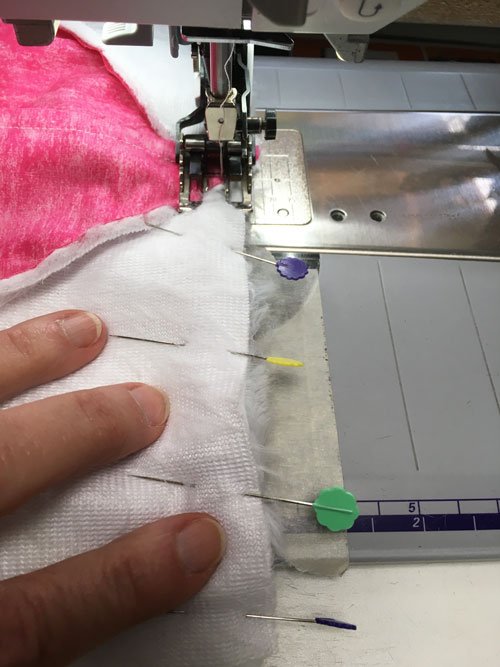
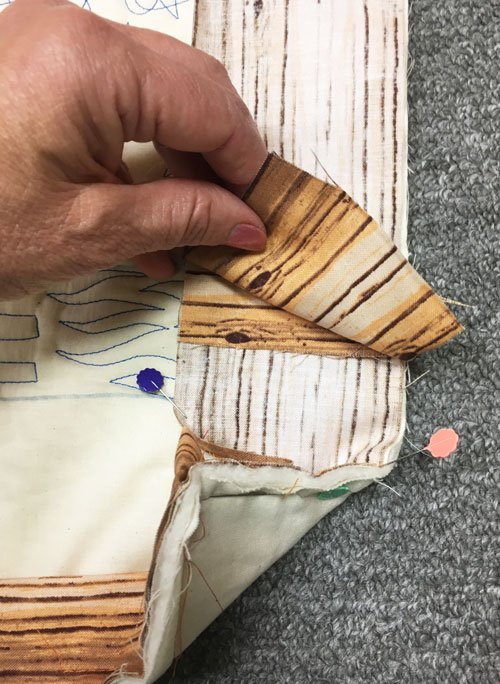
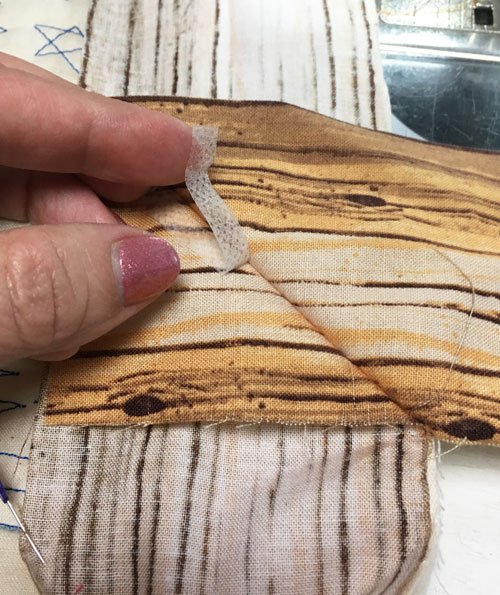
Cut a length of tape just a bit shorter than the angled edge, and affix the tape, paper side up.

Remove the release paper,

and lay the other tail smoothly in place, rubbing over the tape to secure it to both tails.
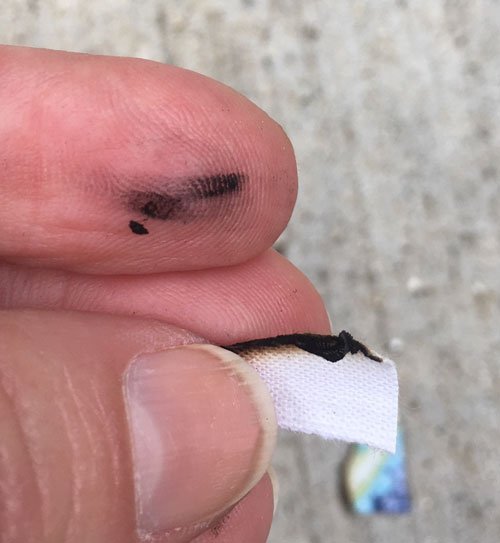
Pull the ends back to reveal the crease,
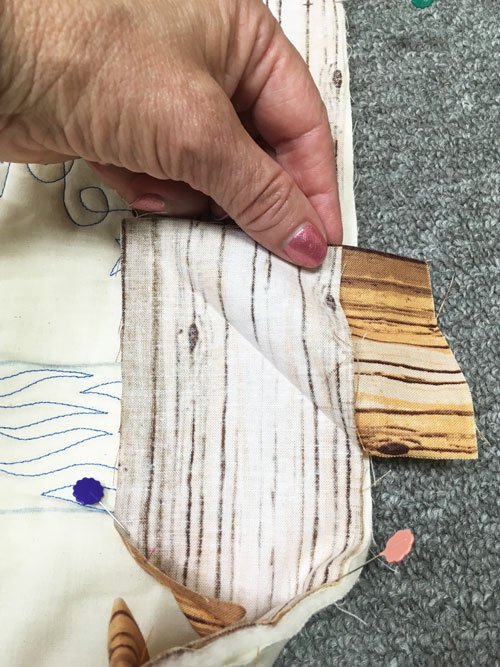
Carefully take it to the sewing machine and stitch in the crease.
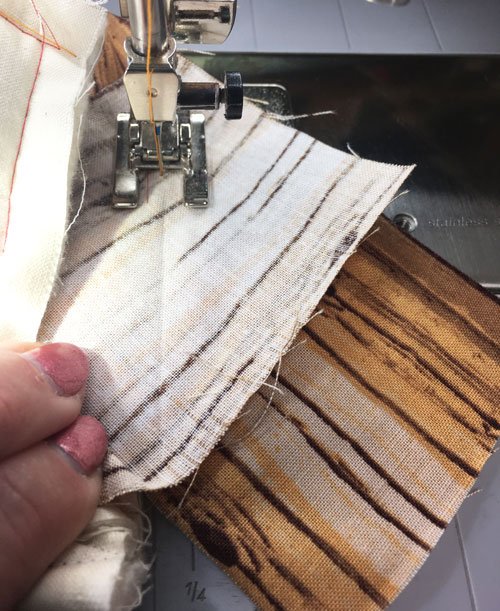
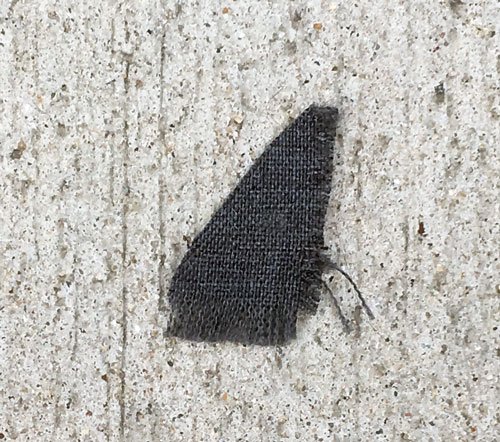
Lay the binding flat against the quilt to be sure it fits.
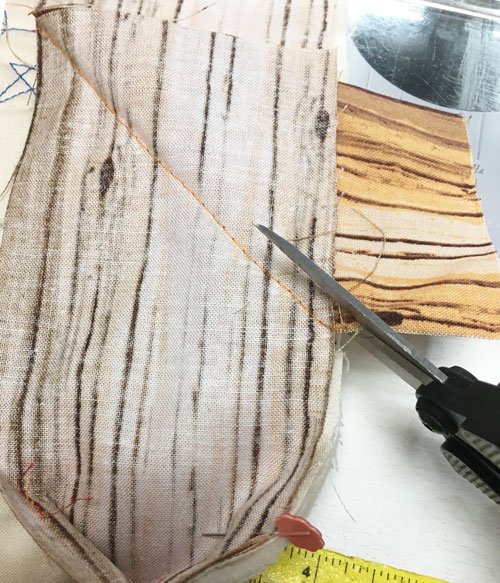
Because the tape is wash away, you can skip this next step, but I liked the idea of pulling apart the end tails before you trim them and peeling away the tape. Now it’s gone and I don’t need to worry about washing it away.
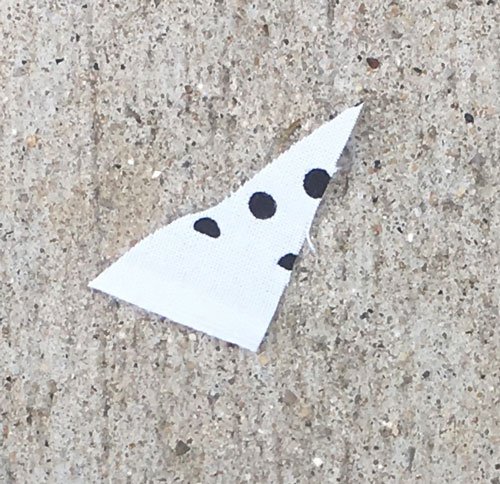
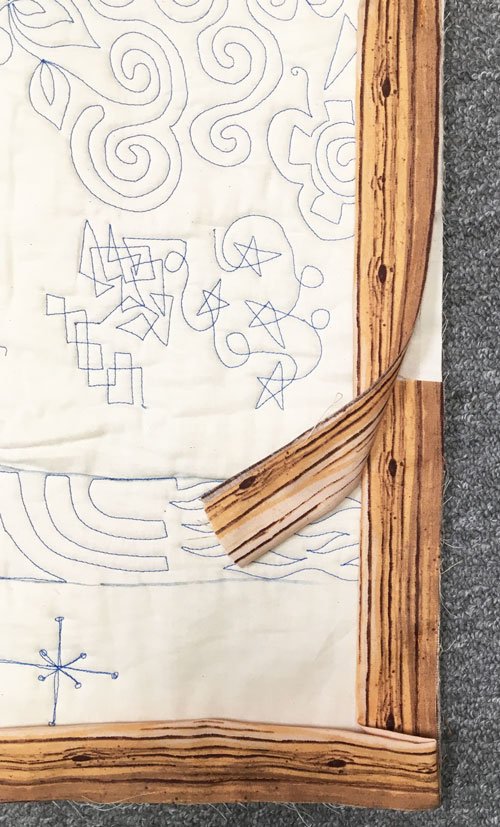
Trim the tails 1/4″ from the seam.
Remove the pins, lay the folded binding back against the quilt, and stitch in place. Viola!
I still love the School Glue for matching fabrics and mitering borders, but I think this is the quickest and easiest way to finish the ends when binding. I’ve done it many times already and I think it’s pretty close to foolproof. Please give it a try and let me know what you think.
*************************************
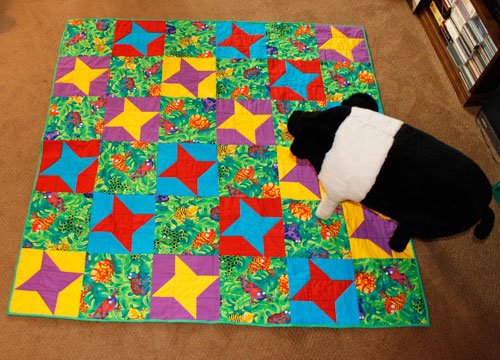
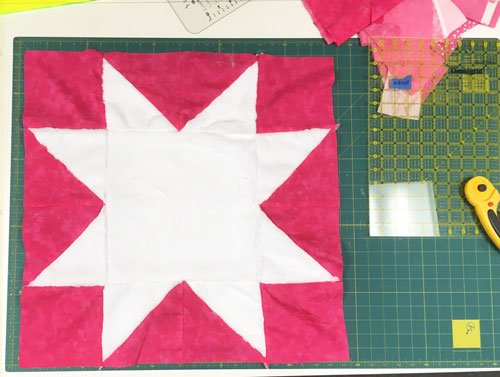
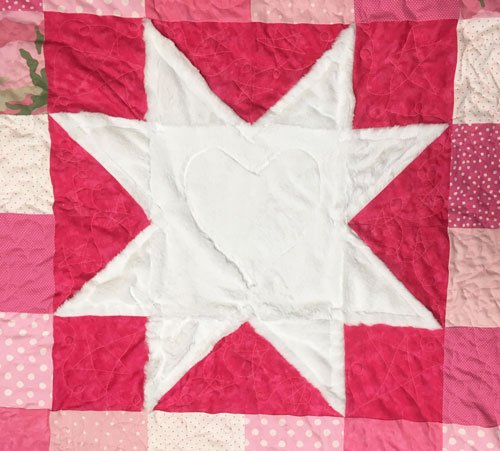
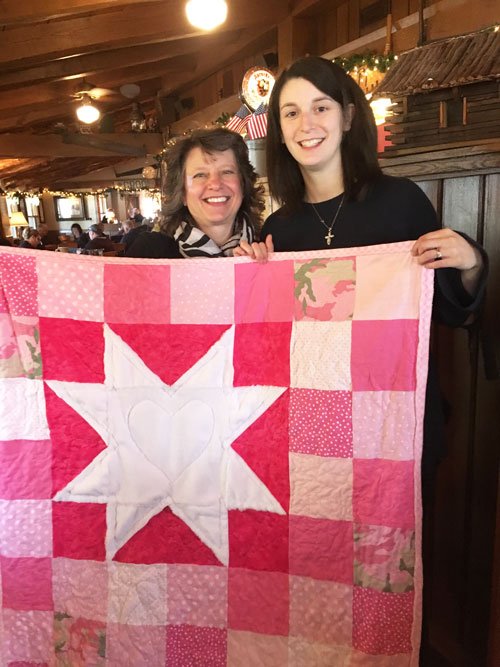
And one more note. In last week’s post I shared Anne’s email address for instructions on her Serendipity Star. The address was incorrect. I have corrected it in that post, but I wanted to share the correct one here also: .
Thanks again Anne – for your generosity!