• Skip to main content
  • Skip to primary sidebar
  • Skip to footer

  • Home
  • About
  • Gallery
  • Classes
  • Trips
  • Books
  • Blog
  • Contact
  • Sign Up For My Blog

Blog

An Open Door

June 22, 2025 11 Comments

I had a unique speaking opportunity back in early April. I usually speak and teach for quilting groups ~ and I love it! Sometimes I even have the chance to share some of my antique quilts with historical groups. And there have been just a few times where I’ve been asked to share my quilts as well as my faith journey, and how God has worked through both.

Every Spring my church has a delightful ladies retreat with other churches in our fellowship in Wisconsin. We all meet up at a conference center on Green Lake. It’s an area filled with so much natural beauty.

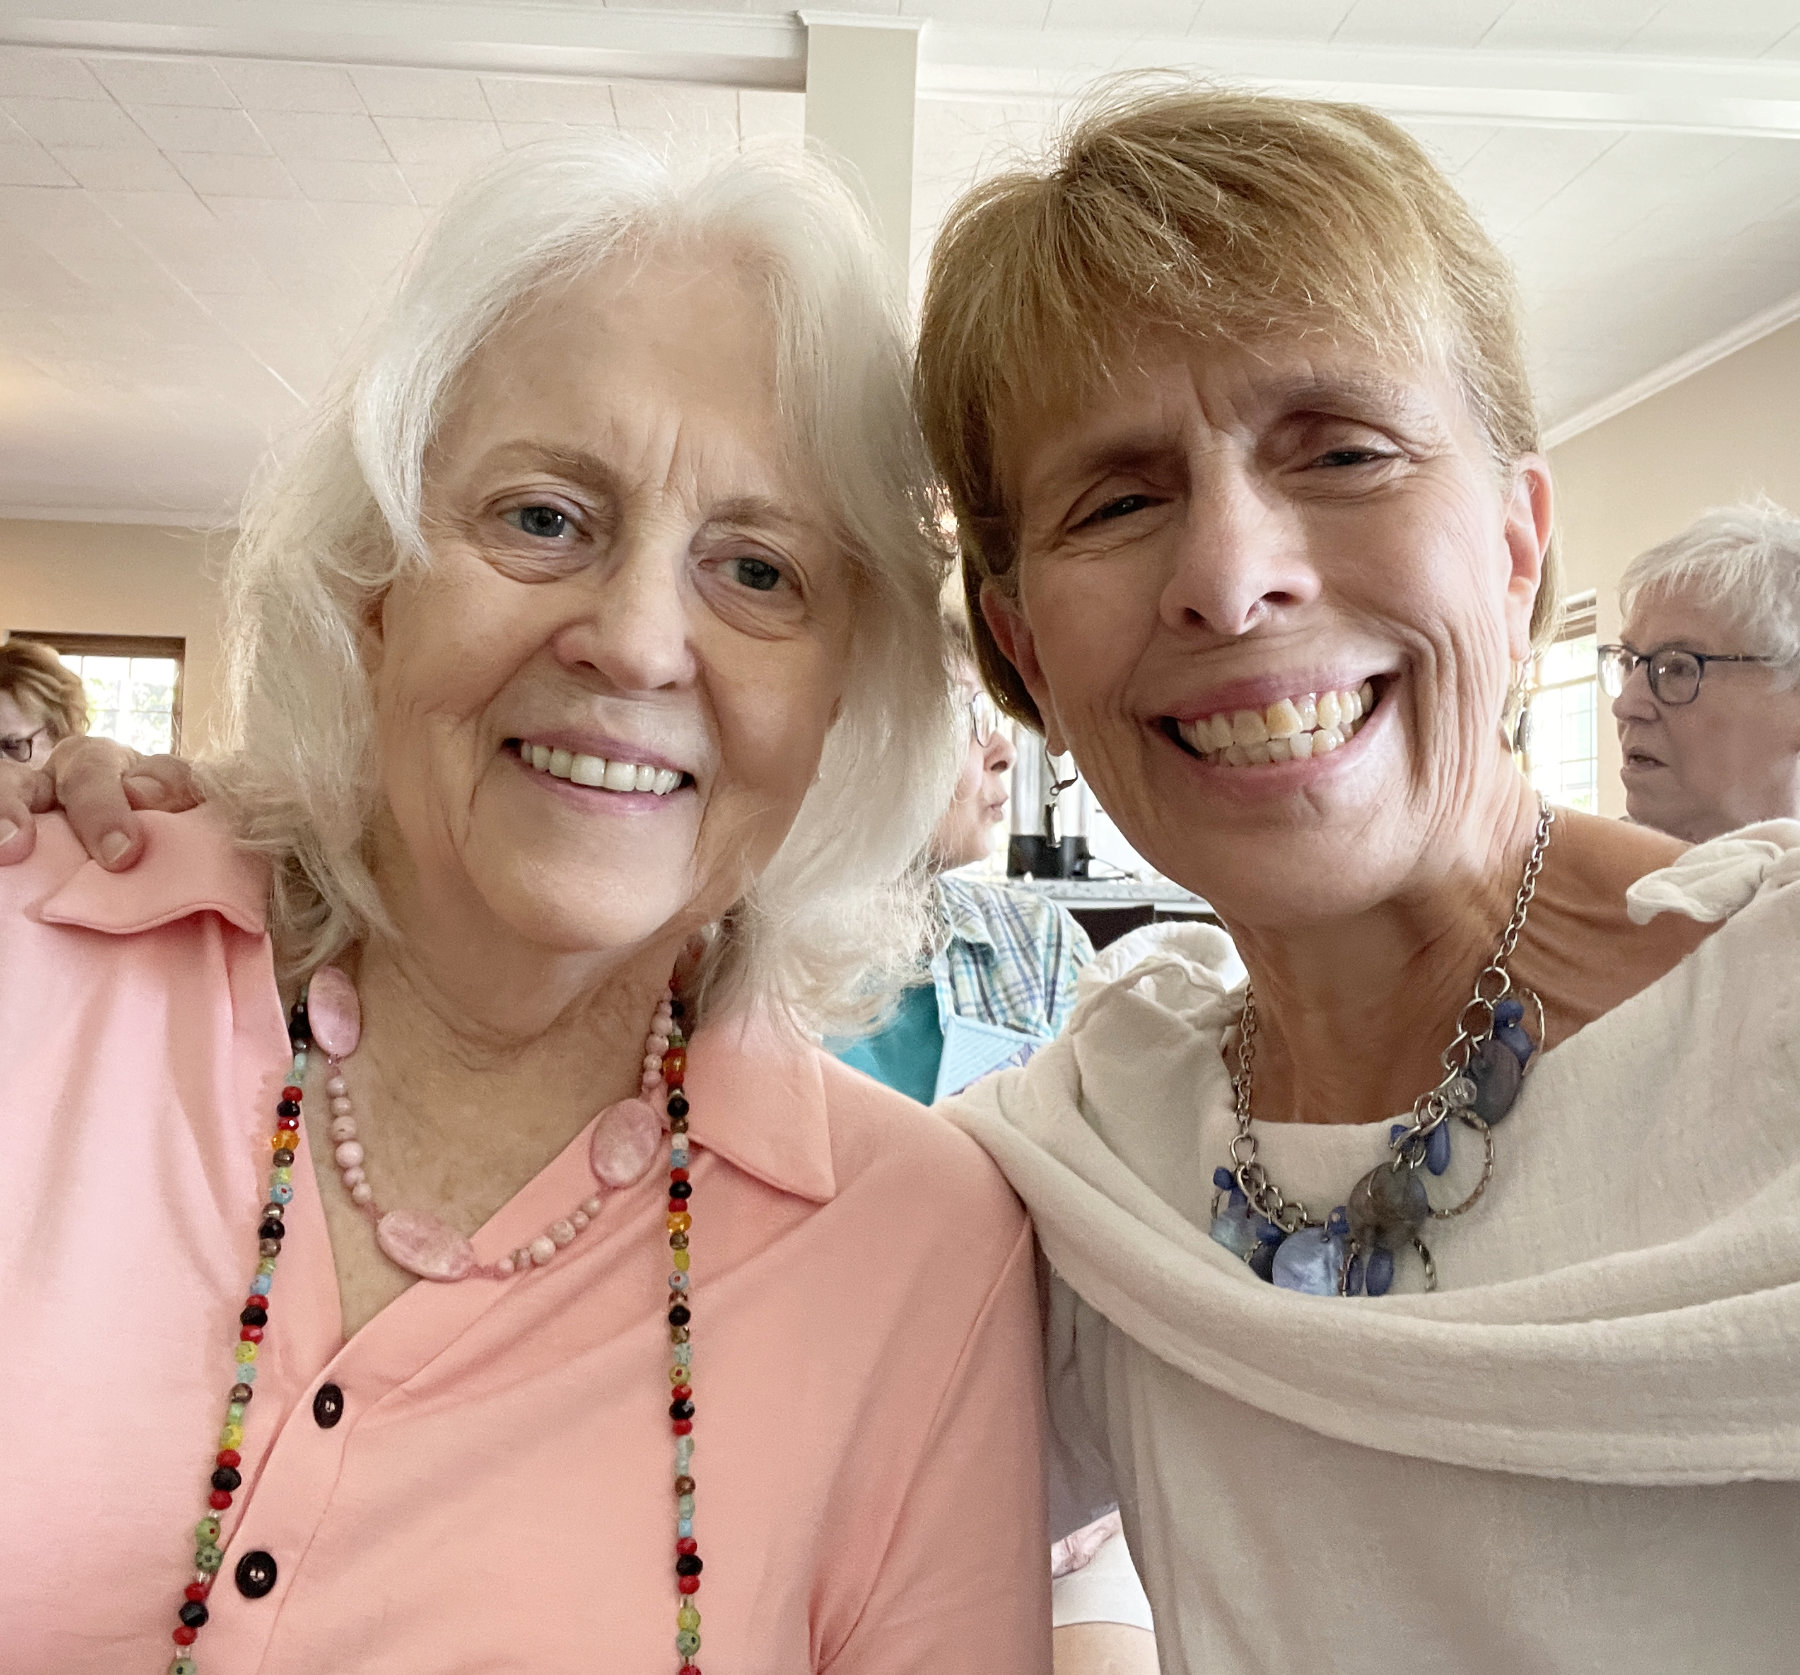
This is one of my favorite photos from a previous Ladies Retreat. My friend Margaret and I enjoyed this delightful statue in front of the main hall.

Over 600 women (and a few men who help out) arrive for fellowship, learning, food, and fun all focused on Christ.

There is usually a main speaker, and a number of others who do smaller break out sessions. Miriam and Rebecca are a mother/daughter team who shared the main speaker spot together this year. They were a wonderful encouragement to me in many ways.

As were all of my friends from church who were able to attend.

This year’s theme was “The Work of His Hands”, and I was invited to be one of the “break out speakers”. What a perfect theme for a Christian quilter!

It was such a blessing to have this opportunity. I began my talk by sharing how I learned to sew as a child, and then moved into how I got “roped” into quilting by my sister-in-law. I know many of you have heard this story.

But then I shared how Jesus saved me during the lowest point in my life, and how he used my new faith and quilting to get me through some very difficult times. There came a point in this journey when I realized I wanted to make quilts to honor Him, and the stories of some of those quilts were the conclusion to my talk; like “Into the Light ~ a Journey of Faith”,

And “God is Light and in Him is No Darkness at All”.

I was overwhelmed by how many dear women came up after the talk to tell me that my story was an encouragement to them, as well as the many who said they loved learning things about quilting they never knew. A dear friend actually asked me “what on earth is a feed dog”? 🤣

One of the wonderful things that came of this was that Miriam (our main speaker), whom I’ve known casually for years, asked me if I would bring some of my quilts up for her closing talk and share them with everyone, since many of the attendees weren’t in my session. A week later she invited me for lunch and was so helpful in sharing things I would need to know if I begin speaking to Christian women’s groups. She then invited me to speak to a group of over 40 young women she mentors at Maranatha Baptist University. What joy!

I find it humbling that God can use the difficult parts in our lives to be a help to others who are struggling. I also am amazed to realize how God gives us talents we can use for His glory in ways we previously couldn’t have imagined. And now I’ve been asked to speak and share my faith/quilt journey with women at some of the churches represented at the conference. God has opened a new door of opportunity! I’m praying He will use it for His glory ~ and I’m excited that I can share my passion for quilting with women who aren’t knowledgeable about it, or addicted to it ~ YET!

A Tried and True Beading Trick

June 15, 2025 4 Comments

Last week I had a lovely time speaking and teaching for a guild in Rockford, IL. My friend Lori is the program person there, and it was such fun to spend time with her and the Sinnissippi Quilters. I especially enjoyed sharing my Silhouettes and Shadows lecture with them because the first quilt I show in the talk is my Lake Sinissippi quilt (note the shadows on the pier).

Rockford, IL, our home in Watertown, and my parent’s cottage are all located on a portion of the Rock River; the cottage portion being a dammed up area of the river that formed a lake back in 1845. I began to wonder why the Rockford version of the name was spelled differently from our lake. After an internet search I got my answers:
Sinnissippi in Rockford ~ The Rock River is a tributary of the Mississippi River, approximately 299 miles (481 km) long, in the U.S. states of Wisconsin and Illinois. The river was known as the Sinnissippi to the Sauk and Meskwaki peoples; the name means “rocky waters”.

Lake Sinissippi in Hustisford, WI ~ The lake was originally called “Cranberry Lake”, and then “Hustisford Mill Pond” and “Lake Hustisford.” Later, the name was changed to “Sinissippi”, from an Algonquin phrase, “sin sepe,” which means “lake-like river.”

Either way, it was fun to share this quilt with them. My other lecture was also well recieved, and they had a wonderful system set up for the lecture to be seen live and via Zoom.

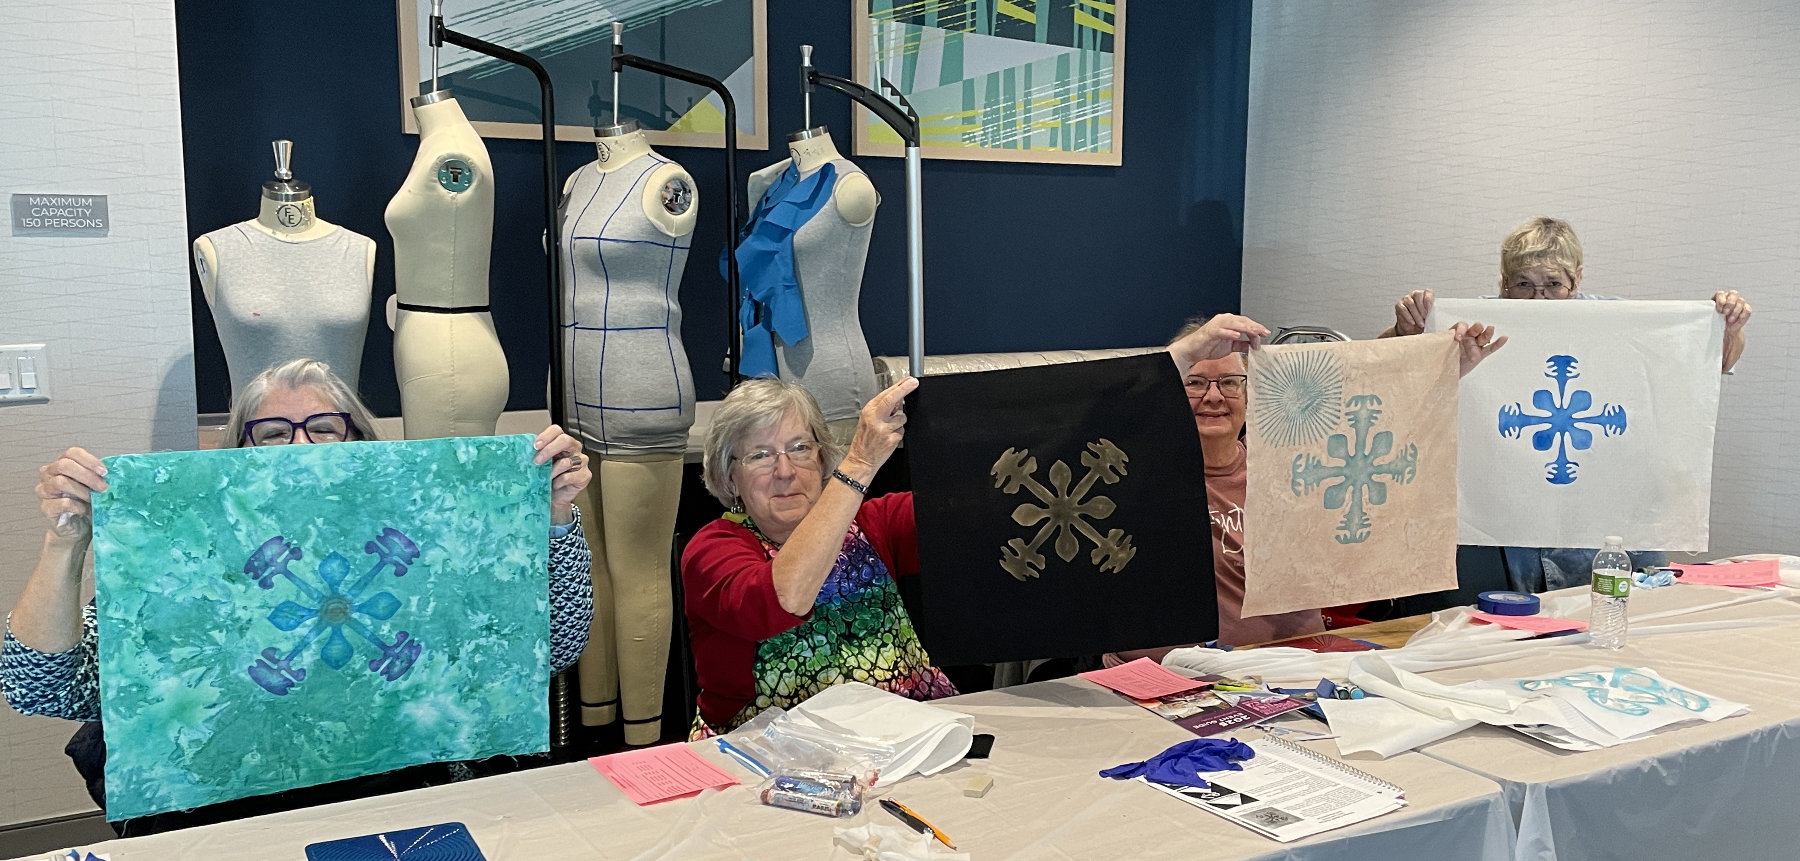
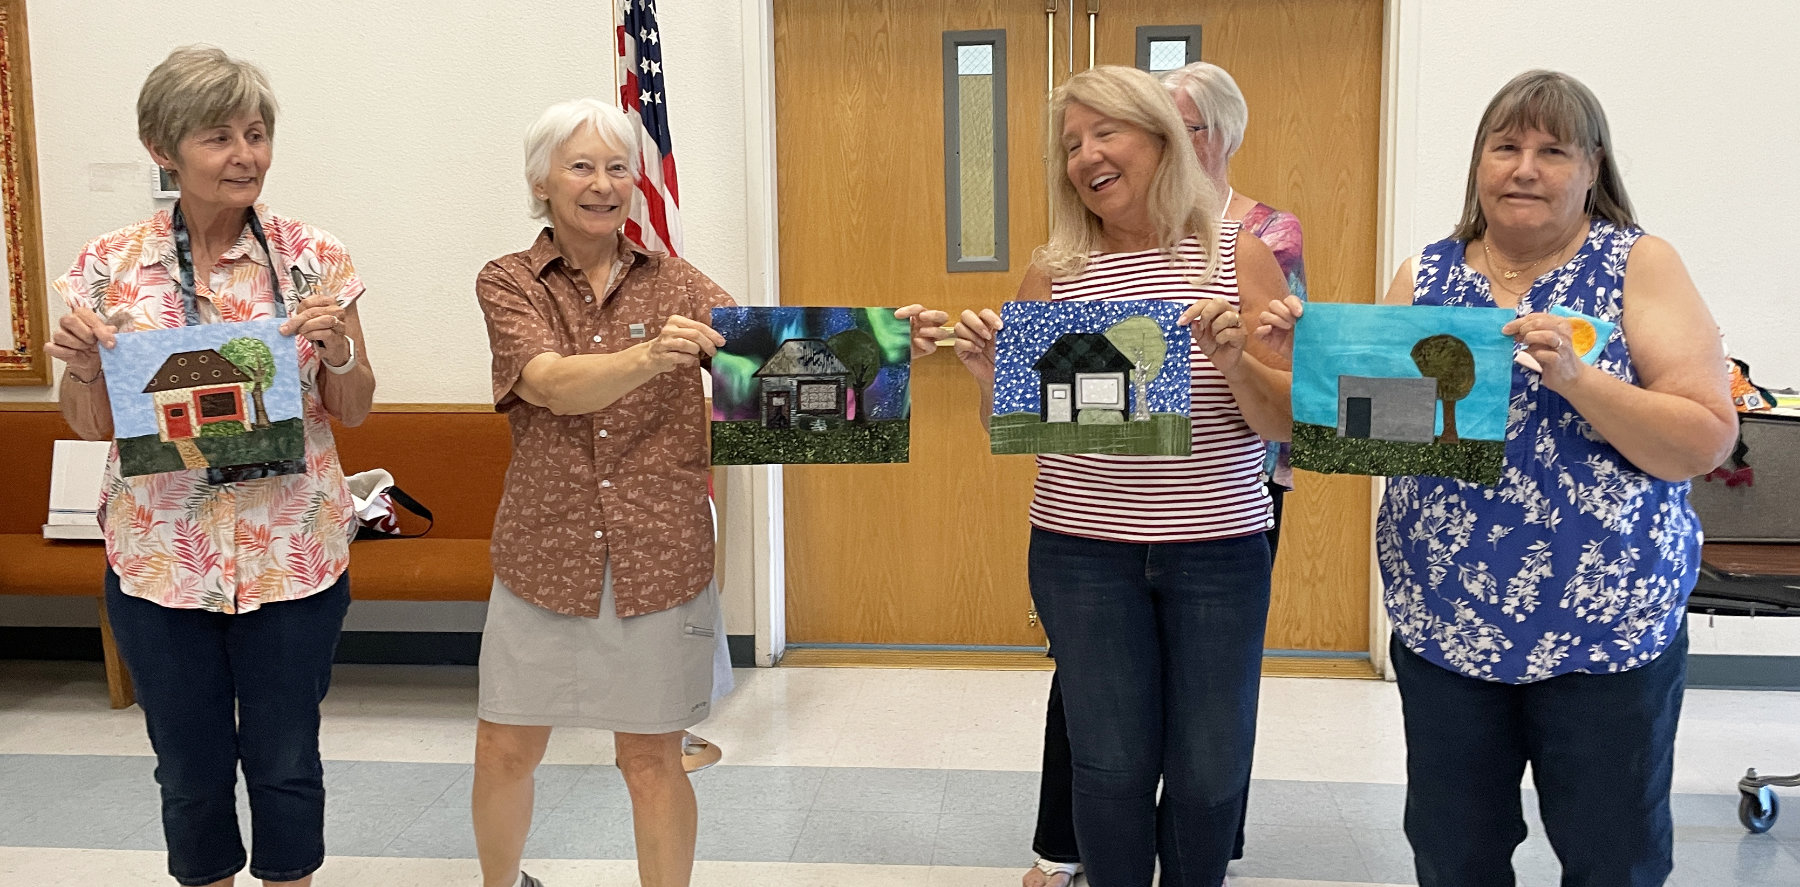
The next day I had a fun group join me for my “Where Do I Start With Fiber Art” workshop. We had such a good time that I couldn’t resist doing a collage of each of them with their art in progress:

Thanks ladies!

Towards the end of the class, I did a demonstration on some of my beading techniques. As I was sharing my favorite one, I mentioned that it had been featured in an article in AQS magazine many years ago. I looked it up and, since I have a lot of new quilters on my blog, I thought it was time to repost it. I call it “Well Behaved Beads”! Here goes:

Trying to pick up tiny beads that are sitting on a table, with a tiny needle, which is tethered by a thread to your work, can be aggravating. Years ago I came up with a way to make those beads behave and have them a lot closer to my work surface. These techniques are included in my book “Where Do I Start With Fiber Art” along with other beading tricks and information (click here to purchase a copy of that book).

The magic tool is clear mailing tape! And it’s really quite simple:

When the Lord dropped this idea into my brain, I was working on a project that was using a mixture of beads. I decided to sprinkle the beads on my quilt, near the area I wanted to bead, and placed a 2″ length of mailing tape over the loose beads. This held them to the quilt so they couldn’t run away. Once my needle was threaded and I was ready to begin, I rolled the tape back onto itself so a few beads came to the top.

I was then able to touch the tip of the needle to the hole in a bead and – it hopped right on! I stitched it to the quilt and continued unrolling and beading until I was done, or I had to stop.

If I stopped before I was finished beading that area, I simply rolled the tape back down against the quilt to capture the loose beads and went about my business until it was time to bead again.

Hint: If it’s going to be more than a couple of hours before you get back to the beading, I recommend rubbing the beads off the tape and into a container as they will get sticky if left on the tape too long (ask me how I know 😊).

After beading in this fashion for a while, a new idea hit! I could use the tape to keep the beads behaving and precisely where they’re needed by wrapping the tape around my finger:

1.  Wrap a piece of mailing tape, sticky side out, around the forefinger of your non-dominant hand (i.e. left, if you’re right handed).

2.  Pour the beads you’re working with onto a flat surface and dip your taped finger into them.

3.  Knot your thread and bring it up through the quilt where the first bead needs to go, touch the tip of the needle to the hole in a bead and it will hop onto the needle. Stitch that bead to the quilt and repeat.

Voila! Beading can be done in the doctor’s office, at kid’s sporting events and even in a moving vehicle. One of the best advantages of this technique is that the beads are close to the work area and so, as the thread gets shorter, the beads are still easy to reach. Also, the tape tube can be pulled off your finger if you’re called away, and slipped back on when needed.

I hope you’ll give it a try! Please send comments or photos if you do.

**************

And one more thing…

Marie was in my class in Rockford and before I even had this post ready to go she sent me a photo of the FINISHED art quilt she made in class.

It’s always so much fun for me to see what a talented student does with the techniques from my classes. Great job Marie!


Words on Quilts

June 8, 2025 5 Comments

I’ve had a lot of fun using words in kid’s quilts over the years ~ and I even wrote a book about it.

Snuggle and Learn Quilts for Kids, by Chris Kirsch

Recently the ThreadBenders had a small challenge that invited members to make a quilt using a word or words in some way. Whenever I take this type of challenge I like to come up with new ideas and try different techniques so that it becomes a learning experience. That was the case this time, so I didn’t use the Repliqué technique from my book, but rather I decided I would hand embroider my words. The question then became ~ which words??? As I often do, I prayed about it, asking the Lord for ideas that would honor Him. I’m never disappointed with this method 😊.

And what words came to me? The”Fruits of the Spirit” from Galatians 5:22-23. So I grabbed some fruity colored fabrics, wrote the words on them, and took them along to embroider while traveling to and home from Paducah.

A week before the challenge was due I decided I’d better make those words into something. Hmm. Well ~ fruit is often round, so I found my Perfect Circles™ templates and followed the included instructions. I’ve used a running stitch to gather fabric around a template before, but this method recommended “painting” the seam allowances of each circle with starch after gathering the seam allowance to the back, and then pressing with an iron to set the crease. It worked great!

Once they were made I wondered what I should do with them. Hanging them from a tree branch seemed pretty obvious. And what’s wrong with doing the obvious? I had a delightful fabric in my stash that was printed with Bible verses about love, and fusing the branches to it was simple enough. I pinned a few different arrangements to my design wall, adding leaves as I went.

The leaves were then fused in place, and the fruits were appliquéd with invisible thread and a very narrow zig-zag stitch. I set the machine with a 1 width and a 1 length,

making sure that the needle went into the background only on the right, and into the edge of the circle appliqué on the left.

Here’s a close up of the stitching. It almost looks as good as hand-appliqué.

After the fruits were attached I decided I wanted them to puff a little, and I had an idea for how to add a bit of trapunto. First I trimmed out the background fabric circle from behind an appliqué, 1/4″ from the stitching.

That became my pattern for cutting out a batting circle not quite 1/4″ wider than the circle.

This was tucked under the appliqué, and repeated for each circle.

Til they were all “stuffed”.

Now it was time to layer and quilt. Free motion quilting in the background around each circle made them puff nicely. And I had a lot of fun stitching veins into the leaves. A gradation fabric made for the perfect binding, and it was finished in time for the ThreadBenders meeting this month.

It was such fun veining the leaves.

And even more fun seeing what “words” my friends used in their quilts. To see those quilts please click here, and enjoy!

A Very Special Quilted Book

June 1, 2025 9 Comments

While in Janesville last month I met a delightful young woman and her grandmother. As I remember the story, Aria wanted to make a fabric book, and her grandmother was more than happy to help her. She wrote her story and then the stitching began.

During show and tell at the meeting her grandmother Char got up and told us about Aria, and that her book had won two ribbons at a local quilt show. Then… Aria read her book to us all. What a special experience! I was thrilled when she agreed to let me share it with all of you.

While reading she told us with a smirky smile that the the fact that her grandma Char taught her to sew, and she has a cat named Gizmo, had nothing to do with the story. Sew – here’s my favorite photo of the evening ~ Char and Aria together with her book!

I’m quite sure you’re all glad you read my post this week 😁! Thanks again Aria and Char! We can’t wait to see what you come up with next!

***************

Also…

In the Mariners Compass class the next day Cindy showed me some compasses she found on a free table at their guild and asked me what she should do with them.

WOW! They’re gorgeous! I suggested she make miniature compasses to place in the center of each ~ and she gave me a look I’m sure you all can imagine 🤣. I’m still noodling on it. Any suggestions???

***************

And one more thing…

Last week I was once again invited to hang my quilts at a local business for the Watertown Arts Council’s Art Walk on Tuesday May 28th. Mike helped me hang the quilts in the Main Street windows at Hafemeister’s Funeral Home on the 27th,

so I didn’t have photos to share until this week. It’s a lovely display space, but the etched windows aren’t great when it comes to taking photographs of what’s inside.

The quilts will be up until Tuesday of this week, so please stop by for a look if you’re in the area.

A Bittersweet Reunion

May 25, 2025 8 Comments

A while back I shared the sad news of my dear friend Evelyn’s passing. I enjoyed sharing stories of the fun we’ve had together over the years. If you’re new to my blog and you missed that post, please click here (when you go there you may have a deja vu moment because that previous post begins with this same photo 😊)

In February Evelyn’s daughter Gwen contacted me with the news of Evelyn’s passing, and we’ve been in sweet communication since then. Gwen asked me if I wanted any of Evelyn’s quilts, and she graciously offered to let me keep the quilt Evelyn and I made together ~ Intragalactic Journey (aka Out of the Bathtub). What a generous and wonderful gift!

Shortly after that conversation she texted me to ask if I’d like Evelyn’s collection of Quilt Sissies (a quilter’s version of Flat Stanley). I immediately said “yes”. In that previous post I shared the story of Evelyn’s Quiltilly and my Quiltina. After the ransom note adventure Evelyn made a second doll, and then she inherited her sister Hazel’s Quiltzilla when Hazel passed away. No one else would appreciate them like I would, and it was an exciting day when they arrived at my home.

As soon as the box was opened I took them down to my studio to be reacquainted with my Quiltina. They were so happy to see each other, and began playing around my sewing machine.

This quilters doll thing is contagious (and maybe getting a bit out of hand 🤣), but the story continues. Last year my friend Lori met Quiltina in Paducah. This year her own version, Scrappy Flat Florence, joined us. The two dolls became fast friends. After our lunch at Flamingo Row this year

Flat Florence (on the left) went missing. Lori searched our quarters to no avail. What a relief to find her hiding in one of Lori’s class bags at the convention center the following day.


 So much silly fun! And I thought this post would end here, but as I was packing up to teach in Janesville last week they all snuck into my suitcase. I had a wonderful time with this delightful guild, and the dolls were a big help while setting up for my lecture (just see if you can spot all 4).

And, as always, Evelyn’s Quiltilly kept clowning around:

But it is fun to have them travel with me.

They are a wonderful gift, and a fun way to keep Evelyn’s memory alive. I know she would love it!

PS The jacket I made with Evelyn for my trip to Japan (and posted about previously) has gone missing. I’m not sure where I left it, but it may have been when I shared my “Gone to the Dark Side” lecture in Endeavor, WI. If anyone has seen it please let me know.

Woodland Spinstar

May 18, 2025 5 Comments

For years I taught a class I called Spinstar. It was my version of a “Stack and Whack” pattern, and it was very popular.

Then my friend Ruth showed the Fiberistas how to make a different version of Stack and Whack called One Block Wonder, and ever since I’ve been hooked on making these fun blocks. In fact, one of my recent quilts was made for my friend’s new little one, Nathan (click here to read about that quilt). A few weeks ago I got to meet him and give him his quilt and book.

The technique Ruth taught for fussy cutting the triangles worked quite well. I decided to use it for a Spinstar baby quilt I’m currently making. It’s for my cousin’s daughter who’s expecting in June. The theme is woodland creatures. So, a few weeks ago, while on a trip to Portage, WI to visit our accountant, we stopped at the Welcome Home Sewing Center.

I posted about this great quilt shop in Portage last year (click here for that post), and I knew I wanted to return.

Diane and her staff are delightful! And her fabric selection is great. They were having a 10% off all fabrics sale while we were there plus ~ they had a special offer going on that is uniquely their own. It’s called “crack the wrap”. If you find a bolt you like that hasn’t been unwrapped yet. They will crack the plastic wrap and give you a discount depending on how many yards you buy. I couldn’t resist purchasing 3 yards of a beautiful turquoise floral, and I got a fourth yard free! What a wonderful deal!

I also found a sweet woodland animal print for the baby quilt, and some nice coordinating fabrics to go with it. None of these were in the wrapping, but two of them were the end of the bolt so I got 15% off! WooHoo!

My favorite part of making the spinstar blocks is laying out the identical triangle stacks to see the patterns they create.

By laying some of them on the different background fabrics I could determine which one to use.

Mike and I both preferred the blue. I began sewing the blocks together and was having trouble getting my seam allowance to be even. I don’t know if you’ve experienced this, but I’ve had it happen before and I remembered what to do. I’d been stitching something that required my open toe presser foot, but when I went back to precision piecing I needed to put the basic closed toe foot back on. That did the trick!

I finished the quilt in time for the shower, and I was pleased with the results.

I even found a sweet book to go with it at a Ladies Retreat I recently attended. The author had a table there, and I couldn’t resist her stories that teach lessons from the Bible!

I wrapped it all up and gifted it to Kirstin at her shower. Shortly thereafter she sent me this photograph of Arthur’s room:

I think she liked it 😊! I can’t wait to meet this new little one!

A Fun Hunters Star Technique

May 11, 2025 7 Comments

A few months back I posted about the book I purchased from Carla Klop while at her shop in Florida (click here to read that post). I was intrigued by her techniques, especially the one for Hunters star. I’ve made quite a few Hunters Star quilts using Deb Tucker’s technique, and even taught classes on it.

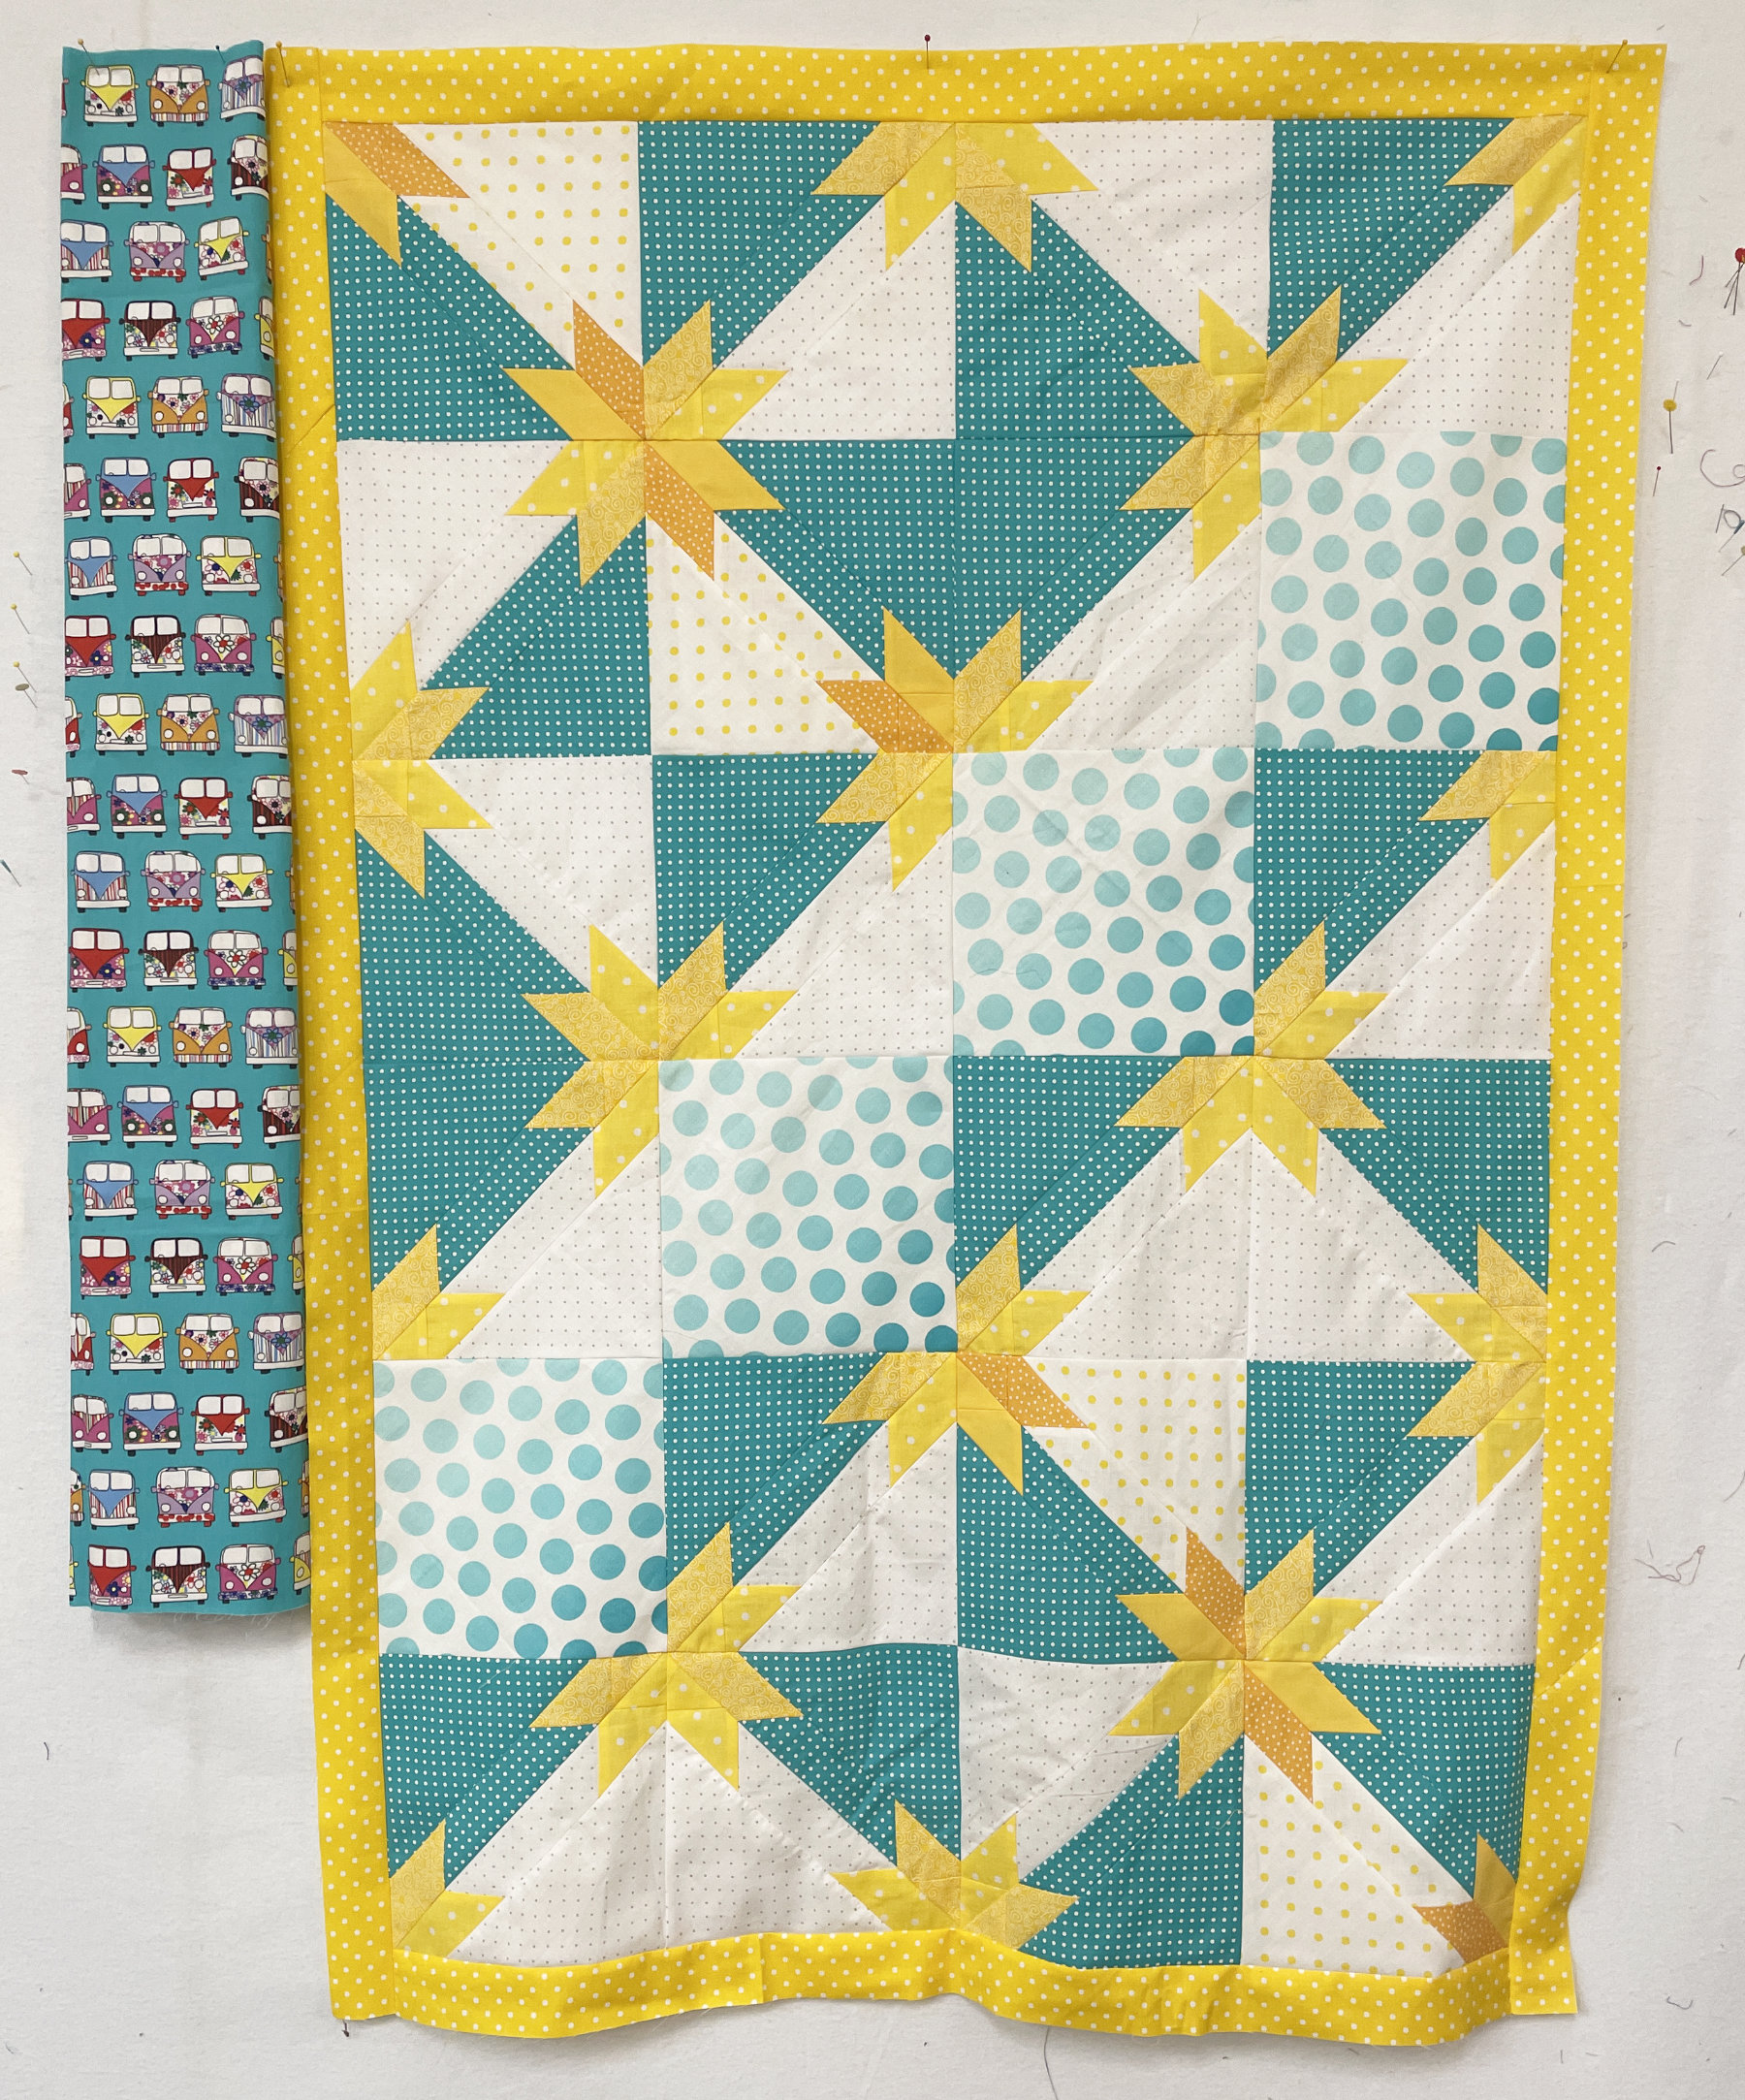
But this method looked even easier. So, I tried Carla’s way and was pleased. While in Birmingham England last August, I purchased a piece of fabric with VW buses on it. Our daughter-in-law likes them, so when I saw this fabric I couldn’t resist buying it, and the dark turquoise pin-dot to go with it.

I grabbed the rest of the fabrics from my stash, and jumped in. Carla’s way is to make framed square blocks, and then cut them three times diagonally (this shows the first 2 cuts):

The narrow middle units then have a triangle of the central square fabric added to them to make a larger triangle. This is repeated in a different colorway, and one of each of the resulting larger triangles are sewn together to make the hunters star block.

The leftover pieces make a fun border. If you want to try Carla’s technique for yourself, I highly recommend her book! She includes all the measurements to make them in many, many different sizes (click here to link to her site).

I loved making the blocks, but there was a problem. I ran out of the yellow dot fabrics (ugh).

So ~ I had to go shopping. Once I had additional coordinating fabric I took it along to Paducah and made more blocks. While there I decided I wanted to do something “outside of the box” with my new collection of blocks and VW bus fabric, but what?!? I had the start of an idea and laid it out on the floor in our flat in Paducah.

As I was making these blocks I realized my rotary blade needed changing (why do we wait so long?!) When I opened the container I discovered that I was down to the last of the ten blade pack, and the oil that the blades come covered with had turned to goo! I’d brought my Magna-dots™, so I placed the blade on the table and rubbed off the old oil with some fresh sewing machine oil on a swab.

The “now clean” blade was put into the handle and it worked great! I hope you found this tip helpful.

I must admit I didn’t have much time for stitching while in Paducah this year, with all the excitement of the show ~ and teaching. I wish I’d taken more photos of my classes, but I’m grateful to have snapped this one. All the students were such a joy!

Along with that pic, I found a few additional photos from the show that might interest you. Here are some I took after we’d taken down the quilts, and helped to roll the art quilts for shipping. These are views most people don’t get to see 😊. The first photo is of the miniatures we had the privilege of pinning into the cases:

And this is how it looked after the show. The quilts are out of the cases and boxed to ship home:

And the curtains are empty.

The show certainly comes down a lot faster than it goes up! And now for two parting images. The first is of a quilter wearing a different version of patch pants from the ones I made for my granddaughter (click here for that post).

And a closing image of Etcetera bubble tea.

Can’t wait for next year!

And Now ~ the Quilts

May 4, 2025 13 Comments

The quilts in Paducah were amazing! And you can view the top prize winners on the AQS website. They’ve shared most of the other winning quilts on their Facebook page as well. Each year, I like to share my favorites here ~ whether they won a ribbon or not 😊.

That being said, “A February’s Dream of Spring” by Laurie Tigner won the Best of Show. It is truly beautiful, but what I enjoyed the most was talking with Laurie about the making of her quilt. She is a sweet and very talented lady, and I enjoyed our conversation.

As I walked past this next quilt I heard Holly Lee Wilson say: “every time you finish a quilt you’re a winner!” She was standing next to her quilt “Richard’s Star”. I love her attitude!

It’s always special when the maker is there to talk about their quilt, especially since AQS no longer prints their stories in the show book. I had taken a photo of Kathy Tolbert’s quilt “Our Code” on a previous walk through. This time she was there and she said that her husband is a ham radio operator, and the colorful design in her quilt is Morse code for the lyrics to Ronnie Milsap’s song “Let’s Take the Long Way Around the World”. Wow – who knew Morse code could be so attractive?!?

There were quite a few pictorial quilts that captivated me. “City of Saints” by Jaimie Davis in fascinating. She put many famous structures from around the world together. From Big Ben to Neuschwanstein Castle, they can all now be found in one place!

“Path of Silence” by Mimi Ghaun-Young is a quiet “slice of place” (my words). I often am drawn to quilts like this, and her shading is spot on.

I loved the colors and design of “The Turning of the Wheel” by Pamela Trantham. Her attention to detail is delightful. Who would have thought to make each border different?

I found “Cabin on the Beach” by Mindy Skinner very interesting. Her log cabin blocks are made up of soft hues that wash together so gently that the overall petal quilting design almost overpowers the piecing. What a lovely effect.

“Melodeon” by Besty Vinegrad also used a creative effect. This time the overall look of the quilt is 3D because the values of the fabrics were changed in each visual column. Well done!

“LifeV” by Noriko Misawa created what I would call a broken line illusion by heavily quilting everything but the dark lines that “fracture” the quilt.

At first glance I thought “Kiwi Peel” by Ben Darby was just an orange peel quilt made up of solid colors. Then I realized that each arced piece was different from the others. So interesting.

Another quilt that used asymmetry and embroidery in a fascinating way was “Spring Dawn” by Yuko Murkami.

“Take a Bow” by Leslie Swearinger made me take a second look. What do you see? If you look closely it’s a ballerina with a 3D bun in her hair 🤔.

“Midnight Magic” by Joanne Baeth was very deserving of this ribbon. I had to get up close to discover the reflections were made with paint.

“Forest For the Trees” by Jane Zillmer is another quilt with amazing attention to detail.

“Blooming Bright” is a beautiful floral quilt by Pat Durbin. I don’t think she’s ever made a quilt I didn’t admire.

And of course there were many amazing traditional quilts. This was my favorite ~ “Bird in a Cherry Tree” by Rebecca Collis. Everything was done very well done.

The design and workmanship was so lovely on the quilt above. “Wild Rose” by Noriko Kido was just as well done, but veered a bit from the traditional in Noriko’s choice of background color. I loved it!

Arcadia Avenue by Clara Cartwright is a fun hexagon sampler that only uses solid fabrics!

And now for something completely different. I think “Retro Living” by Tami Graeber was one of my favorites. It is big – 91″ x 66″ – and such fun, especially if you lived during that time (my in-laws had that couch 🤣).

And just look at the fun color play in “Scrap Maze” by Anthony Bowman.

“Millefleur” by Jan Hutchinson is one of the most amazing whole cloth quilts I’ve seen ~ yes ~ whole cloth! The dark green fabric is covered with a myriad of colorful threads. Beautiful!

This whole cloth quilt with a very different feel was made by my friend Diana Fox. She dyed the background for “Deep Space Nebula”, and then covered it with spectacular free motion stitching.

Last year I stumbled into an art studio in Paducah and met 3 very talented artists (click here for that story). Diana was one of them. I found it again this year, and it was fun to get reacquainted with Diana, Beth and Donalee. They made a quilt together and entered it in this year’s show. It’s called “Whirling Dervish”, and they won a ribbon in the group quilt category. Congratulations ladies!

And now I’ll leave you with a smile. “Happiness” is a triptych by Kathy McNeil, and it is delightful!

What wonderful quilts!!!

  • « Go to Previous Page
  • Page 1
  • Interim pages omitted …
  • Page 5
  • Page 6
  • Page 7
  • Page 8
  • Page 9
  • Interim pages omitted …
  • Page 79
  • Go to Next Page »

Primary Sidebar

Archives

Recent Posts

  • Squirrel Quilts and More
  • Vintage Appliquéd Arrows and More
  • Fascinating Tidbits
  • More AQS – 2026
  • Paducah 2026

Recent Comments

  • TRINDA SUITOR on Chatelaines
  • Jodi Grzeczka on Vintage Appliquéd Arrows and More
  • Sandra R on Vintage Appliquéd Arrows and More
  • Brenda Wathier on Vintage Appliquéd Arrows and More
  • Clarann Zatko on Vintage Appliquéd Arrows and More

Categories

Footer

My Guide

Whatever you do, do your work heartily, as for the Lord rather than for men.

—  Colossians 3:23

Contact Chris!

  • Home
  • About
  • Gallery
  • Classes
  • Trips
  • Books
  • Blog
  • Contact
  • Sign Up For My Blog

Copyright © 2026 · Chris Quilts · Website by Adunate · Privacy Policy