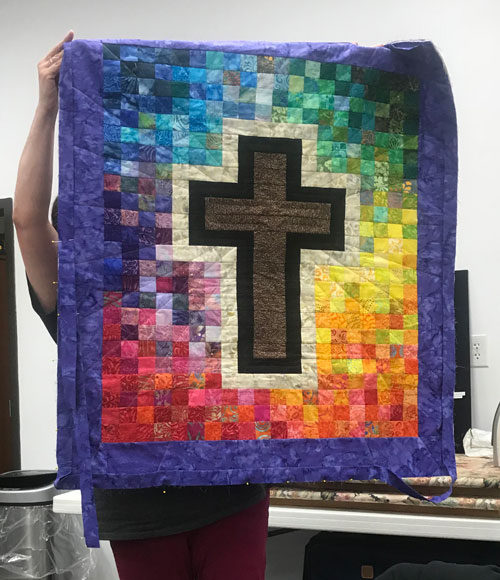
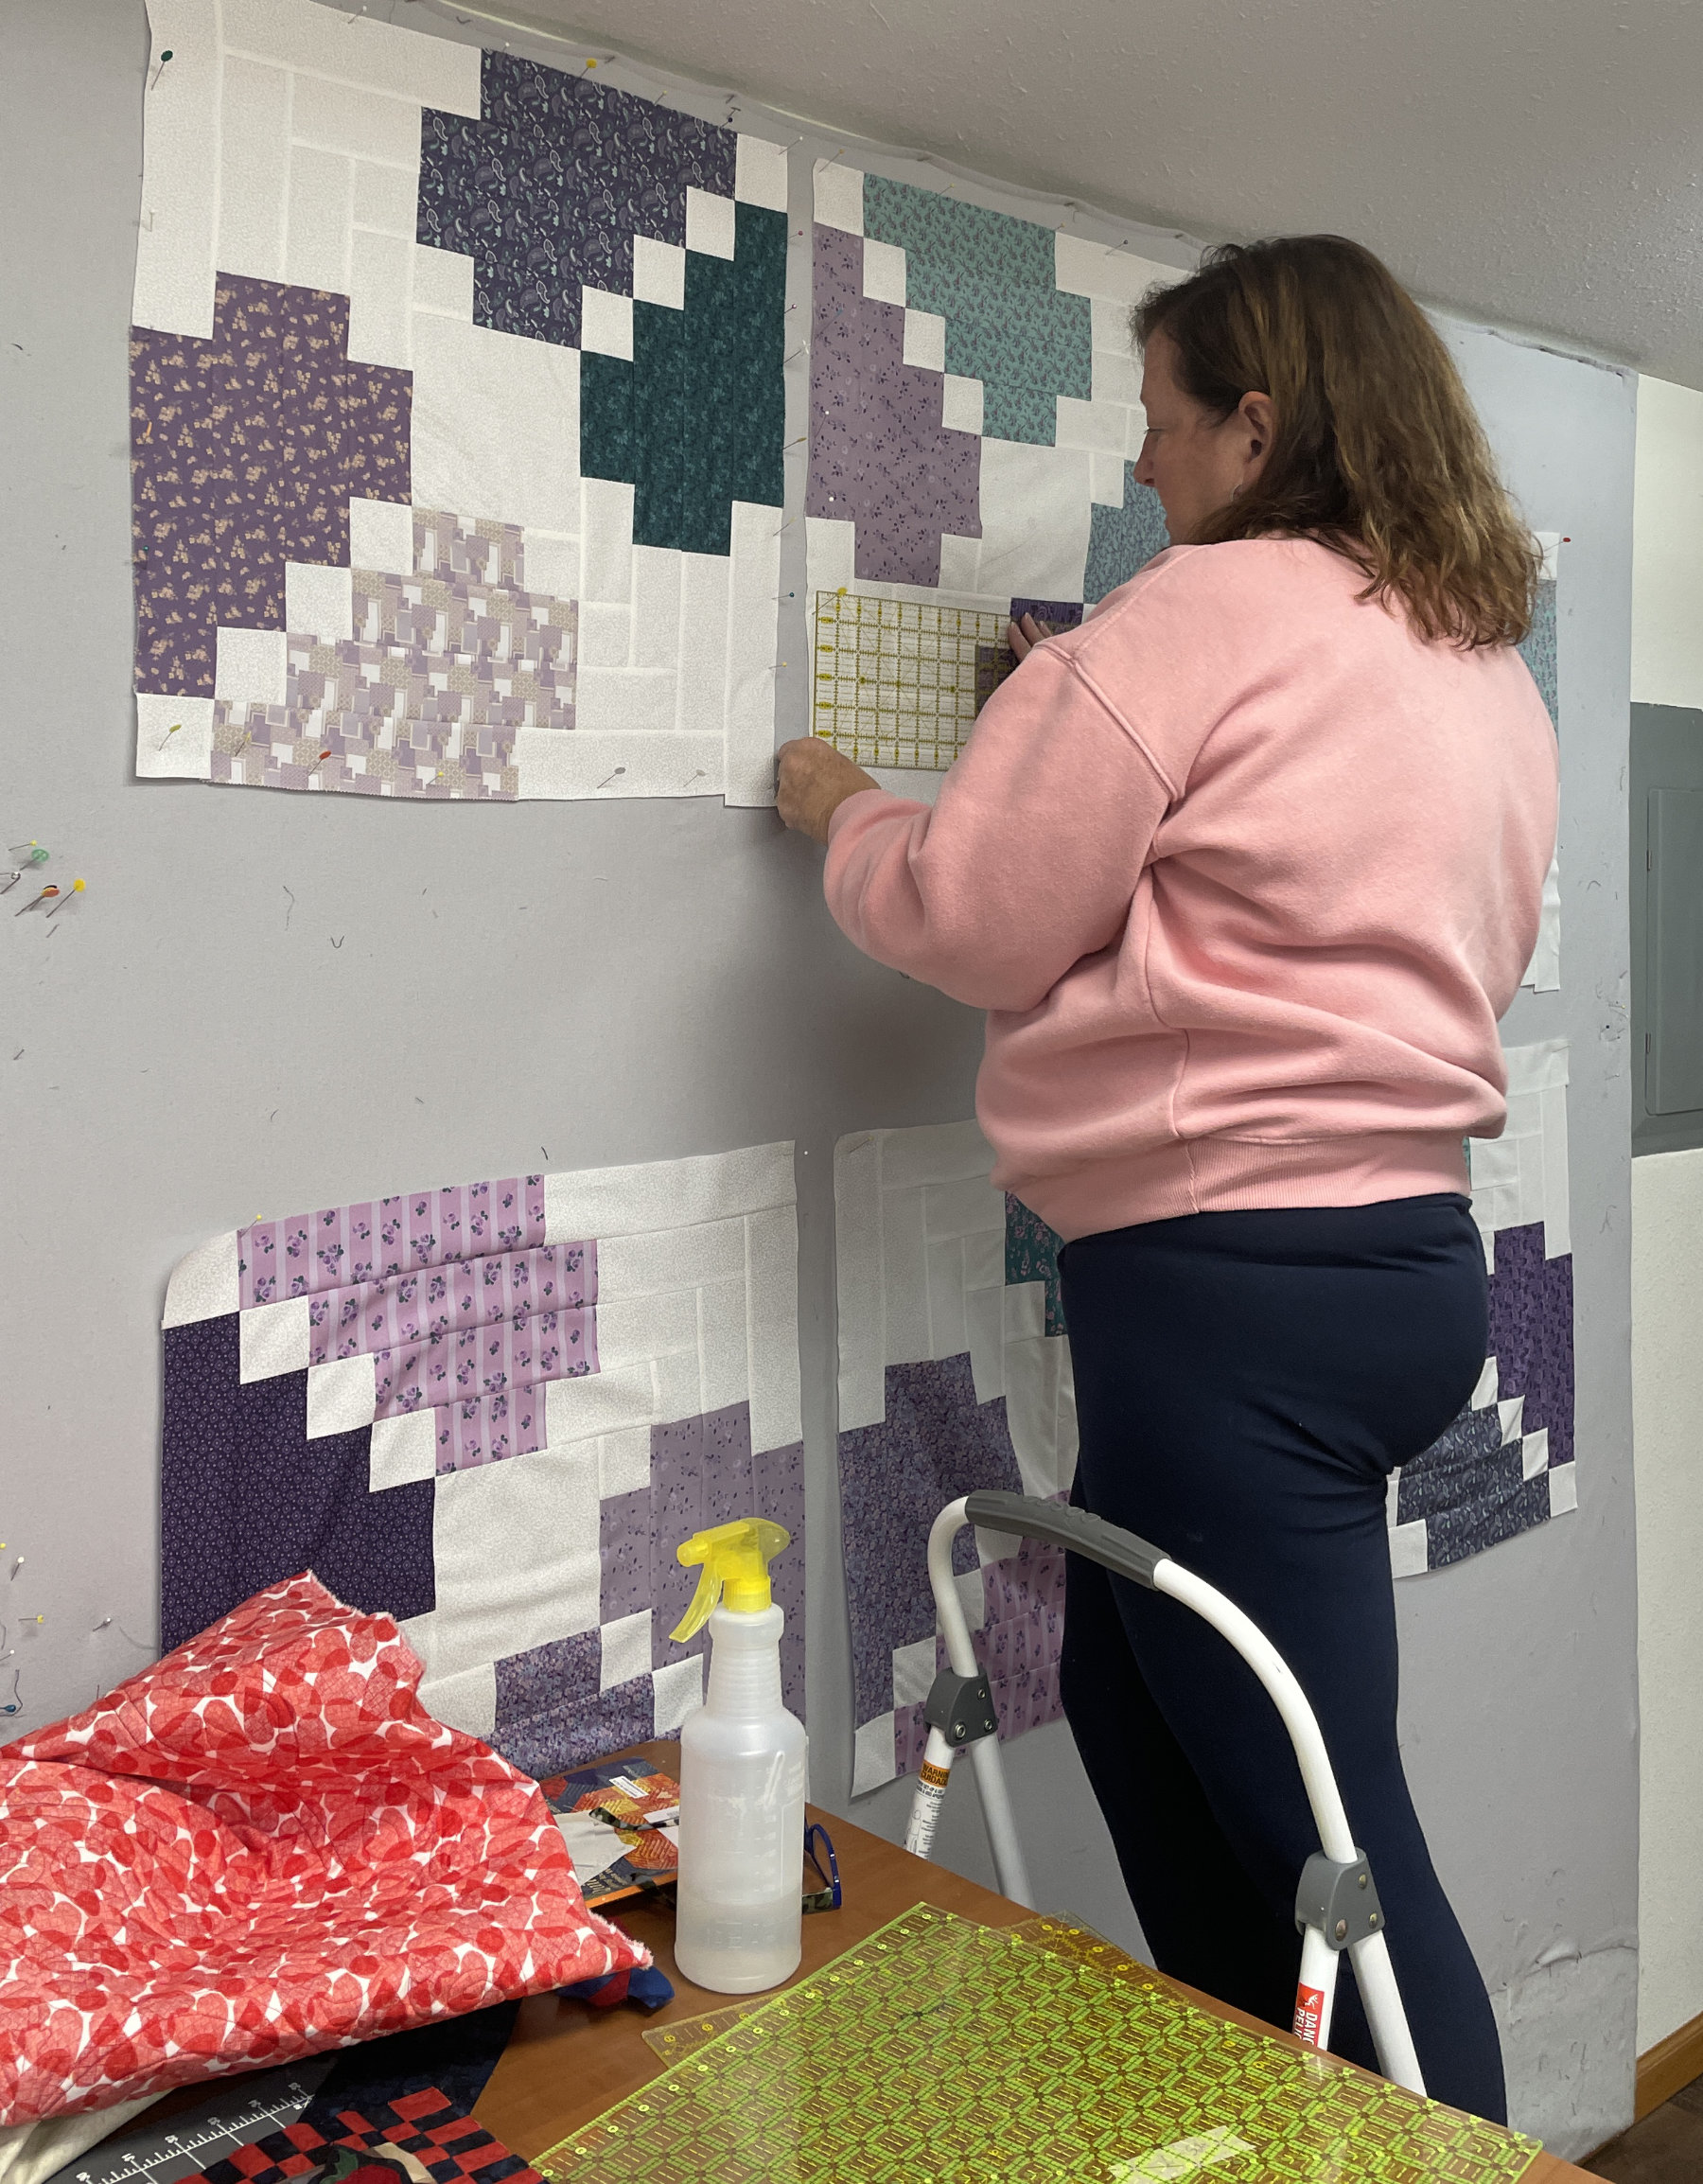
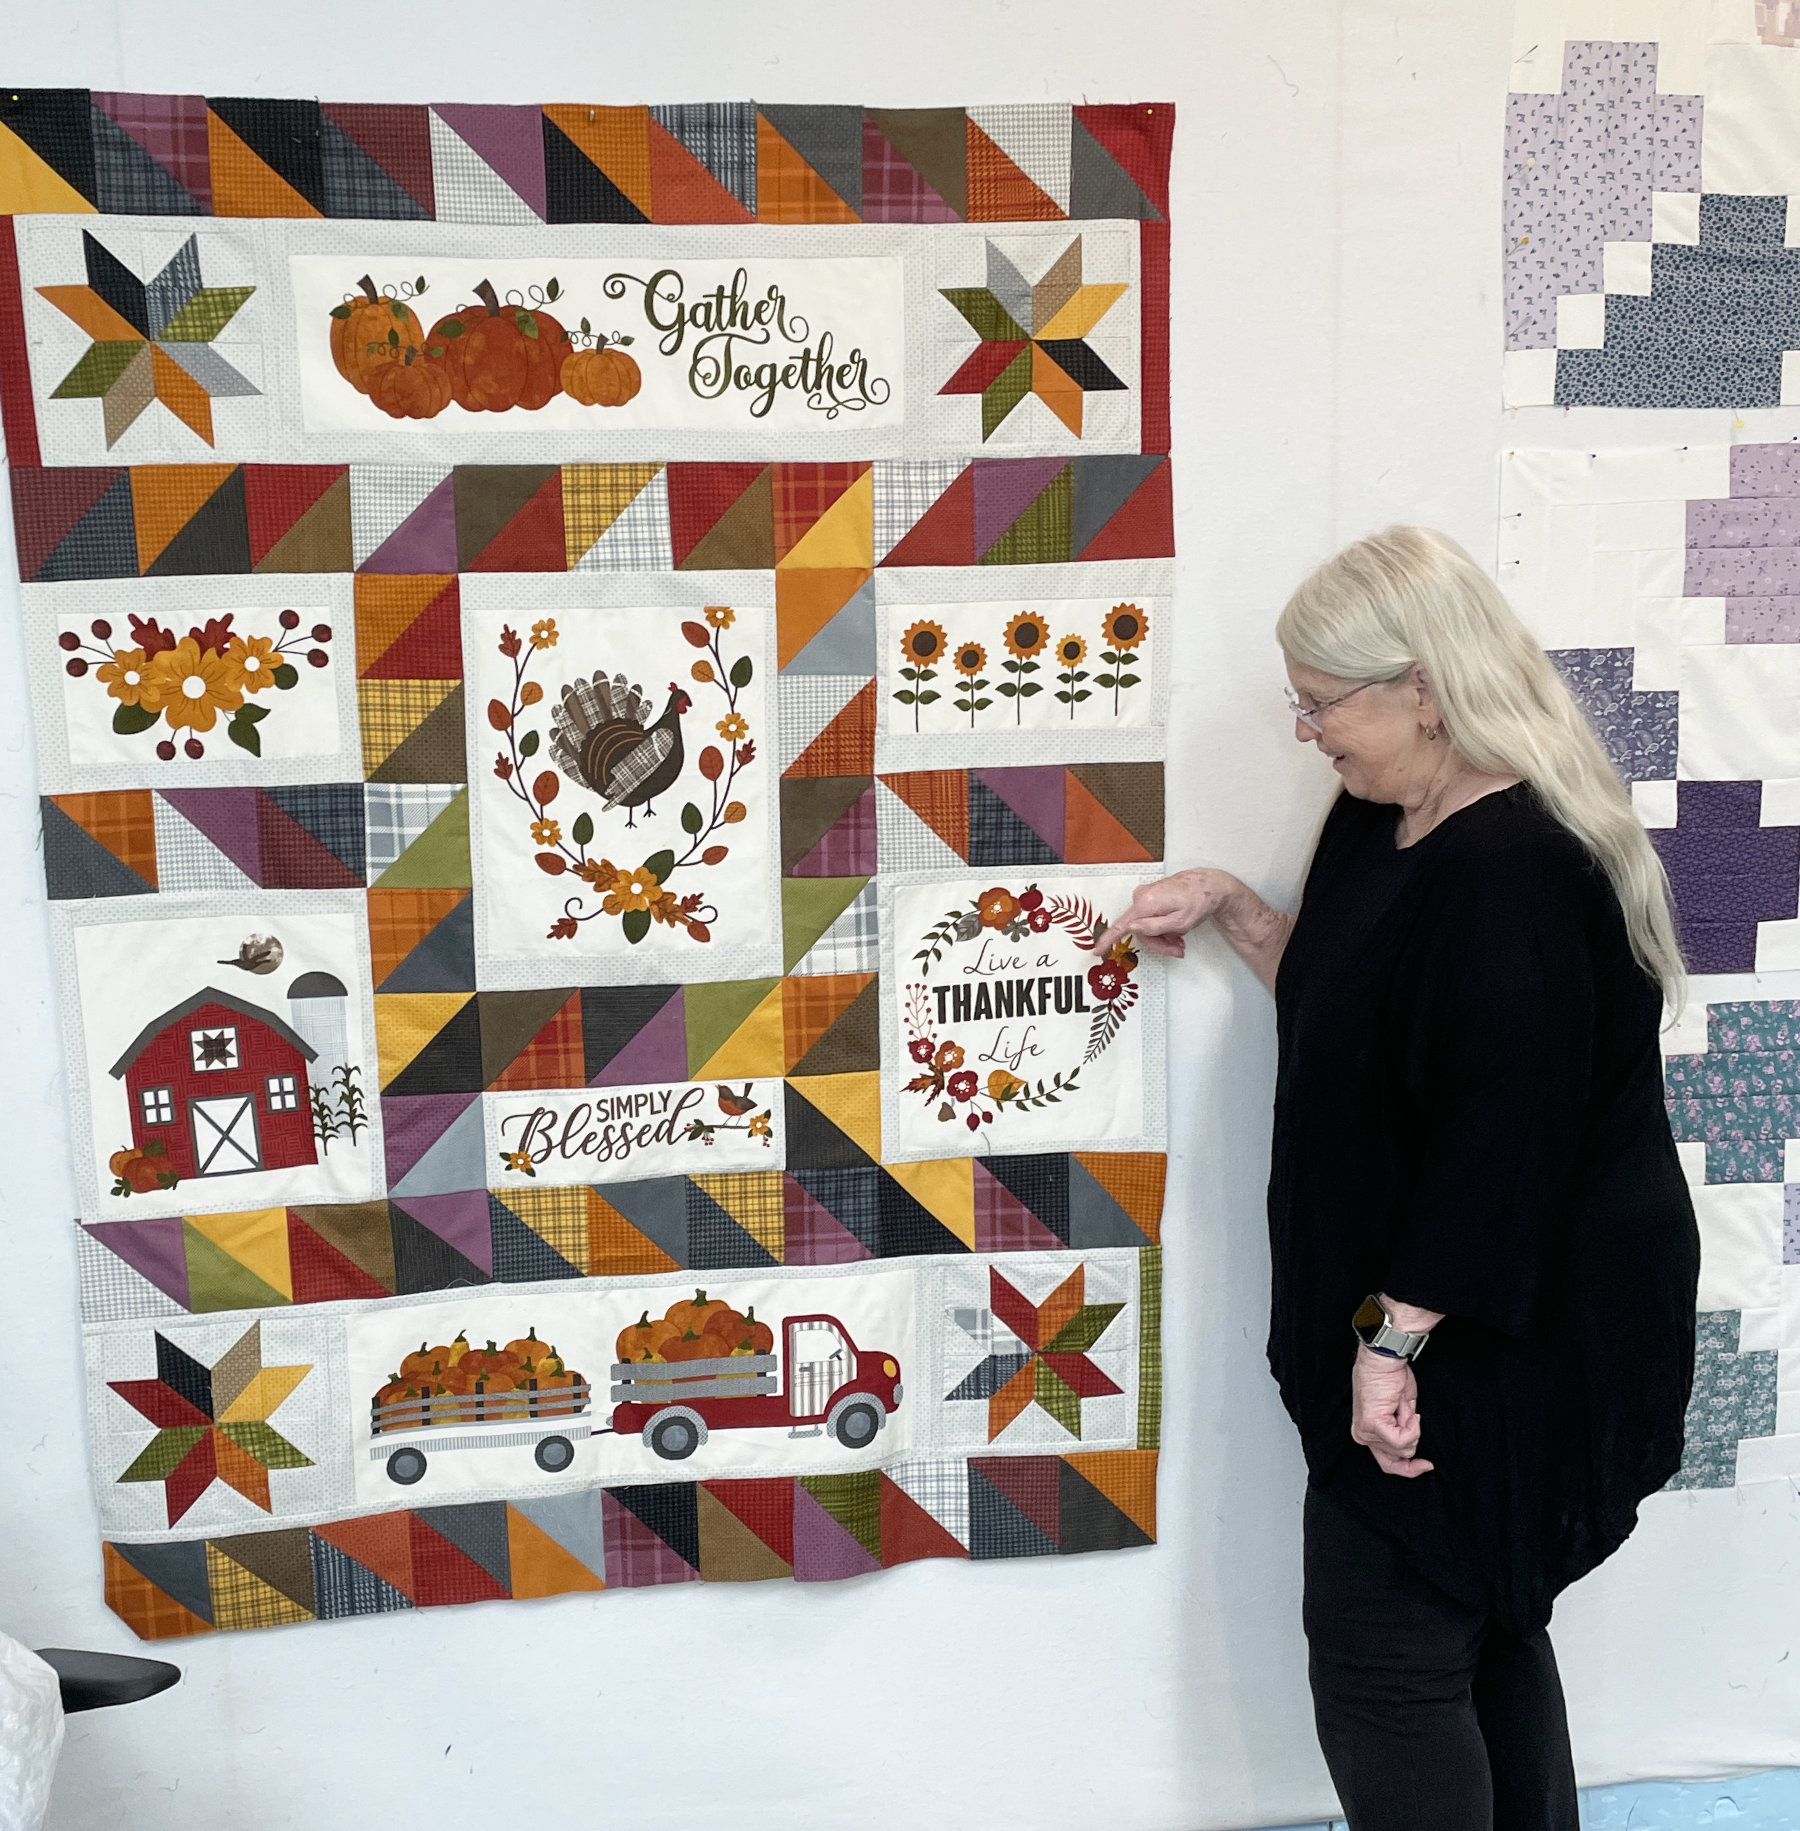
Before I get to the “topic of the week”, I have to share some “cross” quilt photos sent to me since last week’s post. Doris’ daughter Margie made her this bright and cheerful quilt:

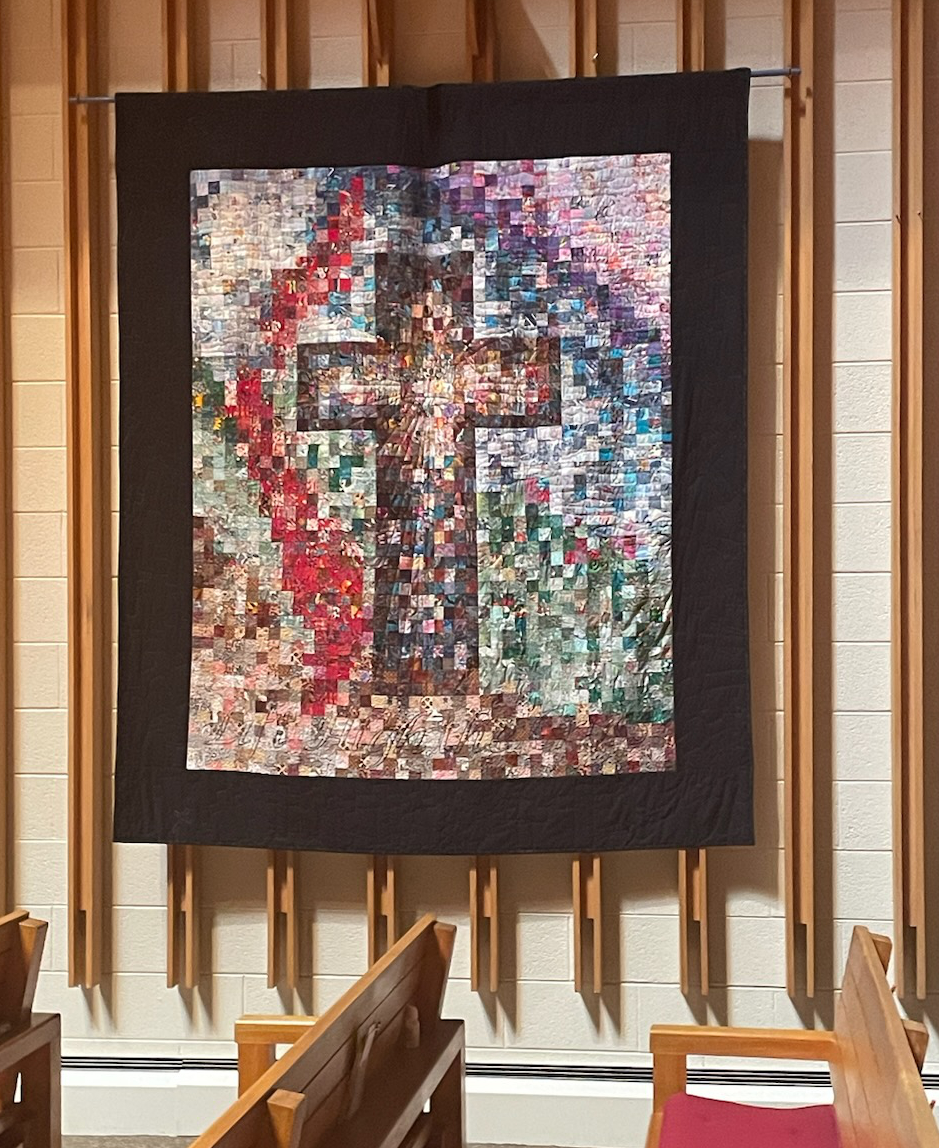
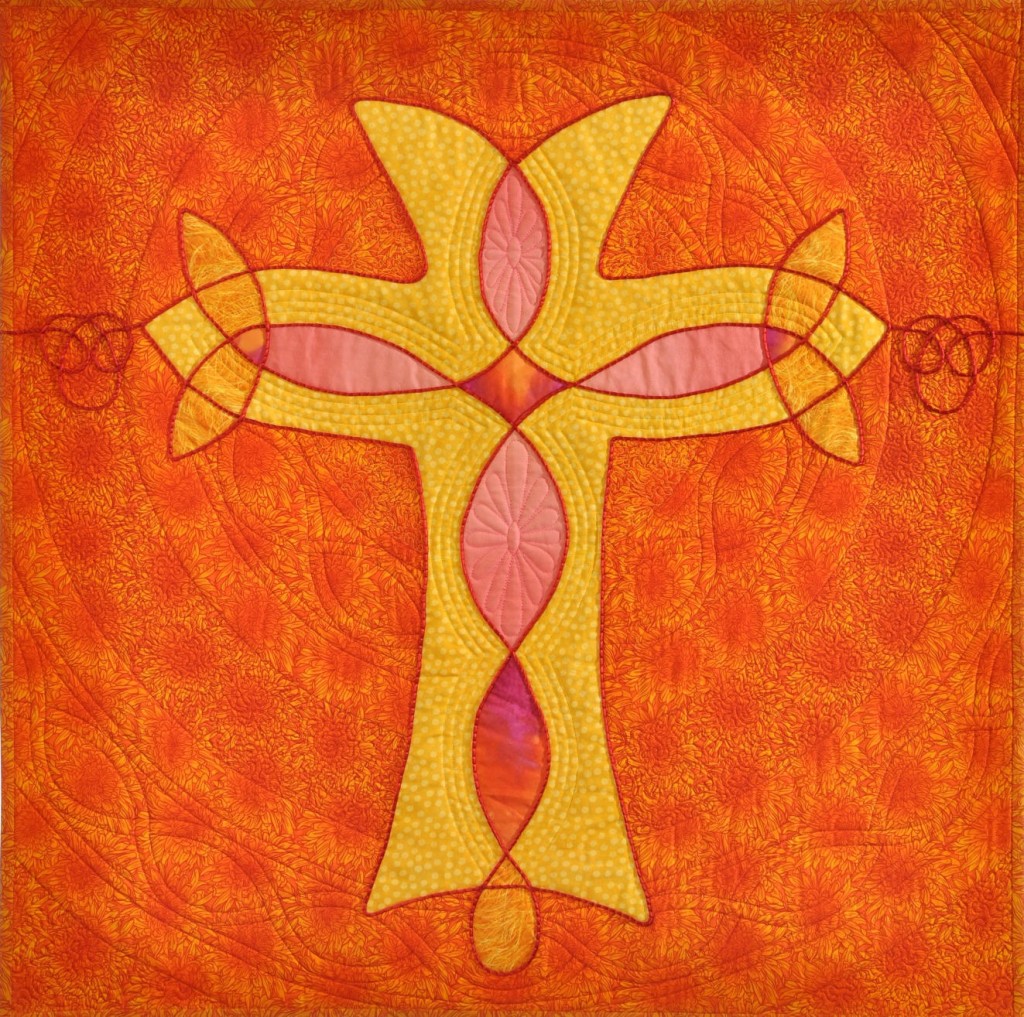
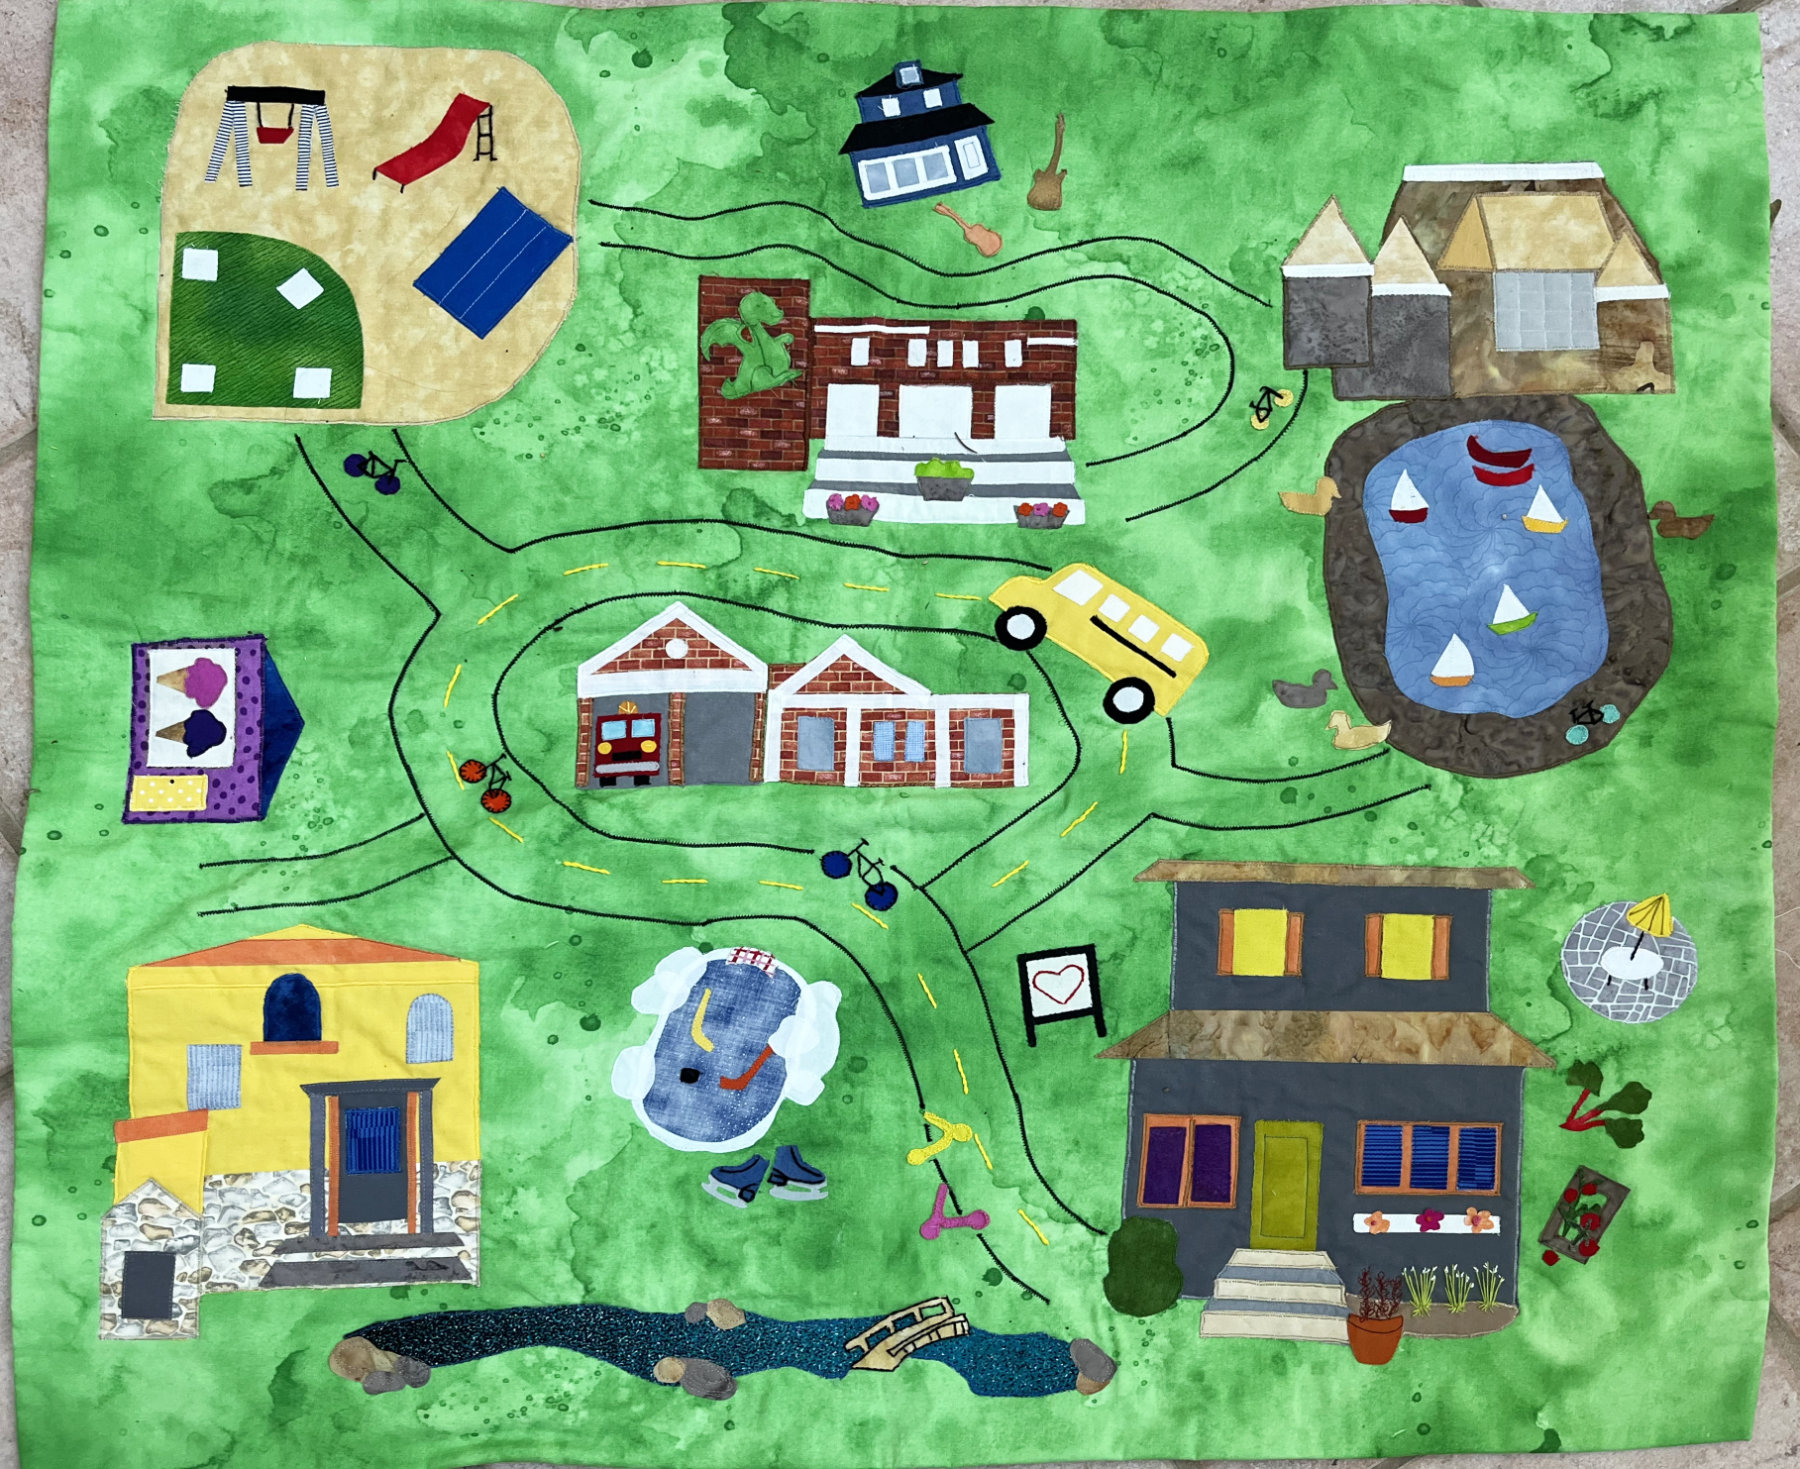
Then my friend Lori sent me a photo of her quilt entitled “Faith in Perspective”. It was made for the 2014 Quilt Expo challenge: Black, White plus one color, and it is fascinating. You may have to stare at it for a moment for the perspective to become clear. WOW!

Thank you both!
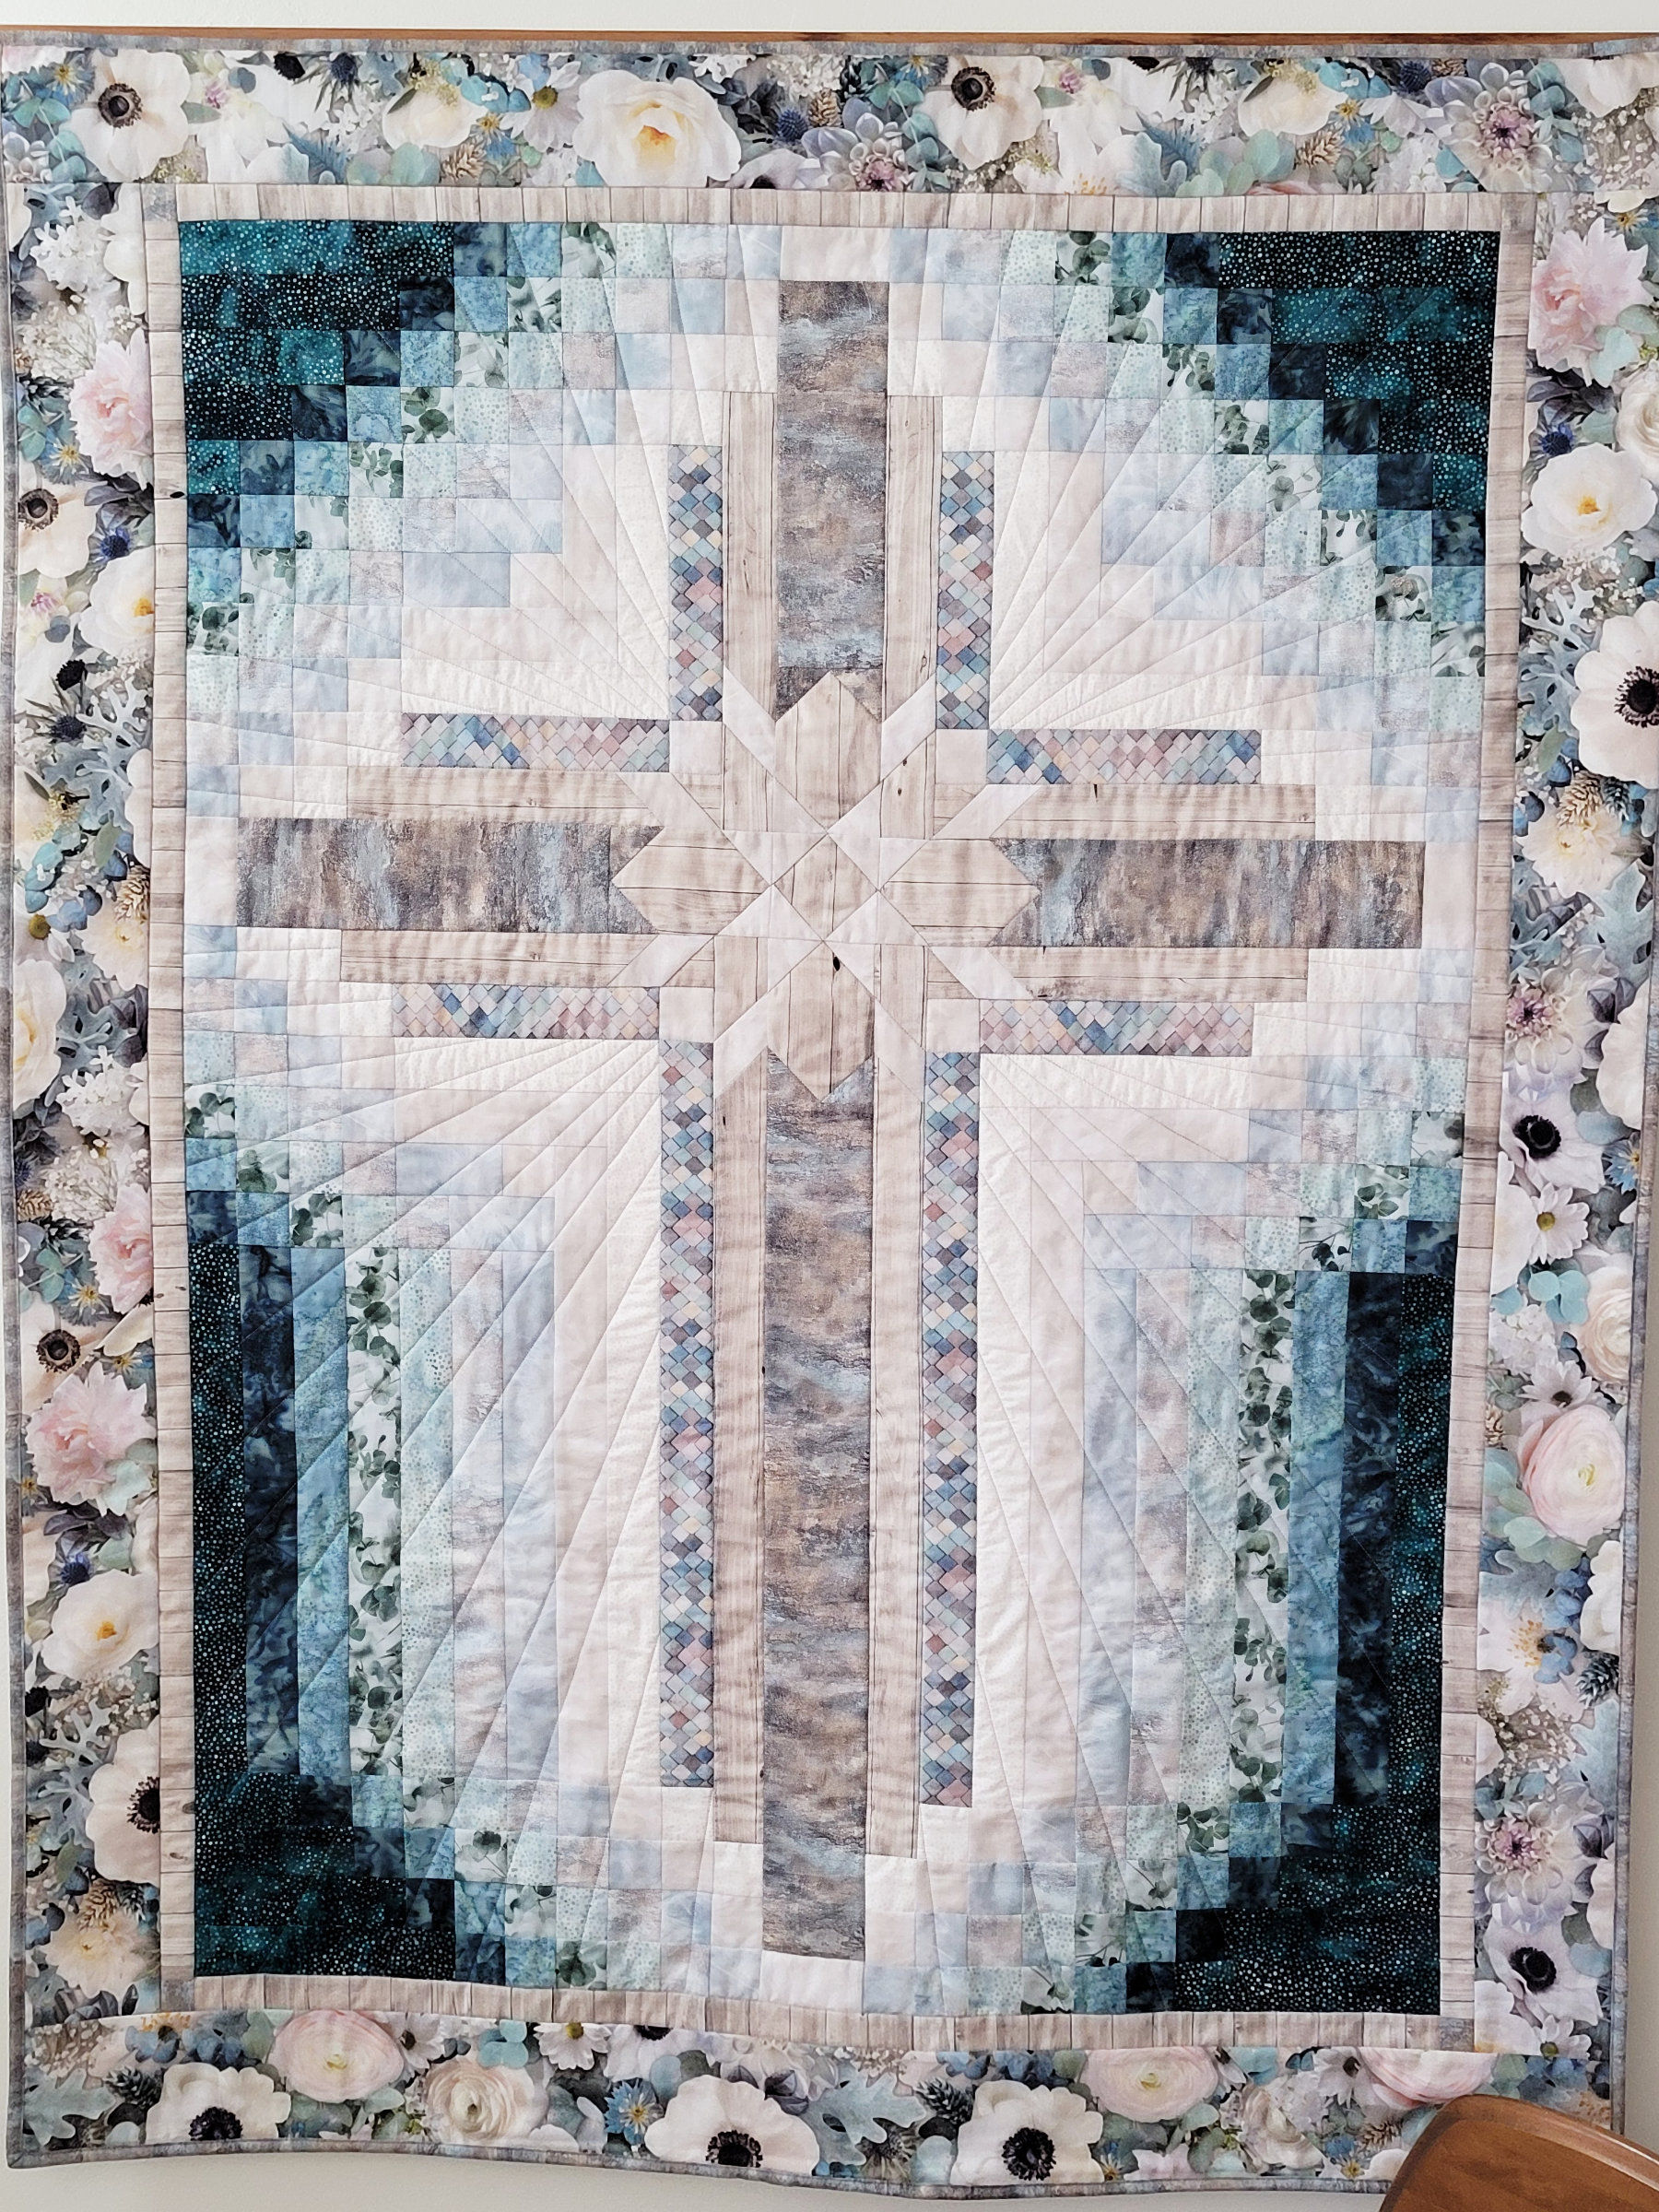
Also, someone asked about the kit Susan used for the first quilt featured in last week’s post. Karen was kind enough to send the information: “Susan’s teal cross at the top of your post is called Farmhouse Cross Quilt Kit from Shabby Fabrics and is still available to purchase”. Thanks Karen!
And now for “the Light Side”. I recently shared my “Gone to the Dark Side” lecture for the Crazy Quilters guild in Mukwonago. If you’ve heard it you might remember that I met a group of garment sewers years ago who thought that, because I was a quilter who used to make garments – I’d “gone to the dark side”. They wouldn’t explain what that meant. Why is quilting the “dark side” of sewing? I don’t know, but it led me to put together a lecture about some of the garments I made decades ago (that I still have of course), and some “related” quilts. So why is this post entitled “Gone to the Light Side”? Because my granddaughter Hanna wants me to make her a garment ~ a coat ~ for Christmas!
She recently emailed me with a request, from a fitting room in a clothing store. She said this jacket was $150 and was wondering if I could make her one for Christmas. I got my hopes up that she might want one made from an old quilt, but alas she wanted it to be a bit more plain to “go with everything”. I was just happy to know what to make her.

Sew where was I going to find the fabric? My first stop was the new fabric store in Watertown (click here for that post). Haley was there and she told me they are moving to a larger location on the west side of town. WooHoo! Stay tuned for more information. She did have a fabric for the outside of the jacket that Hanna liked.
But the brown gingham for the lining was going to be more of a challenge. Oh good ~ a reason to head to Waukesha and “Sew Much More”. They didn’t have the gingham, but they did have a small houndstooth plaid that would work. I then realized the hardest part would be the pattern. Boy do I miss JoAnns!!! Hobby Lobby is selling out of their patterns, so the selection was very limited. I grudgingly went online. I found one that would work and downloaded it,

only to find that the pattern pieces needed to be printed – and it would take 58 pages that would then need to be taped together. The other option was to have it printed. I took it to the local printer who prints my books, and to have it printed on large paper (similar to what we used to get in those wonderful simplicity patterns) was going to be $67!!! I printed and taped together the 58 pages 😵💫.
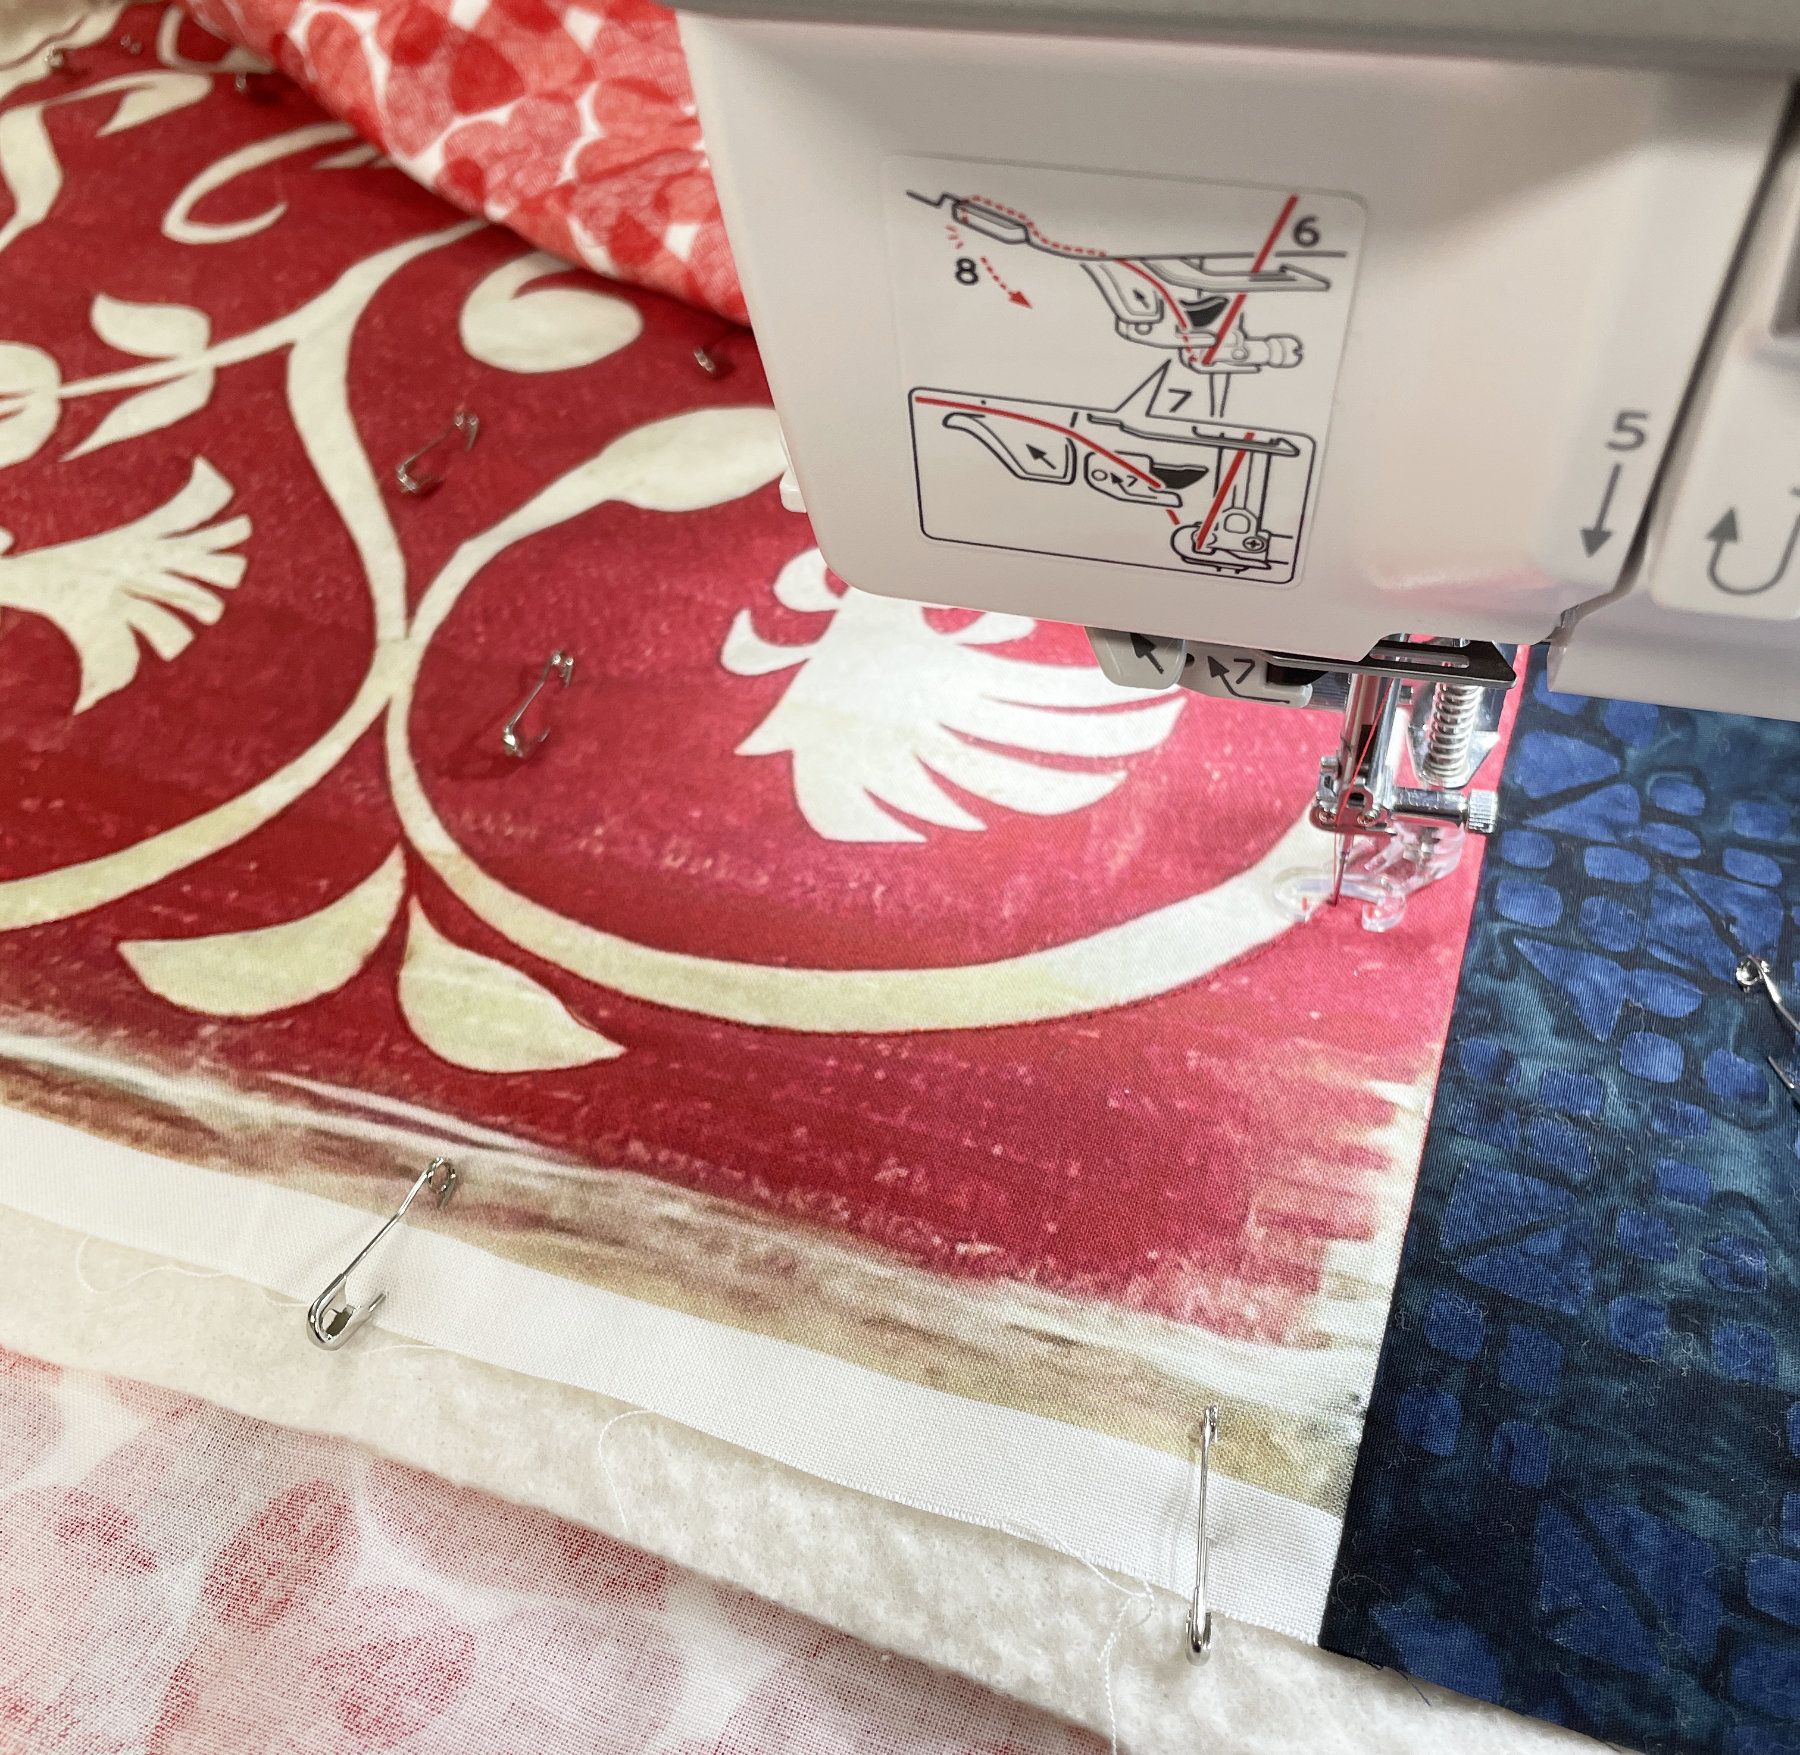
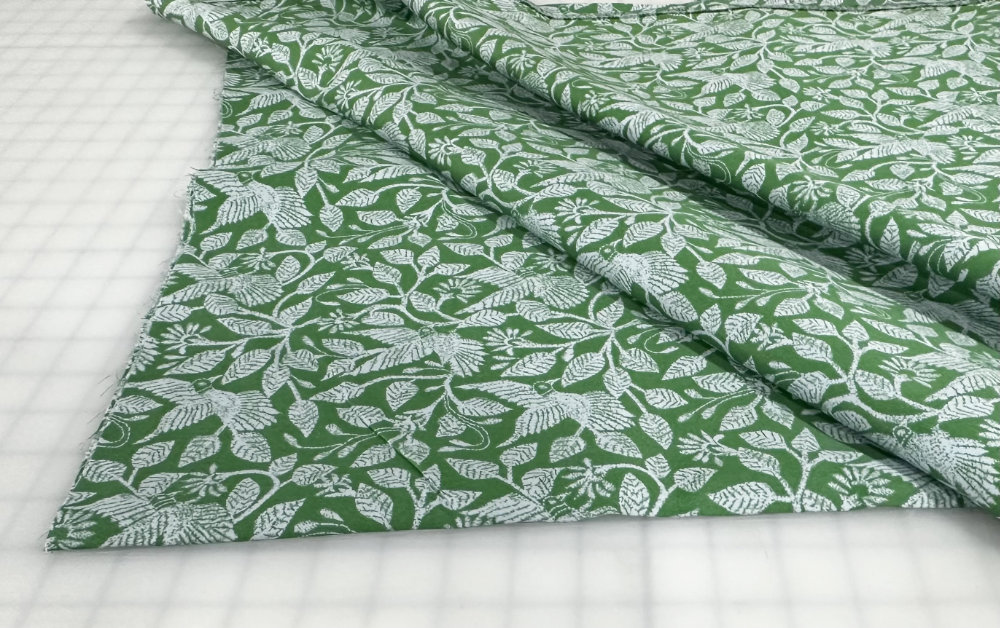
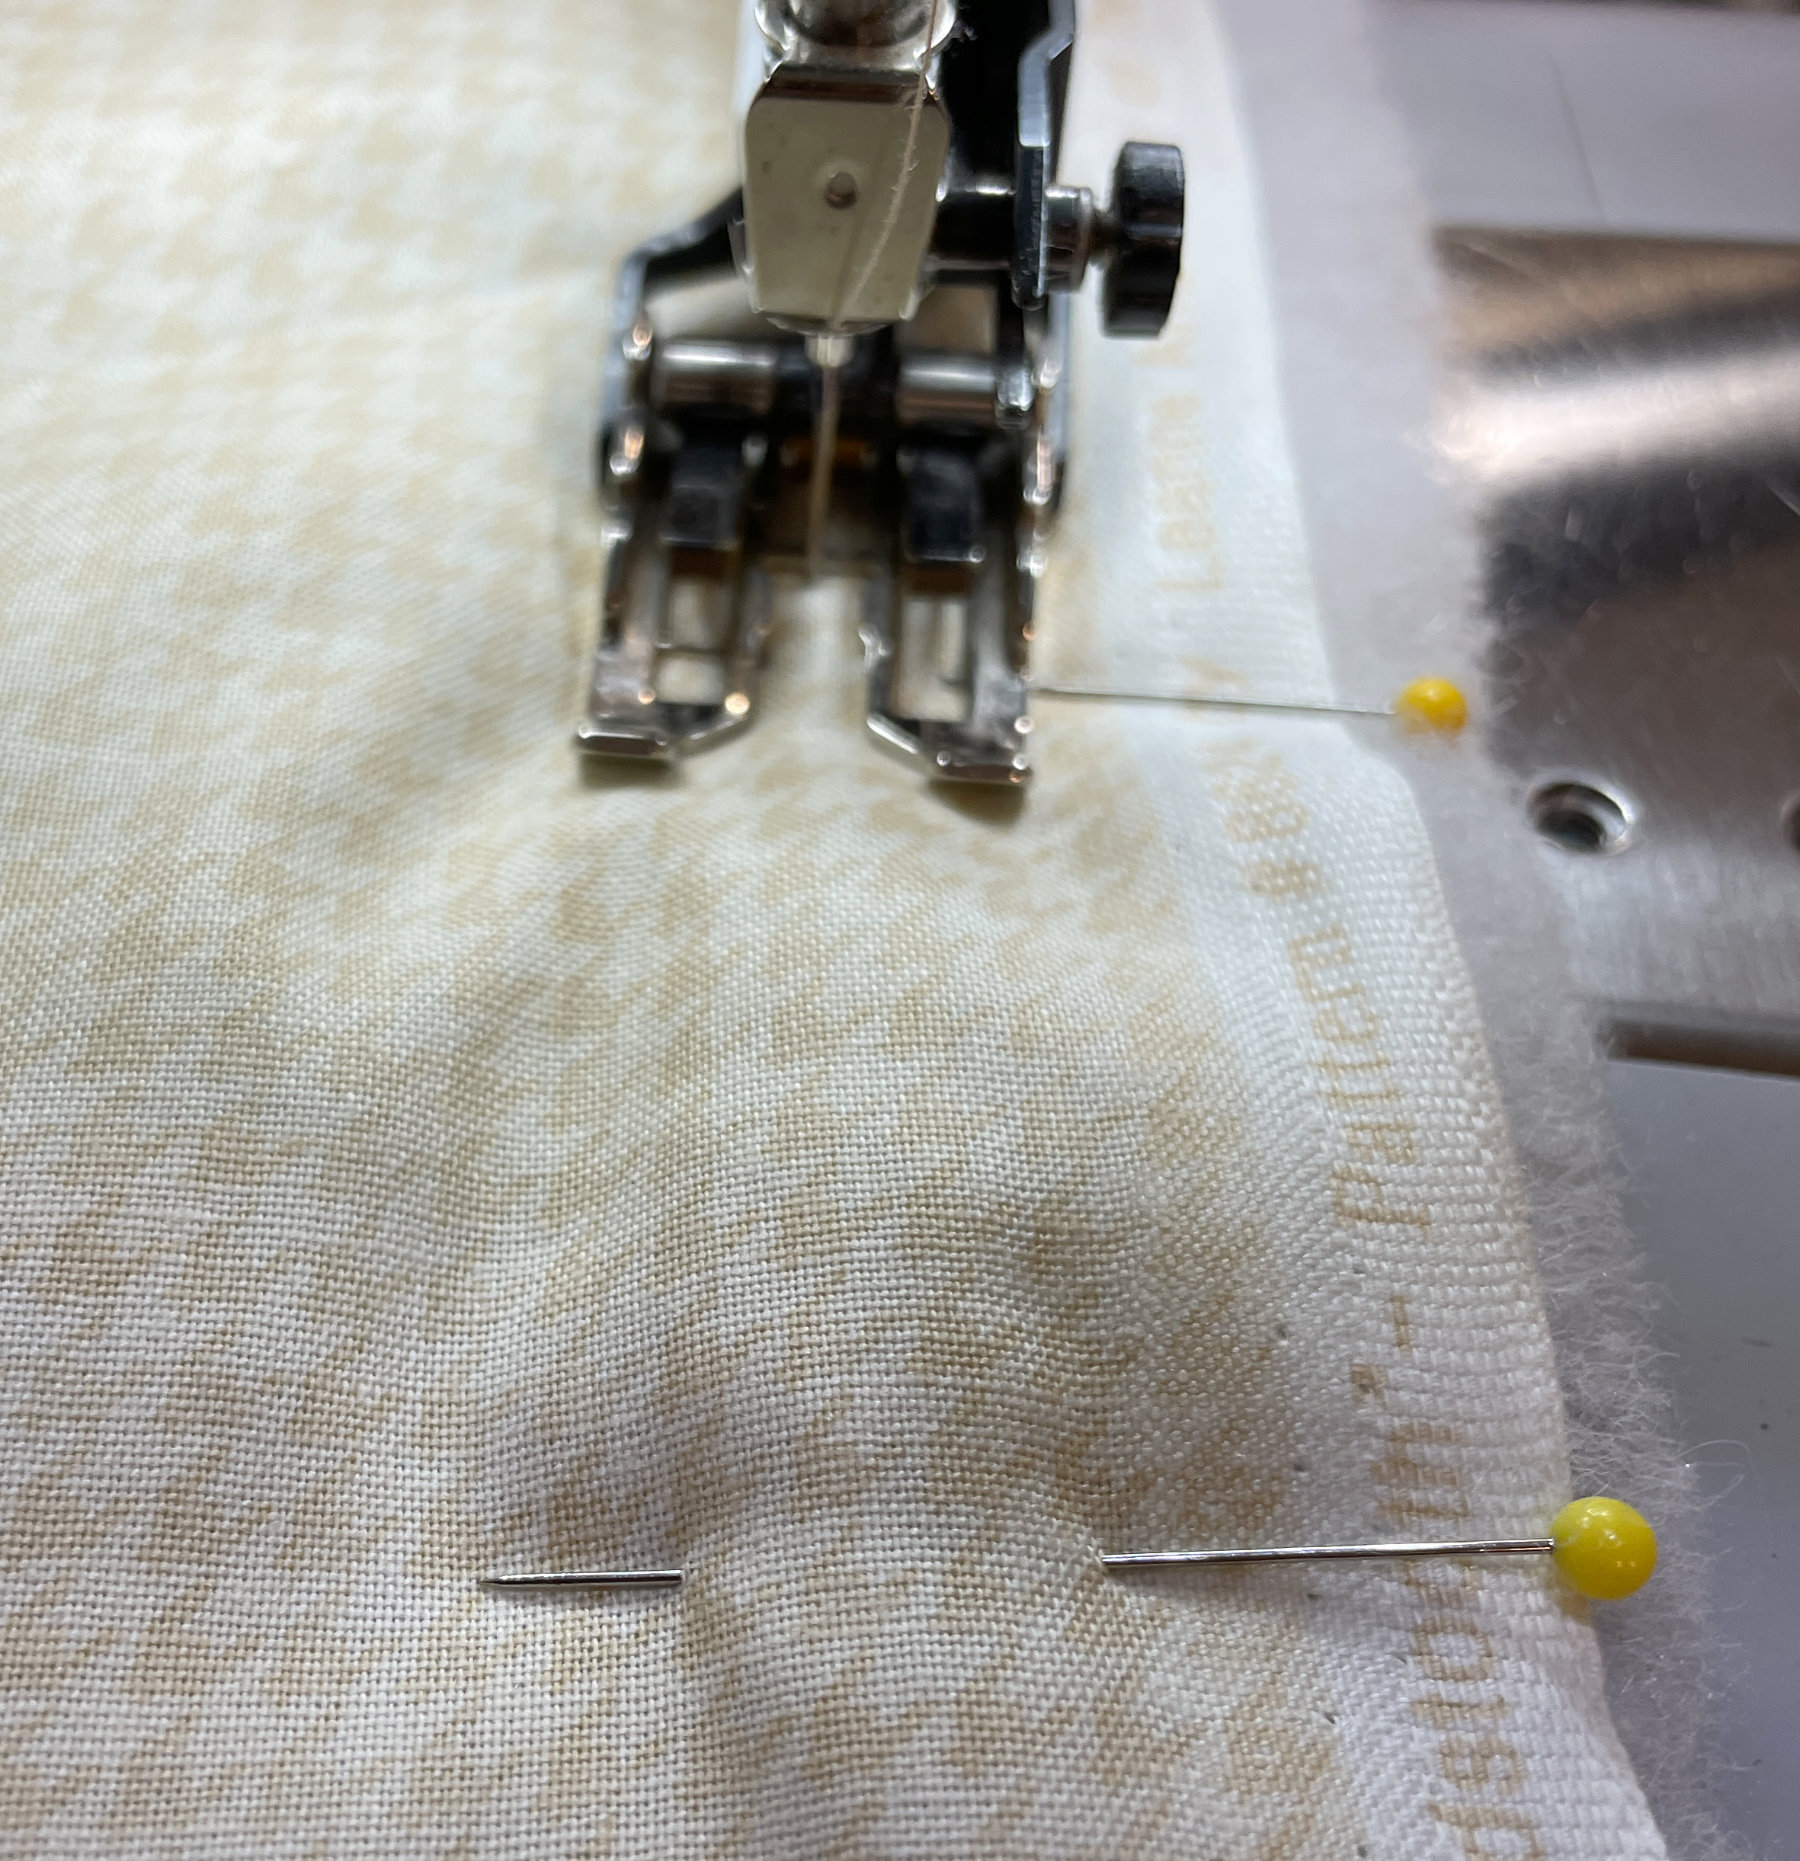
Our latest Fabricator’s retreat was this past week at Tall Pines in Mukwonago. These friends were students in my Open Lab class at WCTC, and we continue to enjoy being together. Sadly, I forgot to take any photos of the group, but I did snap a few of my project. My plan was to quilt the fabrics for Hanna’s coat together and then cut it out. A quilt retreat is the perfect place to do this rather boring straight line quilting. I layered the fabric with hi-loft poly batt and spent the first 2 days of the retreat quilting it with a 4″ grid.

I did this from the lining side because the print in the fabric made it easy to stitch long lines without having to mark them.
Once quilted I cut out the jacket pieces.

It was then I realized the cut edges needed to be secured. True confession time ~ I don’t own a serger, and I don’t even know how to use one. It surprises even me since I’ve made a lot of garments. Maybe it’s time. Susan invited me to come to her house for a visit soon and sew Hanna’s coat on hers. What a great way to determine whether or not I “need” one! So the coat project was packed away, and I pulled out my latest “quilt in progress”. The current challenge at ThreadBenders is entitled “Birds Eye View”, and I had some unique stitching that needed to be done on it. I think I’ll save that for a future post.
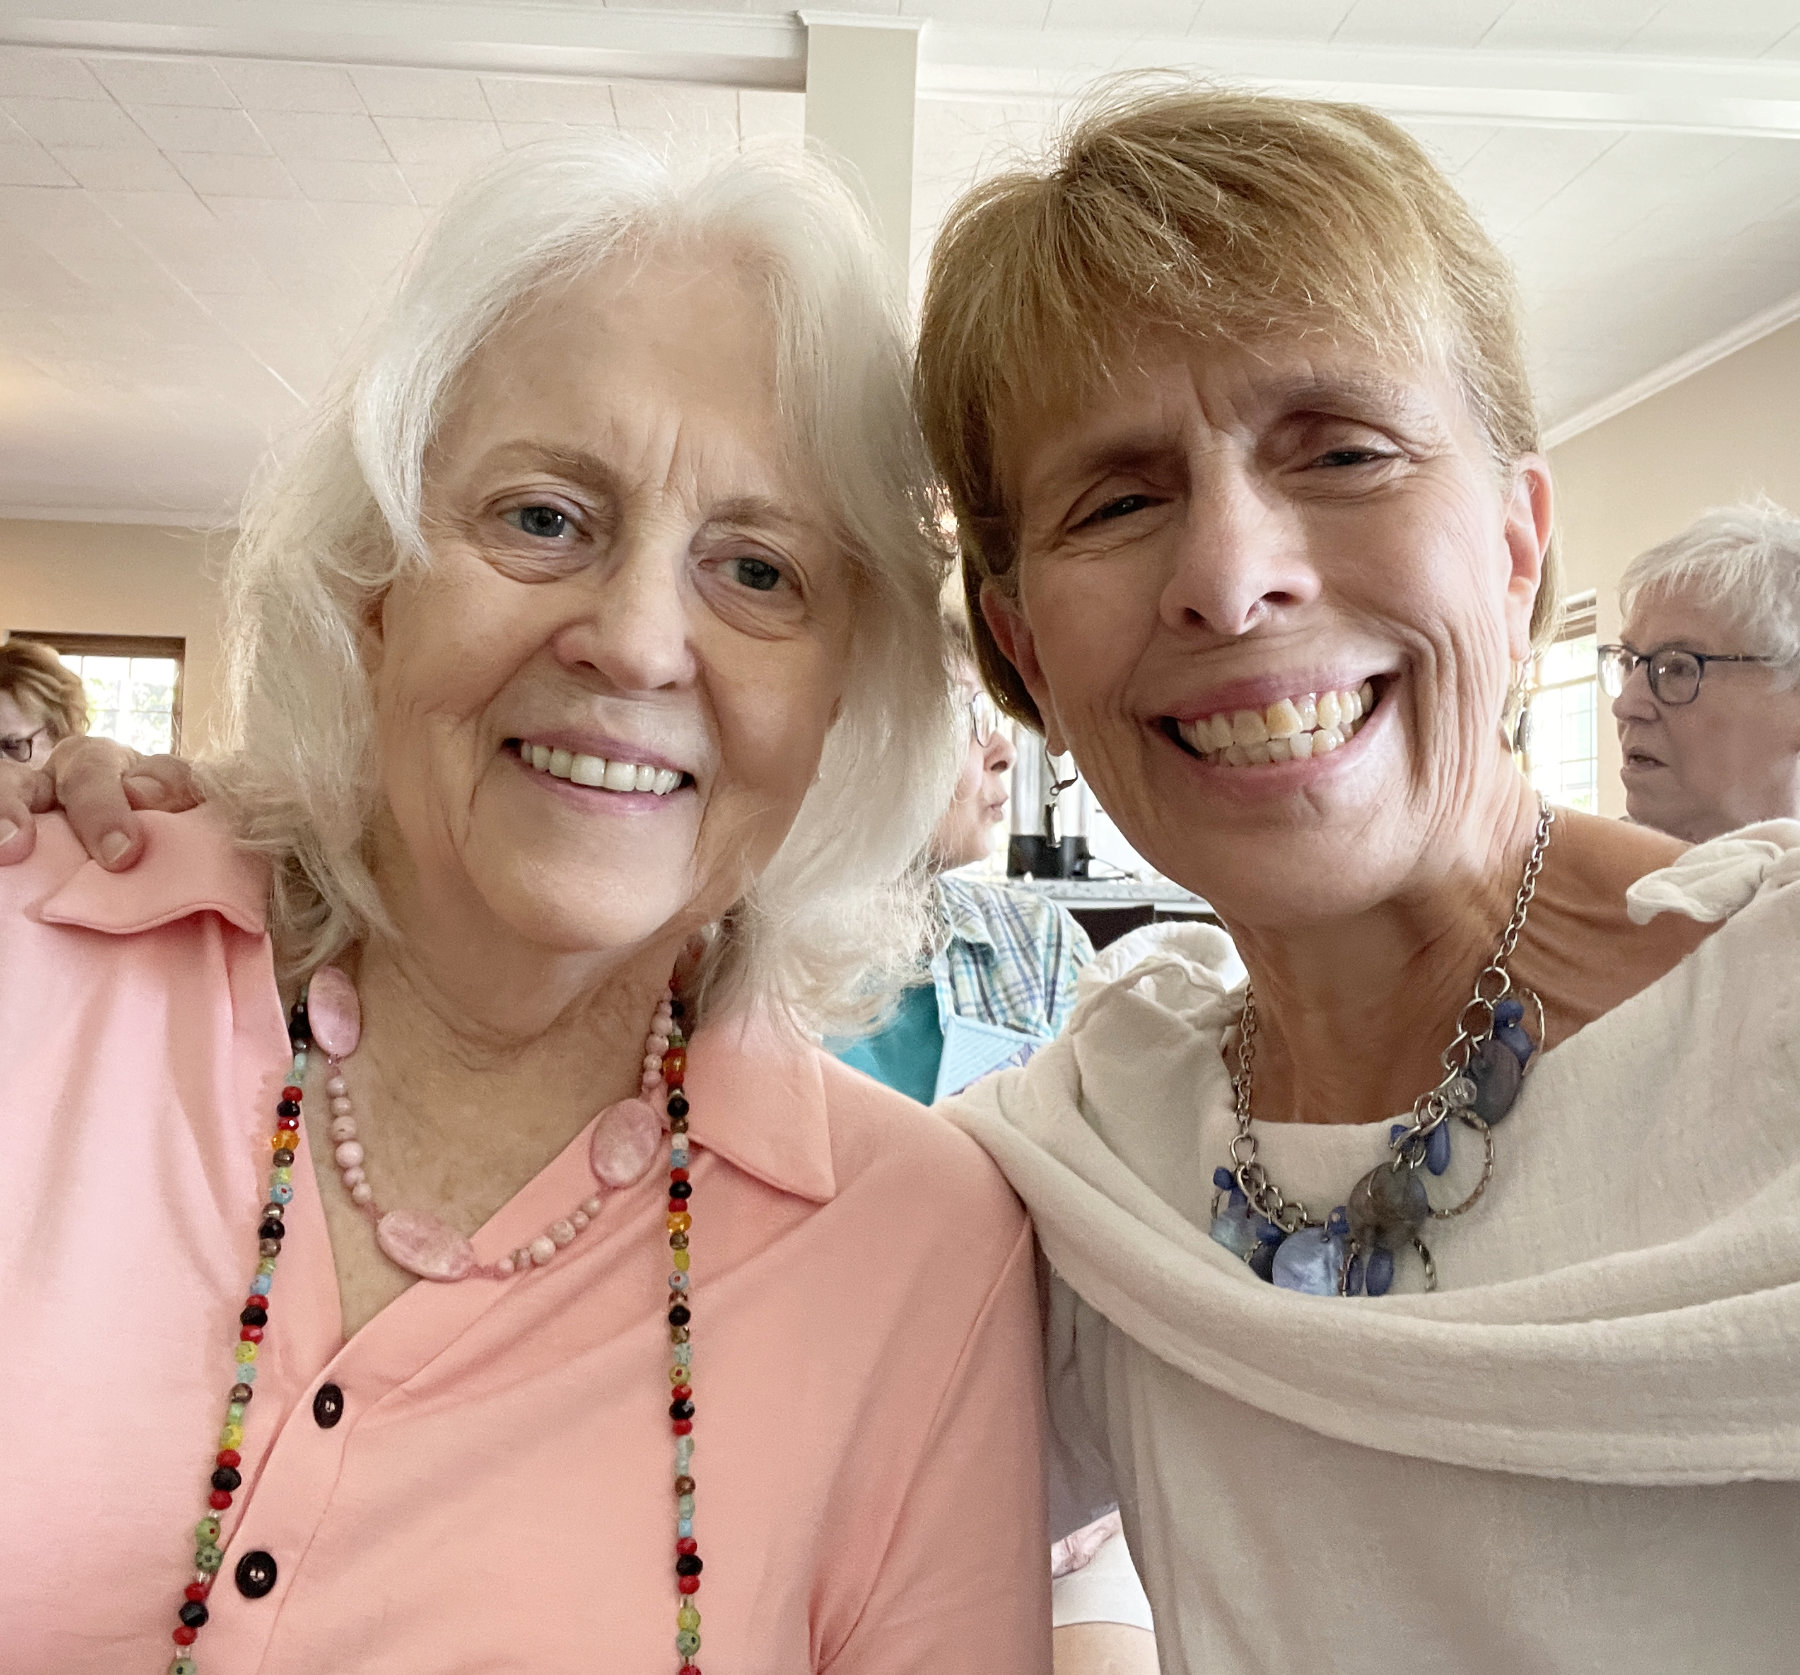
The entire retreat was a wonderful time of friends, fabric, food and fellowship. Quilting friends are the best!
*************
And… I want to “leaf” you with one last colorful photo. All the trees in our yard look like it’s time for winter except the ornamental pear trees that line our very long driveway. Last week they finally began to turn and they are gorgeous, especially compared with the rest of the naked ones in the yard.

Wishing each of you a blessed Thanksgiving!