Last week’s post included a number of different ports we visited at the beginning of our trip to Italy. This week is about just one. The last port of call we toured was Venice. We knew we’d have two days there, so Will and I decided to take a boat tour to the nearby islands of Murano and Burano the first day. Francesco was a wonderful guide who spoke English well and had a great sense of humor.

Murano was our first stop. It’s famous for colorful glass and became known for this centuries ago when the glass blowers on Venice were made to move because their ovens were a fire danger to the city. The variety of glassware we saw was extensive and every piece was beautiful!

We watched an amazing demonstration by a master glass blower.

He created this horse right before our eyes!

They didn’t allow photos in the store attached to the studio, but trust me – it was beautiful! From there we got back on the boat and headed to Burano, an island known for it’s colorful houses. The story is that this is due to the fishermen years ago painting their homes in bright colors so they could spot them in the thick lagoon fog. The government later required this to “maintain distinctiveness and family identification – creating a unique, vibrant, and picturesque island”. I think it’s really because the tourists like it 😊.

This was my favorite shop:

Burano is also known for lace making and this is the shop where we learned all about it.

It is another art that young people are not willing to put the time into learning because it is so labor intensive.

And after watching the demonstration I can understand. This dear lady expertly placed each tiny stitch. The rhythm of her hands knotting the very thin thread was hypnotic. What a talented lady!

I was able to photograph this sample. As I understand it the bottom gold striped fabric layer gives the piece stability while being stitched. The thin waxy paper has the pattern printed on it and the green paper prevents the stitches from going through to the fabric layer. Everything is peeled off when the work is completed. To read an interesting article about Burano lace click here.

After wandering through the lace shop we went looking for pizza – and it was delicious. Then we returned for our final night on the ship. The next morning we moved to a hotel on the mainland near Venice, took the train back into the city, and began to walk. There is NO motorized traffic allowed on the island of Venice, and the story of how it was completely man made in the lagoon is fascinating. Click here for a good explanation. As we followed the walking path on Google Maps we found ourselves facing the grand canal with no bridge, but there was a gondola ferry. For 2 Euro each we got a gondola ride!

And a short walk later we were in Piazza San Marco (St. Mark’s Square) looking at the Basilica, the bell tower and off to the right of the tower – the Doge’s Palace.

The tours of St. Mark’s were sold out, but we were able to go to the top of the bell tower. It was windy and cold up there – but the view was amazing!

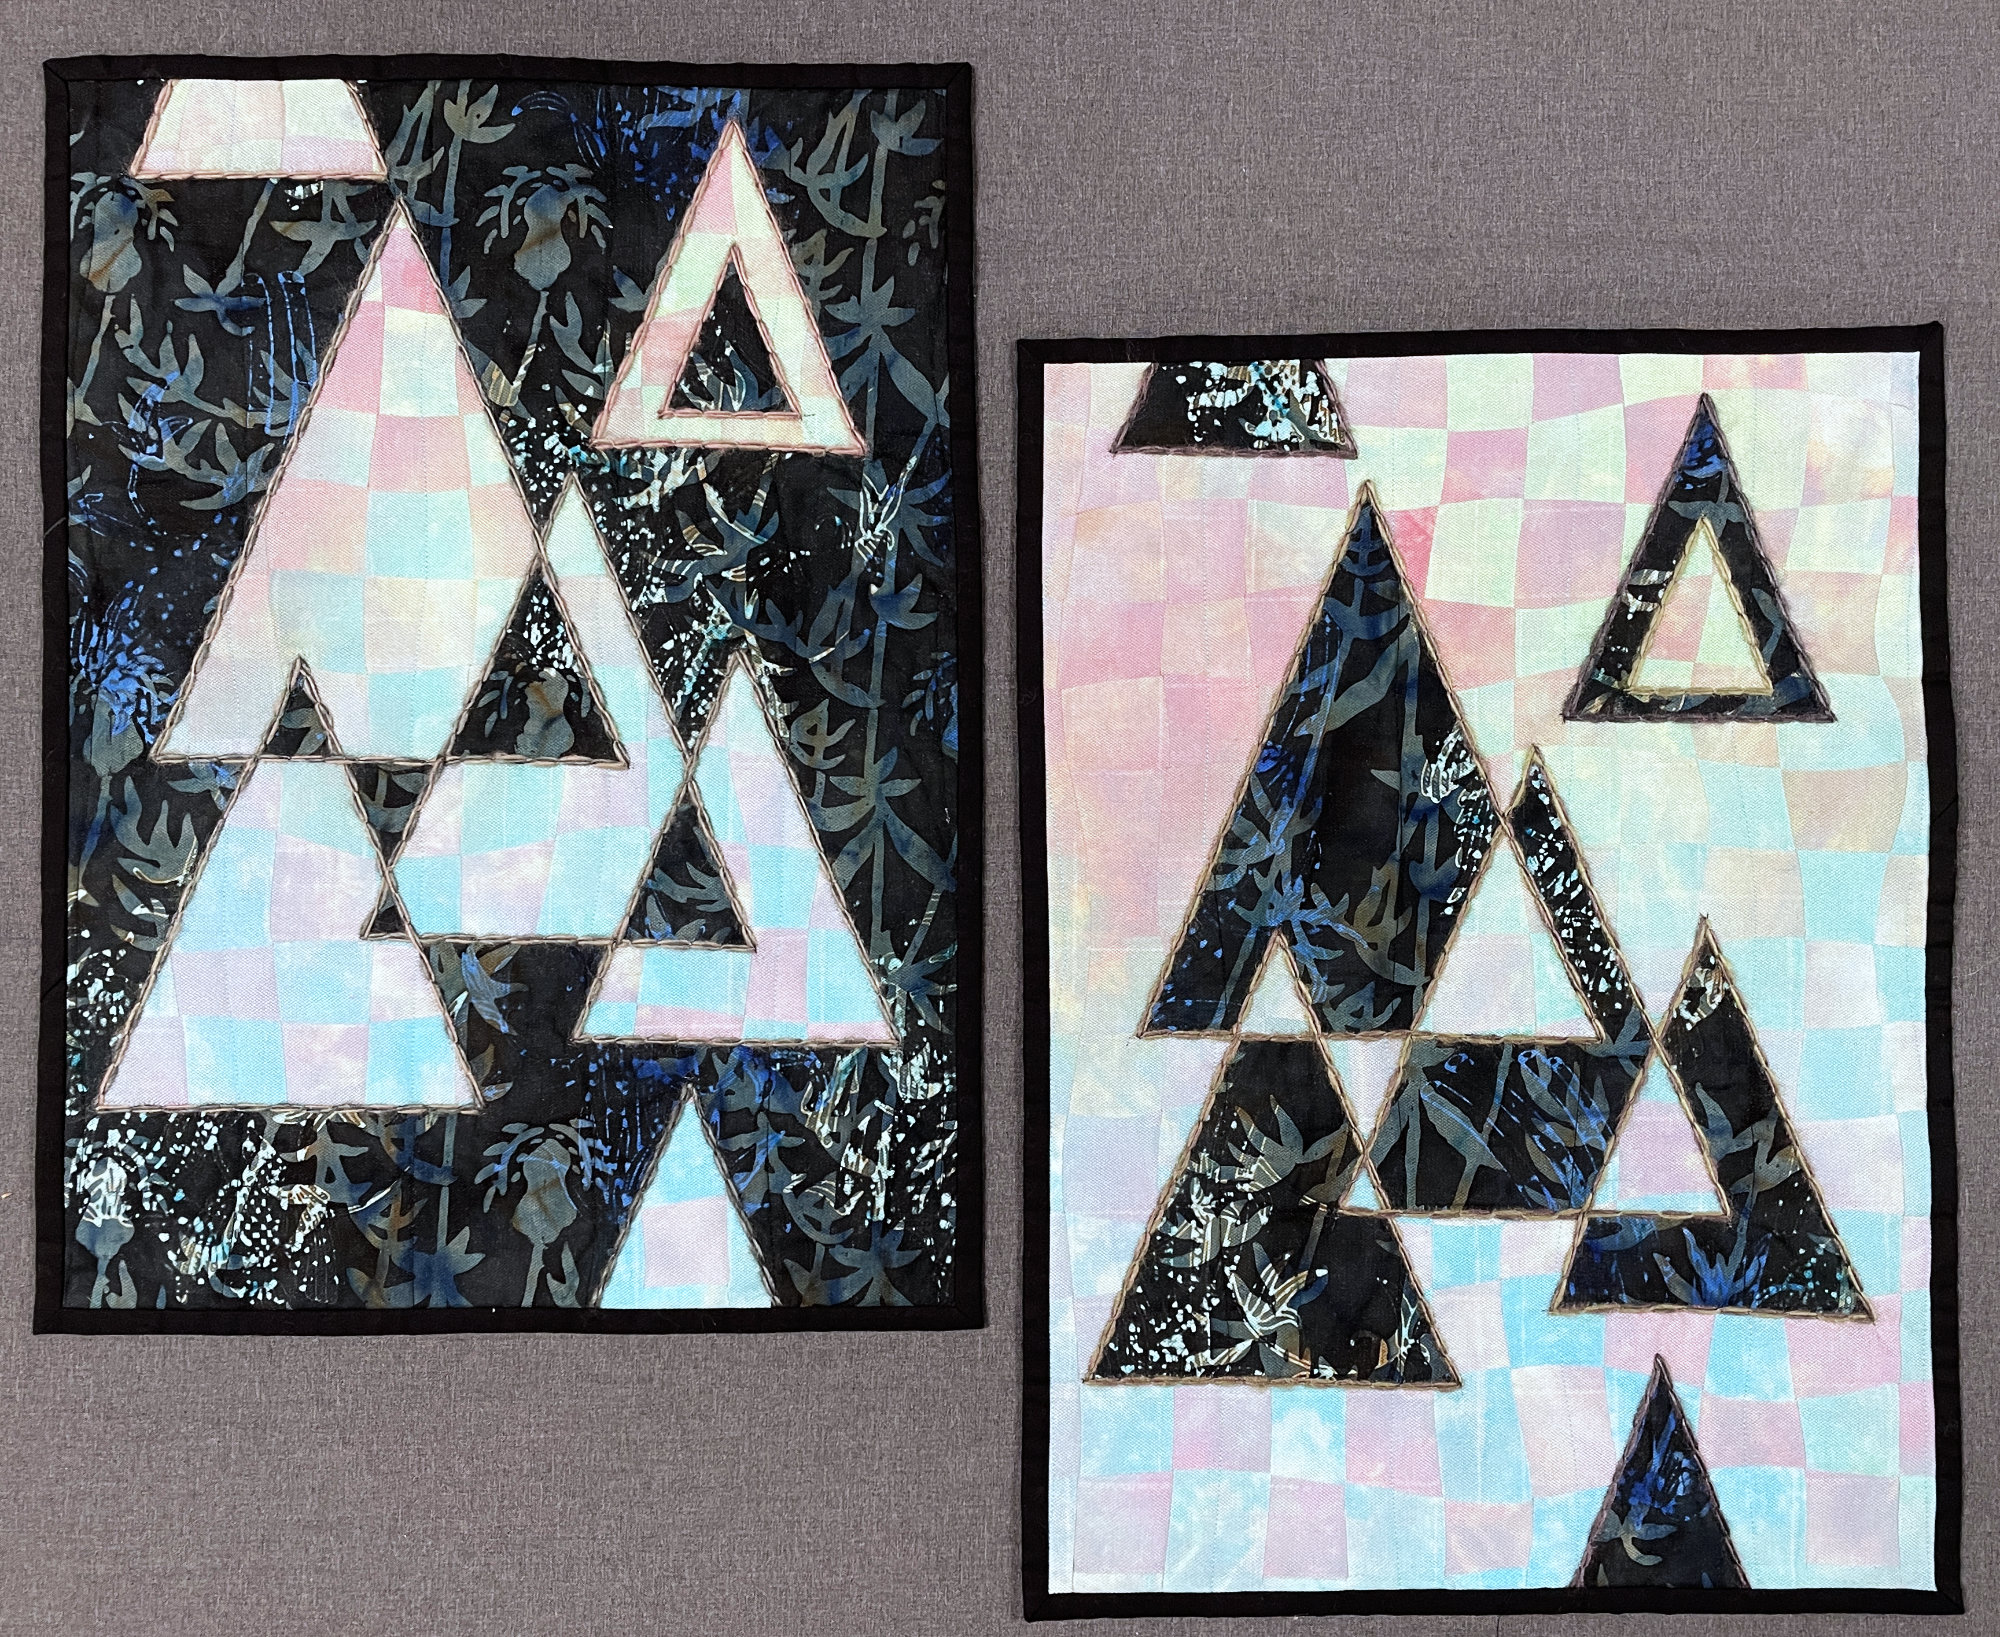
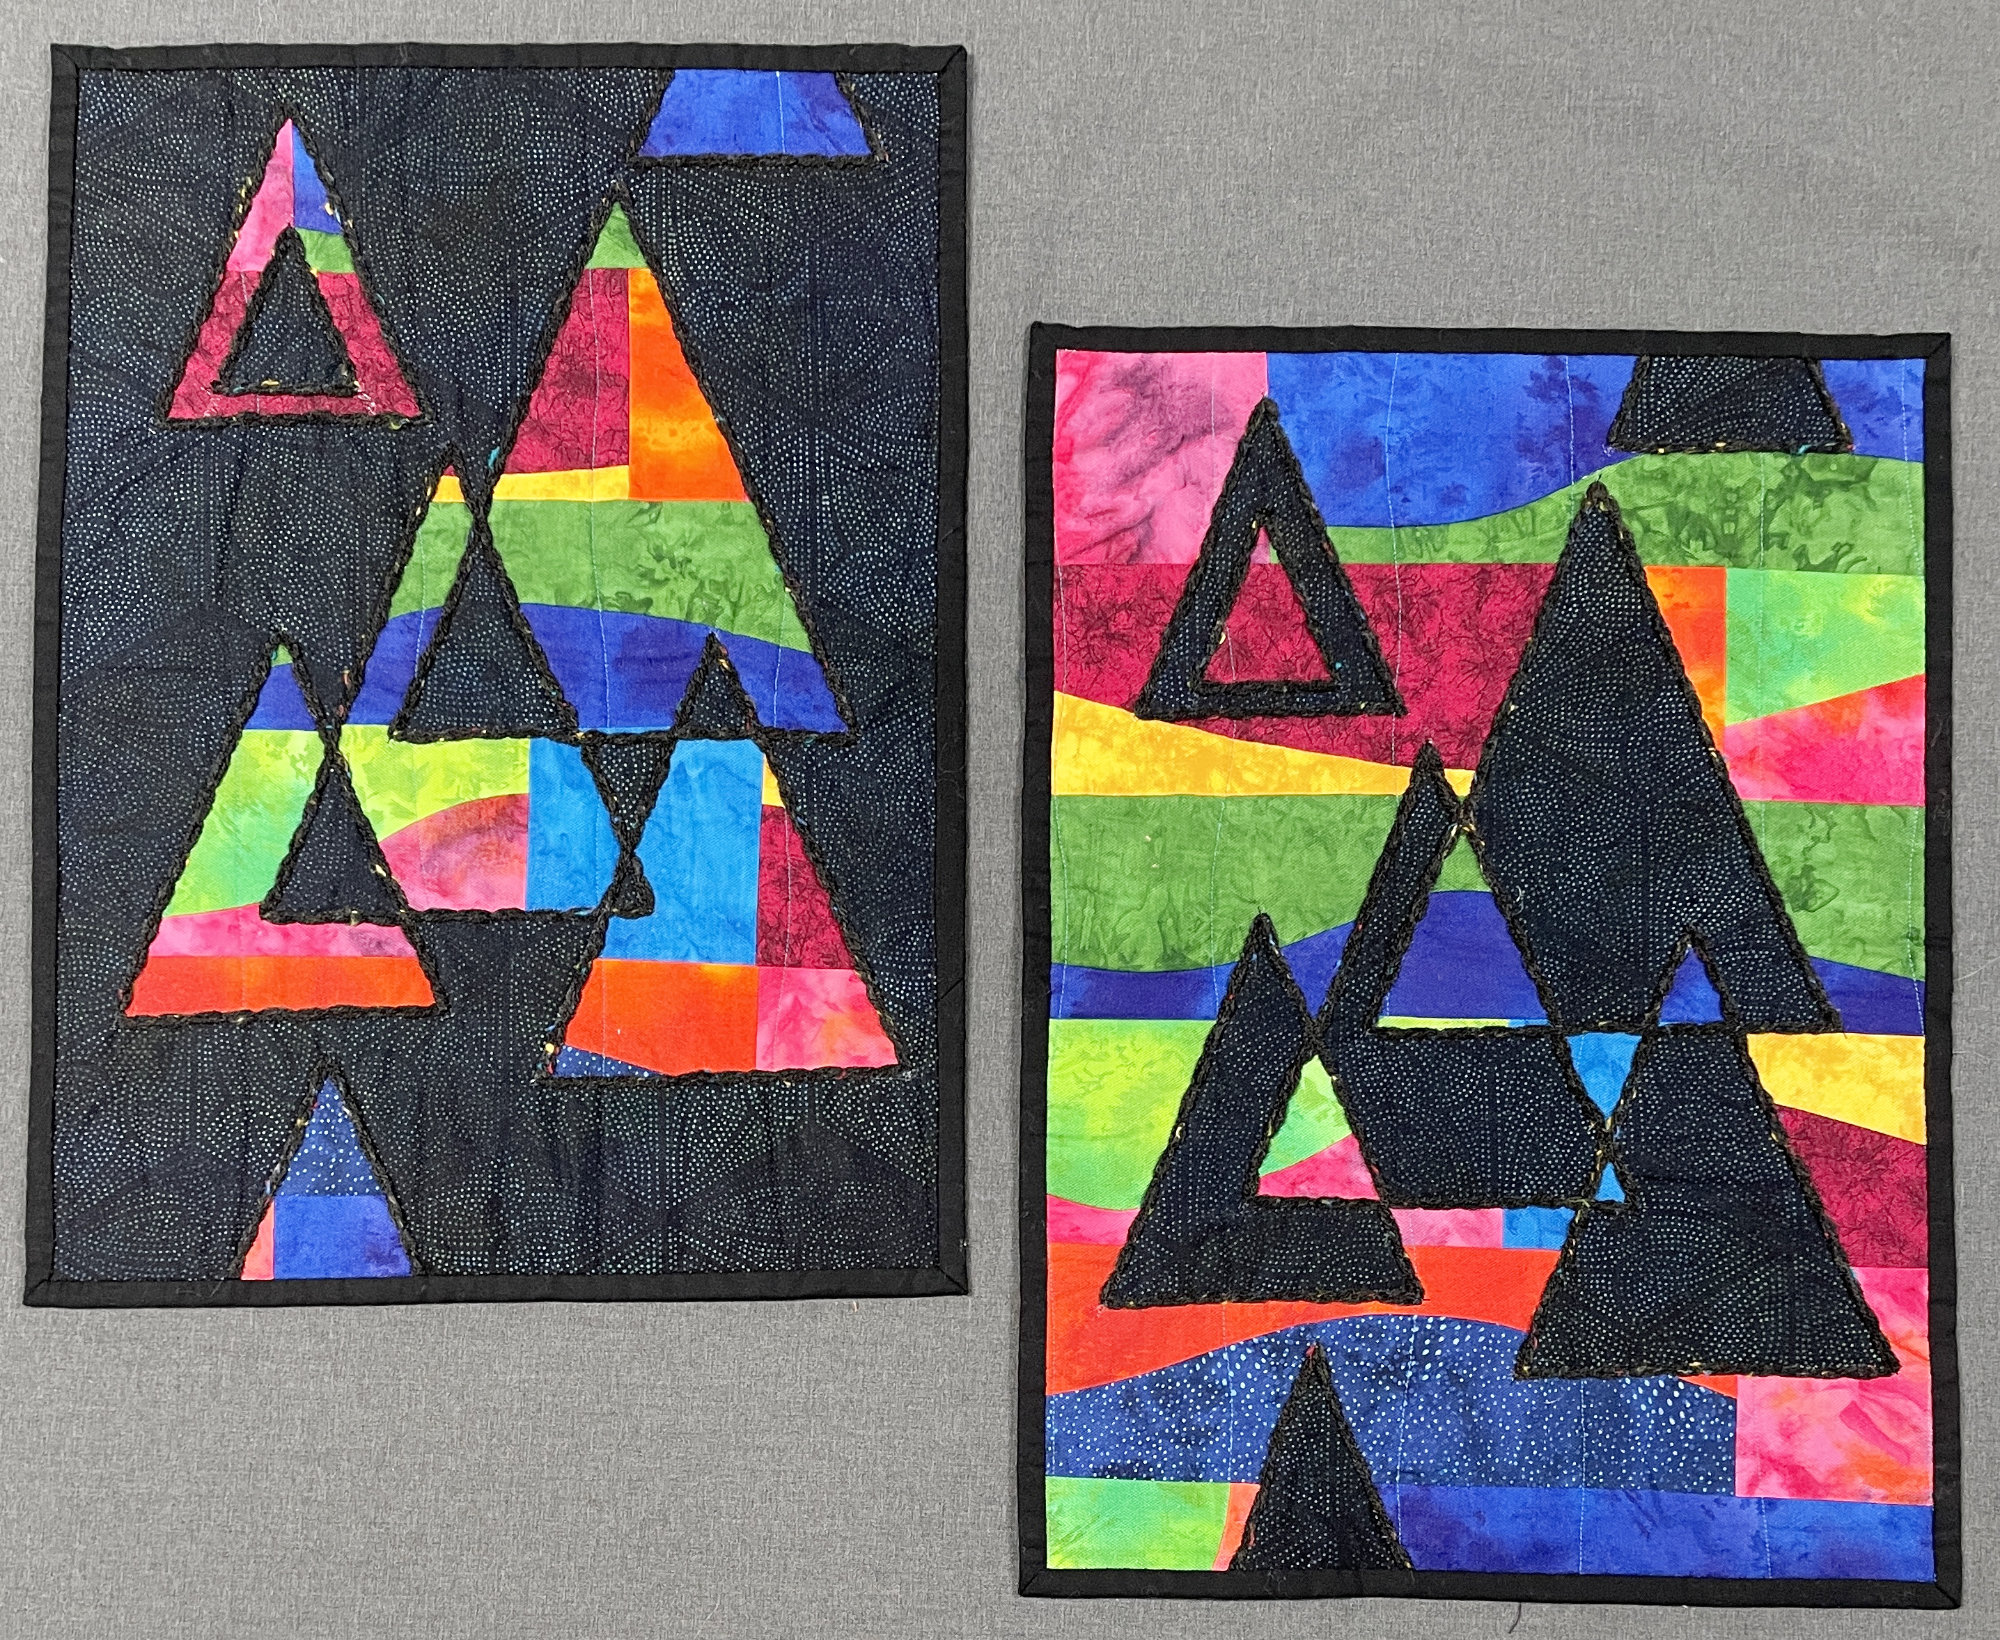
Next we did a self guided tour of the Doge’s Palace. Again – the history is so interesting, but this isn’t the place for that. What I do want to share was some quilt design inspiration 😊. The floors!


And even the staircase. Will took this photo of me

taking a photo of the fronts of the steps.

As we neared the end of our walk around the island of Venice I actually found a fabric store! It was filled with lots of men’s suit fabrics and, as is common in stores like this in Europe, it was staffed by two men who stared at me as I looked at the fabrics. There was an area of colorful cottons and silks. I didn’t feel comfortable taking a photo inside, nor did I see anything I needed to add to my stash, but I enjoyed touching and feeling some of the beautiful bolts on the shelves – and I snapped a quick photo from the outside (please pardon the reflection on the glass).

The following morning we flew home. It may have been the end of our journey, but it’s not the end of my posts about our adventure. I think you’ll really enjoy my next two posts as they are about the part of our trip that excited me most as a quilter and fiber artist. Stay tuned for wool, silk, and stitching in Dubrovnik, Croatia.
PS At the beginning of this post is a photo of another view of Venice from the Bell Tower. You may have noticed a red arrow in the top of the photo. It’s pointing at our ship! What fun it was to realize we could see it from up there.
**************
And one more thing…
Mr friend Lisa emailed me in hopes of finding out some information about a mystery quilt she participated in in Madison years ago. Here’s what she wrote:
“I’m hoping you might be able to help me with an odd request. I know that your blog goes to a lot of Wisconsin quilters, especially those in the Madison area. I’m trying to locate the directions for a mystery monthly quilt along that Mill House Quilts did in the early 2000’s.
I have quite a few of them from back in the day, but cannot locate the one that belongs with a fabric pull I have set aside since 2005/2006. The monthly clues got lost. I don’t even remember the name of the mystery QAL, but know it was either by Debbie Caffrey or a Thornberry Mystery as those were the two designers they used back then.”
If you have any helpful information for Lisa, please email her directly at: