Last week I posted photos of my friend Evelyn and I wearing the new jackets we made together.

I promised the story – and here it is!
Evelyn has always loved Asian fabrics and designs. She has a wonderful collection. Years ago she made a jacket using a pattern by Bette Gant.


She covered it with exquisite machine stitched sashiko.

She loved that jacket – and she wore it out! From the stitching to the cuffs.

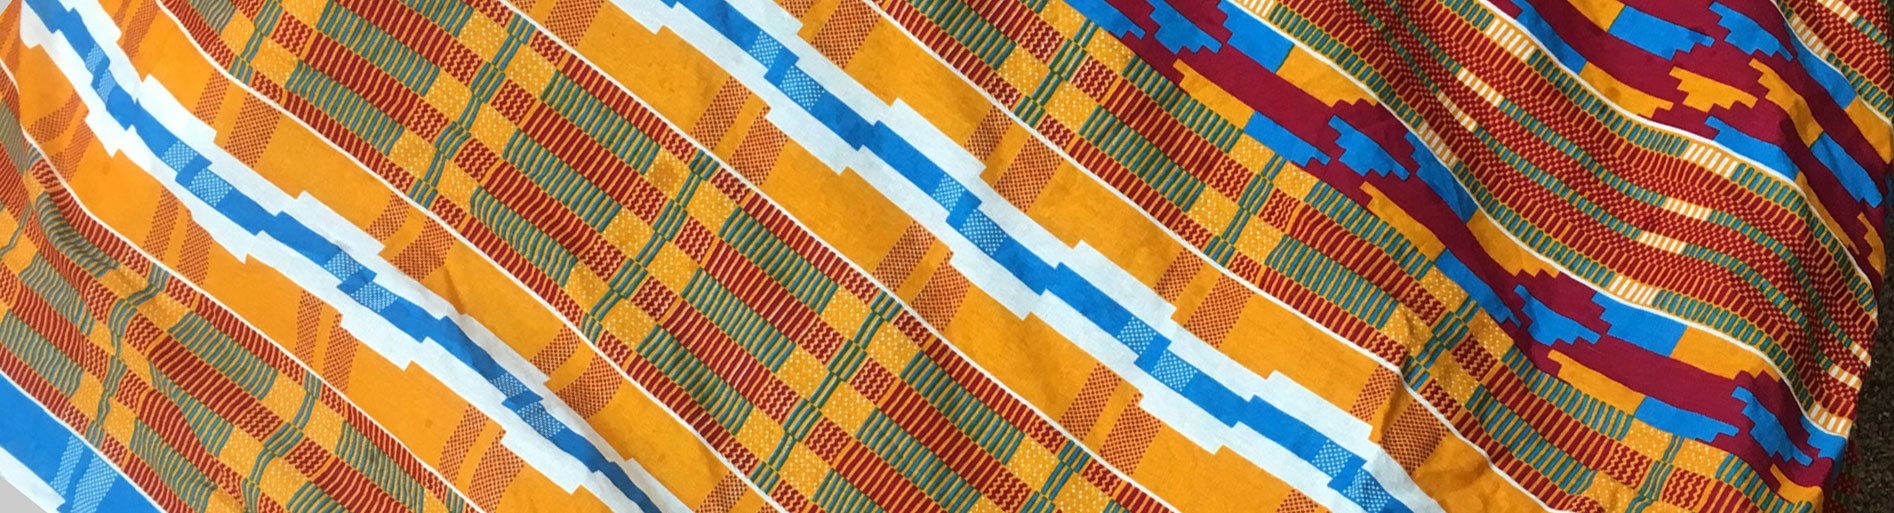
Evelyn’s friend Judy is a travel planner who was looking for a tour leader for a trip to the International Quilt Festival in Japan, and Evelyn gave her my contact information. When I signed on for this wonderful trip, Evelyn shipped an exciting package of goodies to me from her home in Arizona. It was filled with Japanese books, fabrics and stencils. Then, when she came back to Wisconsin for the Summer, we got together to make jackets: she needed a new one and I simply needed one!
Evelyn chose to put appliqué on the back of hers this time, and I dove into the stack of fabric she had sent me to fill the spaces.

As I cut and fitted the pieces together I mentioned to her how much I liked the two blue pieces printed with sashiko patterns. That’s when she told me those designs were marks to be stitched and they would wash away. Yikes! Time to learn to do sashiko! I stitched the dark blue area at the top with red thread, and the lighter blue area on the lower right with two different colors.

And here’s a close up of before and after stitching:

I found this stitching very addictive and decided to stitch it onto the sleeves too!

I covered the “seam” lines on the back with bias strips of the blue denim fabric and decided to keep the jacket front simple.

It took three lessons to complete my jacket, and I love it! I’m sure it will come in quite handy in Japan, since it will be winter there. Praise the Lord their winters are milder than ours are here in Wisconsin.
Thank you Evelyn! For your generosity, teaching skills and friendship!
************************

I’m about to send out my pre-trip, “let’s get excited”, blog posts to the quilters who have signed up to travel with me to Japan. I’ll be sharing information about the things we’ll see, the food we’ll eat, and the projects we’ll create with them via a special blog over the next few months. There are still a few spots left for my trip to Tokyo this January. Please click here for all the information!
************************
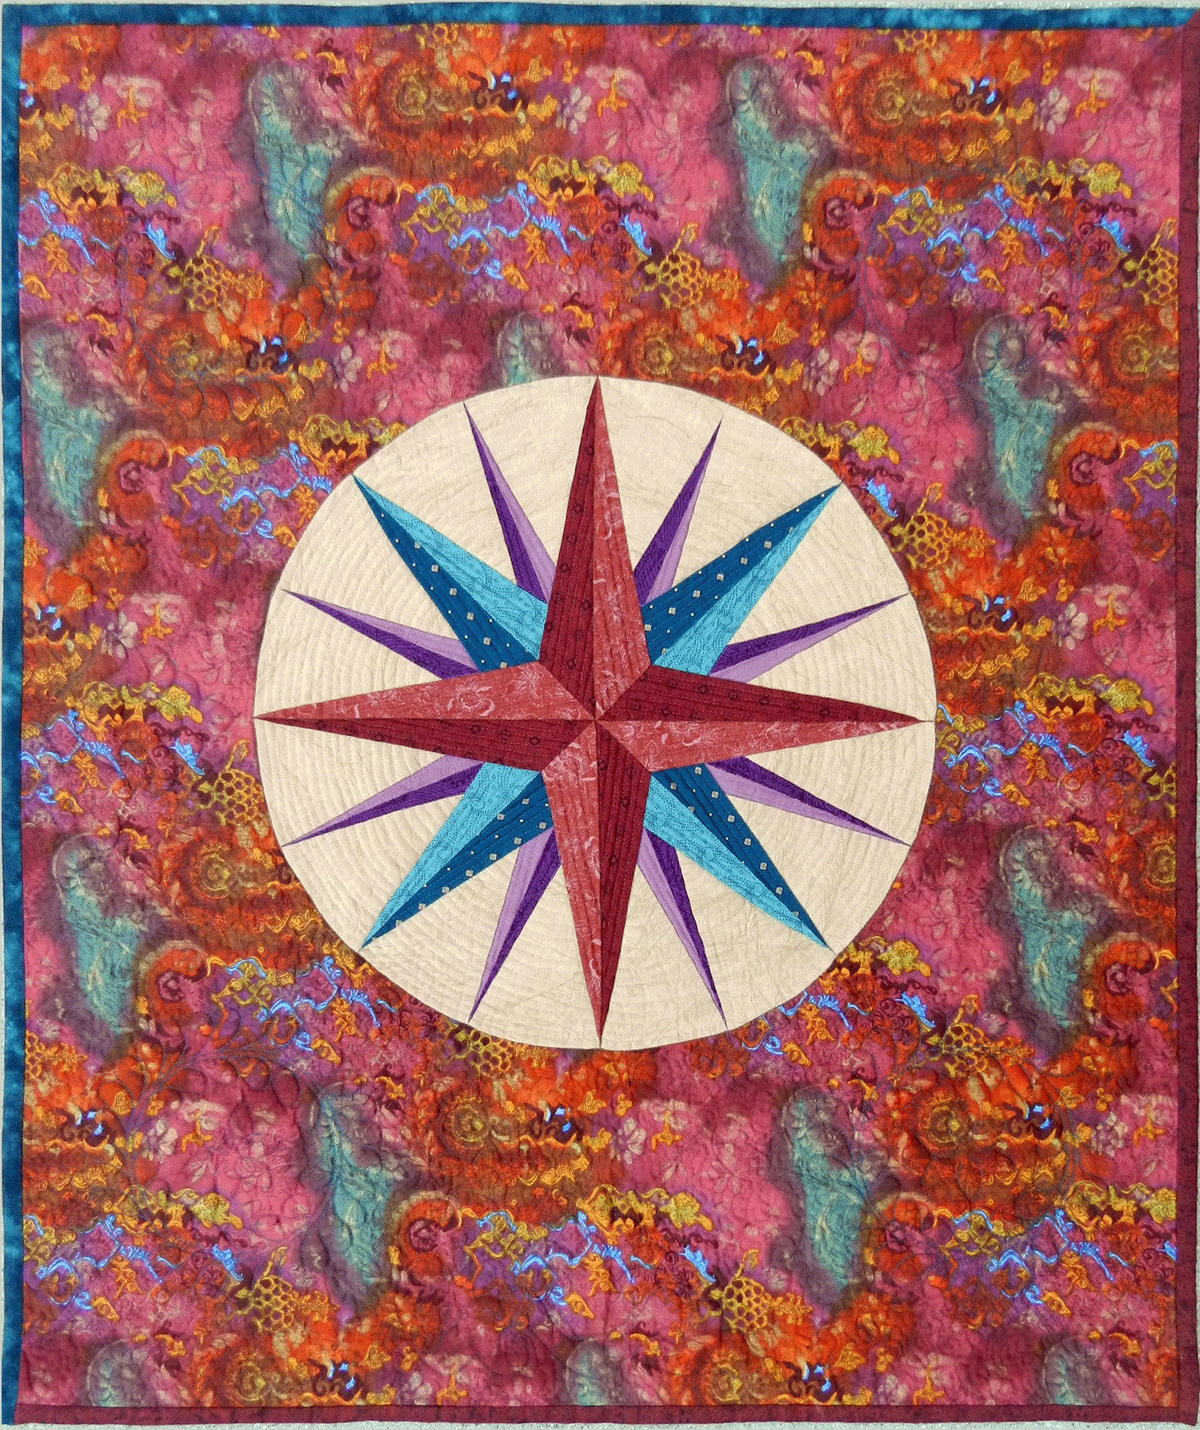
Upcoming Class Corner
As many of you know, WCTC will be discontinuing their Adult Enrichment Classes after this semester. I’m sad that it will be my final semester after 22 years, but excited about the workshops I still get to teach! My Open Labs are full, as is my Goose Tricks class. I still have openings in three Friday workshops:
Compass Capers is this coming Friday, September 20, 2019, from 9 – 2:30. Sorry for the late notice, but I do have 4 spots left, so if you’re available – I’d love to have you join me.
Seminole Sampler is on October 18th from 9 – 2:30. This class needs 2 more students to run. I already have 8 in the class so I’d hate to have to cancel them out, so please consider grabbing a friend and learning a bevy of fun border techniques. I promise – you won’t be disappointed.

Repliqué Joy is on Friday, December 13th from 9 – 2:30, and it also has 4 spots available.

For descriptions of all of these classes, and to register on-line go to: https://www.wctc.edu/, click on “Course Search”, type quilt into the course box and click on “Find Courses”. Click on the name of each class for a description to pop up. Then register on-line or call 262.691.5578.