The inspiration for this week’s post came from a wonderful event I attended last night called the “On Wisconsin Fiber Arts Biennial”. Every other year the Wisconsin Museum of Quilts and Fiber Arts holds this exhibit to showcase pieces from fiber artists throughout our State. The opening reception was a lovely opportunity to get a first look at this visual feast!


The piece I have on display is the 3D box I made for the ThreadBenders challenge. I posted about this in September (click here to read that post). We decided to each enter our boxes in the biennial as a group, and here they are:

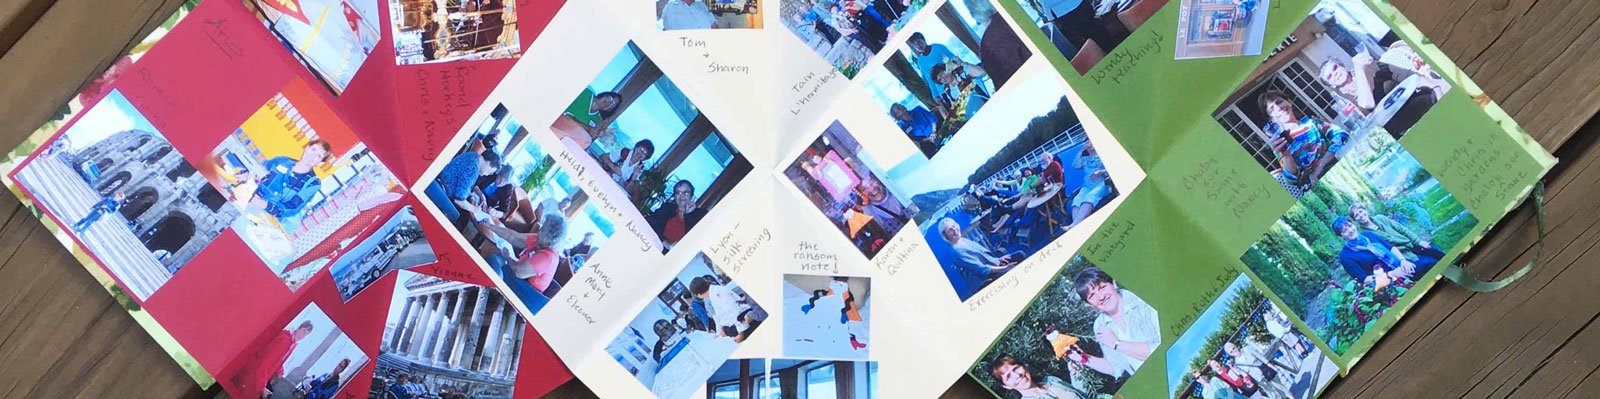
I was honored to be a part of the photograph taken of all the artists in attendance:

Mike and I spent a lovely couple of hours enjoying beautiful downtown Cedarburg, in it’s Christmas finery, before attending the museum reception. I highly recommend exploring Cedarburg and visiting this fascinating exhibit.
So what does this have to do with borders? Well, I met up with Jackie while enjoying the exhibit and she had made a “slice” of the building quilts featured in the photograph at the beginning of this post. As we talked she said she heard me give my Gradation Play lecture at the Sheboygan Quilters guild. Afterwards she was inspired to purchase some gradation fabrics, and wasn’t sure what to do with them. I mentioned a great place to use these fabrics is in borders, and on the way home I decided it was a good idea to share.
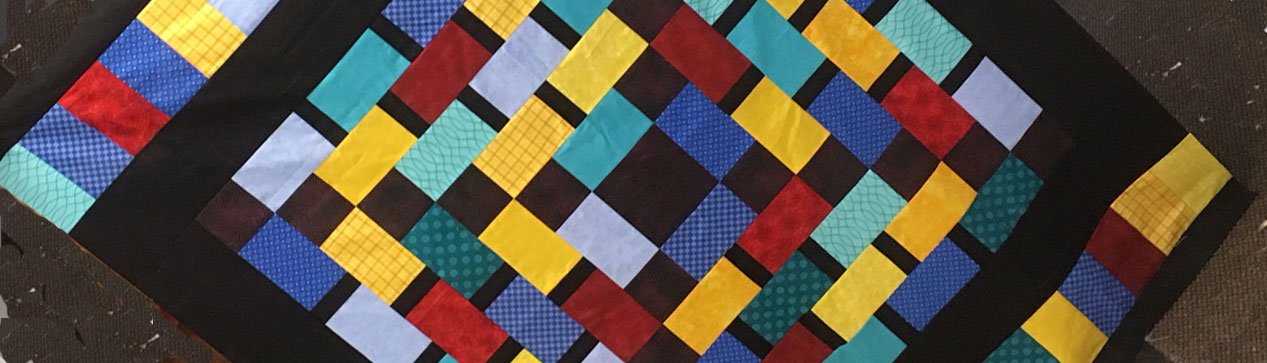
A single border of a gradation fabric can add a lot of interest without taking away from the center of the quilt.

I especially loved using a gradation border in How Beautiful – Liberty (to read a post about this quilt click here):

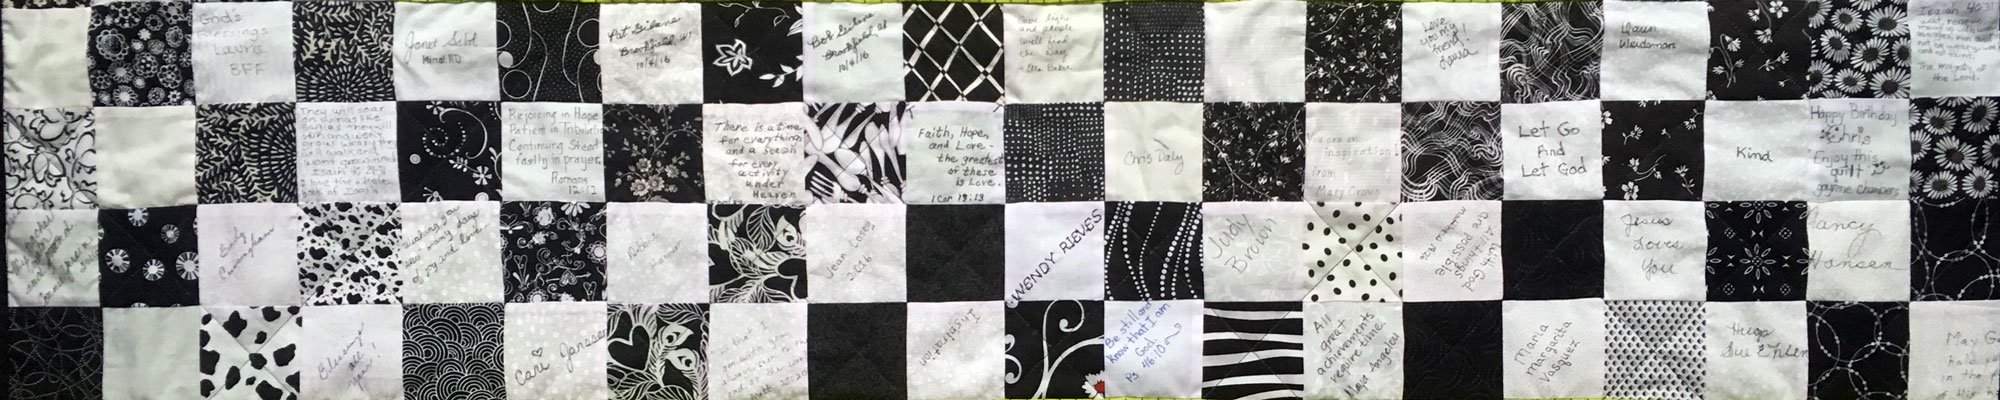
In this next full size quilt top I struggled to find a border that would work. I searched through my stash and was quite frustrated until I found a black to white pointillist gradation.

In the first two borders the gradation ran perpendicular to the edge of the quilt top. In the third one it ran parallel. It’s a good idea to try it both ways.
In the next quilt I appliquéd circles cut from the background fabric onto a black border.

There are so many ways to use gradation or Ombré fabrics, and placing them in borders is one of my favorites. If you’re working on a Christmas project that needs a quick and effective border… this may be the answer ?.