It’s Easter Sunday and my friend Eileen and I are packing up to drive to Paducah for the Spring quilt show. We will be celebrating the Resurrection of our Savior together on the drive down (we hang the show tomorrow :-)), and are ok with this arrangement since we consider every day a day to celebrate what Jesus did for us!
But I couldn’t leave you without a Sunday post, so here goes:
A few months ago I posted about a very talented machine quilter named Doreen (you may read about her at: https://chrisquilts.net/?p=10656)
While reading her blog I was intrigued by a tool she recommended. Then I began a project that required a very accurate grid to be marked on my fabric – and it was time for a fun new purchase!
It’s not a typical quilter’s tool, but it certainly is handy. It’s called a laser level, and it’s very easy to use.

When you turn it on it sends out 2 perpendicular beams of light. Here’s how I used it to mark my quilt:


This delightful tool made quick work of marking my quilt. It is also helpful in squaring up a quilt for binding.
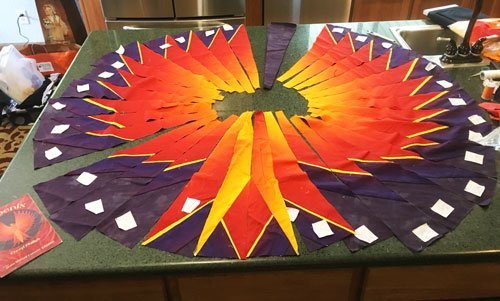
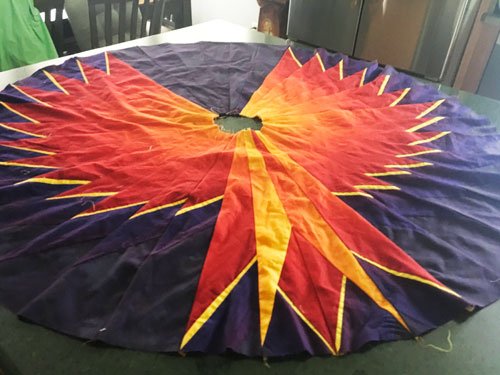
The project I’m working on here is something I’m quite excited about. This is the base quilt for some really fun blocks. I’m making it for a challenge, so I can’t show you the rest yet. But I think you’ll find it interesting – so stay tuned!
Wishing you and your family a blessed Resurrection Sunday!