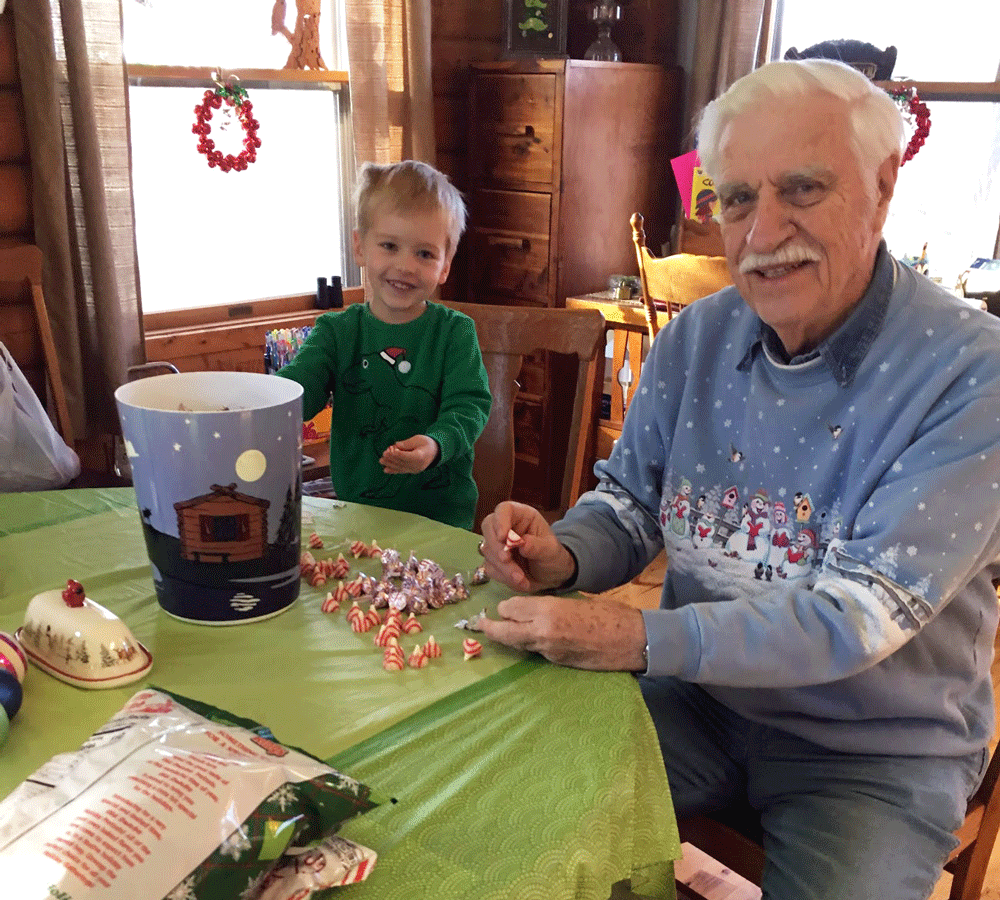
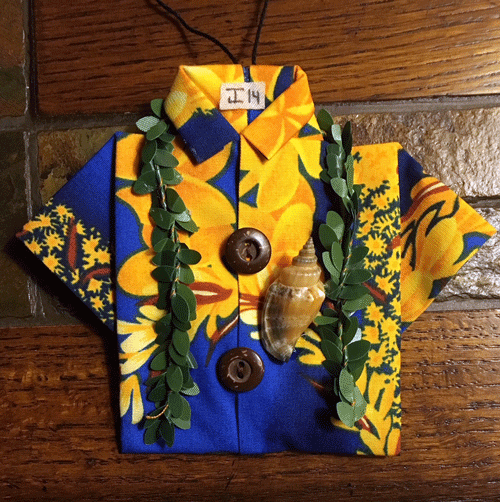
A few weeks ago I shared a picture of the origami Hawaiian shirts we made while on our Hawaiian cruise (they measure about 2″ x 3″). The updated picture above shows the shirts with leis Wendy crocheted for everyone.
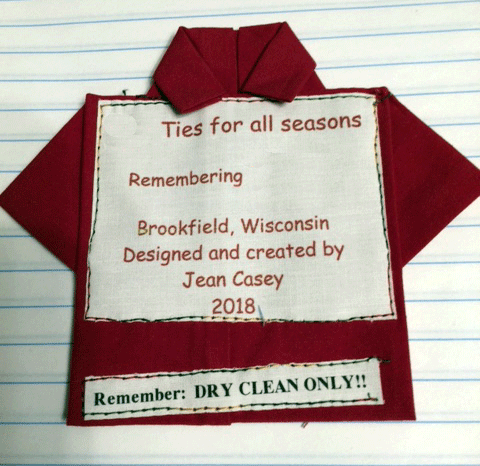
The idea originated with an ornament my friend Jean blessed me with a few Christmas’ ago. She’d found the pattern while vacationing in Hawaii and was kind enough to share it with me. The problem – we wouldn’t have access to enough irons to make this project according to directions while on board the ship. Hmm…
First I tried making a shirt out of scrapbooking paper, but it wasn’t fabric (I really prefer fabric – and I’m sure you get that).
Next, I found a “Layer Cake” of tropical batiks that I thought would look great (in case you don’t know, a “Layer Cake” is what quilters call a pack of 10″ squares). I shrank the pattern down a bit and tried to make a shirt by simply finger pressing the tightly woven batik, but it was too limp.
Then I had a very distant memory come to the surface: years ago, when I first taught quilting at MATC in Watertown, my friend Barb told the story of her time in nursing school when she and her roommates would need to make their caps crisp and stiff. To do this they soaked them in liquid starch and smoothed them onto the shower stall. It was worth a try!

Our shower stall has never been this colorful! When they were dry I peeled them off and ironed them smooth. The side of the squares that touched the shower came out shiny, so we folded that side to the inside when doing the origami. It was simple to cut the squares into the appropriate sized rectangles and the fabric finger pressed beautifully. All of our travelers were successful.
I didn’t get a photograph of the group with their folded shirt ornaments, but we’re having a cruise reunion in a couple of months and I’ll be sure to have everyone bring their’s along so I can send a quick pic in a future post :-).
So, if you ever want to try an origami pattern with fabric – now you know the easy way! And if you’d like to try making your own Hawaiian shirt ornament – I did an internet search for videos on origami shirt ornaments and there were quite a few to choose from :-).