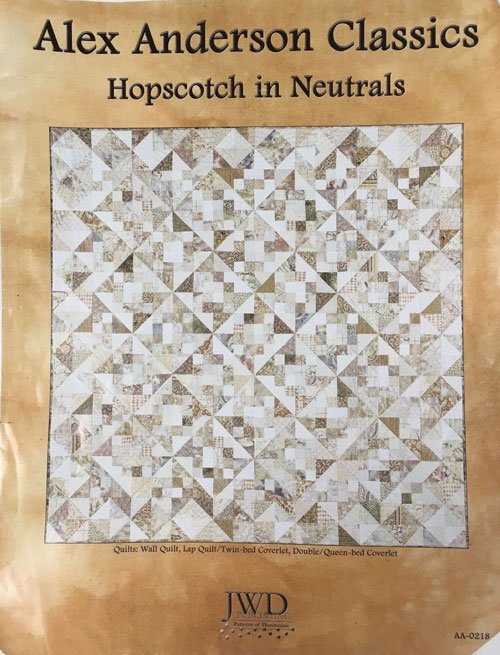
Looking for a quick way to finish a small quilt – borders and all?
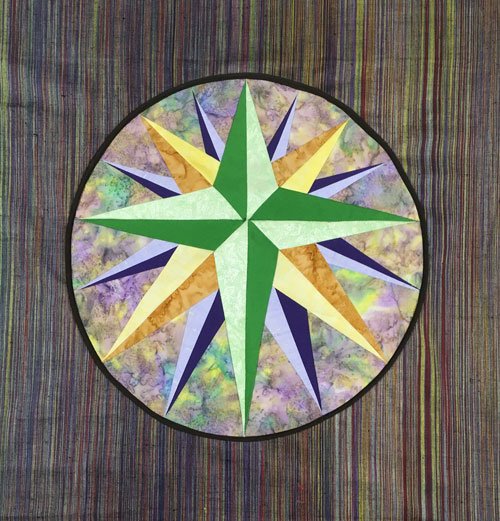
I have a small block I want to border, finish and hang on the wall (this would work great for placemats and table runners too). Rather than adding the borders and then layering and quilting the traditional way, I decided to cut the backing and batting a little larger than the size of the finished quilt.
*Then I layered them on the work surface: backing, wrong side up, then batting.
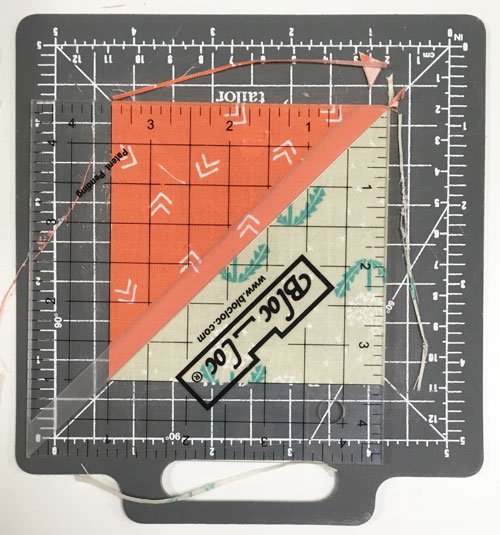
*Next I centered my block on top and pinned it in place.
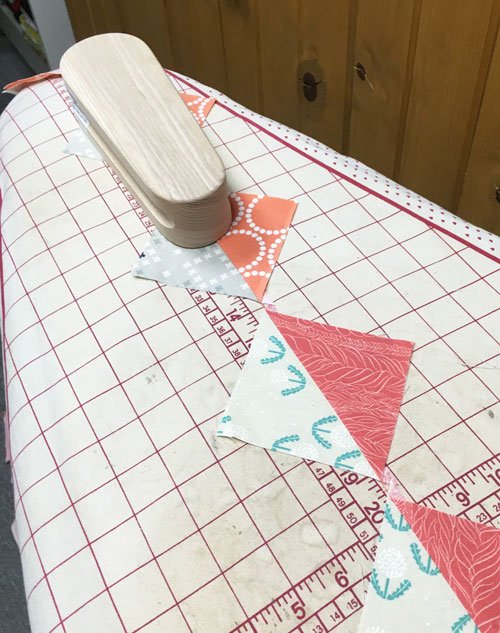
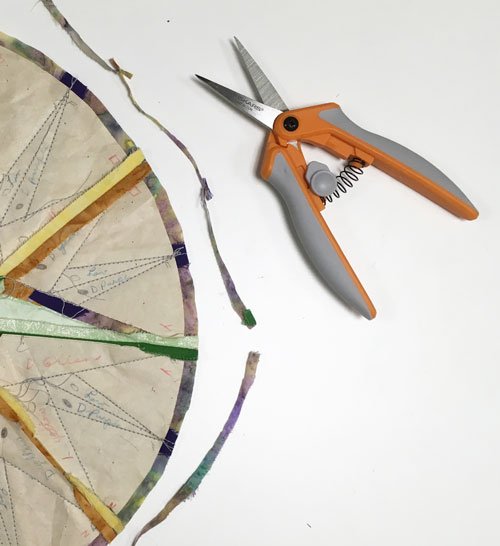
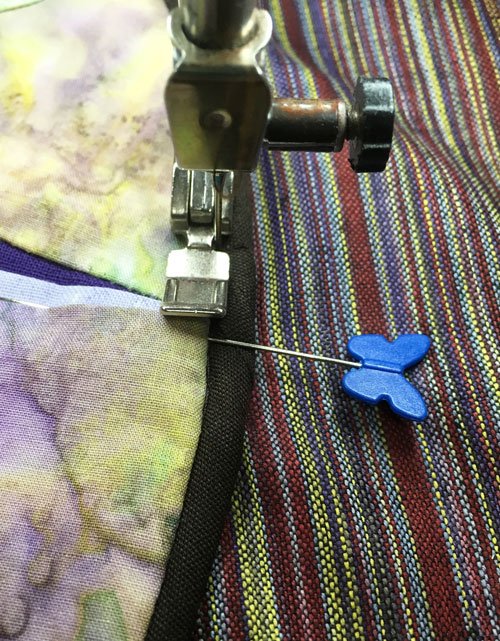
*I cut border strips for the sides at the appropriate size, layered them right-sides-together with the block and sewed them on with a ¼” seam allowance, pressing the border over the batt after stitching.
These seams will act as quilting lines.
I then measured, cut, and stitched the top and bottom borders on in the same fashion.


I began with larger pieces of backing/batting then my first border required, because these were leftovers from a previous project. I could now add another border if I want, since the extra backing/batting is already there, or I can square this up and bind as usual.
I’m thinking one border is enough – gotta go – time to bind!