Last weekend Mike and I did a road trip to Elkhorn, WI for an estate sale. I had received this mass email from a woman named Angela:
“My mom, who was a devoted quilter, recently passed away and we are holding an estate sale. She was a quilting fanatic and a member of many guilds through the years. It has taken four weeks just to measure the fabric she had stored away and she has left many projects partially completed. I was hoping you could share the attached flyer with your guild members. I would greatly appreciate any help you can provide in getting the word out. Thanks much and please let me know if you have any concerns or suggestions.”
I emailed her back to ask her mother’s name. I didn’t know Susan, but Angela included this sweet response:
“If you do come to the sale I would love to talk to you about finishing up some of her projects. She made each grandchild a quilt, piecing it when they started high school and hand quilting before graduation as a graduation gift. Unfortunately, she was unable to quilt the top she made for my son. I have been praying for knowledge and direction. Since you answered this email with “blessings” perhaps you are the answer.”
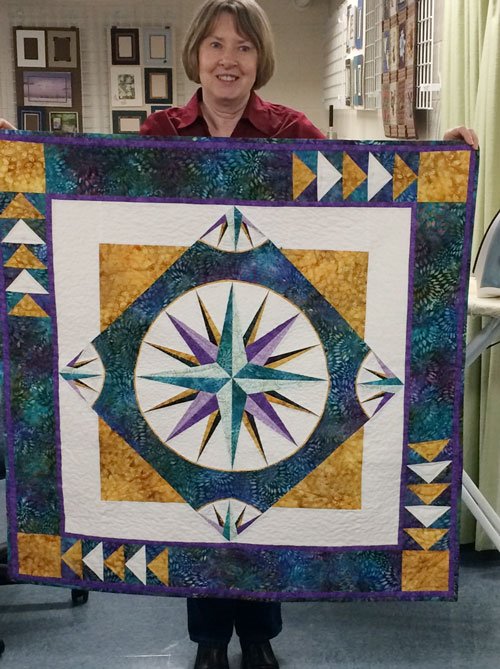
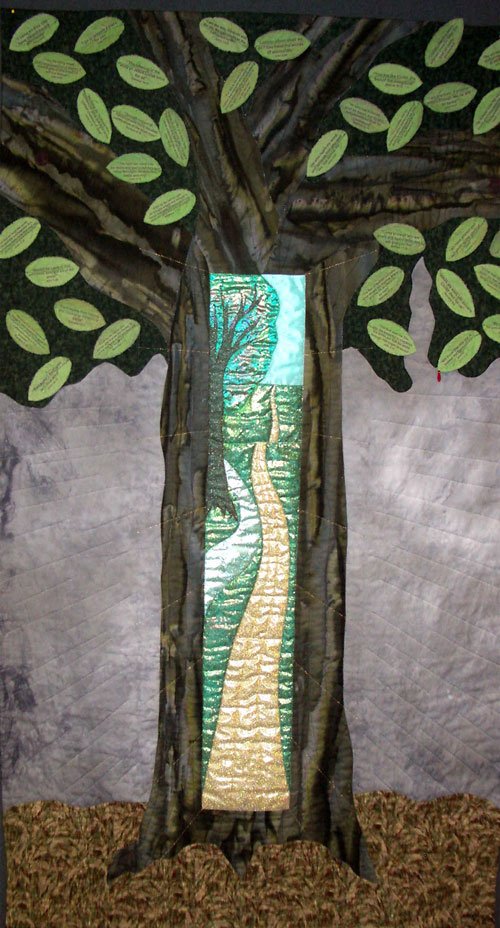
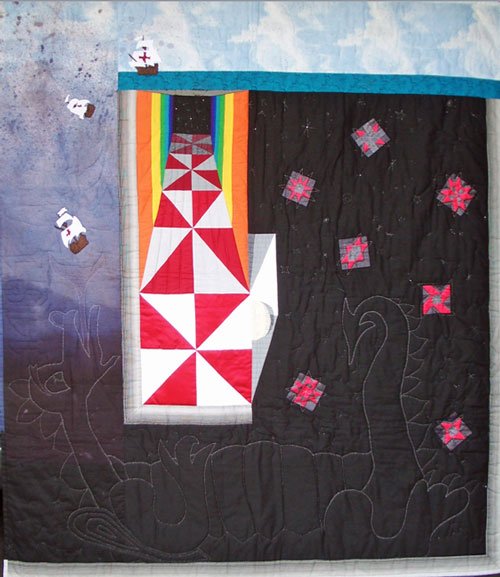
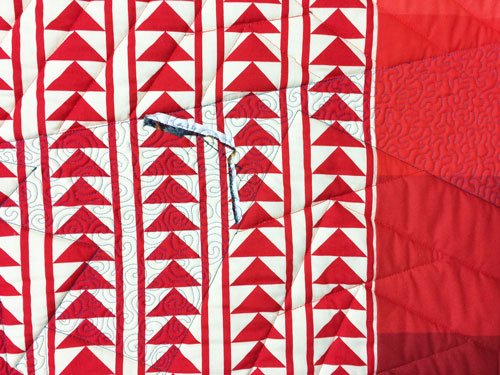
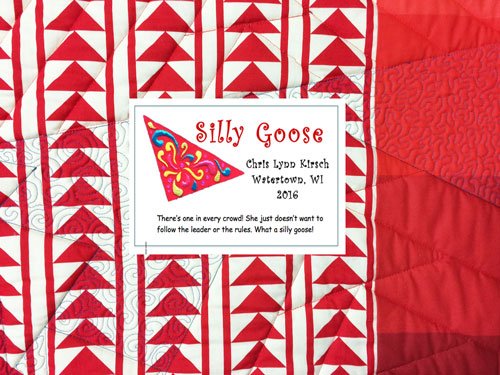
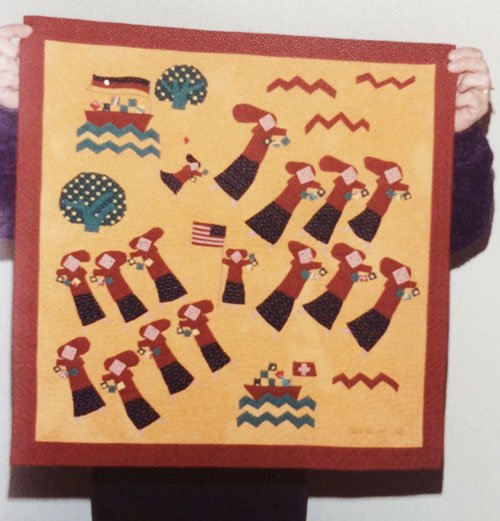
I enjoyed meeting Angela and seeing the beautiful sampler quilt.
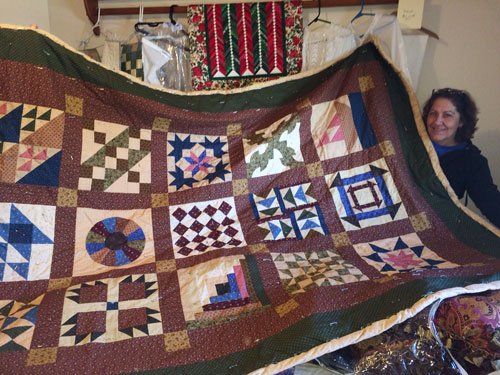
Since all of the other grandchildren quilts were hand-quilted, Angela would really like to have this one hand-quilted too. I told her I wouldn’t be able to do this, but I would put the information on my blog. If you are a hand-quilter who would be interested in talking to Angela about it, please email her at: ajhastings
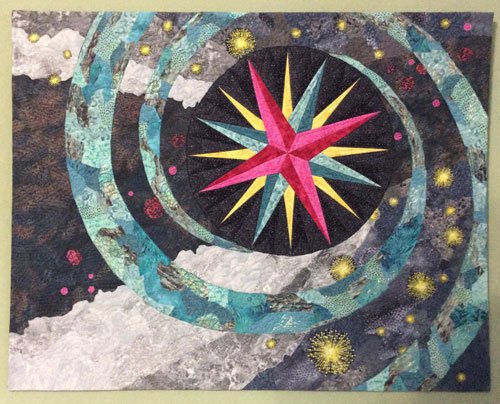
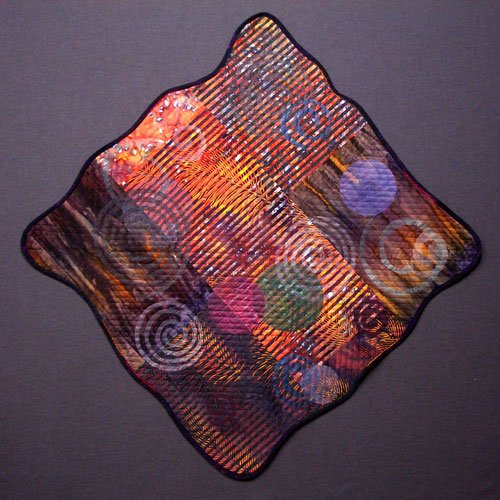
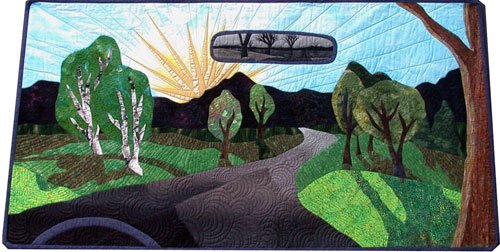
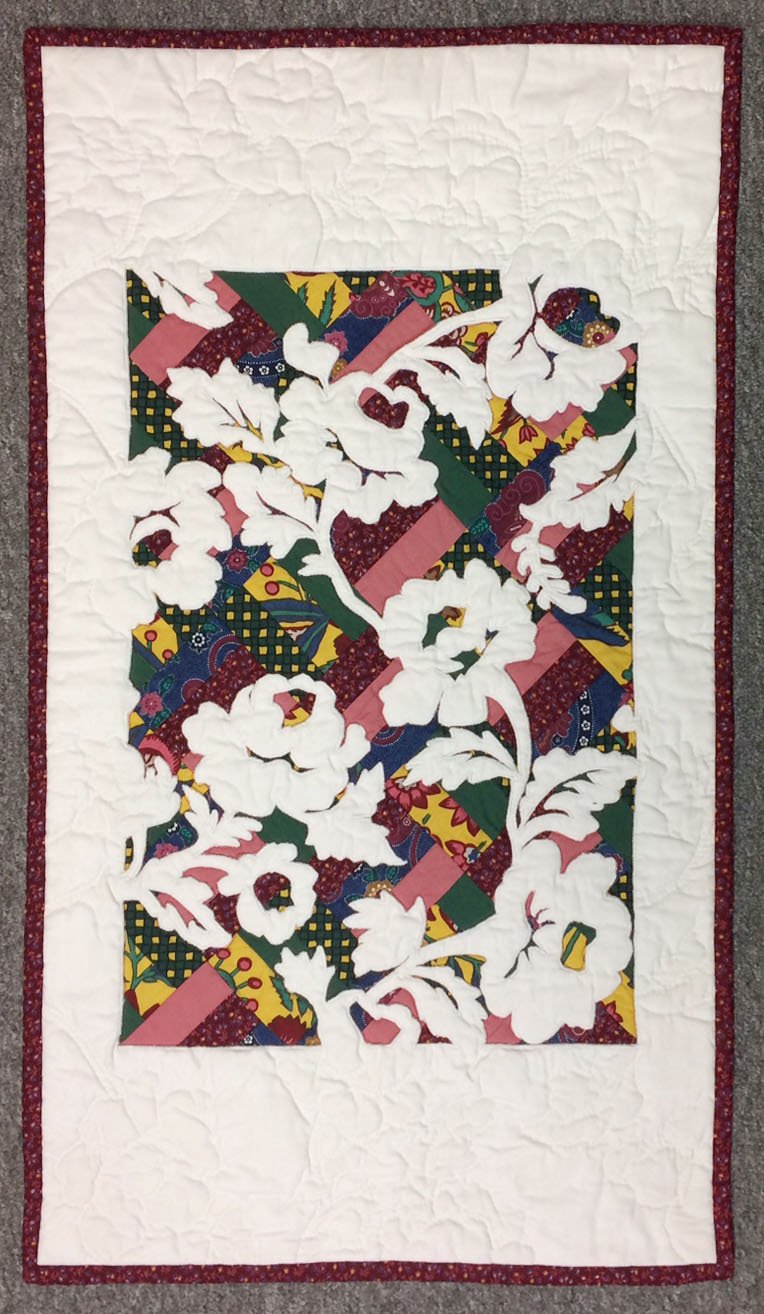
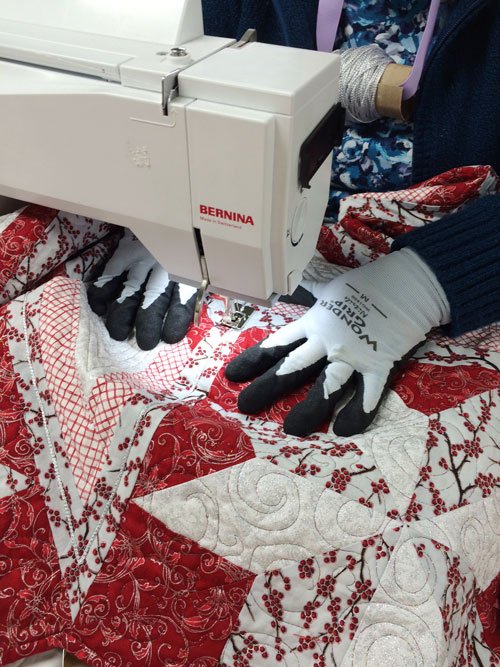
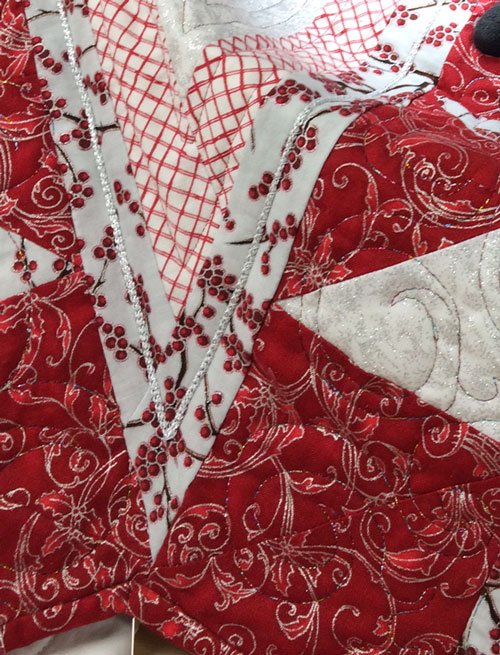
The quilt at the top of this post was just one of my purchases at Susan’s sale. Isn’t her quilting lovely? I also couldn’t resist this adorable sewing machine. I’ve always wanted a vintage child’s machine!
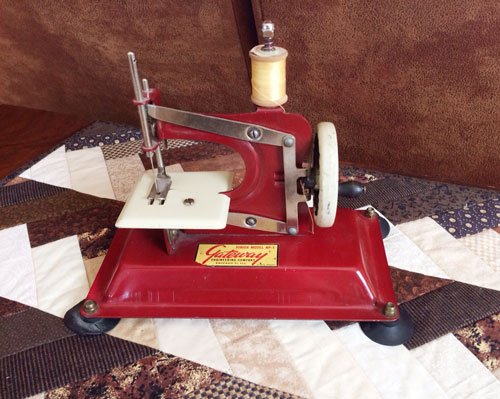
I haven’t tried sewing with it yet, but it is a treasure.