Happy Autumn! As I was about to post to this week’s blog, Mike hollered for me to come quickly to the kitchen window. This is what I saw – a large Tom turkey and 9 hens running through the leaves. I must admit – this has nothing to do with the topic of the week, but it’s Autumn, so I couldn’t resist! Now on to the topic at hand 🙂 !
I often have students who struggle with keeping their 1/4″ seam allowance consistent, or their blocks always end up too small, or they are using 2 different sewing machines on the same project and the distance between the needle and the edge of the foot differs between the machines. If your seam allowance isn’t accurate or consistent, your frustration level can really skyrocket.
I have a trick to help with all of these issues. I don’t remember where I learned it, but I’ve used it for years and shared it with many quilters.
To begin with, I prefer to sew with a scant 1/4″ seam allowance, because I like to press my seams to the side and this always takes up an extra thread or two, thus shrinking the blocks. By using the scant 1/4″, my blocks remain the correct size. So… here’s the trick:
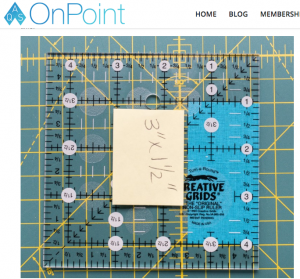
- Take an index card, marked with 1/4″ lines, and cut off the bottom of the card on the lowest blue line.
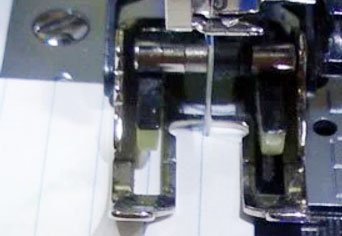
- Place the card under the needle of the machine and lower the needle by hand so that it pierces the card just to the right of the next blue line. When the needle is at the lowest level, it should be “kissing” the line.
 Place masking/painters tape along the right side of the card, making sure you don’t cover the feed dogs.
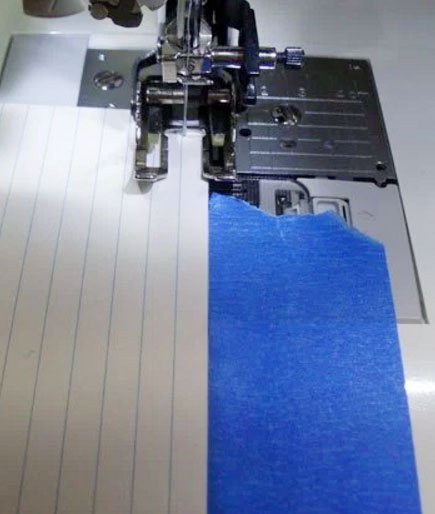
- If you struggle with keeping your seam allowance consistent, it’s helpful to stack a number of layers of tape on top of one another, to make a thicker edge to run the fabric along (sort of like the bumpers in bumper bowling 🙂 ). I’ve really appreciated knowing this technique when teaching children to quilt.
- Remove the card and piece to your heart’s content.
- Keep this card.
 If/when the need arises to sew on a different machine, put the needle down in the hole on the card, tape along the right side, and be assured you will be stitching with the same seam allowance on both machines!
This can be especially helpful when a group of quilters is working on the same quilt, for charity or competition purposes. If one person tapes each machine using the same card (or if the card is passed around), everyone will be making blocks the same size!
***********************
Birthday Block Update
Thanks again to everyone who gifted me with a 4-patch birthday block. So far I have 42 beautiful squares! This was Wendy’s comment to last week’s post (click here to read that post):
“Anyone is welcome to send a four patch to Chris. I am sure she would love to have a block from any of her blog friends!”
I will gladly keep you posted on what these blocks will become – as soon as I figure it out!