So here’s a fun way to begin the new year – sharing pictures of my latest quilt! A few weeks ago I mentioned that my most recent contest quilt had been accepted into the New Quilts From an Old Favorite contest at the National Quilt Museum in Paducah, KY. The judging is completed and I’m now free to share my quilt with you. The traditional block the museum chose this year was Flying Geese. While at the AQS show in Paducah this past Spring I got my idea. It’s called Silly Goose, and the label reads: “There’s one in every crowd. She just can’t follow the leader or the rules. What a silly goose!”

It was great fun creating the crazy, silly-ness in the solo silly goose.

I used stretchy metallic fabric once again. You may remember my first experience with that in “40 Wonderful Years” (click here for that post). It was a challenge to sew on, but the stretchiness gave the trapunto a shine I loved. The only color I couldn’t find in a Spandex™ type fabric was orange, so I tried polar fleece. Another non-traditional quilting fabric. It is a little fuzzy, but I was pleased with the results.
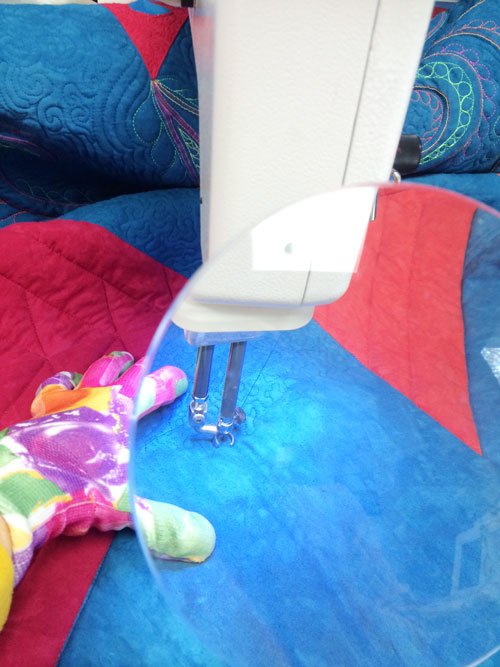
Next, came the quilting. That was even more fun! I chose to free motion embroider designs on the background fabric in neon thread, before I layered and trapunto’d the top. This allowed the embroidery to lay on top of the poofy areas.

The effect was just what I was looking for.
Once begun, the quilting took on a life of it’s own, and it was a joy.

This was followed by fused crystals in the small amount of space that wasn’t yet stitched.

WooHoo! I hope you can see the joy I have in playing with fabric, color and design. The Flying Goose exhibit will be hanging in the National Quilt Museum during Quilt Week this Spring. Then it will travel for two years to many shows across the country. All the quilts will also be featured in a book, published by the museum. It’s always fun to have a quilt travel and visit places I have yet to see.
I praise God for the opportunities and joy He’s given me through quilting!