The generally accepted rule for getting borders to fit on your quilt is to square up the top, and then measure the length of two opposite sides and across the center of the quilt top. In a perfect world these 3 numbers should be the same, but only God is perfect, and most of us know that these numbers seldom match. If they’re way off I do some re-stitching. If they’re within a 1/2″, I split the difference and cut the border strips at this size – easing them to fit.
On smaller pieces I’ve discovered an easier way. It may sound like cheating, but it works for me – if the sides are close to the same length (1/2″ or less difference – I might try up to a 3/4″ difference, but more than that would be pushing it). Here are the step-by-steps:
- Fold the quilt top in half and lay it on a table, with the edges you’re adding the borders to closest to you. I’ve left a 1/2″ underlap in the picture so you can see that both sides are aligned together. I then smooth these edges out so they are evenly on top of each other (trust me, even though the entire length isn’t in the picture, it is even on the right side too). If they aren’t exactly the same size I: place the corners on top of each other, hold them between a forefinger and a thumb on each side, and tug gently, placing it back on the table.
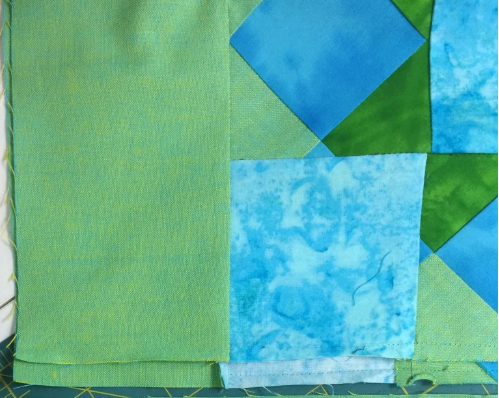
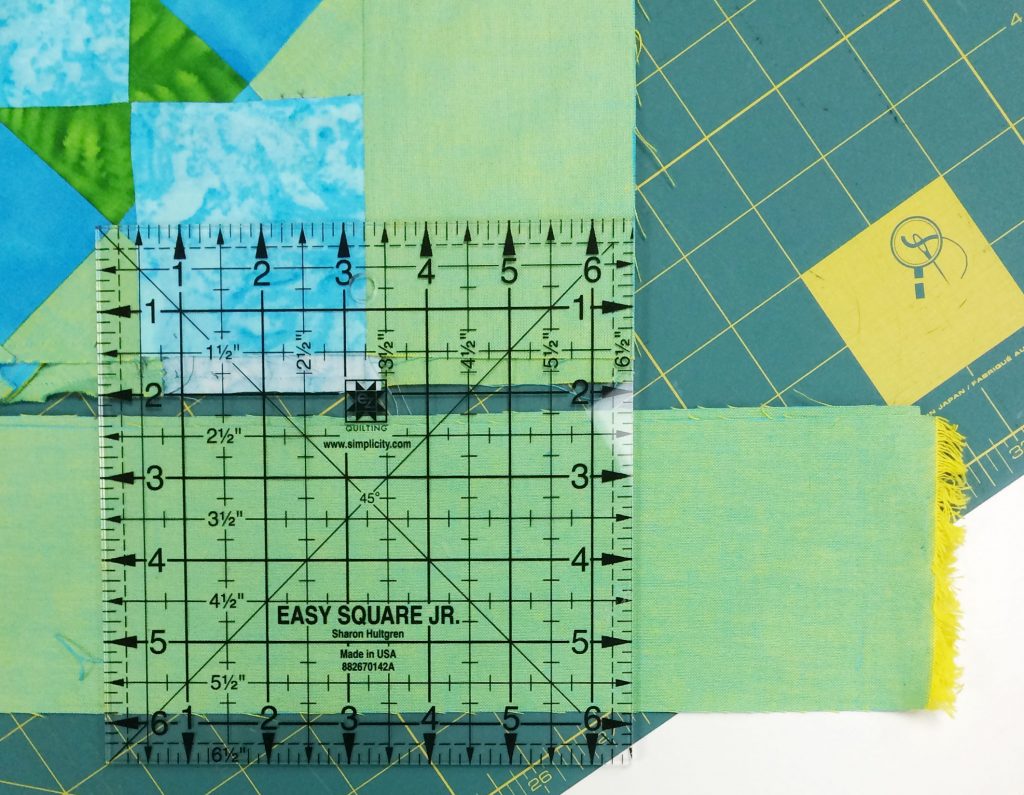
- Make 2 border strips at least 1″ longer than the side of the quilt, and square off the ends on the left. Place these border strips on top of each other, and aligned with the left edge of the quilt top.

- On the opposite end of the strips, rotary cut the borders even with the right edge of the quilt top. You now have two strips that are the same length as the quilt top.

- Now it’s time to sew on one of the border strips. This is one time I do pin the pieces together! Place a border strip, right-sides-together with the edge of one side of the quilt top, and pin it even with the left end (red pin head). Pin the right end even also (pink pin head).
- Grasp both ends, holding the quilt top and strip between finger and thumb, and gently tug until the strip lays flat (as directed in step 1). Place a pin in the center (middle pink pin),
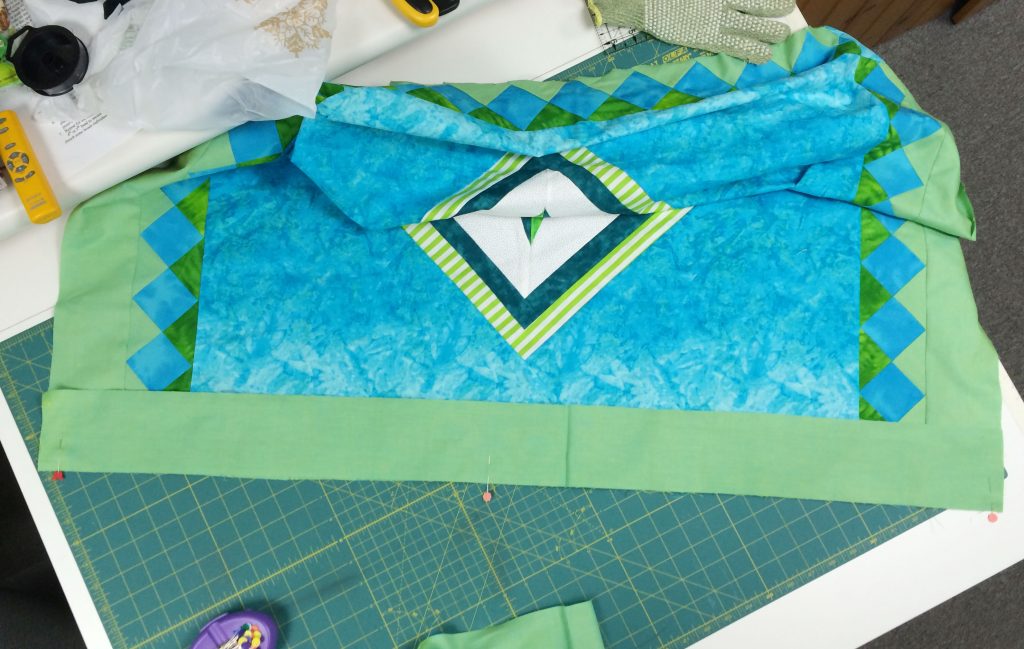
- This is the trick to make sure the strips fit: Use the grasp, tug and pin method from step 5 to place a new pin between a center and end pin. Repeat this process of pinning in the center of every pair of pins until the strip is securely pinned to the quilt top.
- Sew in place, and repeat for the opposite side. Attach the remaining sides in the same manner. (I just realized that I took these pictures while attaching the second set of green border strips, but you get the idea).
Give it a try, and let me know what you think!
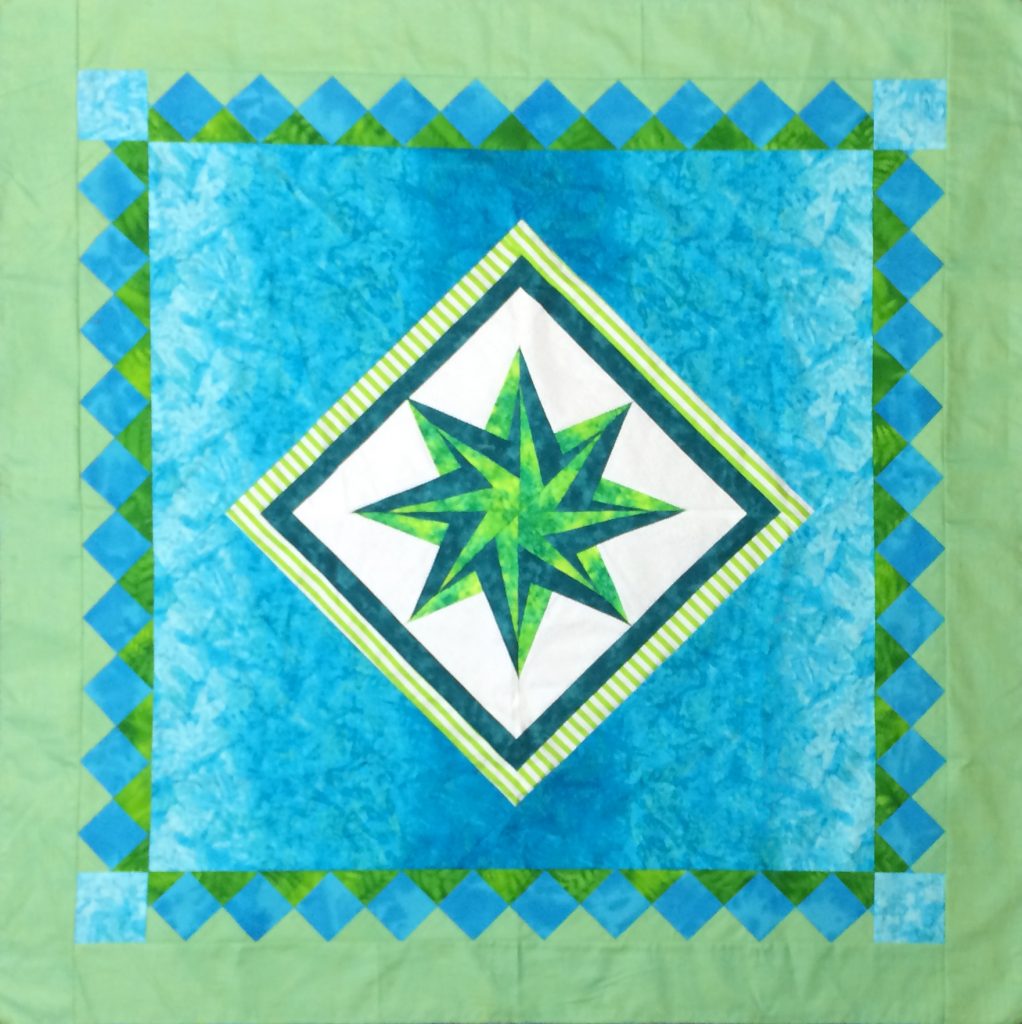
And if you like the Seminole piecing in this border – stay tuned – I’m planning to do a blog topic on it soon!
********************
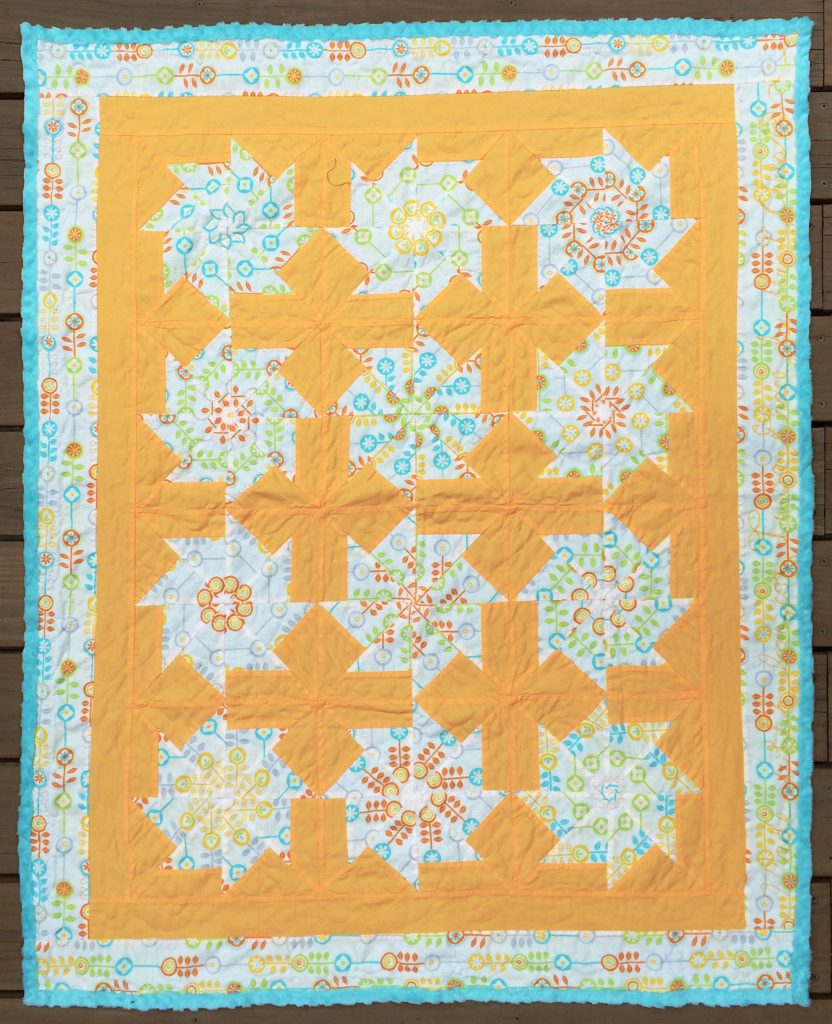
And now – a photo finish! Connie took my Spin Star class a few years ago and used my piecing technique to make purple blocks for her granddaughter (click here for more information on my Spin Star technique). Then she did something spectacular!
 She brought this quilt to class last week and I knew you’d want to see it! What I love is the way she alternated the spin stars with bears paw blocks, but to make them fit and work together, she added the outer, “claw border” from the bears paw block around each spin star. Wow! What a clever idea! Great job Connie!