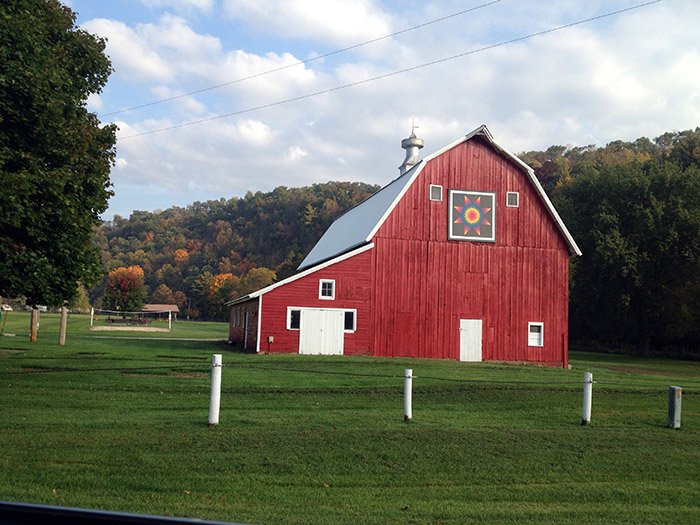
This past week I had the delightful opportunity to teach for the Northeast Iowa Quilt Guild’s retreat, held at a camp in Minnesota. I saw many “quilt blocks” hanging on barns along the way and was so pleased to find a lone star block on the Camp’s barn upon my arrival.
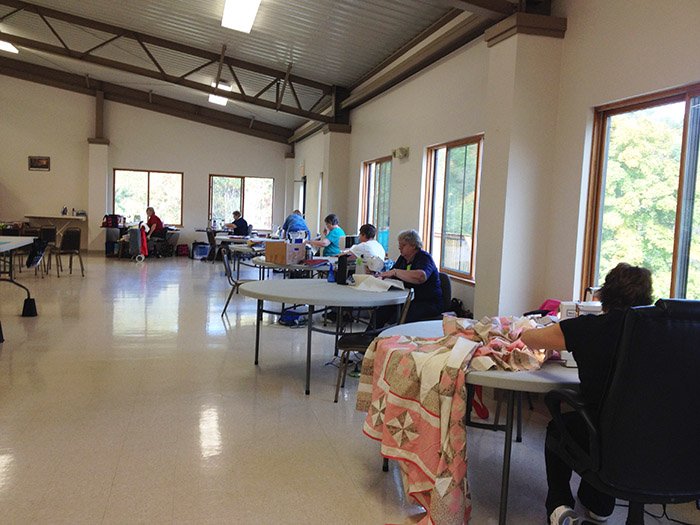
A portion of the quilters at the retreat were already set up and ready for me to begin my first class – Beyond Meandering. The room was big and light and a wonderful place for a sewing class/retreat:

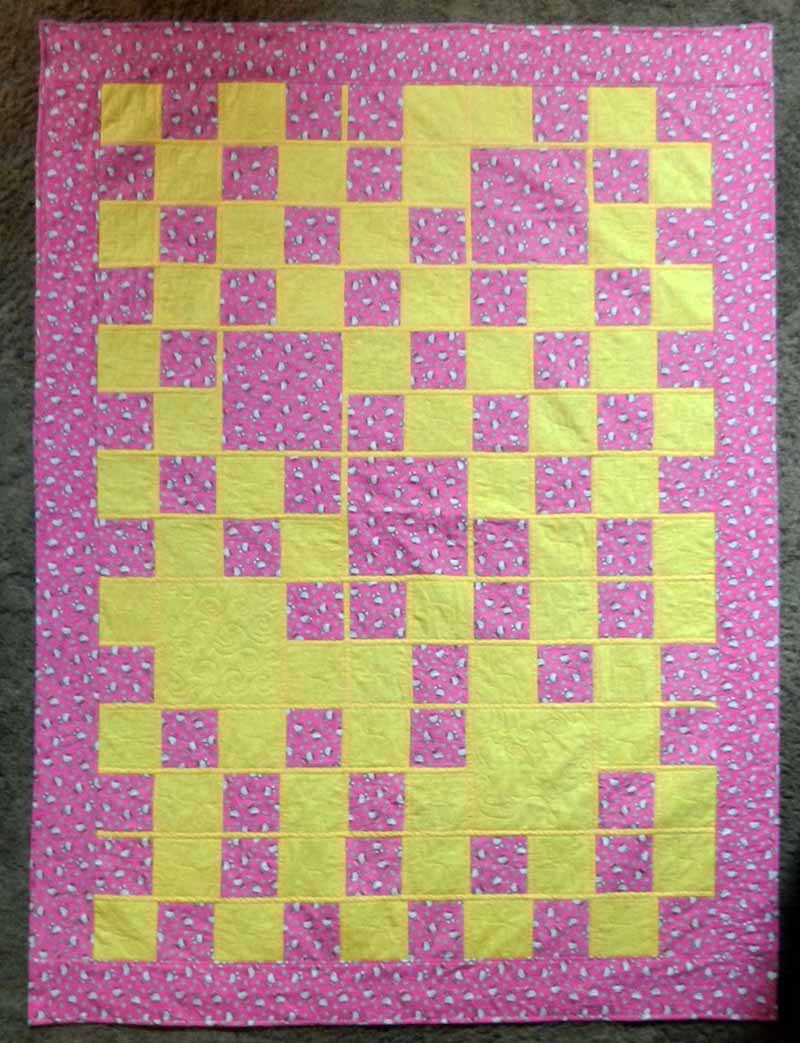
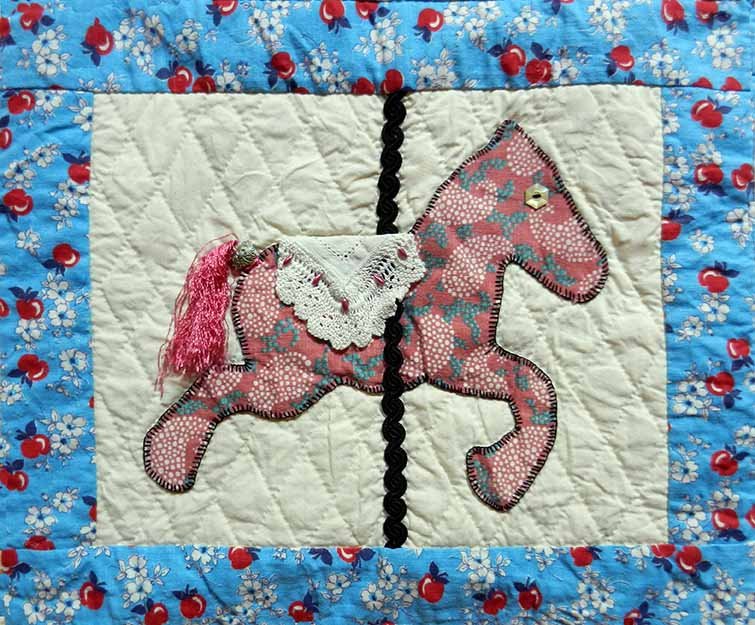
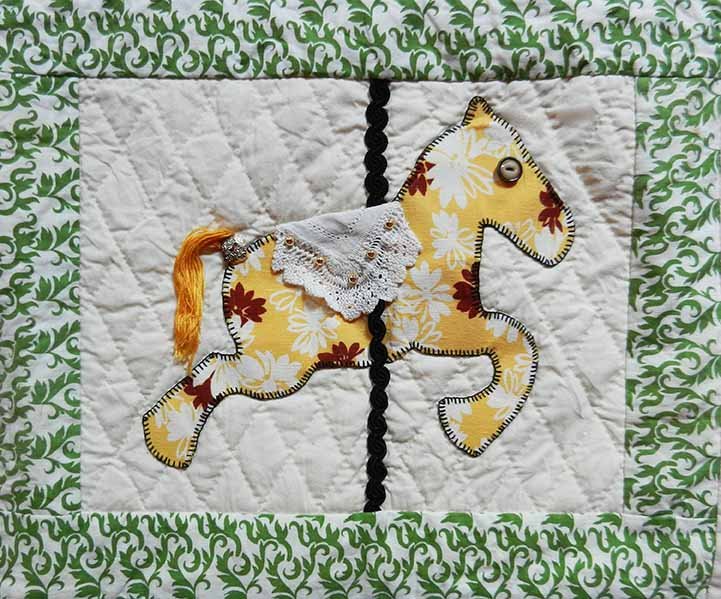
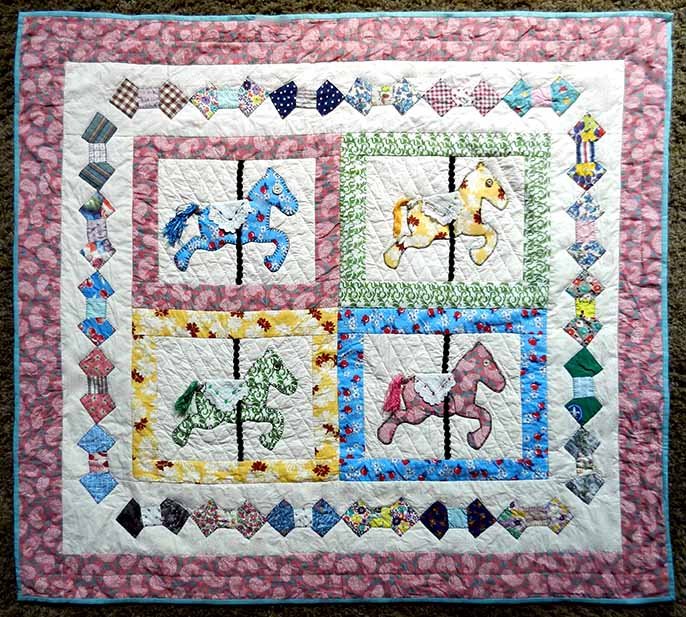
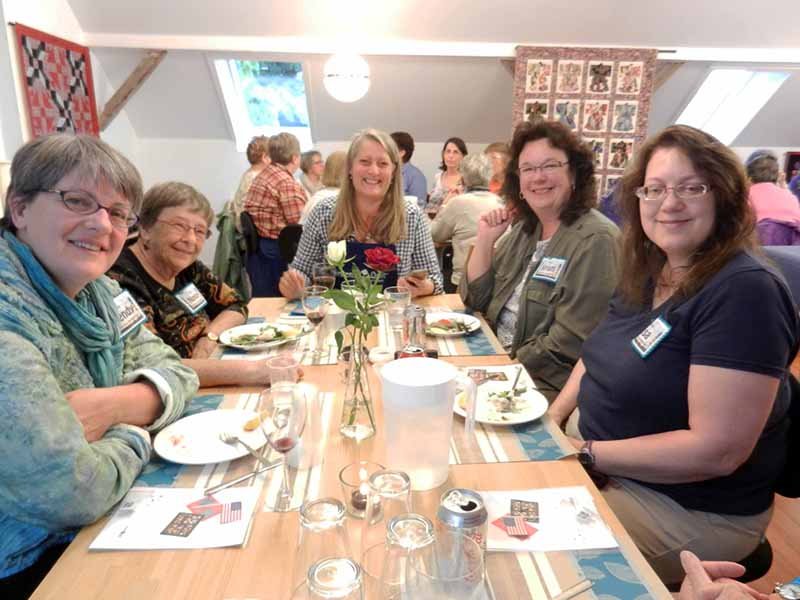
I recognized Sue and she told me she had taken this class previously and was now a long-arm quilter. Praise the Lord! She was loving it and still using some of the designs I share in the class. She then showed me this sweet crib quilt she had quilted using a pre-printed panel:
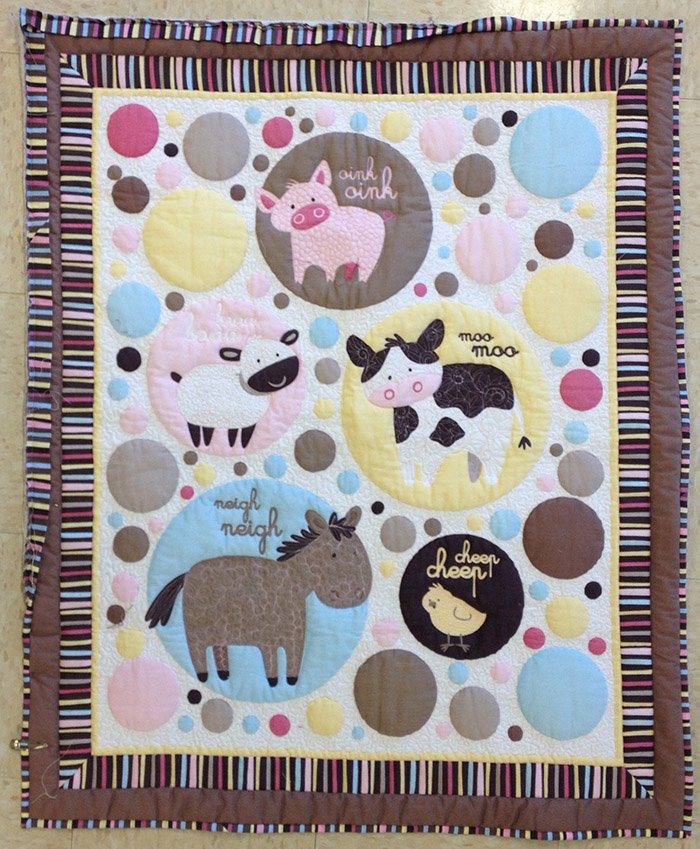
Here’s a detail shot:
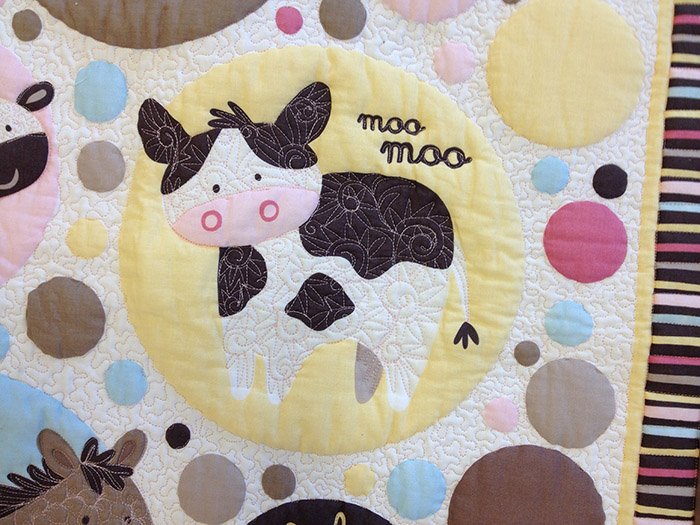
I really liked the way she left the insides of the circles un-quilted. What a great effect! That night I presented my “Gone to the Dark Side” lecture to a laughing crowd (I hope they were laughing with me and not at me :-).
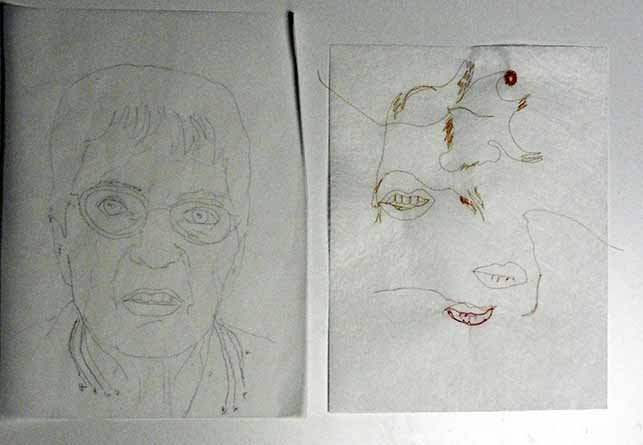
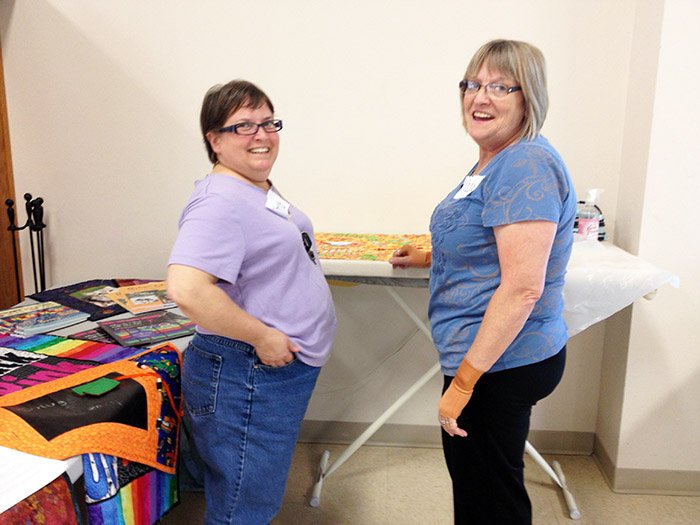
The next day I taught my beginning Fiber Art class, called Parallelisms, and discovered a very creative group of quilters. Here are just a few in action (Aurora, Sabrina and Valeria – all the students get new names for their creative muses):
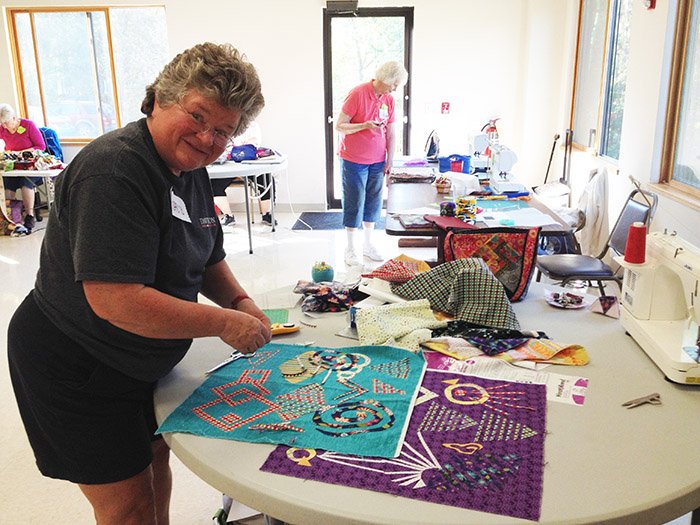
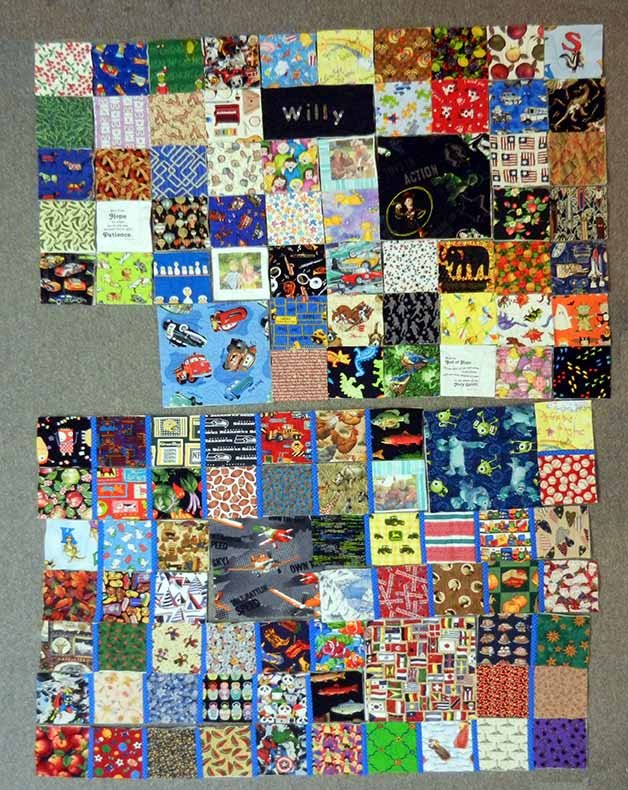
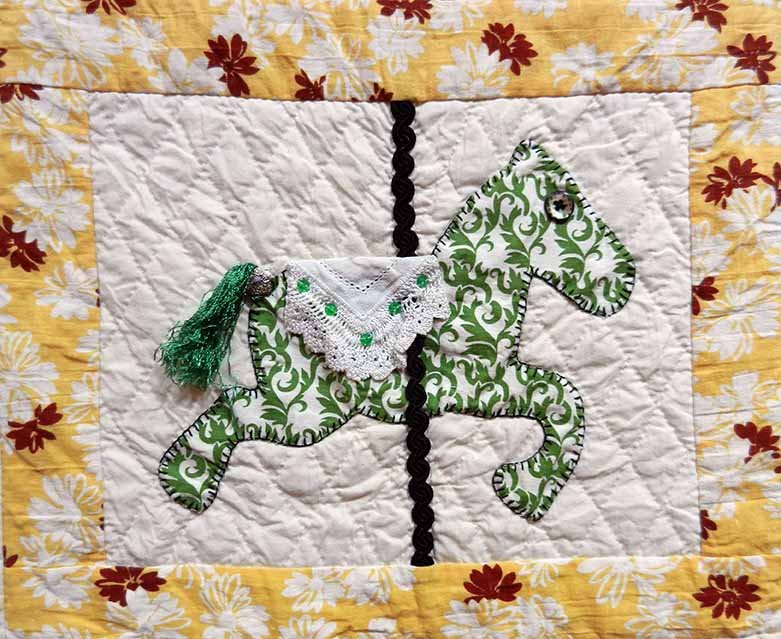
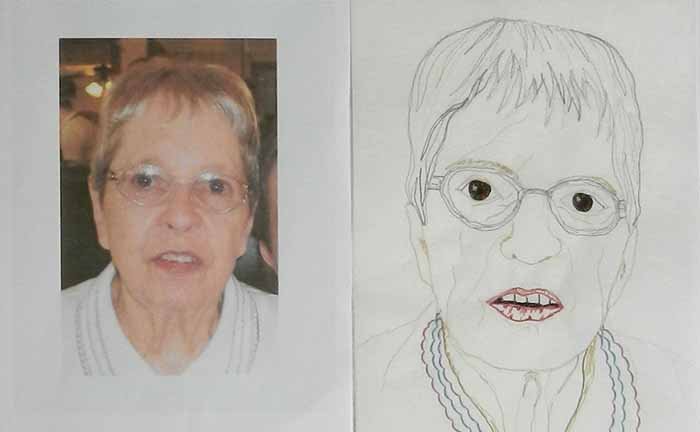
Just look at some of the wonderful designs the class came up with:
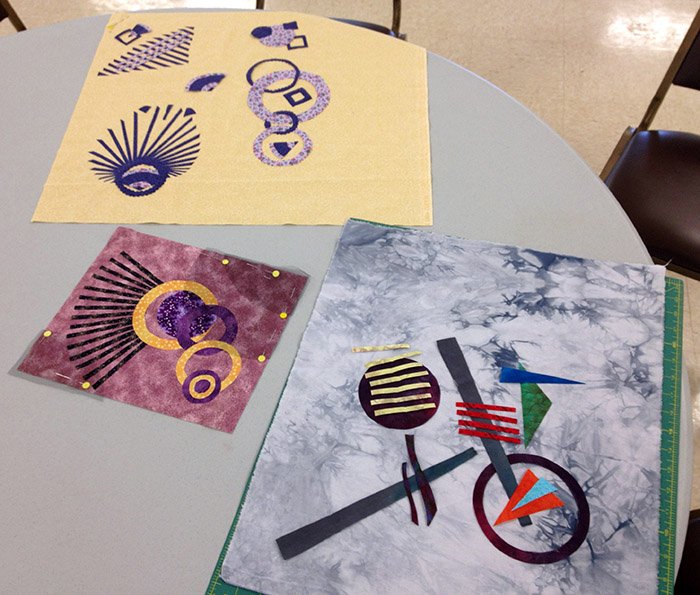
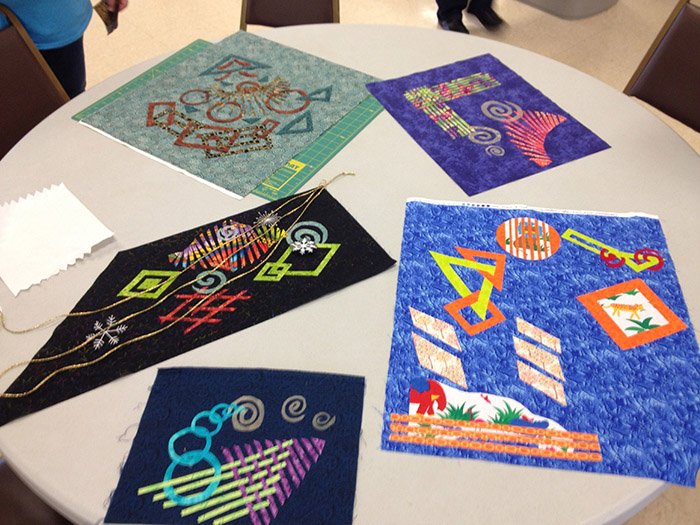
And this is only the beginning! We also discussed embellishing and finishing techniques.
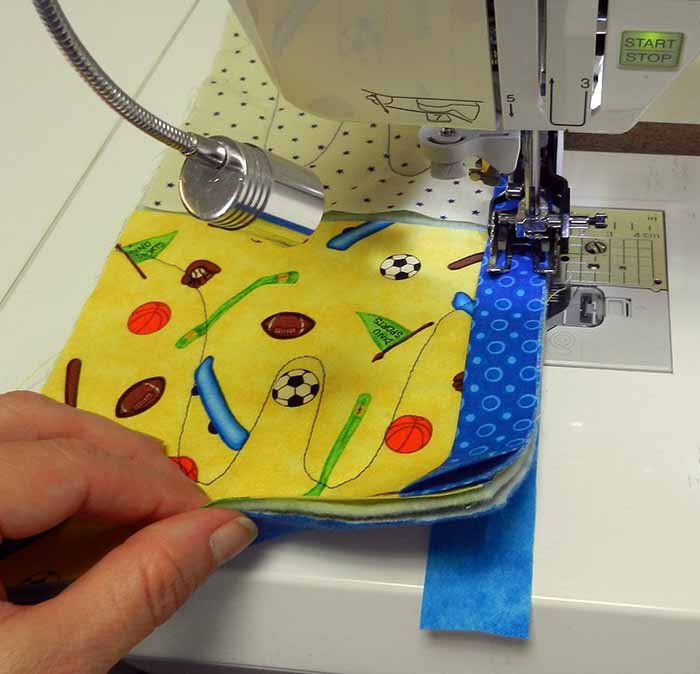
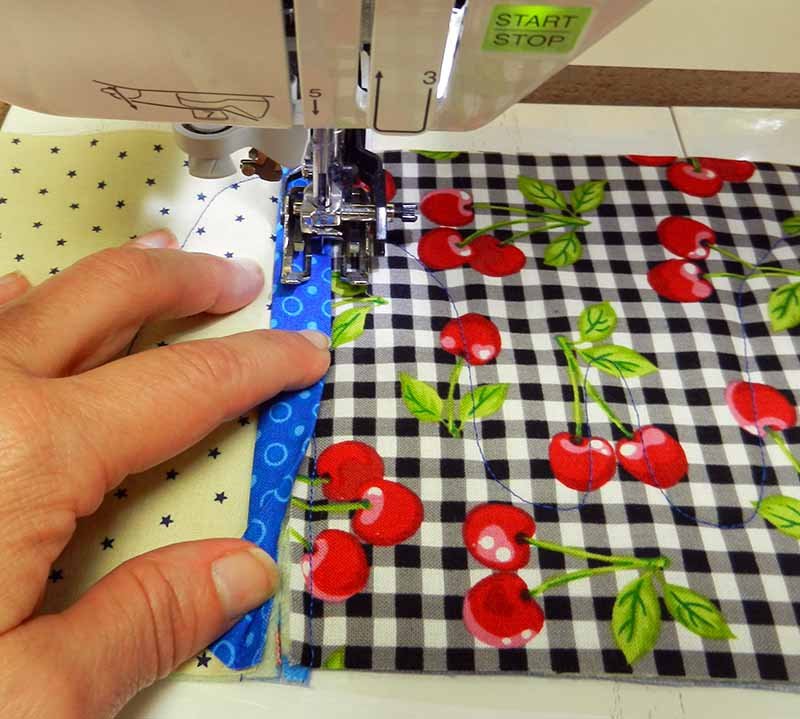
I stayed on an extra night and this generous group invited me to make thread catchers and microwave hot pads along with them in a class taught by Sandy. We stitched and sewed into the night and had so much fun.
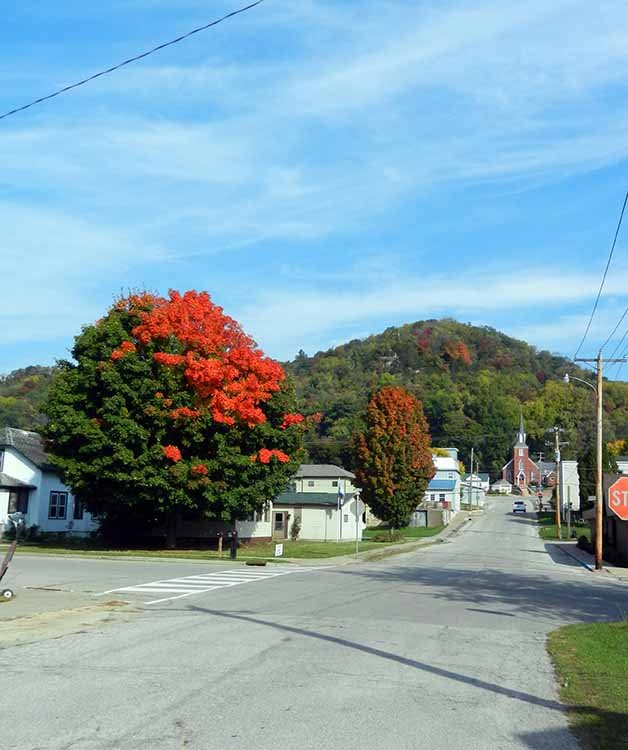
Saturday morning I began my 3 1/2 hour drive home. Autumn is my favorite season and we’ve had very little color change in the leaves in southeastern Wisconsin so far this year. I was hoping this trip north would give me a peek at the autumn colors I so love, but I was surprised to find that it was a late year for color everywhere I went. I saw a lot of green, but I did spy this tree in Lansing, Iowa, right along the Mississippi River.
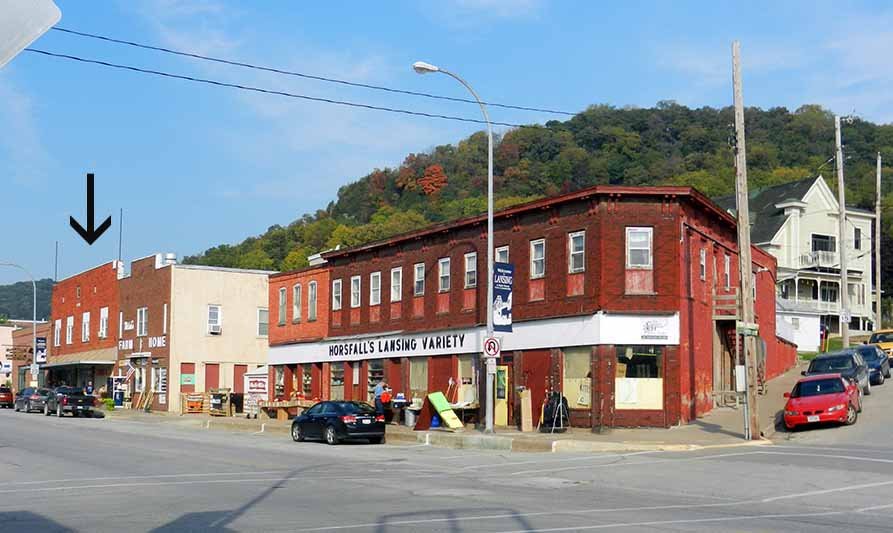
That wasn’t all I saw in Lansing. The ladies at the retreat had recommended I make a stop at Horsfall’s Lansing Variety on Main Street, 2 blocks off the river. Horsfall’s actually has 2 stores, the one on the corner and the one under the arrow.
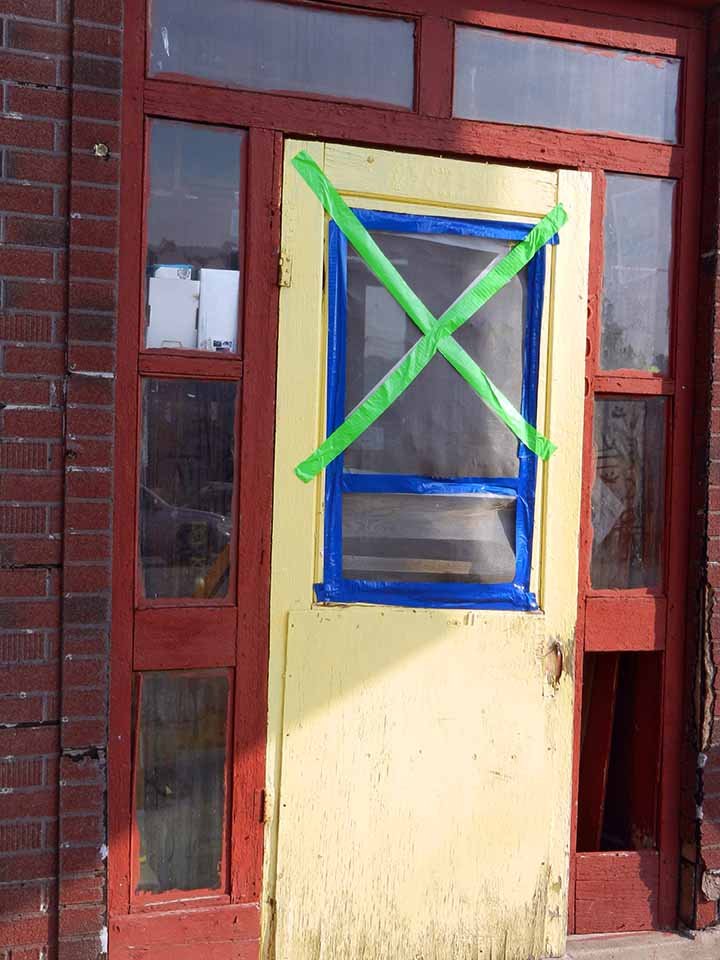
Horsfall’s was every bit as unique as they had described. Here’s the front door:
It is a popular place, and I did quite a bit of squeezing by other shoppers due to the size of the aisles:
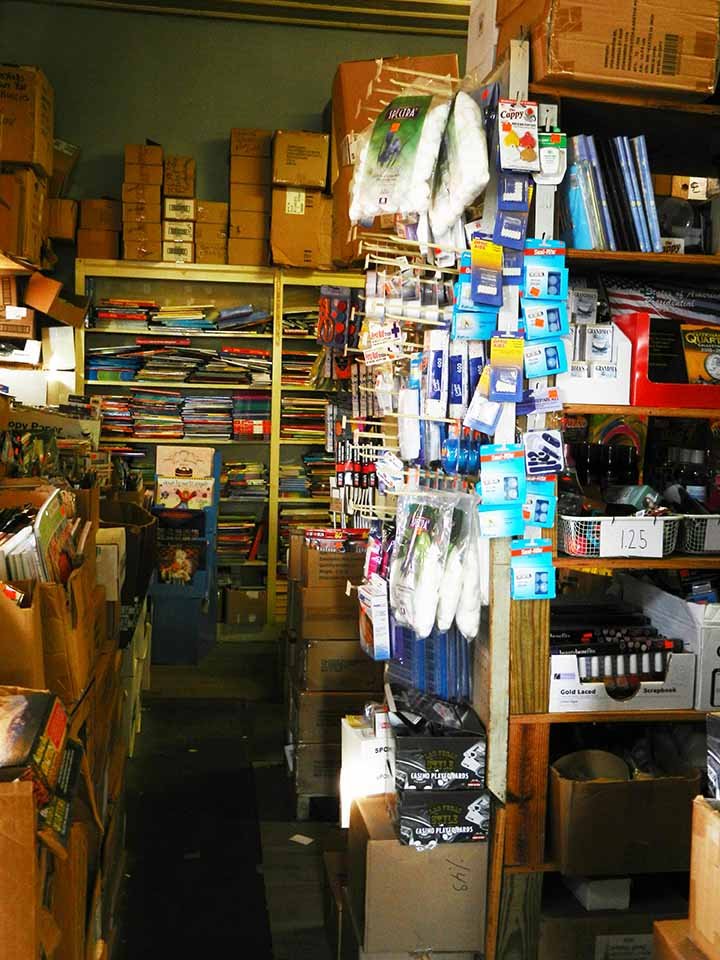

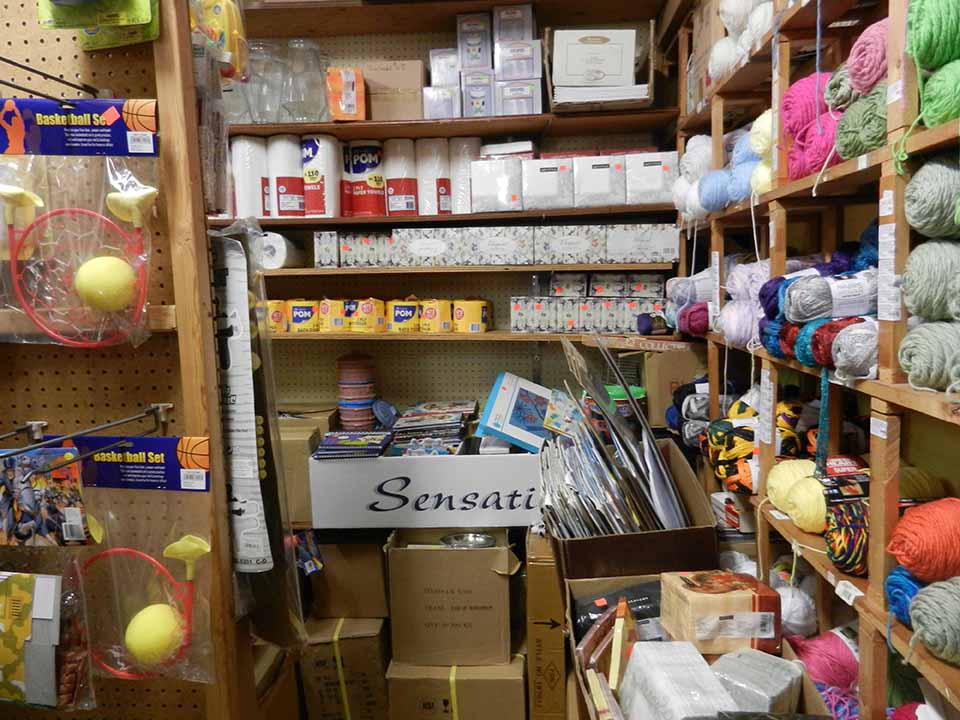
They are truly a variety store. From one spot you can pick out yarn for your next knitting project, while getting your grandson a basketball hoop, and stocking up on toilet paper. What a hoot!
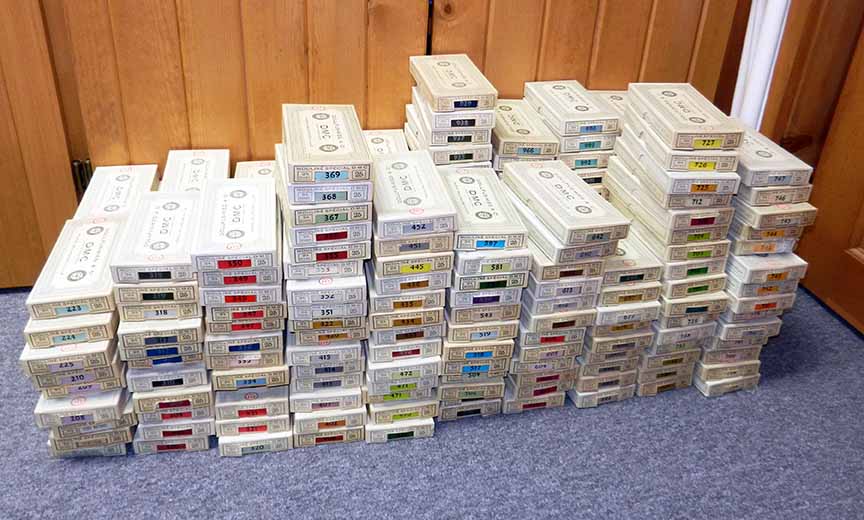
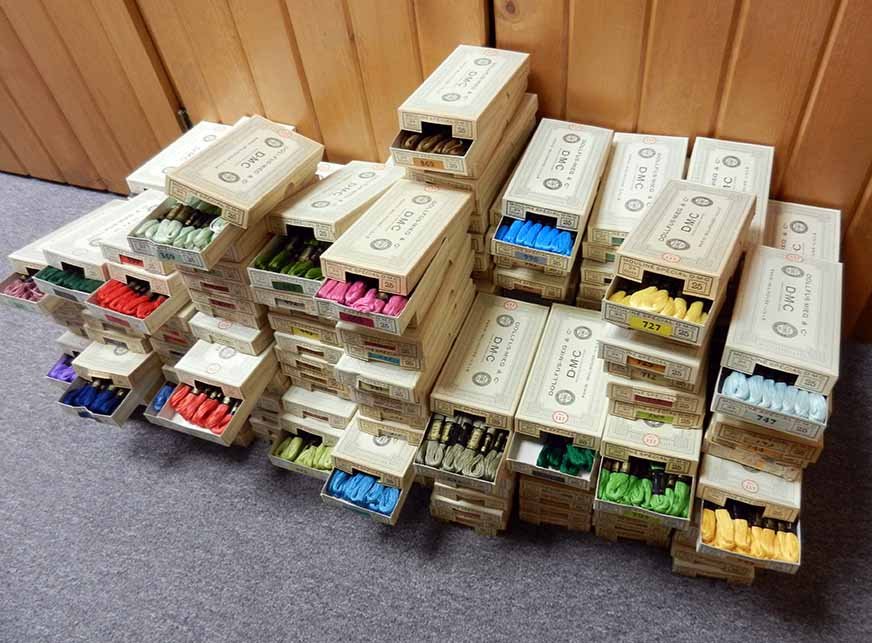
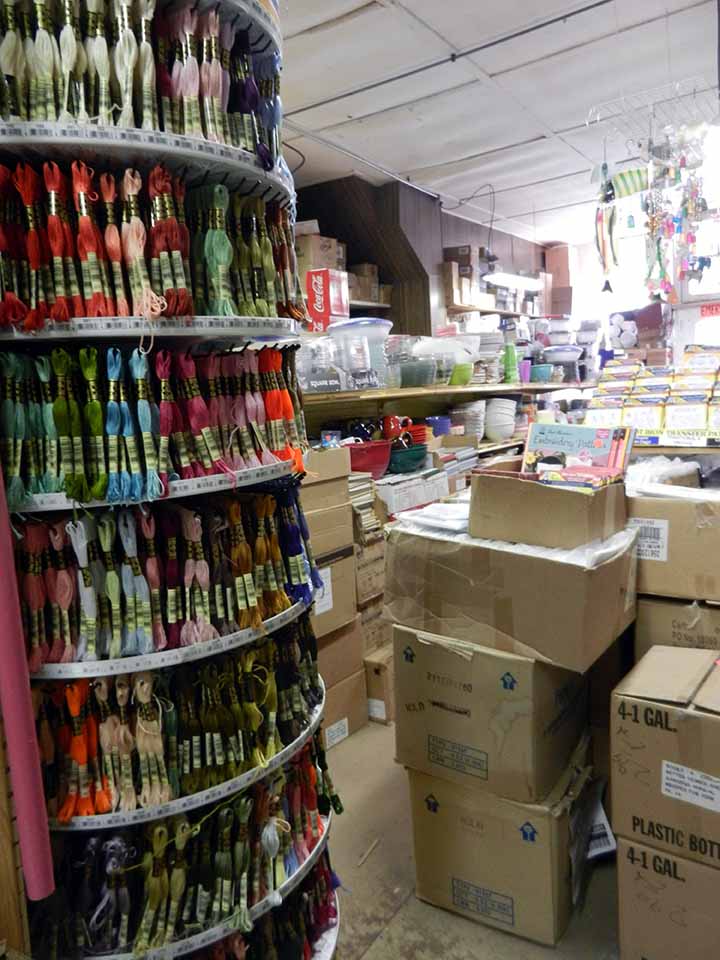
They carry embroidery floss (I recognized it as floss right away, but have been traveling so much I still haven’t decided what will become of my box of floss 🙂 )
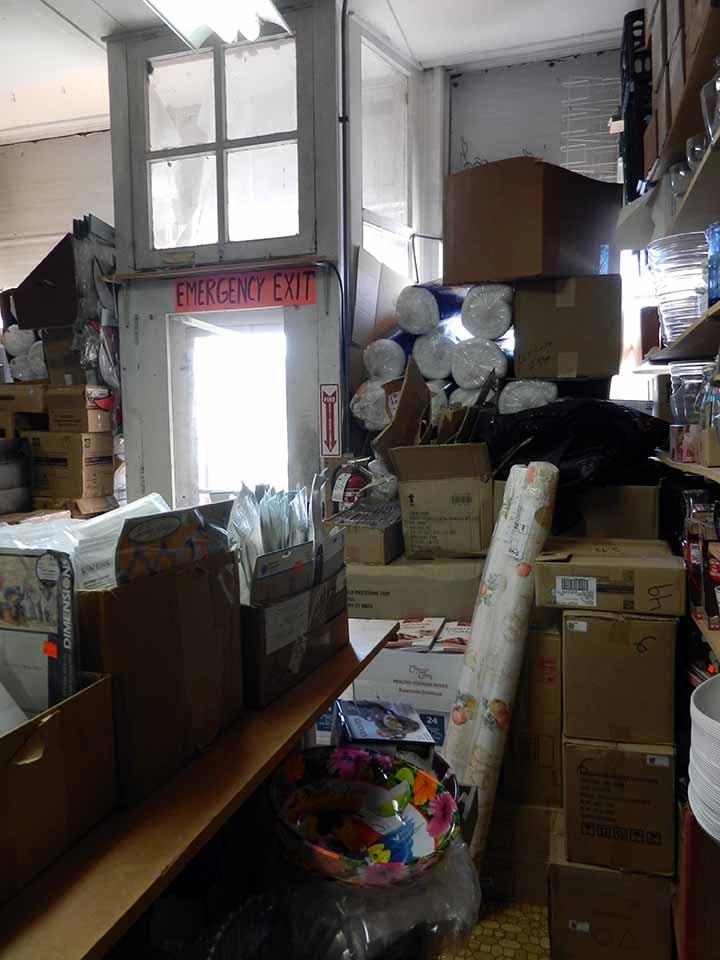
and quilt batting (if you can reach it).
 I’m told they had fabric at one time, but the owner’s wife didn’t like cutting the yardage.
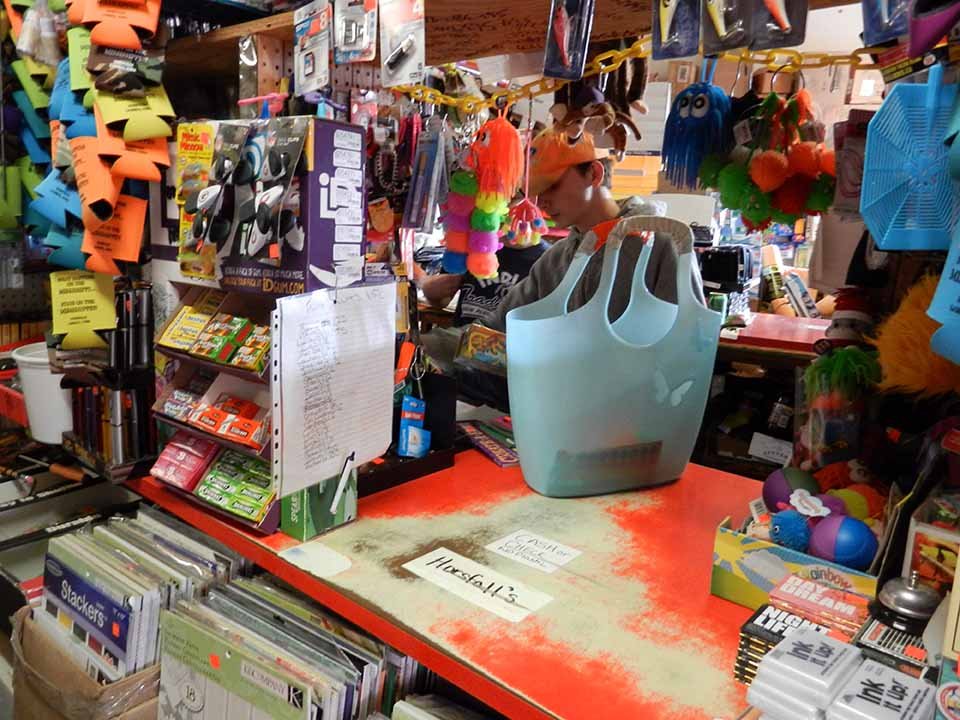
I did find a few treasures I needed and Jesse checked me out. Can you find him among all the stuff?
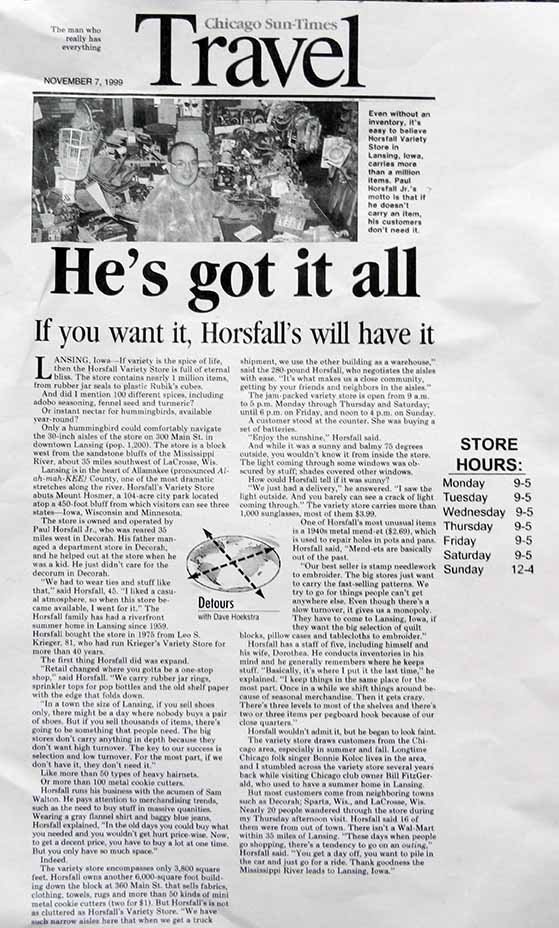
 Horsfall’s is famous for being unique. Jesse handed me a copy of a newspaper clipping that appeared in the Chicago Sun Times. Thanks to the North Iowa Quilters for the site-seeing suggestion!
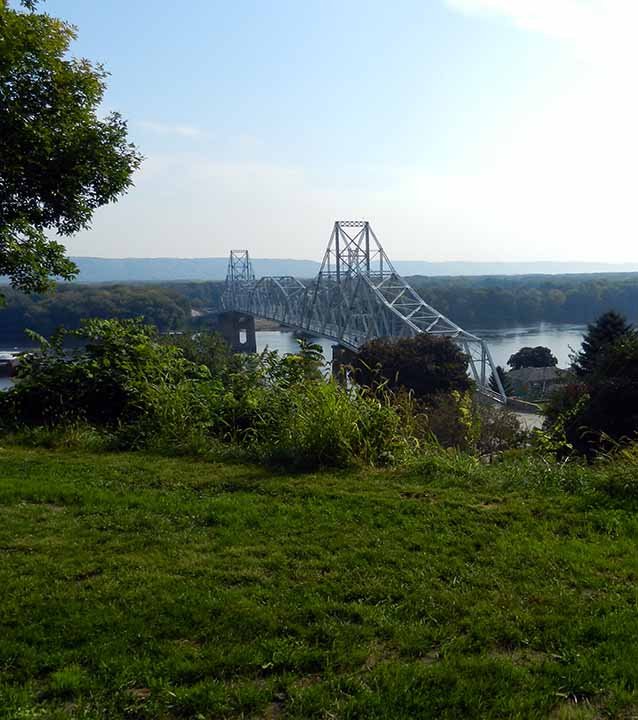
Next I drove up the hill a ways in order to get a good view of the very narrow bridge that would take me back to Wisconsin.
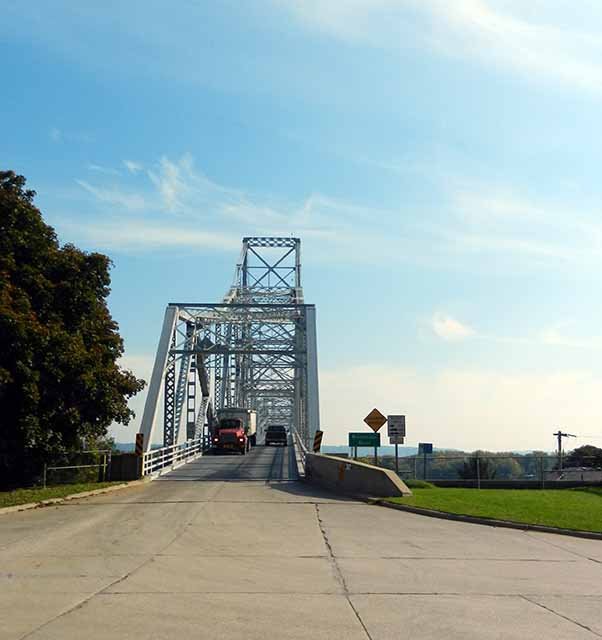
 After driving back down Main Street (and a quick stop at a great Estate Sale), I drove over the bridge and headed south on the Wisconsin side of Old Man River.
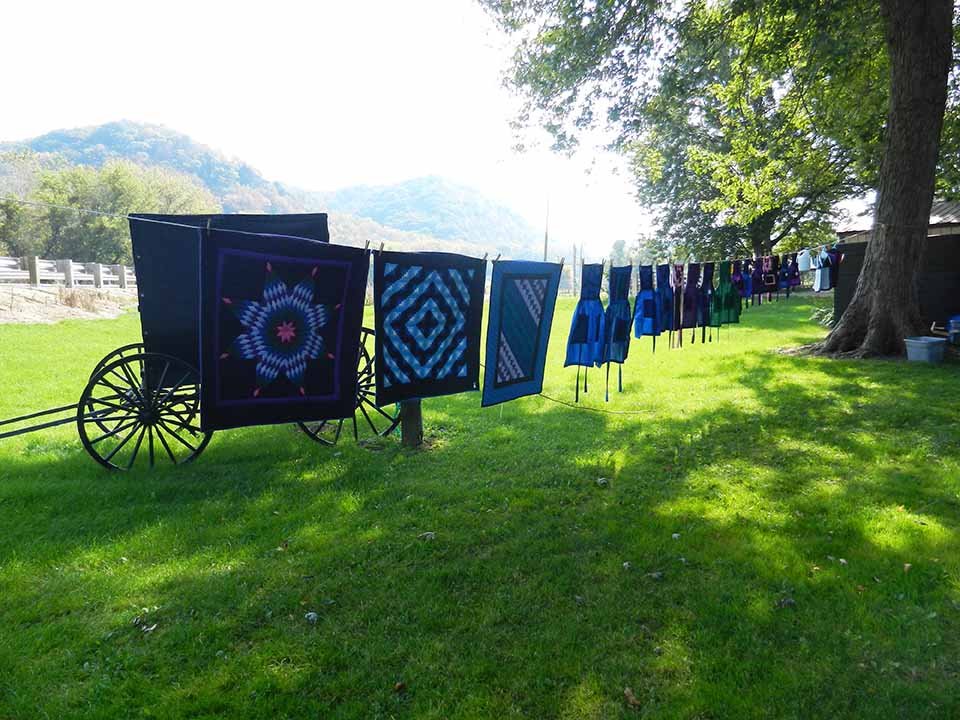
Then, a short ways down the road, I came upon an Amish “Country Faire” in the park just south of Ferrysville, WI. The black raspberry pie was delicious!
The weather was great, the sites wonderful, but the time spent with quilters was the best part of the adventure!
How is the autumn color in your neck of the woods?