You may remember when Hanna and Willy were here for Christmas, Willy finally got his turn to sew and he made a doll sized quilt for his stuffed animal (to read that post click here). While he was sewing, Hanna was planning her next quilt (that’s my girl!).
She’s definitely interested in quilting and during their visit she accompanied me to a guild meeting, and ran my computer slide show while I presented a lecture for Common Threads quilt guild.
 One afternoon, at the beginning of their visit, we took my fishbowl of scraps off the shelf and the kids had a blast causing it to “rain scraps” in my studio (I’m one of the kids 😀 ).

But in the next picture I realized that examining the scraps was more fun than throwing them for Hanna (Willy’s moving so fast, he’s just a blur behind Sommer).

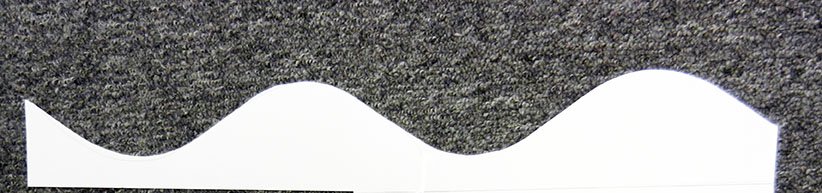
She touched, chose, arranged, and chose some more while Willy was quilting, and when he was done she asked if she could have a turn. She laid her chosen scraps in an arrangement that pleased her and then started sewing. It was a crazy quilt sort of way to do it and every so often I would rotary cut the edges straight so she could continue. She made a number of “chunks” from her favorite scraps.

But time wasn’t on her side and all too soon, it was time to return to Washington. I told her we could put her pieces in a special place and she could work on it again on her next visit. She said she had a better idea – I could finish it for her!
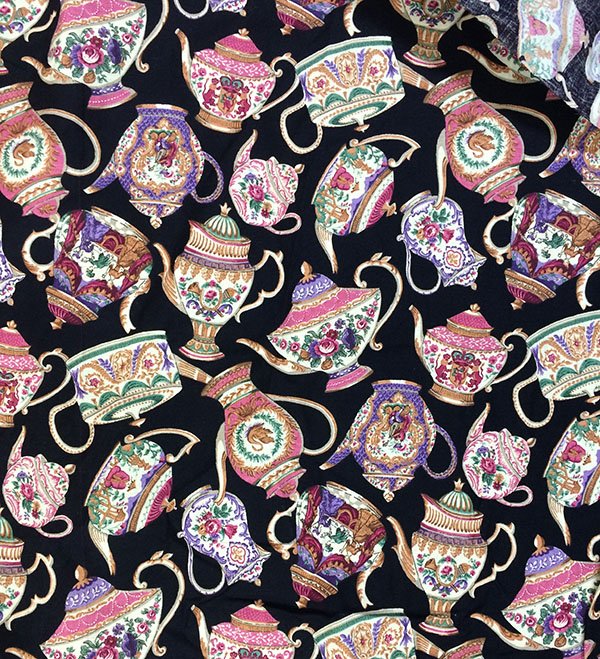
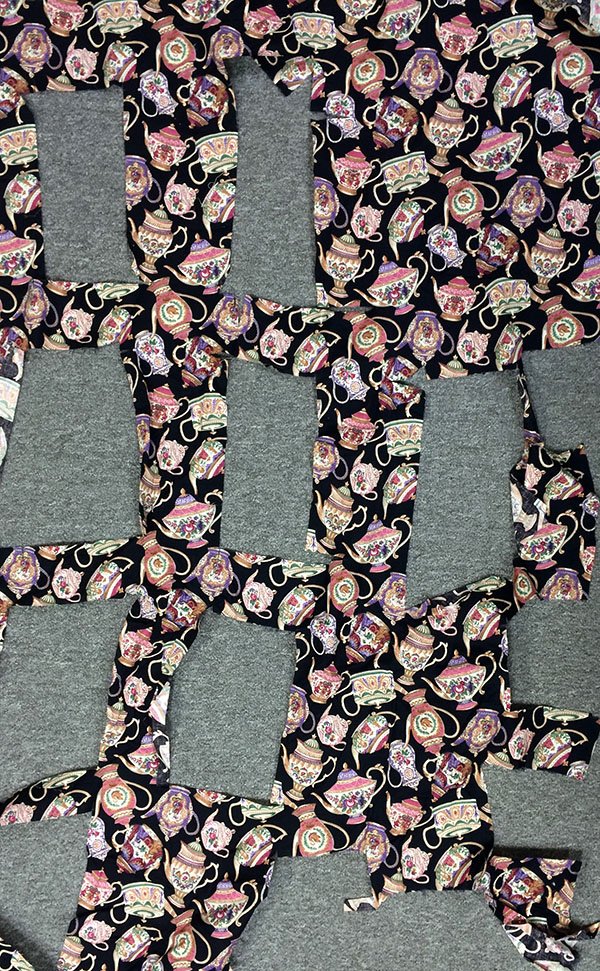
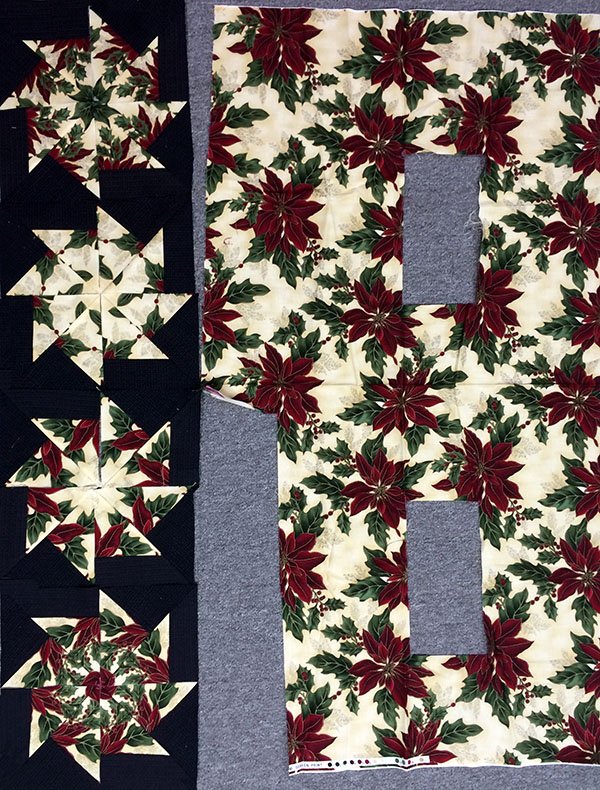
On the long plane ride back from taking the kids home, I came up with a plan. Last year grandpa and I bought the kids Kindles for Christmas. They brought them on this trip, wrapped in a kitchen towel. Hanna’s birthday is on January 21st, and I decided a quilted Kindle sleeve would be the perfect place to use her pieces. I made an outside rectangle from the majority of the pieces, and the inside was made up of leftover flannel from the bed quilt I’d previously made her, with more of her pieced units in the “flap”.
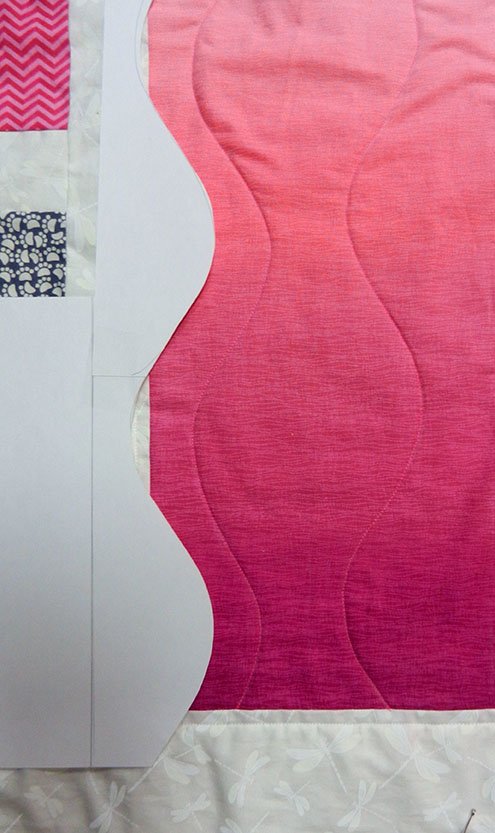
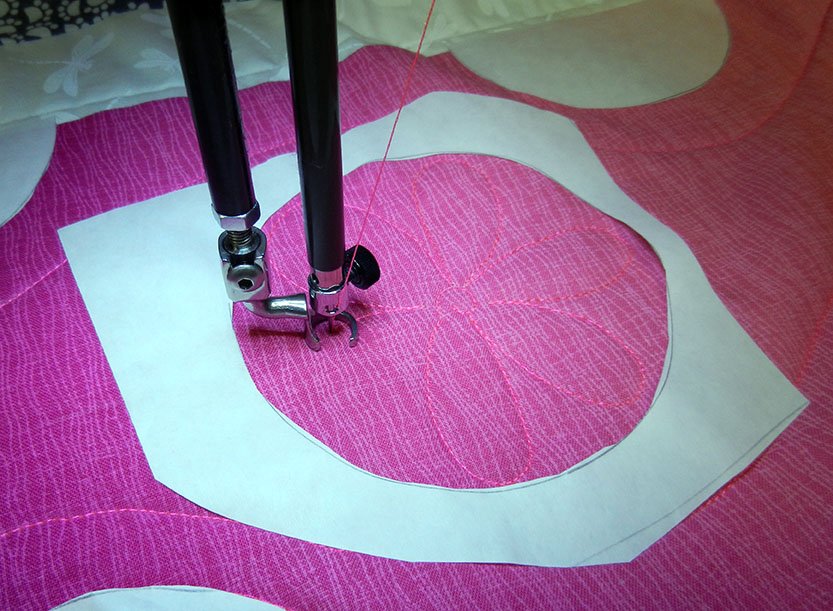
 The layers were quilted, then it was folded and stitched into a sleeve.

Lastly, a button and loop for were added for closing it up.
 It’s ready and in the mail to Hanna for her 9th birthday!
 Willy’s birthday is in March. I’d better get going on a sleeve for his kindle too!
A Yo Yo follow up!
After last week’s post Eleanor sent me this picture:
 Her guild made yo yo flowers for the centerpieces at a quilting luncheon (thanks for the picture, Eleanor). This reminded me of a post I did a few years ago about fabric flowers and I thought I’d share that link, just in case you’re interested: https://chrisquilts.net/?p=2933