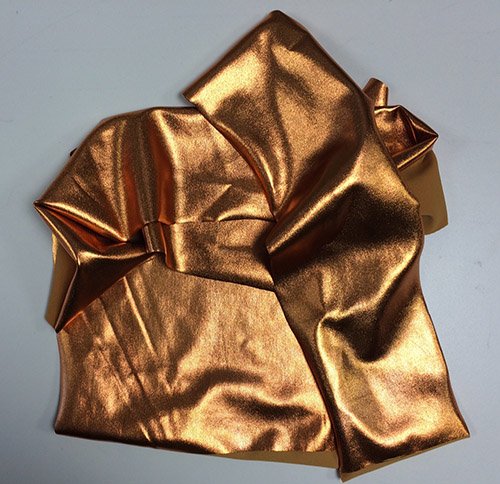
While at the Sister’s Quilt Show Expo in Oregon this past Summer, l happened upon the Babylok™ booth and was intrigued by a sample the rep had made using swimsuit material. Because the fabric was shiny and stretchy, the machine quilting was dimensional and dynamic. Then, on our way back to Portland, we stopped at a huge fabric store and I found a piece of metallic copper spandex knit – on a clearance rack! I went home with 2 yards.
When the Milwaukee Art Quilters chose “Art Deco” as their large challenge theme this year, I knew I had the fabric and the quilting idea, I just needed a design. I did a bit of web-surfing and found a site with instructions for creating “Great Gatsby Style Patterns” in Photoshop. (in case you’re interested it’s: http://blog.spoongraphics.co.uk/tutorials/how-to-create-a-great-gatsby-style-art-deco-pattern).
After a bit of trial and error I chose a design. Next I made a few small stitching samples with a variety of different batts and stabilizers, so I could try stitching on this very non-traditional fabric and see what worked best.

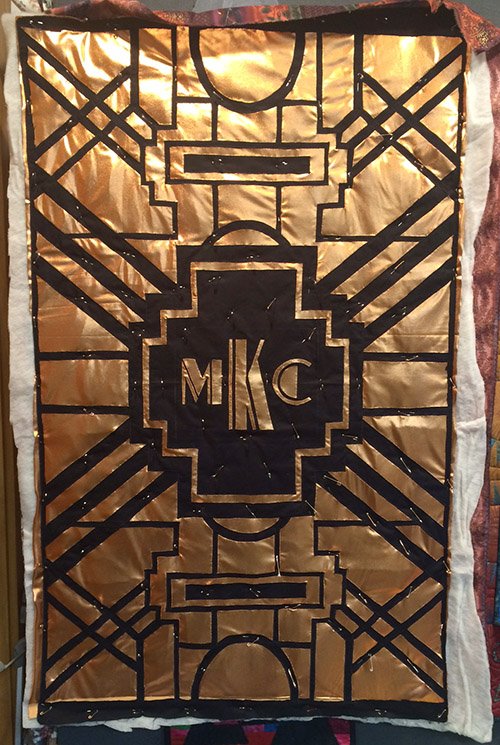
I decided to create the quilt top using my Silhouette Appliqué technique:
- I drew my design, with a sliver of soap, onto a black cotton fabric,
- I then layered it on the copper spandex fabric, both right sides up. Next I placed this on the wool batting and stabilizer I had chosen. I pinned in areas where the black fabric would not be cut away, because the copper fabric shows pin marks.
- In black thread, I stitched on all the soap lines using a walking foot.
- The black fabric was cut away, close to the stitching, everywhere I wanted the copper to show.
- Next, all of the raw edges needed to be satin stitched. When satin stitching, the spandex would begin to drag under the toe of the machine foot while the toe on the black fabric moved fine. This sheering effect was not working at all, but I was able to slip a piece of paper under the spandex side of the machine foot and then it stitched quite well.
Once the appliqué was done, I layered everything over a piece of flat cotton batt, and the quilt backing fabric, re-pinning in the black fabric areas once again.
Stay tuned, in my next post I’ll cover the trickiest part – the quilting!