Greetings from Minot, North Dakota,

where I’m teaching at the Minot Prairie Quilt Festival. The sun is shining and the temps were in the 60’s all weekend. I was very impressed by the way they treat their teachers like queens. The accomodations at the Minot Grand Hotel were lovely,

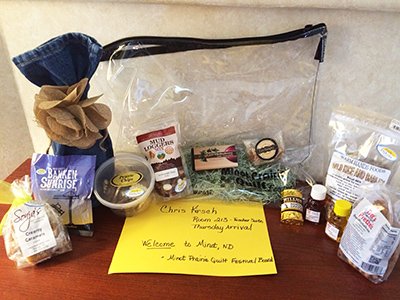
and the goodie bag in my room was filled with a yummy variety of products from North Dakota.
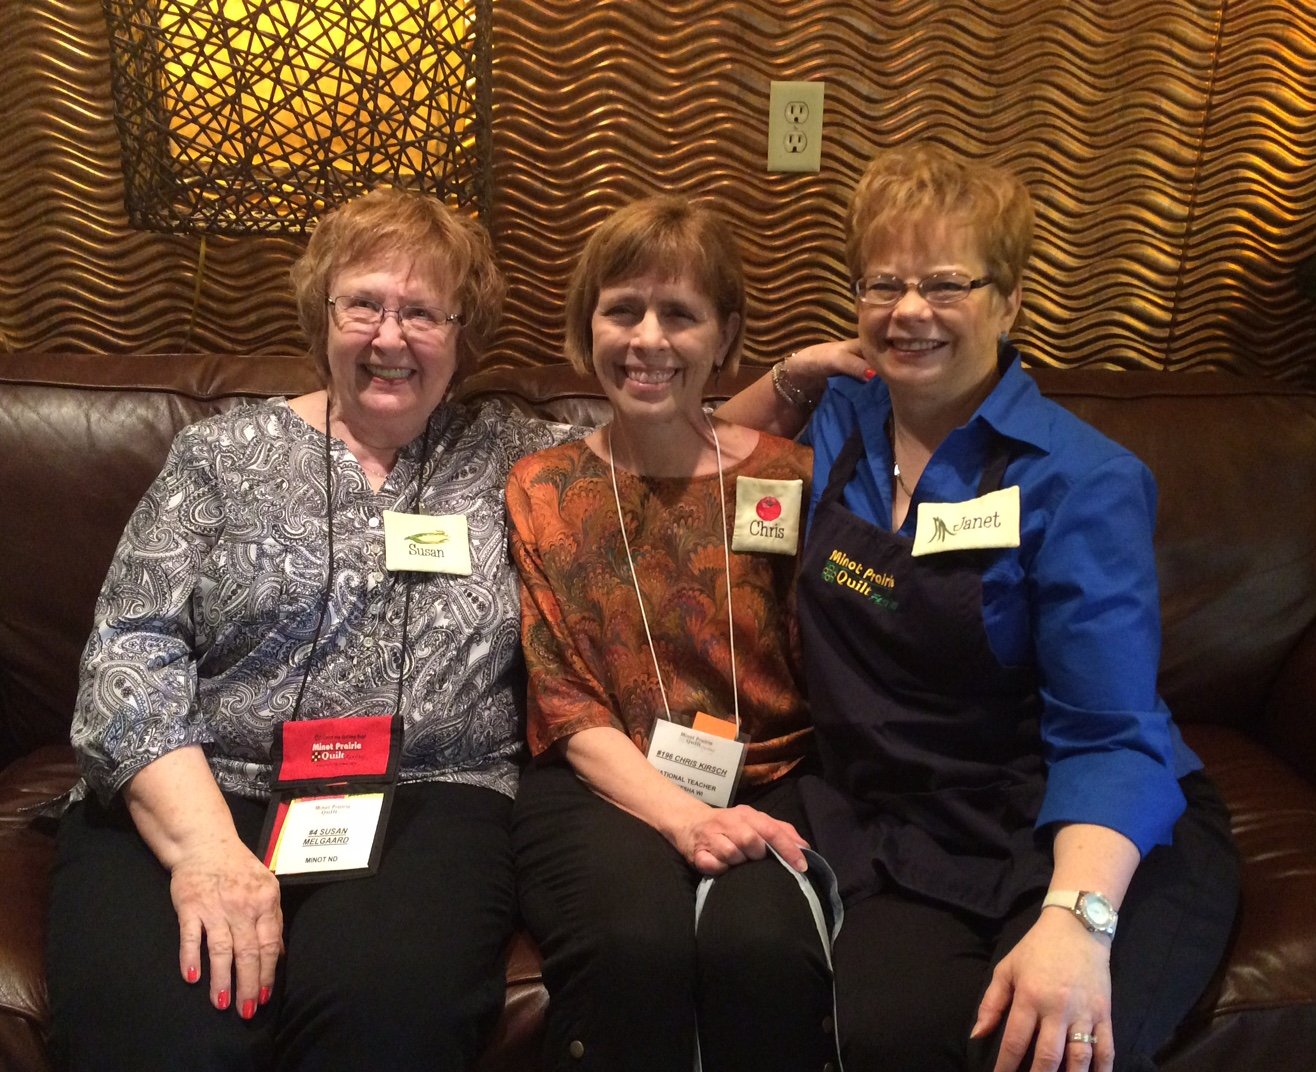
I arrived a day early and Susan and Janet were kind enough to show me around town.
We visited the Scandinavian Heritage Center where they had interesting buildings and a huge Dahl horse, similar to the ones we saw in Sweden.
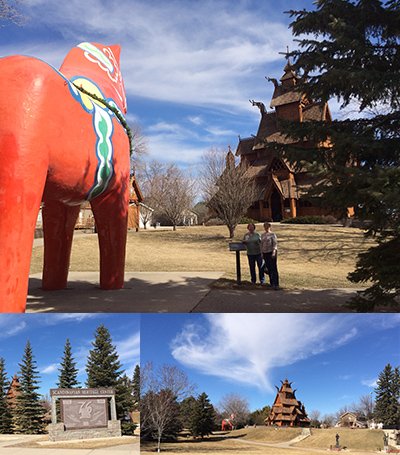
The gift shop was filled with interesting characters!

Back at the show I was given the opportunity to choose a “Teacher’s Favorite” quilt from all the wonderful pieces in the show. There were so many worthy of the ribbon, but the one that really grabbed me was bright, and beautifully quilted. Here is Diane Slickers with her quilt.

And here’s the picture her friend Judy took when she saw the ribbon 😀 !

Congratulations Diane!
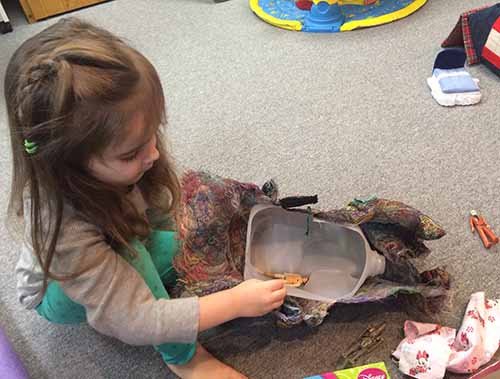
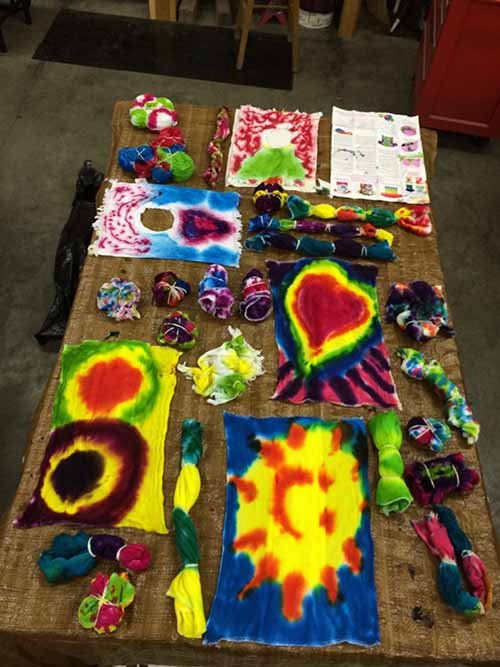
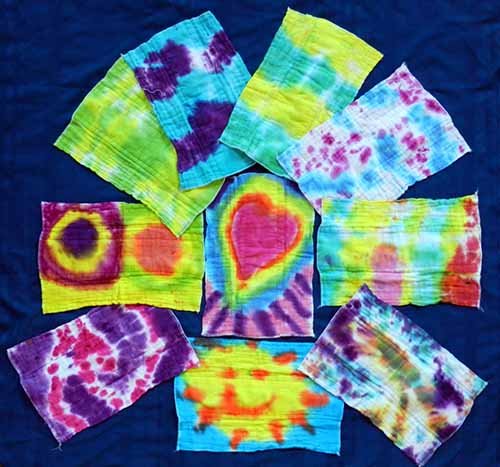
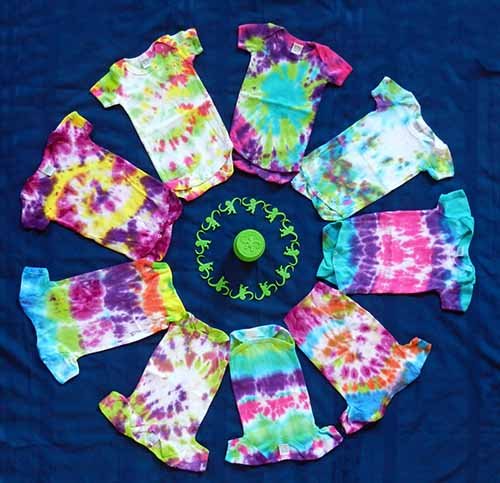
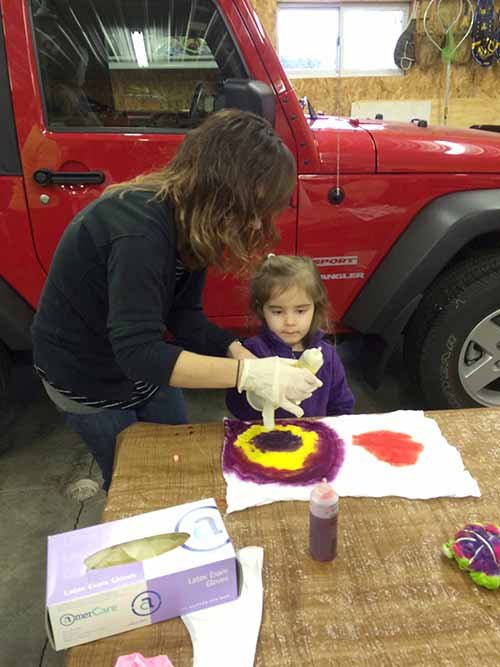
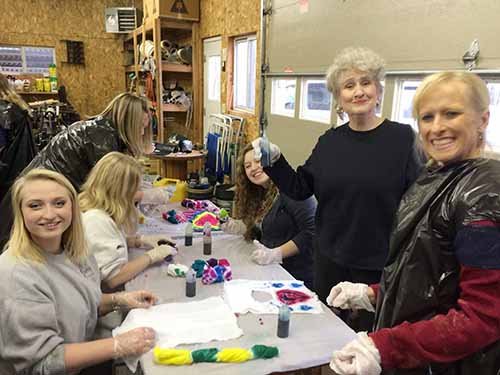
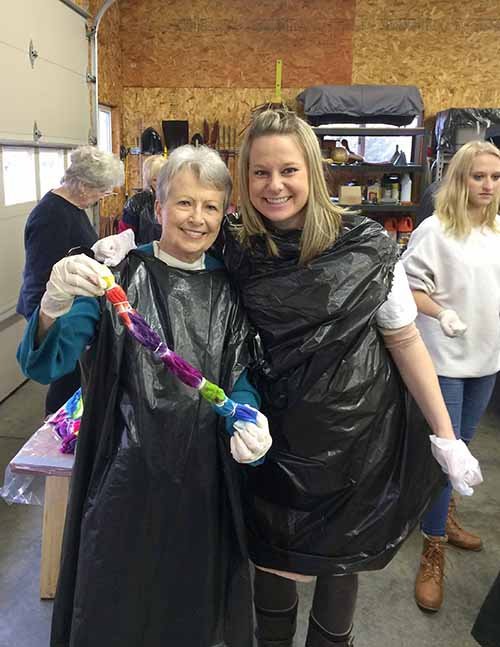
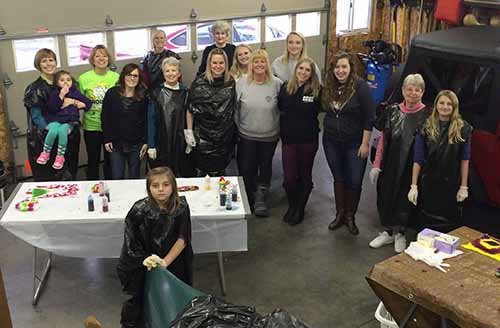
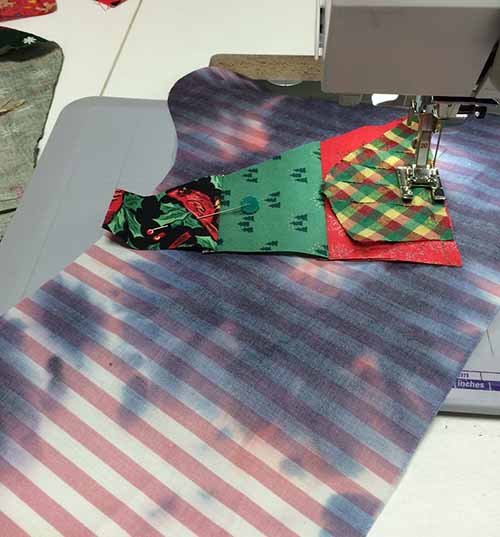
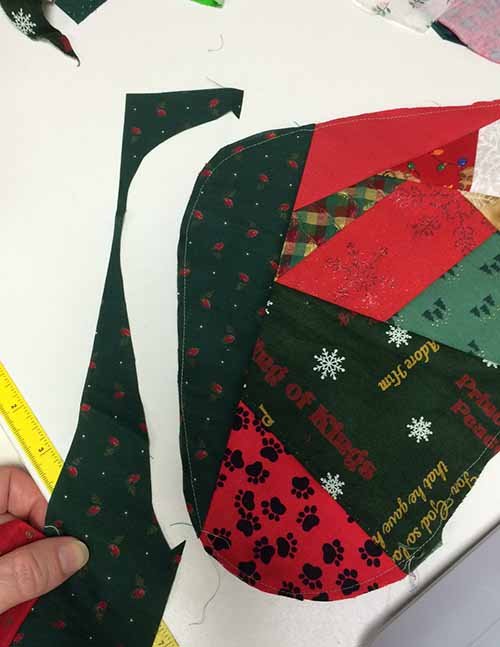
I taught three full day classes and the students were great!

And being that Minot is quite a ways north, I can now number Canadian quilters among my friends.

Everyone was friendly and such fun to be with. It was my first visit to North Dakota, and I’m sure it won’t be my last!!!
***************************
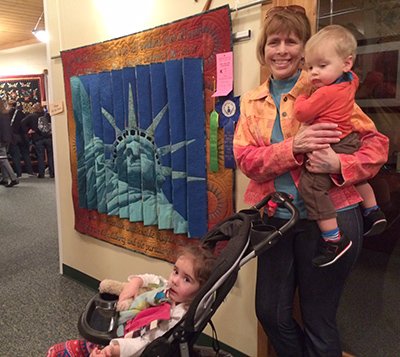
And one last thing 🙂 : This past week I entered “How Beautiful – Liberty” (the quilt I shared with you in last week’s post) in the Sun Prairie Quilt Show, and I was thrilled and humbled to have 3 ribbons hanging on it: a blue ribbon in it’s category, Crew’s Choice (the crew who hangs the show gets a chance to pick), and Viewer’s Choice! I’ve never won a Viewer’s Choice ribbon. What a blessing – praise the Lord!