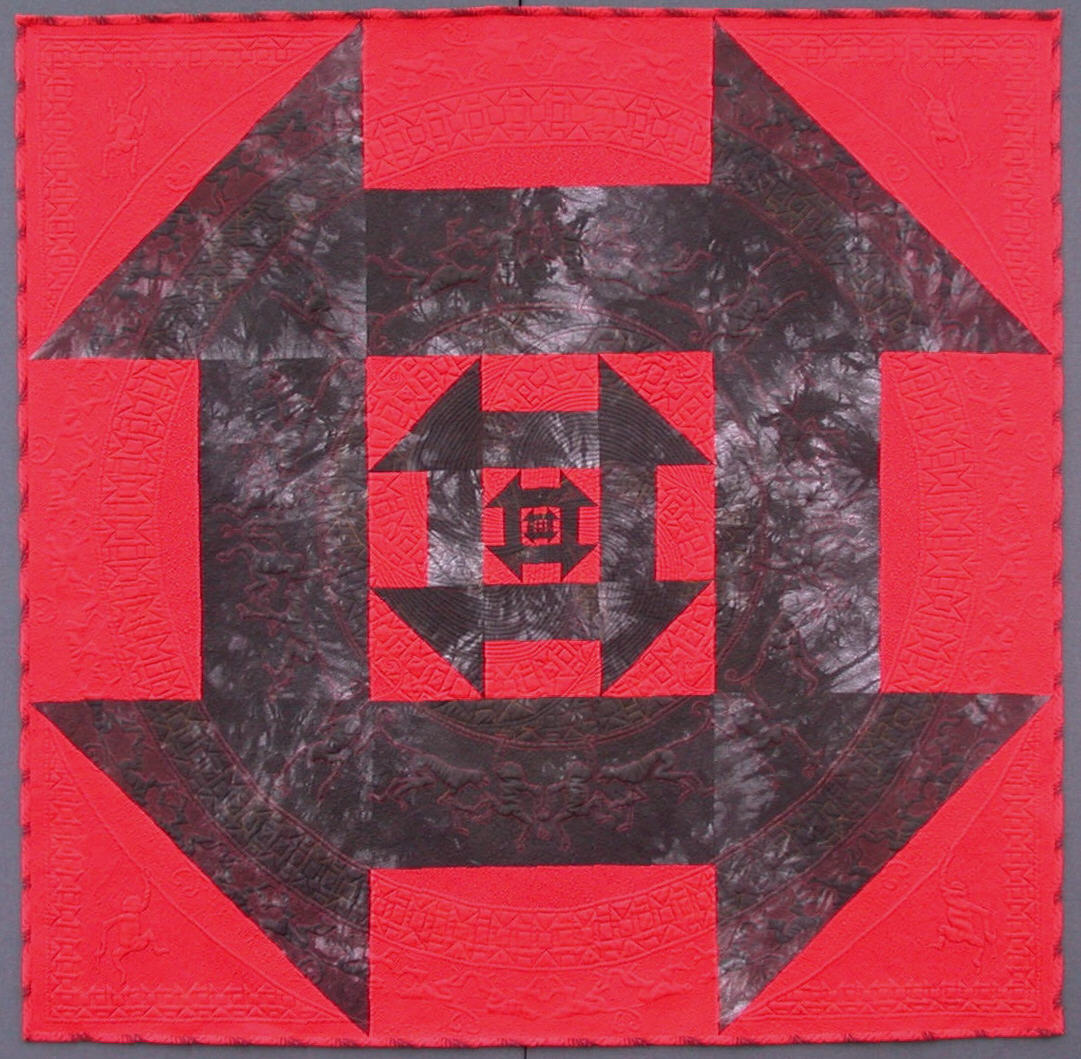
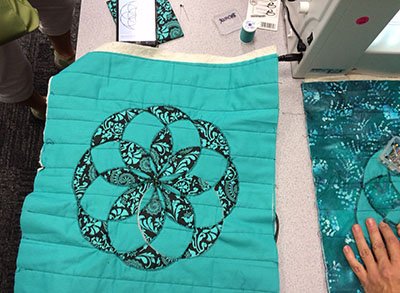
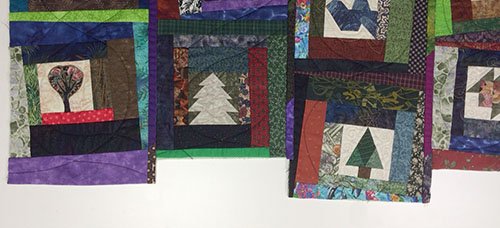
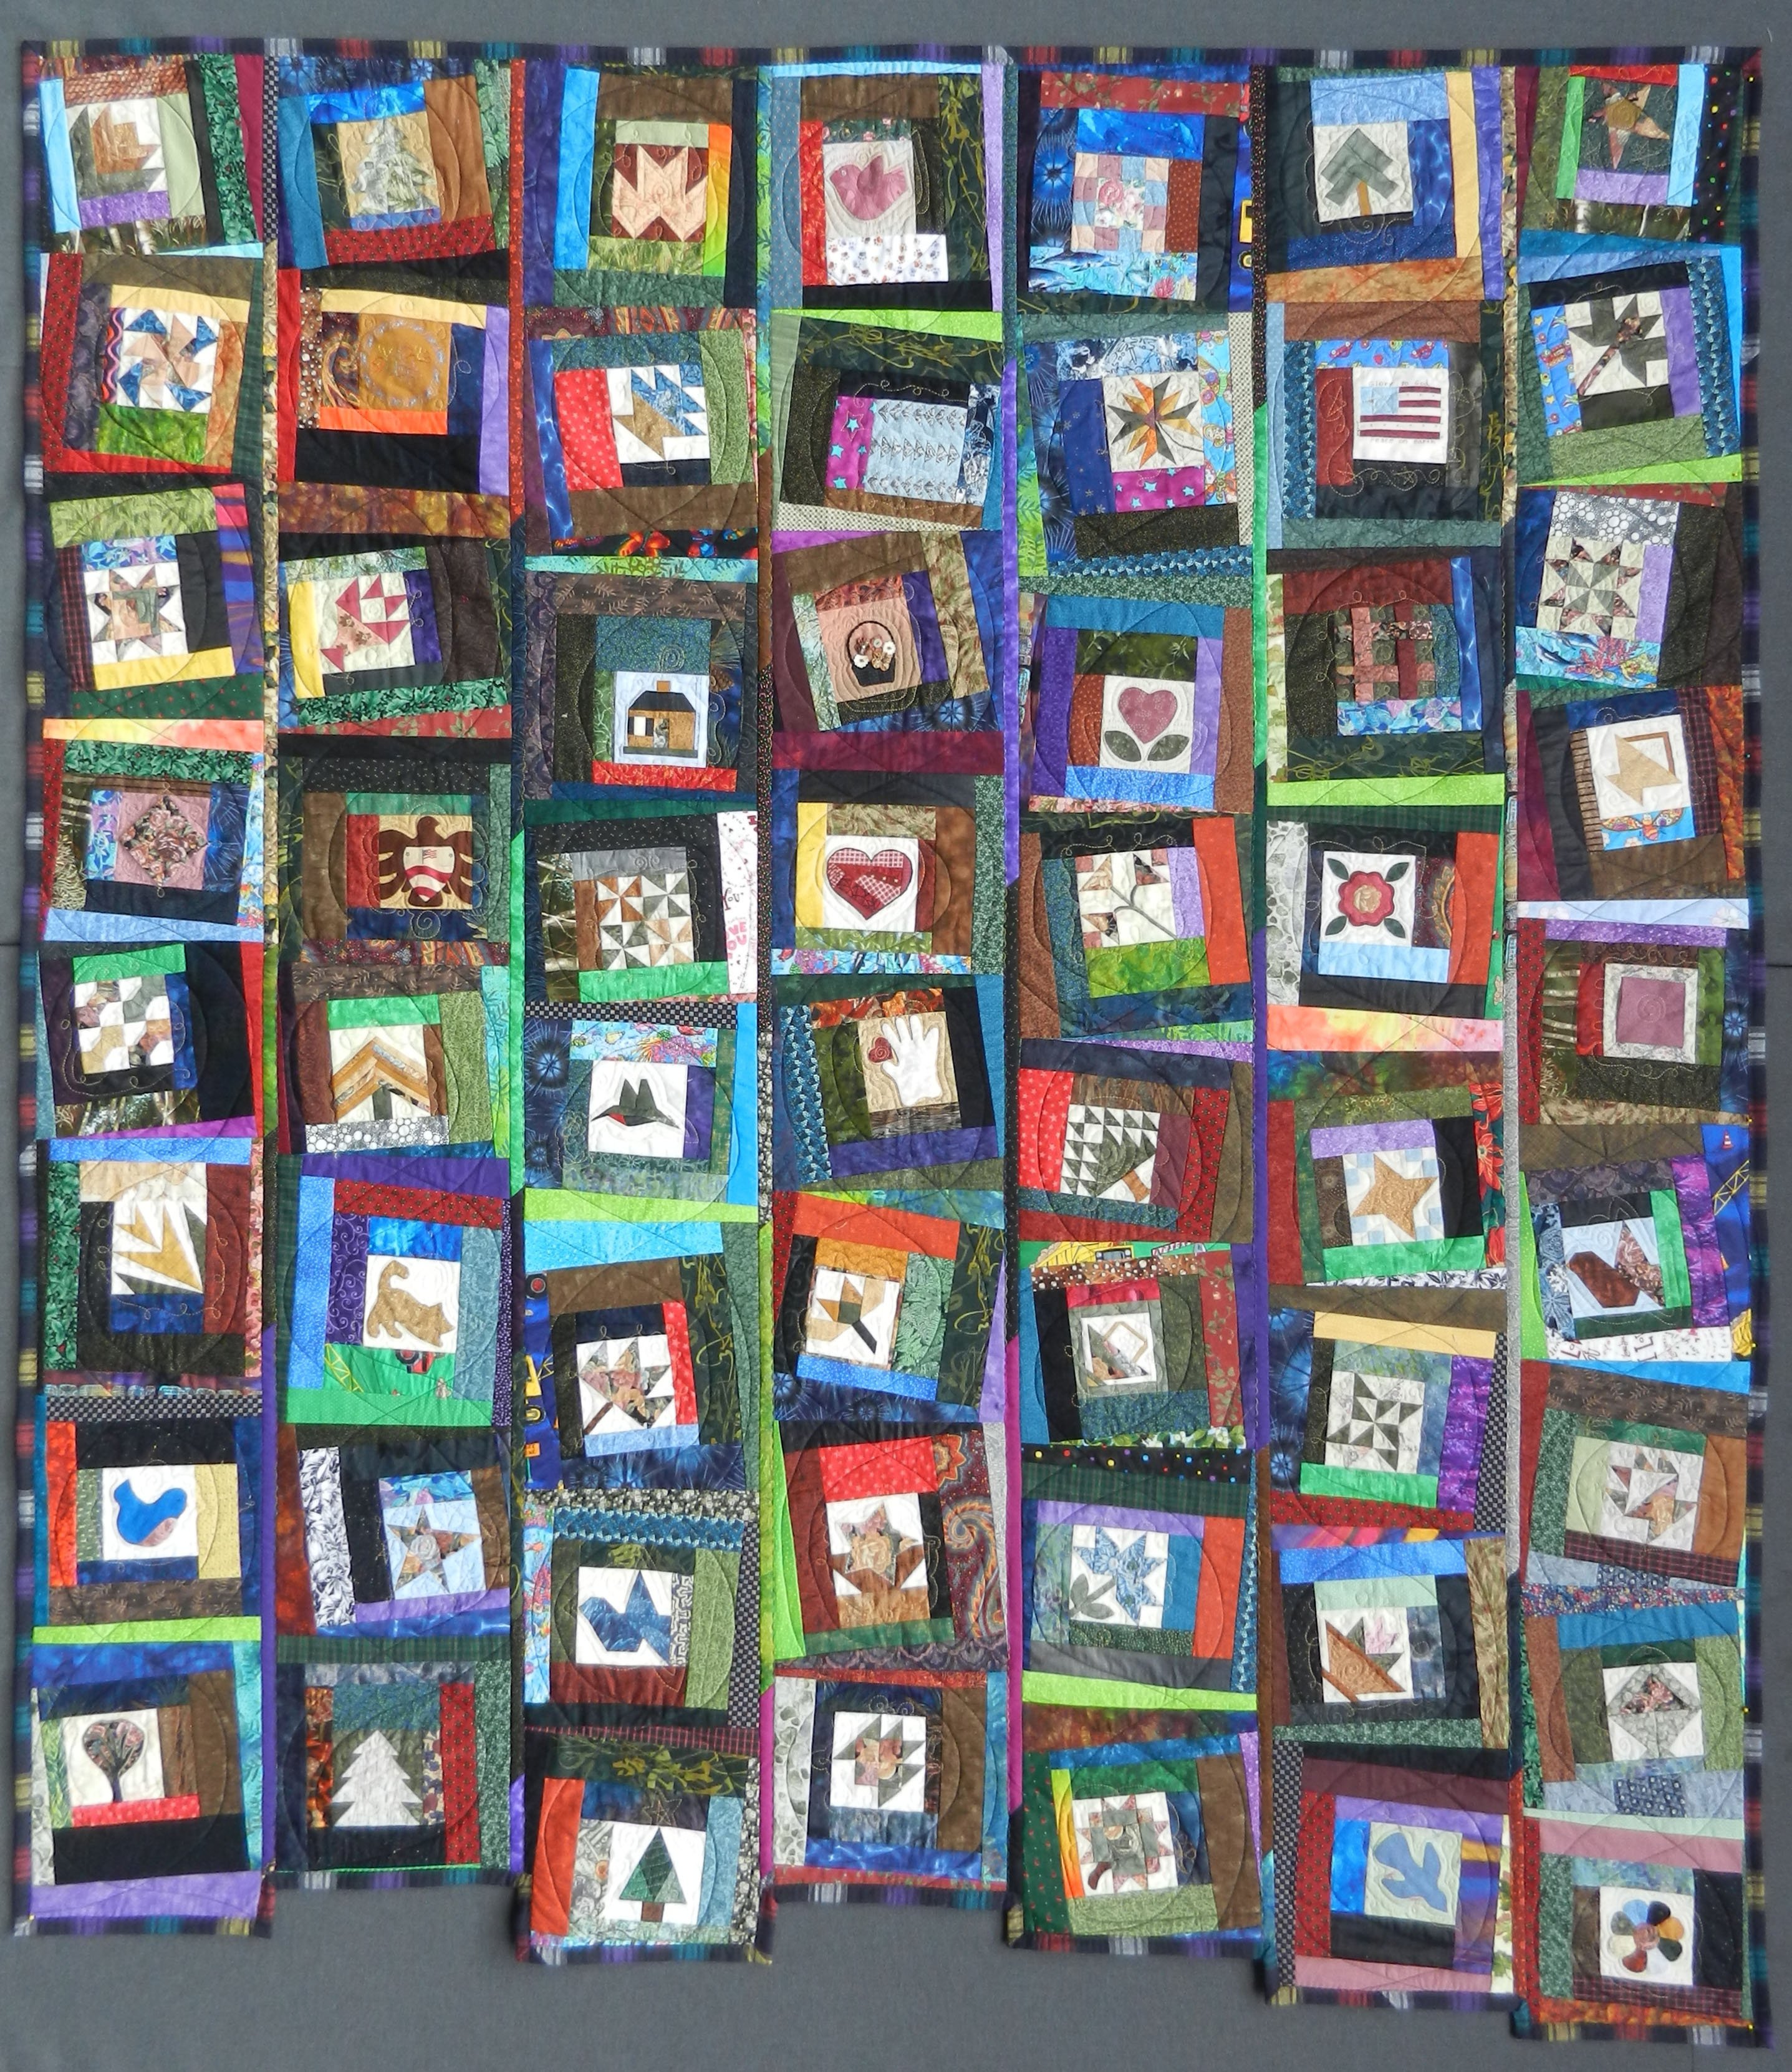
I recently learned a very easy way to get the look of a piped binding, with a lot less effort than the traditional method (it’s the little sliver of blue, next to the binding in the quilt above). The best part is that it is all done by machine – no hand finishing! I’m posting it for my friend Laura, who hasn’t seen it yet, and for any of you who are in the same boat 🙂 . Here it is in 5 easy steps.
- Cut binding strips 1 3/8″ wide (one and three eighths -sorry, the blog font looks wierd in odd fractions). Cut enough to go around the entire quilt and piece together, end to end. Cut piping strips 1 5/8″ wide (one and five eighths), and piece together as you did with the binding strips. It seems a little wierd that the piping strip is wider than the binding strip, but trust me – it works!
- Sew the binding strip (black) to the piping strip(blue), with a ¼” seam allowance.

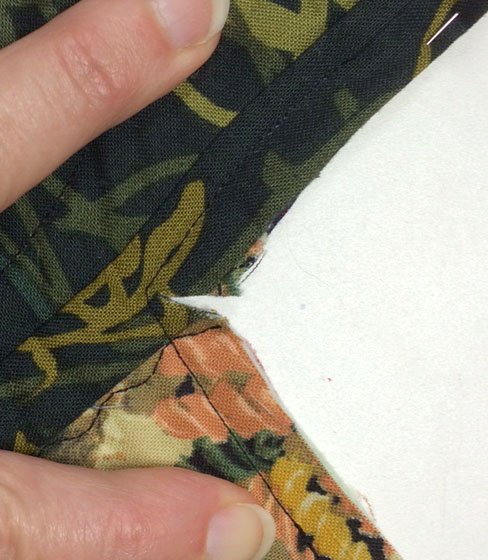
- Press the seam towards the binding strip,
 then press the strip in half, wrong sides together.
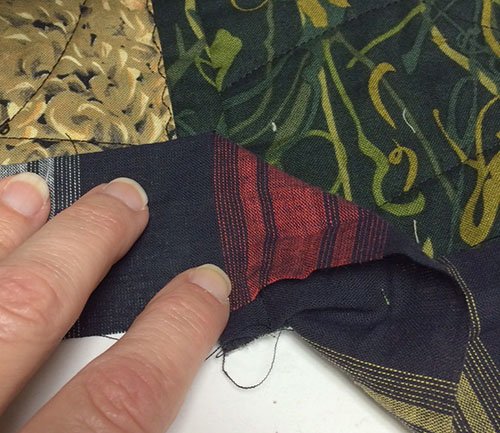
- Align the raw edges of this binding unit with the outer edge of the quilt, on the back of the quilt, piping side up, and attach with a 1/4″ seam allowance.
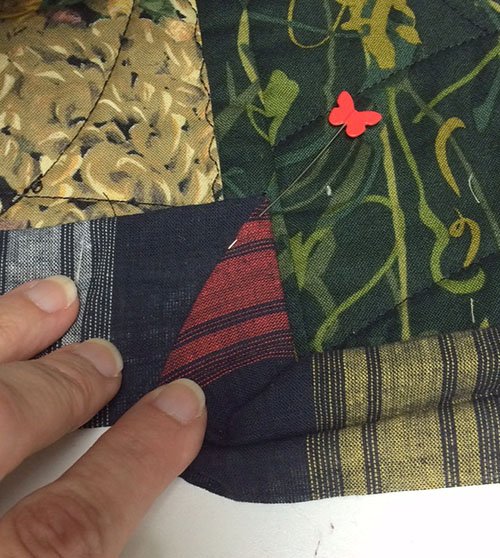
- Turn the binding to the front of the quilt and pin or clip in place, mitering the corners. Stitch in the ditch between the binding and the piping, in a color thread to match the piping.
 Voila! A great look with only a little extra effort. Please let me know if you use this technique – and what you think!